Close
0%
0%

Raspberry Pi PortaStudio

A portable studio based on the Raspberry Pi

Similar projects worth following
I was looking for something practical to use my Raspberry Pi Zero W for, and stumbled across an article here on Hackaday called the PiStudio. Unfortunately it seems as if the creator never quite finished it, and left us with the framework to their project. I read the project and saw that it did in fact have great potential. A portable studio in the form factor of a control surface (much like the Mackie MCU), with a linux based system running LMMS as a front-end. Brilliant! What I intend to do is not rip it off in anyway, but rather revamp it, and take the design of it to the next level. Only caveat: I don't own any kind of CNC or 3D printer, so the form factor of this will be a 1990s Radio-Shack SSM-60 mixer. It is noted though that I'm making this build log right around the middle of this project, but I'll do my best to fill in the missing details.

I started working on this project about a month ago (August 2020), to fill in the details that I didn't document I'll be using this space.

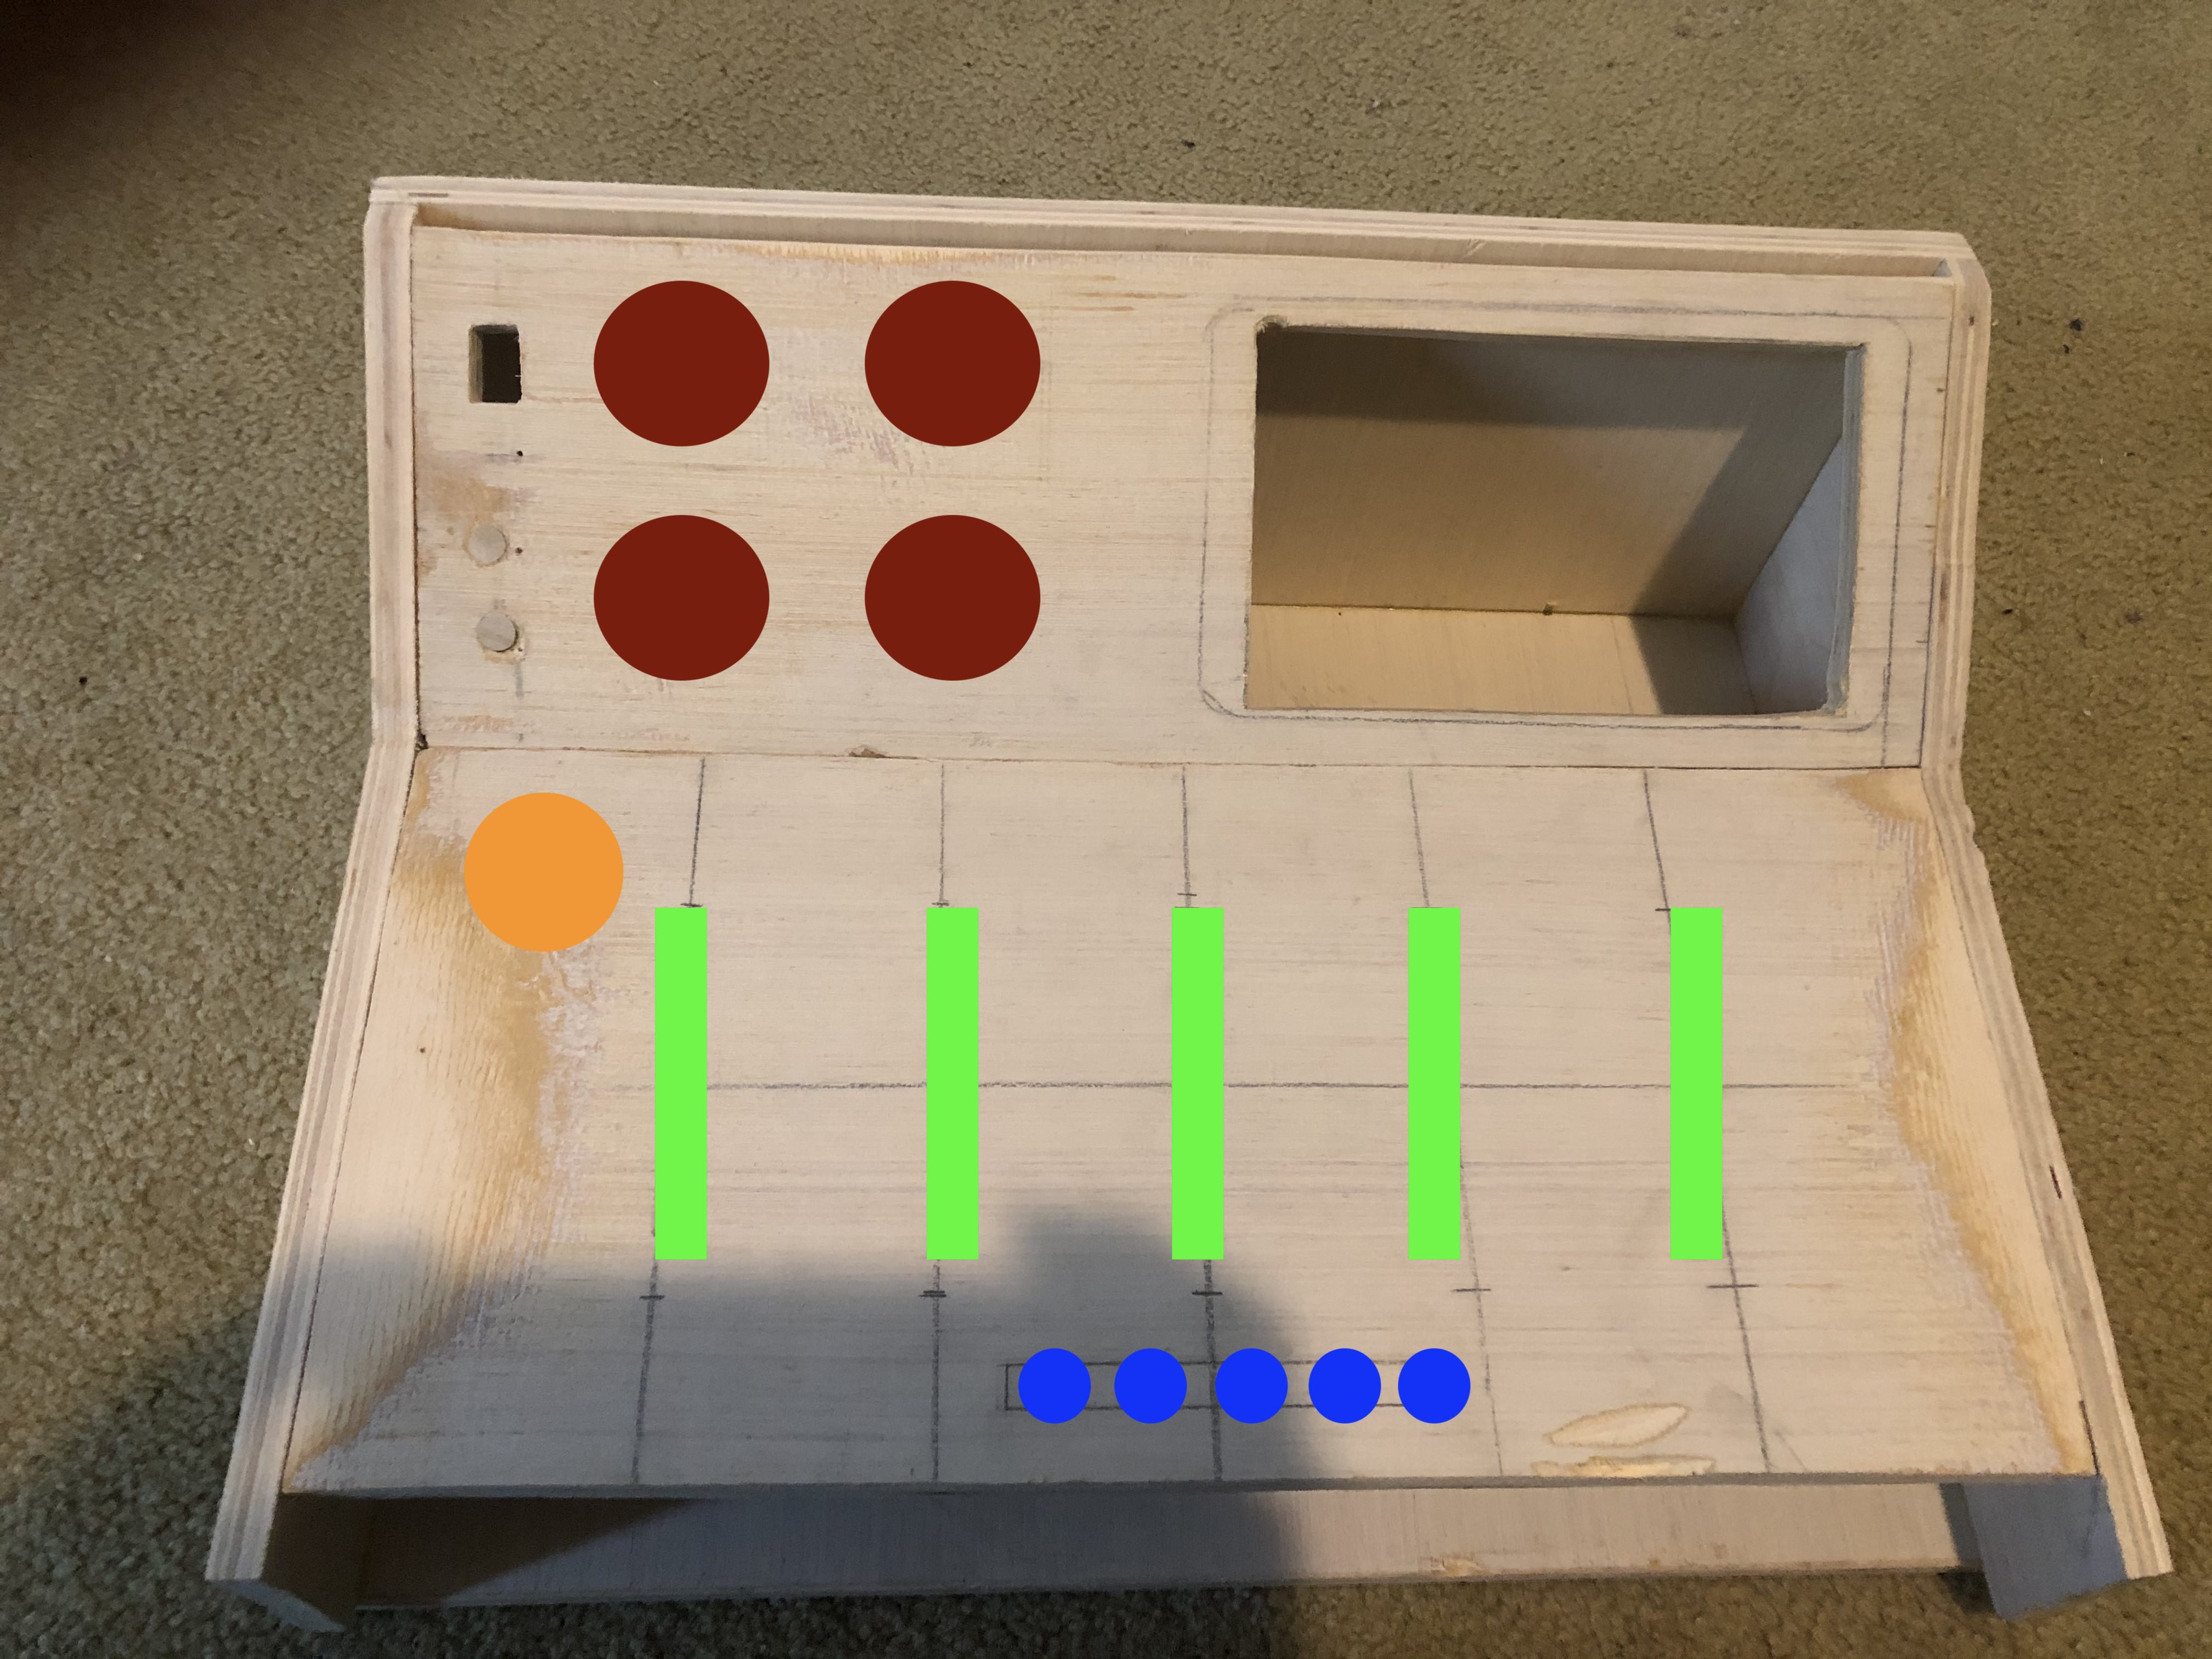
I started by grabbing my Radio-Shack SSM-60 mixer, that I got from a family member about a year prior. Of course I had no real use for it because it didn't come with the nineteen volt power supply, and I already had a really good digital mixer, and had really no use for an analog one from the 90s. Once I removed the internals from it, I was left with a very usable space. The mixer is an RCA connector based mixer, and has 12 RCA jacks on it. I then made a chart designating the first four RCA jacks as my inputs (this will all make sense in a second as to why I continued to use the onboard RCA). The next four are my inserts for channels one and two. This picture probably better explains it than my rambling: 

If you're wondering about the jack to the far left of the picture, it's a four pin XLR jack, and I used to replace the barrel jack which I didn't have the adapter for. This jack is used for USB to utilize the USB OTG feature of the Raspberry Pi Zero W. The cable plugging in to the jack is the female equivalent on one side and regular USB type A on the other. 

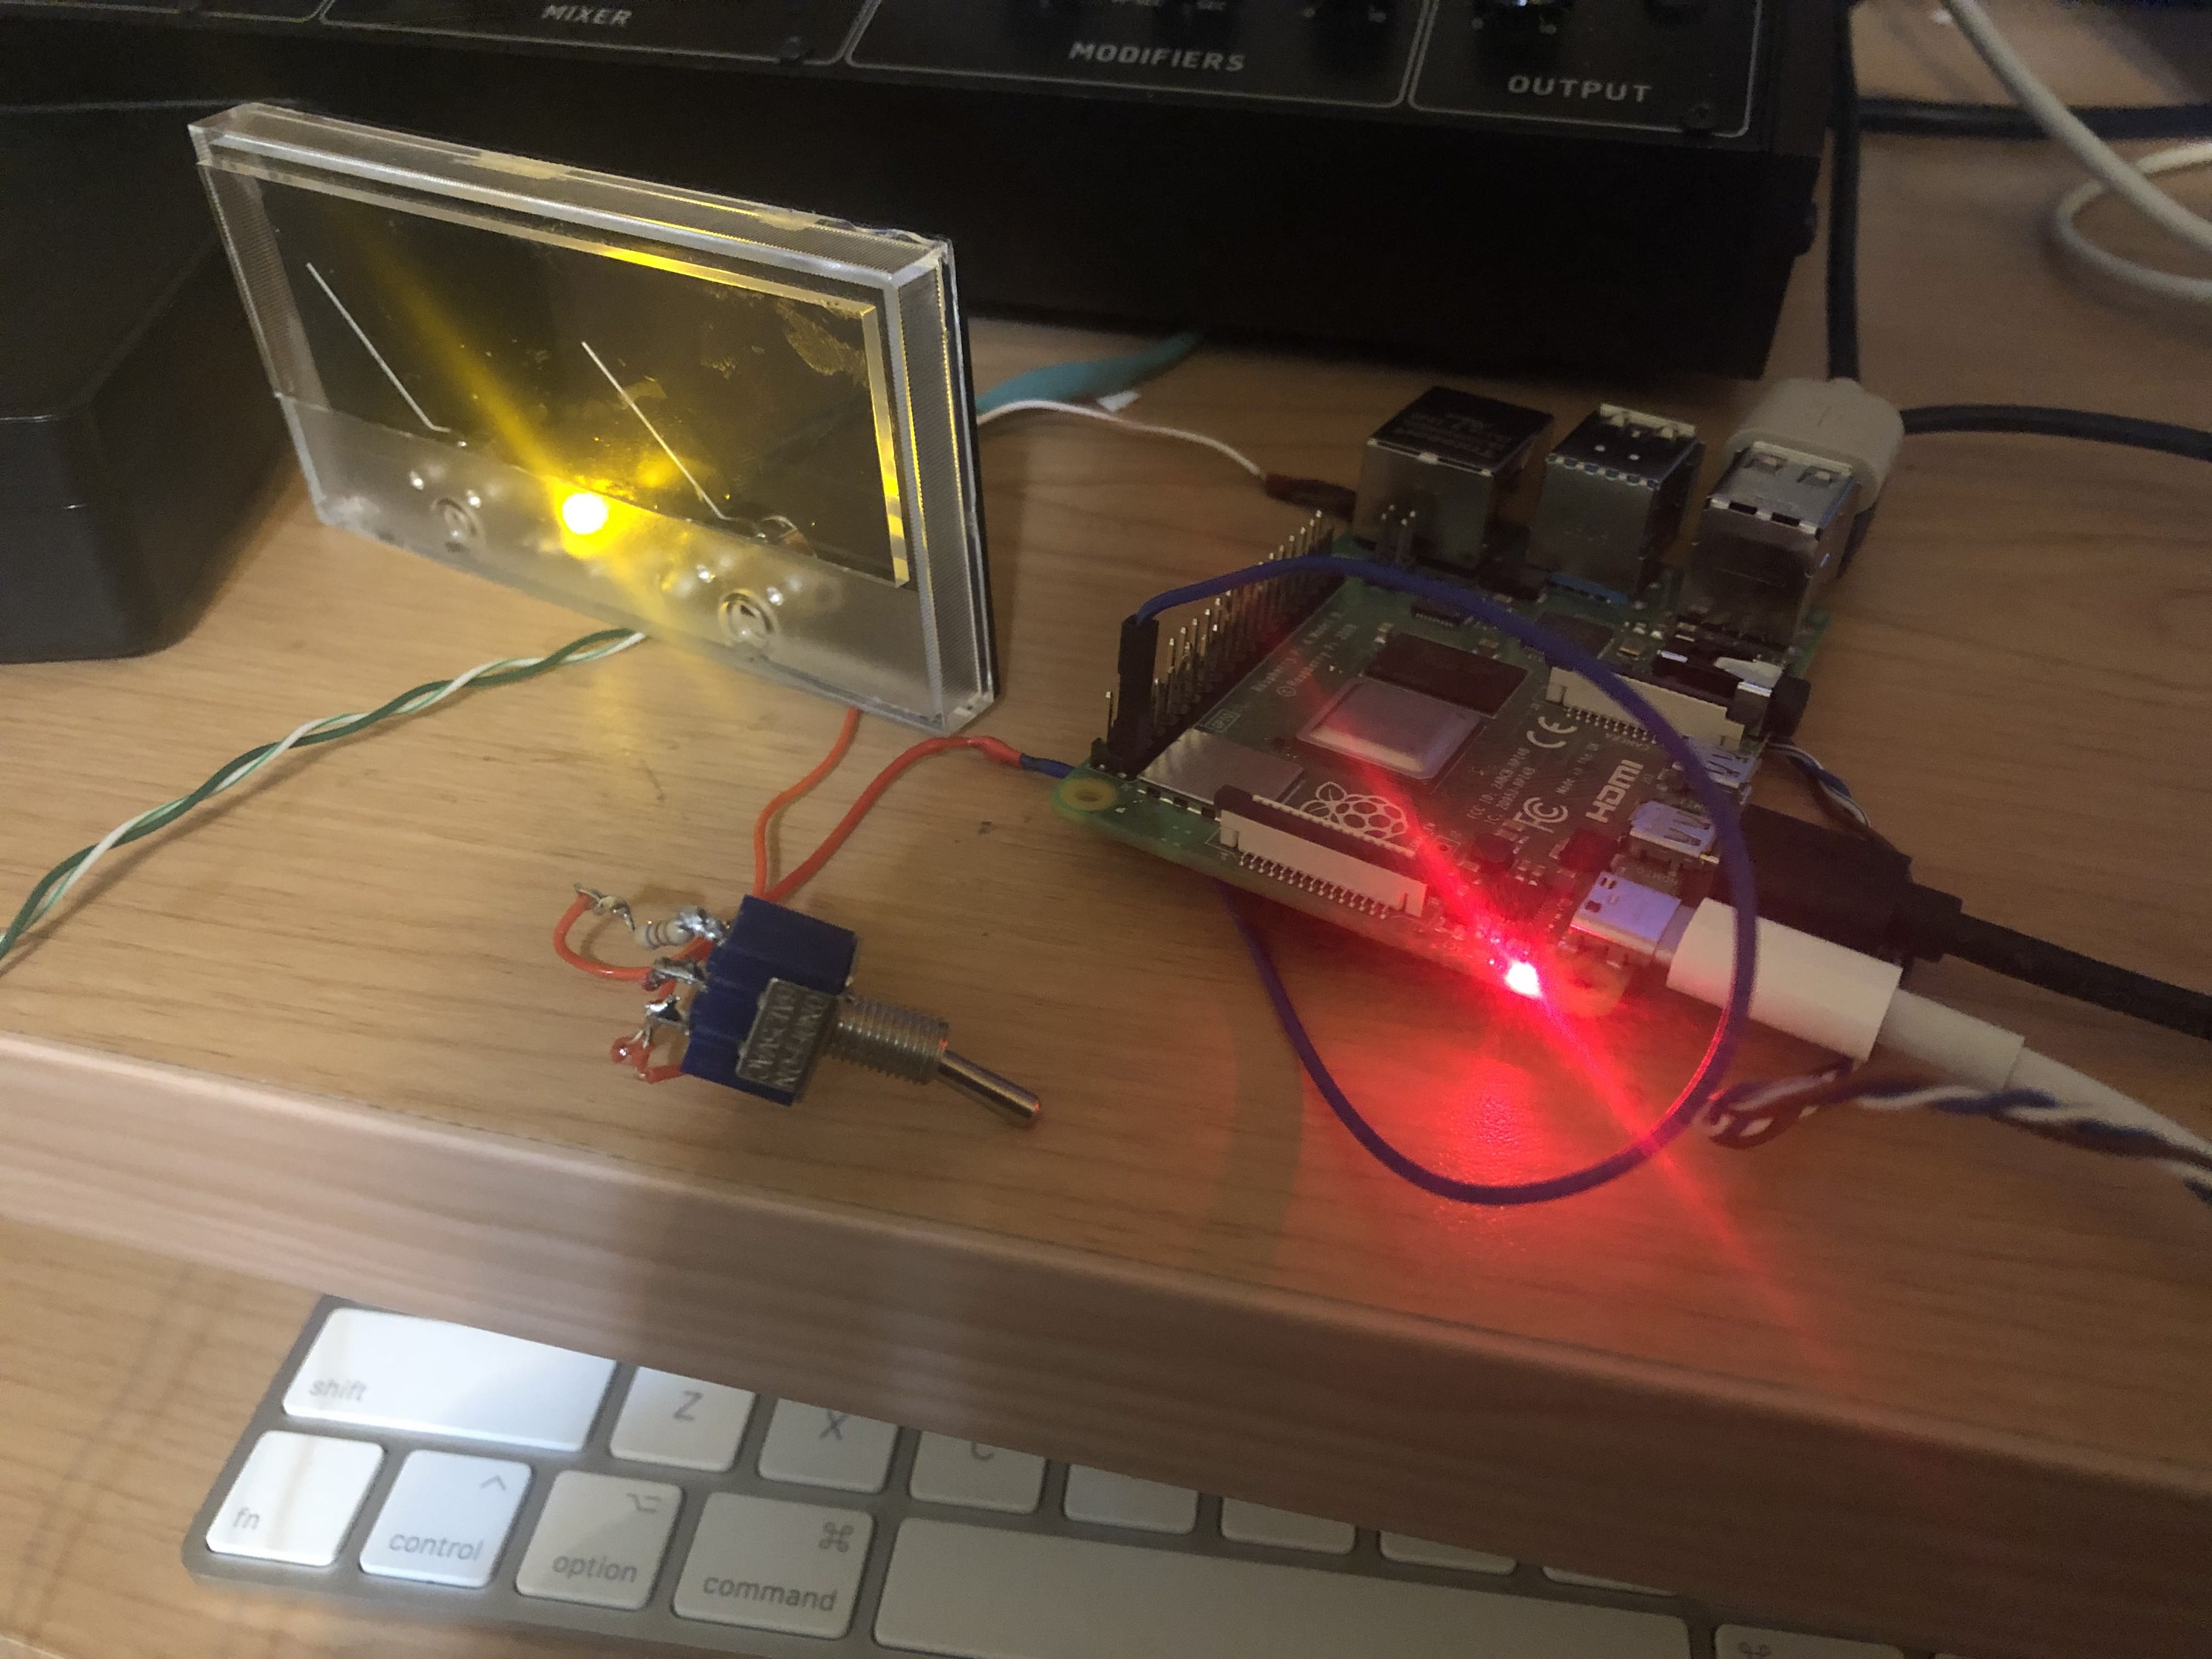
Next I started to work out software. This ended up being the most challenging part, as I ended up finding out that my Raspberry Pi Zero W, wasn't going to cut it. I knew that I didn't need all the features of Raspberry Pi OS, and that wanted the operating system to be something designed mainly for this kind of application. If you stop and think about what; say a Behringer X32 is, it's pretty much an embedded system with a graphical frontend, used to interact with the parameters of the mixer. While what I'm doing isn't near as complicated, I wanted something similar in its software design.  So I started researching embedded linux solutions for the Raspberry Pi Zero. I found a bunch of different options and ended up going with the software Buildroot to create my "distro". This is what took me about a month (along with working out stuff for the audio codec (more on that in the logs)). To make this month long story a little shorter, I learned that due to the ARMv6l architecture of the Raspberry Pi Zero, I couldn't really find much in terms of software I could install myself. I needed a package manager such as apt-get and Buildroot only provided me with Opkg and RPM. When I tried to install something like YUM or APT, it failed because it didn't support the ARMv6l architecture, and I couldn't find one of those two pieces of software that would. So this lead me down a few long rabbit holes, and I ultimately learned that the Raspberry Pi Zero isn't going to cut it anymore. Which then brings us to today September 14th, 2020. I'll now be posting the logs in the log section, so if you've read this you now have the synopsis of everything I've done leading up to now. All of the project files will be posted on my Github when I near the end of this.

  • October 12th 2020

    Austin Martin10/12/2020 at 17:58 0 comments

    GOOD LORD IT'S BEEN AWHILE!

    Okay, so I finally got the mixer face plate back, aaaaaaand... I just can't use it. It was so badly warped, and after I measured some stuff it turns out I really couldn't use it anyway. I really tried to use it, but I just can't. BUT FEAR NOT, while I may have just broken the only caveat of this whole build, I will still keep on the build.

    New plan...

    So generally I'm a lot better at working with wood versus metal. (I really don't know what I was thinking trying to do this out of metal... Oh well). I've decided to make the case out of wood (1/2 inch plywood (the good plywood though)), and it turned out pretty well. I would have gotten some time lapse footage of it but honestly I just really didn't want to. I do have a picture of the semi-finished product. There is a little bit more I have to do, but this is about what I've got. 

    The Design

    So the design is based on a Rupert Neve mixer. Marked in red there is supposed to be four round VU meters (I really wanted to keep the meters), in green, there are faders, in blue there are transport controls, and in orange there is a jog wheel to move the editor.

    The small rectangular hole is for a power switch, and the big one is for the monitor.

    In conclusion...

    So I totally broke my one rule, but I'm really okay with it as long as it gets done. I really should have done the wood chassis first, but I didn't, oh well you learn from your mistakes. I'll be posting a bit more frequently, but I can't guarantee that there won't be another gap in posting if I'm waiting for something.

  • September 27th, 2020

    Austin Martin09/27/2020 at 17:23 0 comments

    Just a quick little update for today, before my LCD comes in.

    I decided to install a window manager for the Raspberry Pi, due to some scaling issues with Ardour. I'll more than likely be staying on Raspberry Pi OS lite as well.

  • September 26, 2020

    Austin Martin09/27/2020 at 01:09 0 comments

    I received my new Raspberry Pi 4 B, and loaded up Raspberry Pi OS lite on it. I'm debating whether to just stay on this or try to do my own custom system again. Anyway, the main reason I got the 4, is so I could use Ardour on it. I prefer Ardour to LMMS any day. I successfully got Ardour to run on it with no problems (go figure), and it's running as the only application on an Xorg environment. Meaning no window managers, etc. I've sent off the casing to have some of the holes filled on it via welding, and I should be getting it back sometime next week. Here are some basic pictures of what I've gotten so far.

    I've just ordered the Raspberry Pi official 7" LCD screen, which will be in some time around October 6-7.

  • Tuesday, September 15th, 2020

    Austin Martin09/15/2020 at 18:31 0 comments

    I've was debating on how to accomplish this; I wanted to add serial capabilities to the PortaStudio, and for a while I considered just adding a DB9 COM port to it, but instead I actually "borrowed" this idea from a Casio graphing calculator that I've had for a while. On the calculator there is a stereo 2.5mm "headphone" jack that actually serves as a serial port. It utilizes TTL UART which just so happens to be what the Pi uses. This is the wiring diagram that I followed:

    Tip = TX

    Ring = RX

    Sleeve = GND

    I've gone ahead and purchased a Raspberry Pi 4 (2GB) because of the limitations of the Pi Zero. (Please see the "Details" section for the synopsis)

View all 4 project logs

Enjoy this project?

Share

Discussions

Similar Projects

Does this project spark your interest?

Become a member to follow this project and never miss any updates