rootfrogsMakes
Using an Infrared Remote Control made easy
Anybody has an infrared remote control at home. So it's very obvious to use them for own maker projects. But there are many different types of remote controls. Different manufacturers, different frequencies, different protocols. To find the correct library for your microcontroller can be very annoying. At this point I thought to myself: there must be an easier way to use my existing remote control.
For most projects you only need a few specific buttons on the remote control (e.g. turning on/off something). So mostly it is not necessary to interpret the whole protocol and to detect all buttons. You only have to recognize some certain buttons again and again. This is, what IR2IO is doing for you.
Basic Operating Principle of an Infrared Remote Control
An Infrared (IR) remote control has a carrier frequency. Mostly it's 36, 38 or 40 kHz. There are three reasons to use a carrier frequency:
- Fading out infrared ambient light (included in daylight, coming from sun)
- Devices can simply filter on their own remote control and ignore other remote controls with different frequencies
- The LED is pulsing and can cool down between the pulses. This makes it possible to drive it with a higher current and extend the range.
If we put an IR receiver in front of a remote control, we can see what the remote control sends:
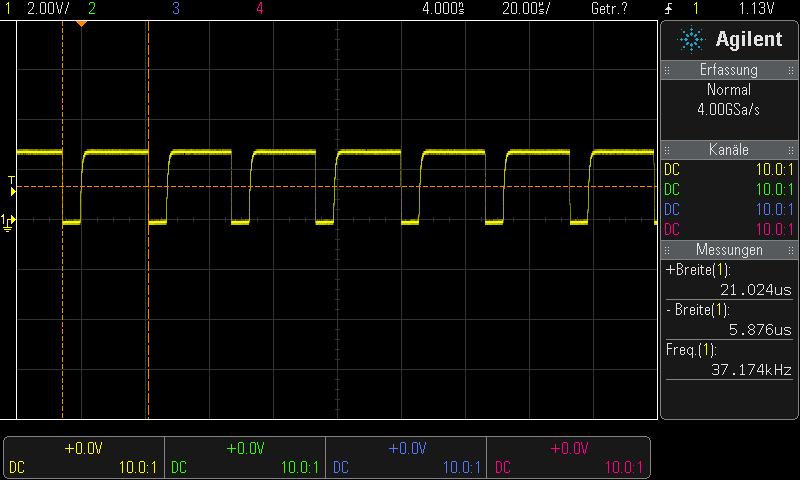
The signal is inverted. So if the Signal is low, the IR-LED of the remote control is on. In this case the remote control sends 5,9 µs pulses with a frequency of about 37,2 kHz.
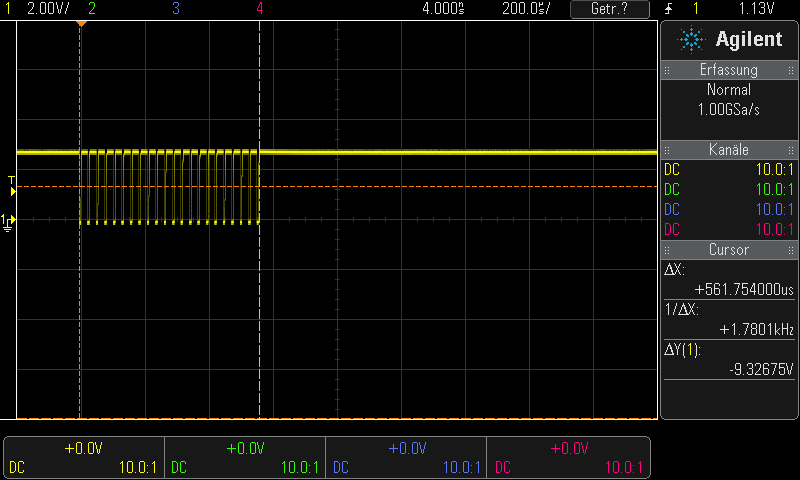
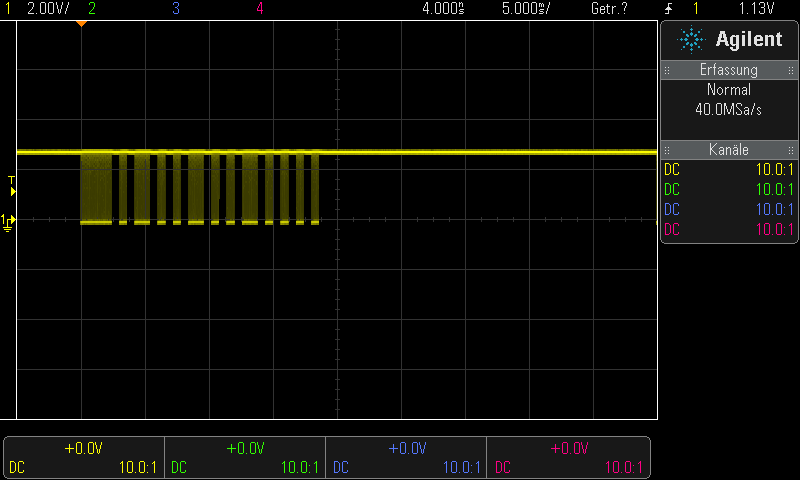
If we zoom out the time axis a little bit of the signal, we can see that the remote control sends a burst package of 22 pulses at a time:
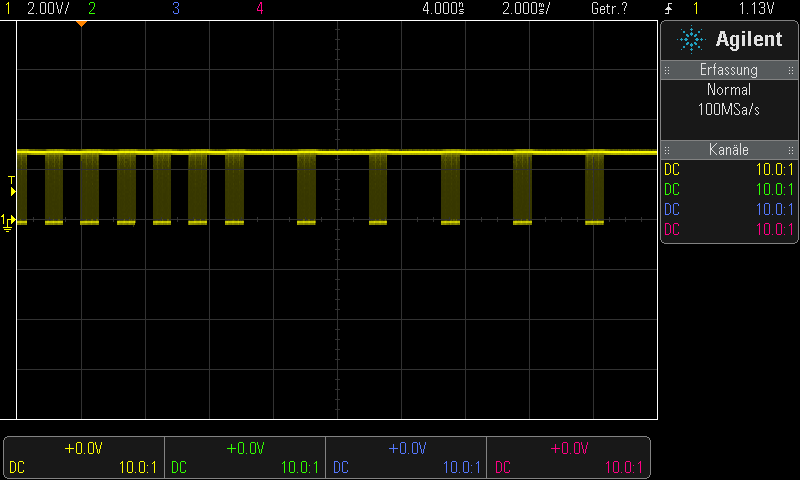
If we zoom out the time axis more, we can see that there are pauses with different length between the burst-packages:
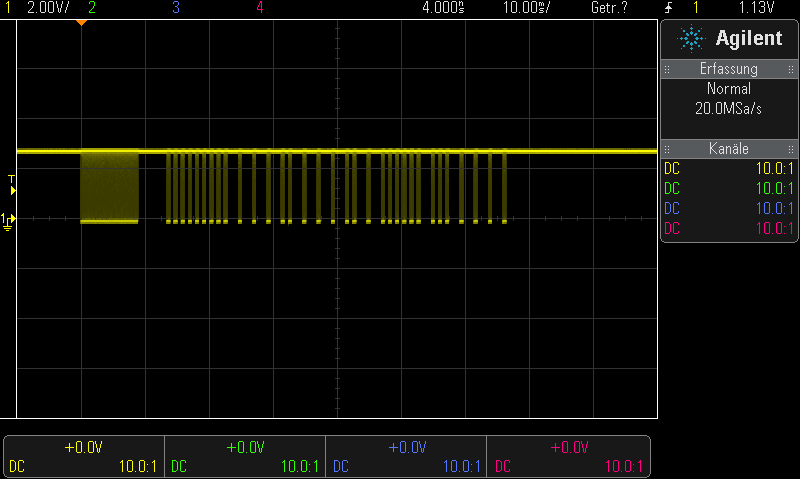
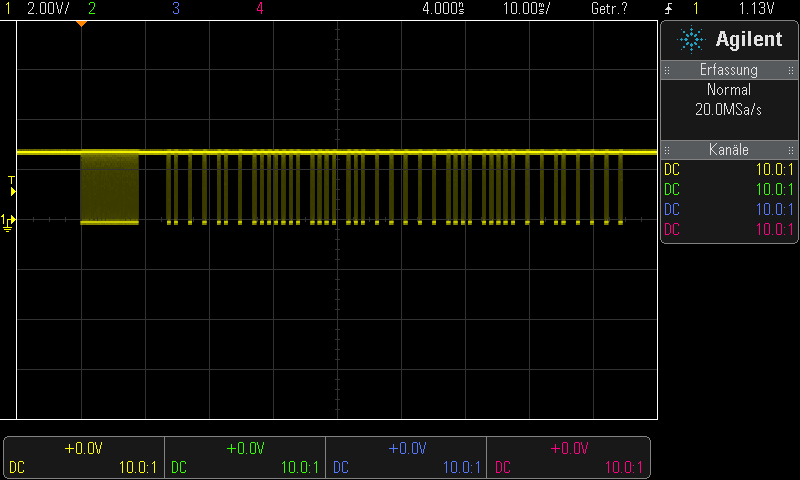
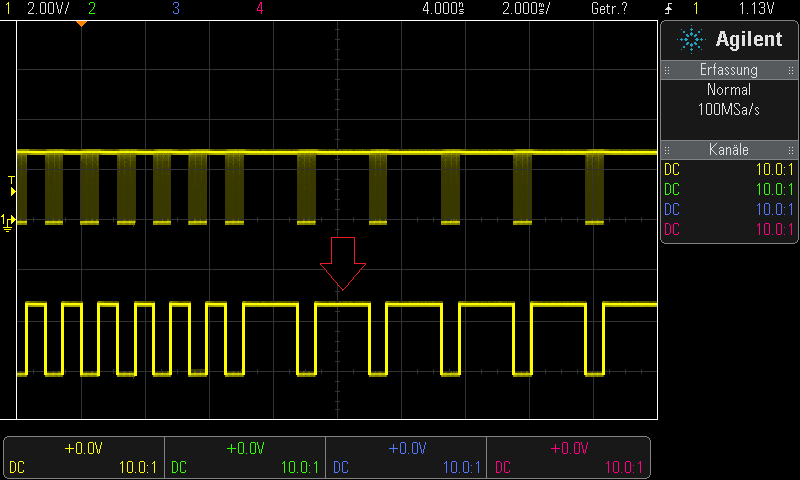
And another step more out we see the complete signal which is sent by the remote control:
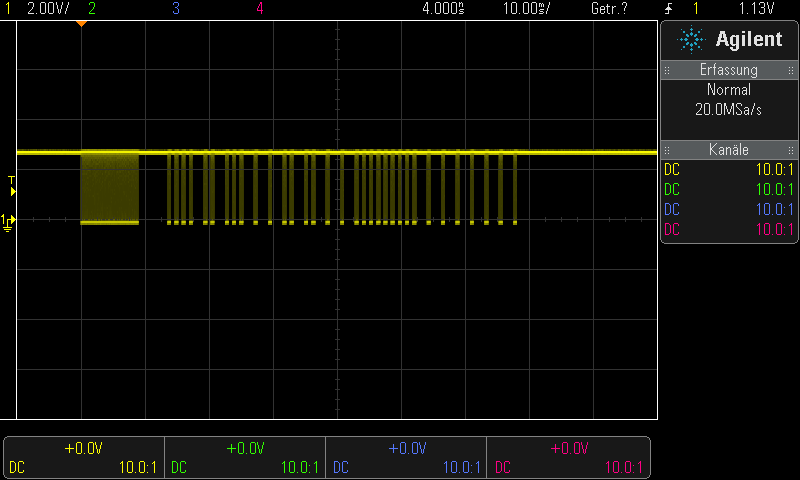
The signal alternates between pulses and pauses. There are long pauses and short pauses, but also long burst packages and short burst packages. This is the way how the remote control codes which button was pressed. Here are 4 signal records of 4 different buttons of the same remote control:
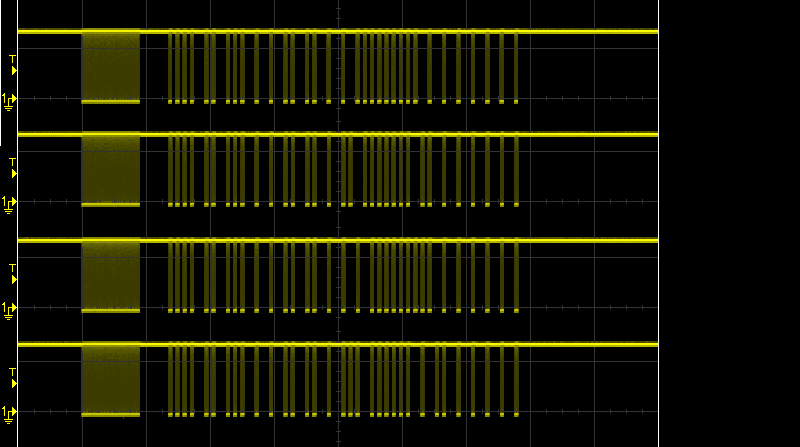
We can see: The beginning of the signal is always the same. This allows the device to detect if the signal is coming from its own remote control.
Depending on the manufacturer, the remote control signals look very different. Here are some signal examples from different manufacturers:
How does IR2IO work?
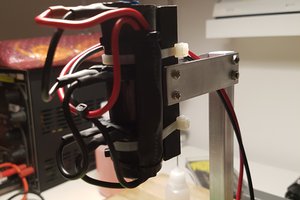
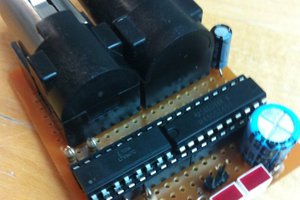
The IR2IO works with a broad band IR receiver IRM-H600. This receiver works with frequencies from 20 kHz to 60 kHz. This ensures that we cover mostly all common IR remote controls which exists in the world.
The output signal of the IRM-H600 is shown in the oscilloscope screenshots above. In the first step, the carrier frequency is demodulated by using a timer:
Thereafter this signal is given to a second timer. The second timer will measure the time between all signal edges and stores it via DMA into the RAM. If no more edges are detected after a timeout, the array of pulse widths can be analyzed.
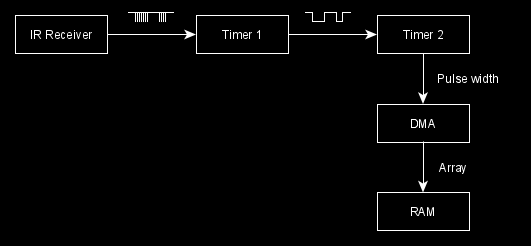
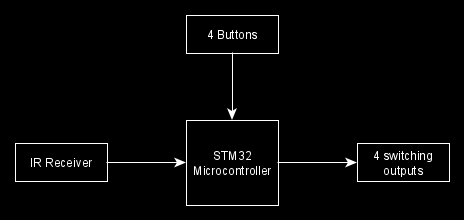
If one of the four push-buttons on the IR2IO modul was pressed, the data array is stored to the corresponding output channel. Whenever the controller receives the same array a second time, it will activate the corresponding switching output.
So we solved the problem, not to know all IR-protocols of all IR-remote controls of the world. It will work with all remote controls, because all IR-remote controls have the same functional principle with different lengths of burst-packages and pauses.
 johnfoster
 Dan Sheadel
 Tim van Iersel