For those unfamiliar, QMK is an open source keyboard firmware with enormous flexibility and opportunity to customize your keyboard to behave exactly how you want it to. It has support for a number of micros, and there's even an online configurator for established boards that already support it. Pretty cool!
However, if you've just got fresh PCBs from a fab-house of your custom design, this established support is lacking and a little undocumented, so here are the steps I went through to go from unprogrammed PCB to functional keypad!
Please note, this is specific to my board and will not be 100% applicable for different hardware - specifically different microcontrollers!
Keyboard Layout Editor
Often referred to as KLE, this tool is super handy for planning out your dream keyboard, even if the hardware doesn't exist yet. I plan on doing a log on my hardware design, and this will feature in that step too. The UI is pretty user friendly, and there's presets for common keyboard layouts. Even better for me, the default layout when you load up the webpage is a simple numpad - exactly my layout!
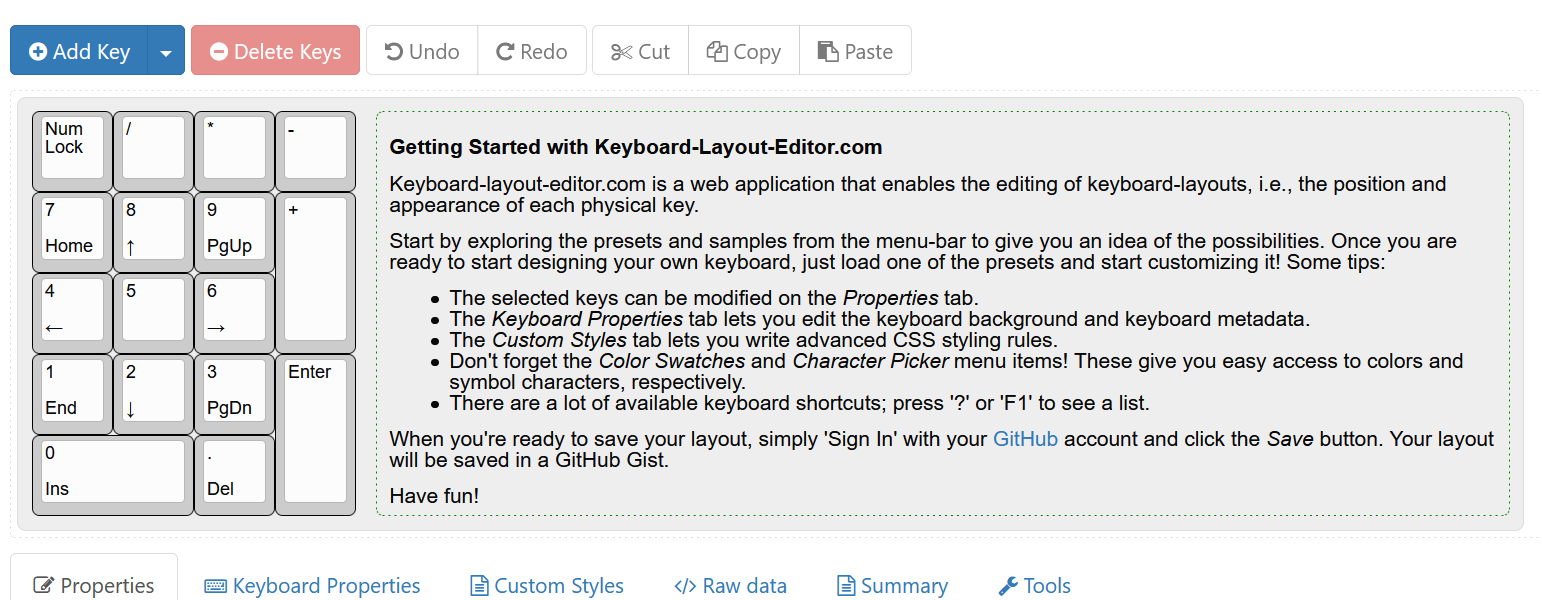
Default layout in Keyboard-Layout-Editor
The main thing we'll need from here is the JSON text found under the Raw data tab at the bottom. I suggest saving your layout in KLE so you can refer back to it later.
QMK toolchain
The QMK website has pretty good documentation on getting everything installed with their getting started page here. I personally used Ubuntu through WSL on Windows 10 to install QMK and compile my firmware and had no issues, but they have instructions on all operating systems.
It'll let you know where it's going to install the firmware, and that's where we'll save our source code too.
There's guidelines in the QMK docs about how to name and format your files for doing a pull-request to get your contributions back into the main repo. I won't rehash them here, and I don't intend on pushing my little personal project upstream. If you want to get your stuff in their repo later after following this guide, you can always go back and clean up your files late.
File Structure
Following the QMK docs, this is right where they lost me in creating my own keyboard. I'm sure the info is in there, but I couldn't see it all in once place.
Anyway, we want to create a folder to put all your personal related files under the keyboards subdir in the qmk_firmware folder. So your directory structure should look like this:
/qmk_firmware
|---/keyboards
|   |---/{your_github_username}
|       |---/{name of your keyboard!}
It's in your keyboard project folder where the rest of your code will go. For reference here's what my folder structure looks like so far:
/qmk_firmware
|---/keyboards
|   |---/unpaid_bill
|       |---/numPad
Great! Now let's fill it with the stuff to make it useful!
/numPad
|---/keymaps
|   |---/default
|       |---config.h
|       |---keymap.c
|---chconf.h
|---config.h
|---halconf.h
|---info.json
|---mcuconf.h
|---num_pad.c
|---num_pad.h
|---readme.md
|---rules.mk
So straight up, I pulled most of these files from another keyboard directory that I knew used the same micro as me. The chconf.h, halconf.h and mcuconf.h I copied and did not have to edit at all, though mcuconf.h does contain a lot of defines you might want to tweak for your board Next is numap. This file contains a macro defining the hardware description of where the physical keys are on the keyboard. Think of this more where the switches are, as we'll use this to describe what switch sends what keycode in a later file. QMK have a section on how to do this here, but it's a bit vague. I suggest you write this yourself, even if existing keyboards use your same physical layout just so you can debug it later if you need. Technically you don't need this if you only have one switch layout (you might have a 60key and 65key version of your hardware, requiring two of these), but it's better practice to this defined here.
The entirety of my numpad.h is:
#pragma once

#include "quantum.h"

#define LAYOUT( \
    K00, K01, K02, K03, \
    K10, K11, K12, K13, \
    K20, K21, K22,      \
    K30, K31, K32, K33, \
    K40,      K42       \
) \
{ \
    { K00, K01,   K02, K03   }, \
    { K10, K11,   K12, K13   }, \
    { K20, K21,   K22, KC_NO }, \
    { K30, K31,   K32, K33   }, \
    { K40, KC_NO, K42, KC_NO }  \
}
If you compare above to what a numpad looks like, you can imagine K00 is the numpad key, and there's gaps for the double-sized keys (as they're only one switch)
The next file we'll look at is the keymap.c file. This contains our definition of what switch does what!.
#include QMK_KEYBOARD_H

extern keymap_config_t keymap_config;

// Each layer gets a name for readability, which is then used in the keymap matrix below.
// The underscores don't mean anything - you can have a layer called STUFF or any other name.
// Layer names don't all need to be of the same length, obviously, and you can also skip them
// entirely and just use numbers.
#define _BASE 0
// #define _FN1 1

const uint16_t PROGMEM keymaps[][MATRIX_ROWS][MATRIX_COLS] = {
  [_BASE] = LAYOUT(
    KC_NUMLOCK, KC_KP_SLASH, KC_KP_ASTERISK, KC_KP_MINUS,
    KC_KP_7, KC_KP_8, KC_KP_9, KC_KP_PLUS,
    KC_KP_4, KC_KP_5, KC_KP_6,
    KC_KP_1, KC_KP_2, KC_KP_3, KC_KP_ENTER,
    KC_KP_0, KC_KP_DOT
  )
};
This uses the macro we made in the previous file to designate each key on that layer. We could make more layers if we want different levels of functionality on each key, but that's out of scope of this log. There's plenty of info on layers and the specifics of keymaps out there already.
I'm going to wizz through a few more files here. The next one is info.json - this contains the KLE output and nothing else. To be honest, it's not clear to me how exactly this is used in the compilation step, but I think it provides info on how the rows and columns are connected.
Next is rules.mk - This file contains info about what software components are enabled in your FW. To be honest, besides setting my MCU at the top, I'm not sure where these settings are documented or what to change - I left them how I found them.
Finaly is config.h in the main directory (not in the keymap folder). This gives the rest of the firmware info on how your switch matrix is connected to your microcontroller. The important lines to change at MATRIX_ROWS and MATRIX_COLS, and then there pin assignments below that. There's also the USB descriptor info you can change if you like. Here is mine below
#pragma once

#include "config_common.h"

/* USB Device descriptor parameter */
#define VENDOR_ID       0x4321
#define PRODUCT_ID      0x1234
#define DEVICE_VER      0x0001
#define MANUFACTURER    Jon
#define PRODUCT         numPad
#define DESCRIPTION     simple num pad

/* key matrix size */
// Rows are doubled-up
#define MATRIX_ROWS 5
#define MATRIX_COLS 4

#define DIODE_DIRECTION COL2ROW
// wiring of each half
#define MATRIX_ROW_PINS { B12, B2, B0, A7, A6 }
#define MATRIX_COL_PINS { B1, A3, B7, B6 }

/* Set 0 if debouncing isn't needed */
#define DEBOUNCE 5

/* Mechanical locking support. Use KC_LCAP, KC_LNUM or KC_LSCR instead in keymap */
#define LOCKING_SUPPORT_ENABLE
That's it! The rest of the files are either empty, or wholly copied with no change from other existing keyboard. I'll attach them to the project so you can check them out!
Compiling and programming!
This part is easy! Navigate to your keyboard directory and type
wmk compile -km default
and you're done!. It will spit out a hex in the top level qmk directory and you can flash that to your board however you wish. In my case, I used a st-link, though I believe QMK has inbuilt dfu functionality. I haven't looked into setting that up though, so I can't speak on the how-to for that
Functional Keyboard :)
Or in my case, a functional numpad! This was my first time tackling anything to do with QMK, and I know I glossed over a fair bit - especially because my hardware is quite simple. There's definitely more you'd have to do to get LEDs or a split keyboard functional, for example. But that's all for now. Thanks for reading and I hope this helps somebody
Discussions
Become a Hackaday.io Member
Create an account to leave a comment. Already have an account? Log In.