Close
0%
0%

I Voted/Yo Voté Blinky Badge Solder Kit

VOTE AND VOTE HARD

Similar projects worth following
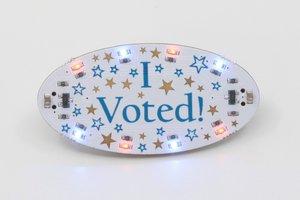
I designed these boards both to encourage people to vote, and to make it a little more fun.

I grew up in the US Virgin Islands, a territory in which the residents are denied the right to vote for President and have no voting representation in Congress, even though they are US citizens. Voting is sadly not a right, it's a privilege. If you have it, please use it, and VOTE!

I designed both English and Spanish versions, in recognition of the large Hispanic population of US citizens, both those who live stateside and can vote, and those that live in Puerto Rico and cannot. Además, estoy aprendiendo español otra vez, despues de muchos años de no hablarlo.

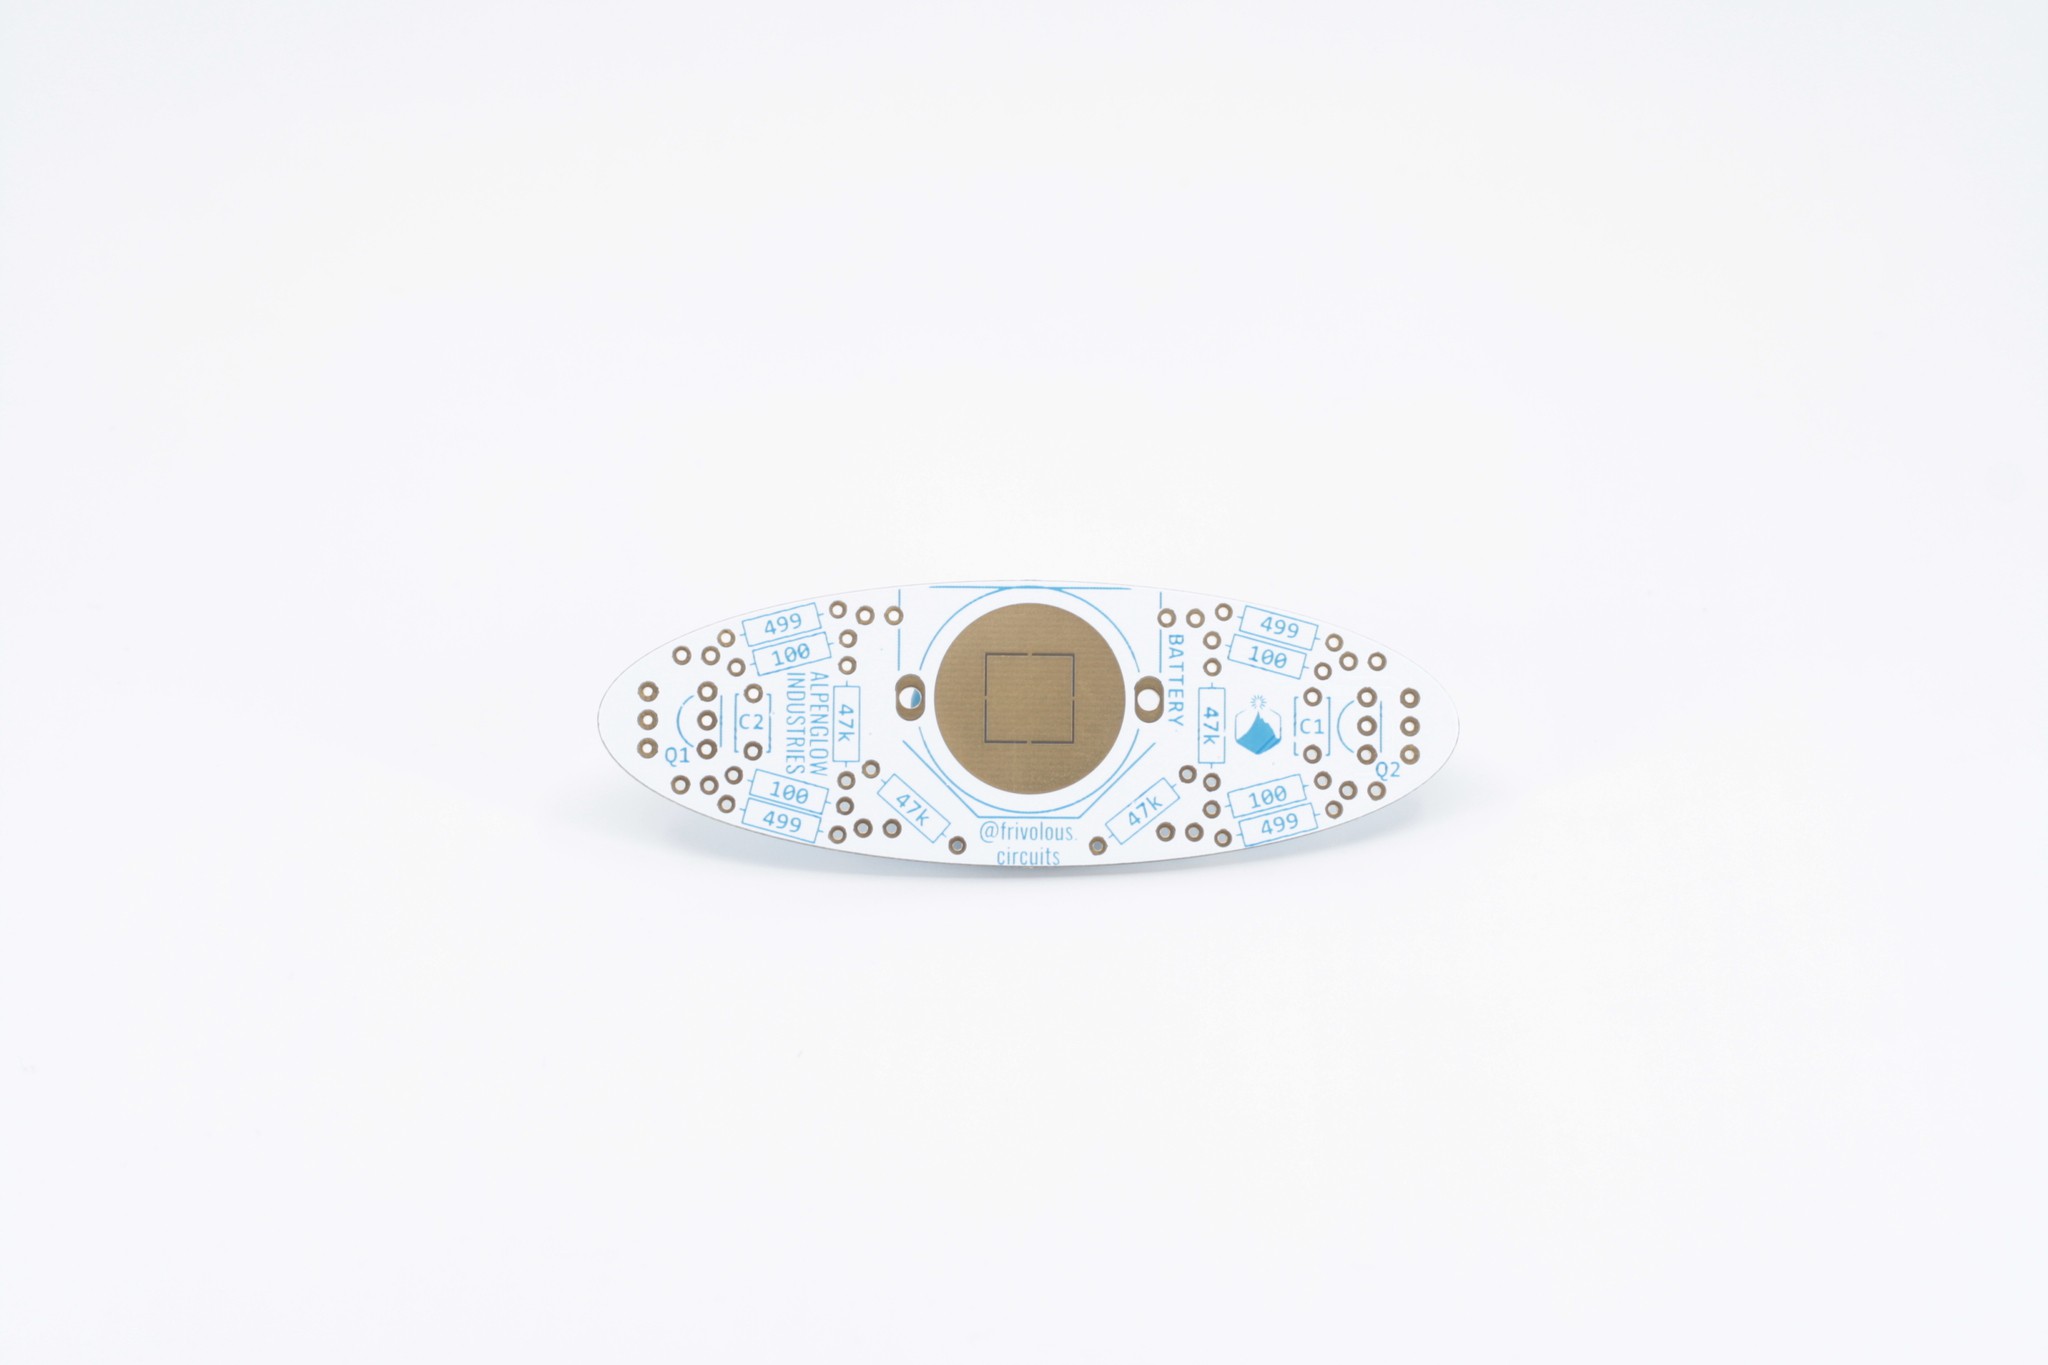
This is designed as a solder-it-yourself kit.  Kits are available on Tindie, or you can order the board off of OSHPark (purple only, of course! I Voted - English version or Yo Vote - Espanol ) and supply your own components (bill of materials in the files section below).  


It can definitley be your first soldering project, though requires a little more care since the parts are close together.  There are a lot of videos and tutorials on how to solder and equipment needed - follow any of them, nothing special is needed for this board.  We do recommend using rosin core solder for the battery holder, because that part is a little harder to solder to.  But no-clean will work.  If you follow the build instructions below, in that order, no "helping hands" or vices or circuit board holders are required.

We'll update the Project Logs with a description of how the circuit works - the alternate blinking of red and blue LEDs is caused by a circuit called an astable multivibrator.  It's all transistor-based, no processor or programming was involved.

If you like this project, please follow us @alpenglowind on Instagram and Twitter!

I Voted Thru BOM Instructions - HD.csv

Bill of Materials

Comma-Separated Values - 855.00 bytes - 10/25/2022 at 21:51

Download

IVotedThru.pdf

Schematic

Adobe Portable Document Format - 135.85 kB - 10/19/2020 at 19:23

Preview

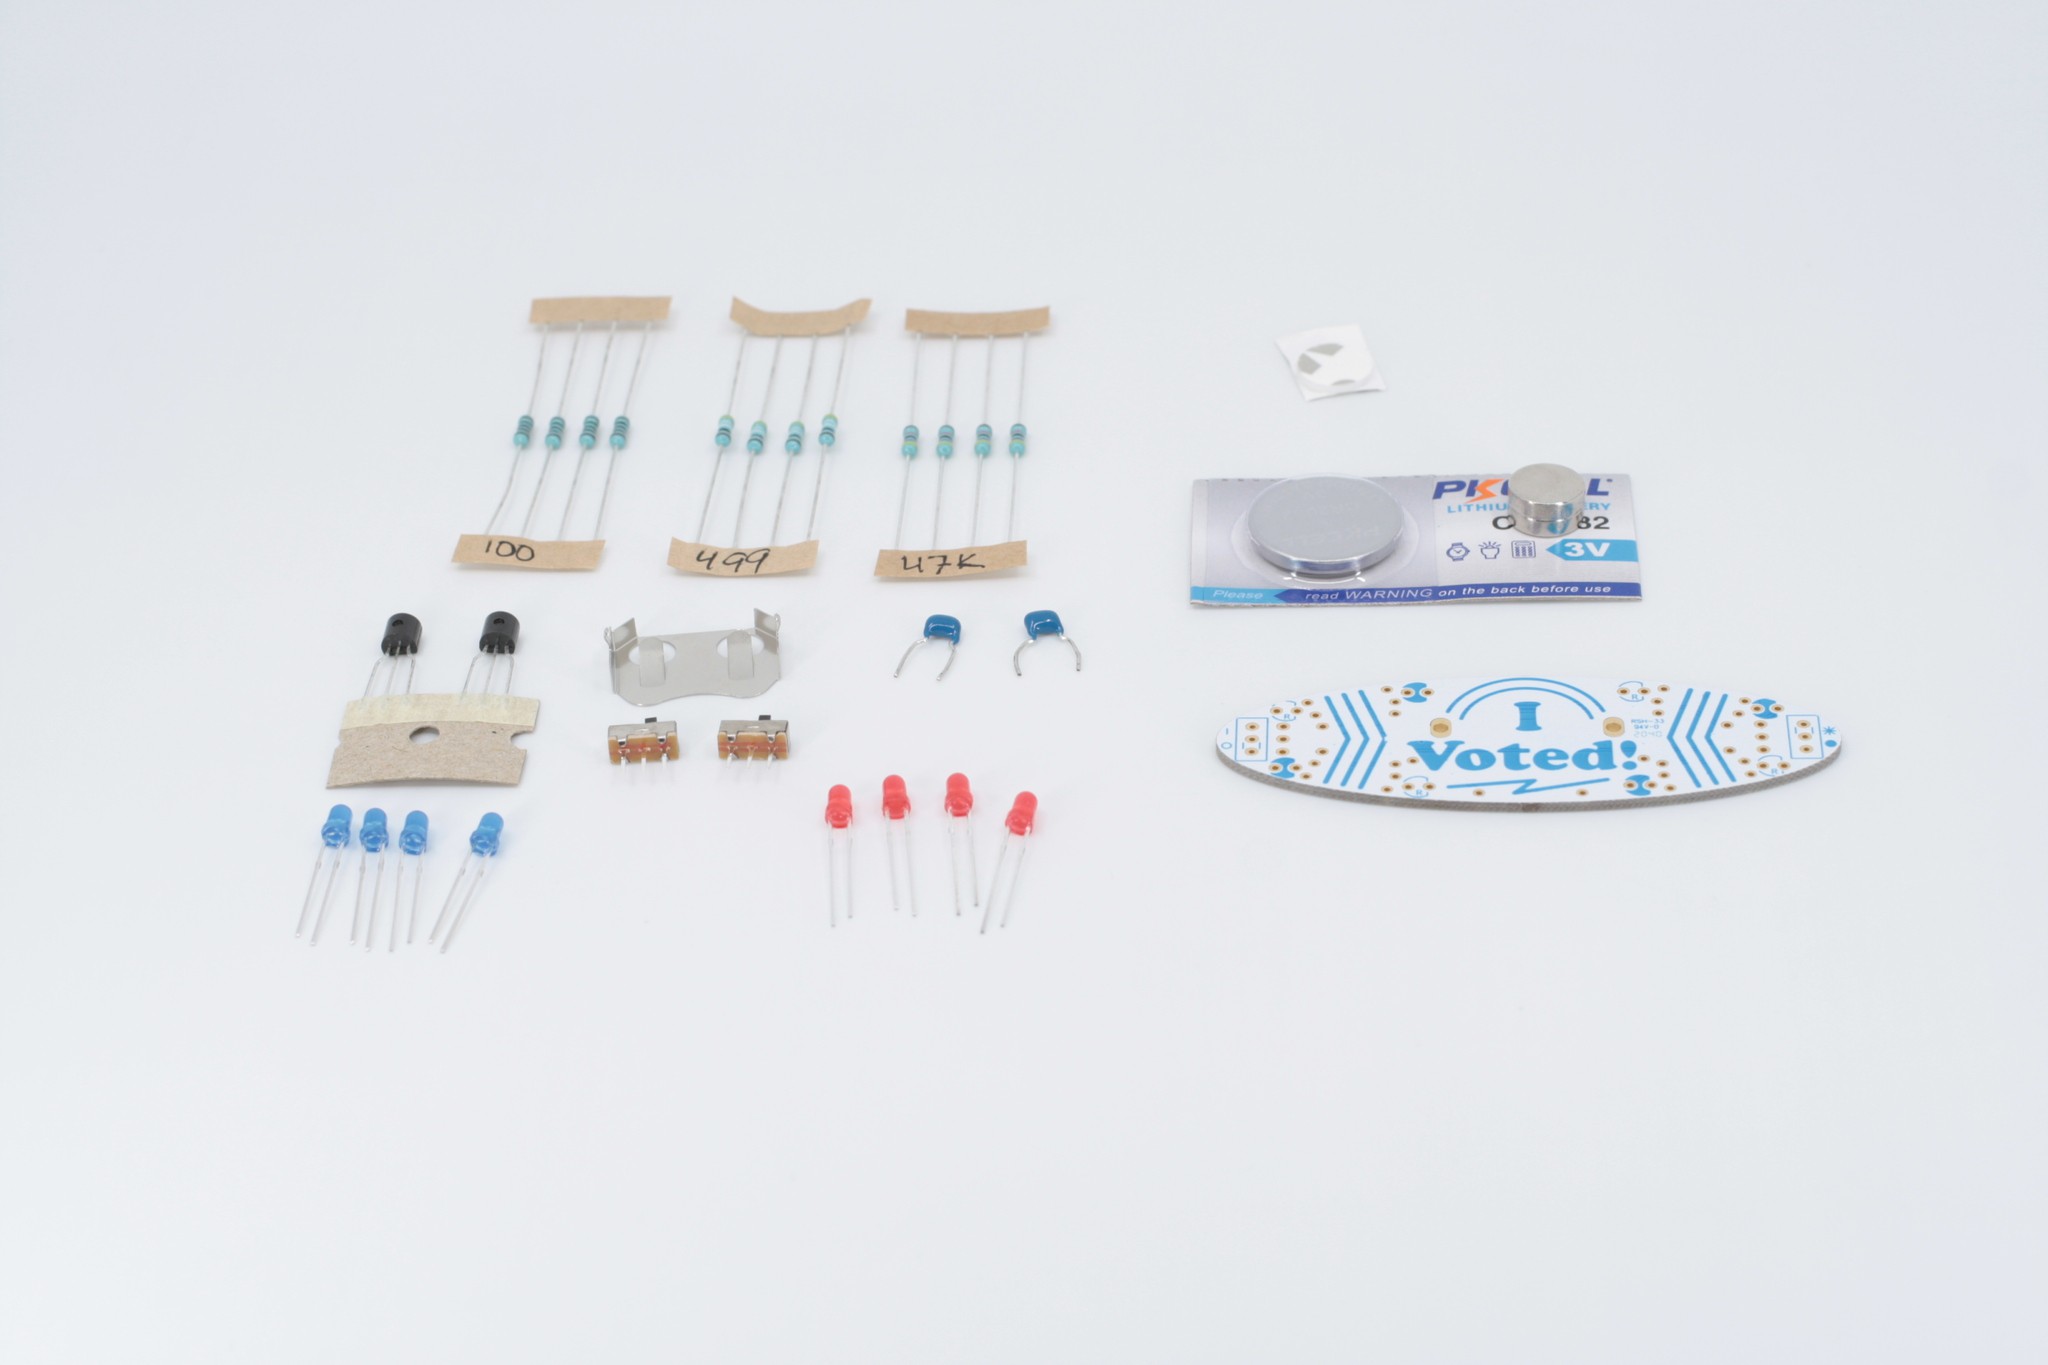
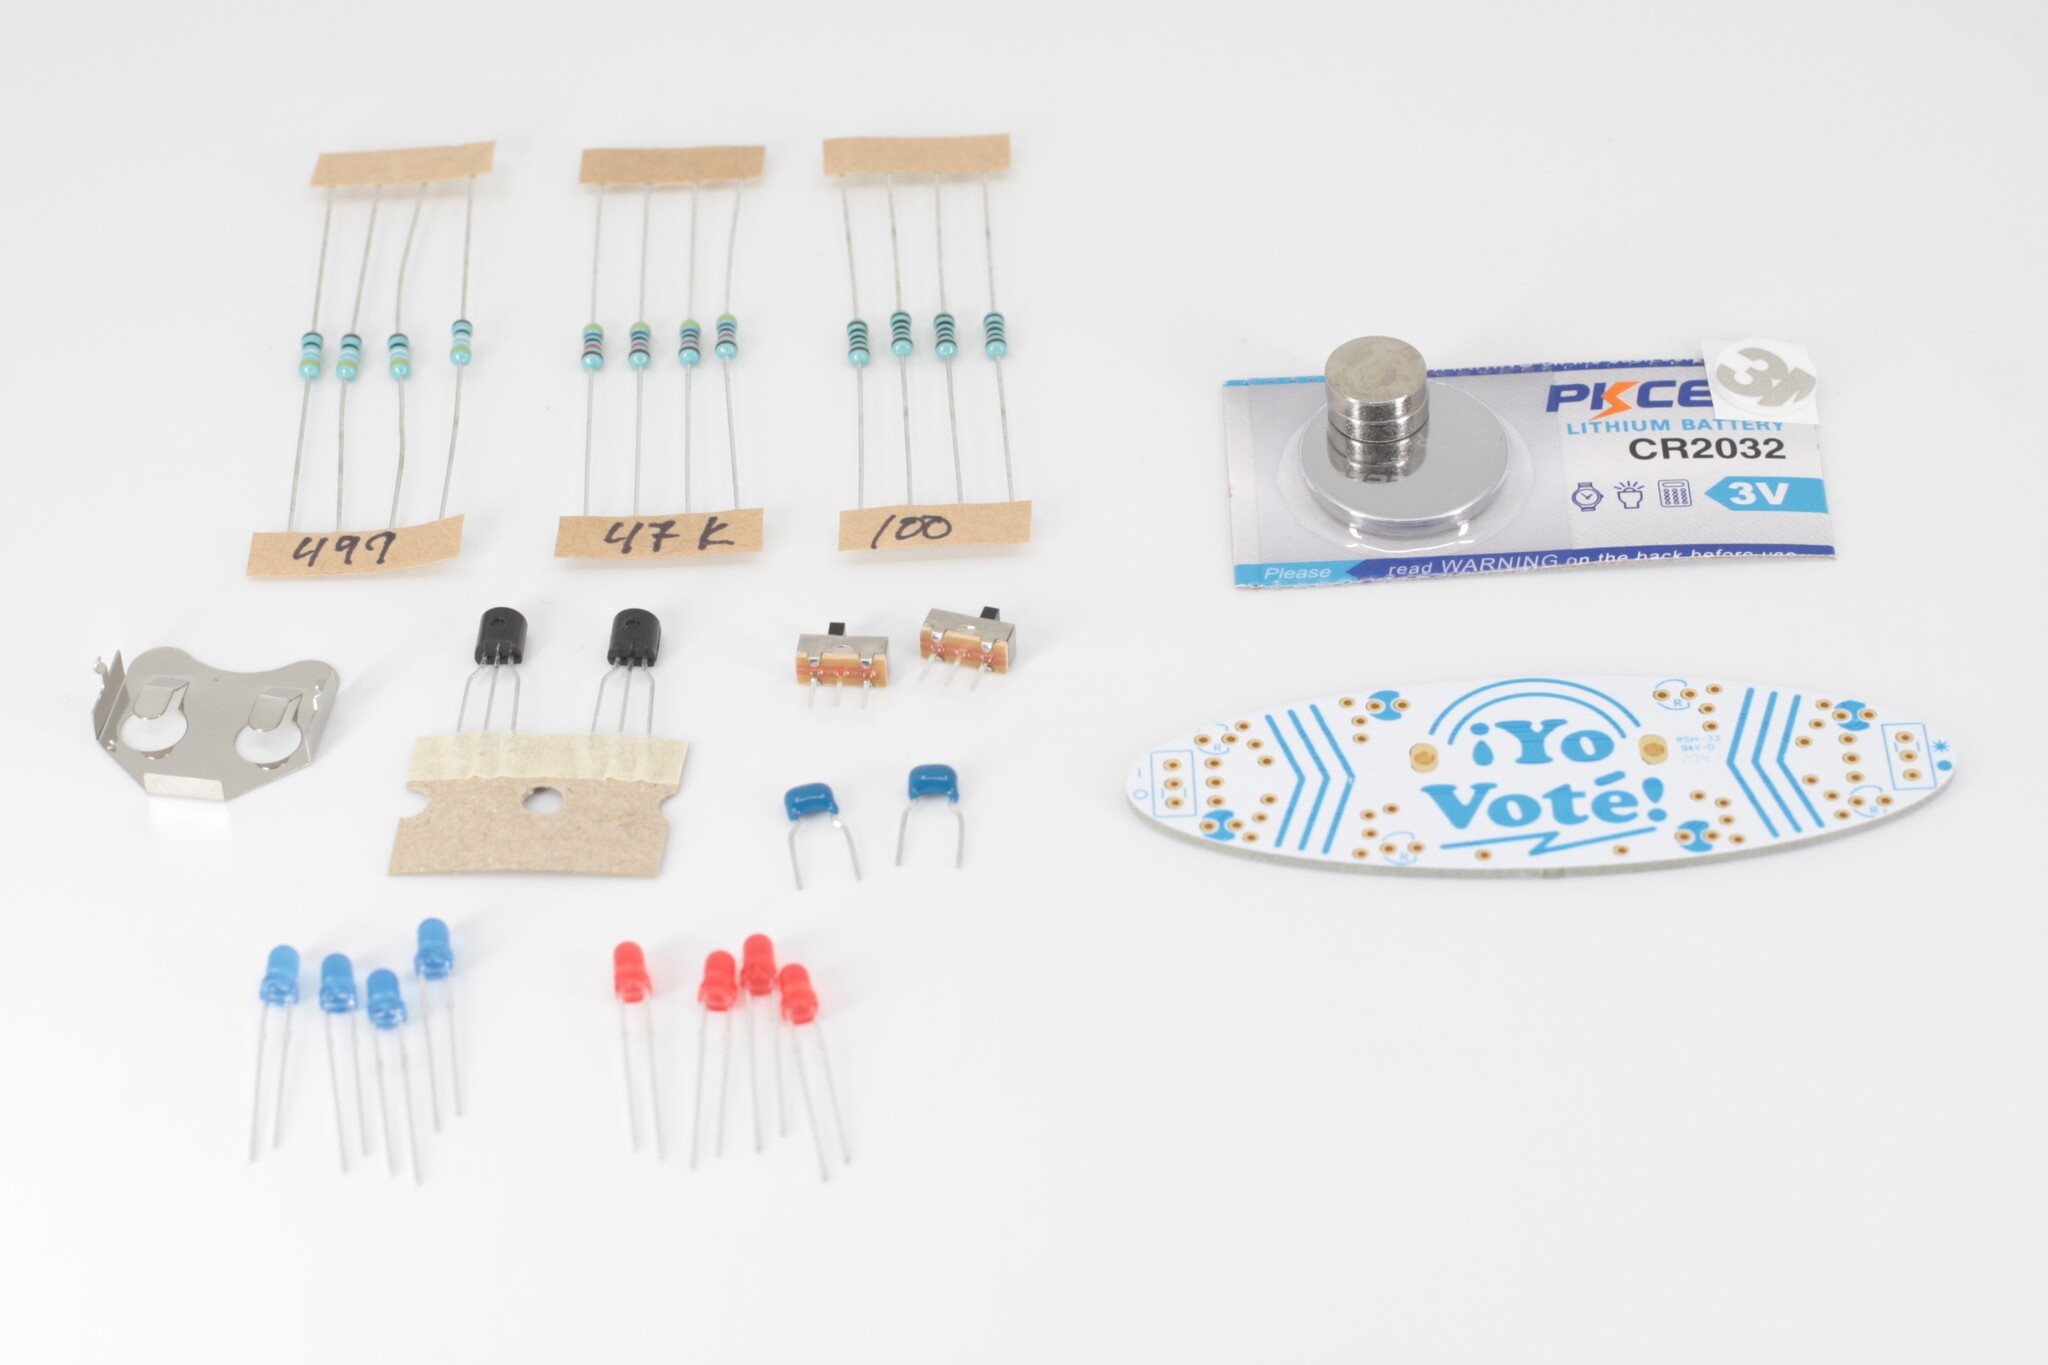
  • 4 × 100 ohm resistors
  • 4 × 499 ohm resistors
  • 4 × 47k ohm resistors
  • 2 × 10 uF ceramic capacitors
  • 2 × NPN transistors

View all 12 components

  • 1
    Unpack Your Kit

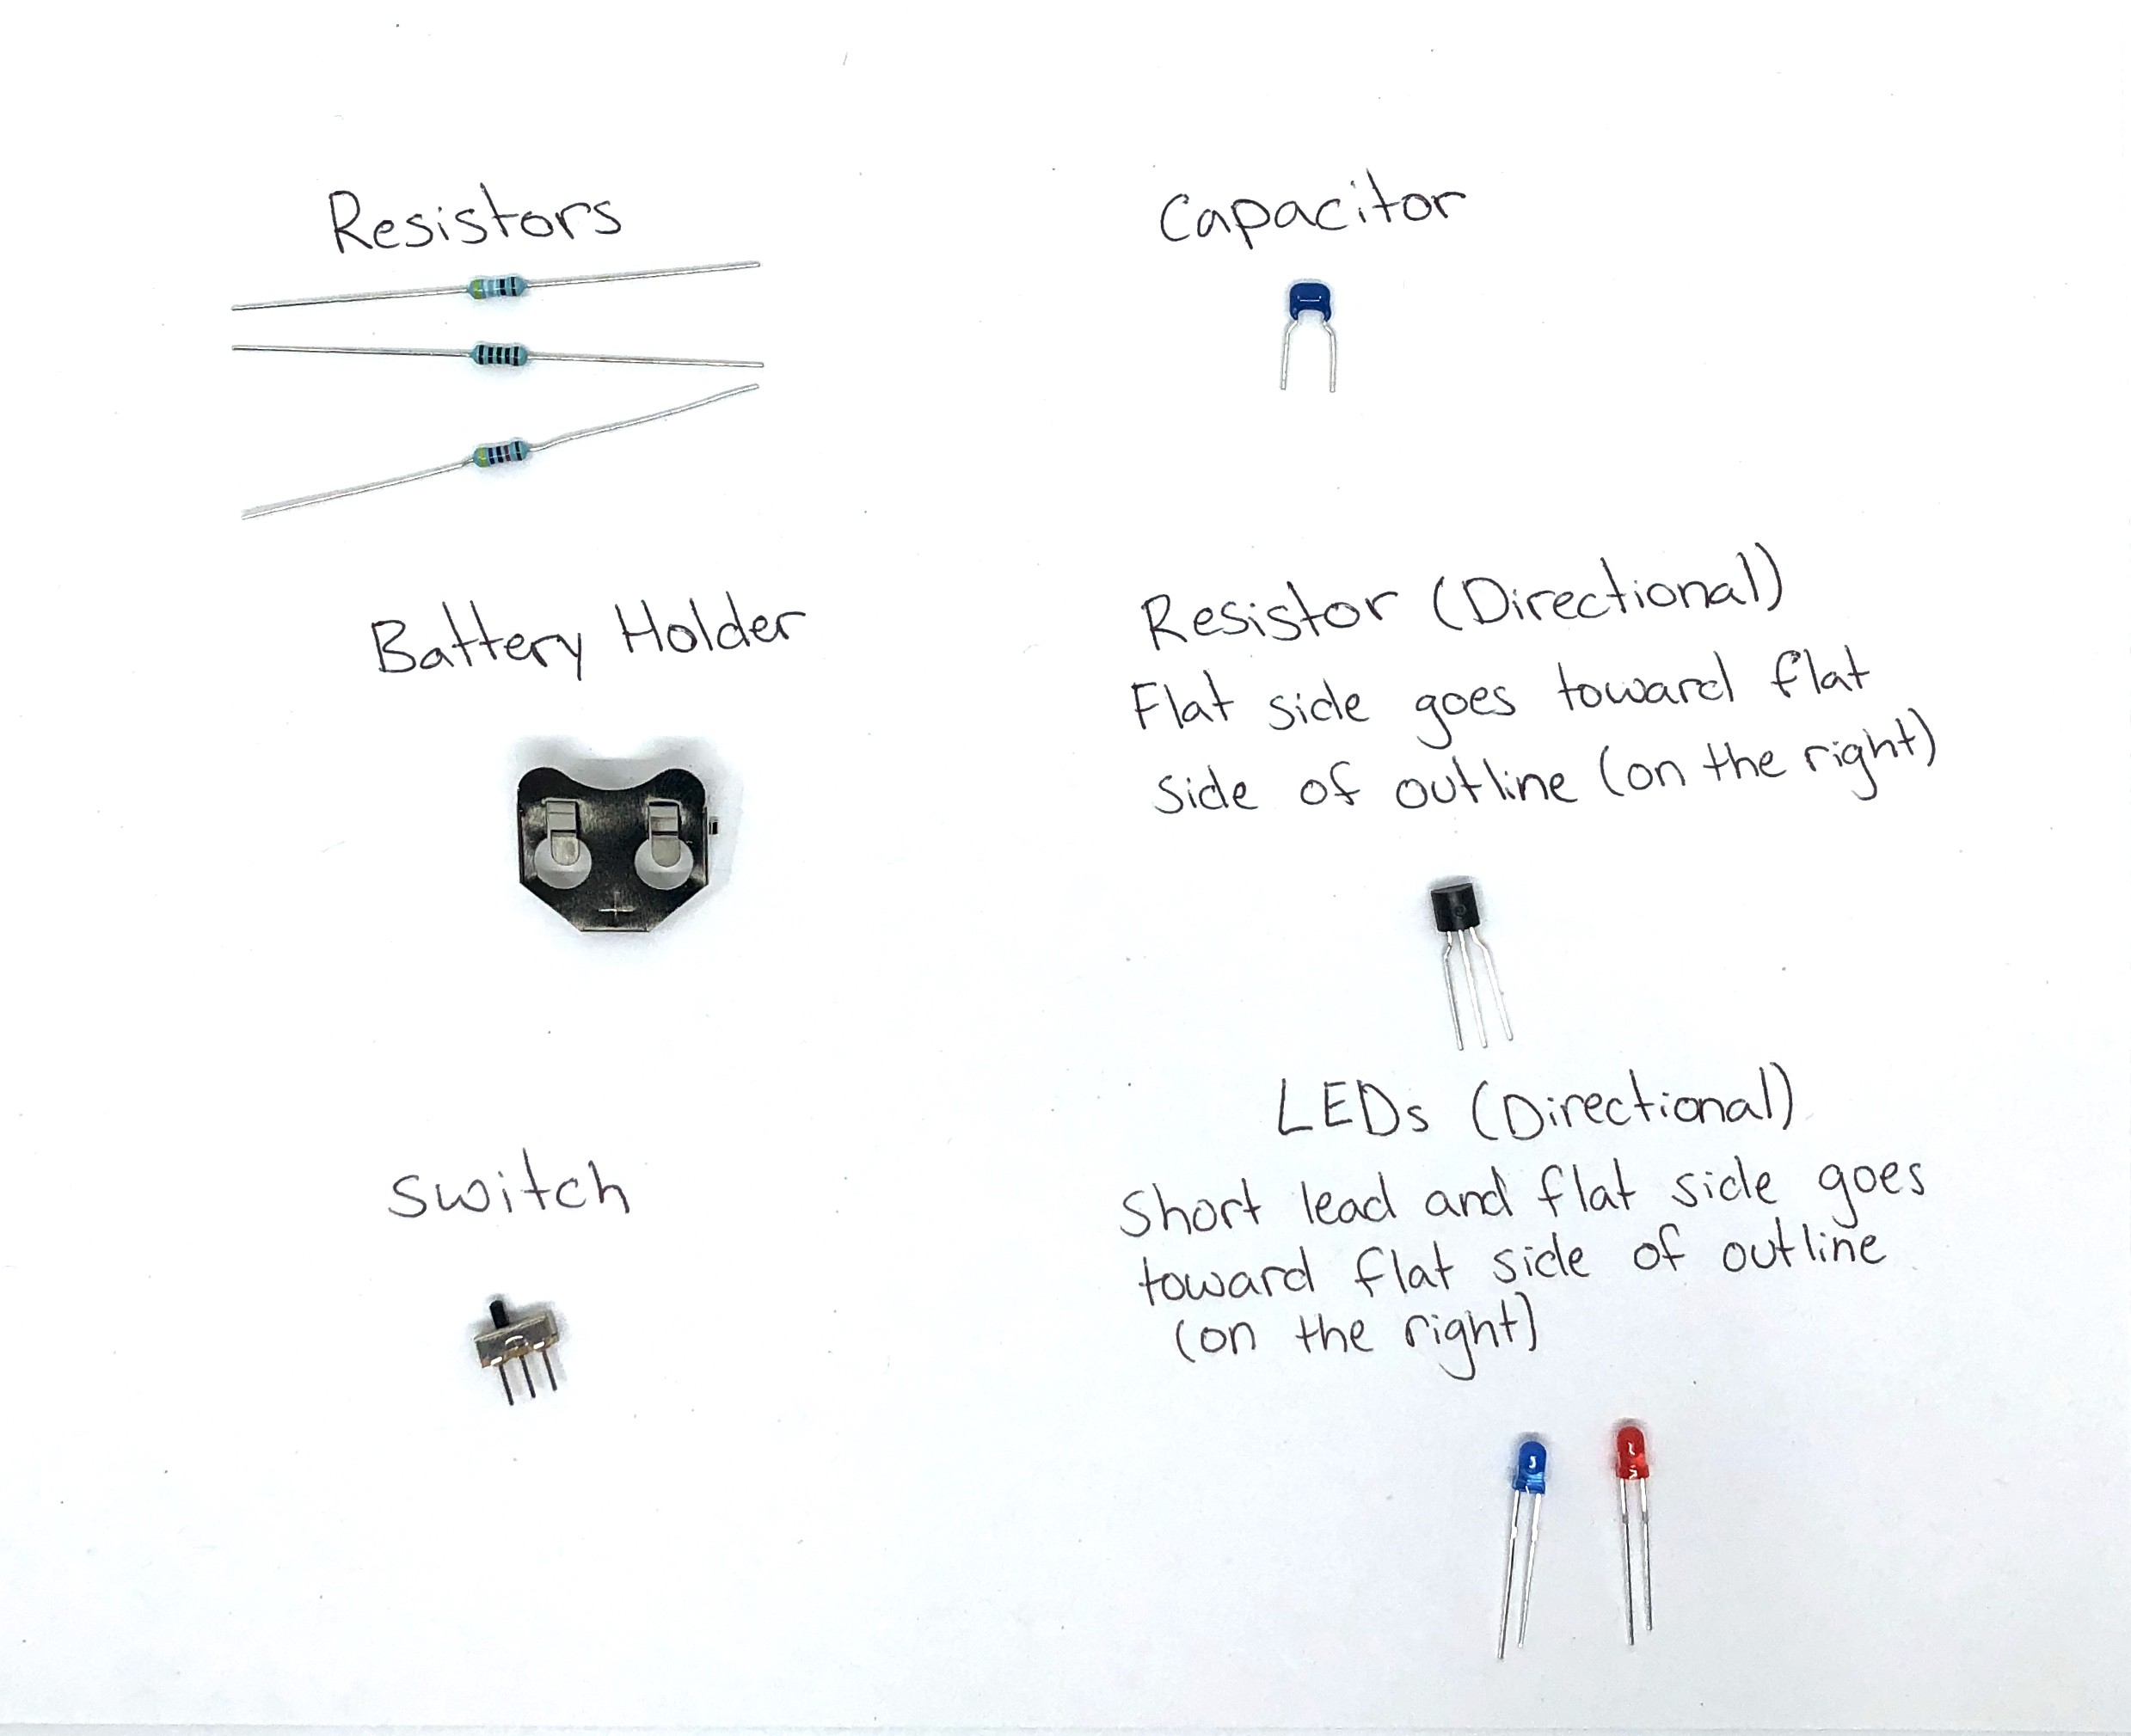
    These are what the components are called:

  • 2
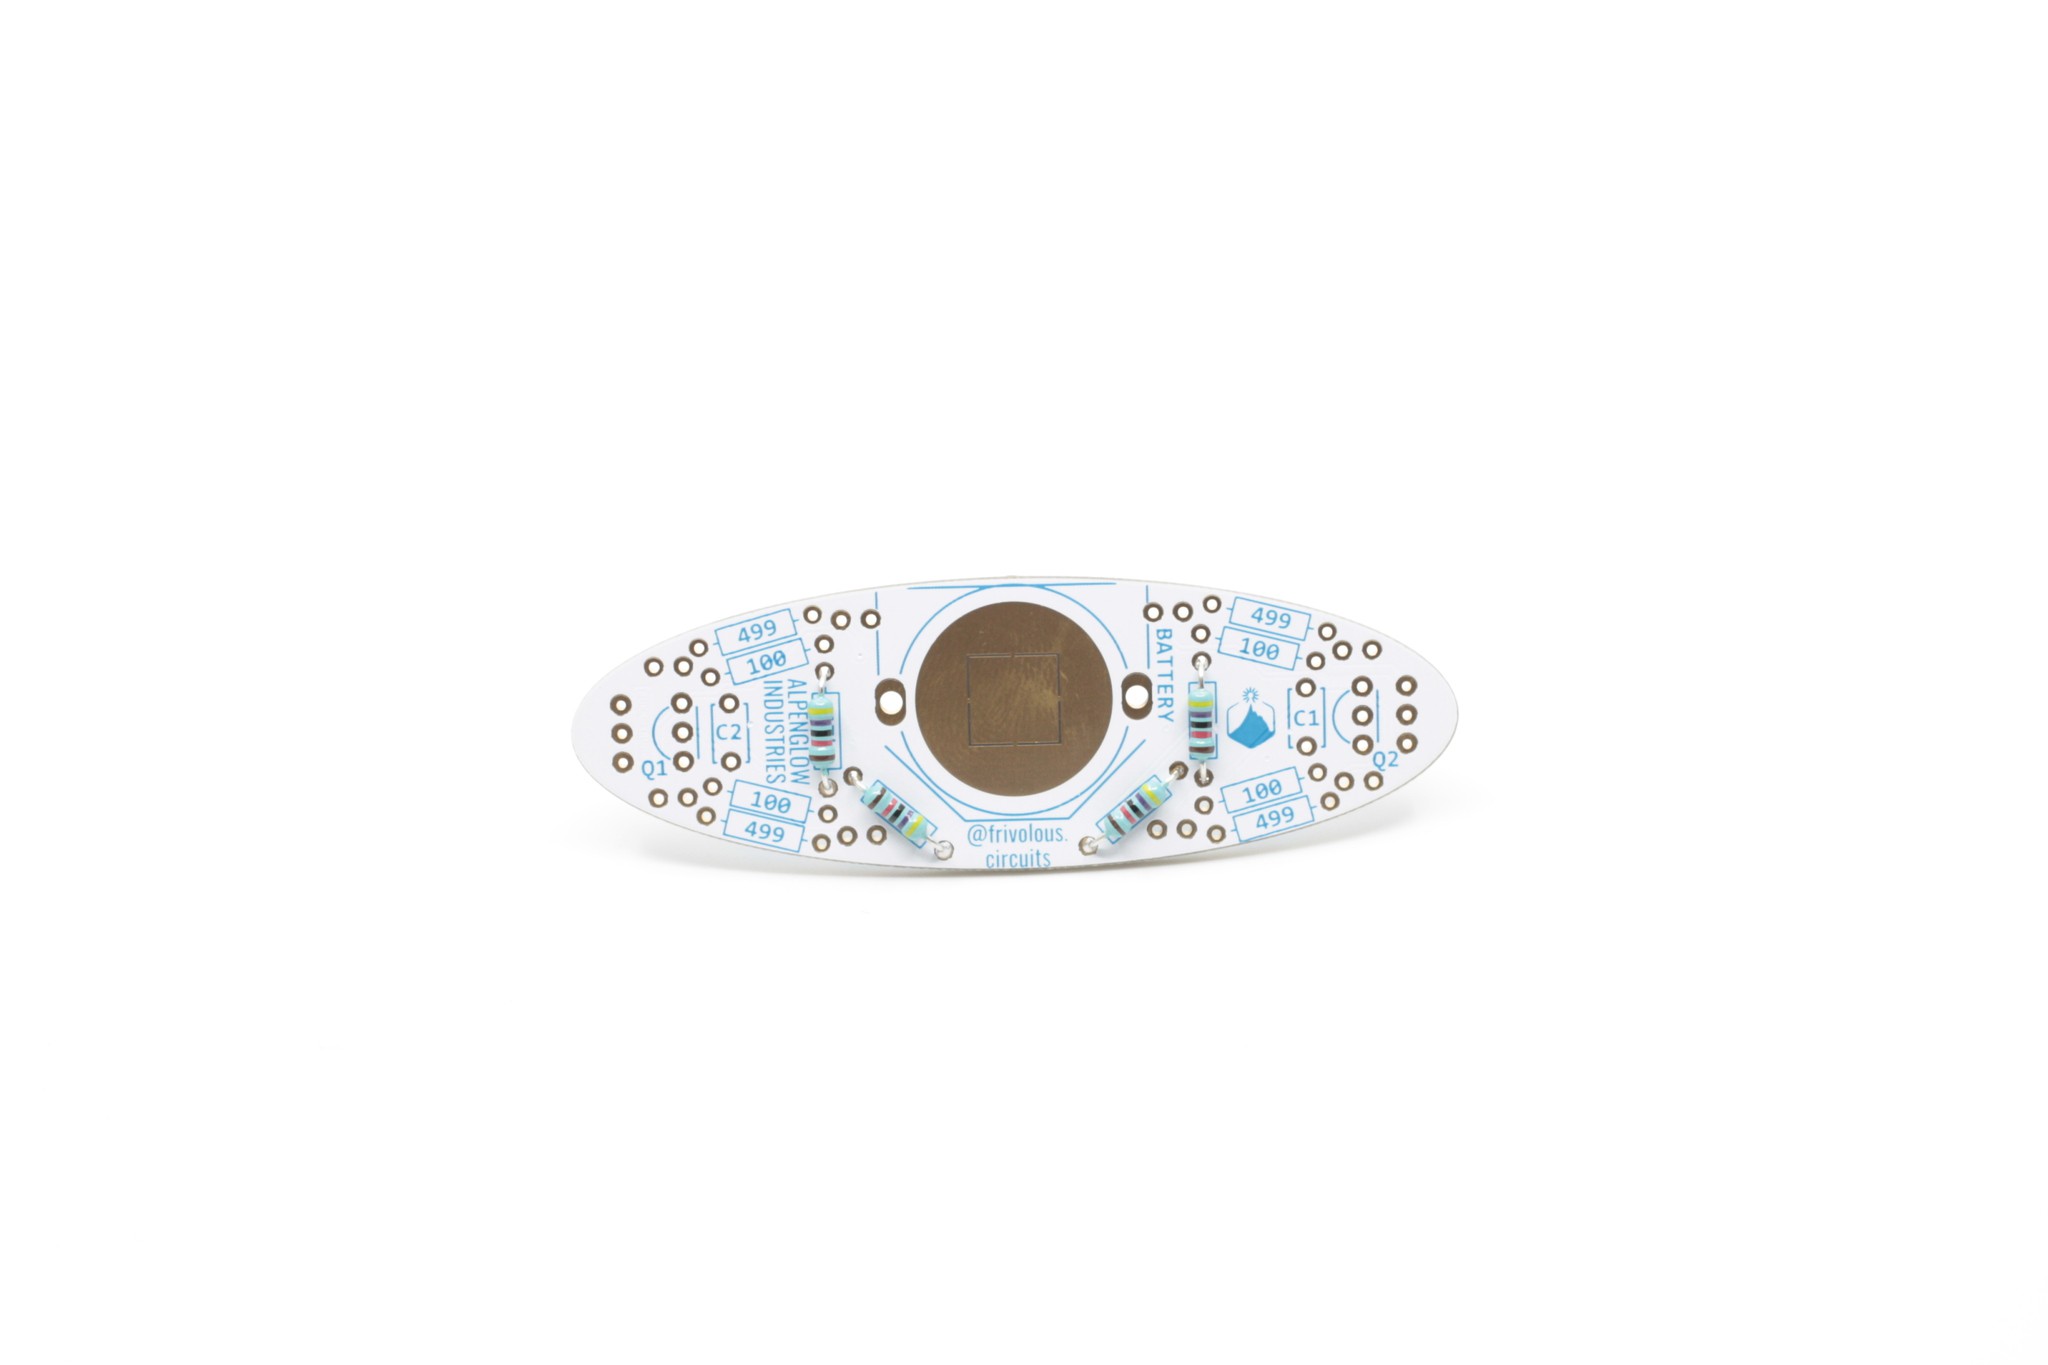
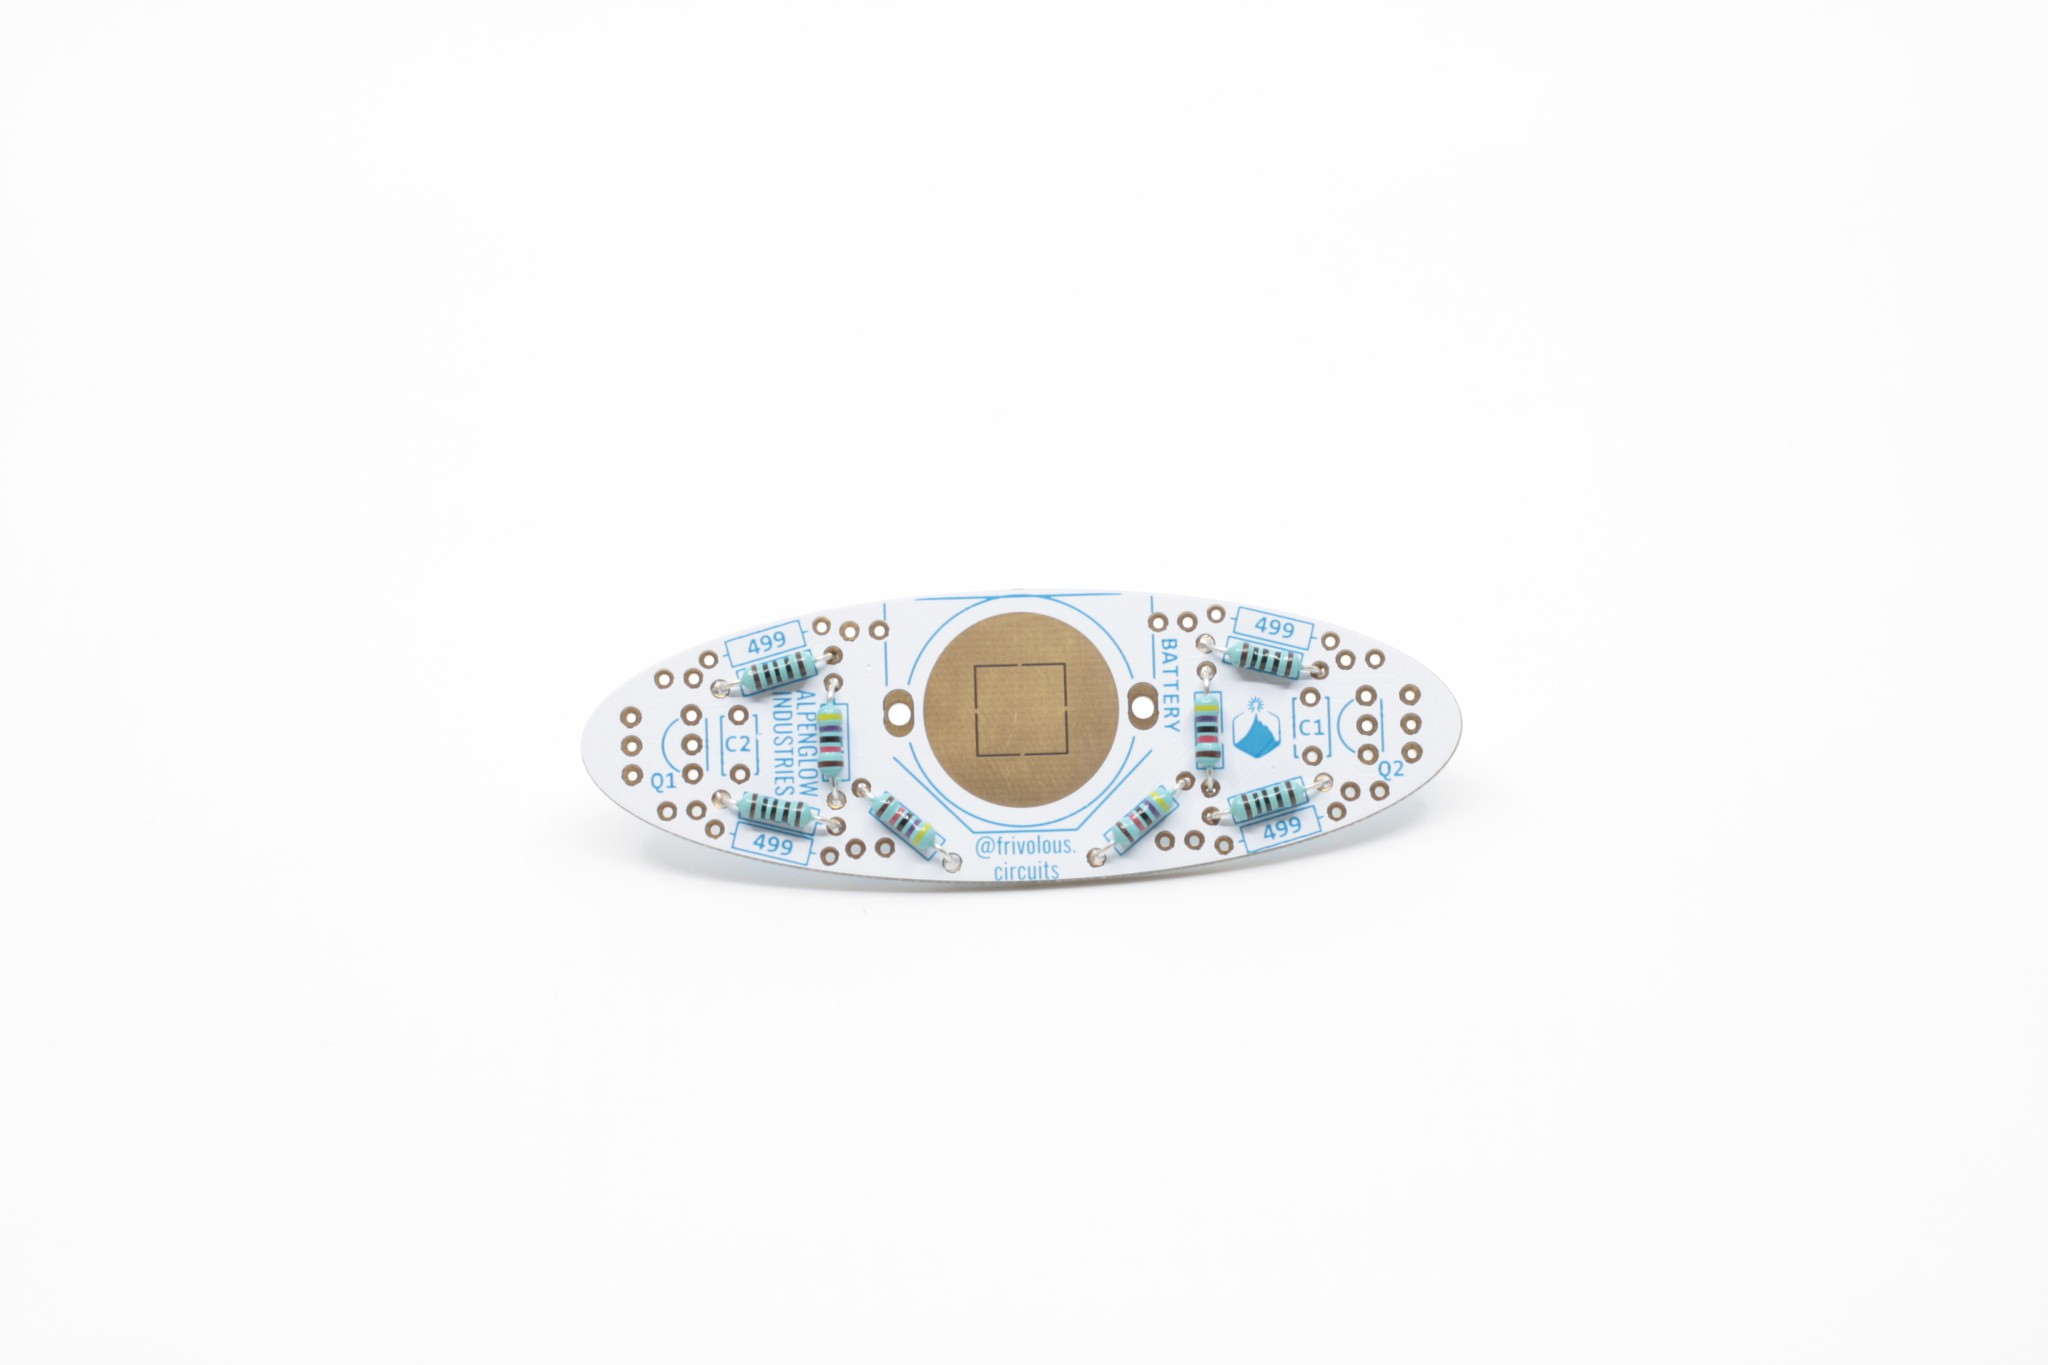
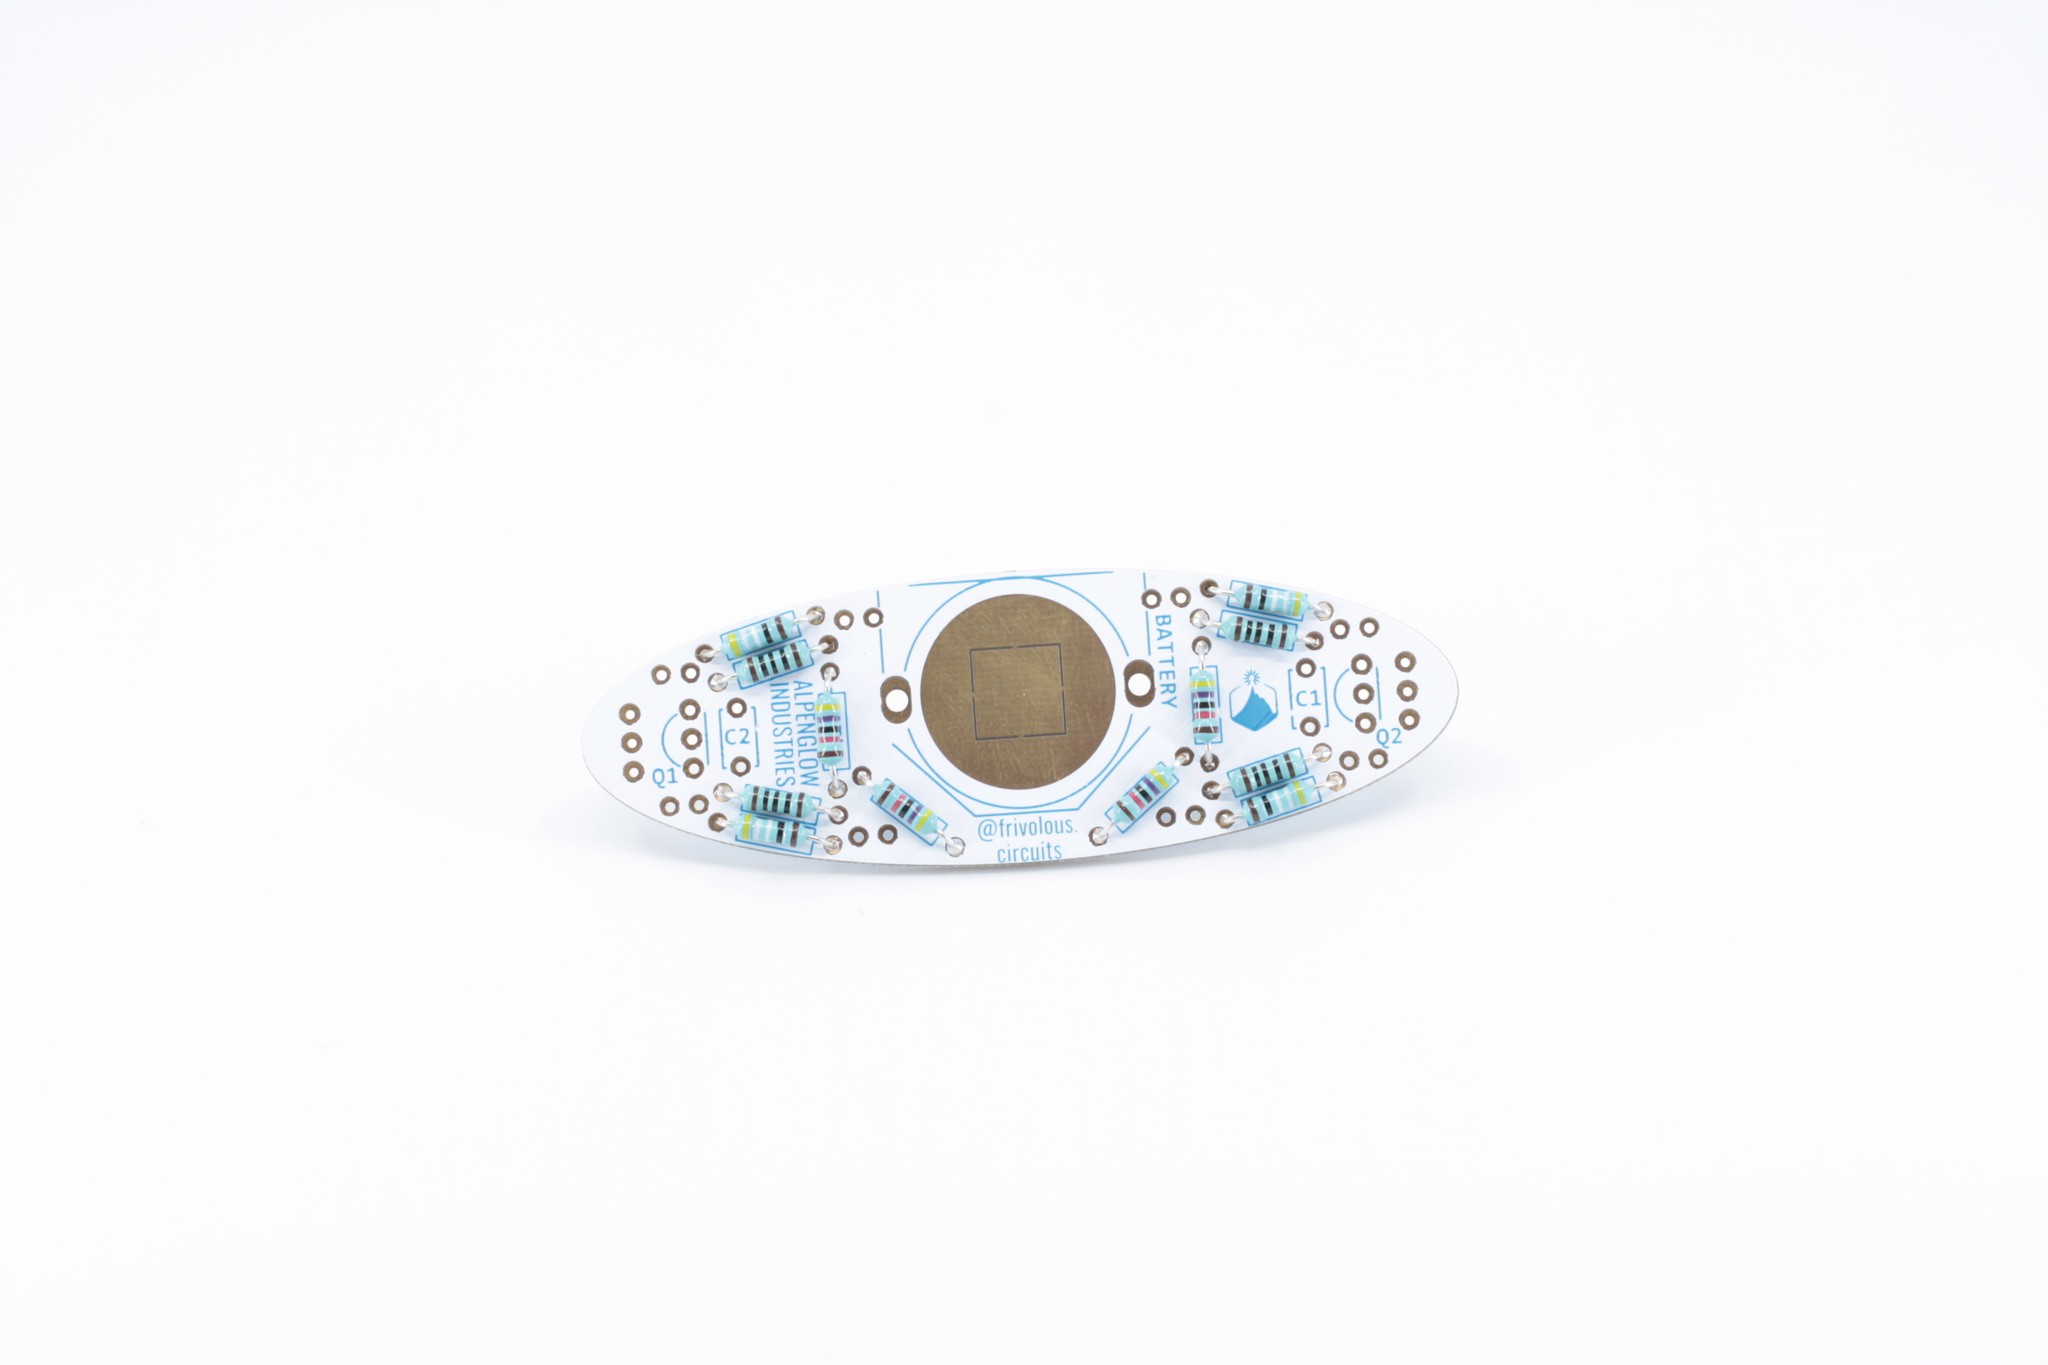
    Solder Resistors

    Note: Start inward and work out. 47k, 100, 499

  • 3
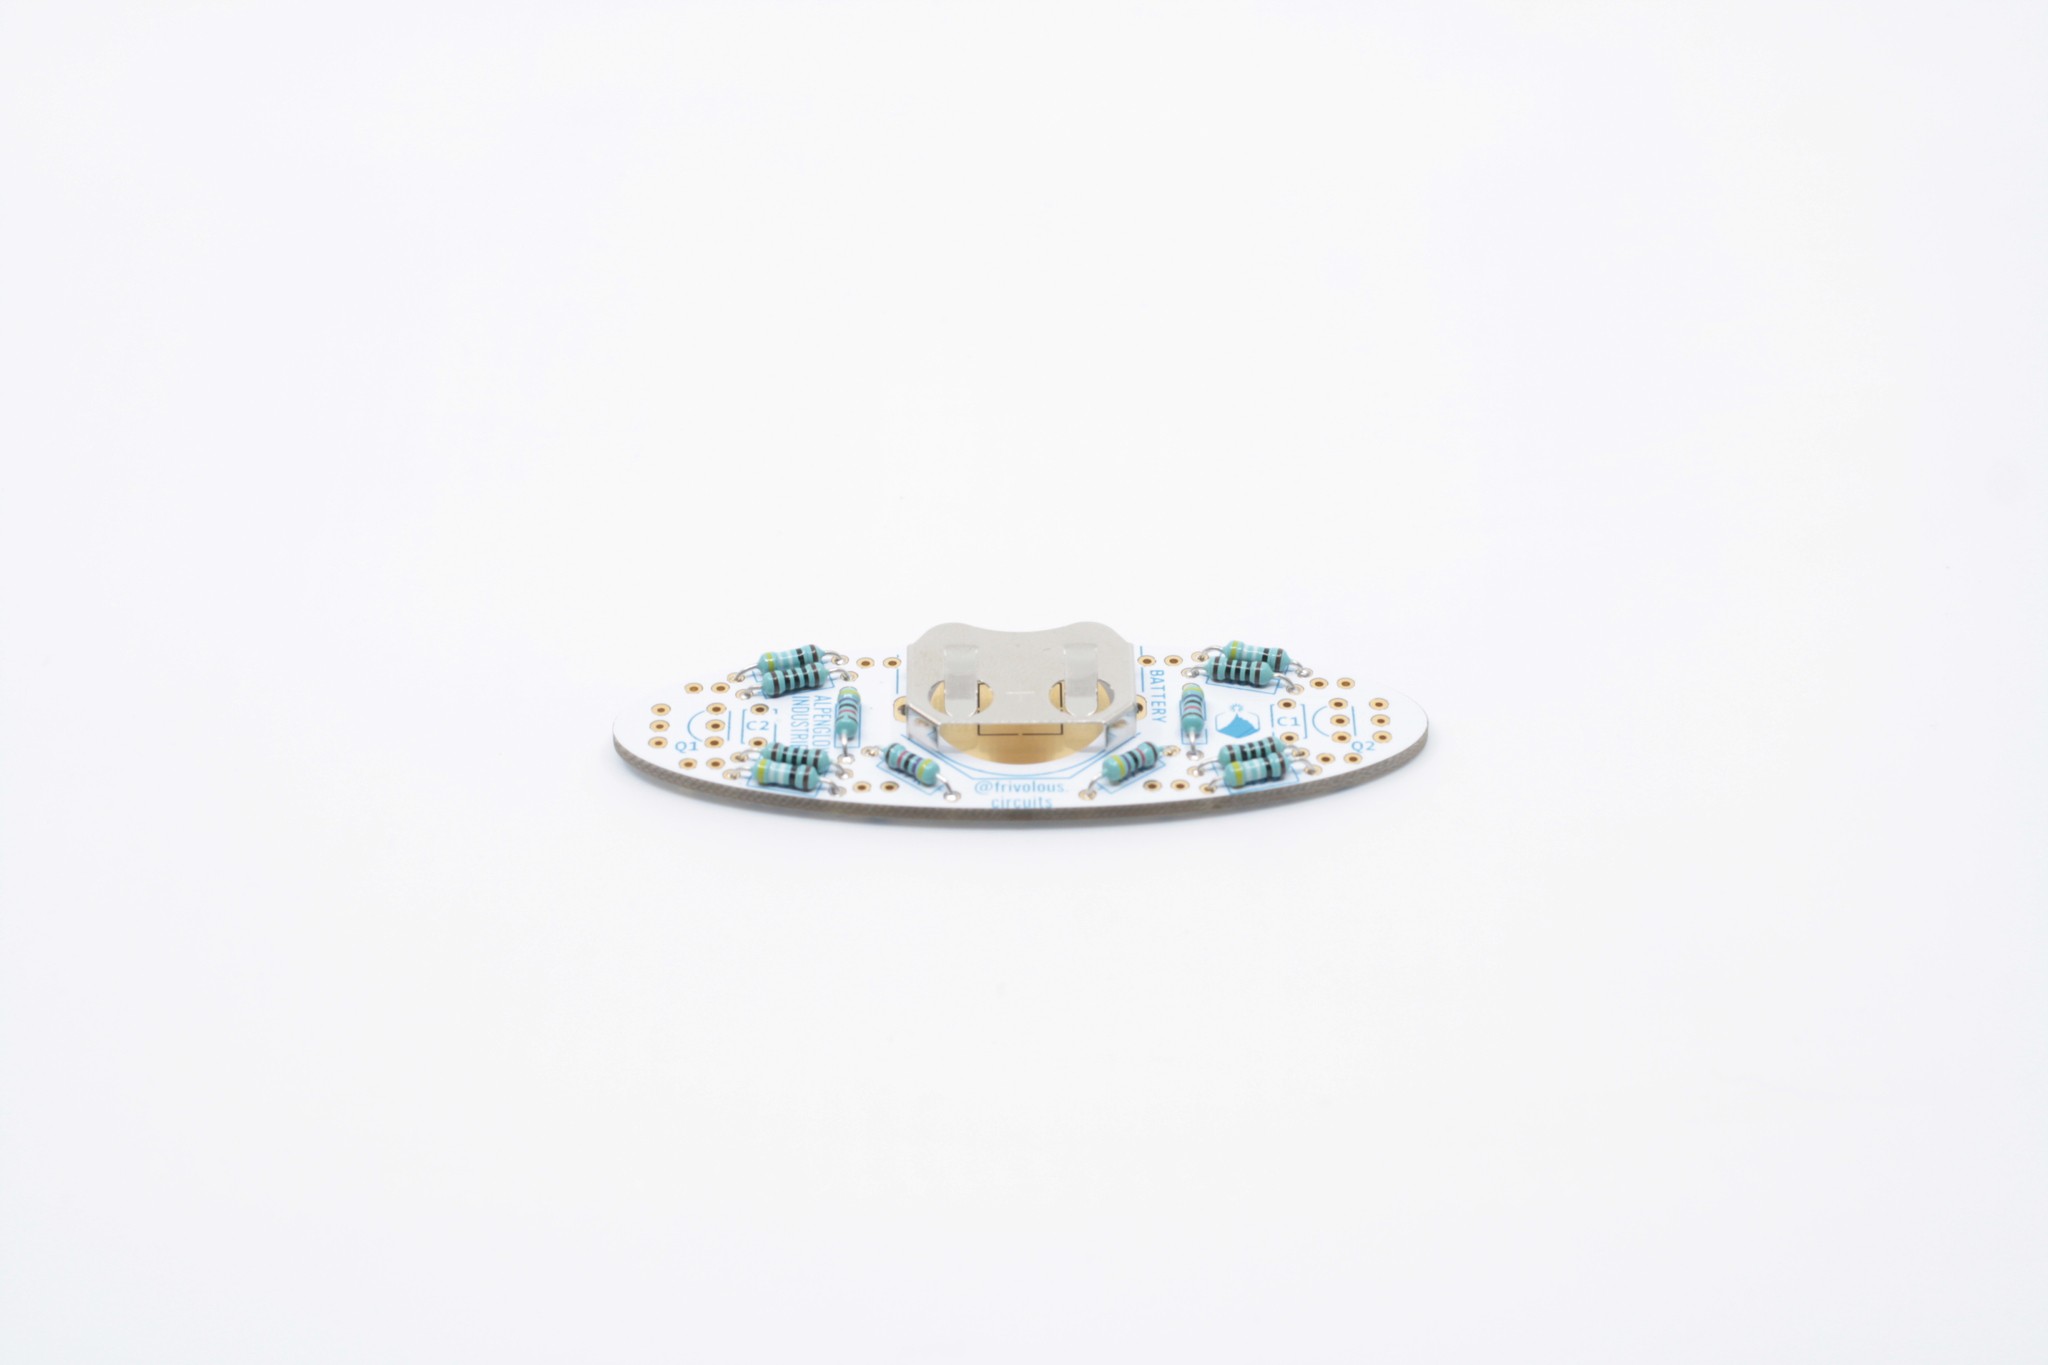
    Solder Battery Holder

View all 9 instructions

Enjoy this project?

Share

Discussions

Similar Projects

Does this project spark your interest?

Become a member to follow this project and never miss any updates