 Edward C. Deaver, IV
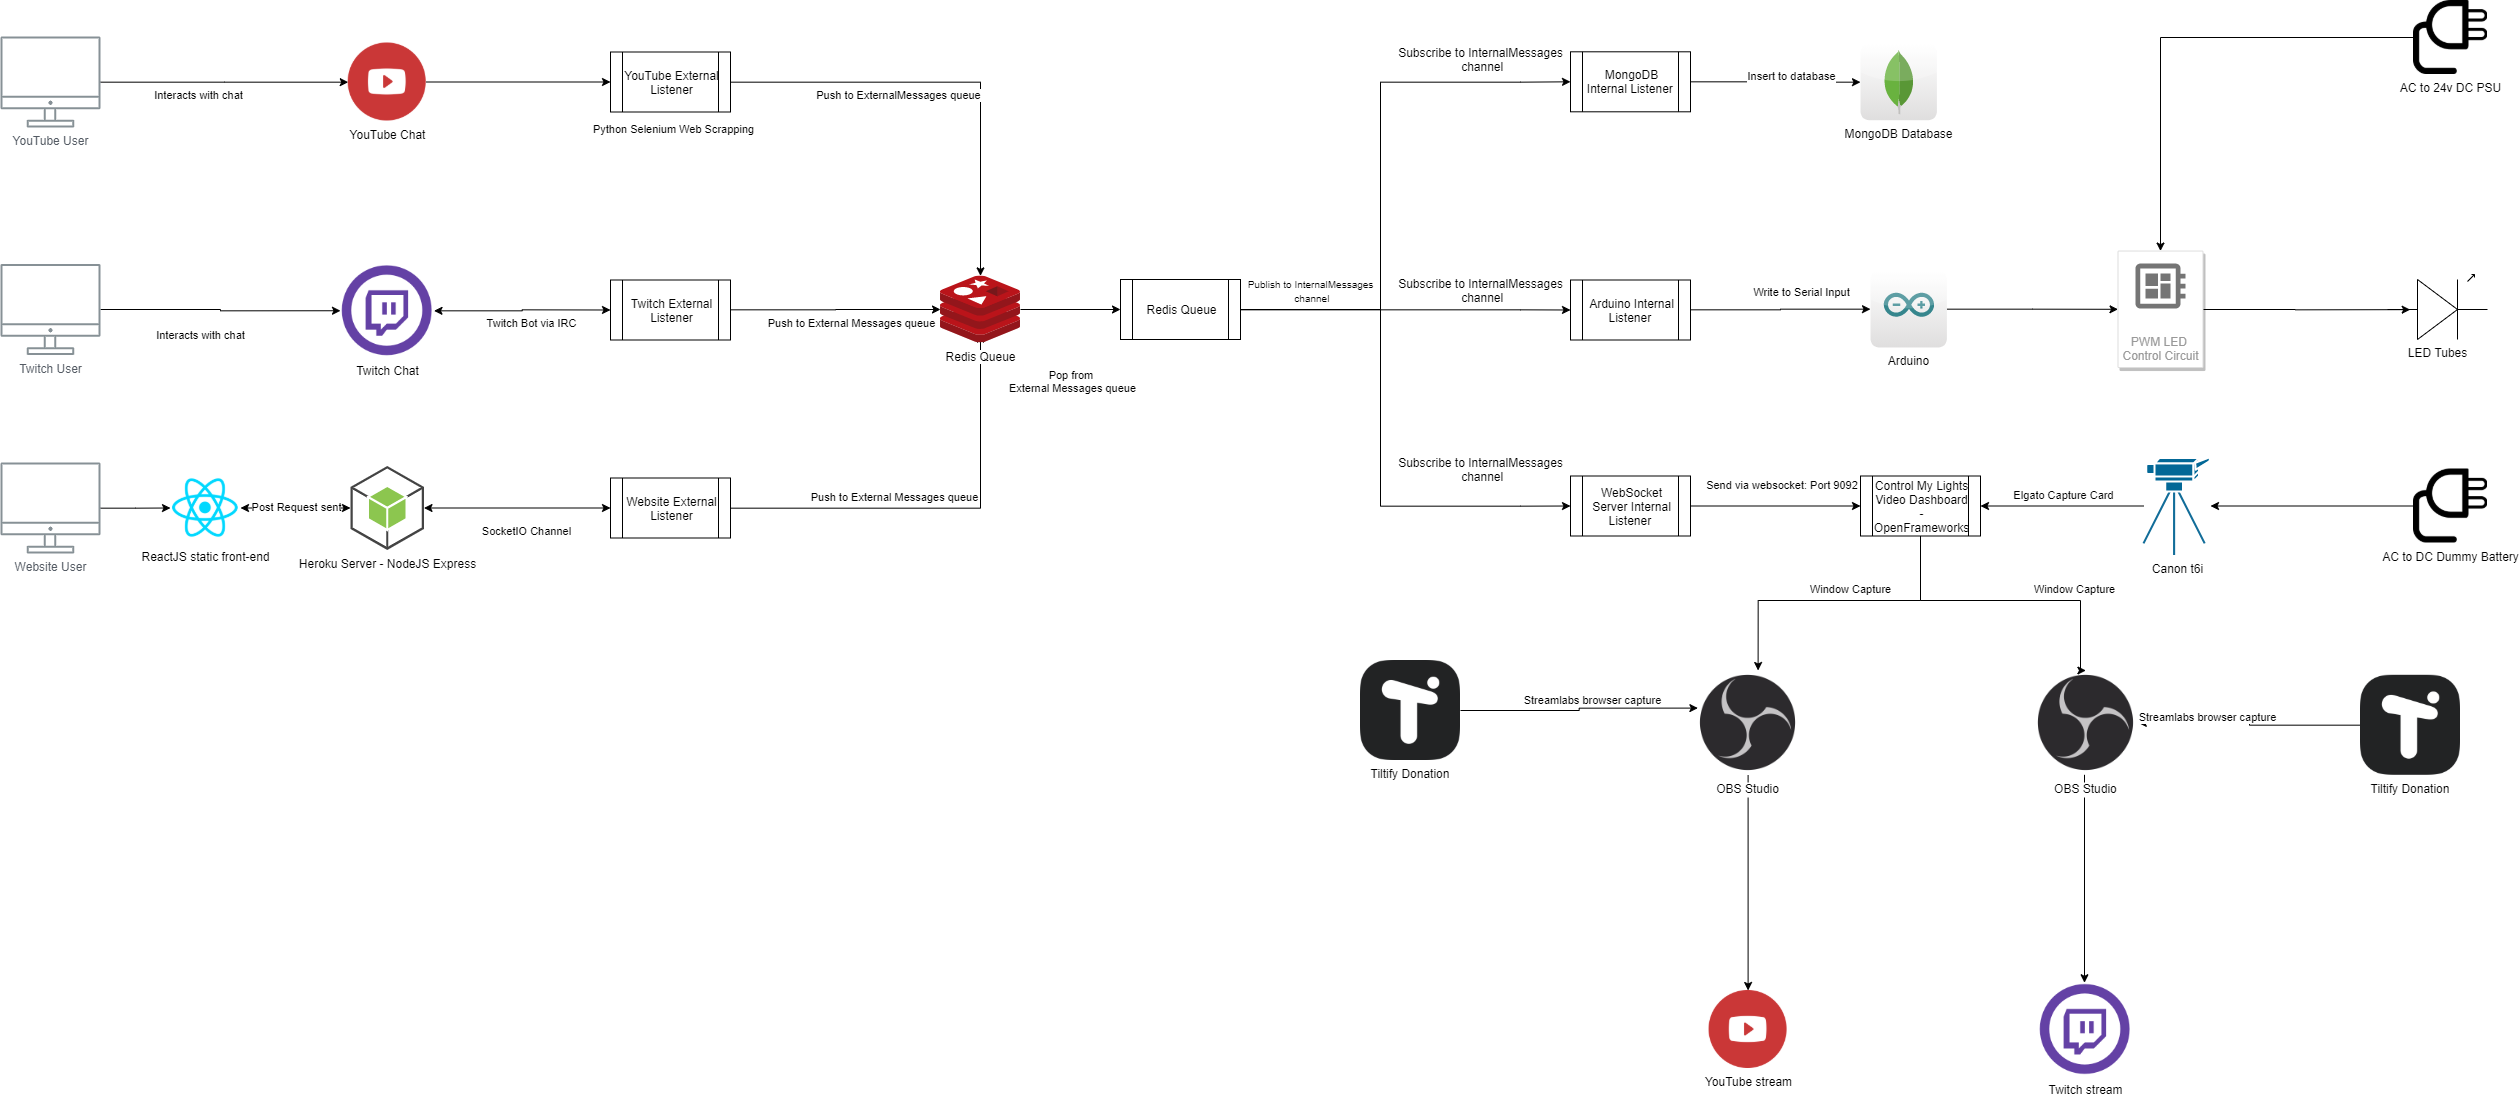
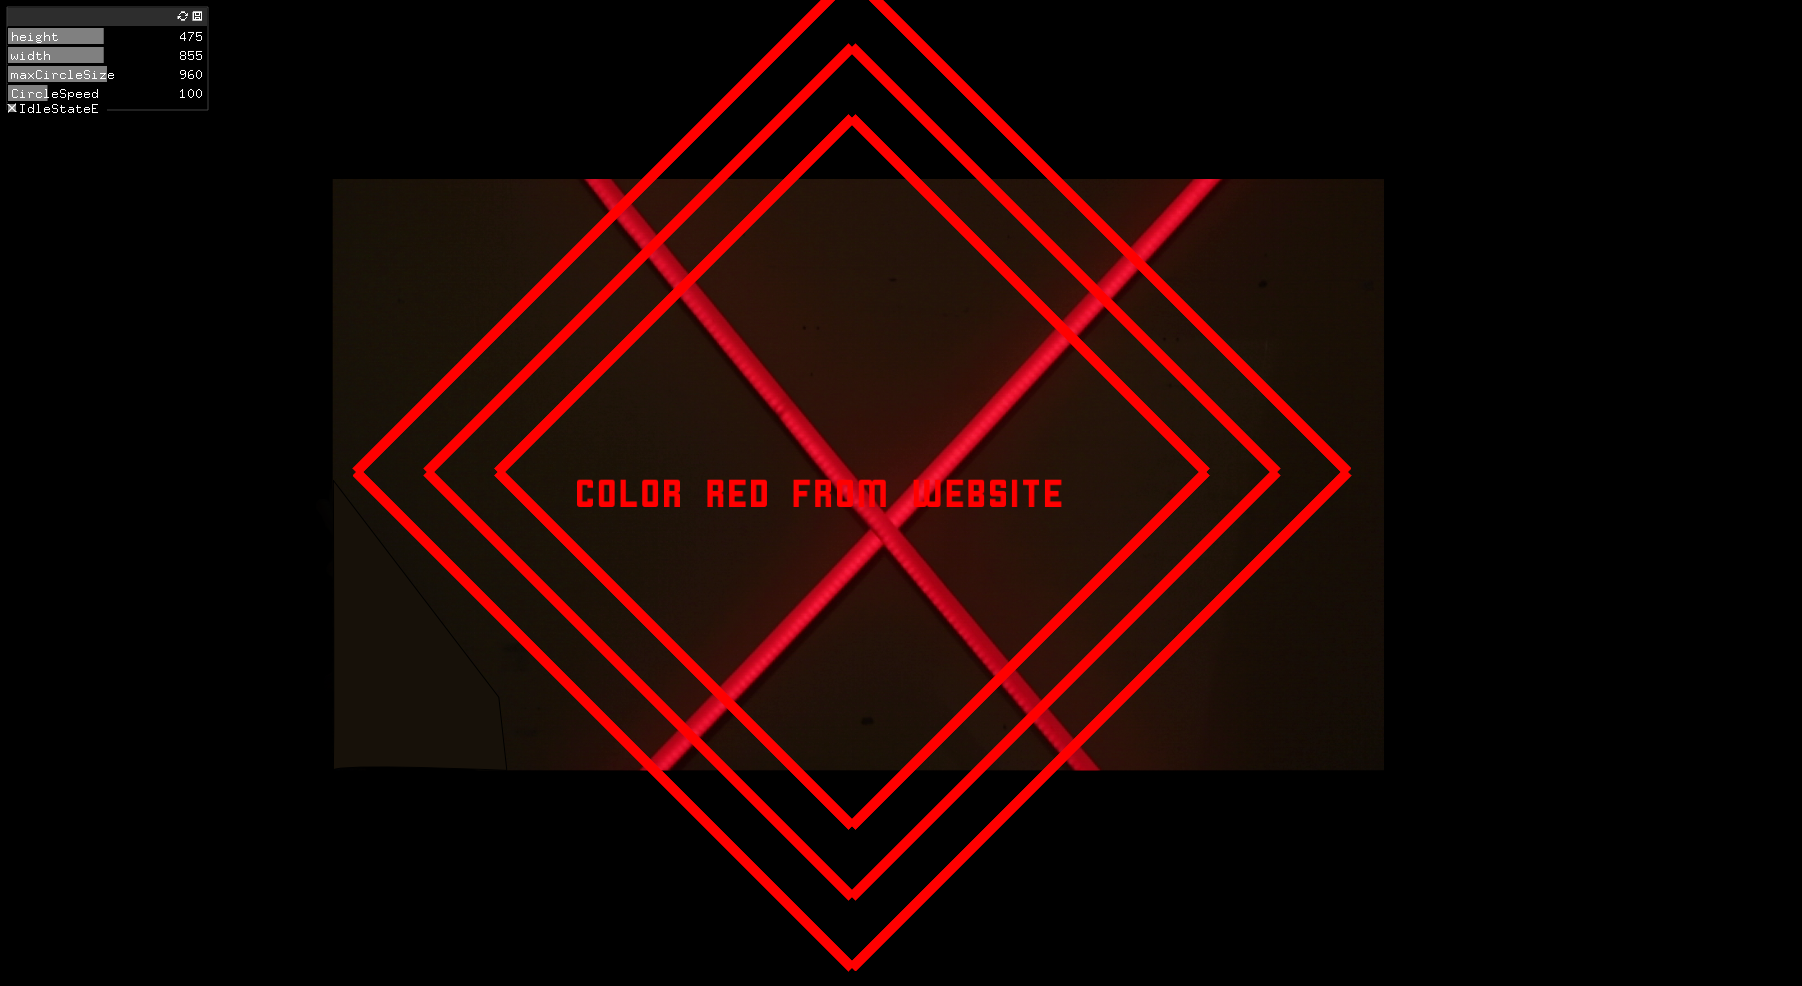
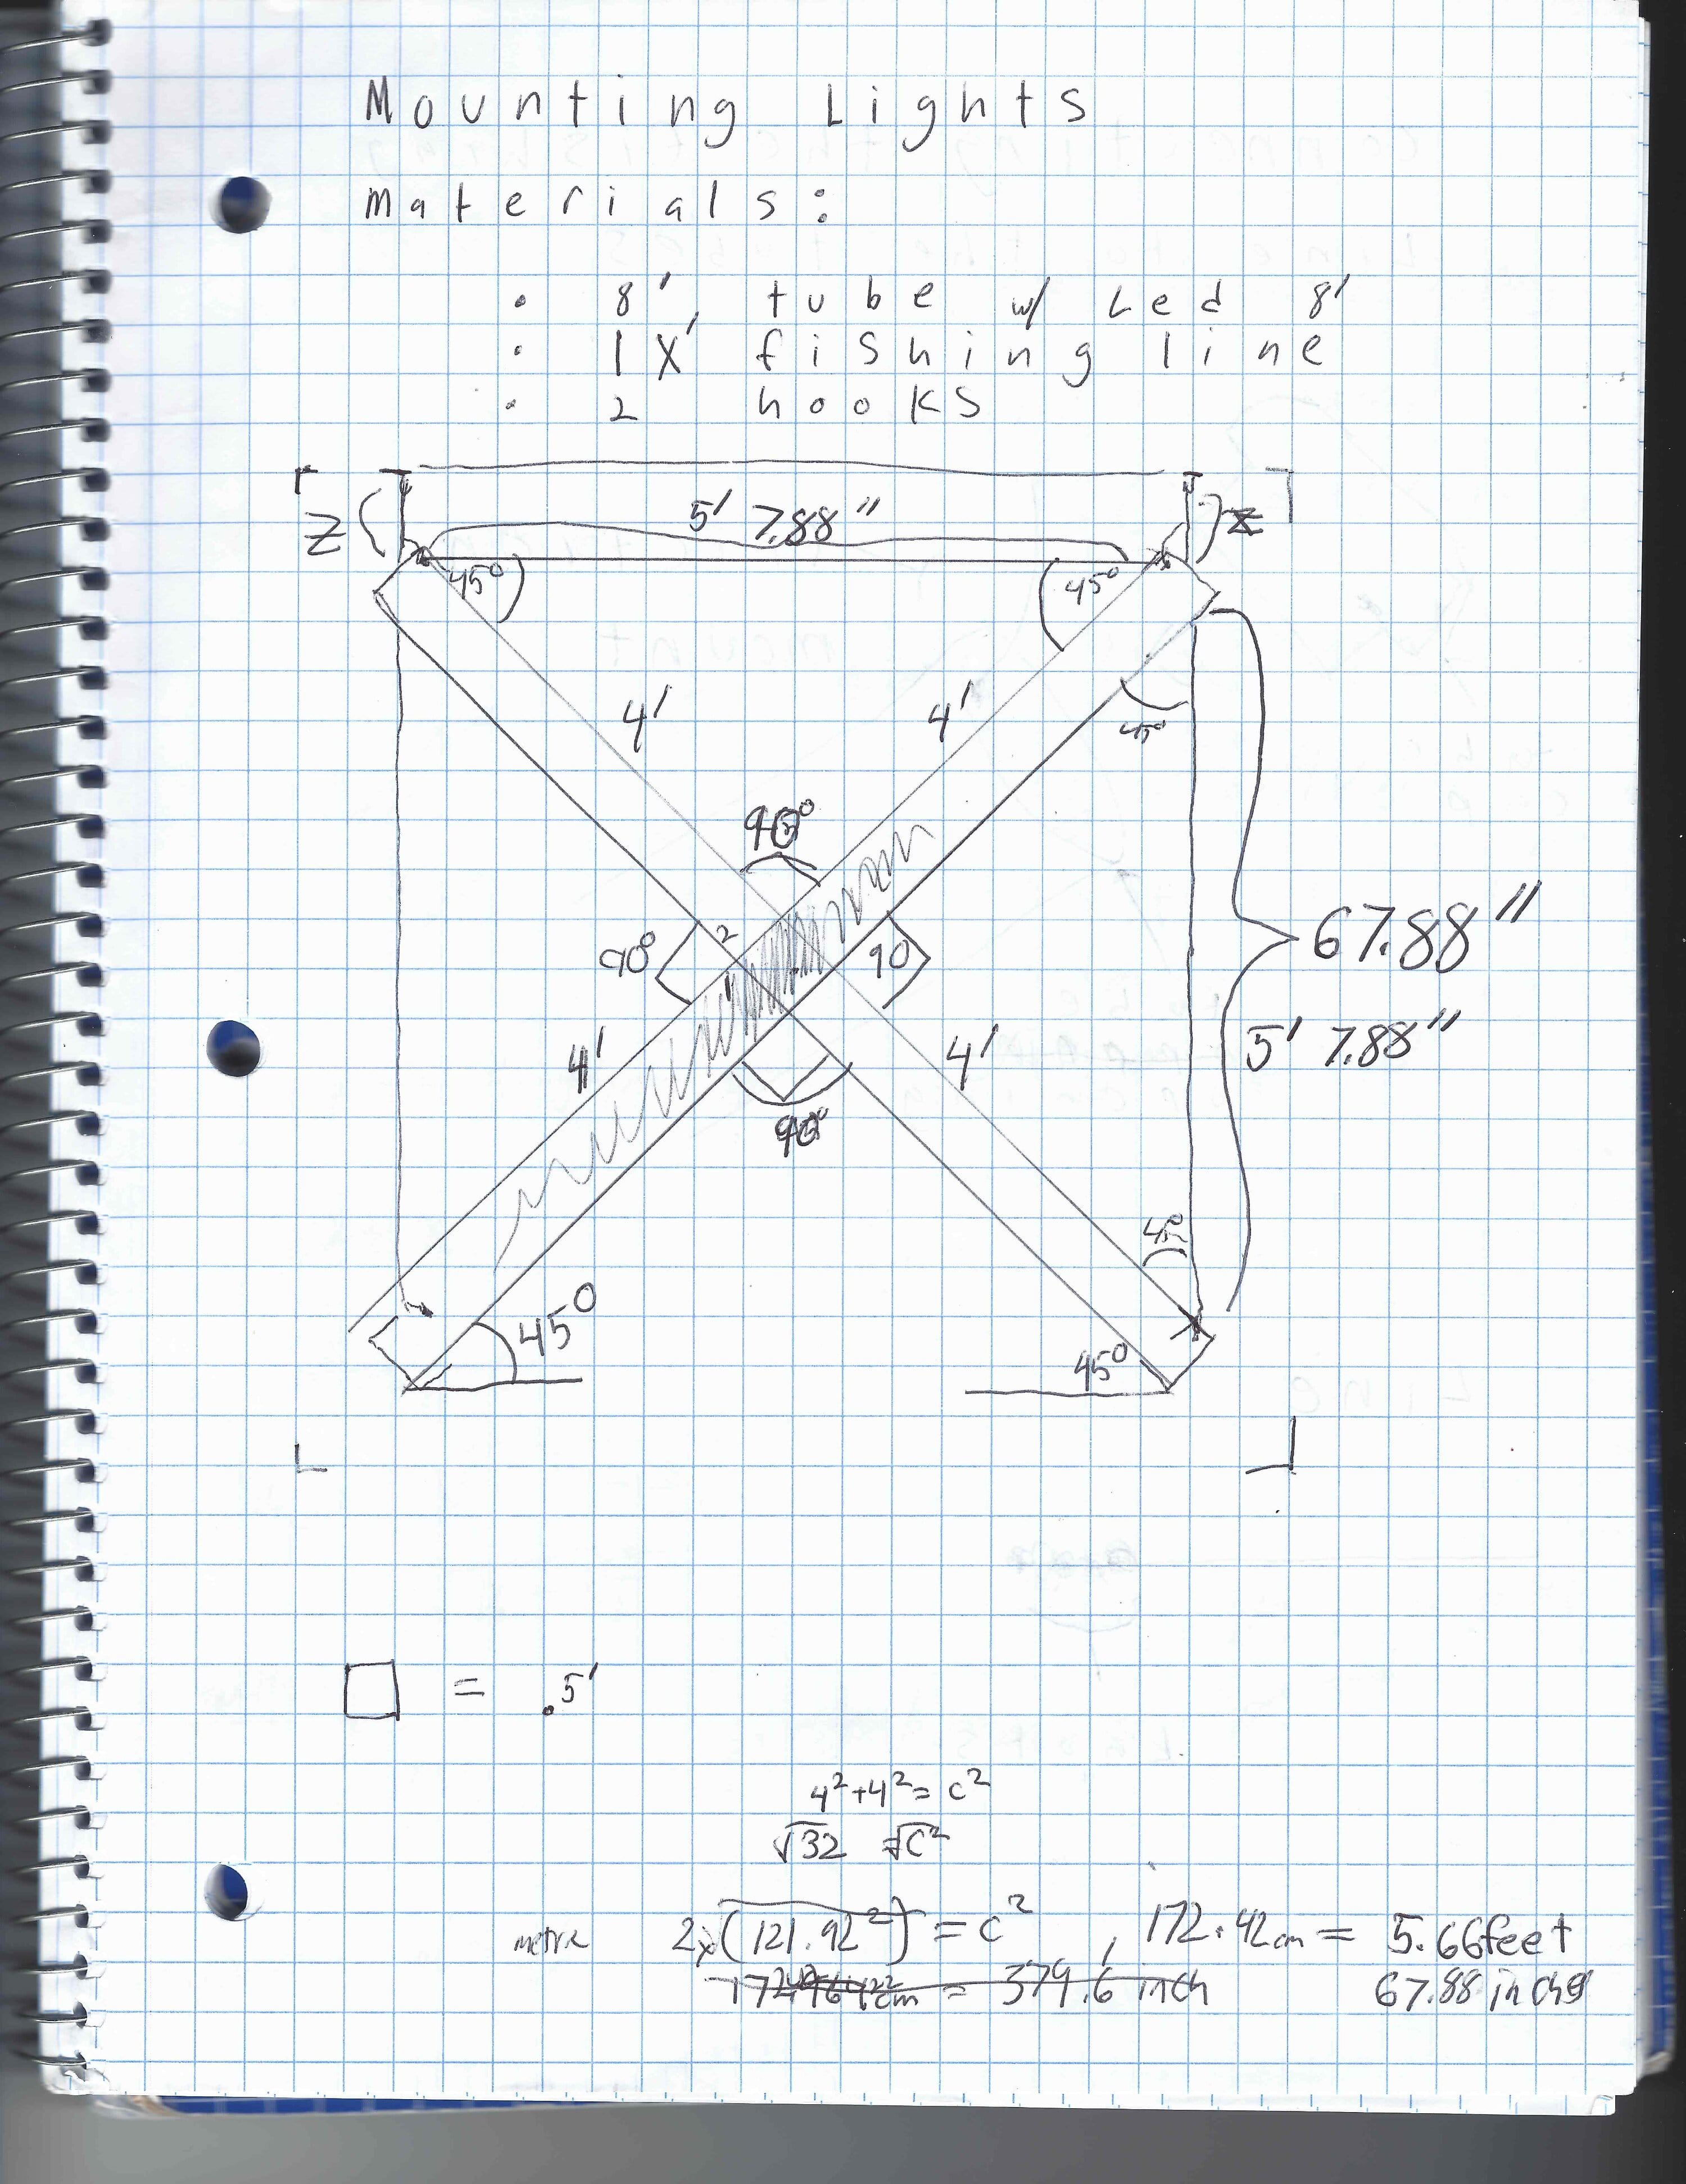
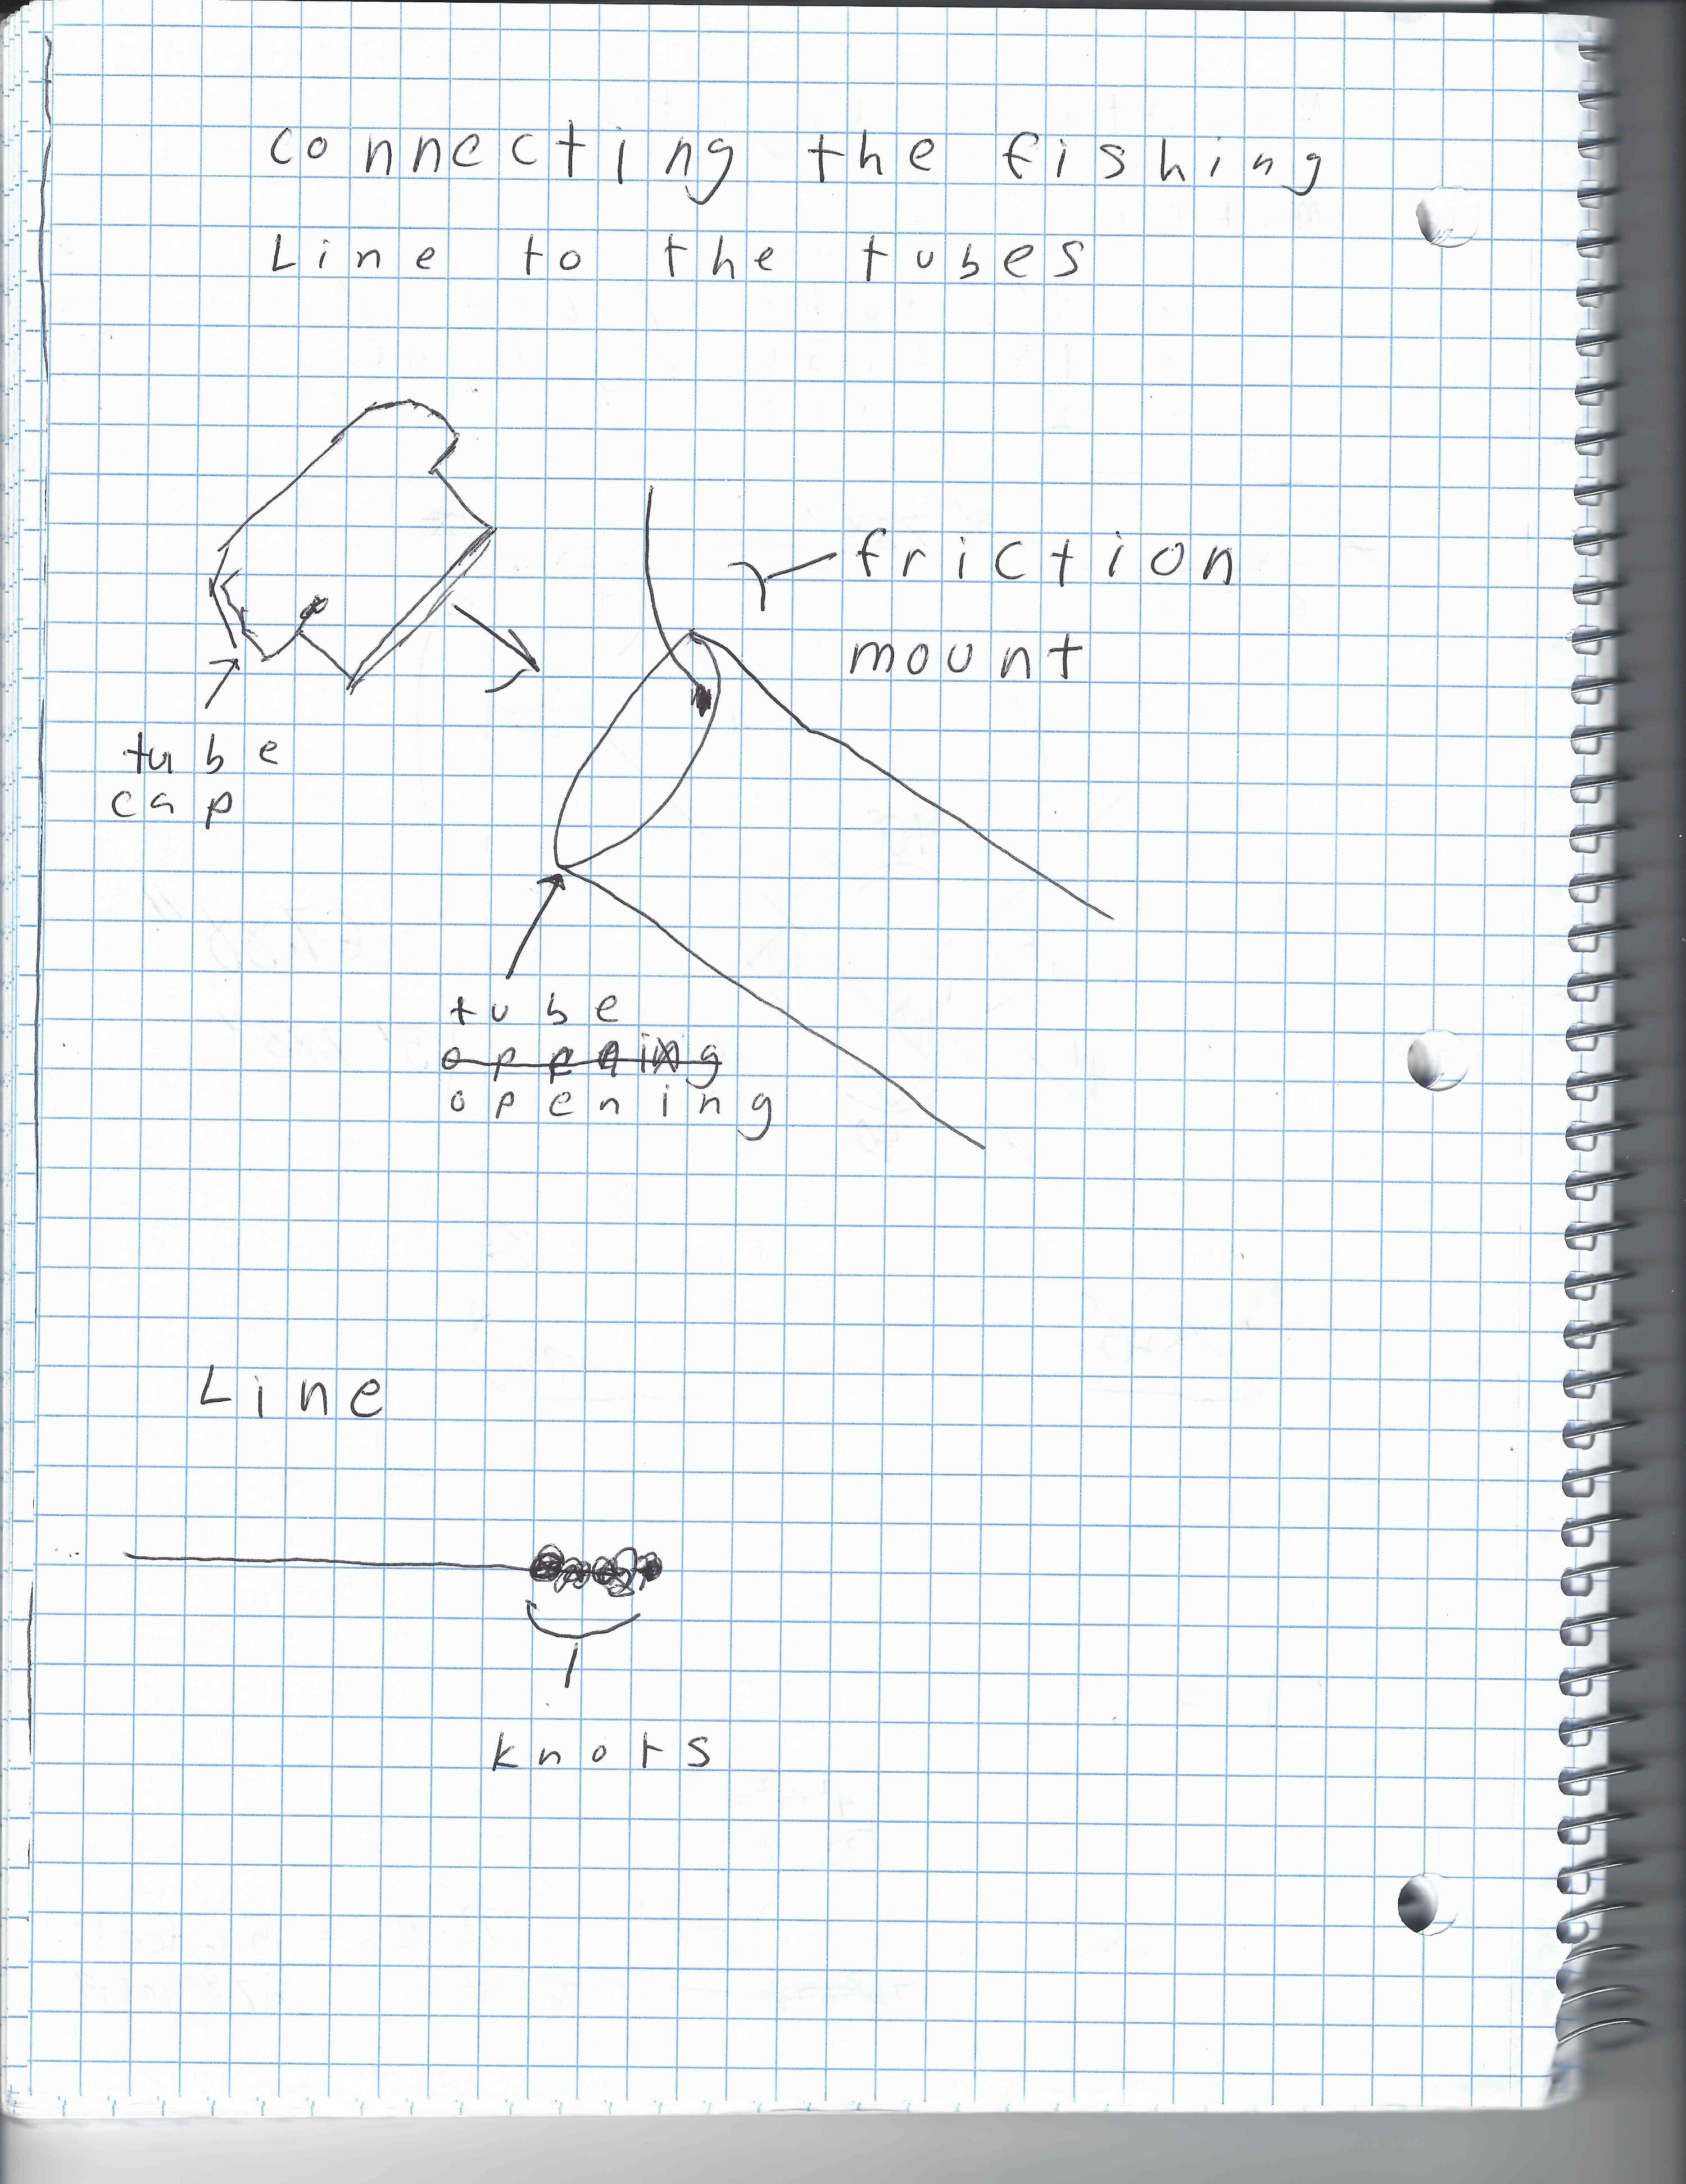
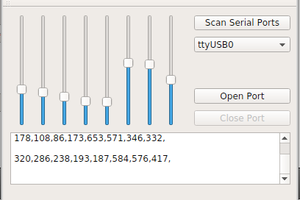
This is an interactive light installation that can be controlled via that website, Twitch Chat, or YouTube chat. I am also using It to raise money for Feeding America (I put In the first $25, goal is $1000). I would be honored if you check it out. Here’s the server side tech stack (on Heroku): NodeJS(ExpressJS/SocketIO), ReactJS. I also made the mockups for it in Figma. Here is the desktop tech stack: NodeJS, Python (Selenium – Chrome Web Driver), Redis, MongoDB, OpenFrameworks (C++ framework), Arduino, Web Sockets.
0%
0%
Control My Lights
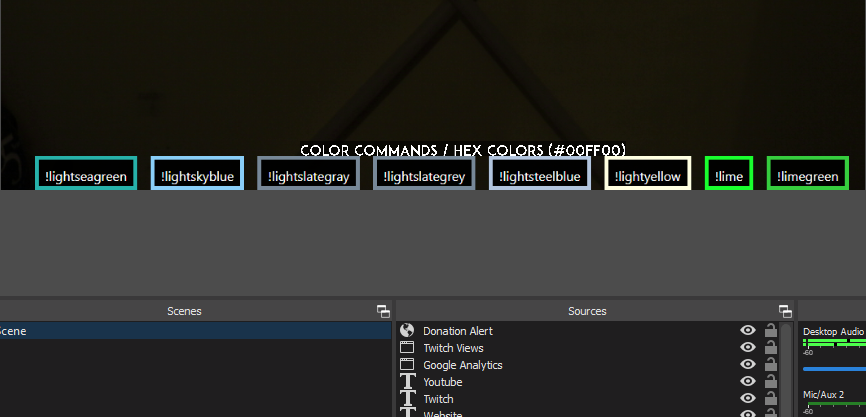
Control My Lights using a website, Twitch chat, YouTube chat. controlmylights.net
Become a Hackaday.io member
Already have an account? Log in.
Just one more thing
To make the experience fit your profile, pick a username and tell us what interests you.
Pick an awesome username
hackaday.io/
Your profile's URL: hackaday.io/username. Max 25 alphanumeric characters.
Pick a few interests
Projects that share your interests
People that share your interests
 ZaidPirwani
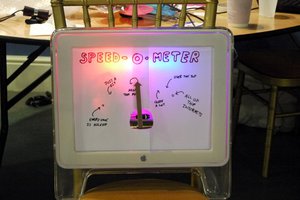
 Alistair MacDonald
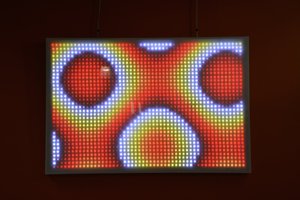
 Ben Delarre
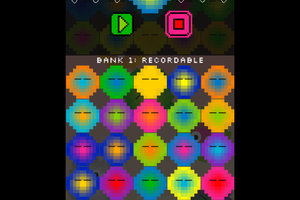
 Fluxly