 Lance
LanceResearch
When it came to the end caps, the design is affected by a few criteria. They have to be able to accommodate your motor and pulley design. There also needs to be a belt-tightening system and this is typically either in the end caps or the carriage adaptor plates. I looked at commercial options and designs used by other makers/builders.
Belt Tensioning Integrated Into The Sled
Some have added tensioning systems into the carriage adaptor plates:
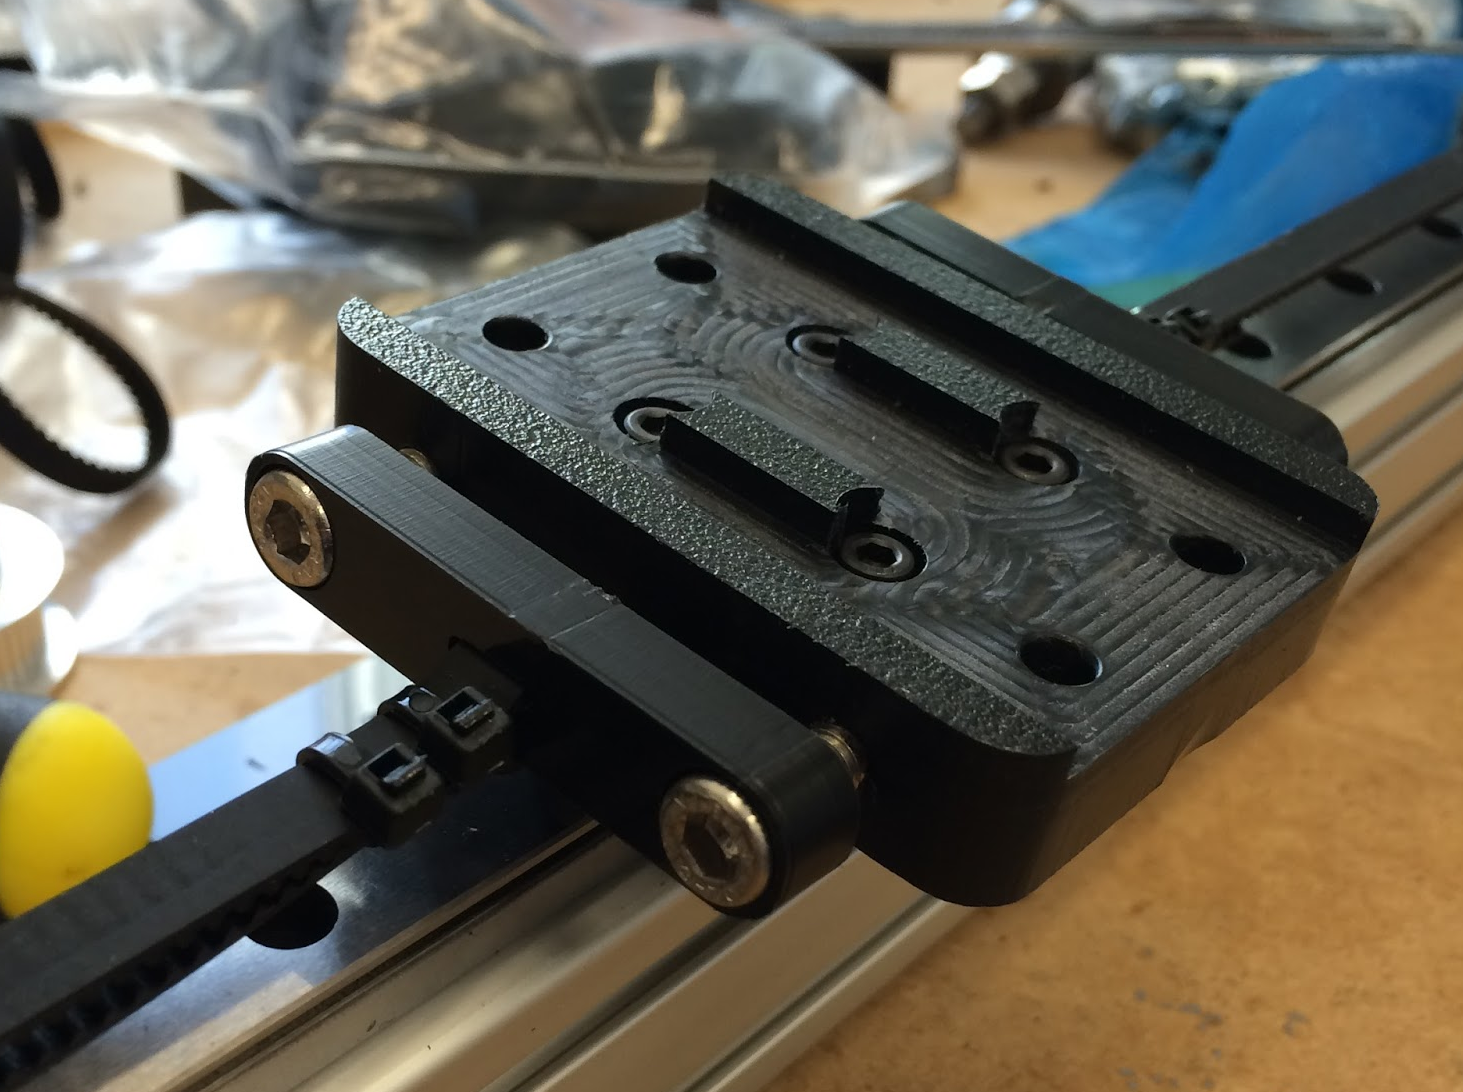
This removes the requirement for the end caps to have a tensioning system but requires a more complicated carriage adaptor.
Source: https://hackaday.io/project/9319-diy-pick-and-place
OpenBuilds End Caps
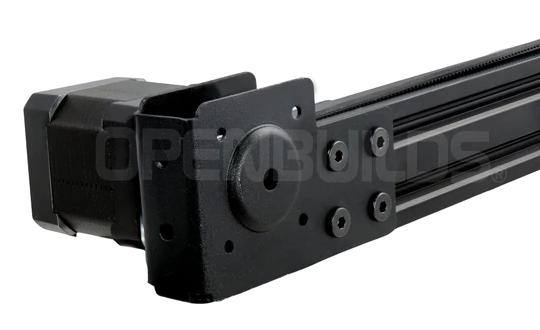
There are premade end caps that can be tensioned by pulling on them before tightening the screws. Below is an example from OpenBuilds:
3D Printer End Caps
There are some sophisticated end caps with built-in tensioners made for 3D printers:

Conclusions
All of these systems are viable options and I considered them at great lengths. In the end, I elected to design my own end caps and tension them by pulling them tight before tightening the screws (similar to how the OpenBuilds ones work).
Integrated Into The Sled
The system with the tensioning system build into the sled is a slick design. However, it requires screws to be drilled and tapped into a solid piece of material. If you have this capability, then this is a great option. I wanted to design something that was accessible to more people and cheaper and easier to build.
OpenBuilds and 3D Printer End Caps
The OpenBuilds and 3D printer end caps are both an attractive option as they are a nice metal construction and they are commercially available.
The OpenBuilds, however, lock you into a very specific timing pulley size. The pulley is larger than I wanted. I wanted to design a machine that had as much positional accuracy as possible and that meant a smaller pulley.
Both of these end caps had a major issue, however. Neither of them allowed for mounting the bearing for the passive rail.
The 3D printer end caps are usually built for printers that have a single Y-axis, so no coupling is required.
The OpenBuilds hardware uses two Y-axis motors. There are reports that these are hard to keep synchronized. Obviously, it is possible to do since many machines use this design. But the added coordination effort and cost of another motor is not desirable. For a pick-and-place machine, this design is probably likely to fall out of favor for another reason. Already, hobbyists are building machines with 4 pickup heads. This requires a minimum of 6 stepper motor drivers so you cannot afford to have 2 Y-axis motors.
Design
I designed a series of plates that, when combined with the appropriate screws and spacers, create custom end caps that eliminate all the problems with the designs above.

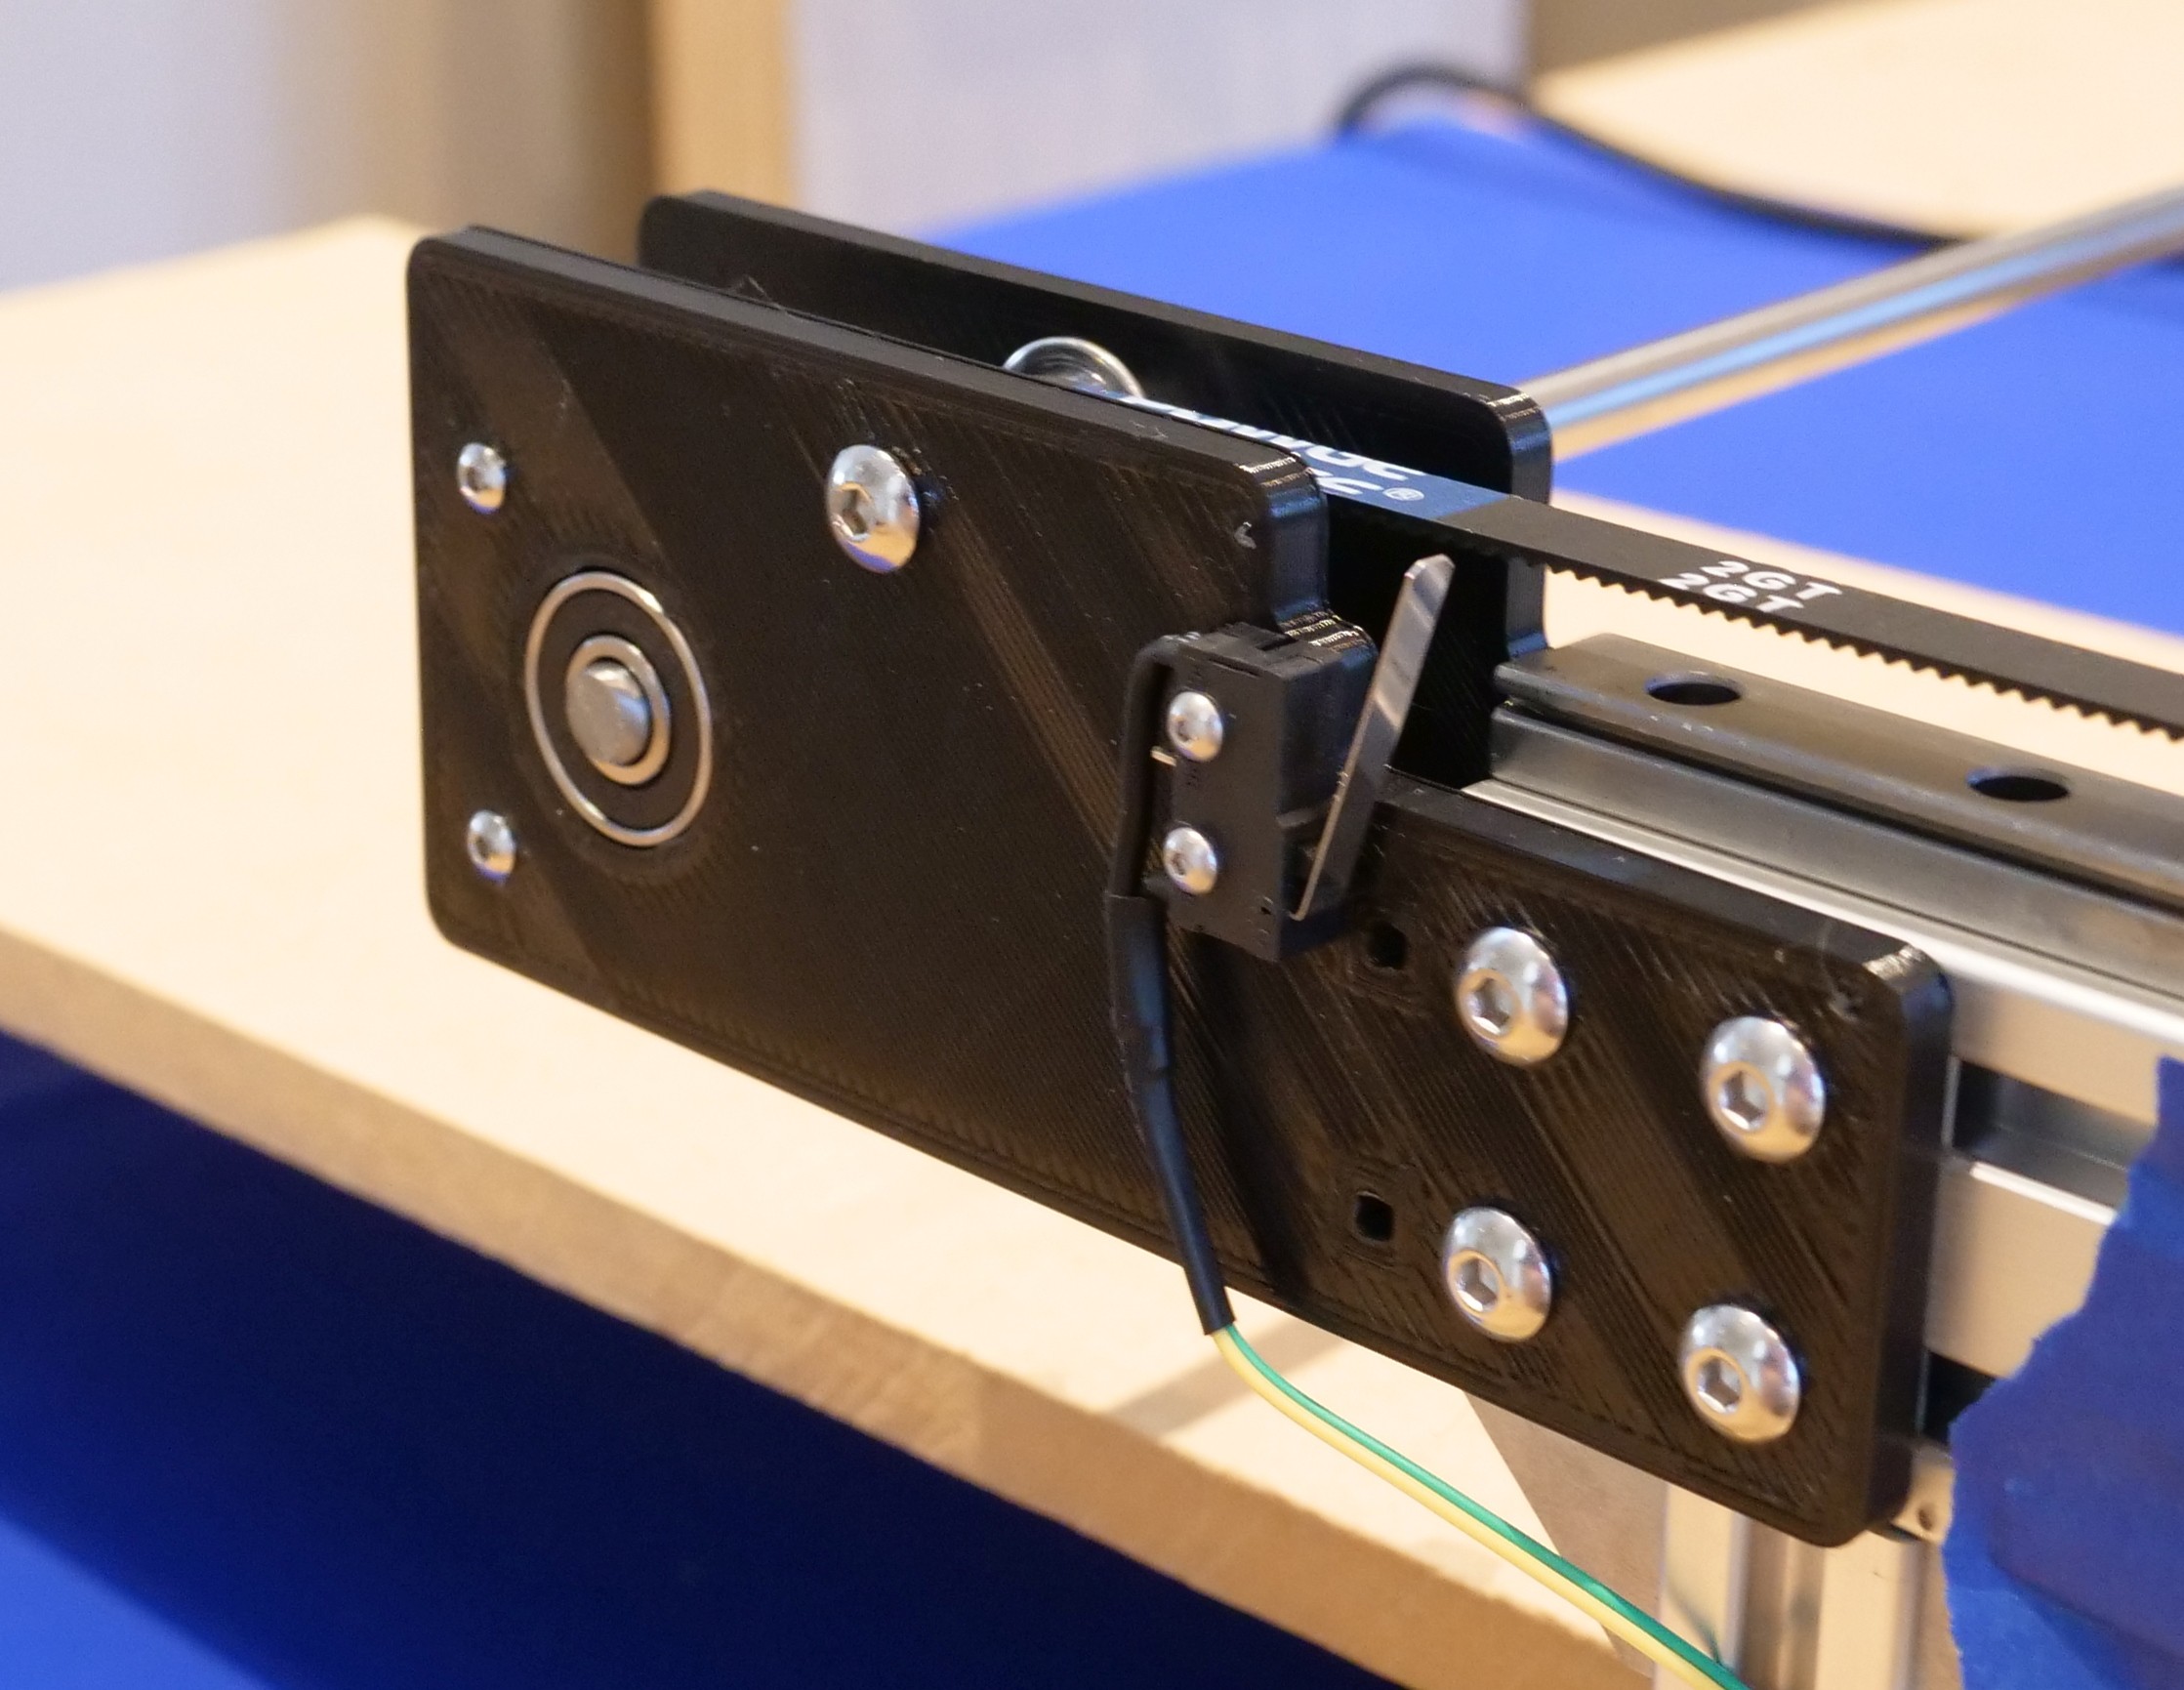
Similar to the OpenBuilds they are tensioned by sliding them out before tightening the screws. This is done on the idler pulley assemblies (front of the machine for the Y-axes and left side for the X-axis).
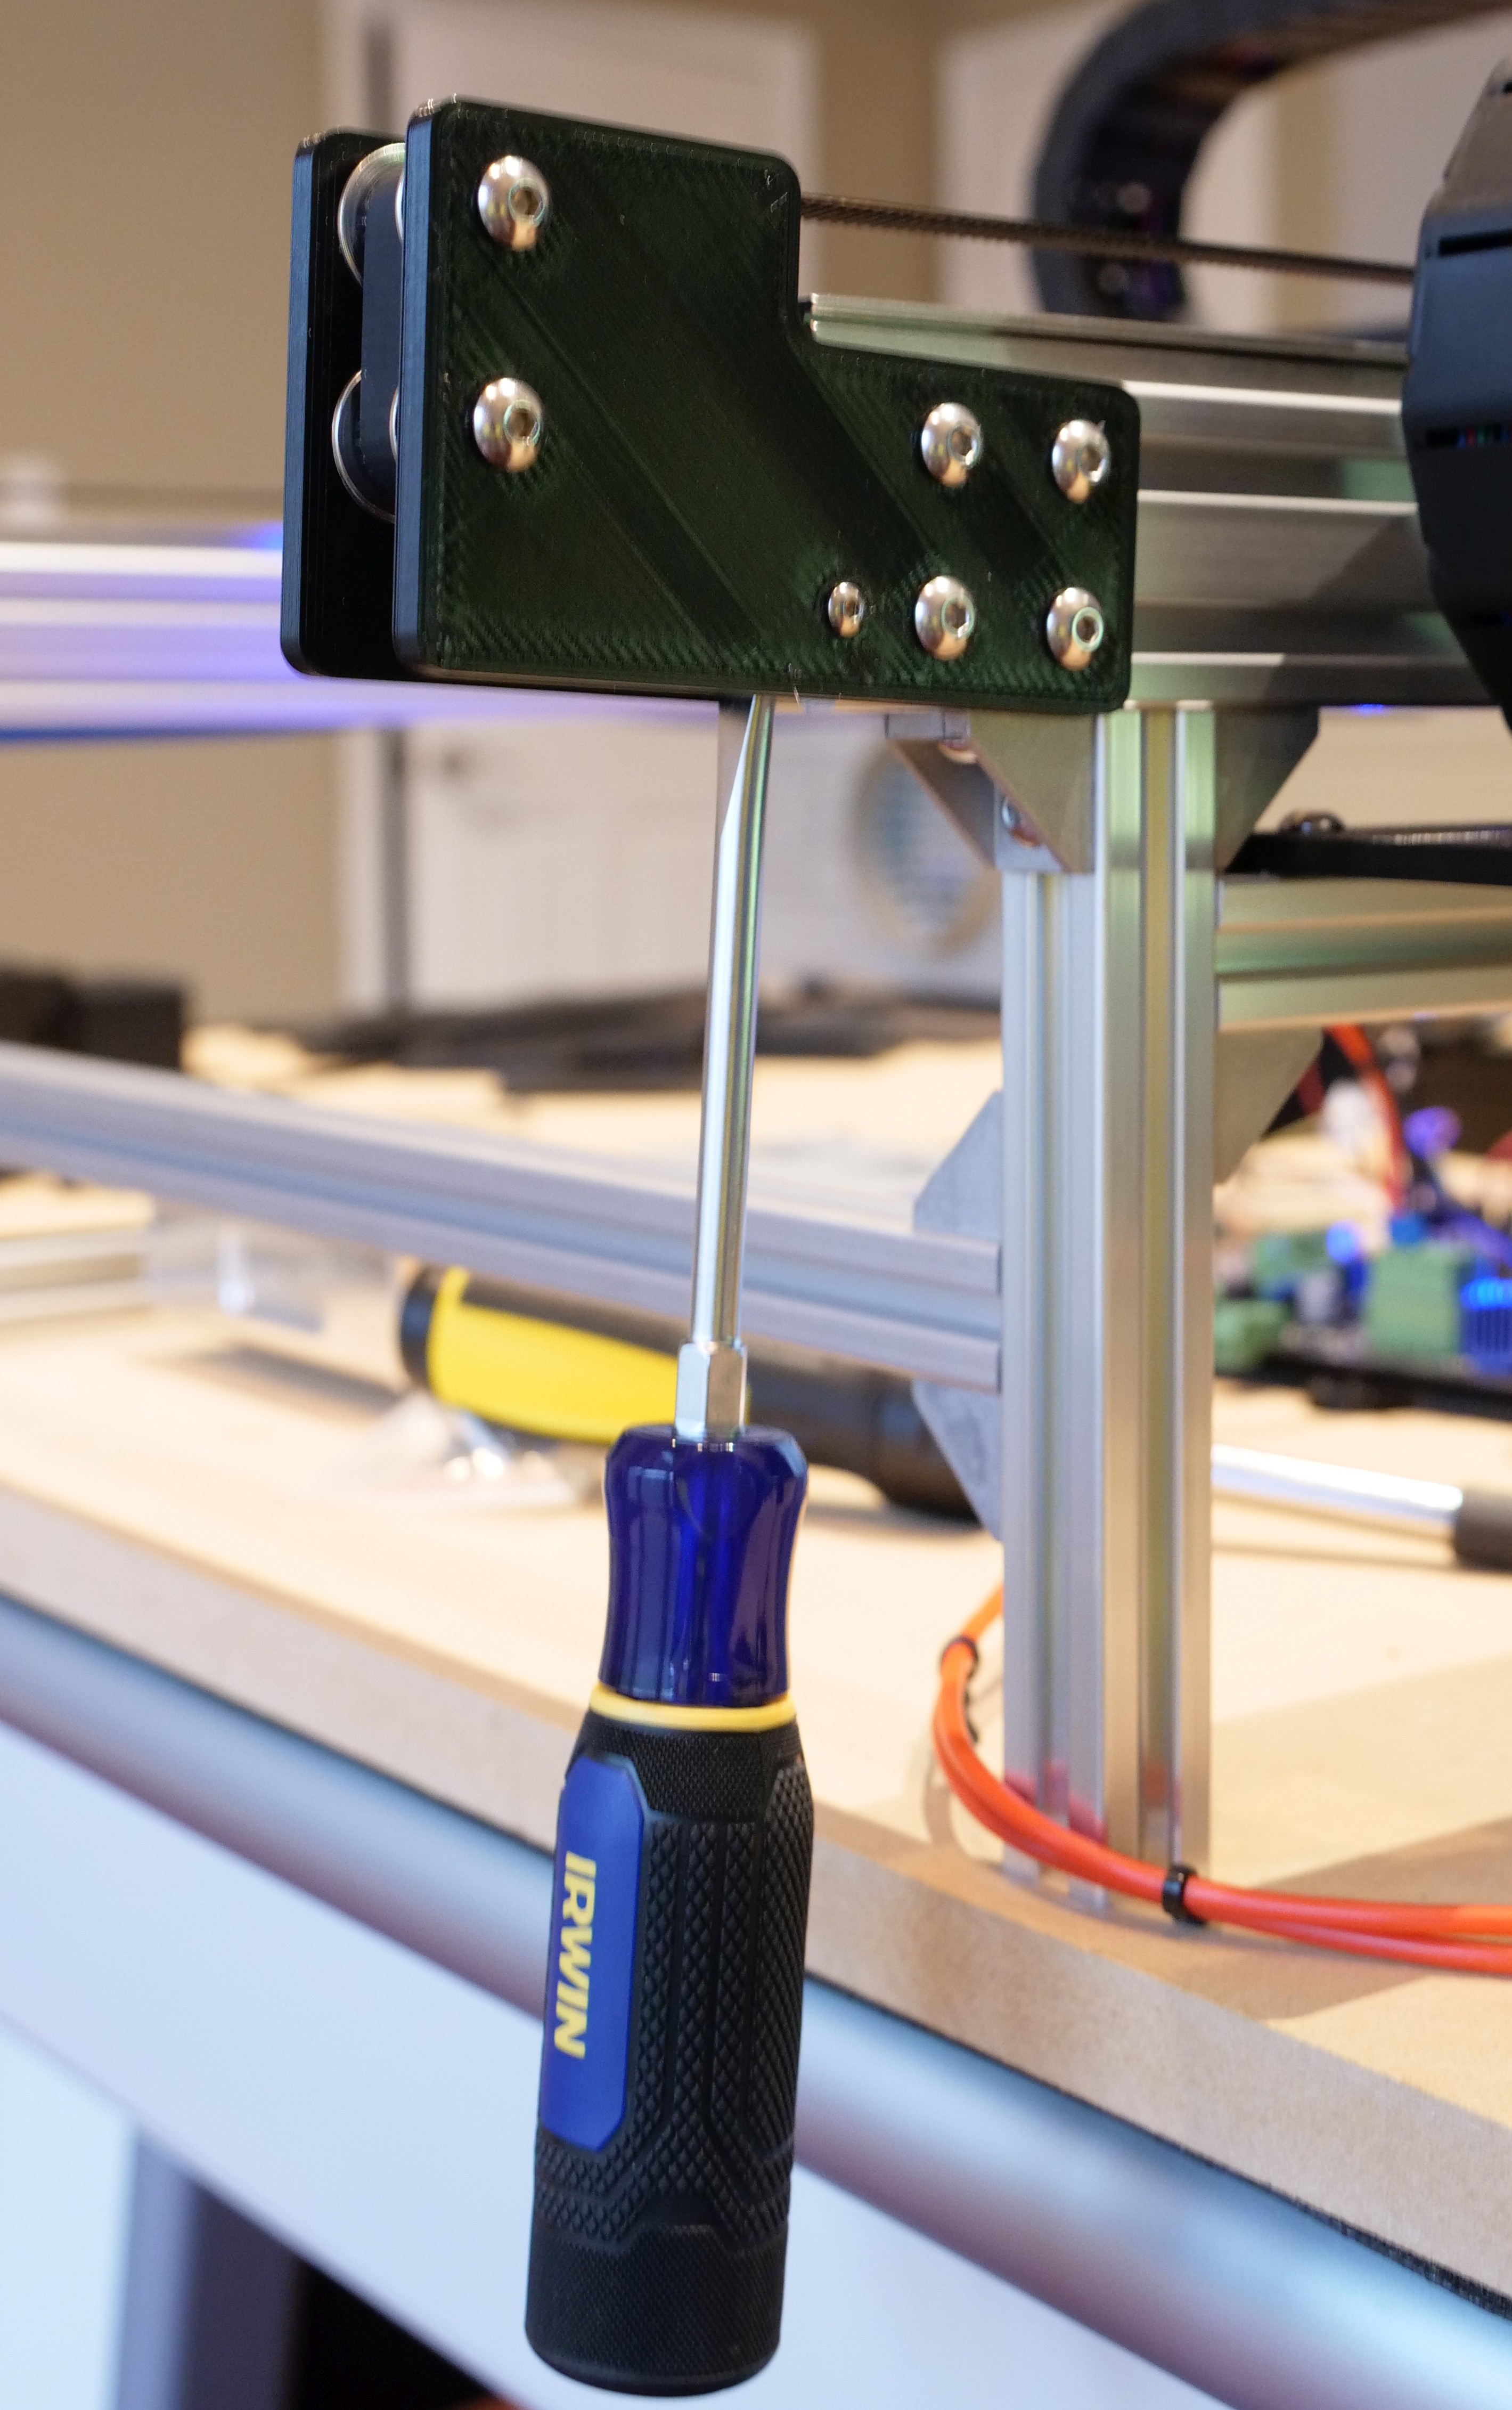
The belts need to be tight enough they don't slip and there isn't excessive slack in them. You don't want to over-tighten them or you could bend parts. Likely, you will be able to pull the belts tight enough with just your hands. If, however, you are not able to pull them tight by hand or if it is difficult to both hold the idler pulley assembly and tighten the screws, I have designed in a simple assistance device. There is an M3 screw that can be used for leverage. A flat head screwdriver works well to position and hold the assembly while the screws are tightened.
If you do need to use this technique, be careful not to over tighten the belts.

Discussions
Become a Hackaday.io Member
Create an account to leave a comment. Already have an account? Log In.