 Doctor Volt
After I dismantled the computer, i cleaned the individual parts thoroughly with detergent and a brush. Stubborn dirt in the grooves could easily be removed with a bit of toothpaste and baking powder. After that, its enclosure looked creamy-white and almost like new.
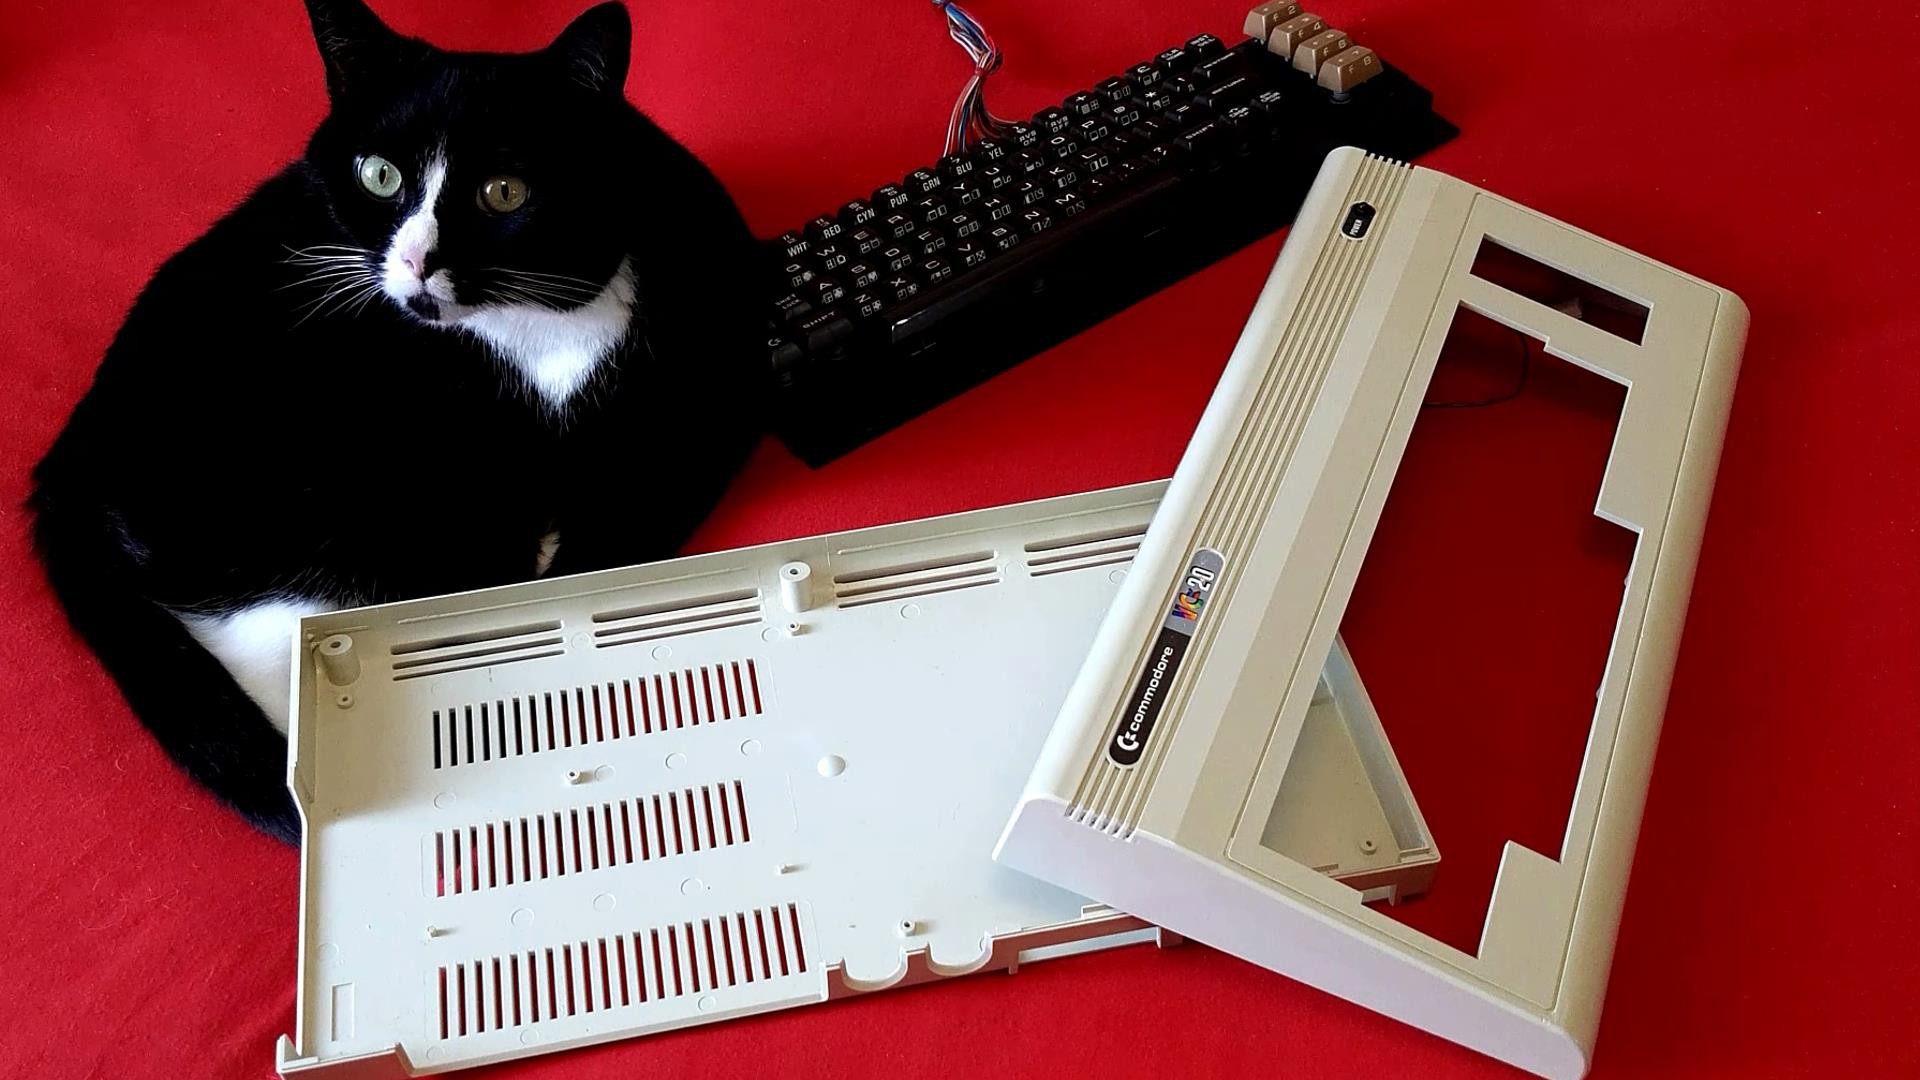
Now is the time to implant its new heart, a Raspberry Pi 4B with 4GB. Basically, a Raspberry Pi alone is sufficient. However, to continue using the original power brick, its 9 Volt AC must be converted into the required 5V DC. That´s simple. A bridge rectifier, smoothing capacitor and a step-down converter can do this. But the problem is, that just switching off a Raspberry can corrupt the files on the SD card and it will never boot up again. So it must safely be shut down before powering it off.
For this reason, I designed an autoshutdown circuit that continuously monitors the power switch. When switched off, it triggers a script that automatically shuts down the Pi. After the Pi is shut down, the circuit opens a relay contact and thus cuts the Pi from the power supply.
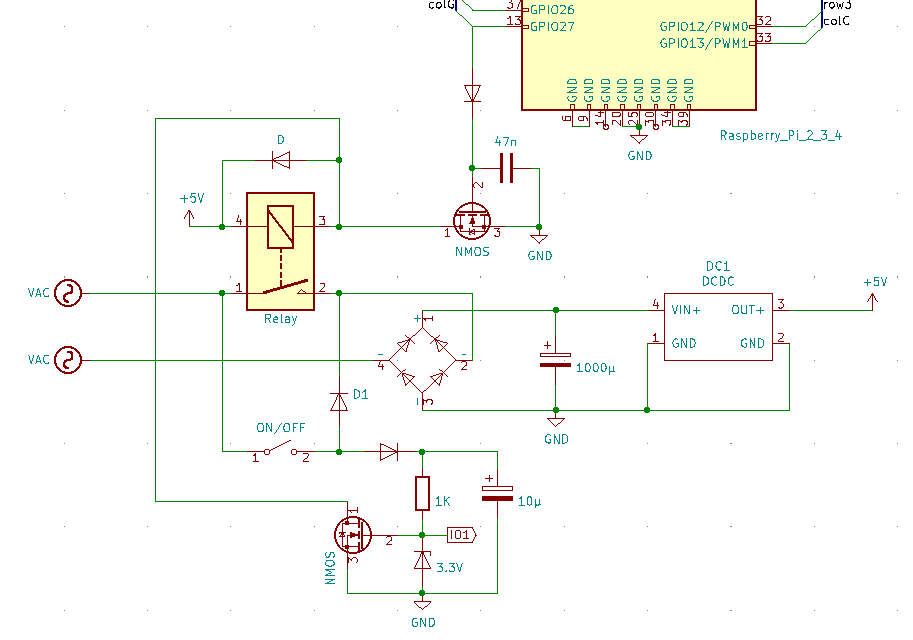
Watch the video that I linked below, if you want to learn more about the details of this circuit.
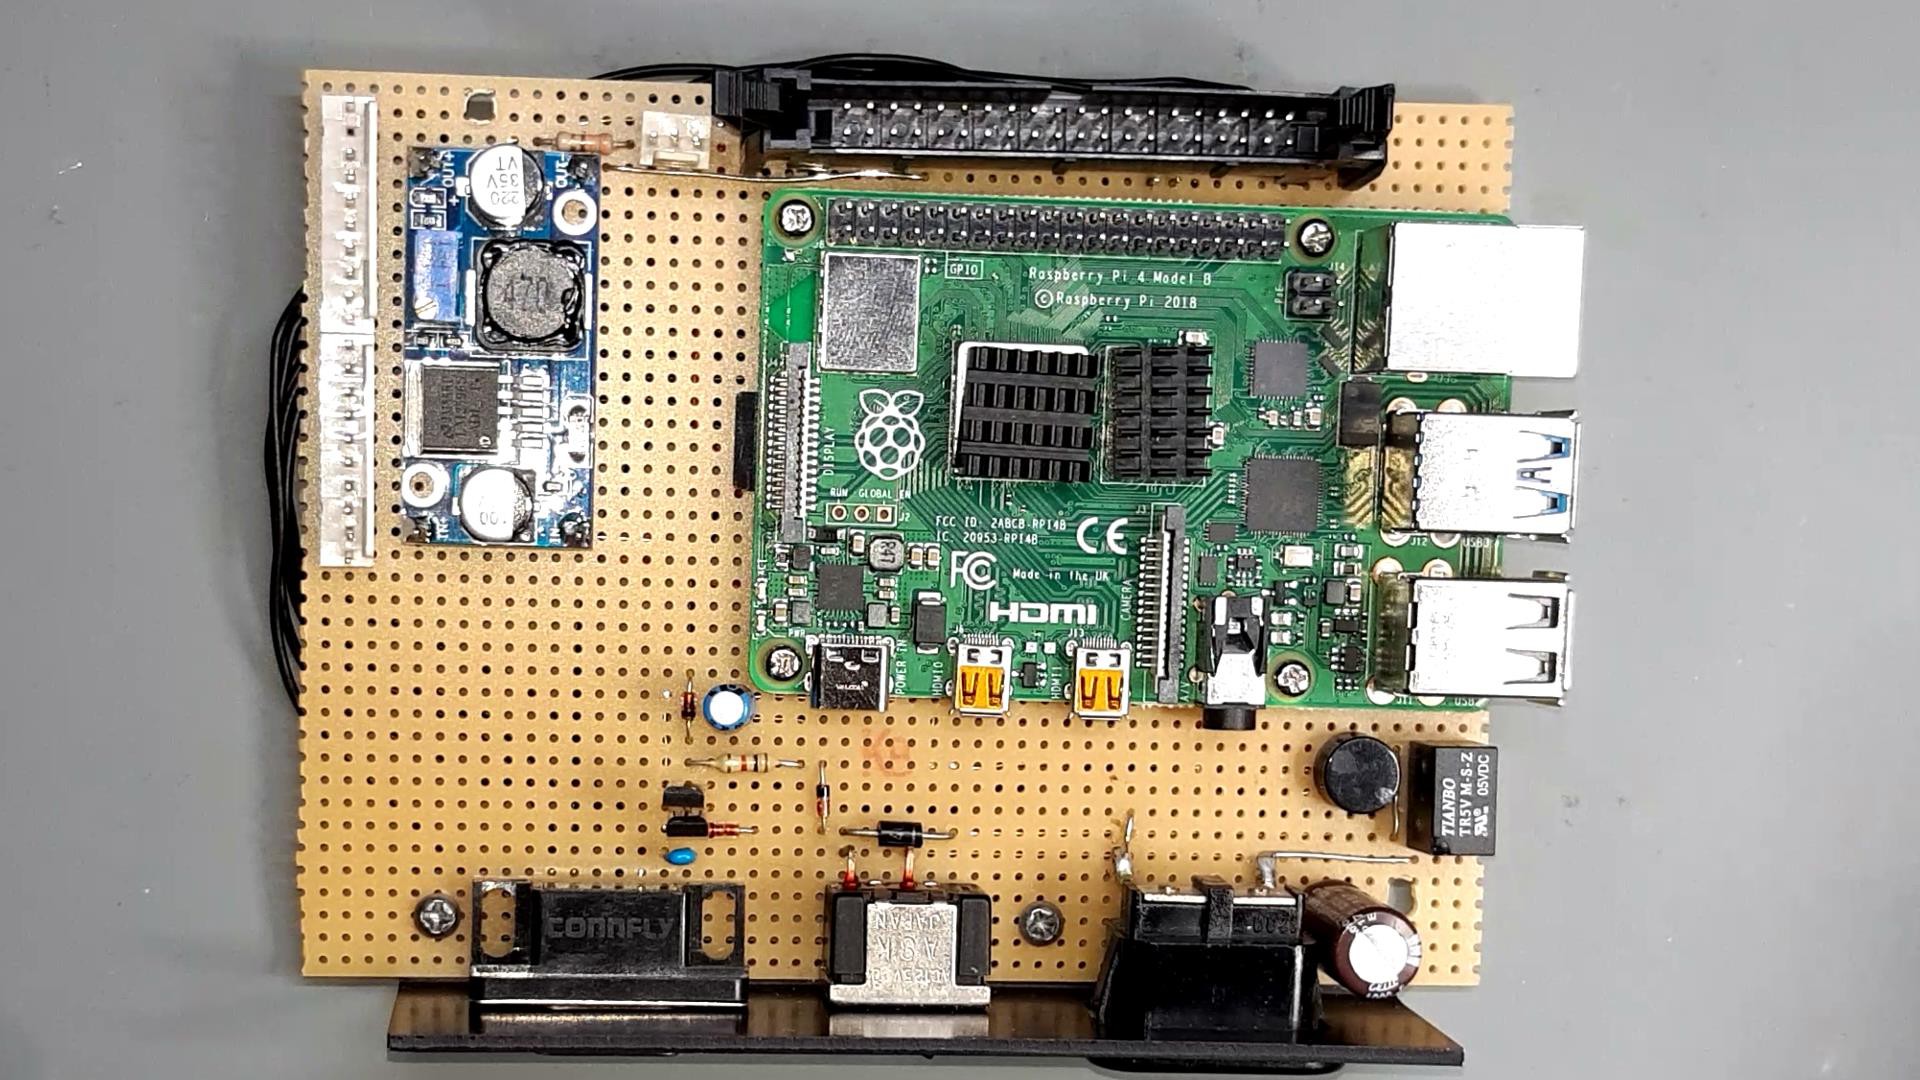
So, I soldered the Raspberry Pi, a step-down converter and the autoshutdown circuit together on a piece of perfboard.
I re-used the side panel with the original power connector, the on/off
switch and the sub-d connector for the joystick.
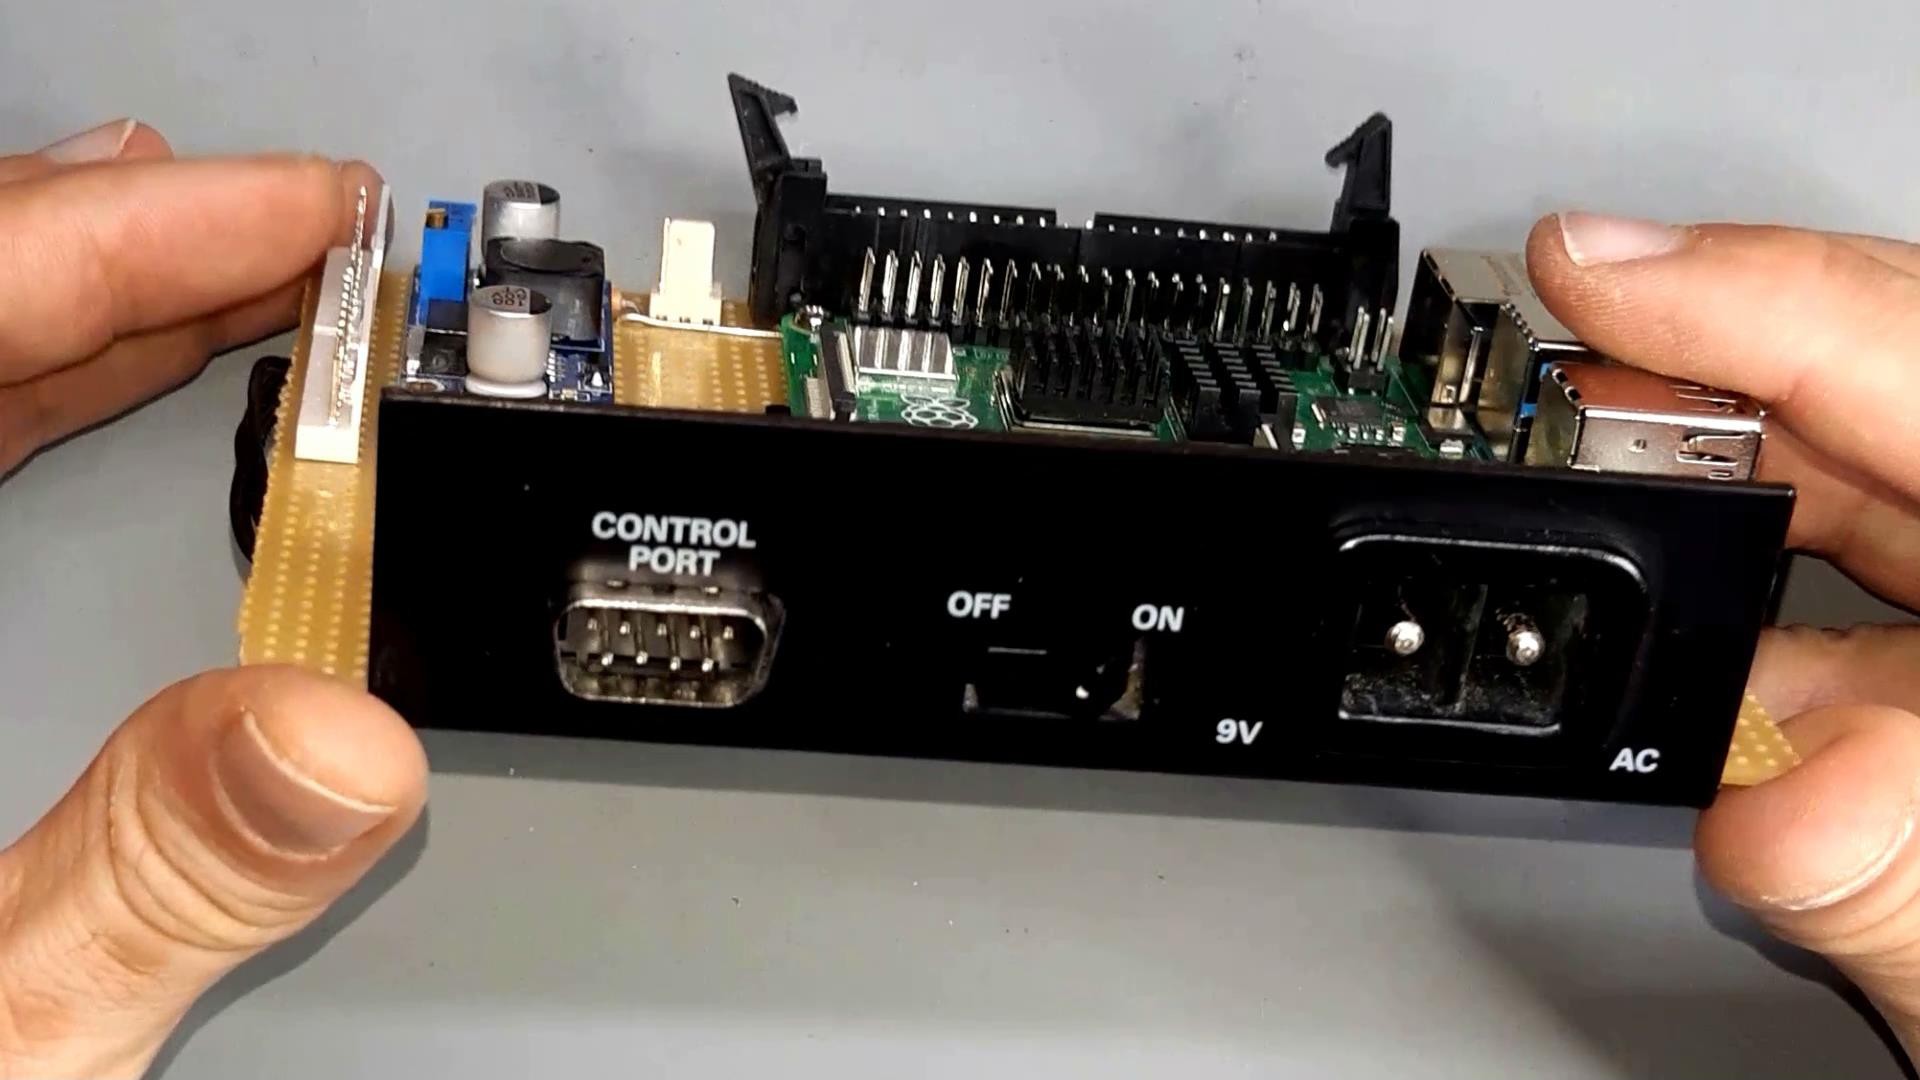 I placed the components in a way that the board fits perfectly into the enclosure. Ethernet and USB ports are accessible from the rear, so external devices like keyboard, mouse etc. can be connected. The HDMI connector is also easily accessible from the rear via the control panel feed-through and an adapter cable. The second HDMI connector or audio jack can be brought out in the same way.
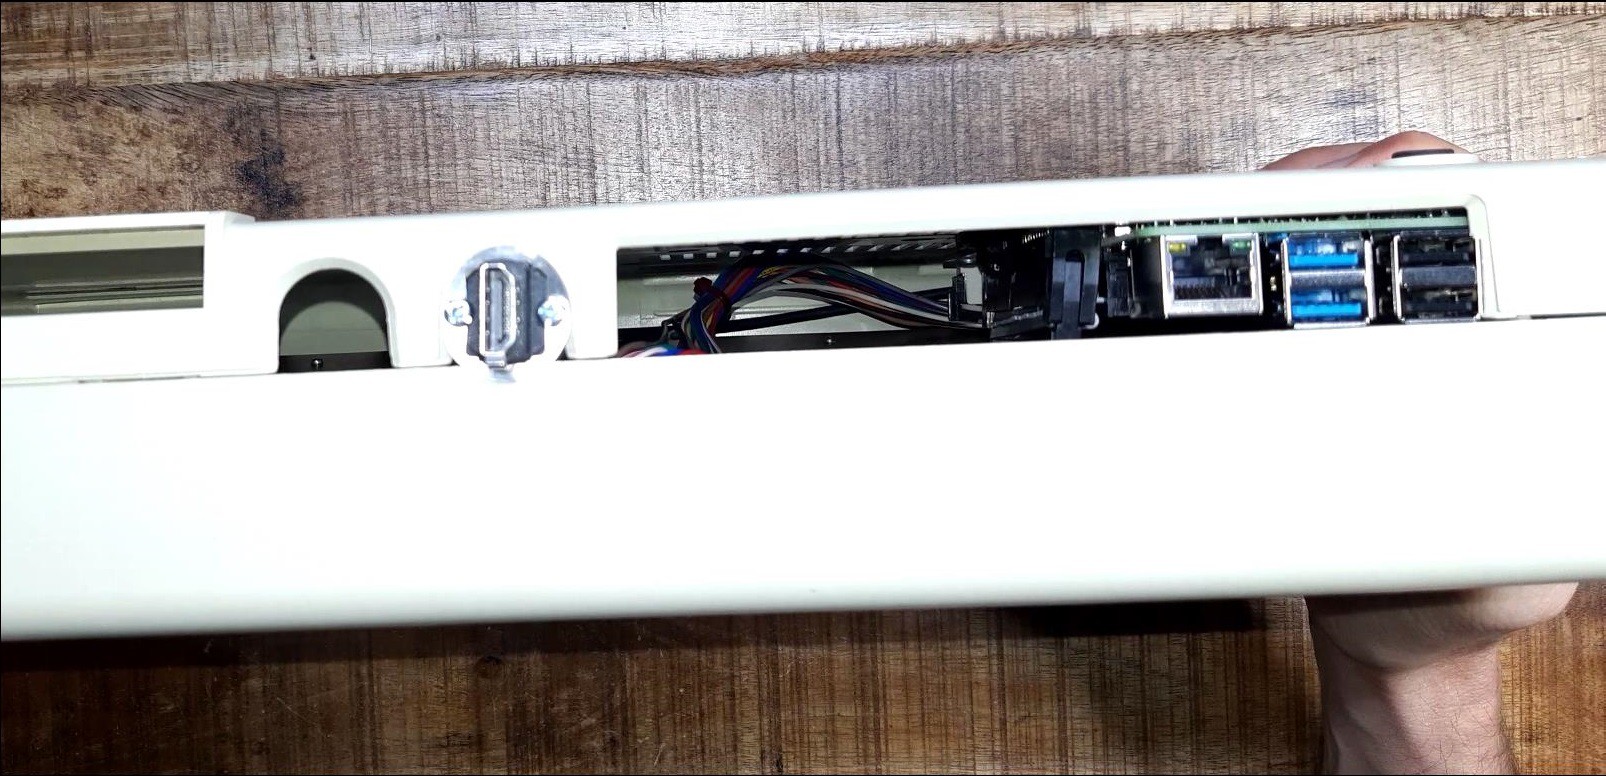
Of course, the now unused openings in the housing could be closed somehow, but I decided to leave them open. The reason is that the Pi 4 becomes very hot. By leaving them open, more cool air can get into the housing and improve heat dissipation (At least I hope so).
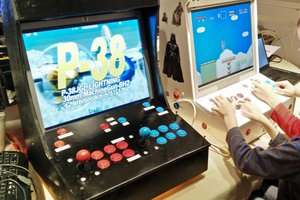
Any software that runs on a Raspberry Pi will also run on that computer. And there are many programs to choose from. Why not install an emulatur for Commodore computers like Vice and play C64 games again?
In this video I explain more in detail what I did.
Also find schematic diagrams, program code etc in this Github repository.
 Lithium ION
 Grégory Paul
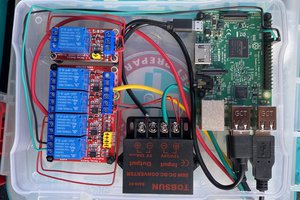
 blinkingthing