 Gerrit
Features
- Custom 3D printed shell
- Stereo Speakers and Volume Control
- 12 Buttons
- 8 inch display
- Raspberry Pi 2 or 3 powered
3D Model
The model was designed in Fusion 360. The STLs are in the Thingiverse downloads and the Github repository. Furthermore, there is an exported Fusion 360 Archive File ready to download.
BOM
- 3D Printed Shell (STL folder for models)
- 8 inch HDMI IPS Display (If you want to use another display, make sure to adapt the shell)
- 1x PAM8403
- 1x Arcade Controller Set (The controller set I bought is not available anymore! They replaced it by a set with new connectors. It seems like these would work fine now, but not guaranteed since I did not test them! If you want to use original arcade buttons, get buttons with a 24mm mounting diameter! Otherwise they won't fit into the mounting holes!)
- 1x Raspberry Pi 2 or 3
- 1x Power Adapter
- 2x Speaker (or similar, just make sure they have a diameter of 3.4 cm or adapt the shell)
- 1x Audio Jack (male)
- 1x HDMI Cable (get a short one - the shell will already be quite crowded)
- 1x USB Type A (male) to USB Type B (male) (for arcade controller connection - see HDMI Cable note above)
- 4x Rubber feet with M3 mounting holes
- 12x M3x8mm screws (torx screws are highly recommended)
- Zip Ties
- Velcro or double-faced adhesive tape to attach the PAM, Arcade Controller Board and Display Board
- Electrical Tape
- Wire :)
Build
Shell
For this part you have to use a ratchet. I don't think that all screws are accessible without one! To make your life a bit easier, preinsert eight screws into the holes on the Back Panel and Front Panel. Furthermore, I recommend to widen the first millimeter of the holes on the side panels a bit.
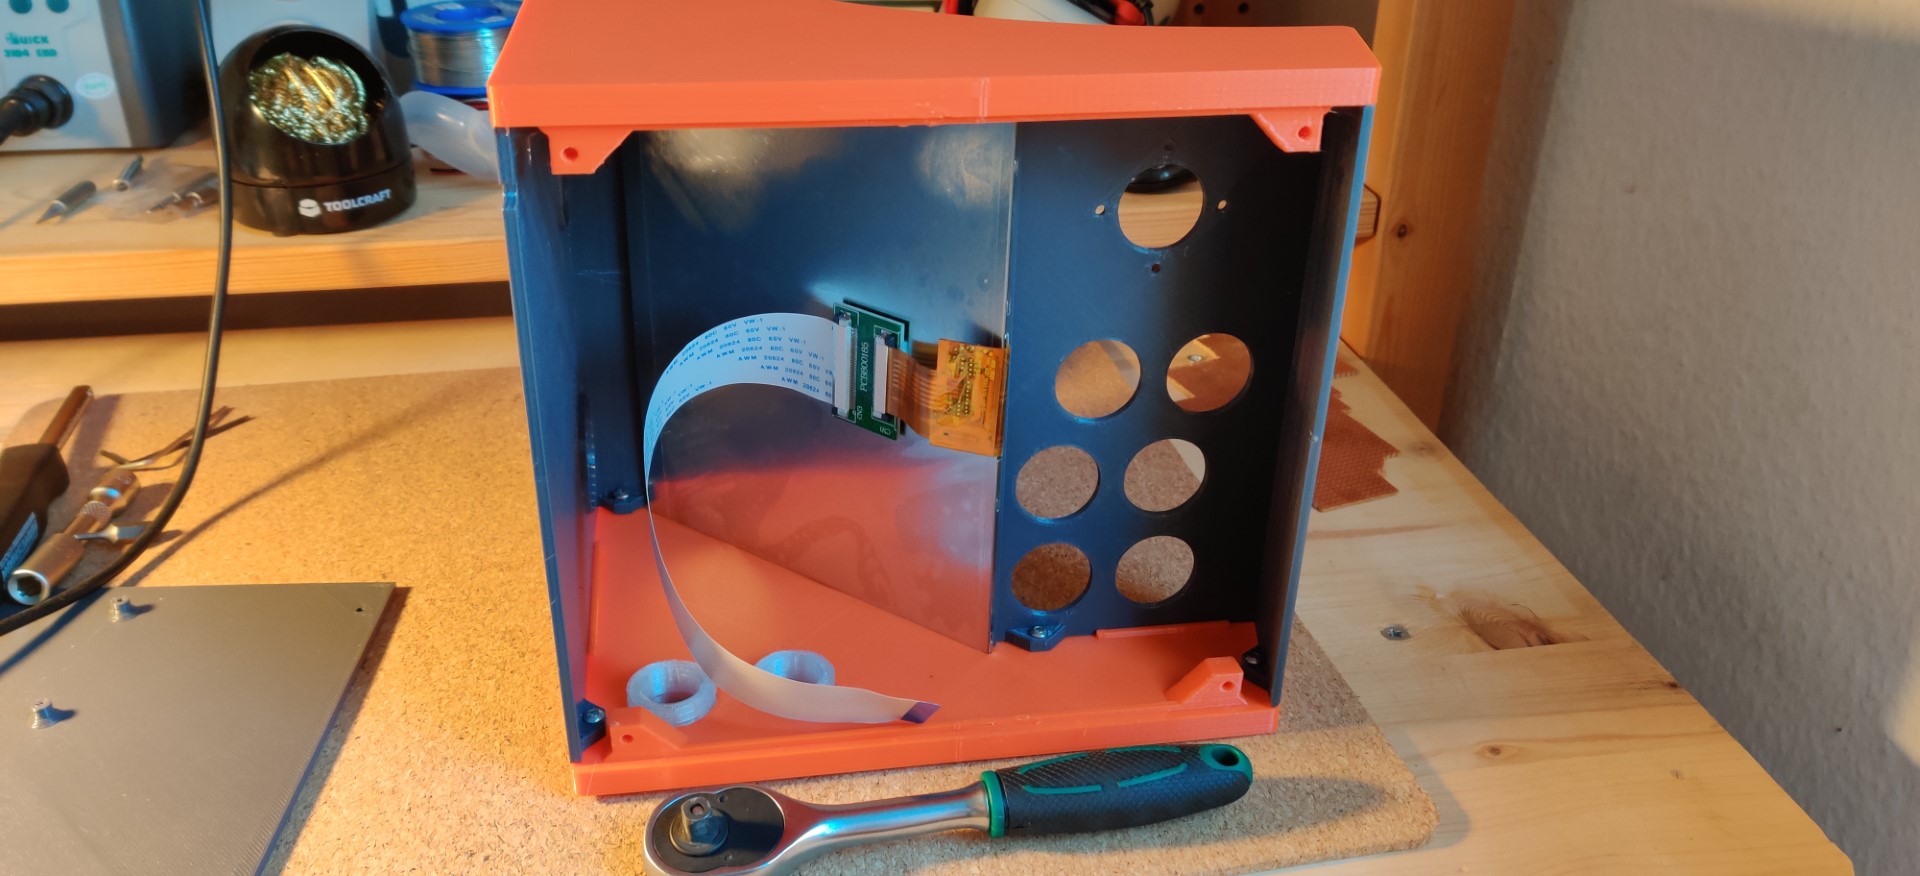
Screw the Front Panel and Back Panel to one of the side panels. Then insert the display into the slot and screw the remaining side panel. The last top screw of the Back Panel will be painful! Use your ratchet!
Control Boards
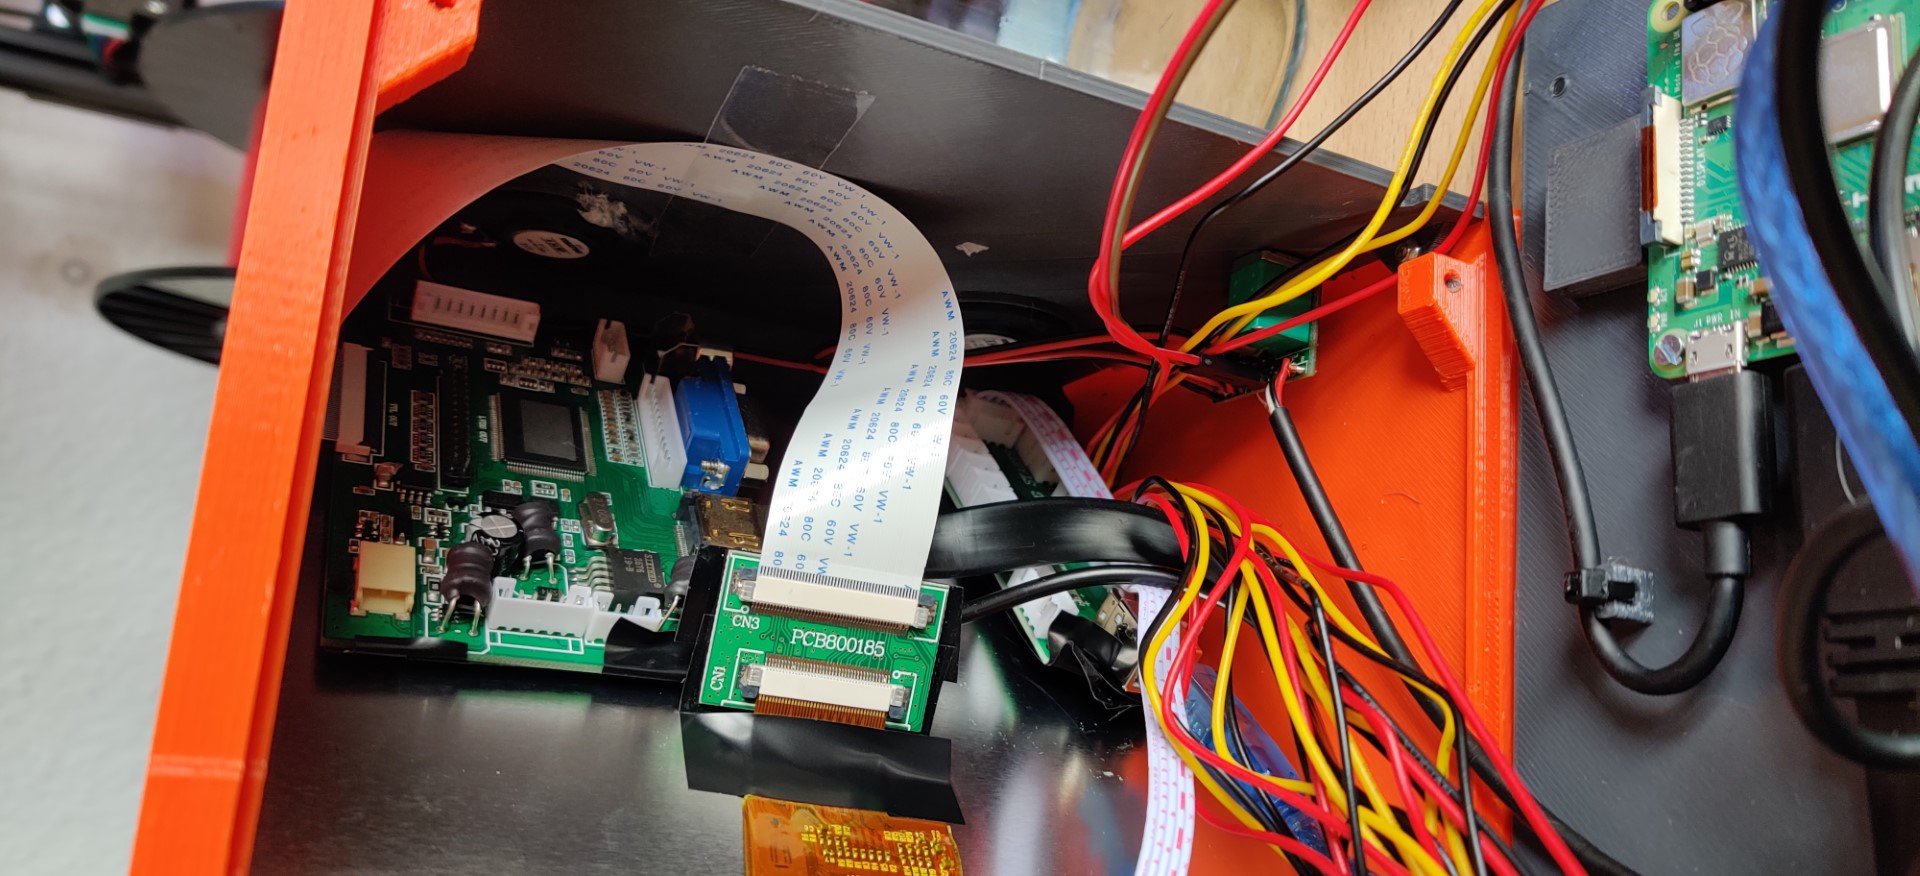
I mounted the display and arcade controller boards to the back of the display. Make sure that you use electrical tape to mask the back of the boards (or the whole display back), before you attach them with the velcro or double-faced tape. Otherwise, it is possible that you short them!
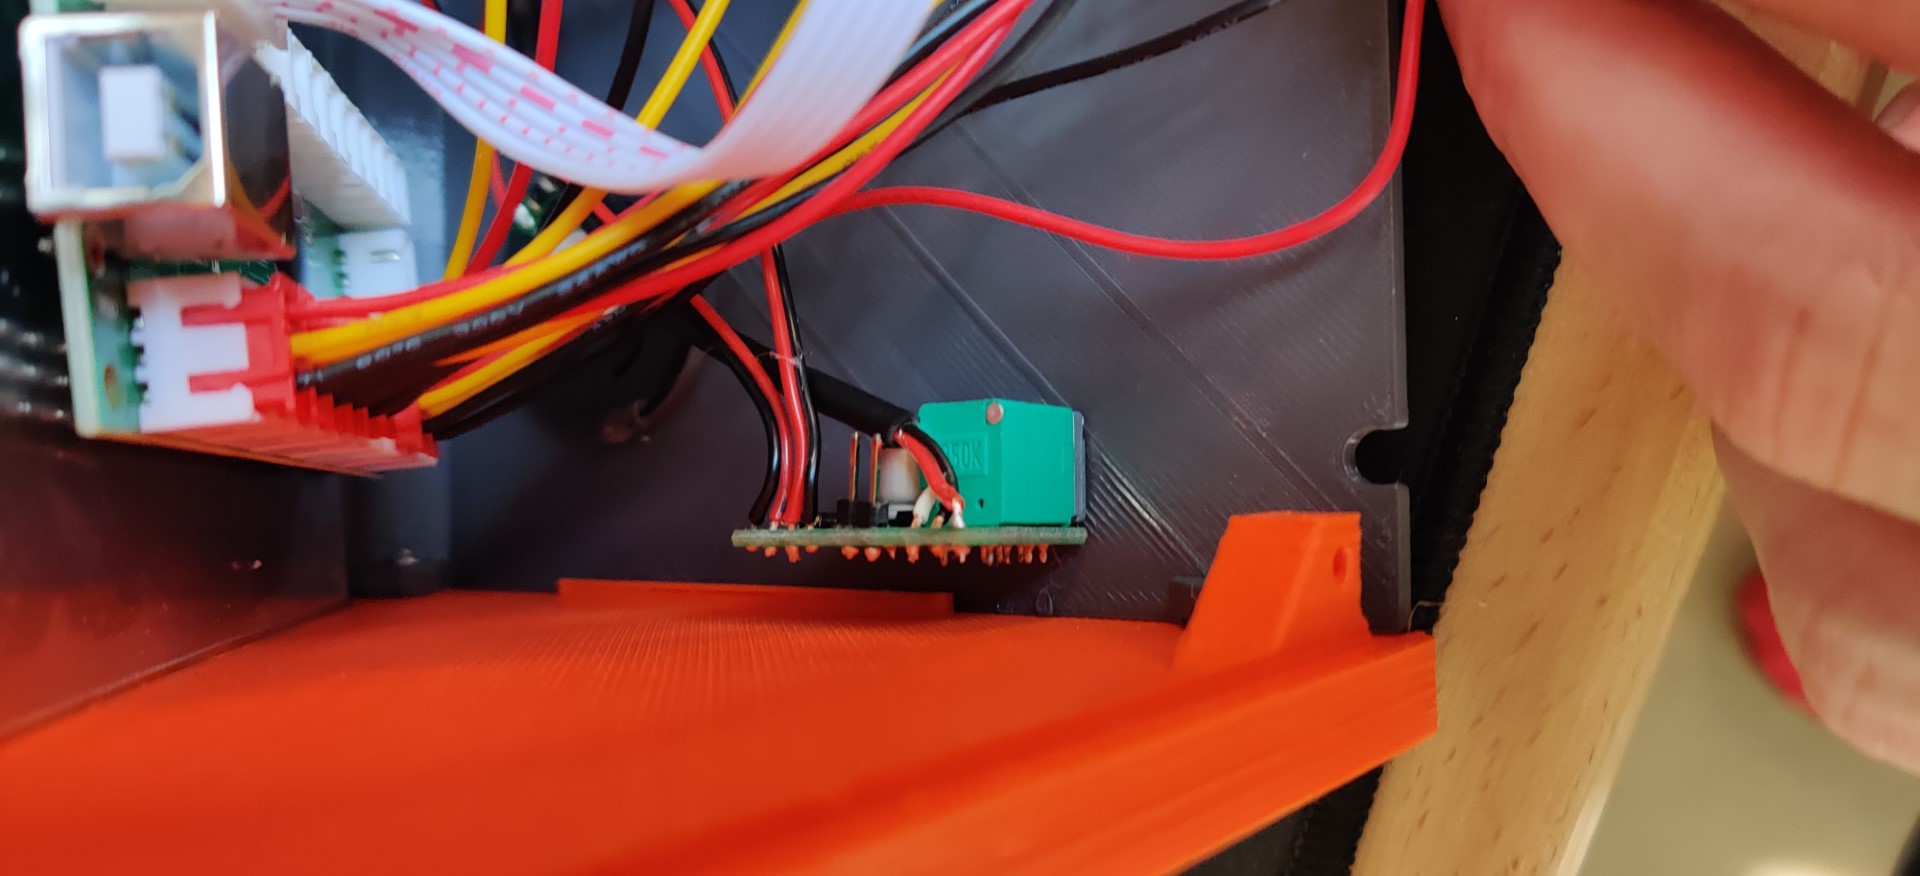
Arcade Stick
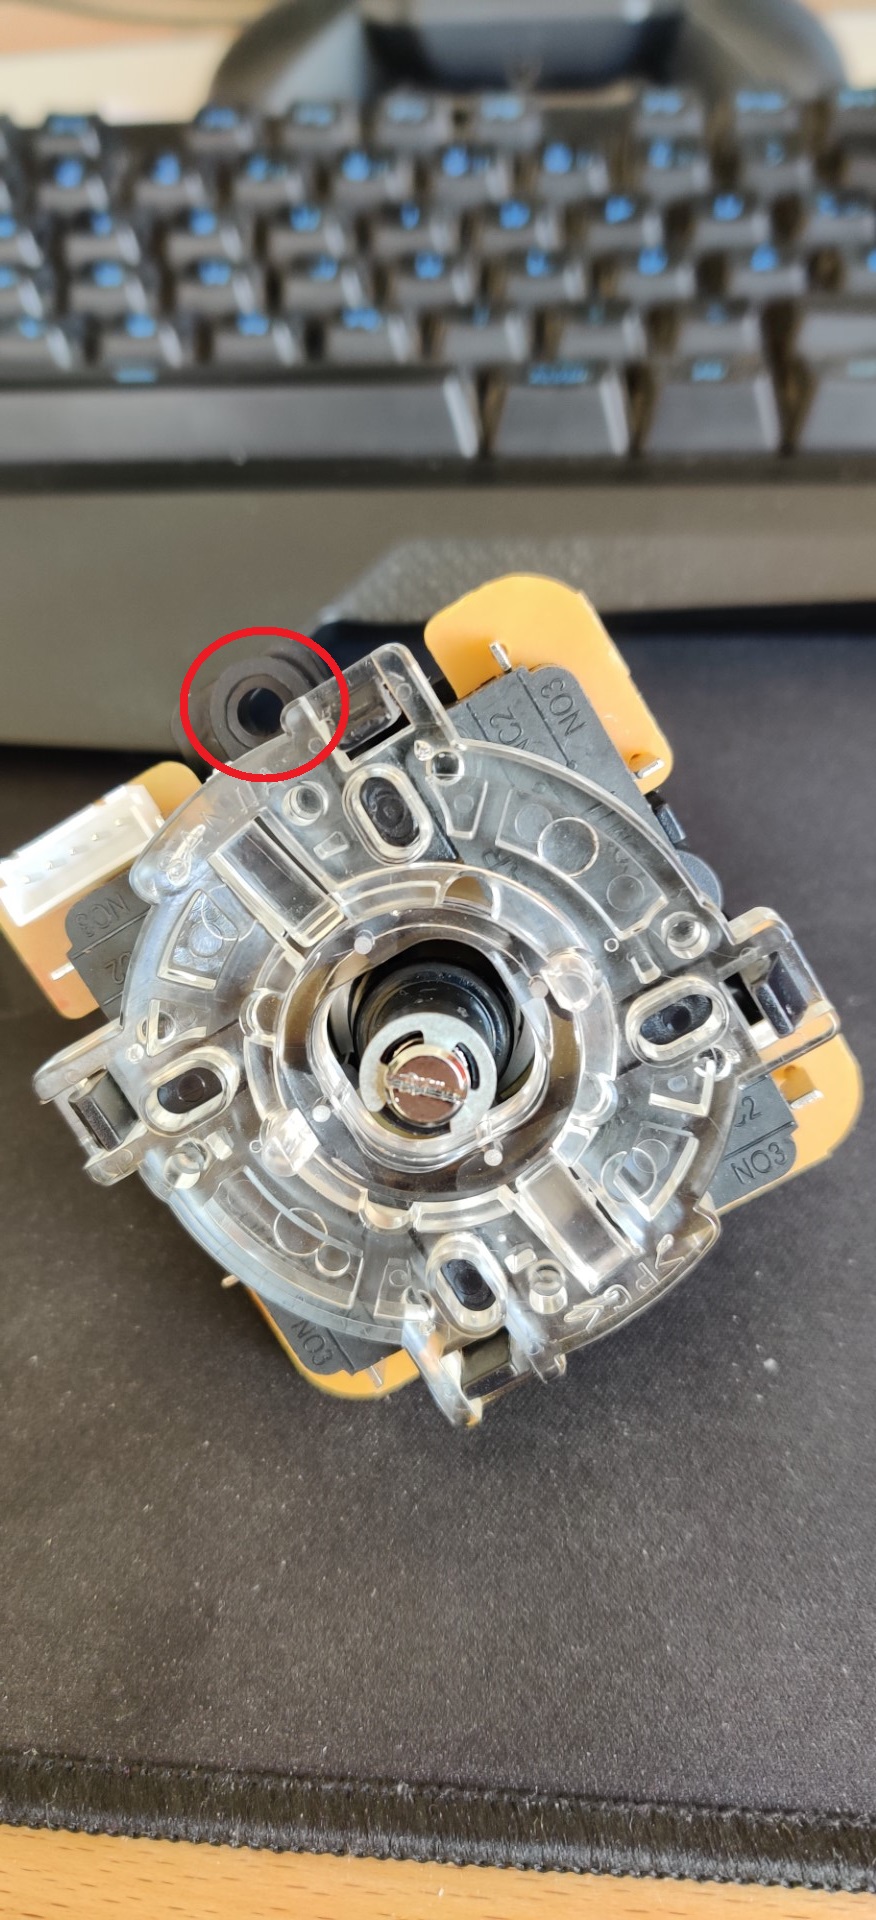
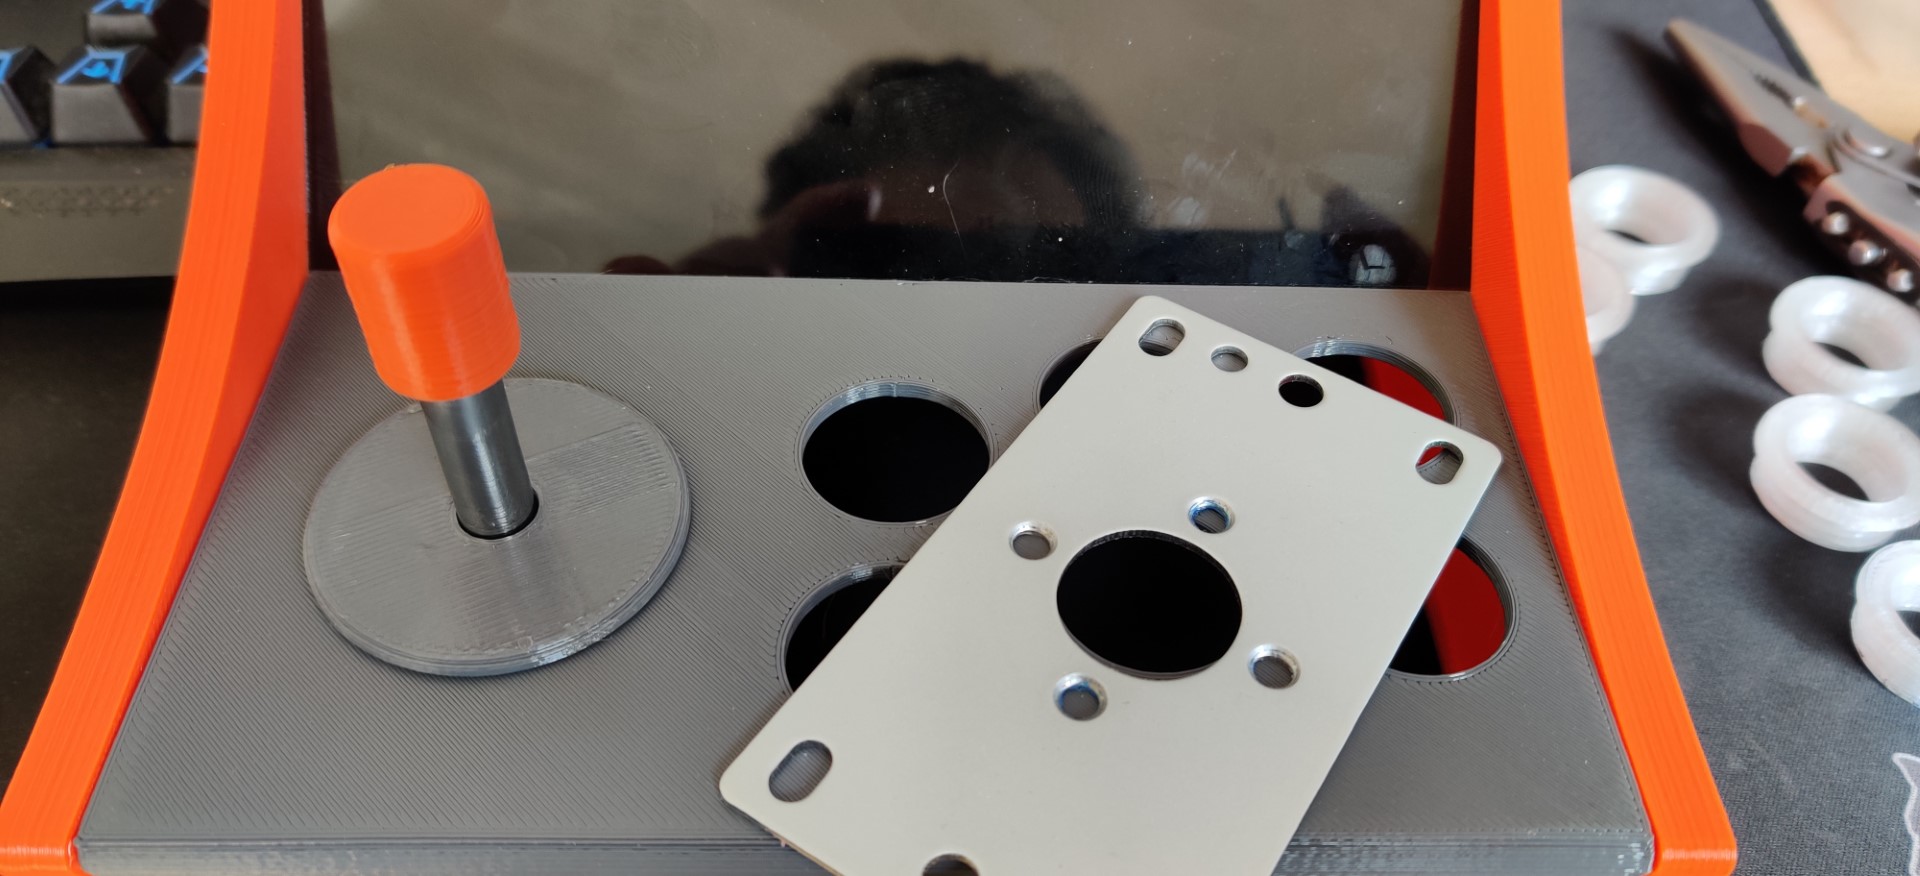
To fit the arcade stick into the shell you have to remove the mounting plate and do something about the two holes (see picture - I added a red circle on one of them). You have two options here:
- Use the controller in the direction it was intended, but you will have to remove the two little holes. Otherwise, it won't fit into the shell.
- Remove the transparent part at the bottom, remove the circuit with the switches and rotate it by 90°. This way it will fit, but you have to rebind the arcade stick controls in your OS later.
I went for option two. My controller board had a defect and I was not able to use the select button plug. Thats why I had to remap the arcade controls either way.
You should be able to use the screws of the mounting plate to mount the stick to the shell.

Add the Duster and screw the Joystick Ball to the top of the stick.
Buttons
If you want to use original 24mm arcade buttons, you are free to skip this section.
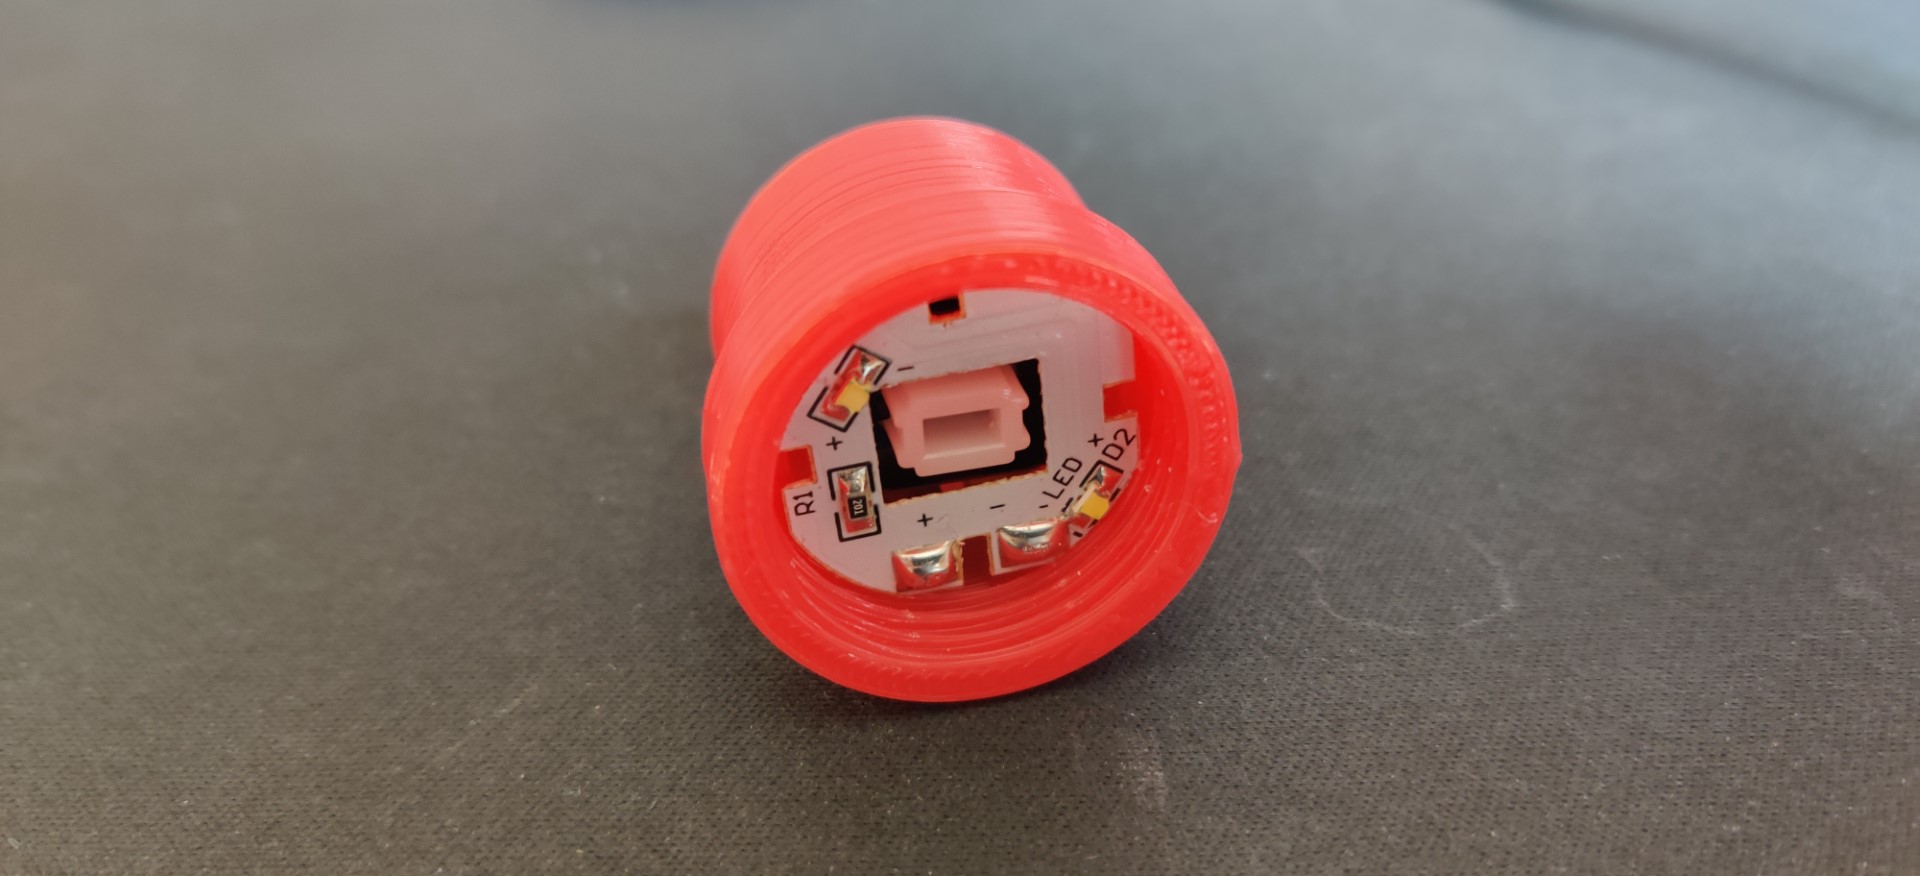
You have to disassemble the arcade buttons to use the custom housing. Remove the top of the buttons and use a caliper to press the led circuit out of the housing. Removing the switch should be straight forward (a flat screwdriver helps).

First insert the switch to the custom housing (once pressed into the housing it is hard to remove). Then insert the led circuit. This will be a tight fit. Use a bit force if necessary (or The Force , if it helps).
Now it would be a good point to test the LEDs. Some of mine did not work anymore after these steps. Heating the contacts of the resistor solved the problem in my case.
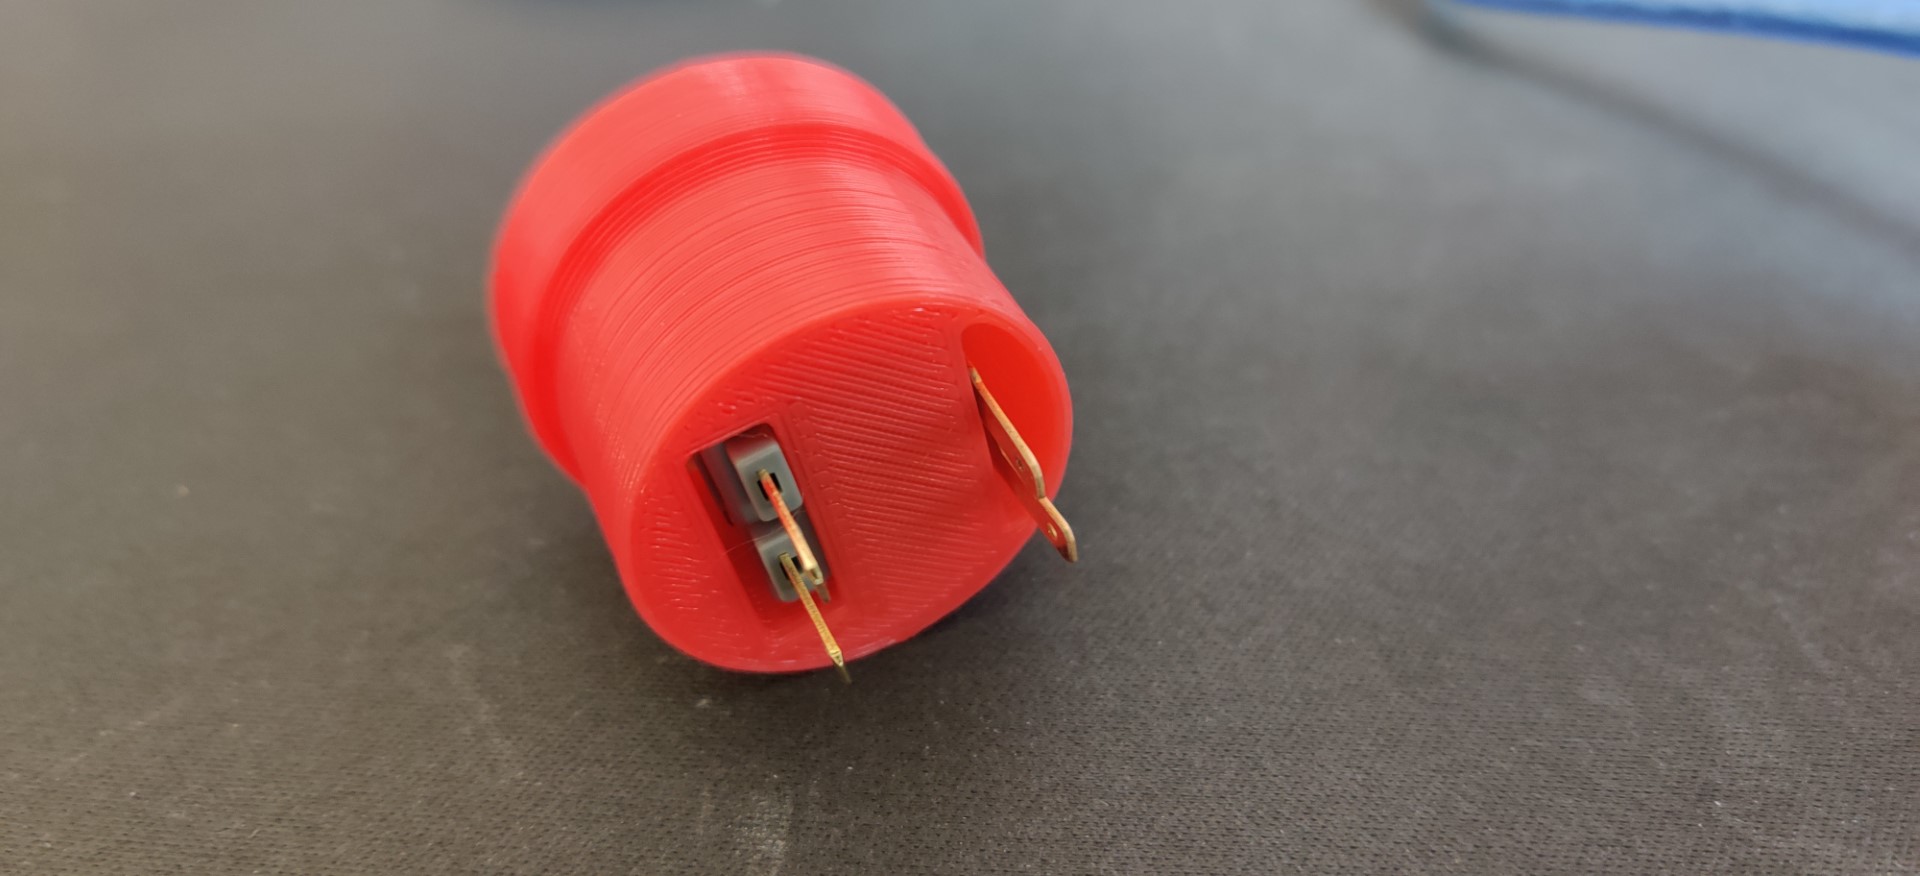
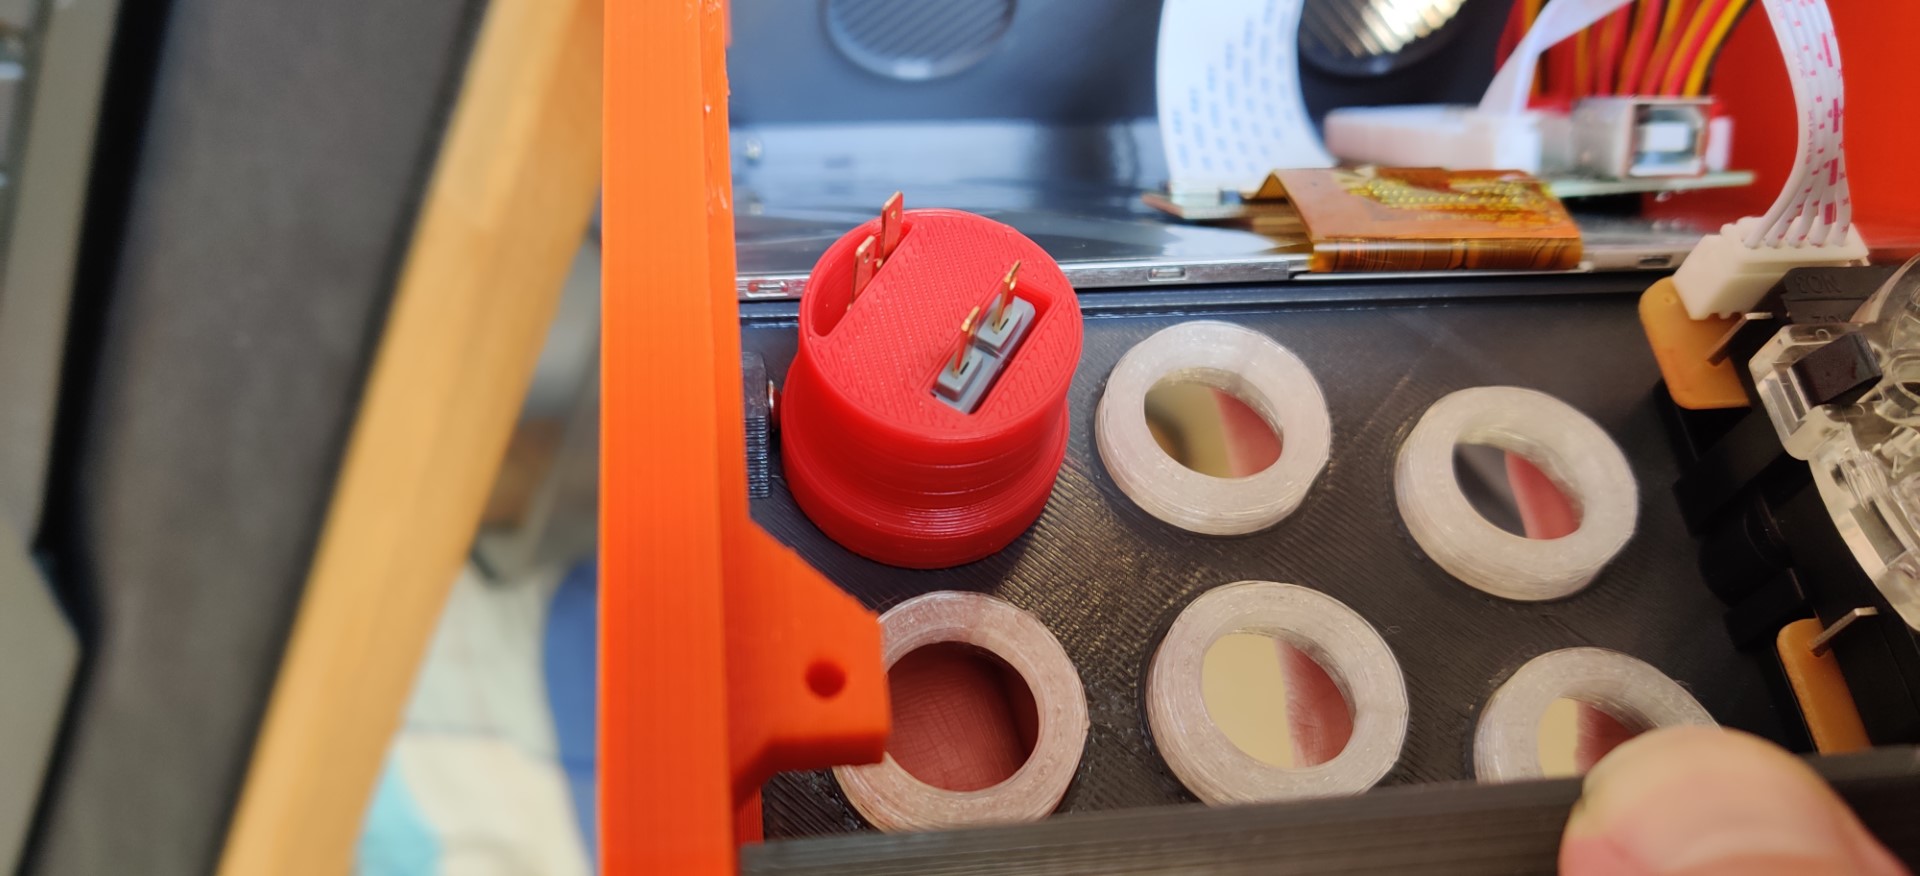
Insert the Button Tops into the Front Panel and mount the Button Housings. Same goes for the Side Button Tops.

After wiring the buttons bend the pins a bit. Otherwise, you won't be able to close the shell in the last step. I had to insulate two of the pins. Because of the tight fit of the components, on some pins it was possible to introduce a short once th shell was closed. Check your pins!
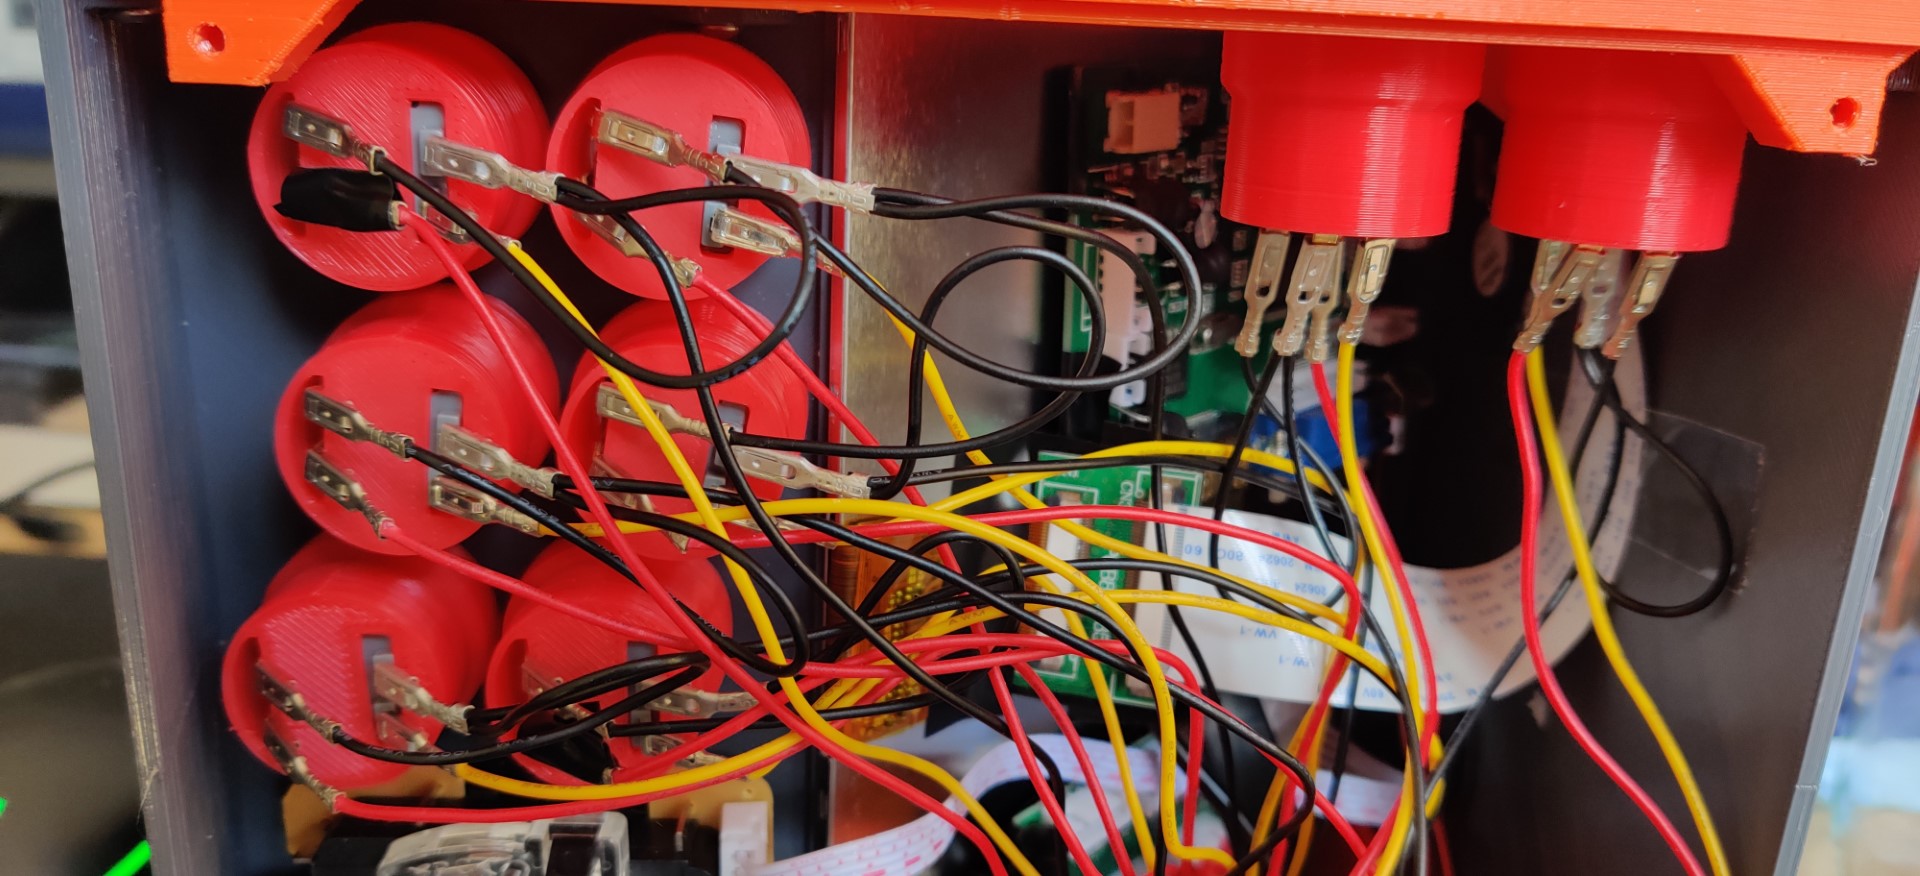
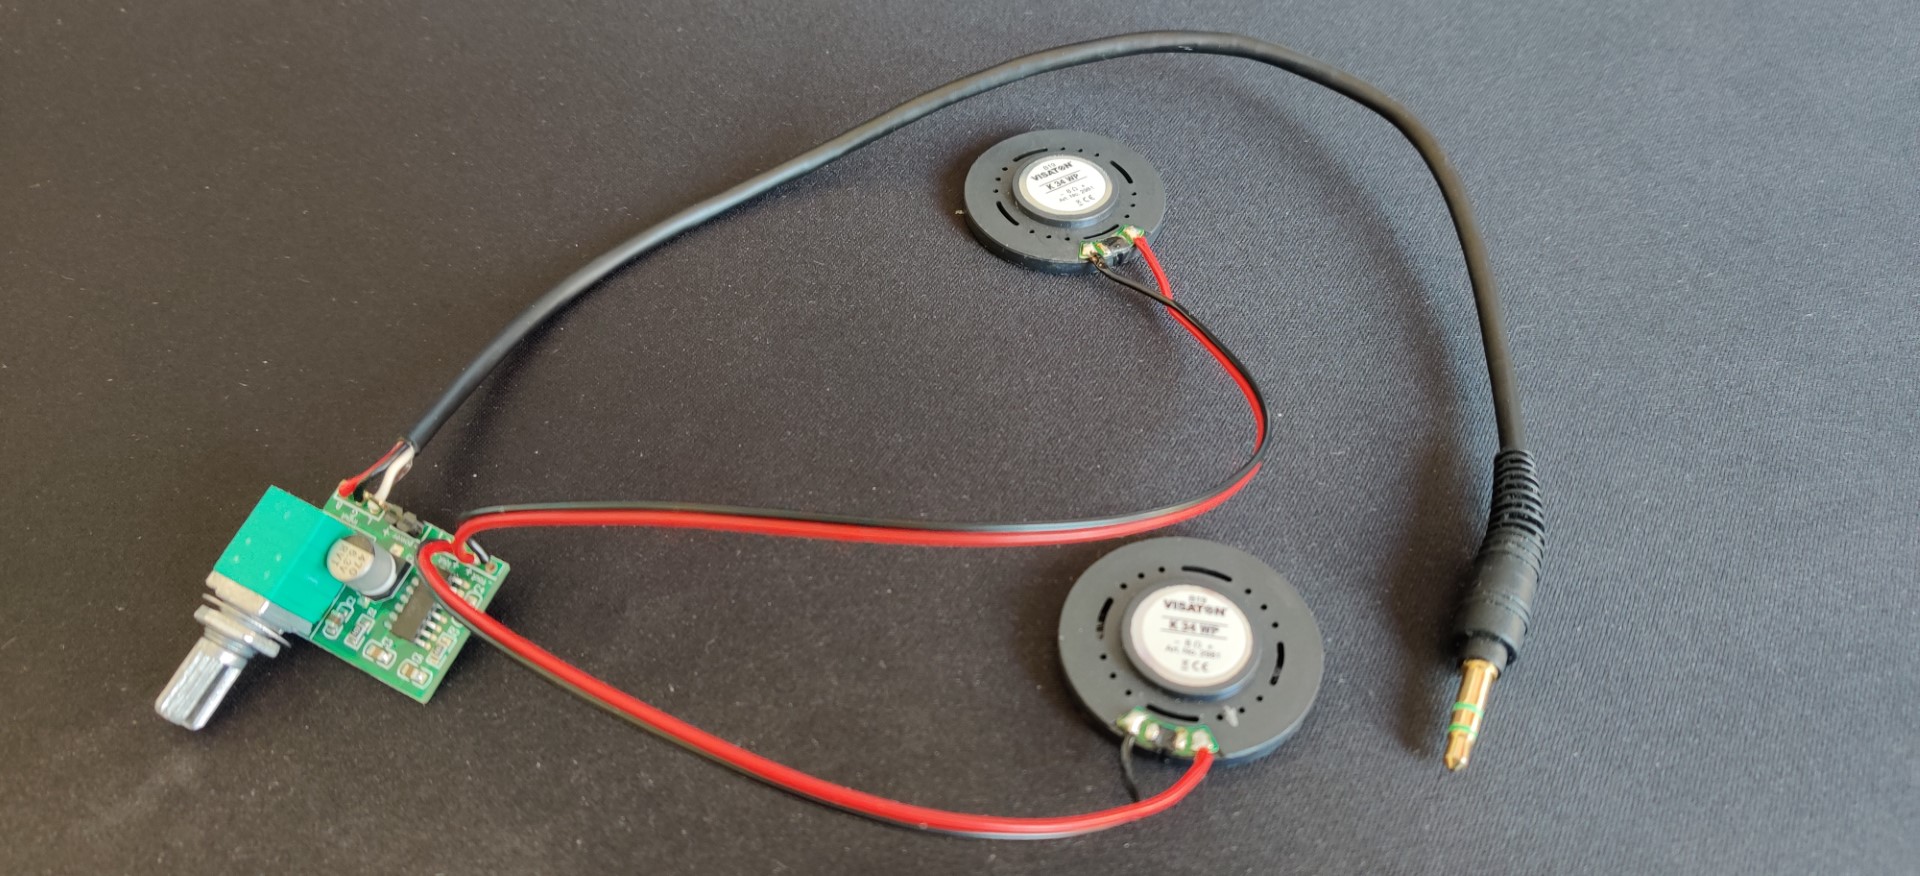
Audio
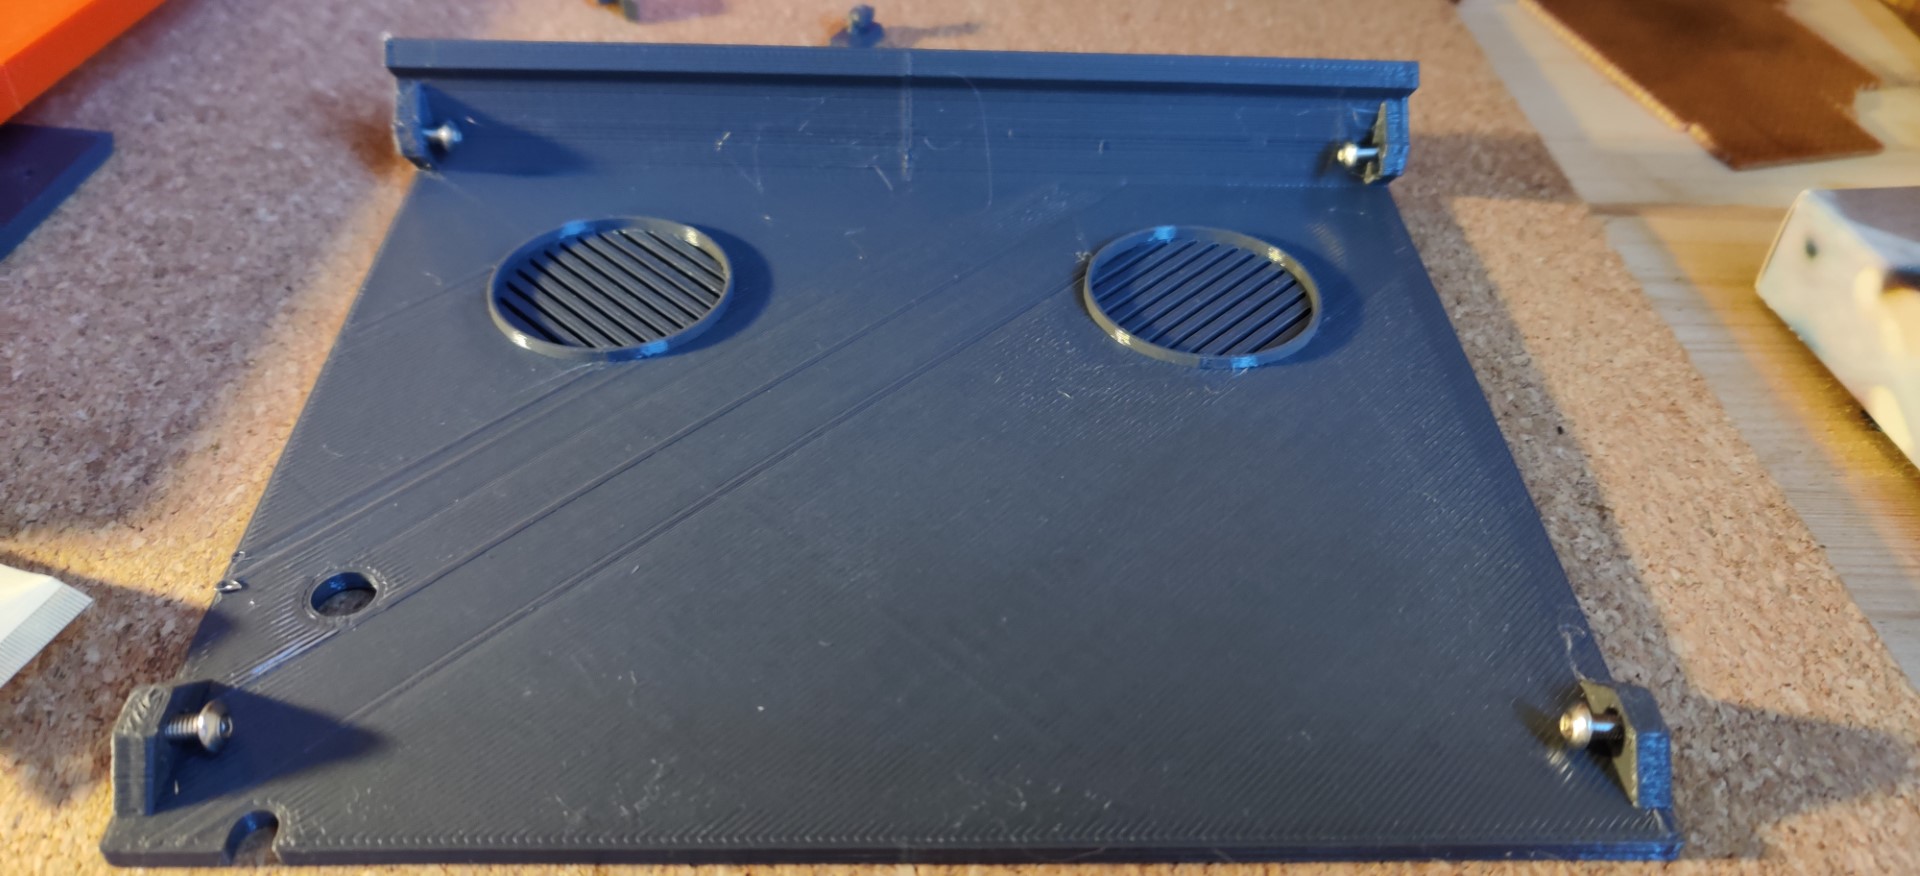
Take the pictures as a reference for the audio circuit. This should be straightforward. The top part of the audio jack is the Left channel, the middle part the Right channel and the bottom part is Ground. Insert the speakers into the mounting circles of the Back Panel. Just use a drop of hot glue, if it is not a press fit in your case. Mount the PAM to the Back Panel.
Raspberry Pi and closing the shell
Mount the Raspberry Pi to the Bottom Panel and insert the power adapter, HDMI and USB plugs into it (Arcade Controller and Display). Don't forget to zip tie the power adapter cable to secure it (see picture).
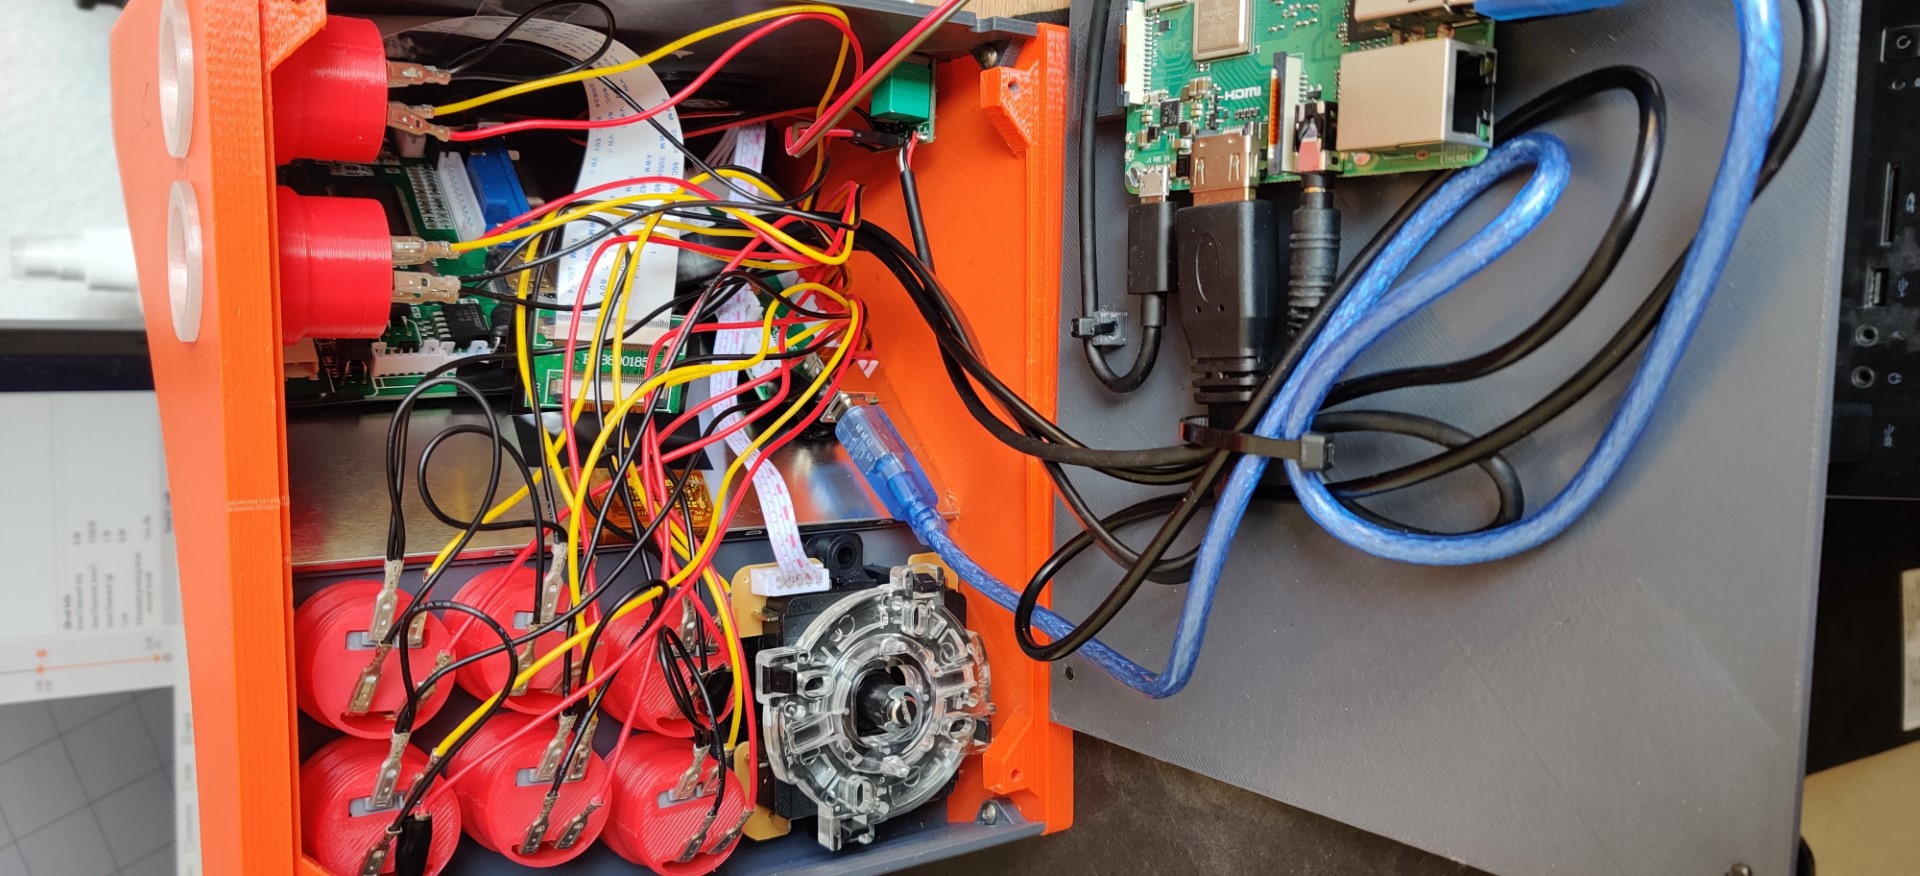
Now configure your retro system as you want and close the shell - use the rubber feet. You are done! I used RetroPie together with the simplyRetro theme.