 deʃhipu
So how is this better/different than an off-the-shelf keyboard?
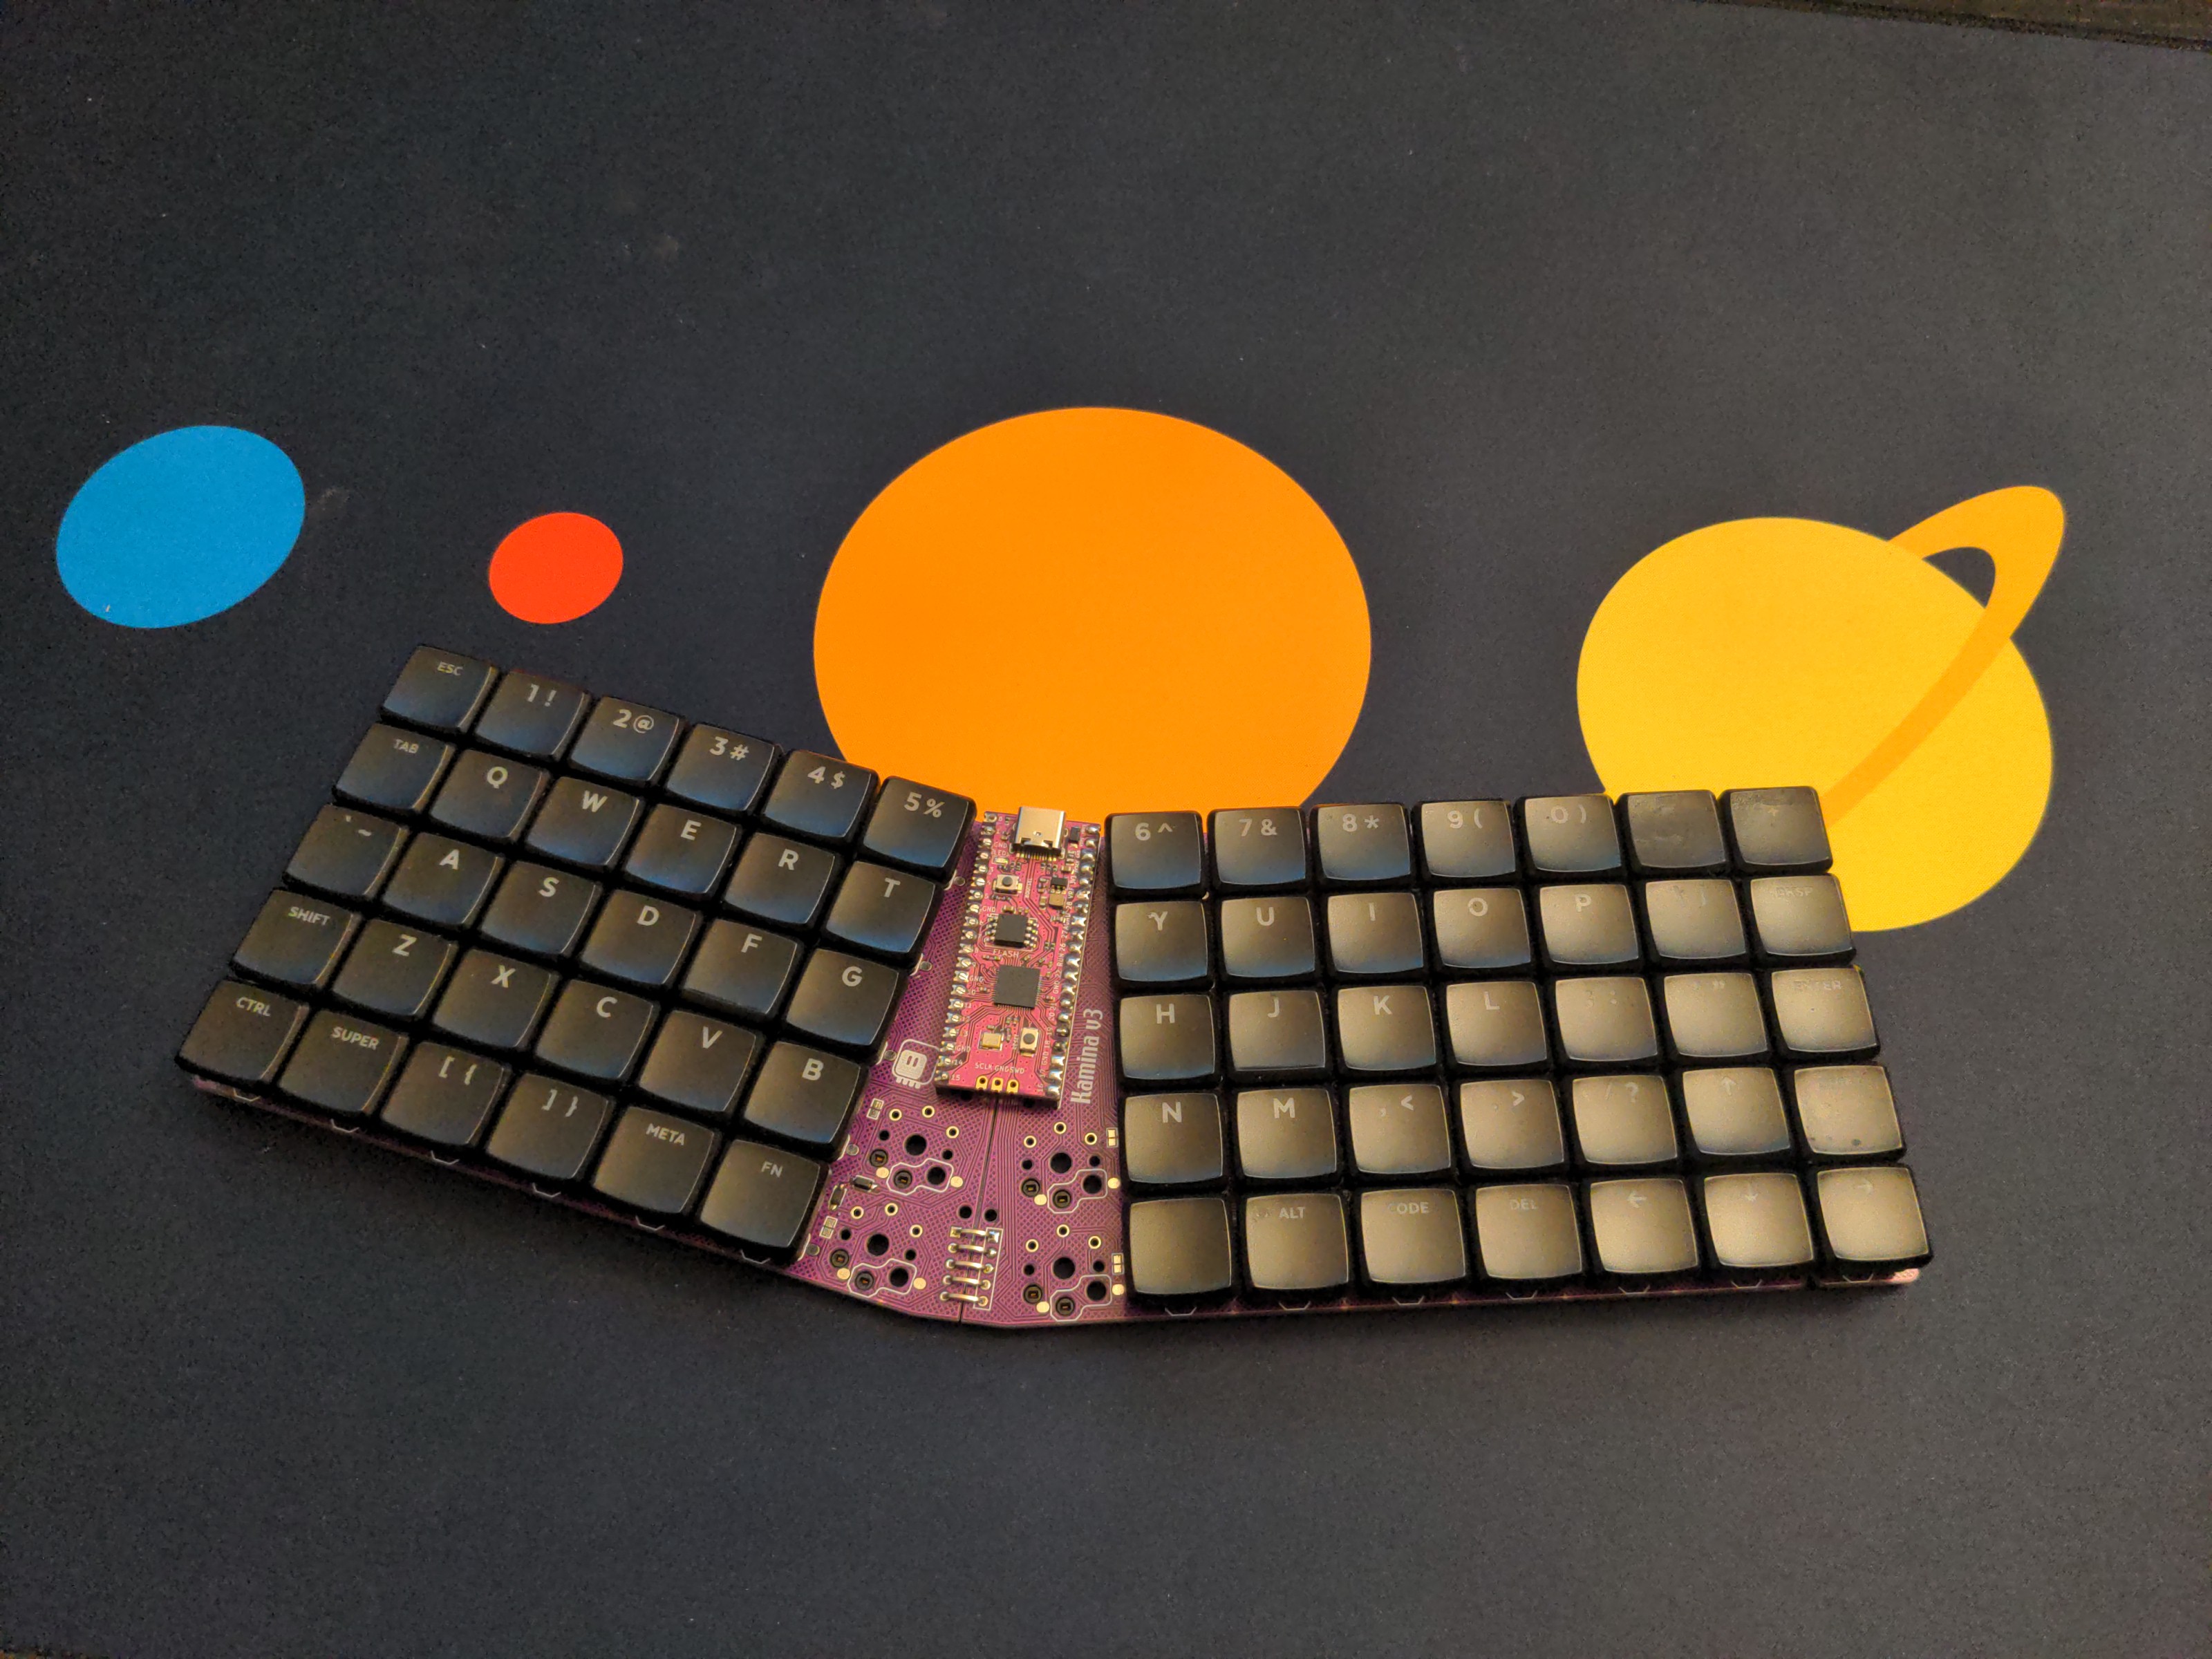
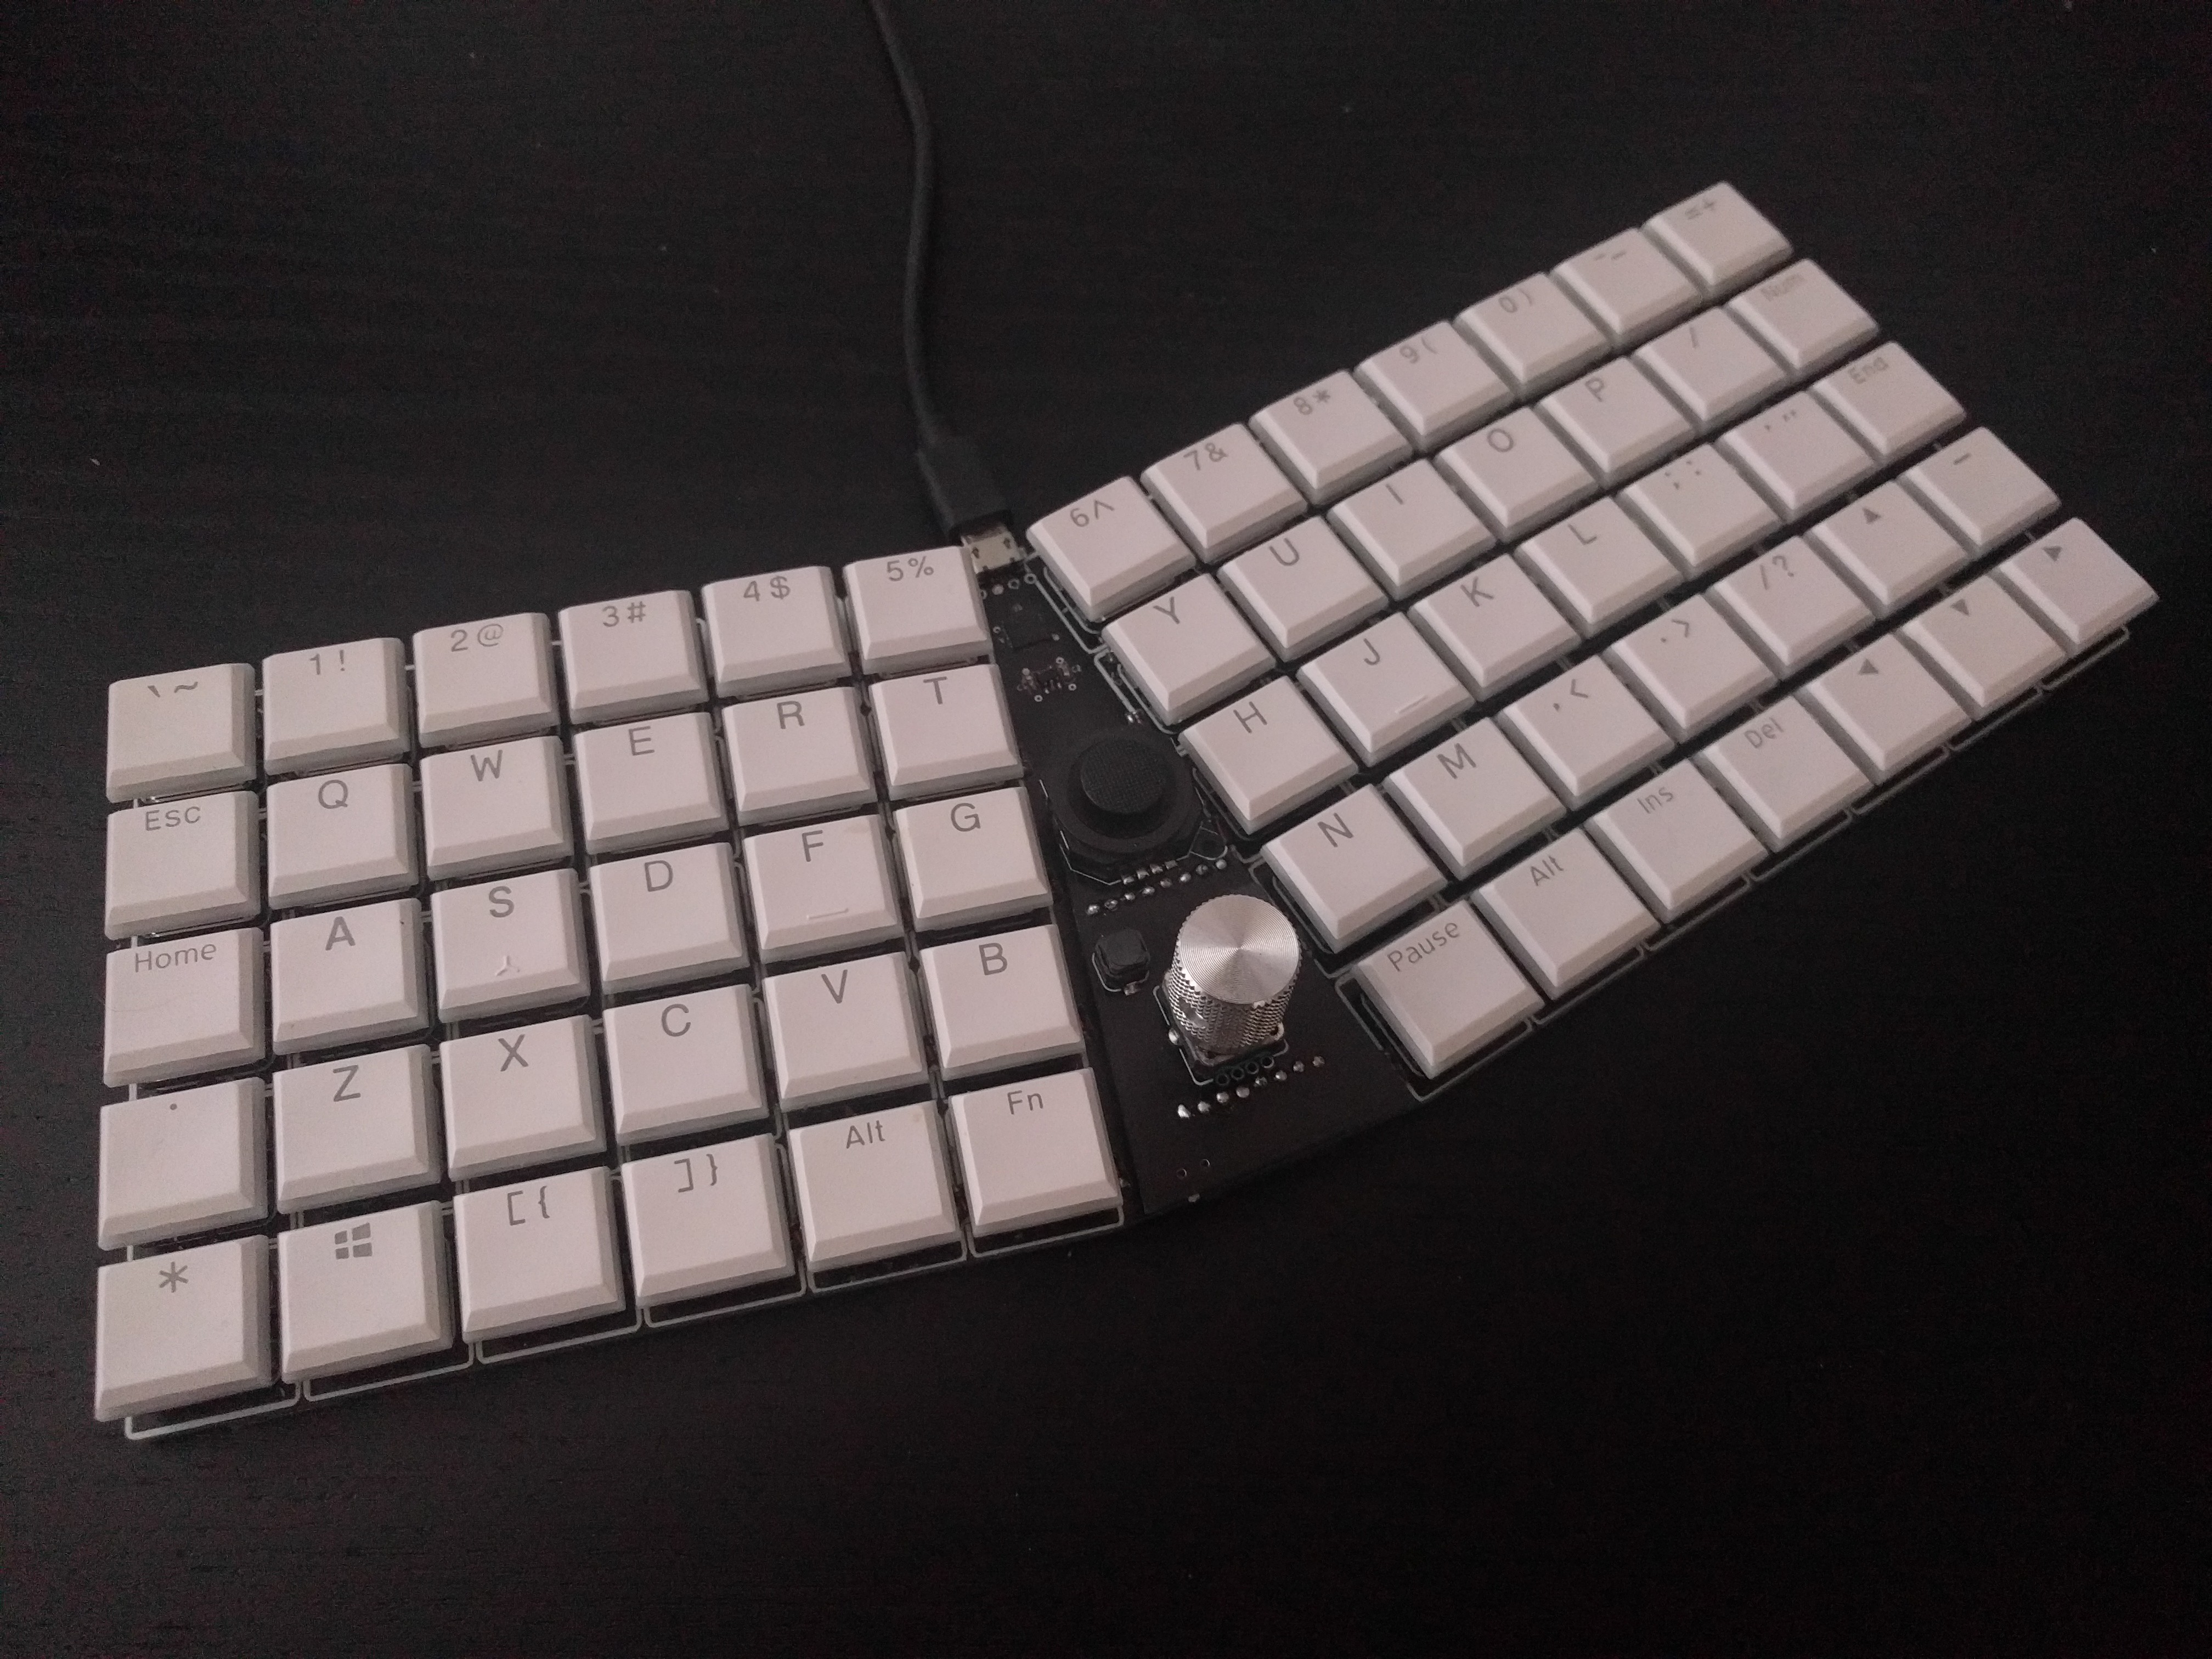
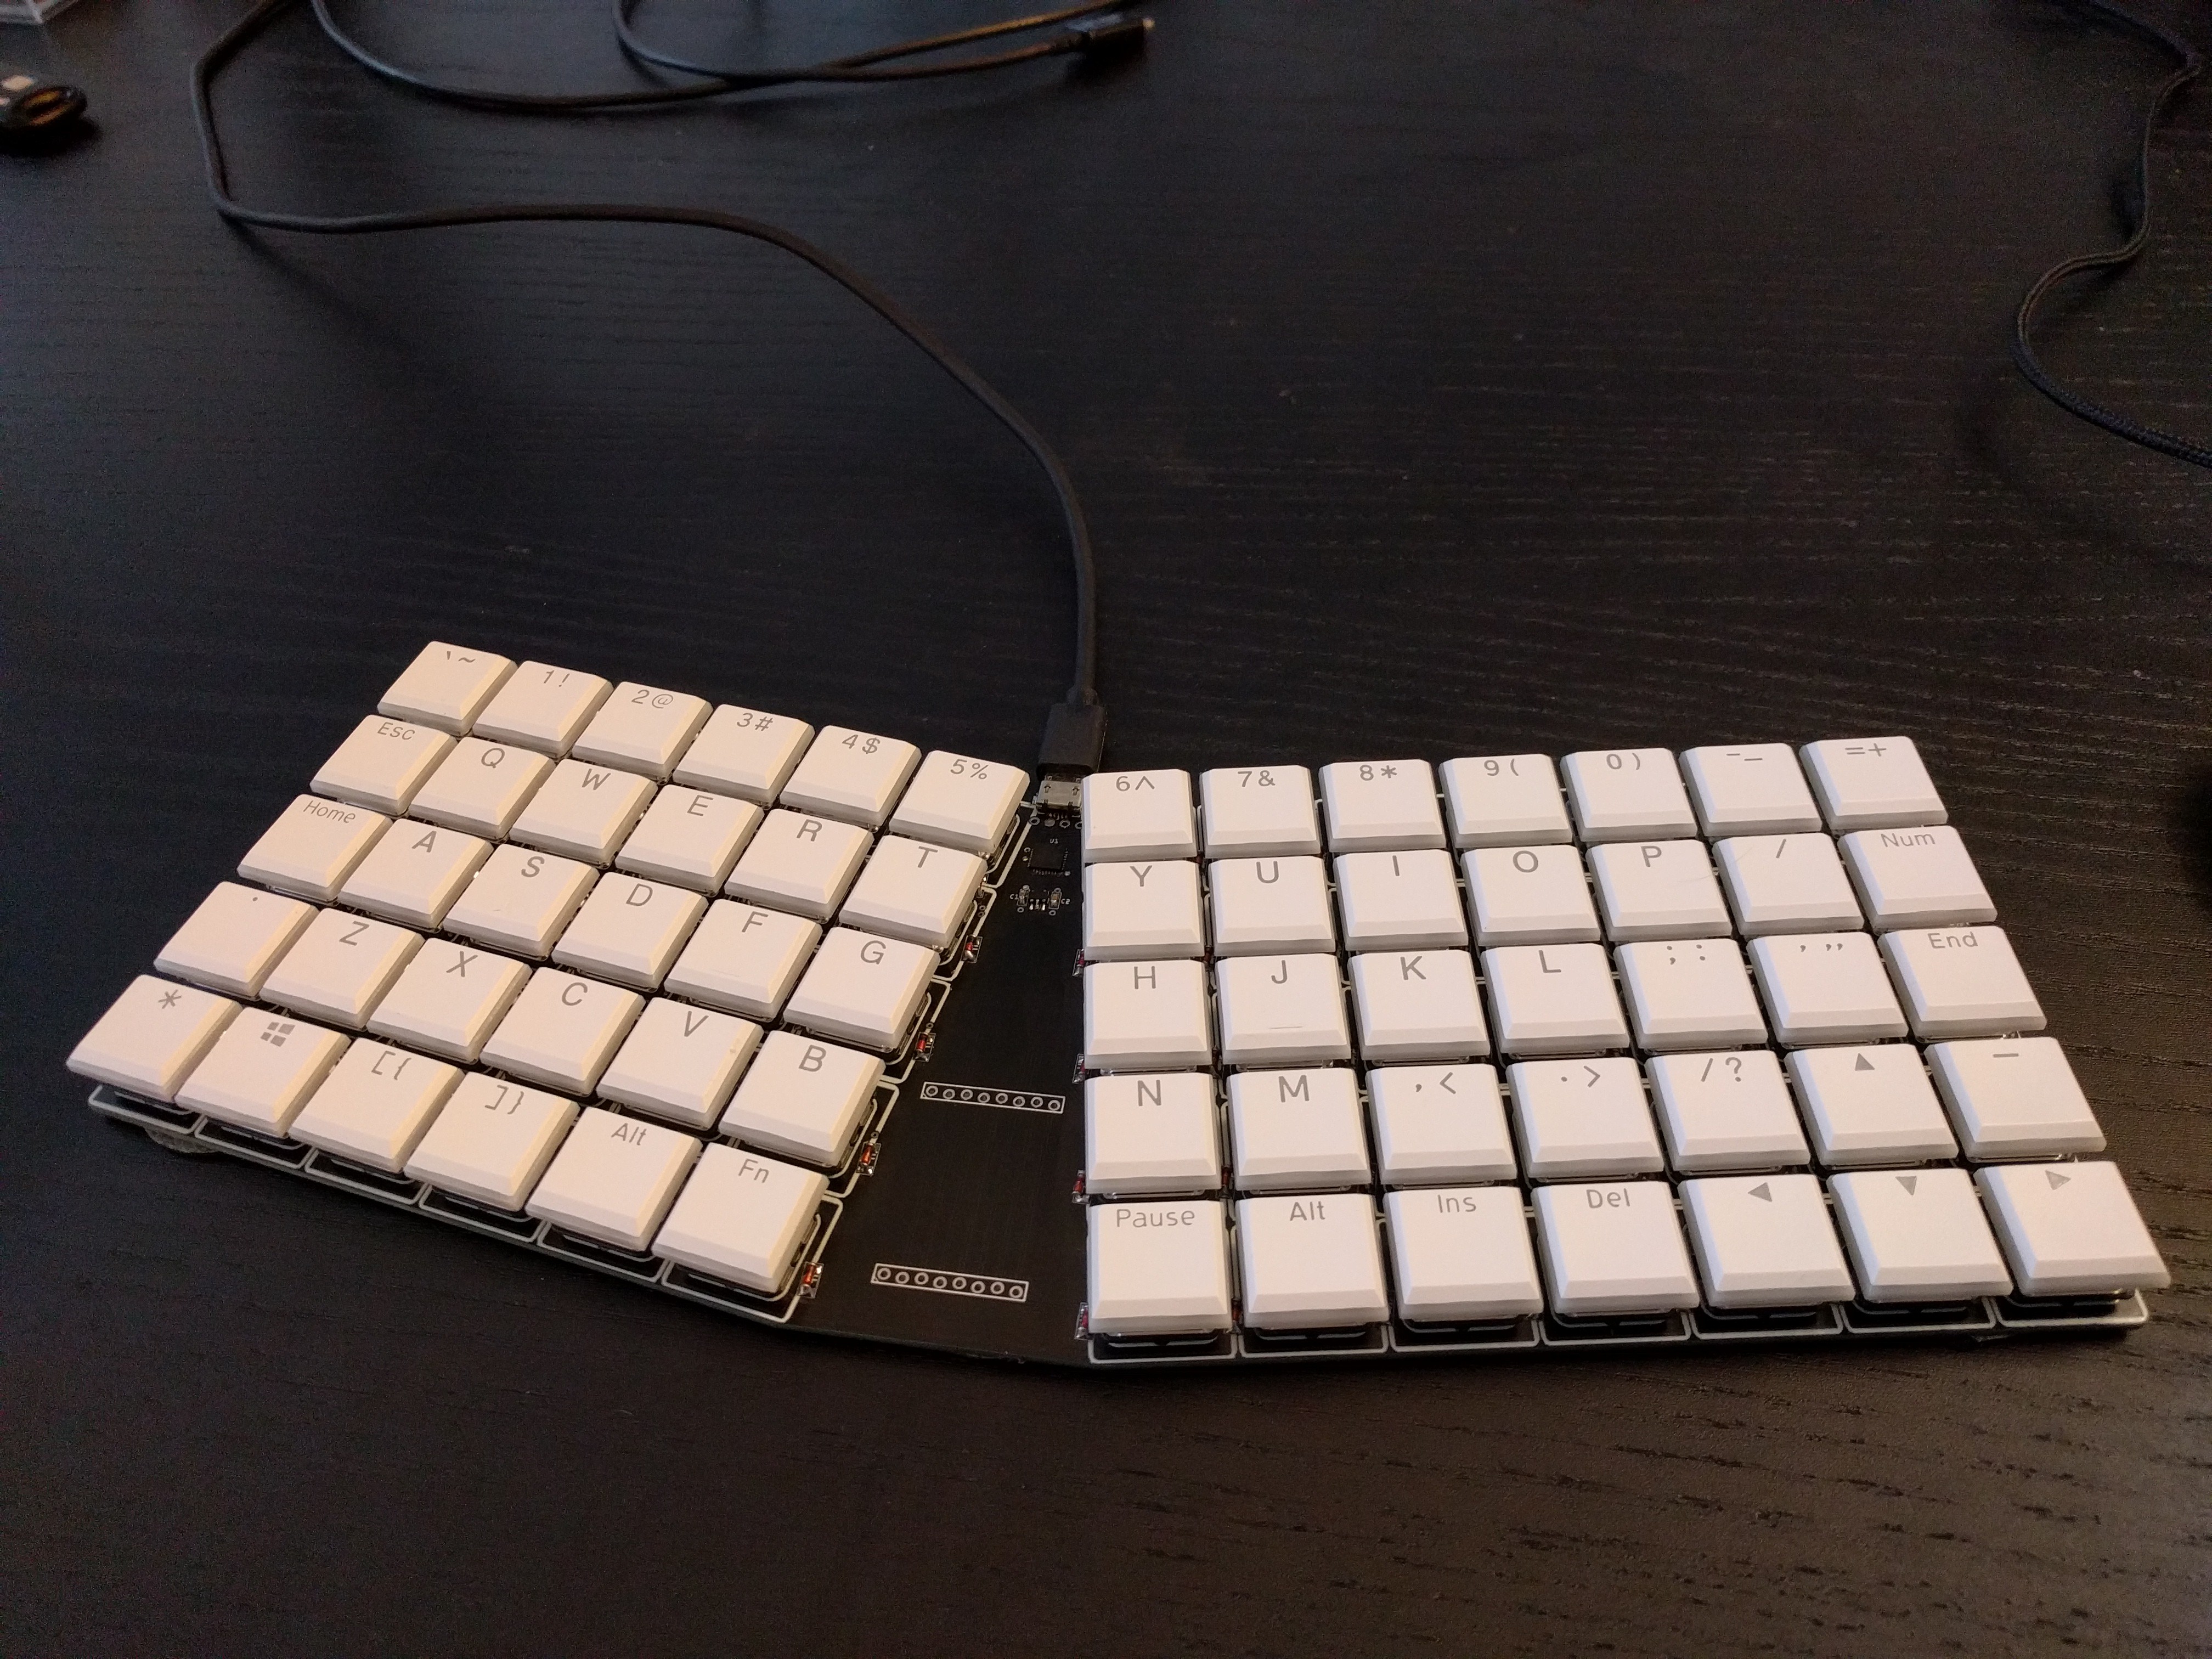
- Mechanical switches, but that's not that special of course.
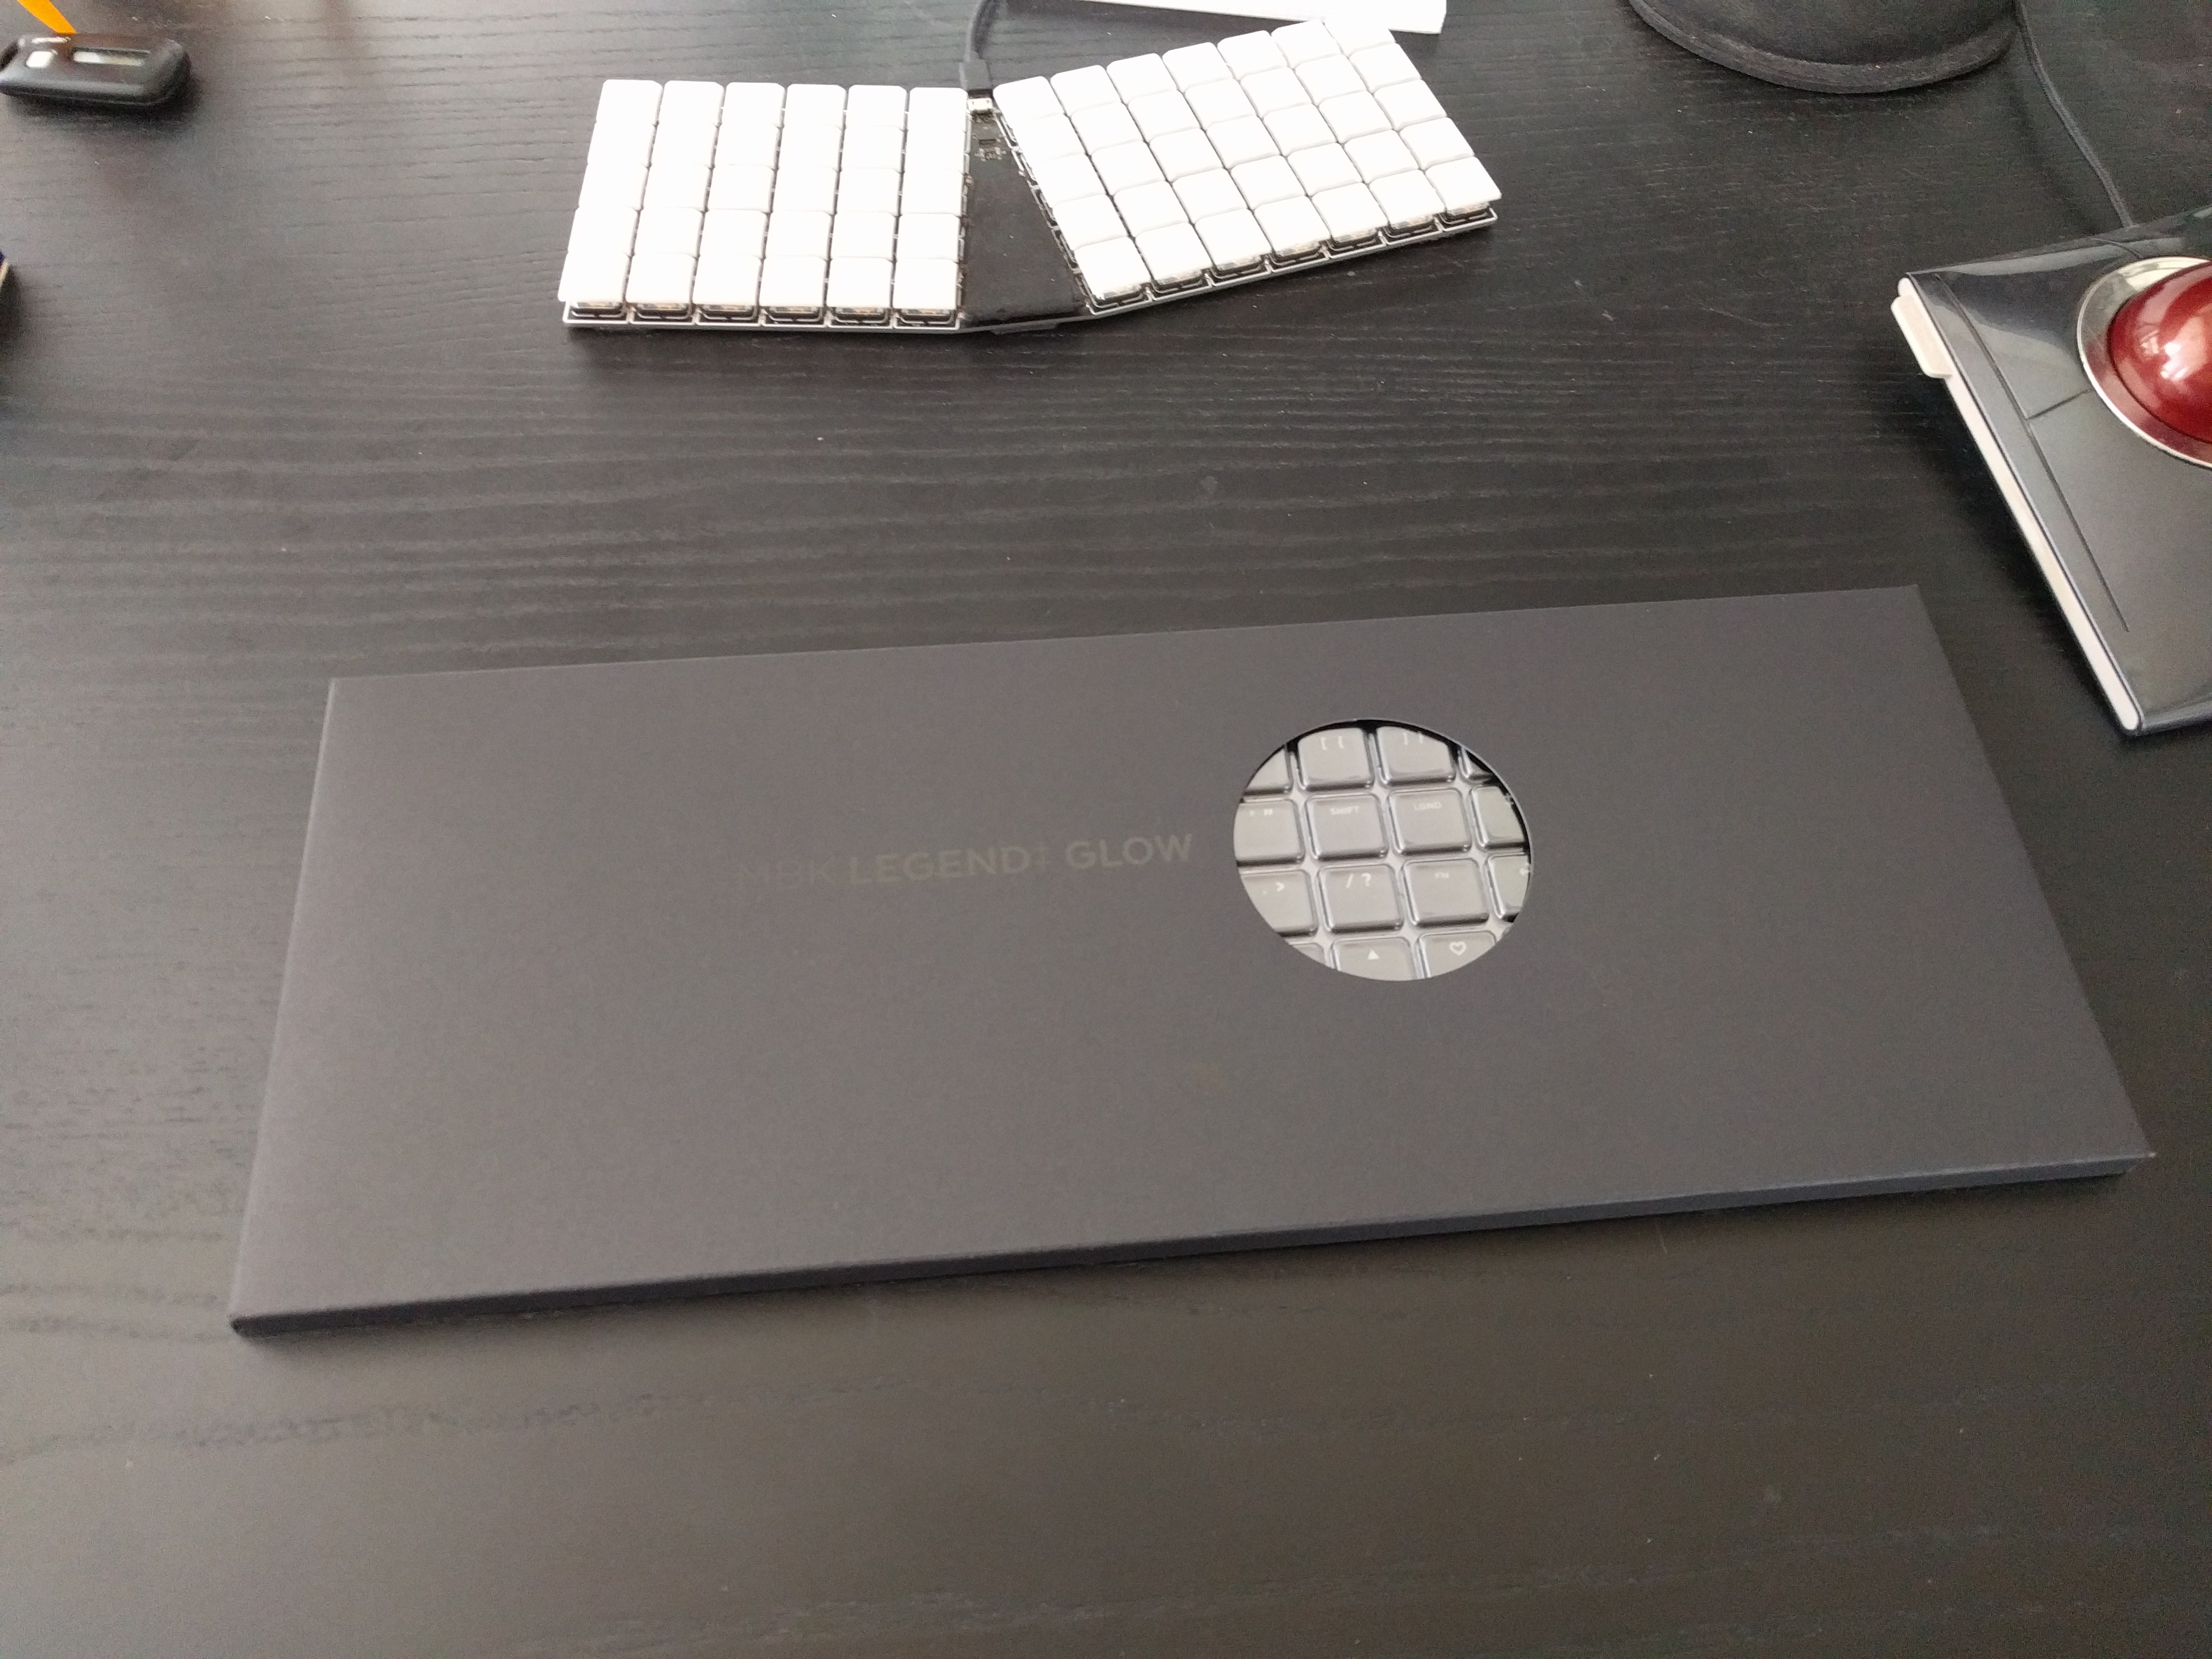
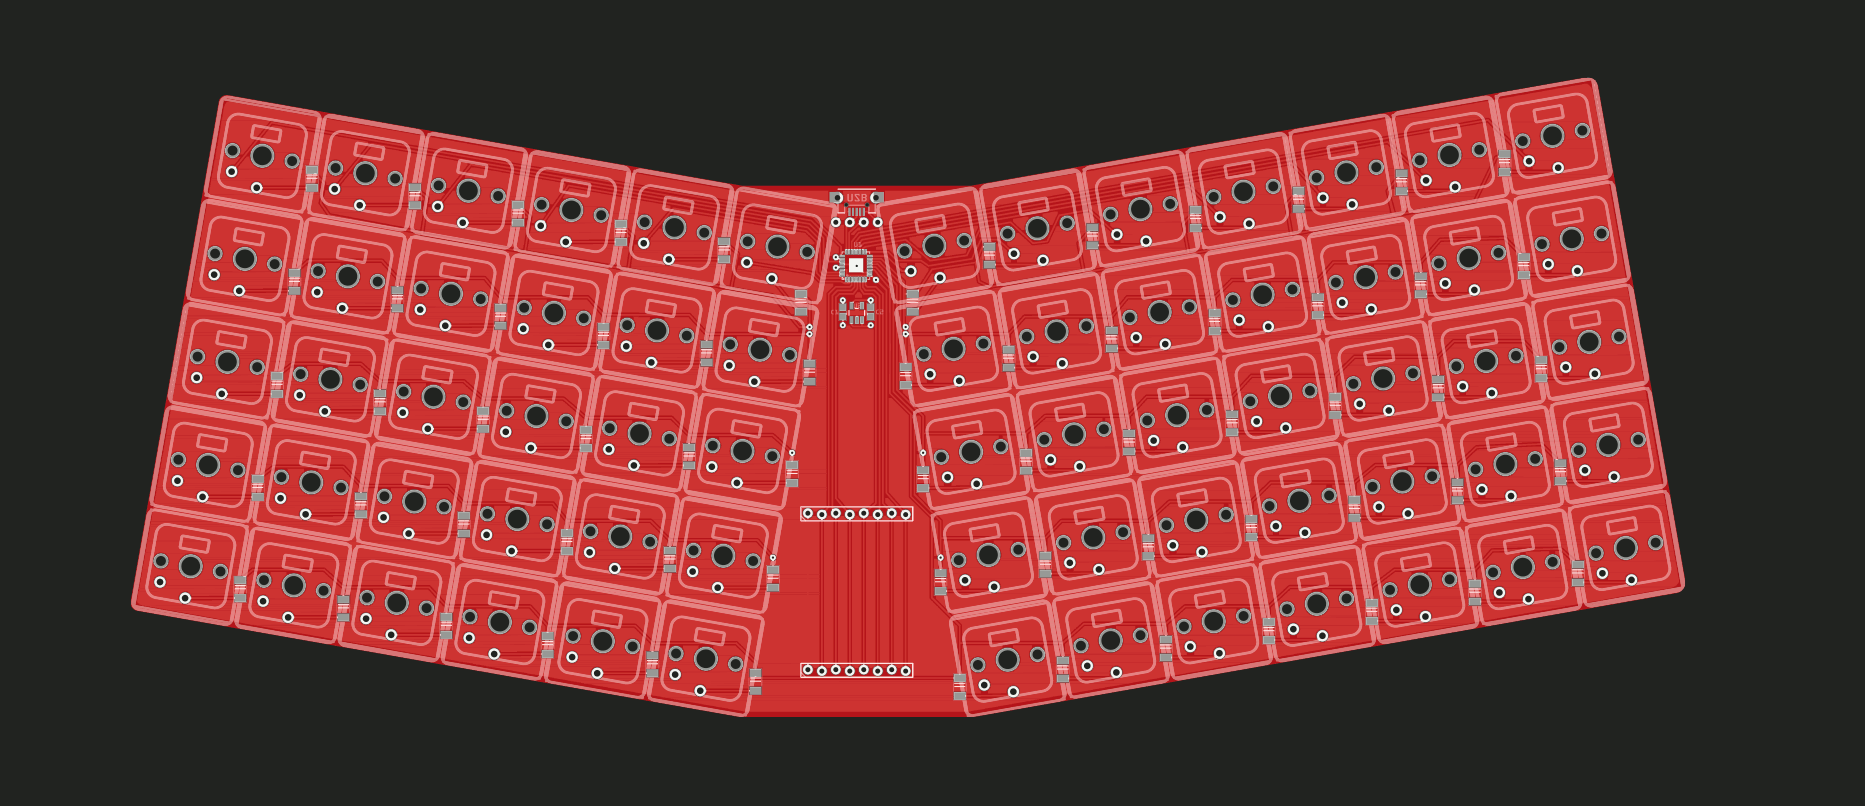
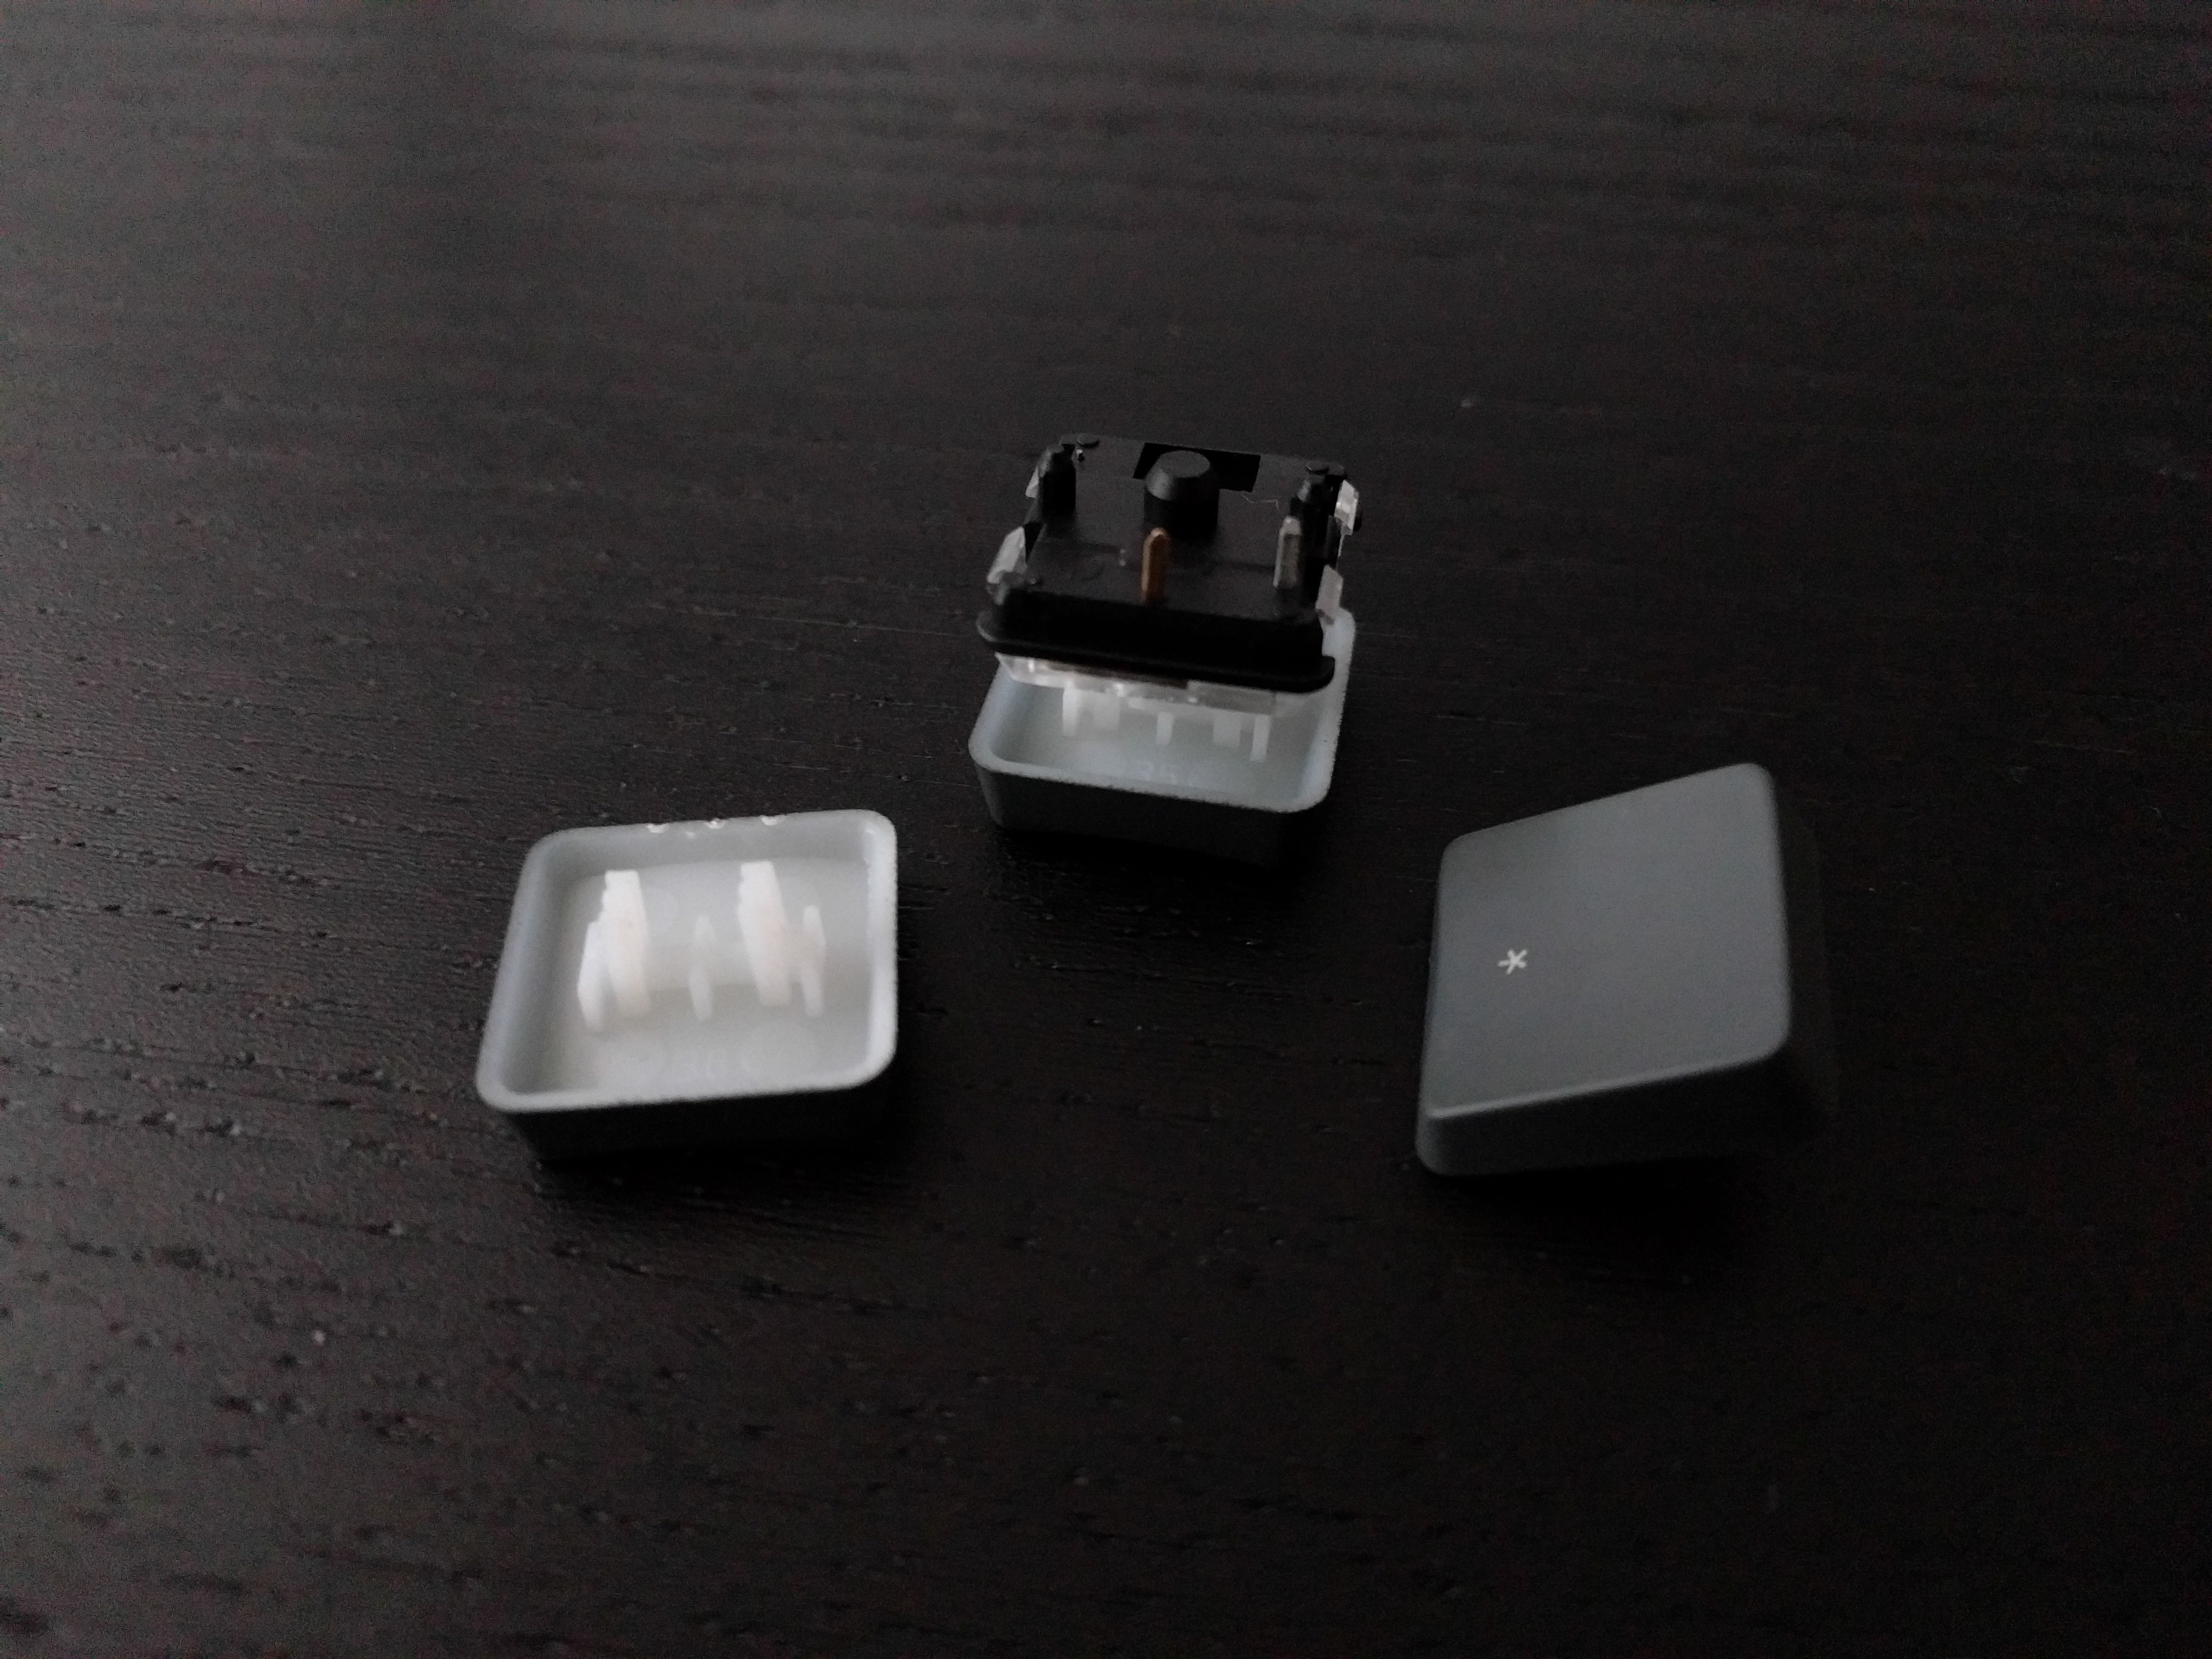
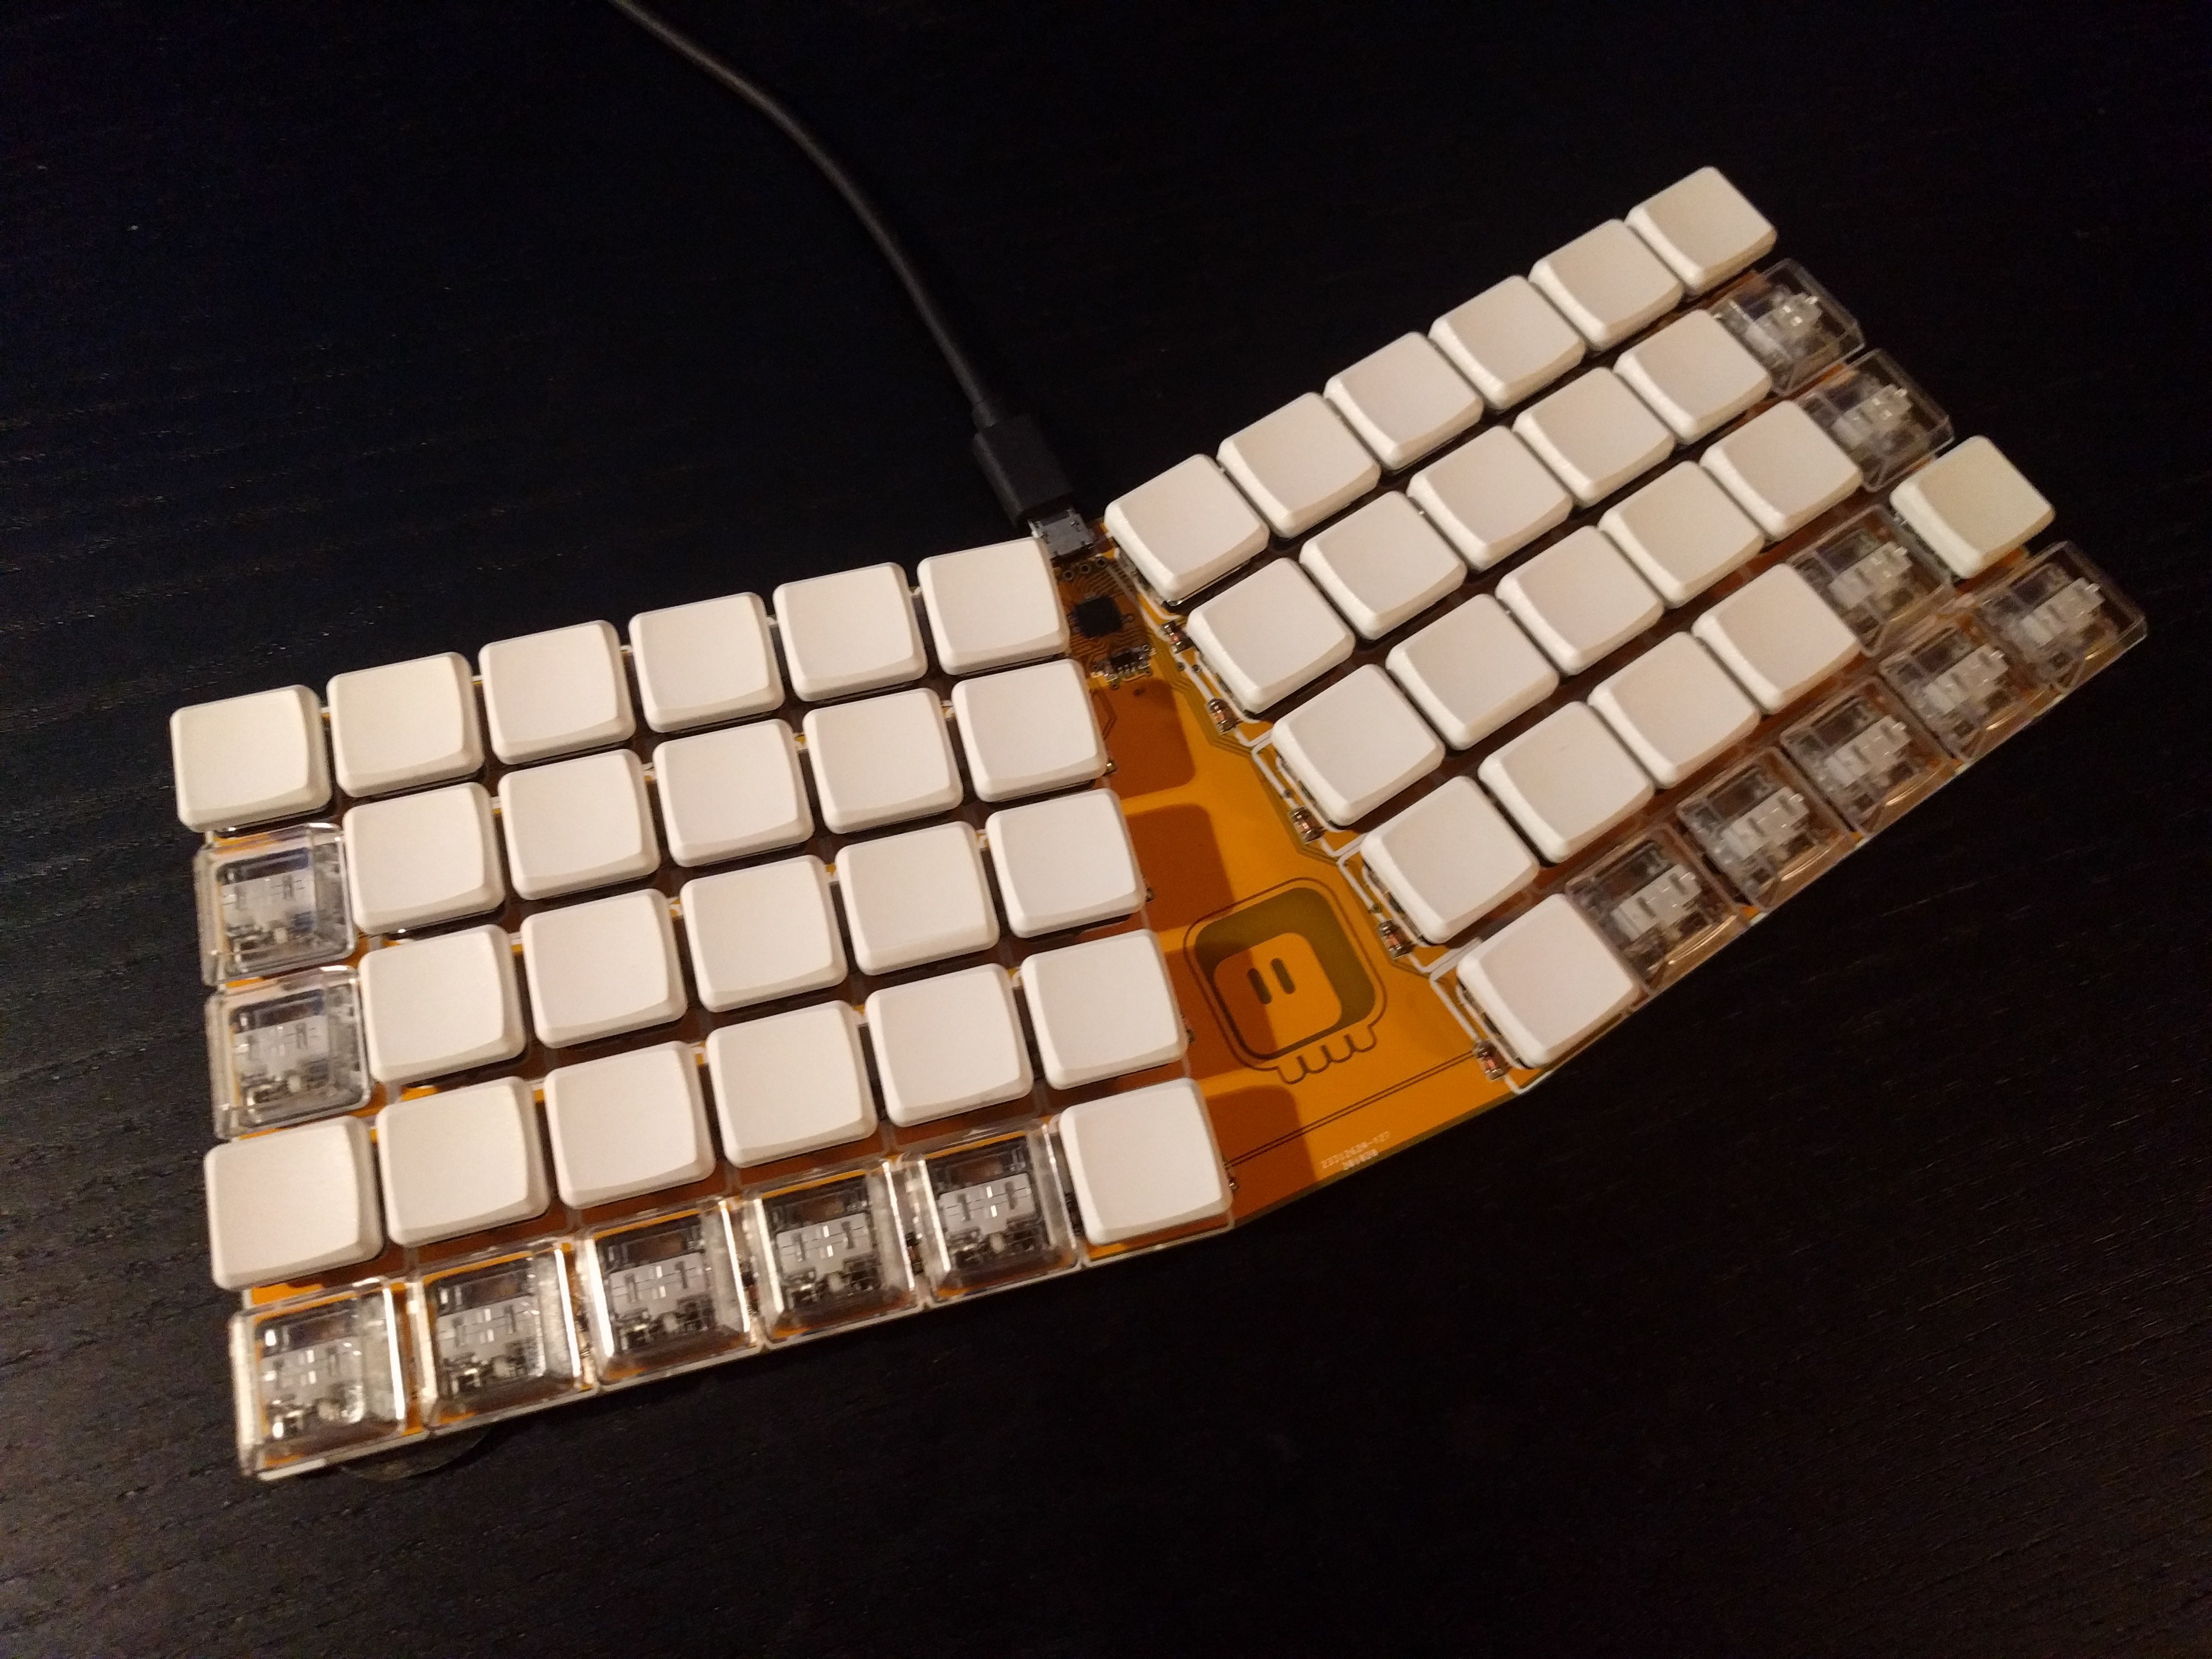
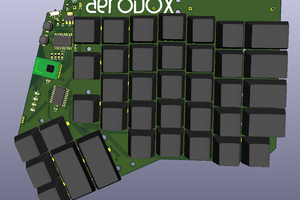
- Low-profile, which is much rarer. You can (finally) buy some low-profile mechanical keyboards, but the have this extra height from the case and key caps. This one is as thin as possible, just the lowest key caps, the low-profile switches, the PCB and some rubberized stickers for good grip.
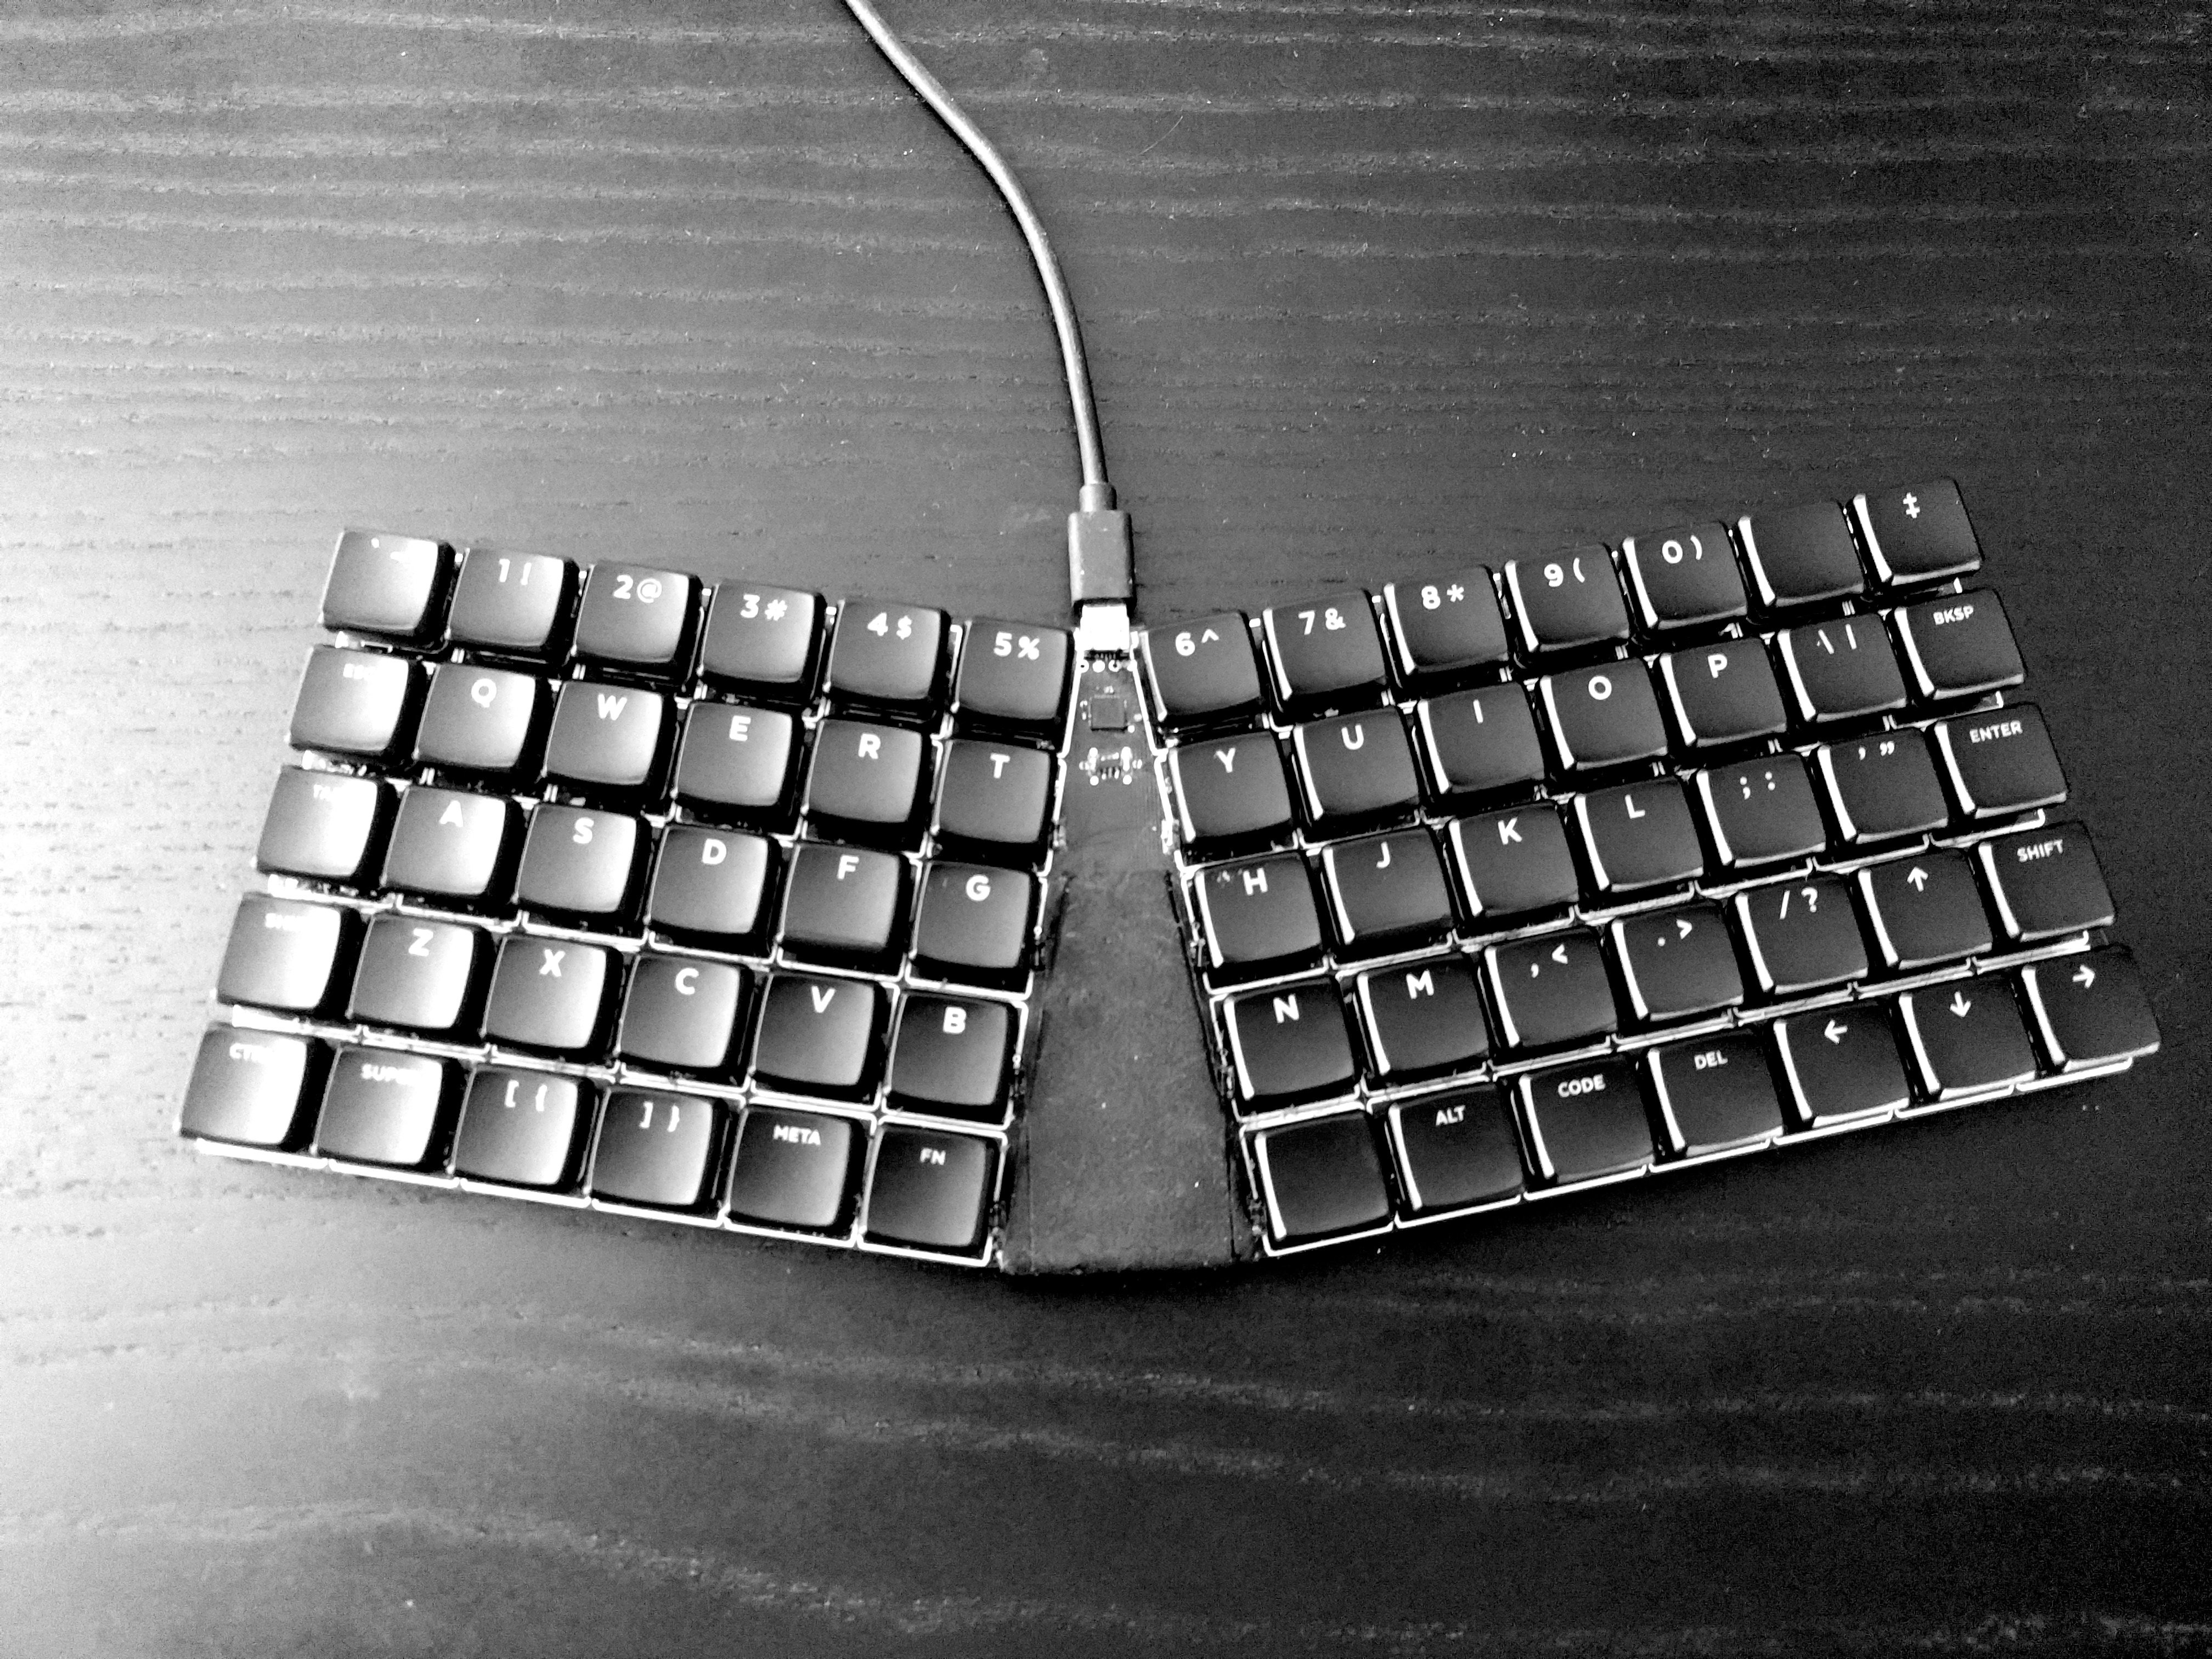
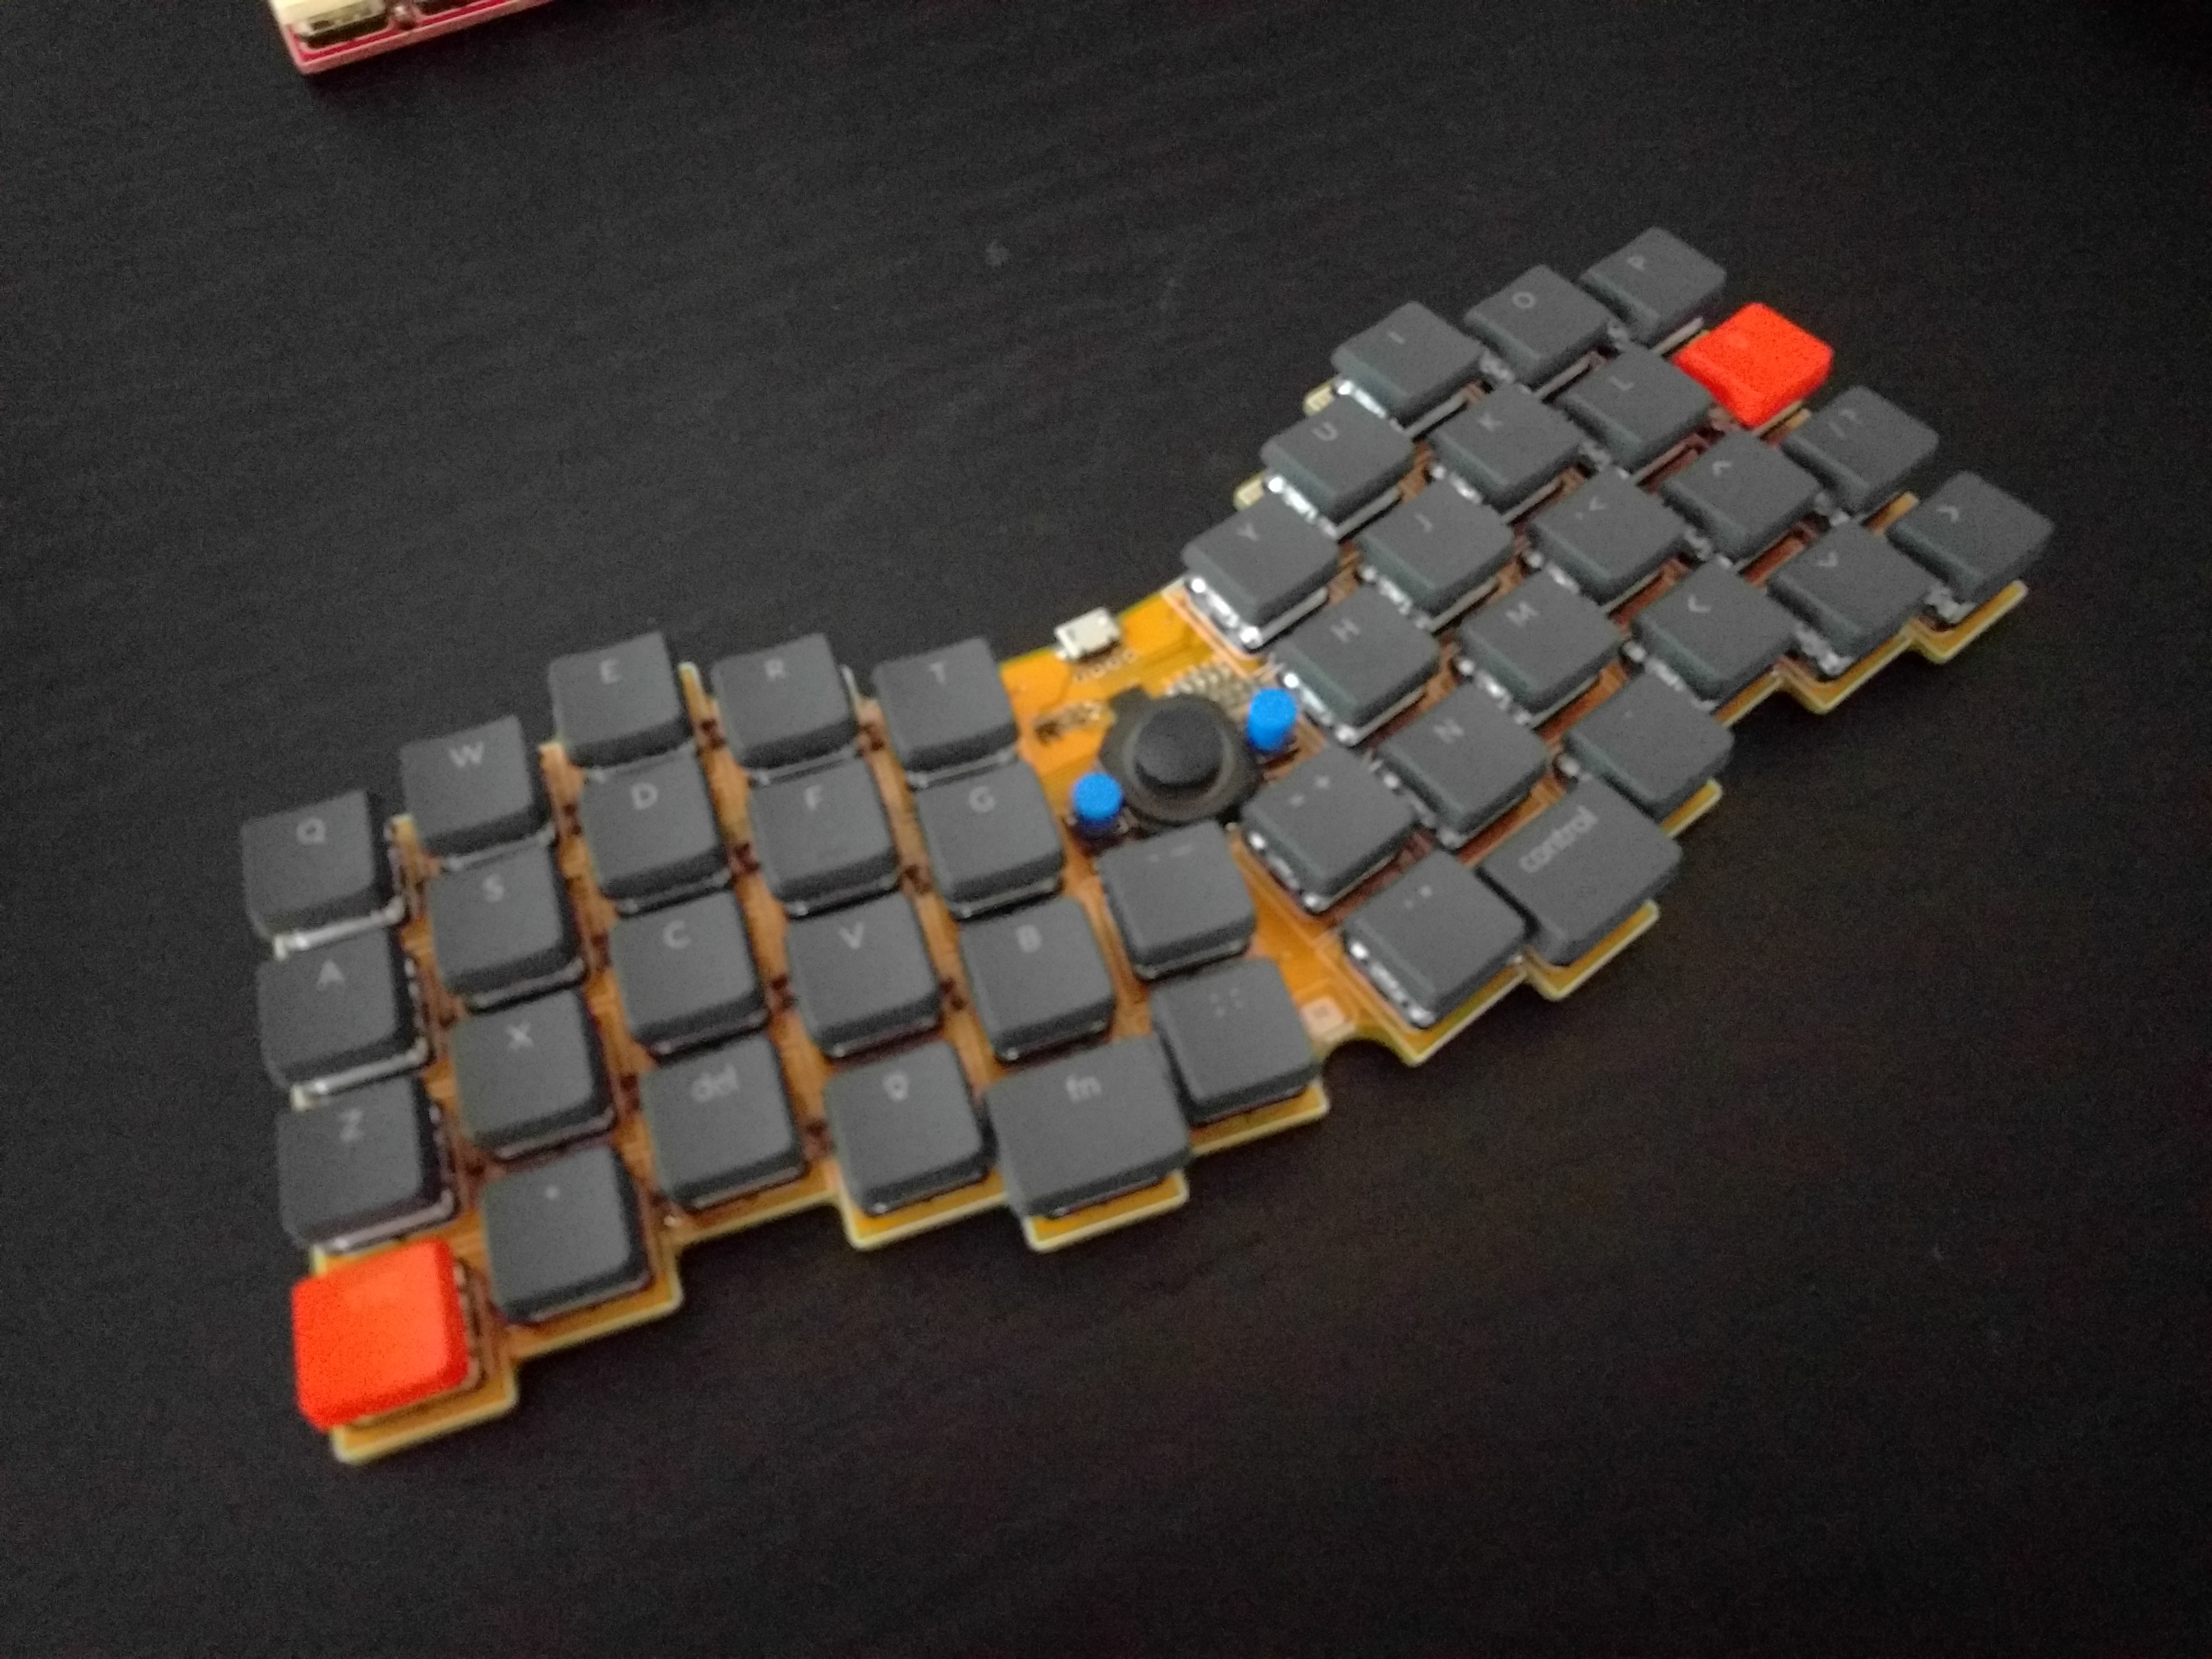
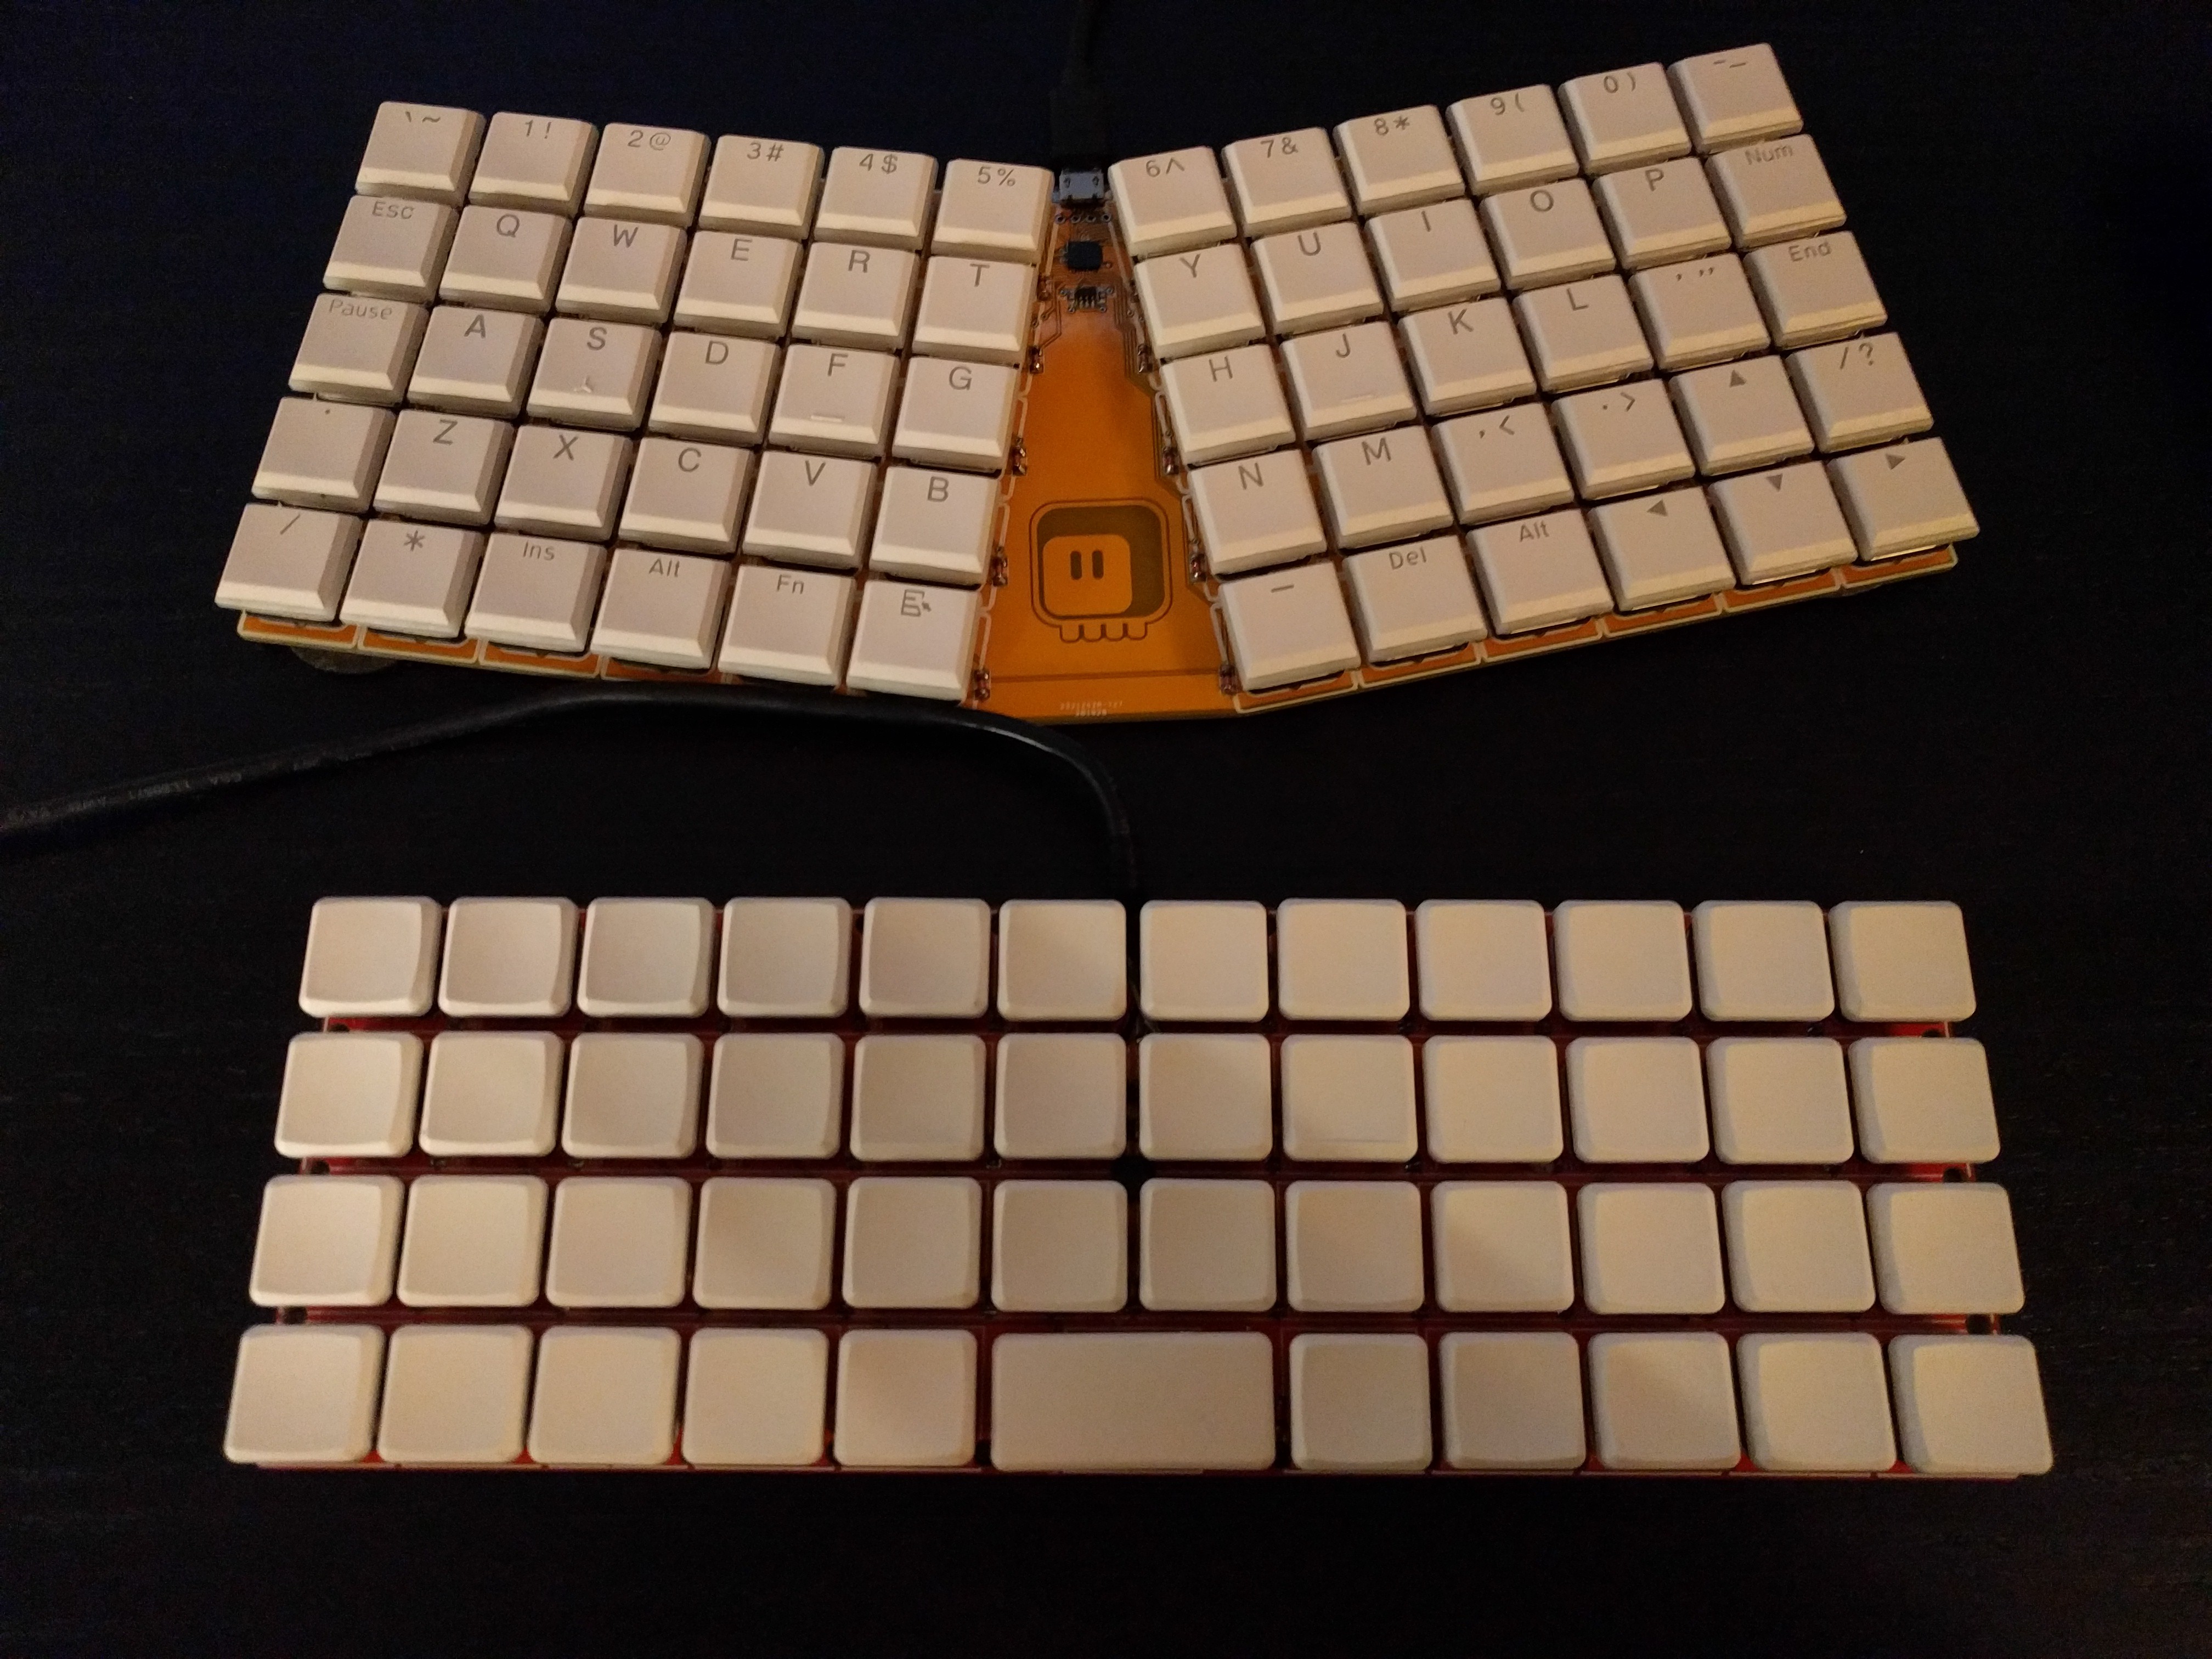
- Ortholinear, which already makes it unique. As far as I can tell, there are currently no low-profile ortholinear keyboards you can buy.
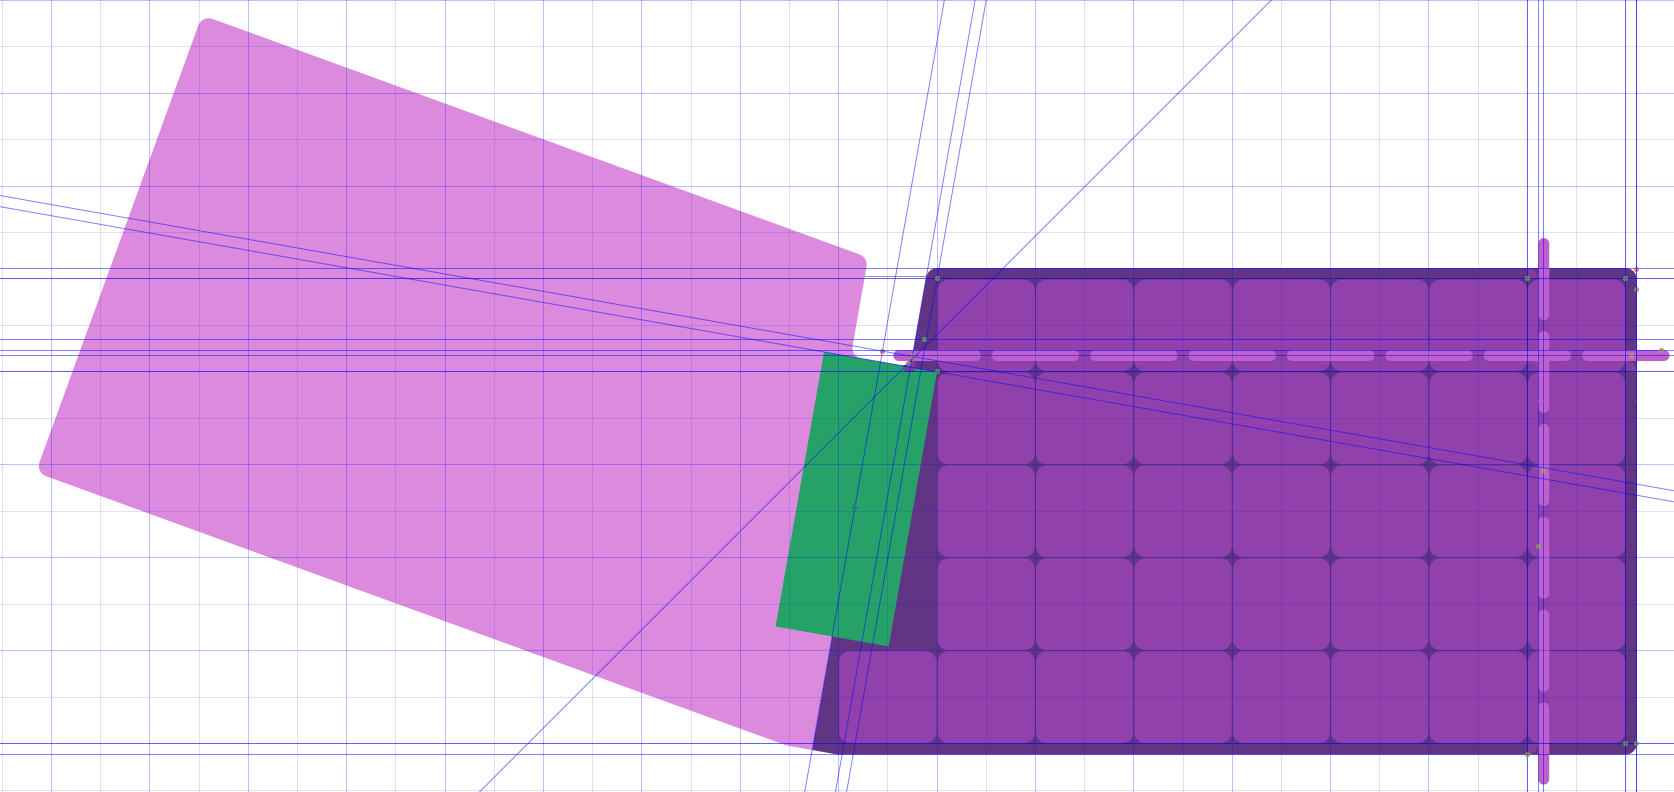
- One-piece split layout. For that sweet ergonomy.
- Narrow, for easy access to all keys without moving your hands.
- Now with a number row.
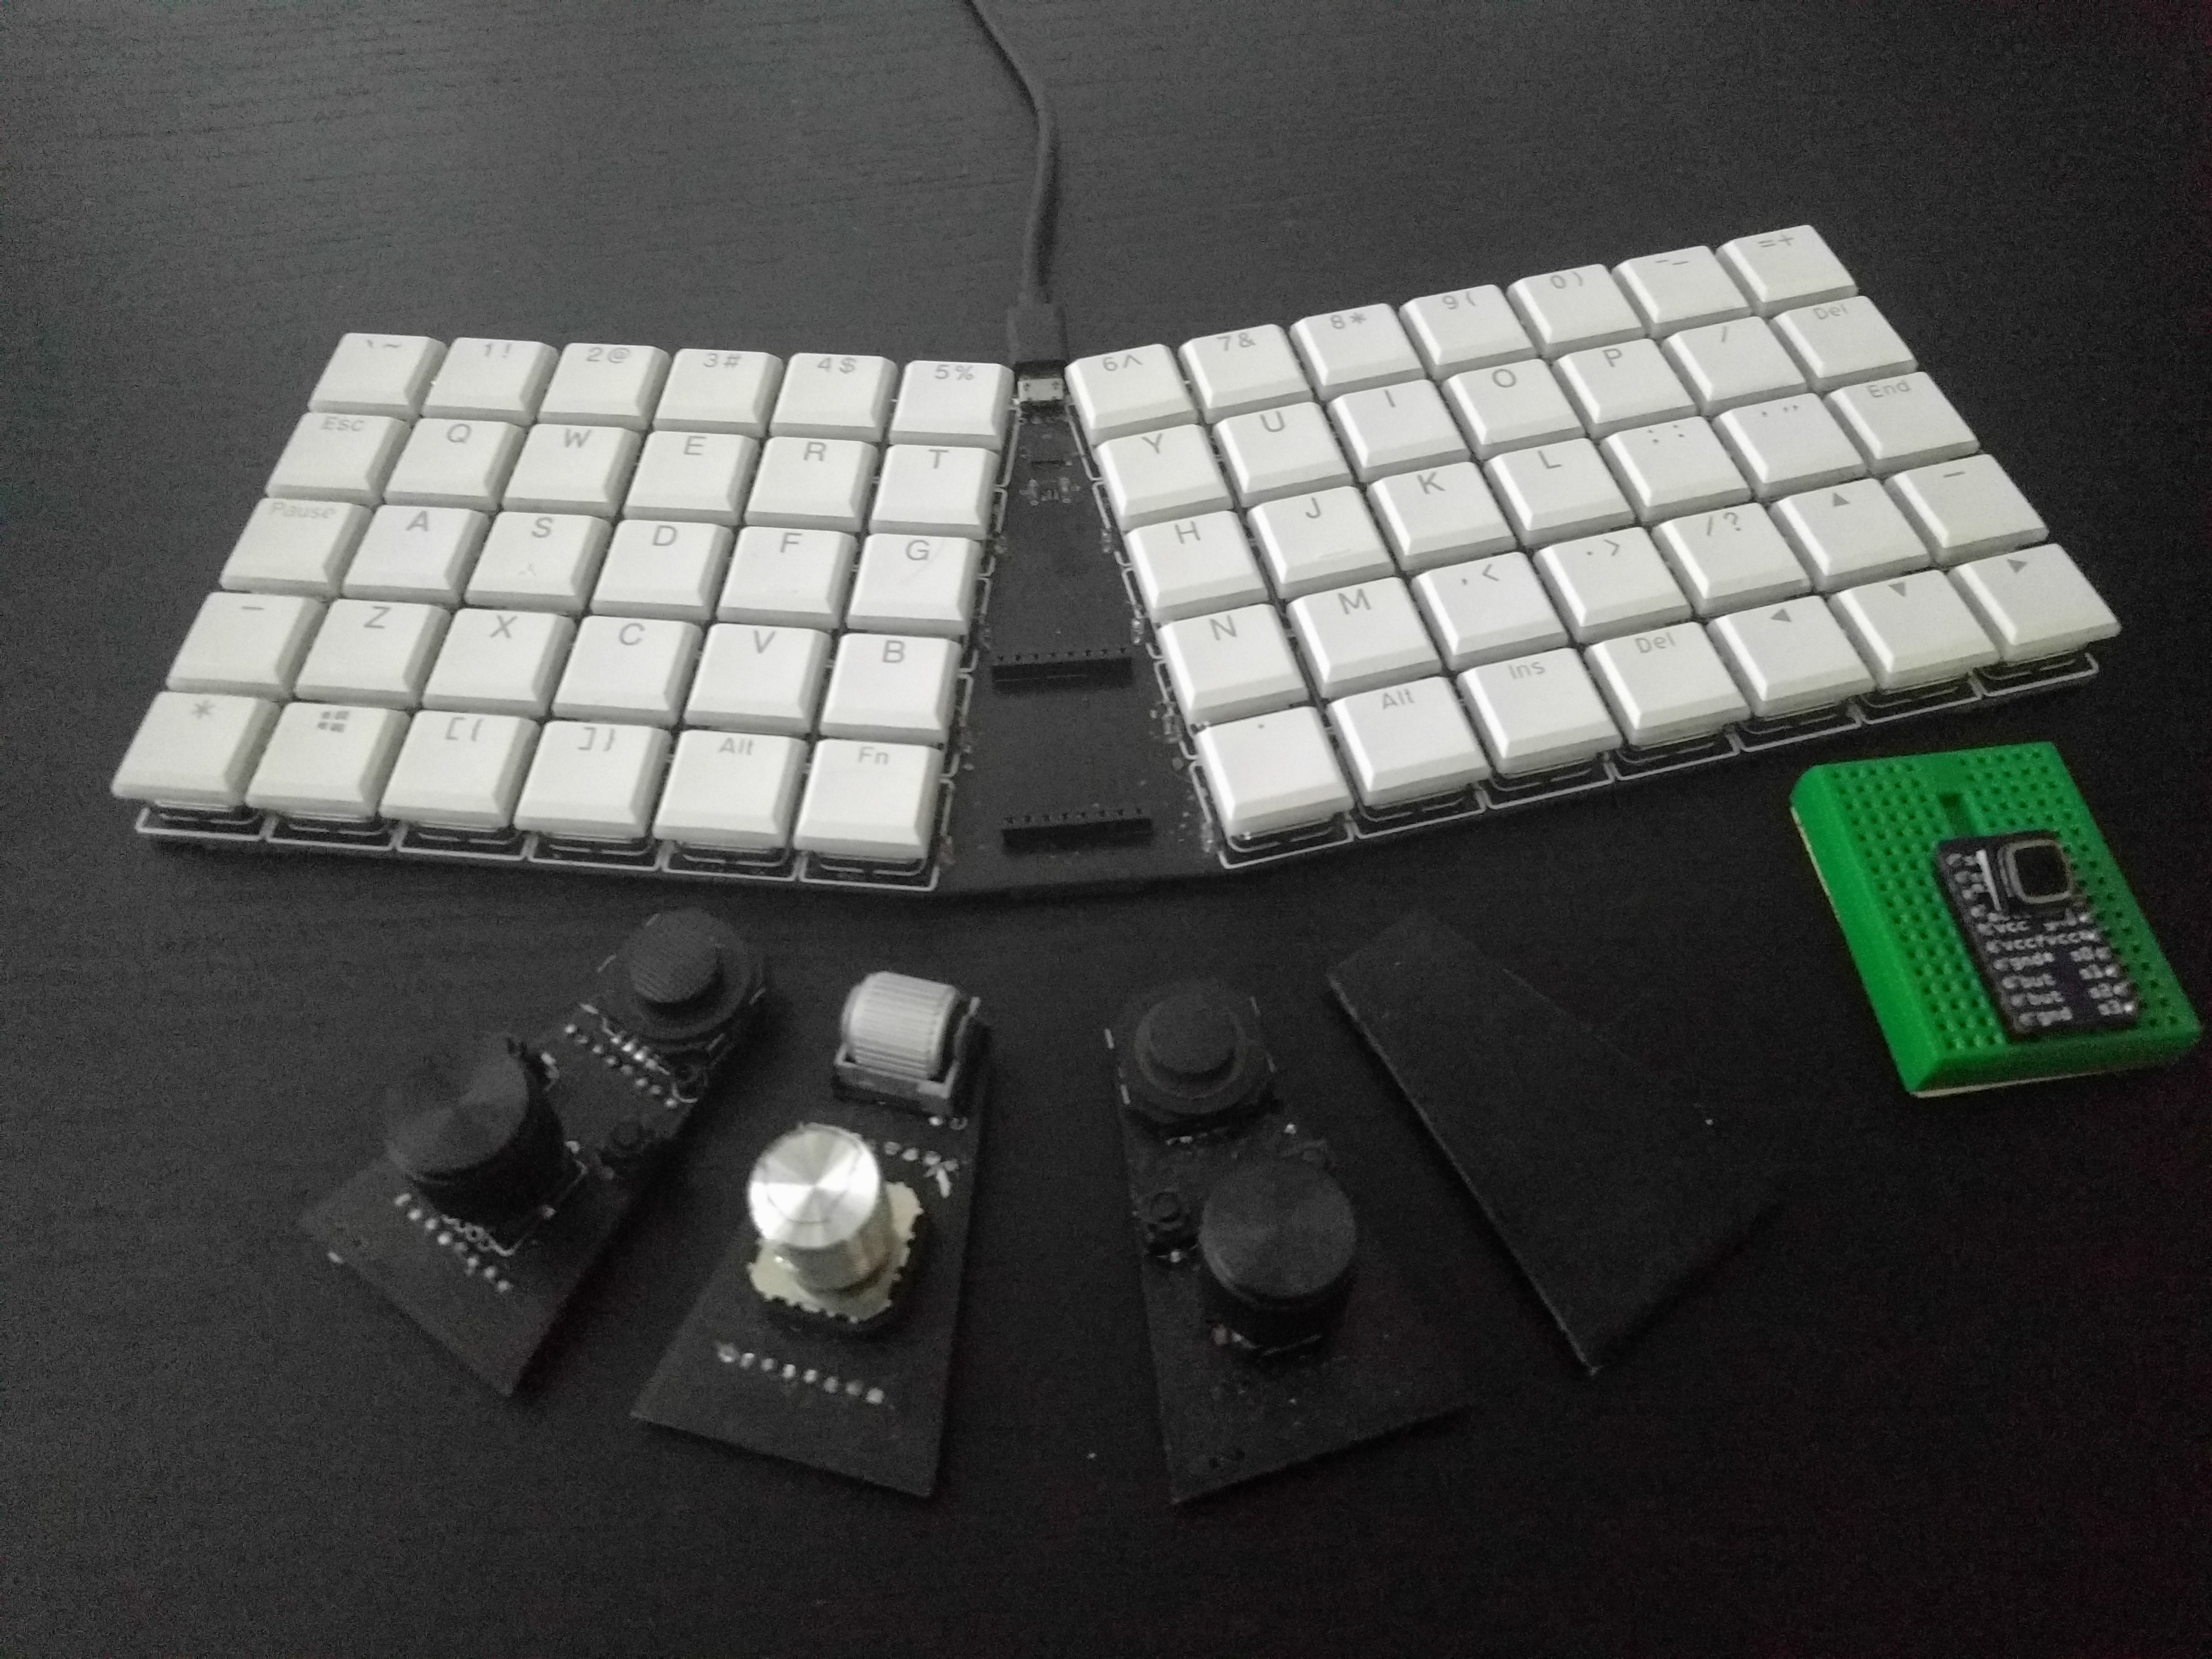
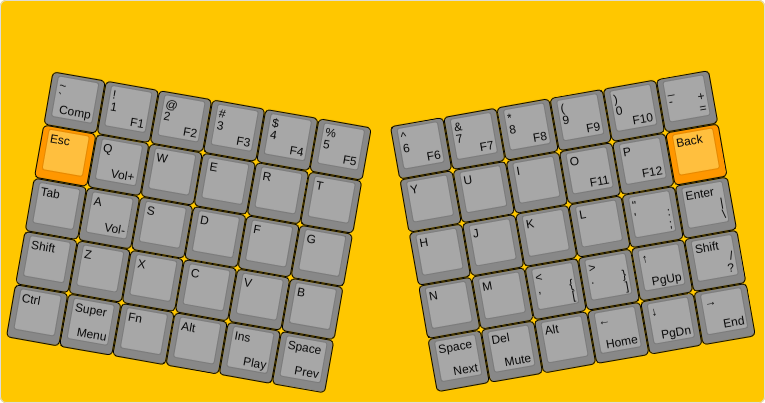
- Programmed with CircuitPython, for easy customization.
Otherwise there isn't much experimental stuff going on in here, like in my previous keyboard projects. In fact, I simply took what I learned from them, and applied it in the simplest way possible.


 Simon Merrett
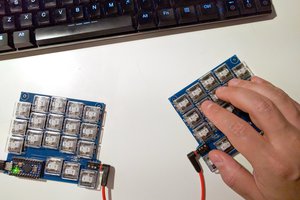

 Pamungkas Sumasta
Hello,
I'm very interested in this keyboard, can you point me the way to make me one ?
My bigest problem is to solder the required small components. How ?
Sorry if it bother you or if it's easy