 Nick Rehm
I started my Starship program the same way SpaceX did--with a Starhopper test platform. I learned many useful things from this exercise before I invested in real hardware for the Starship build:
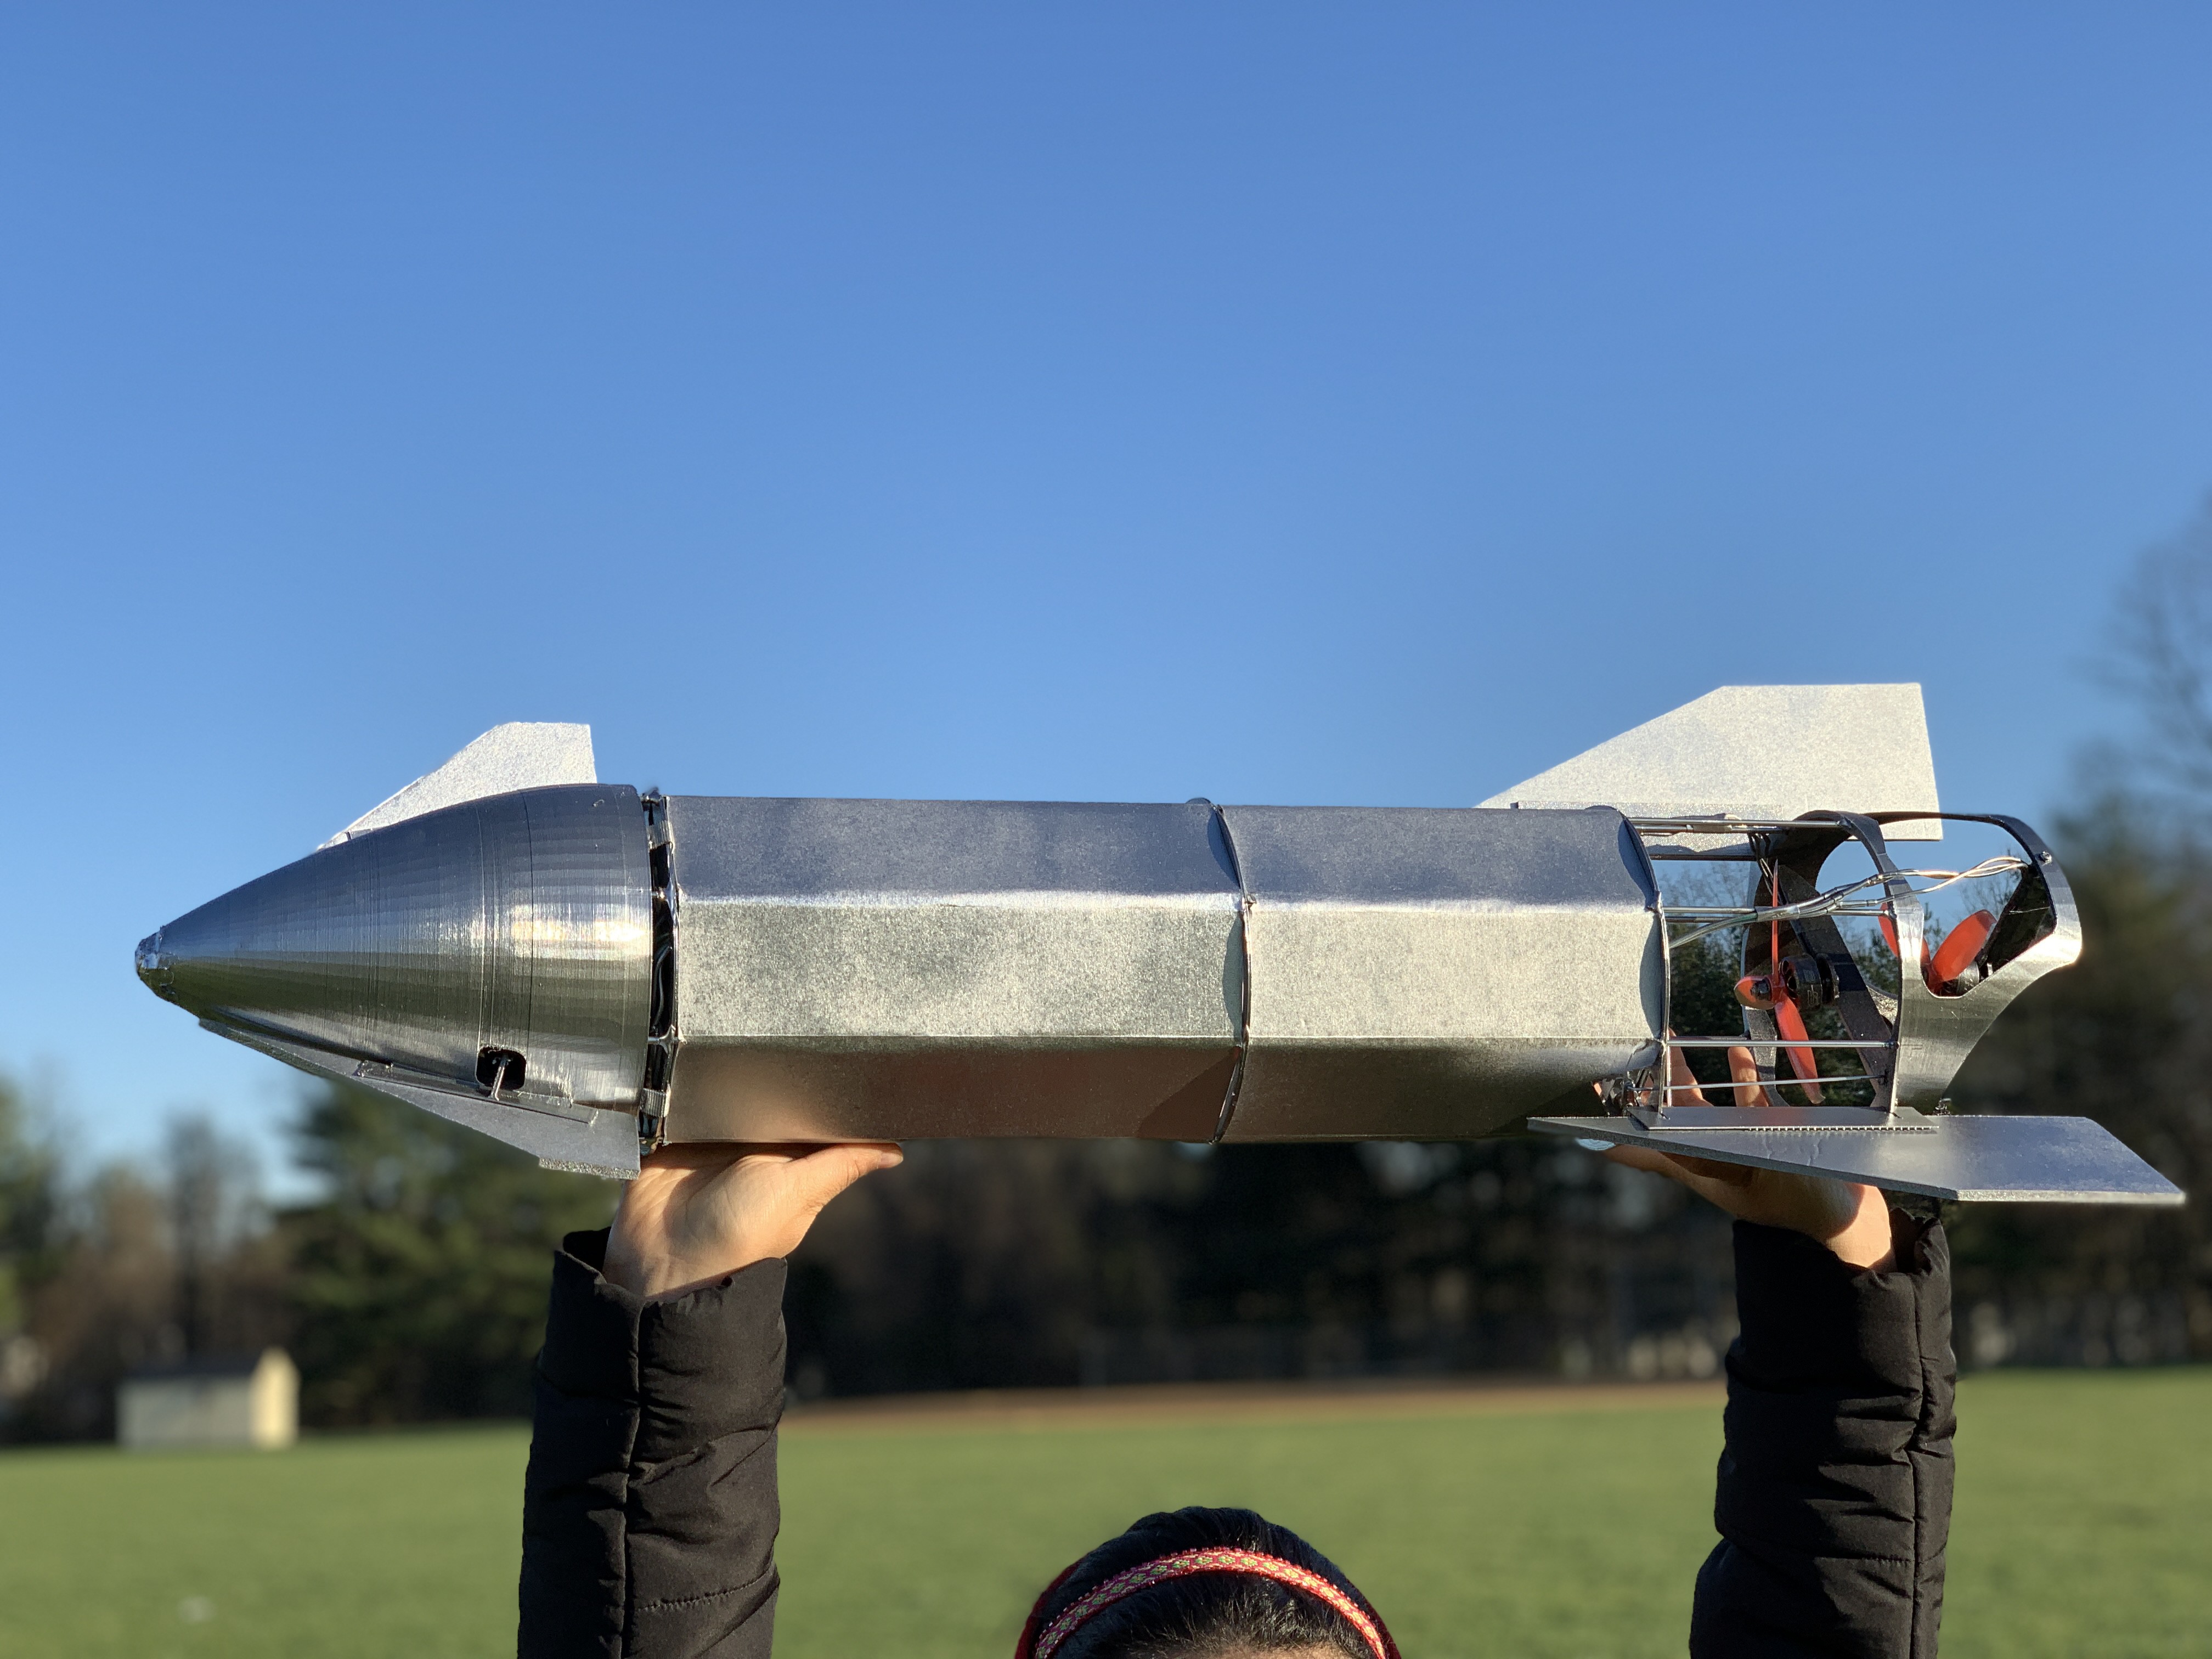
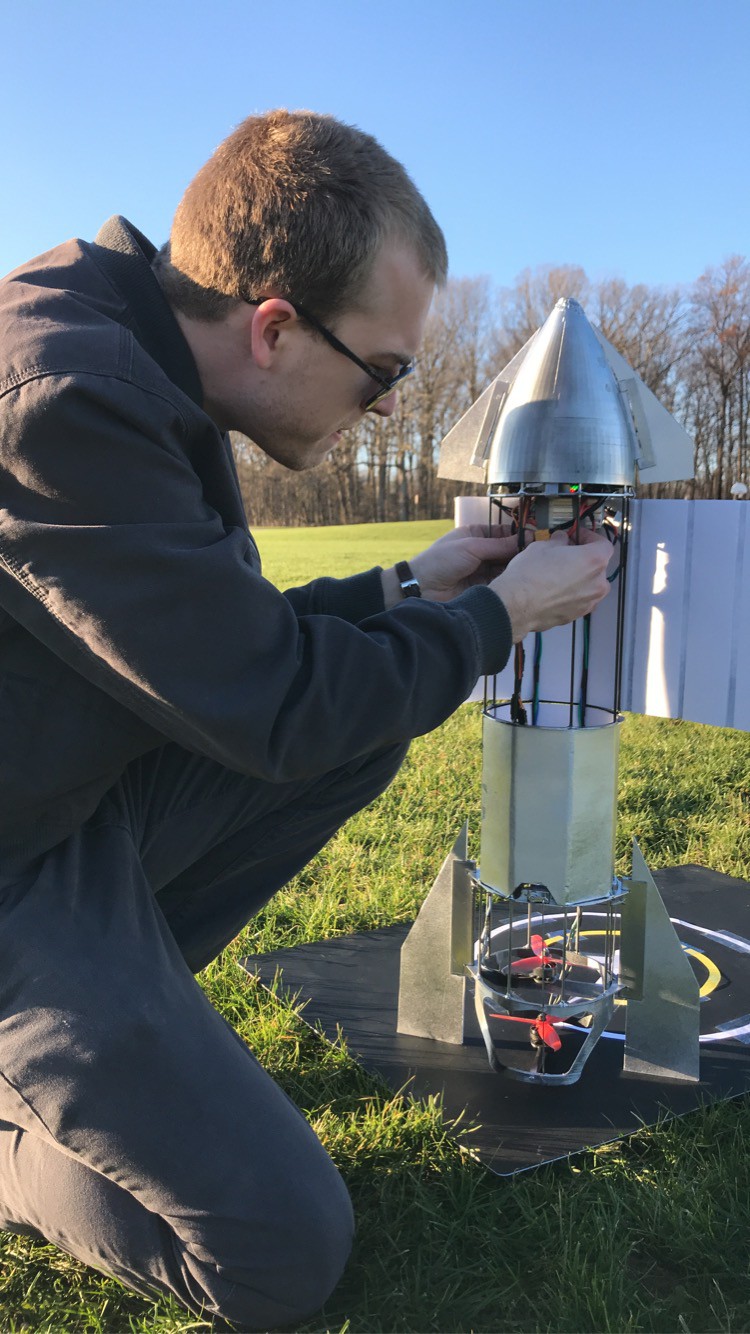
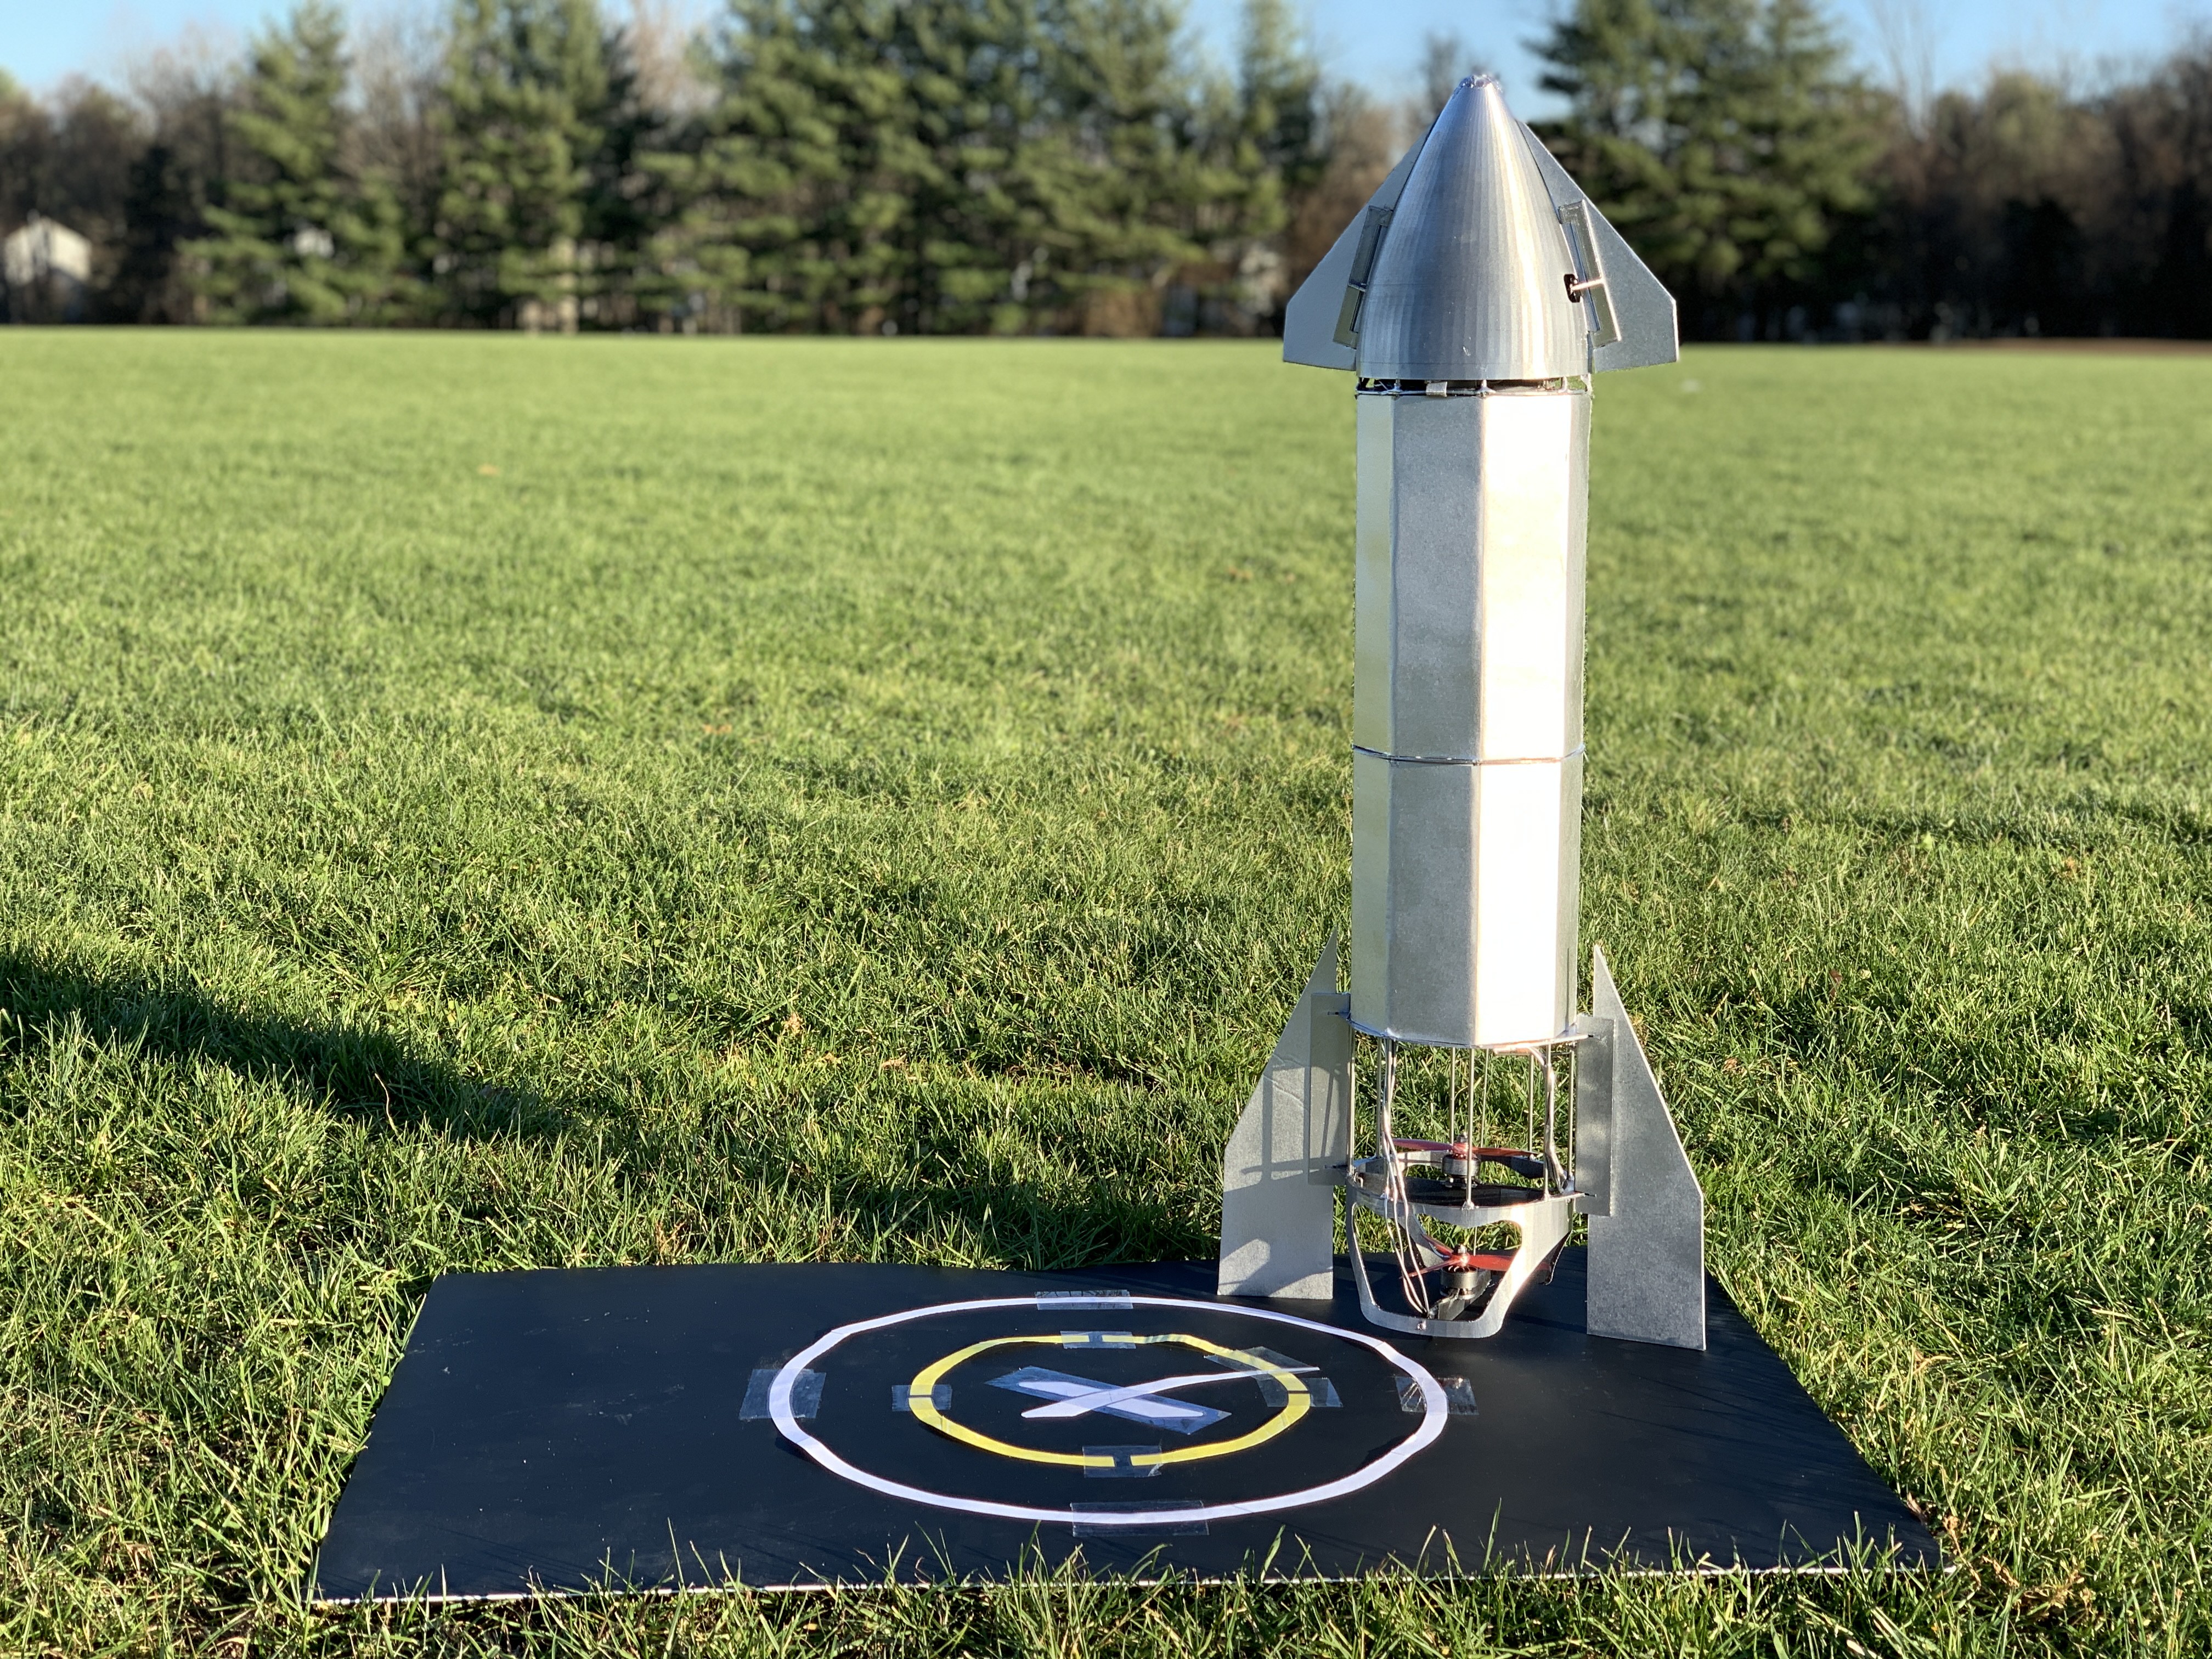
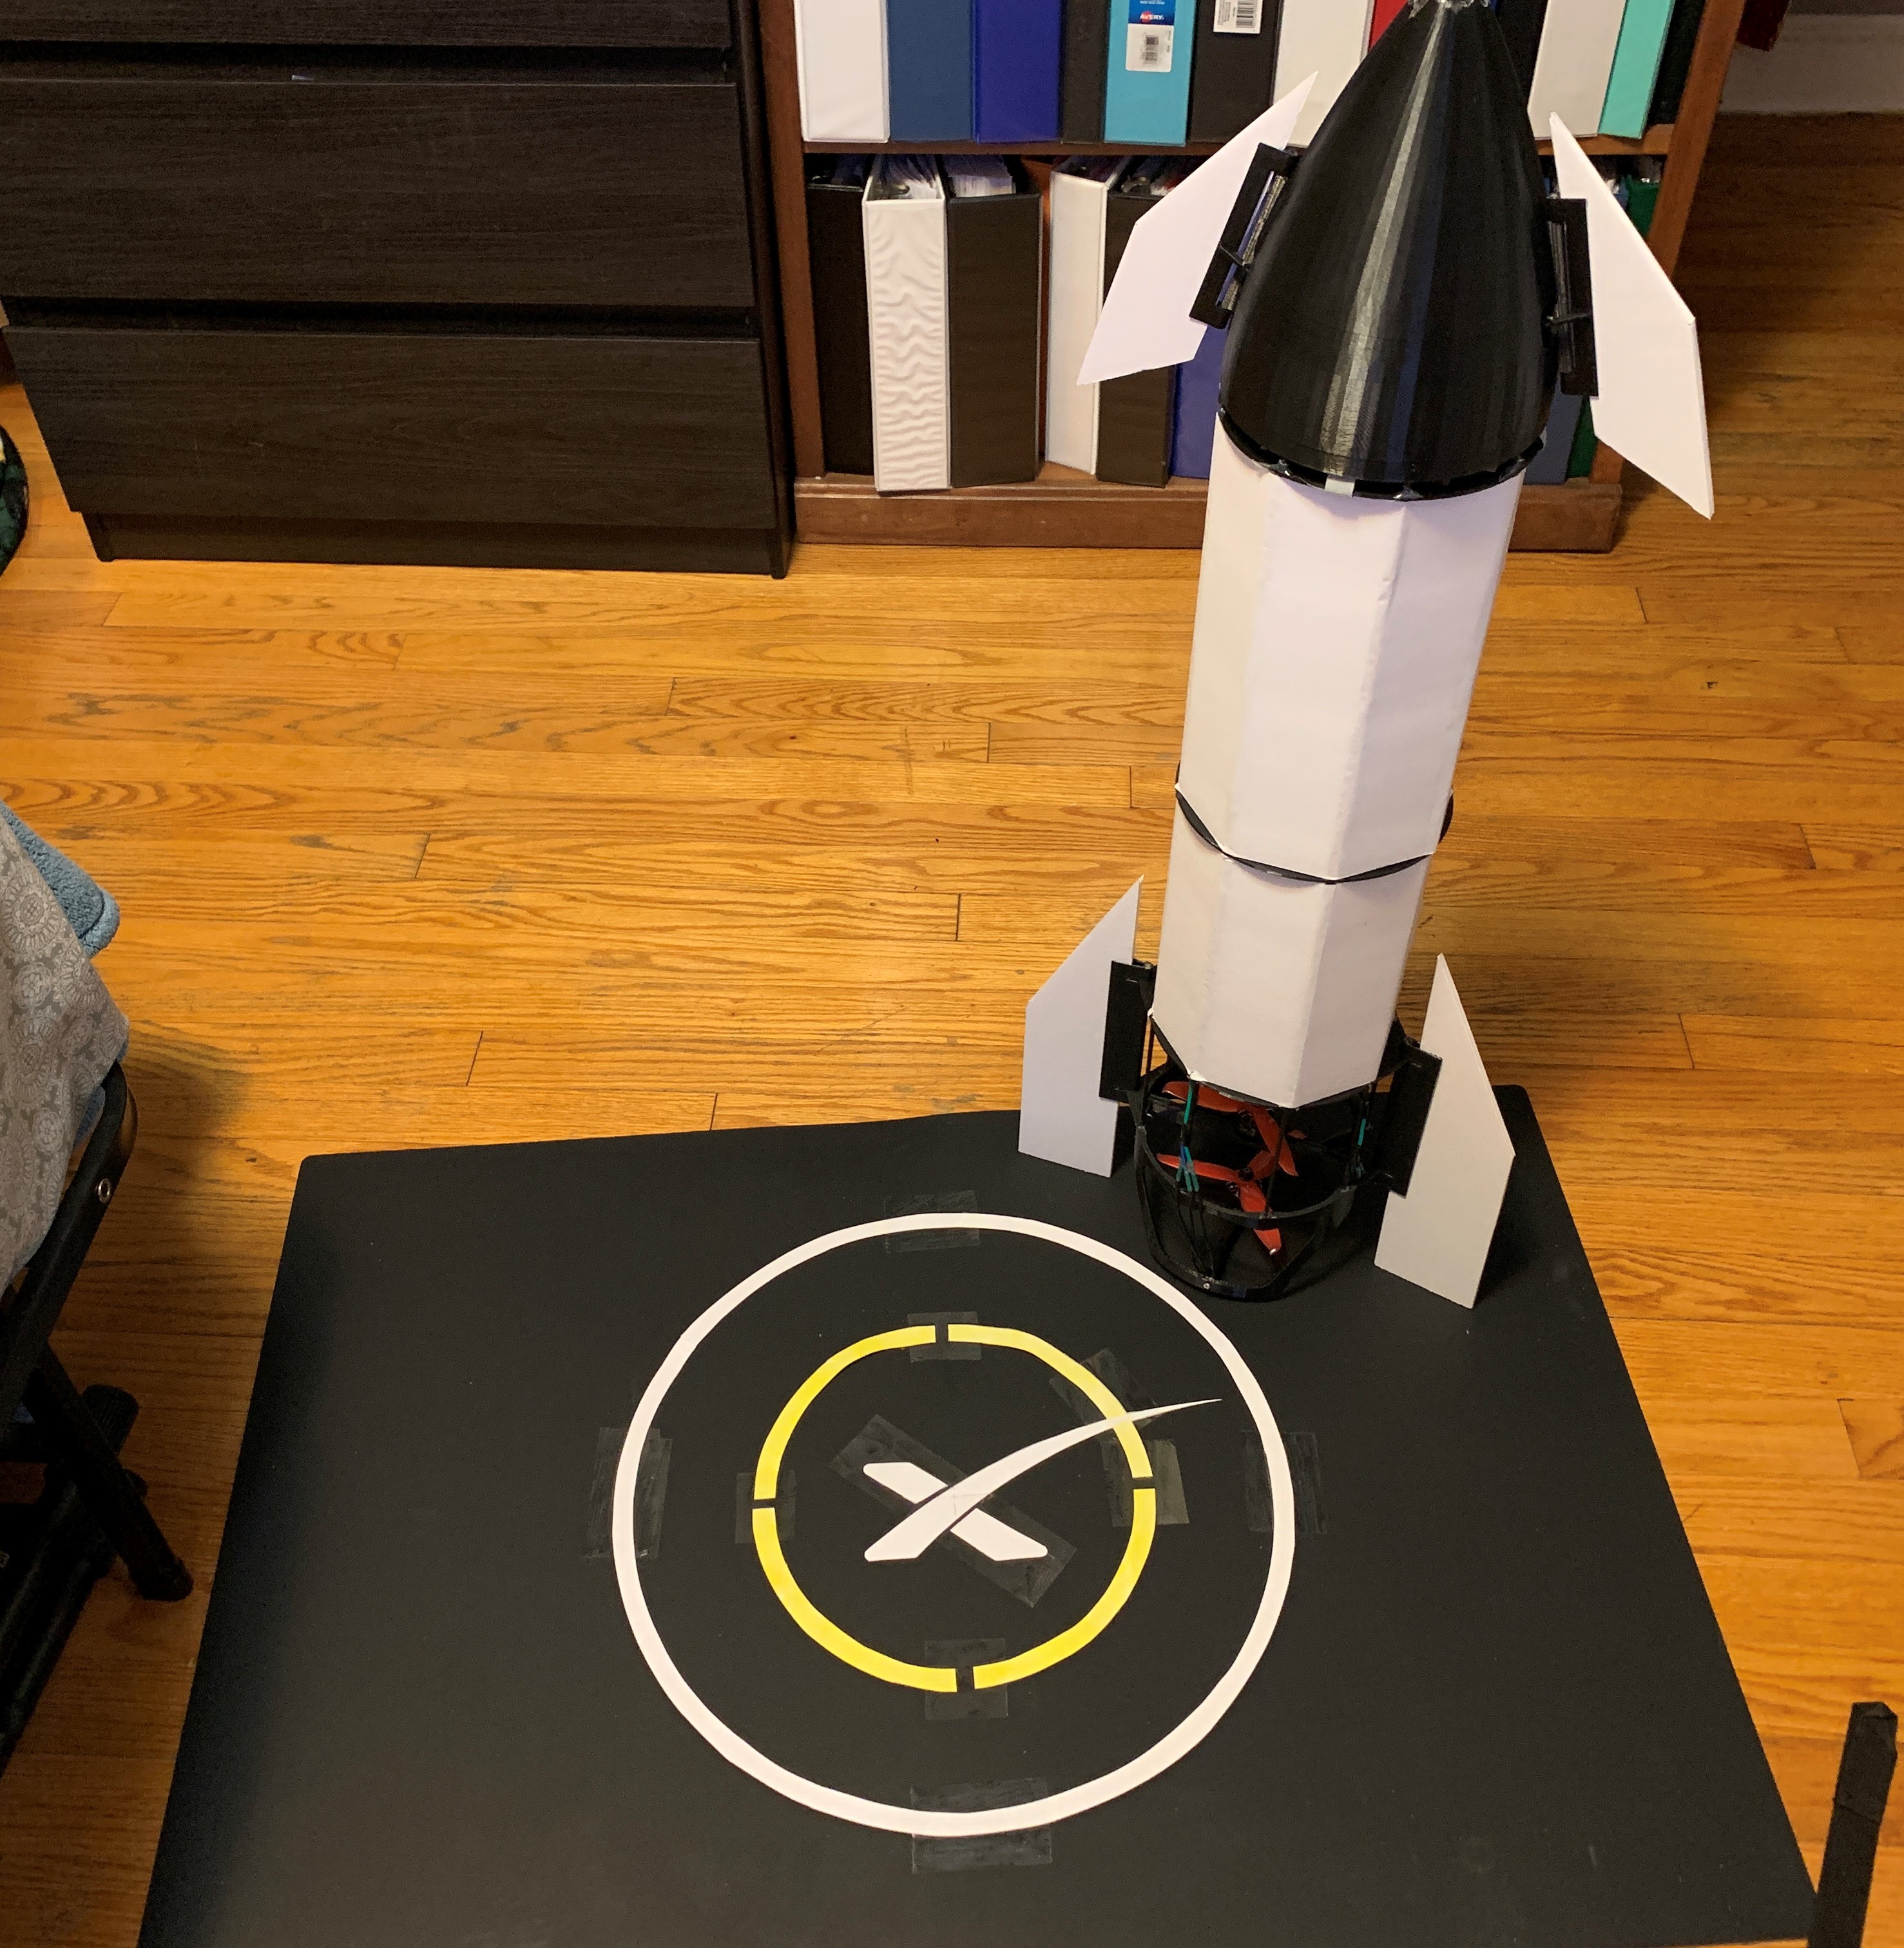
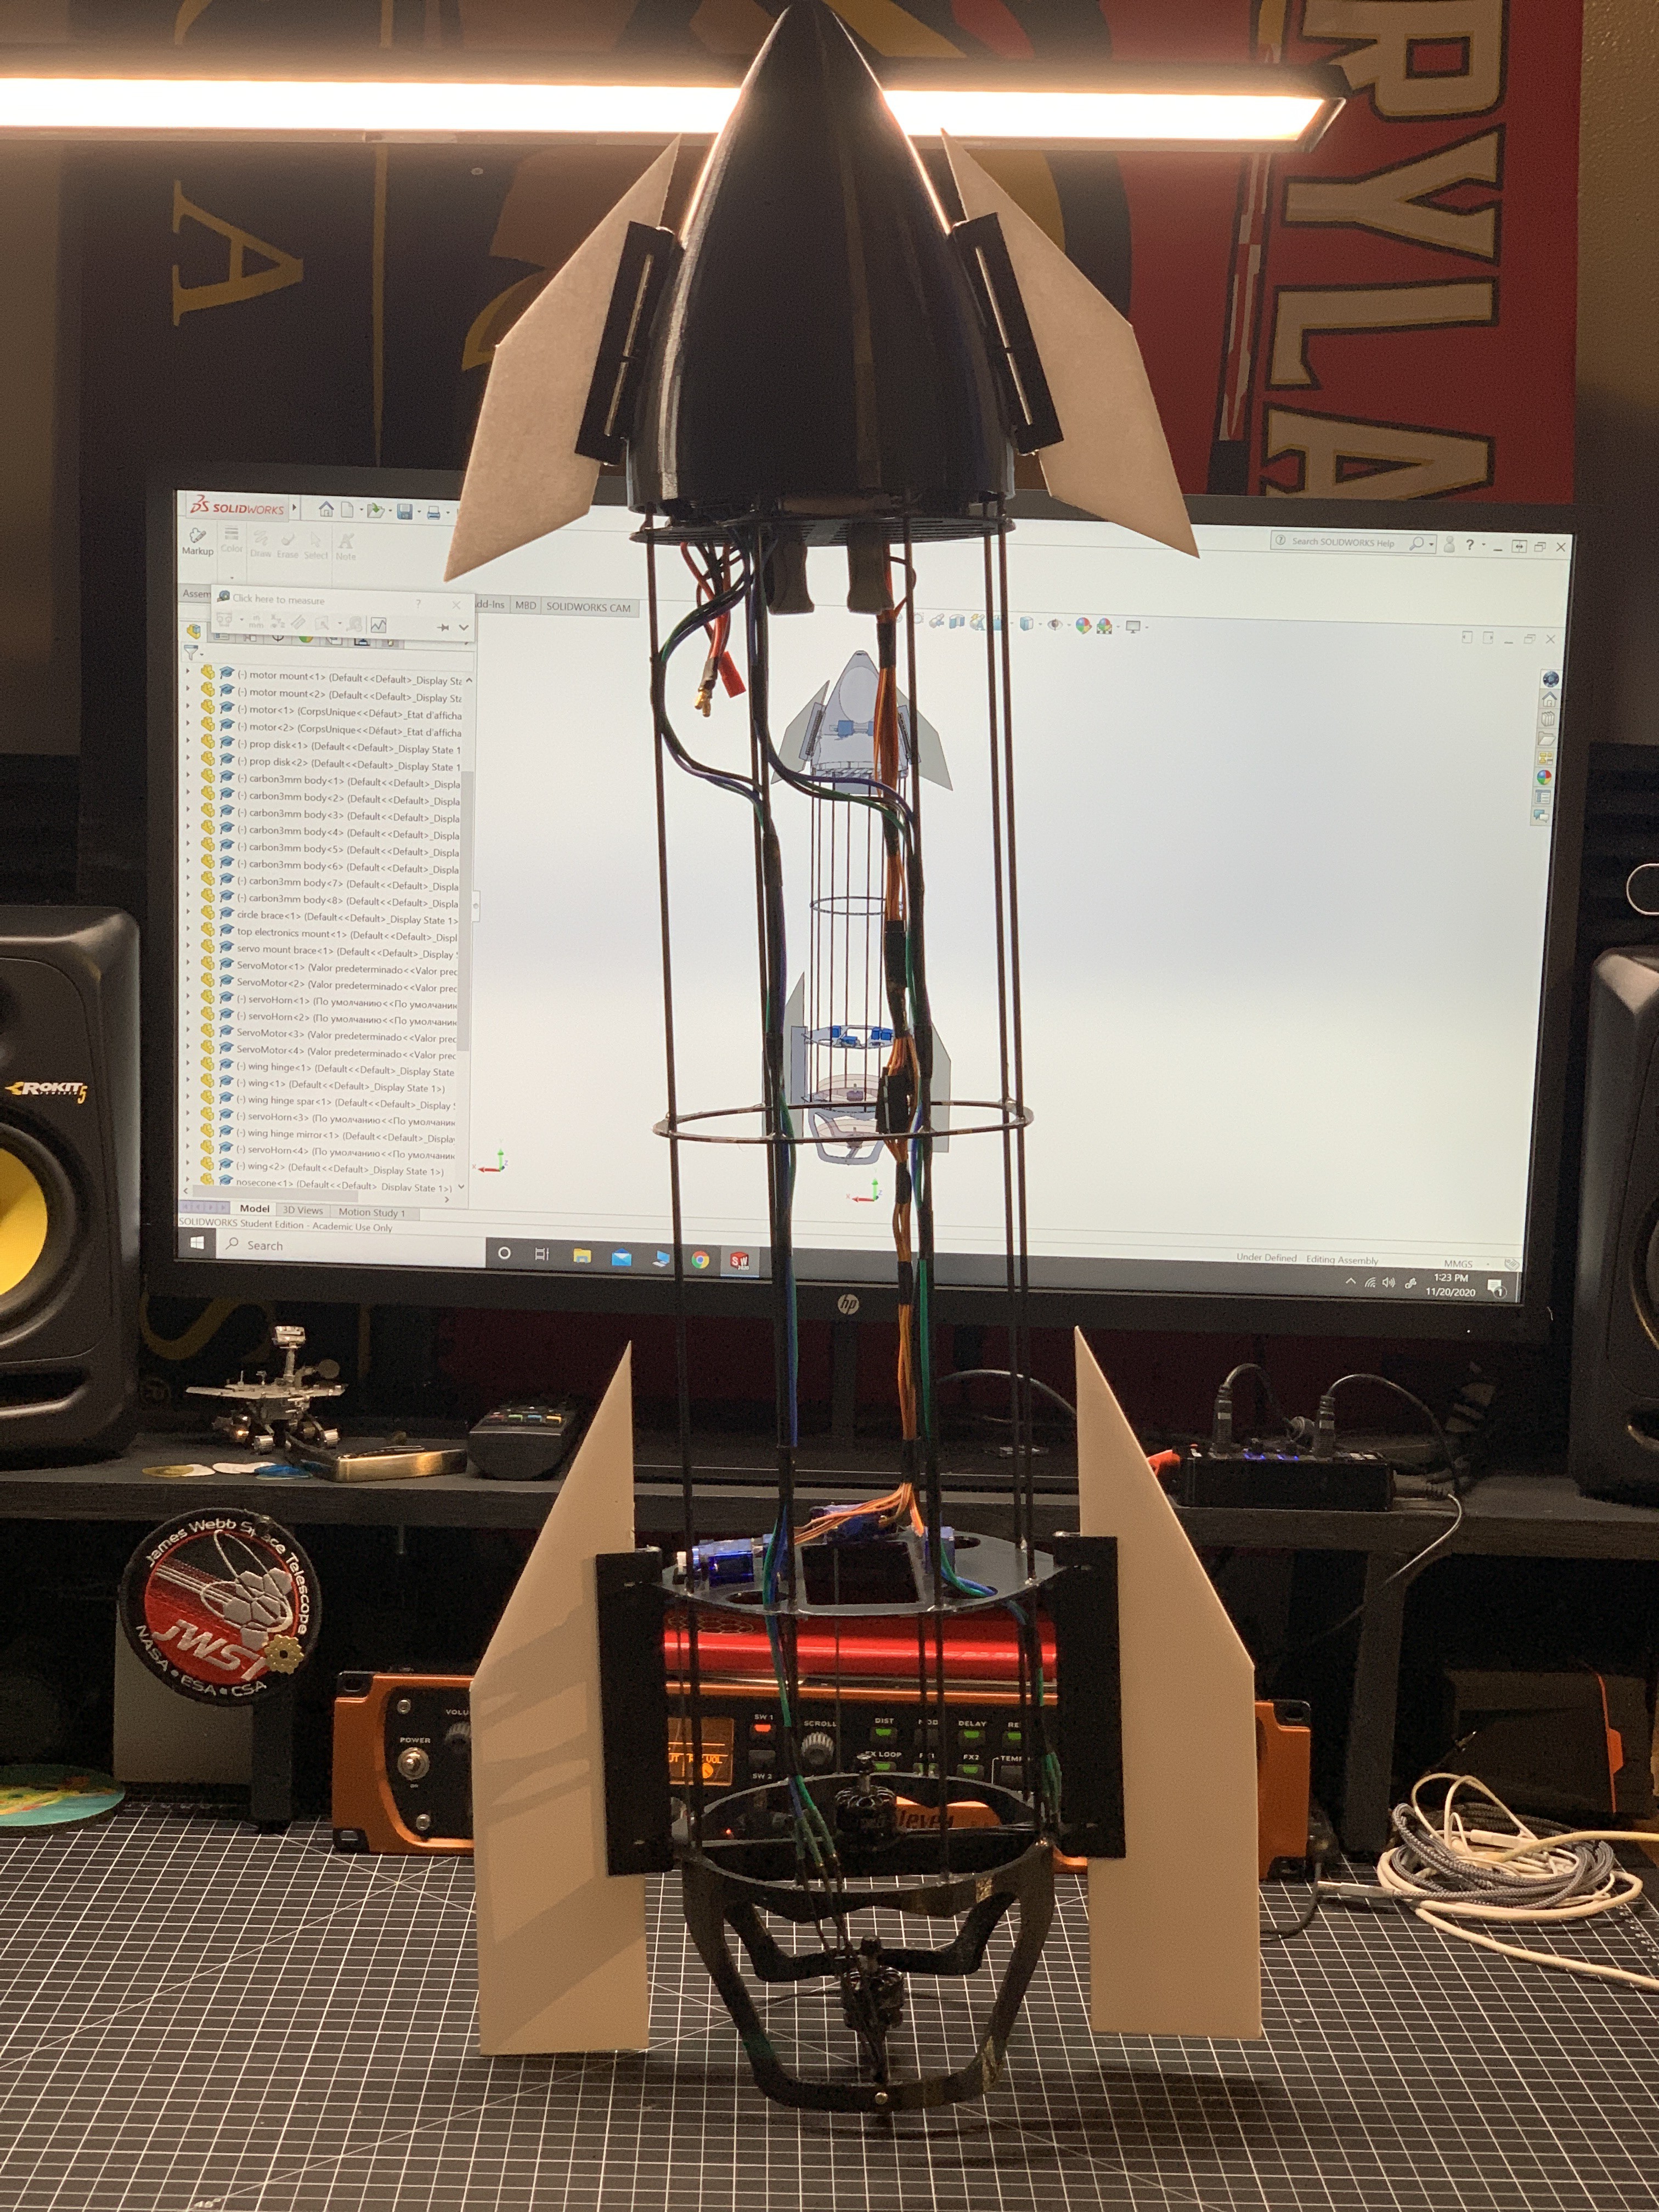
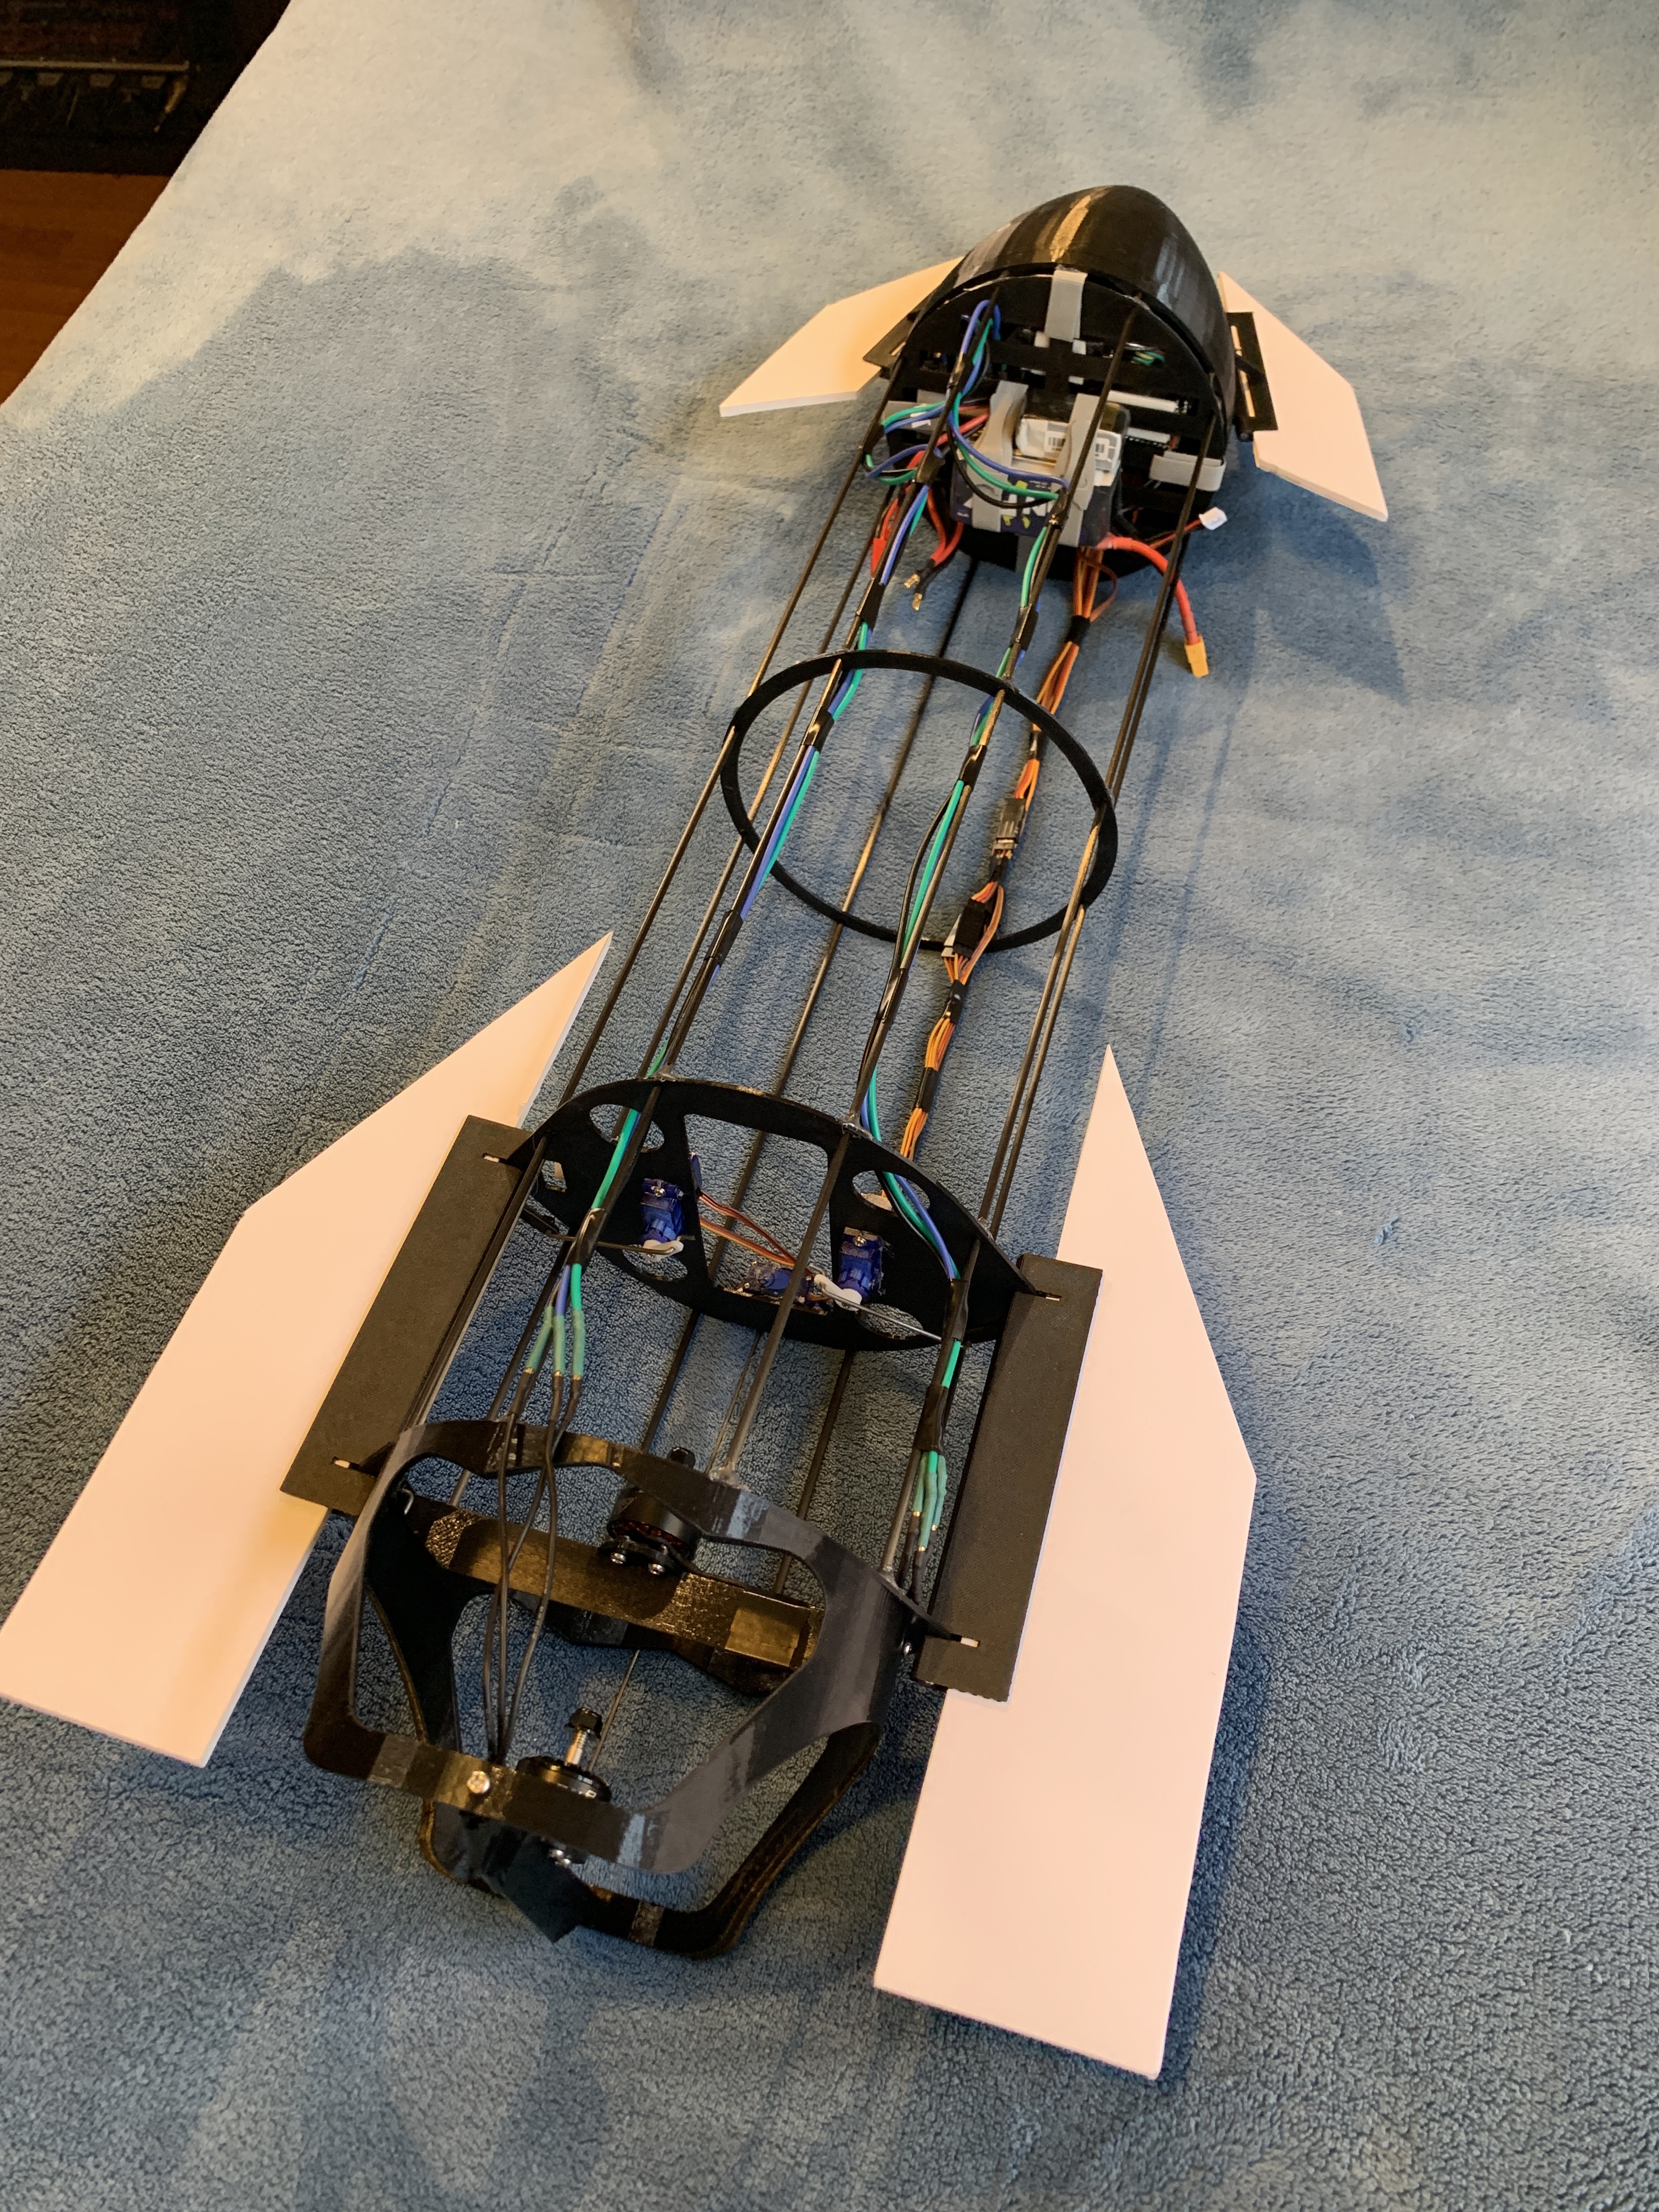
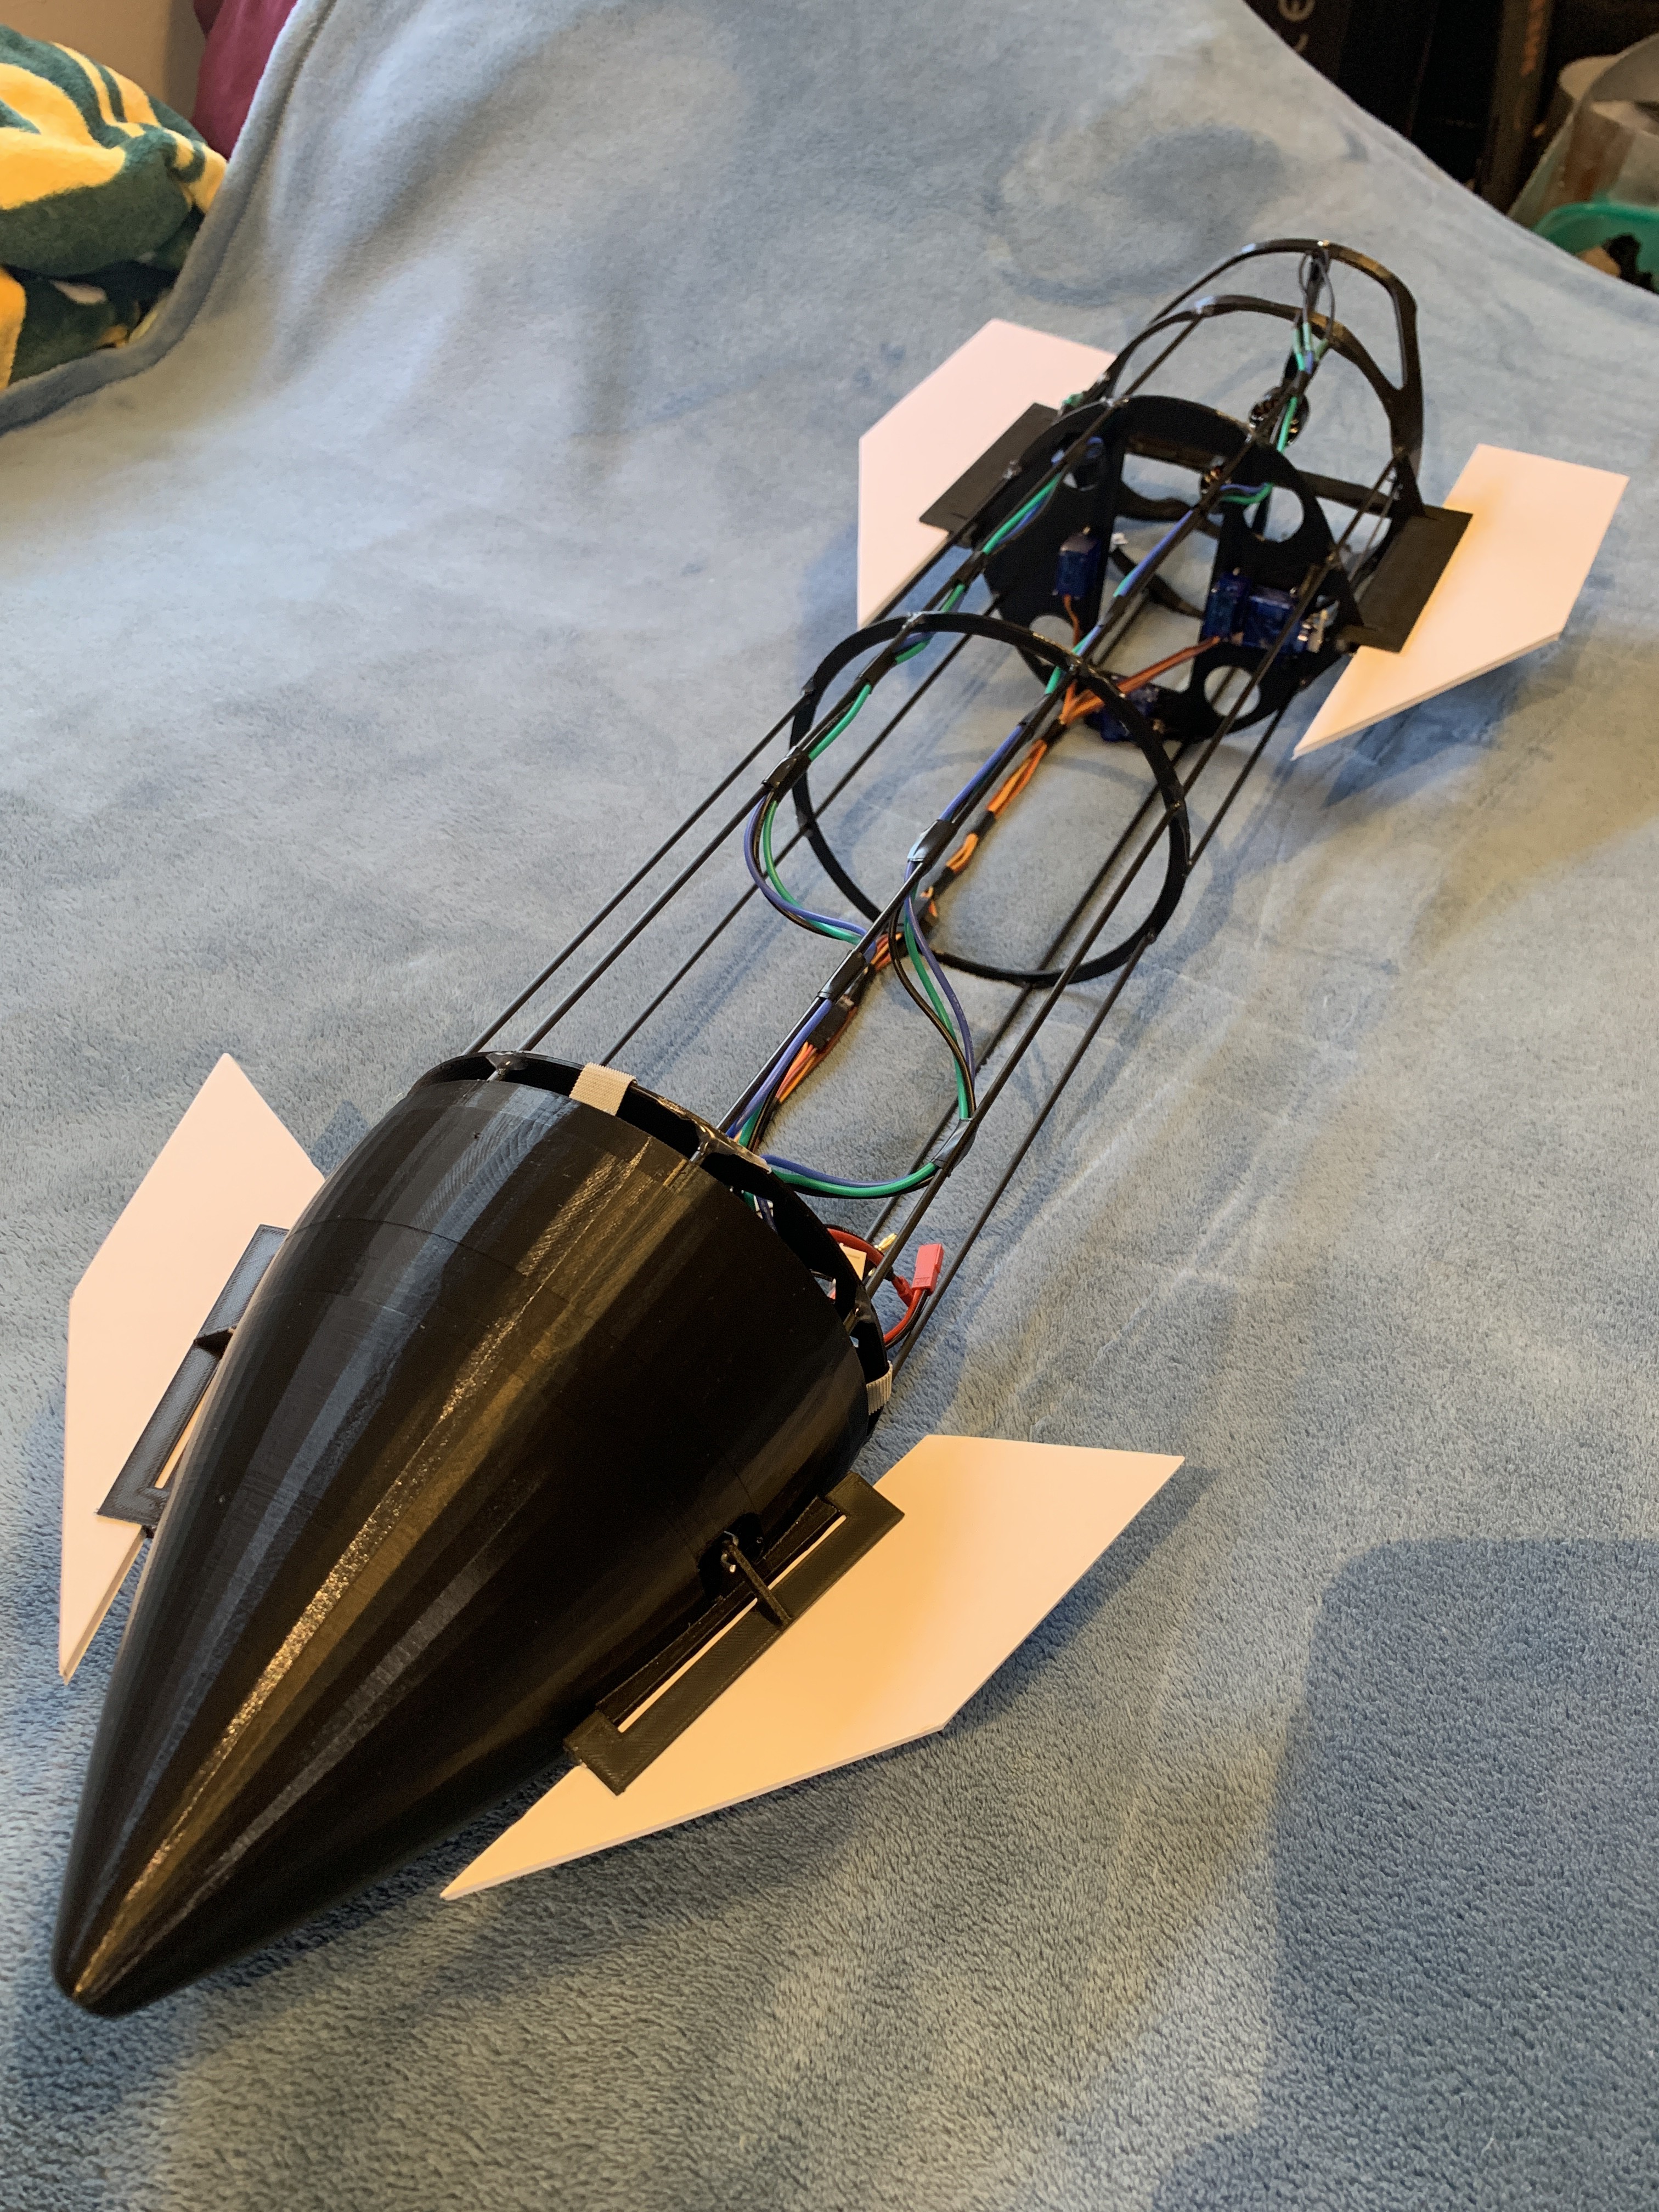
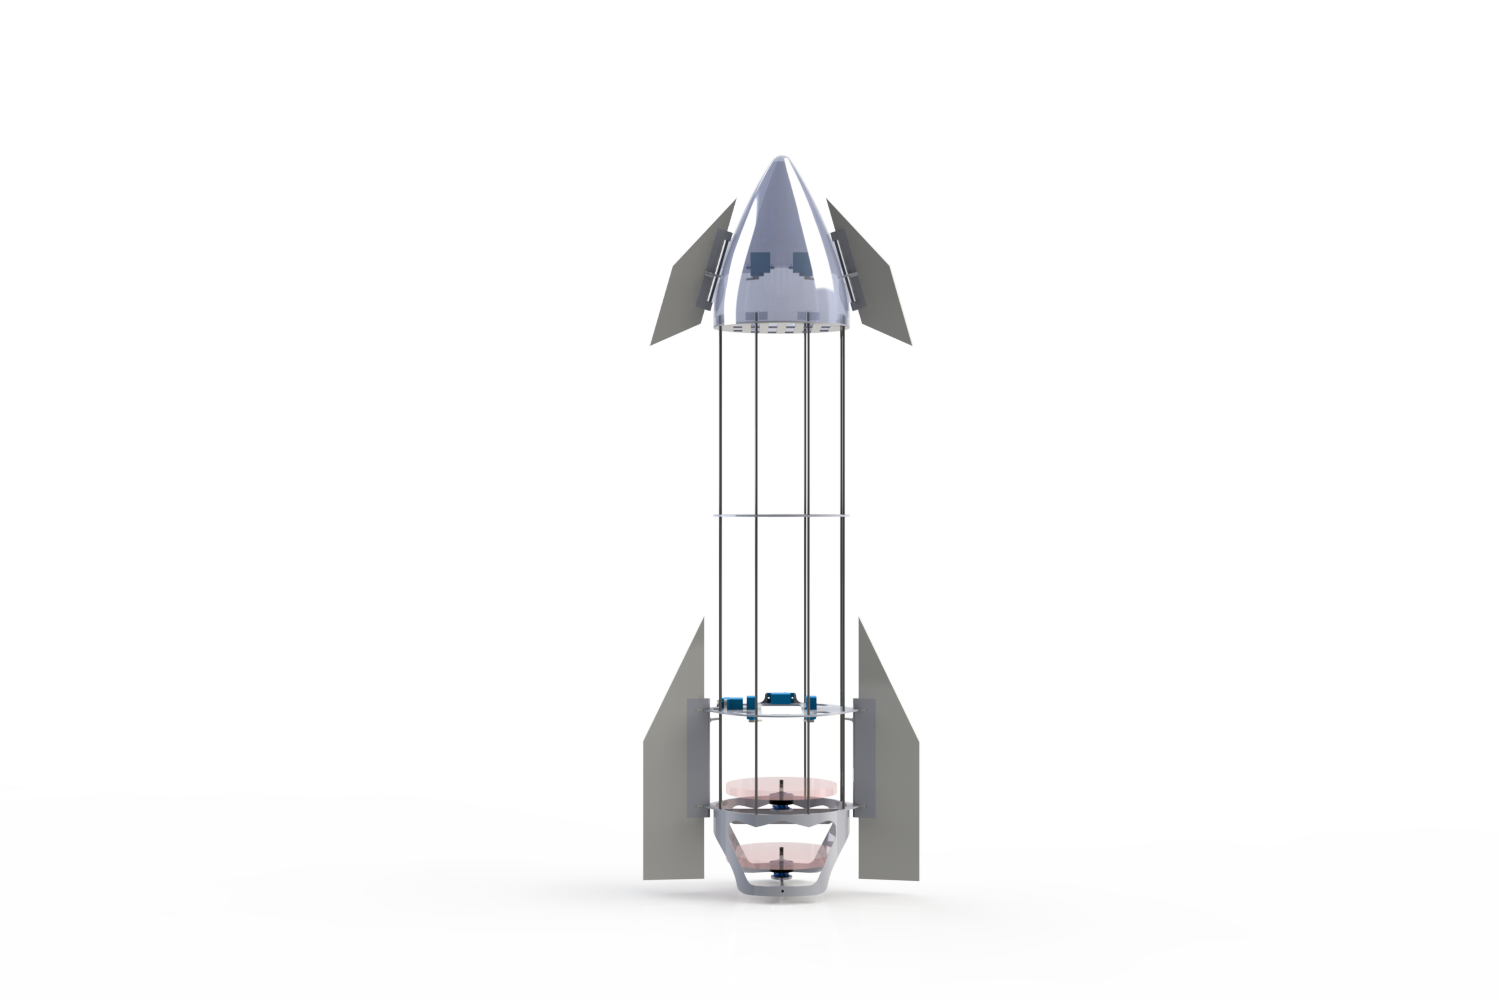
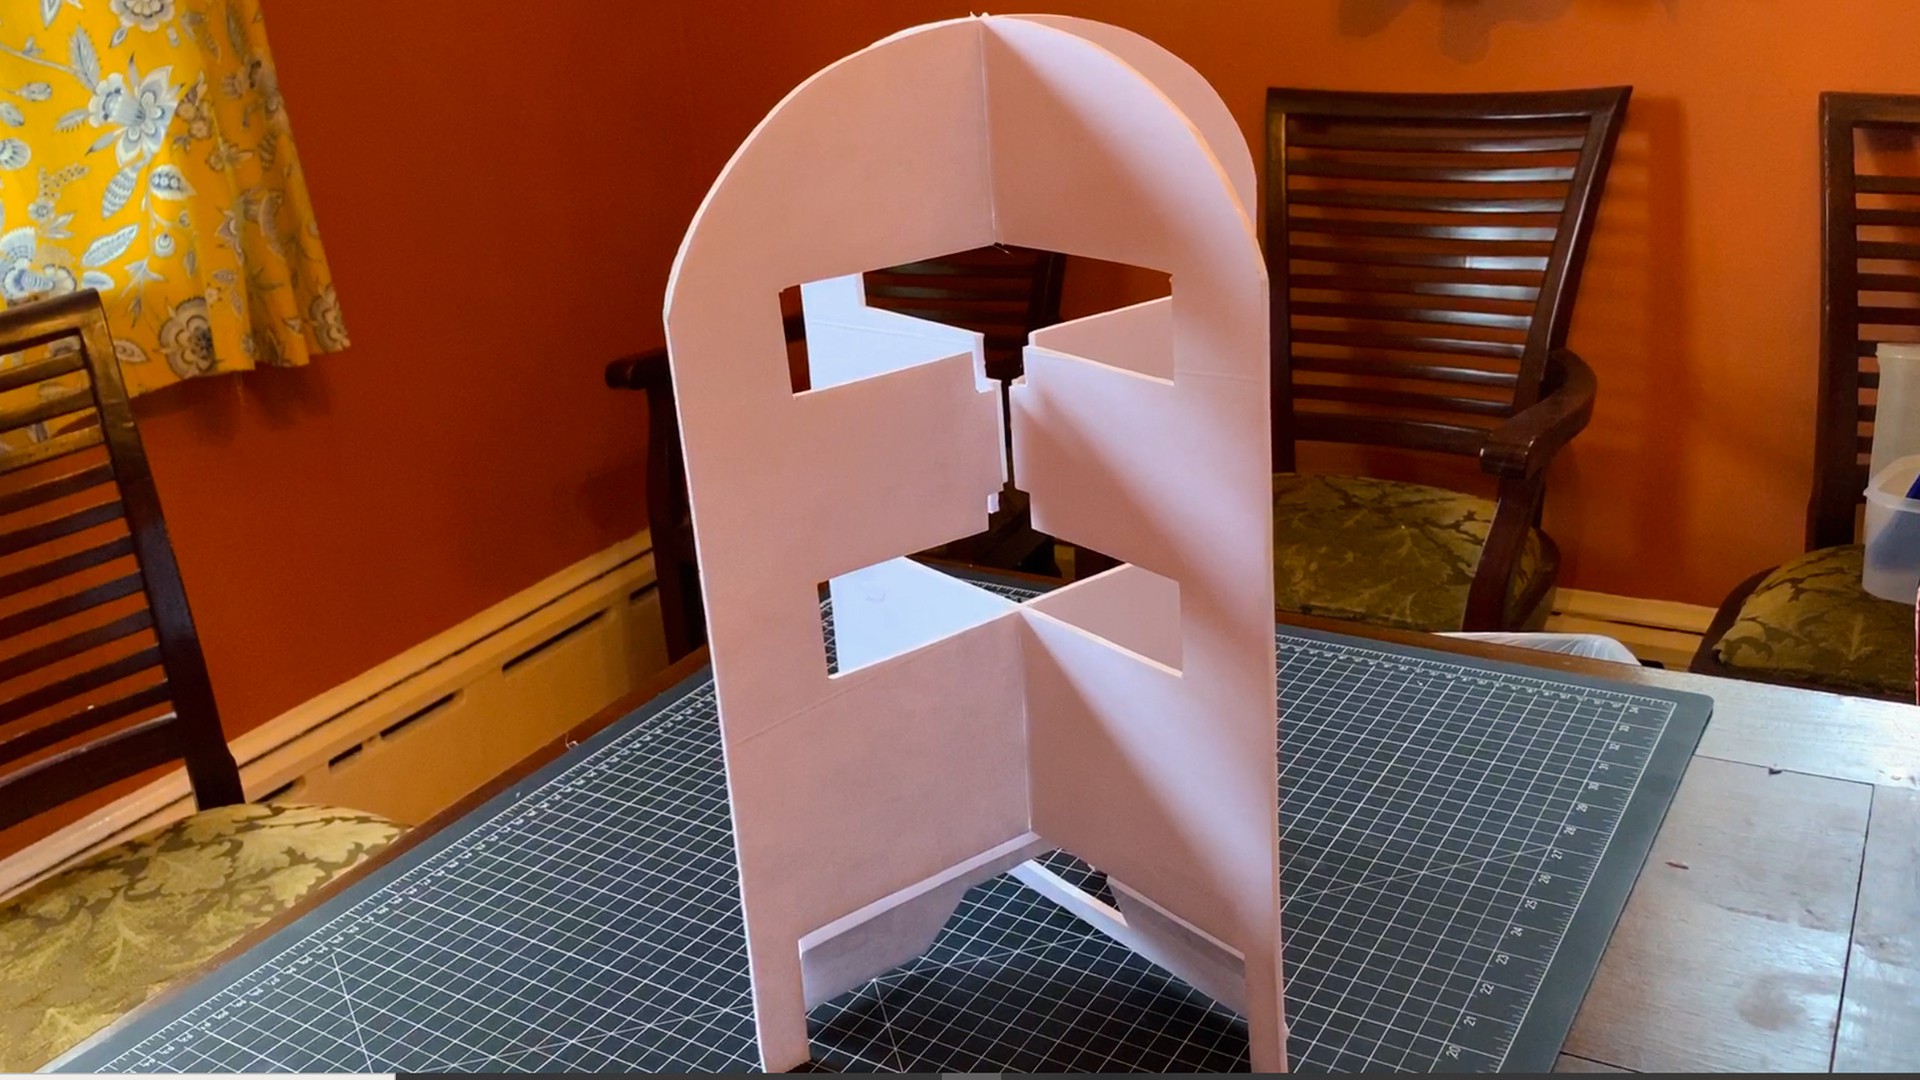
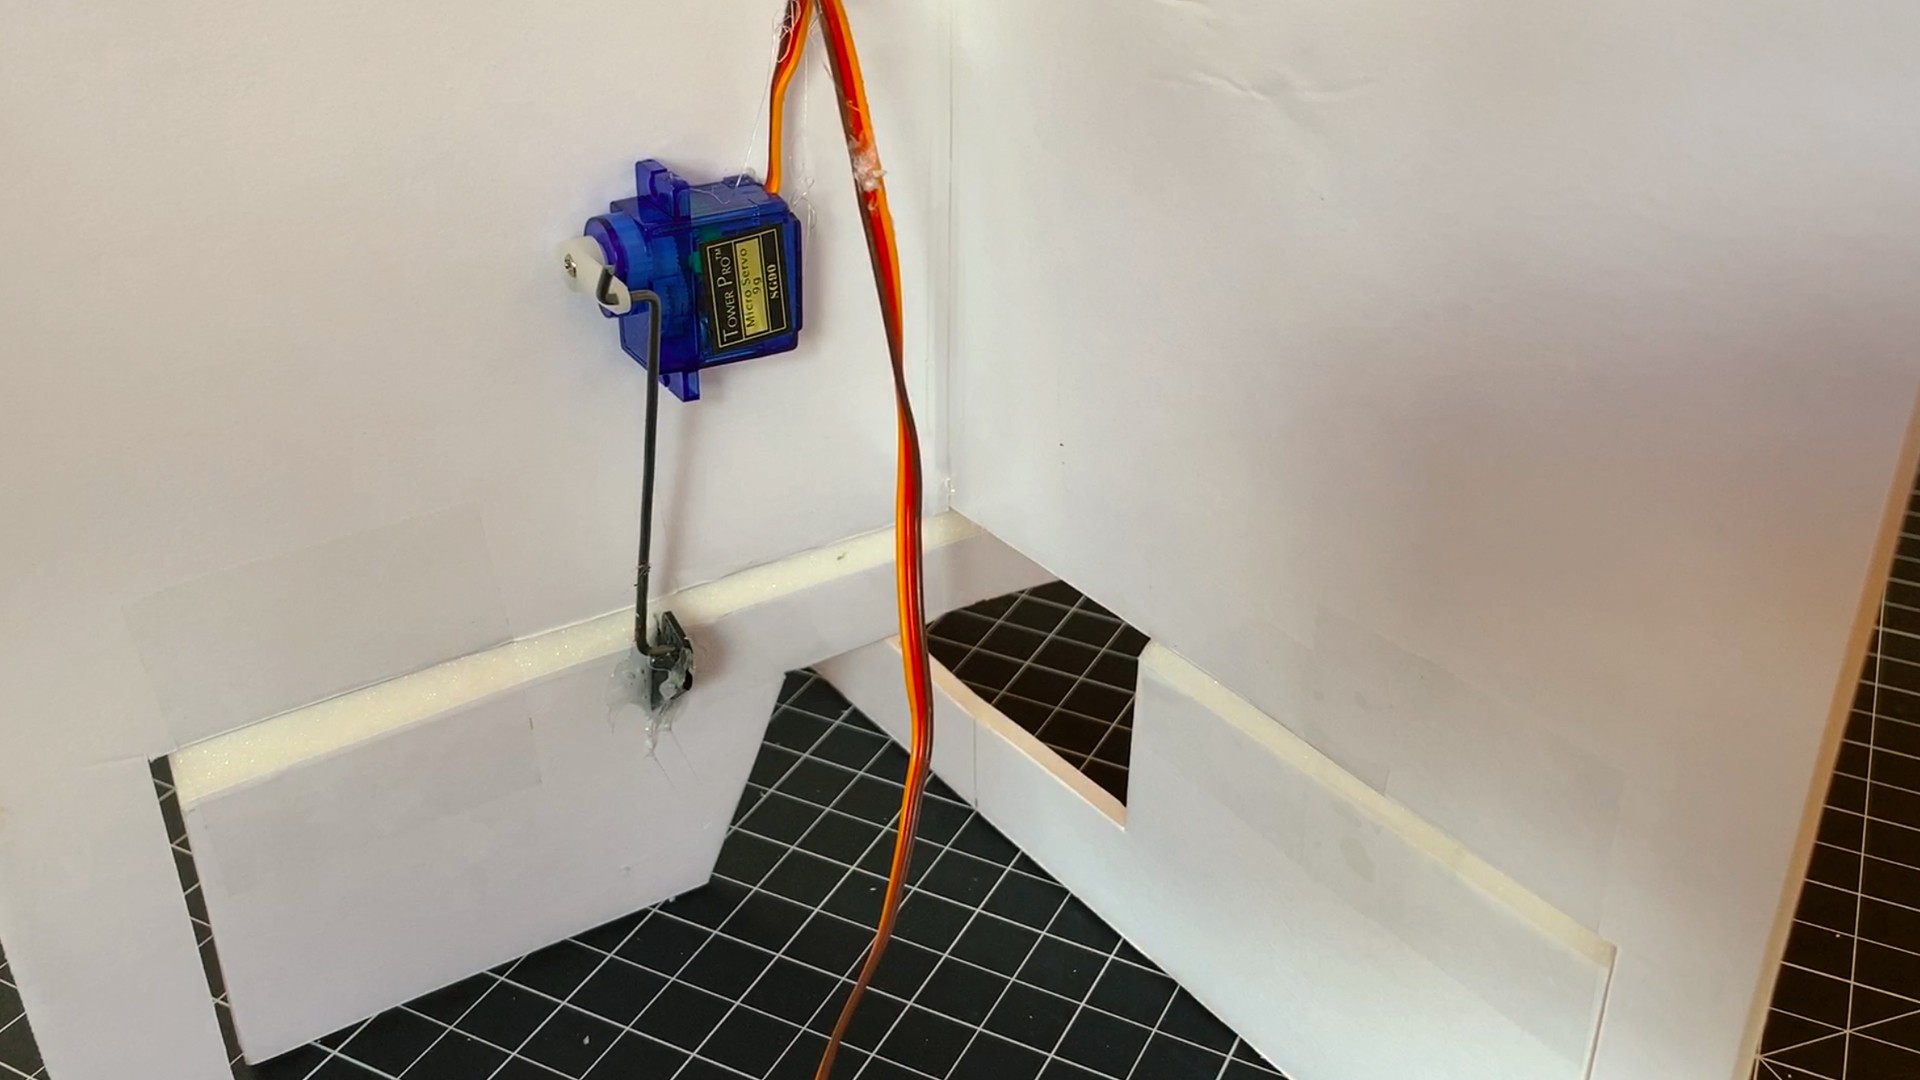
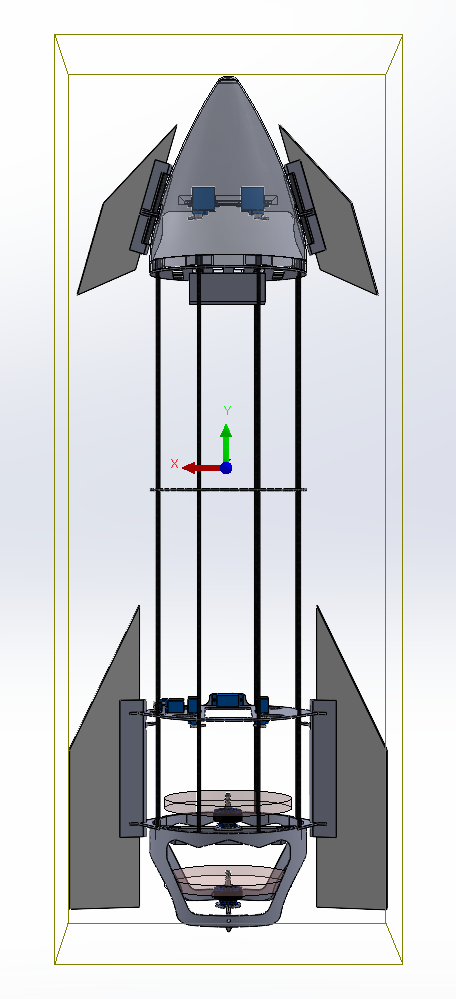
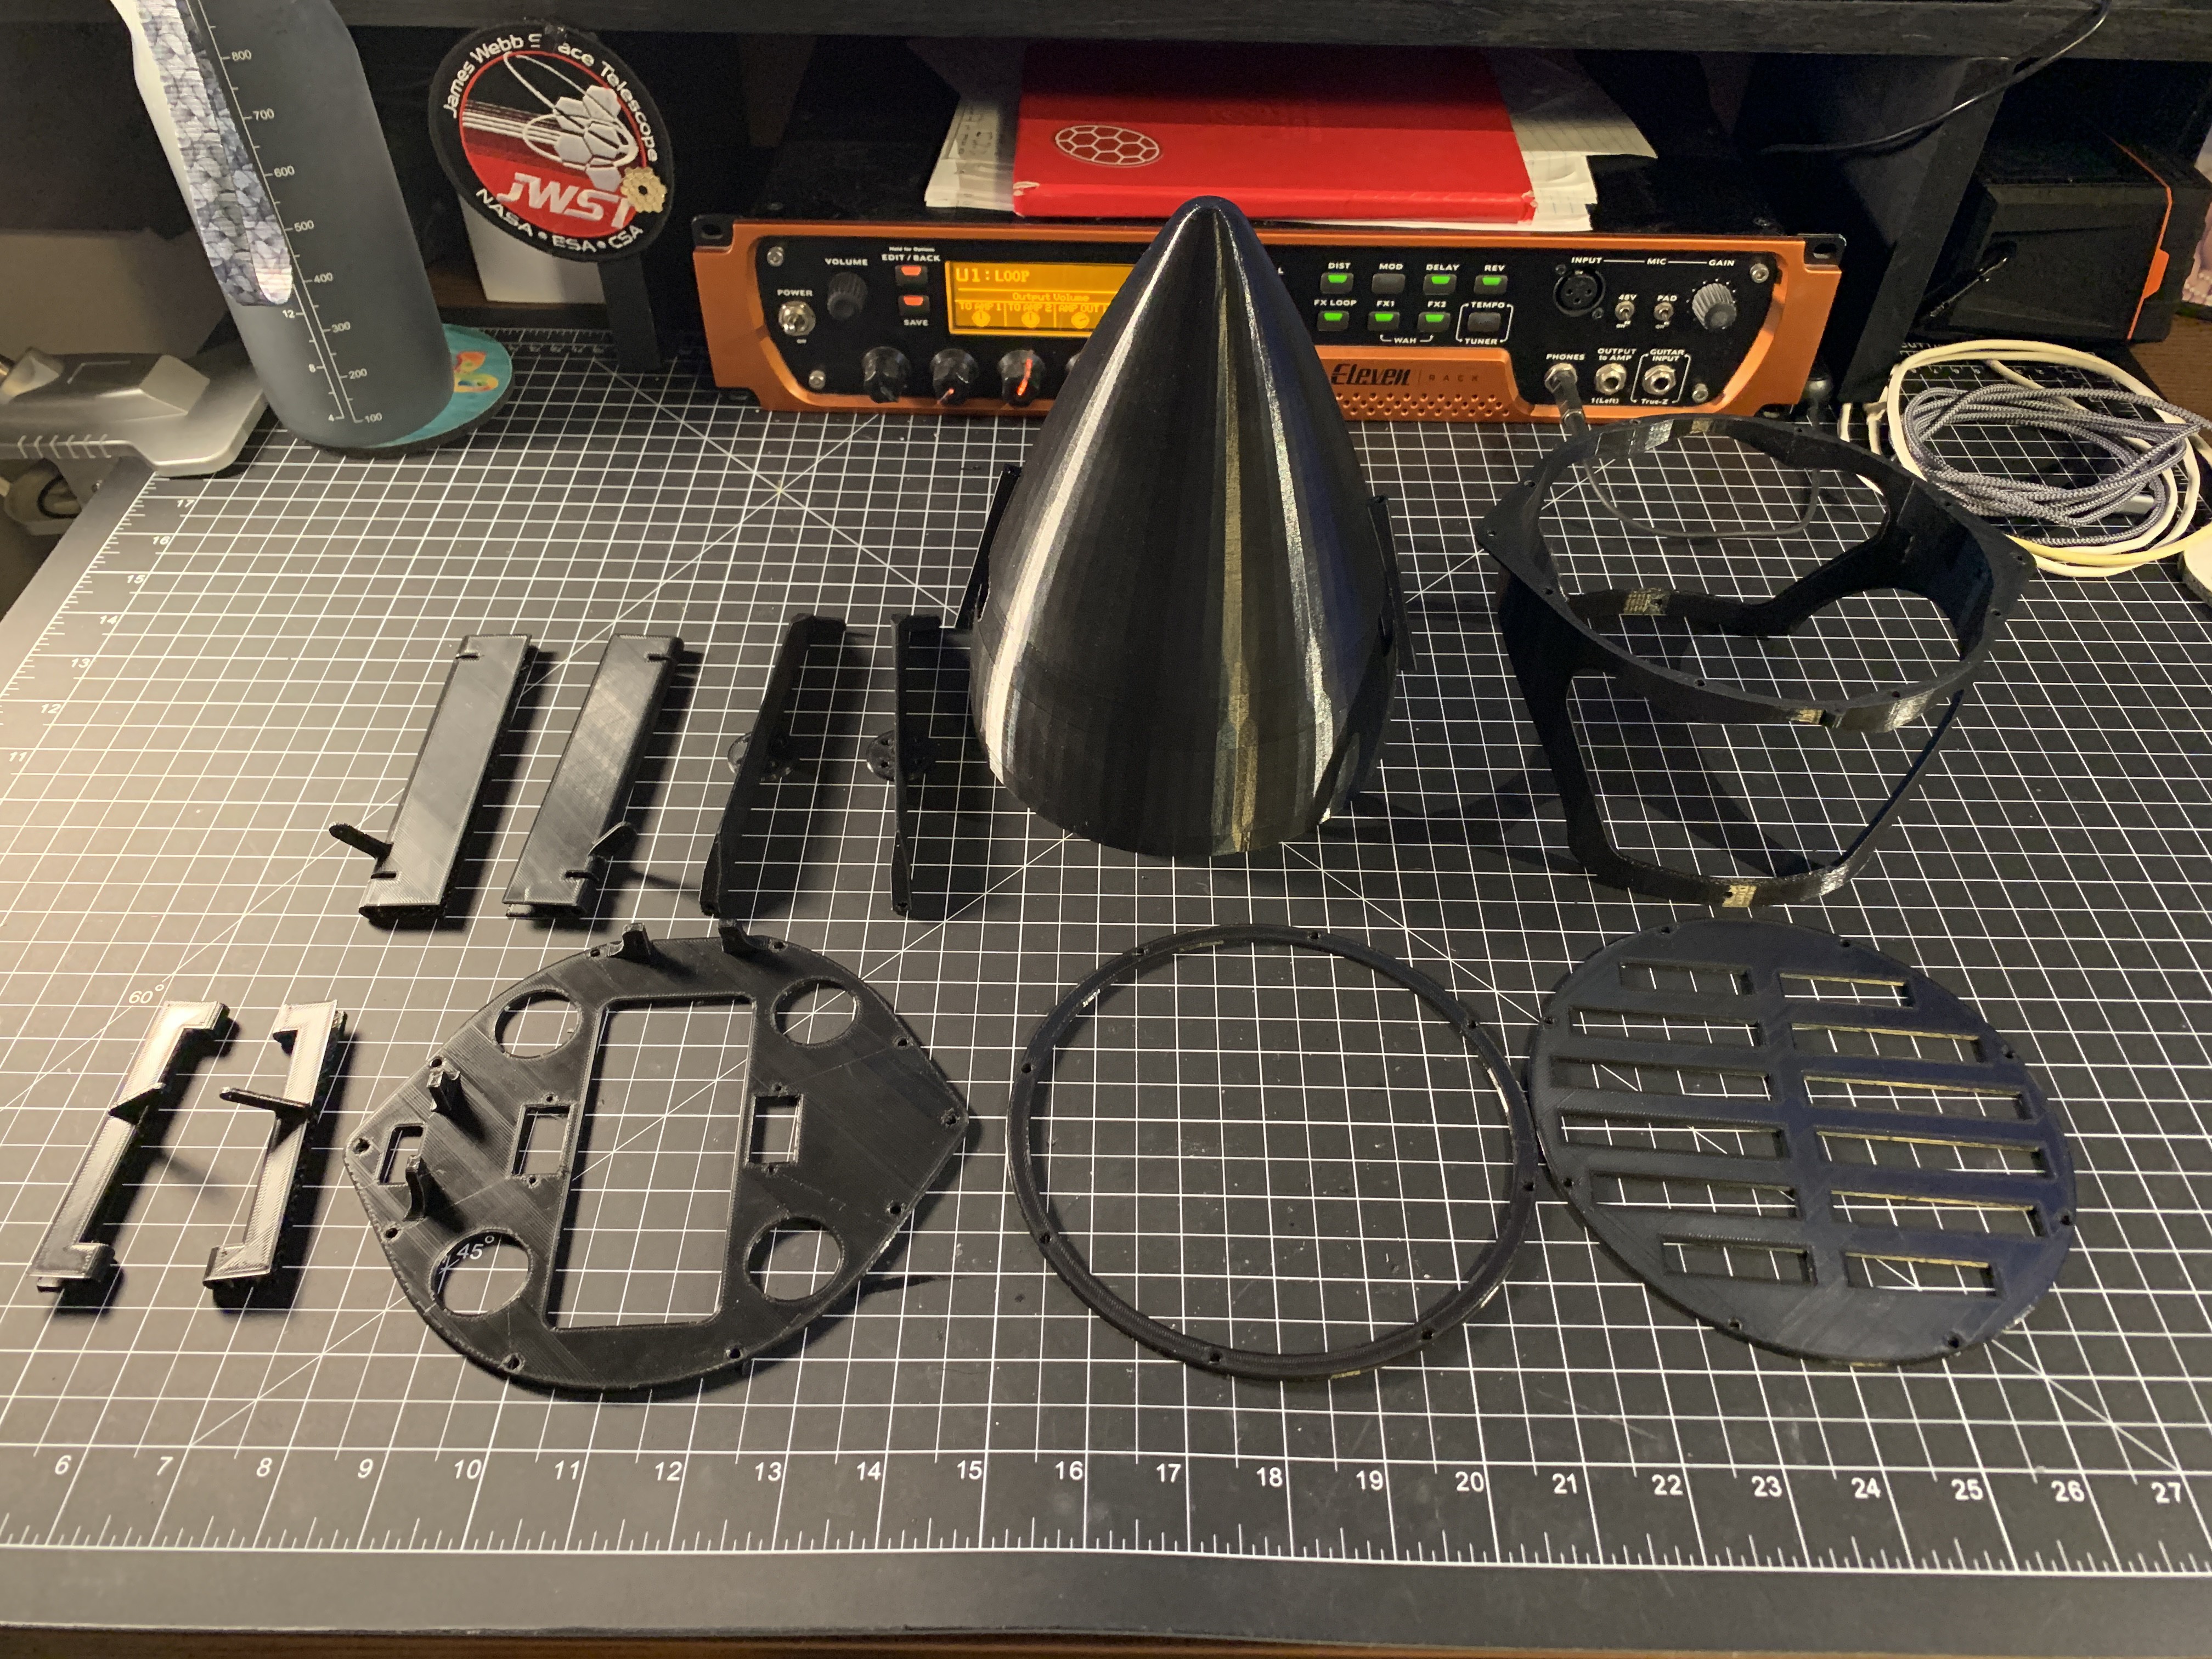
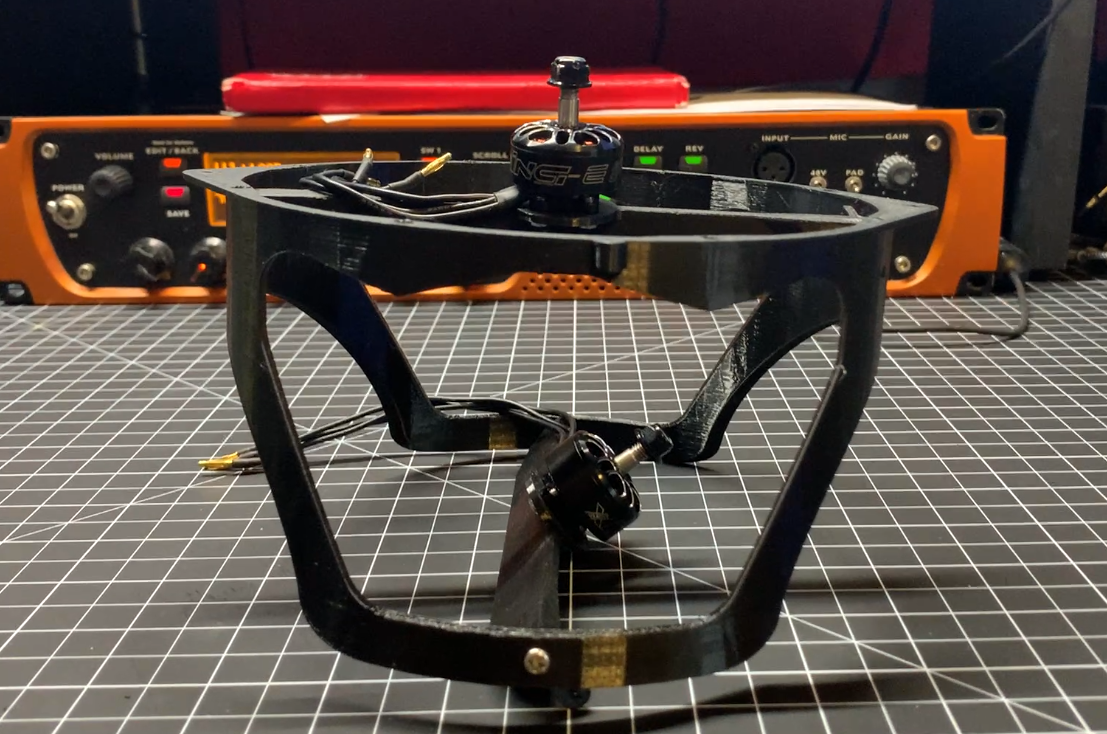
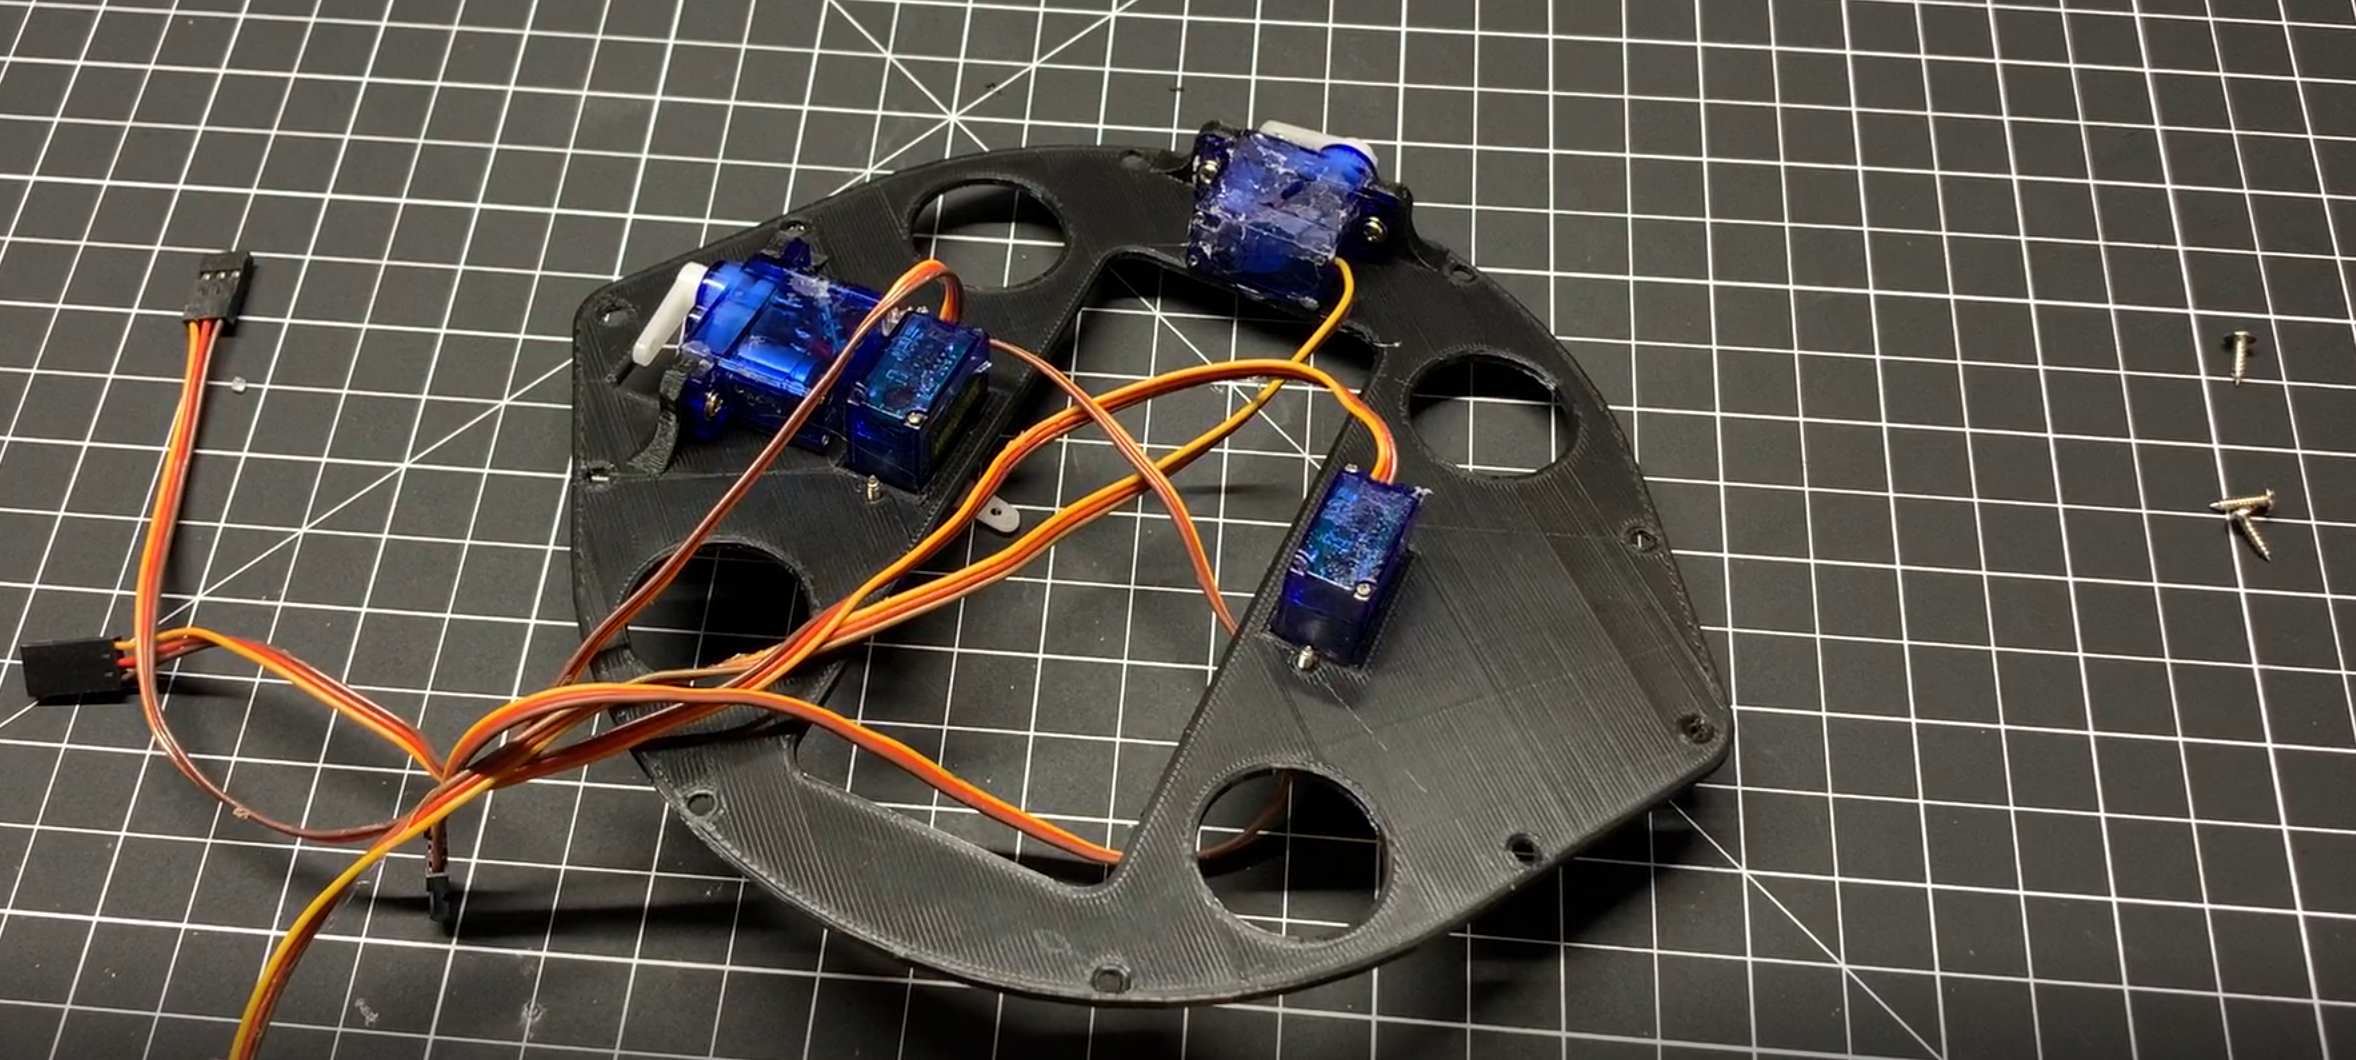
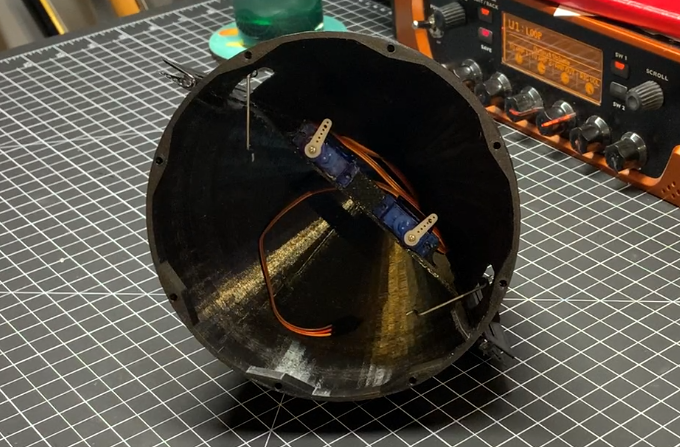
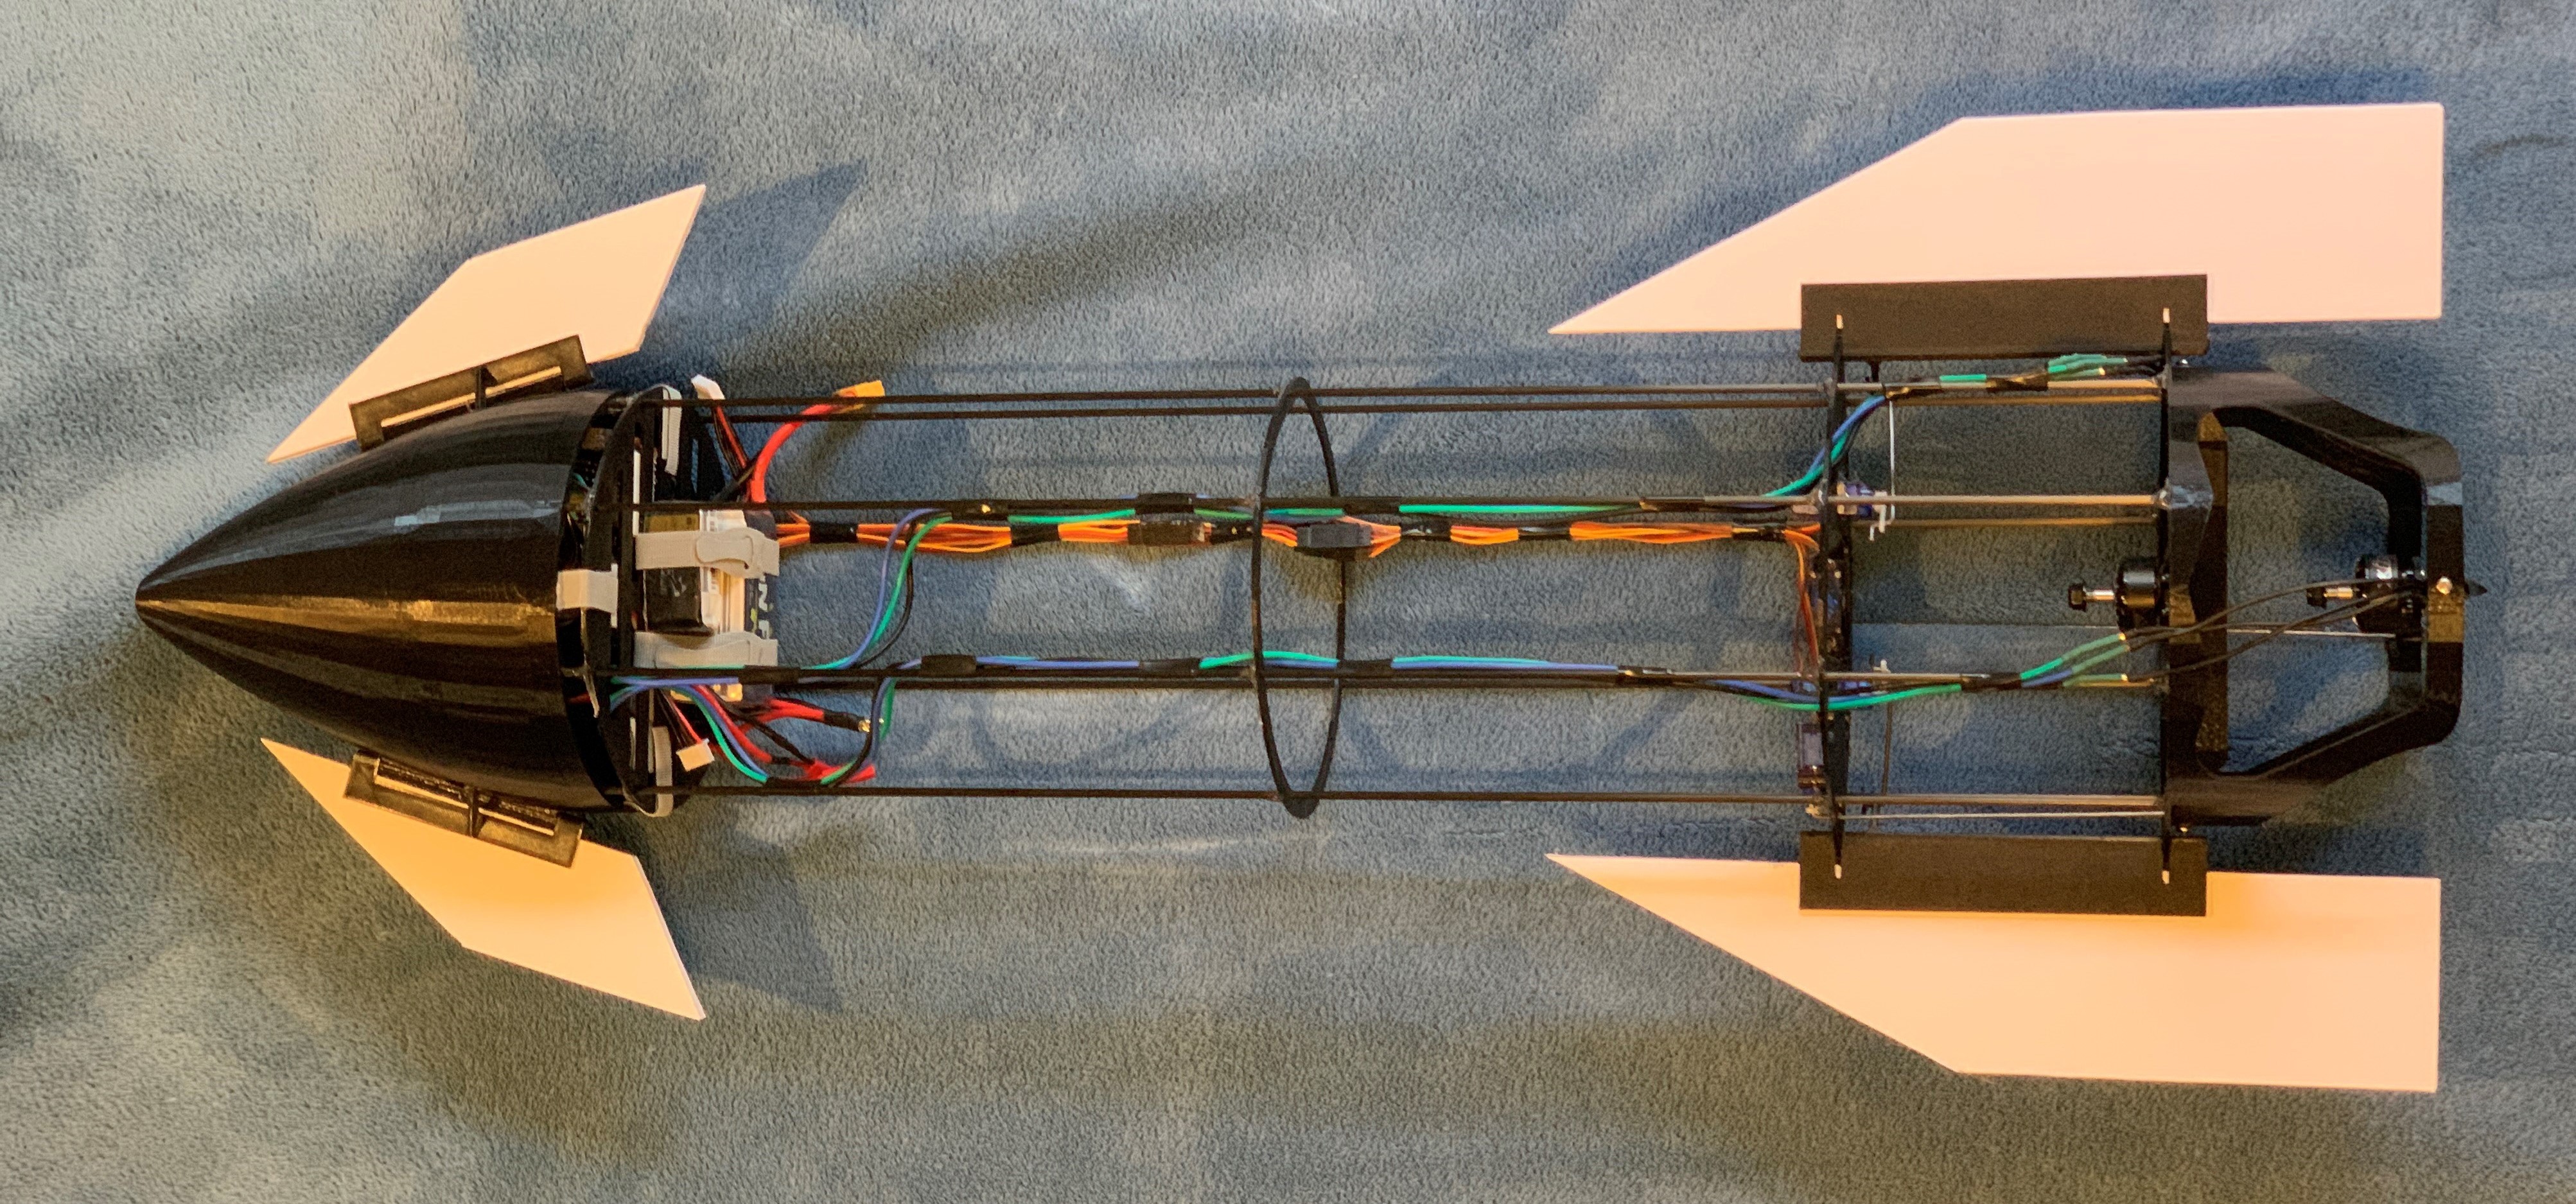
With control via thrust vectoring (roughly) figured out, the next step was to translate what was learned on the Starshopper to a Starship. The Starship hovers with two slightly more powerful brushless motors, with the addition of fore and aft lifting surfaces that enable control in the descending skydive or belly flop mode:
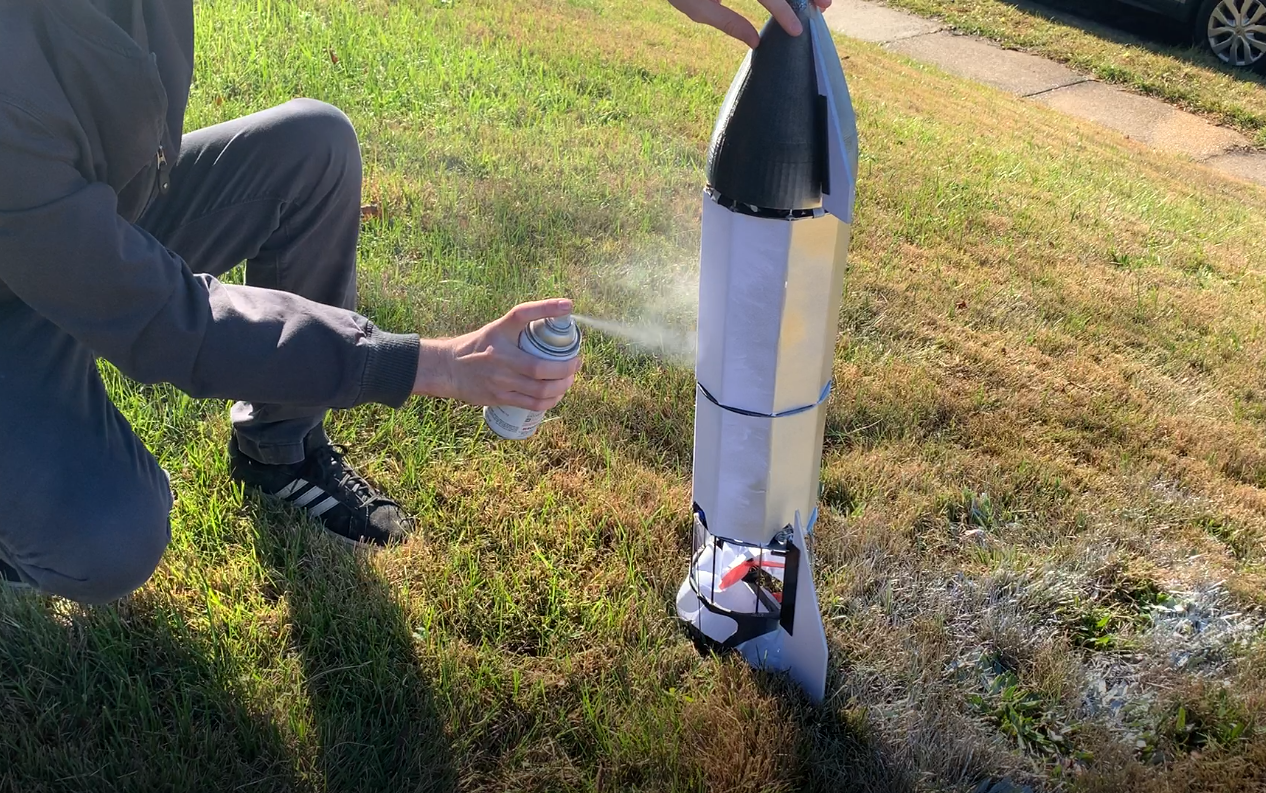
A little more tuning on the starship is needed before we consider building a superheavy booster to launch it with...

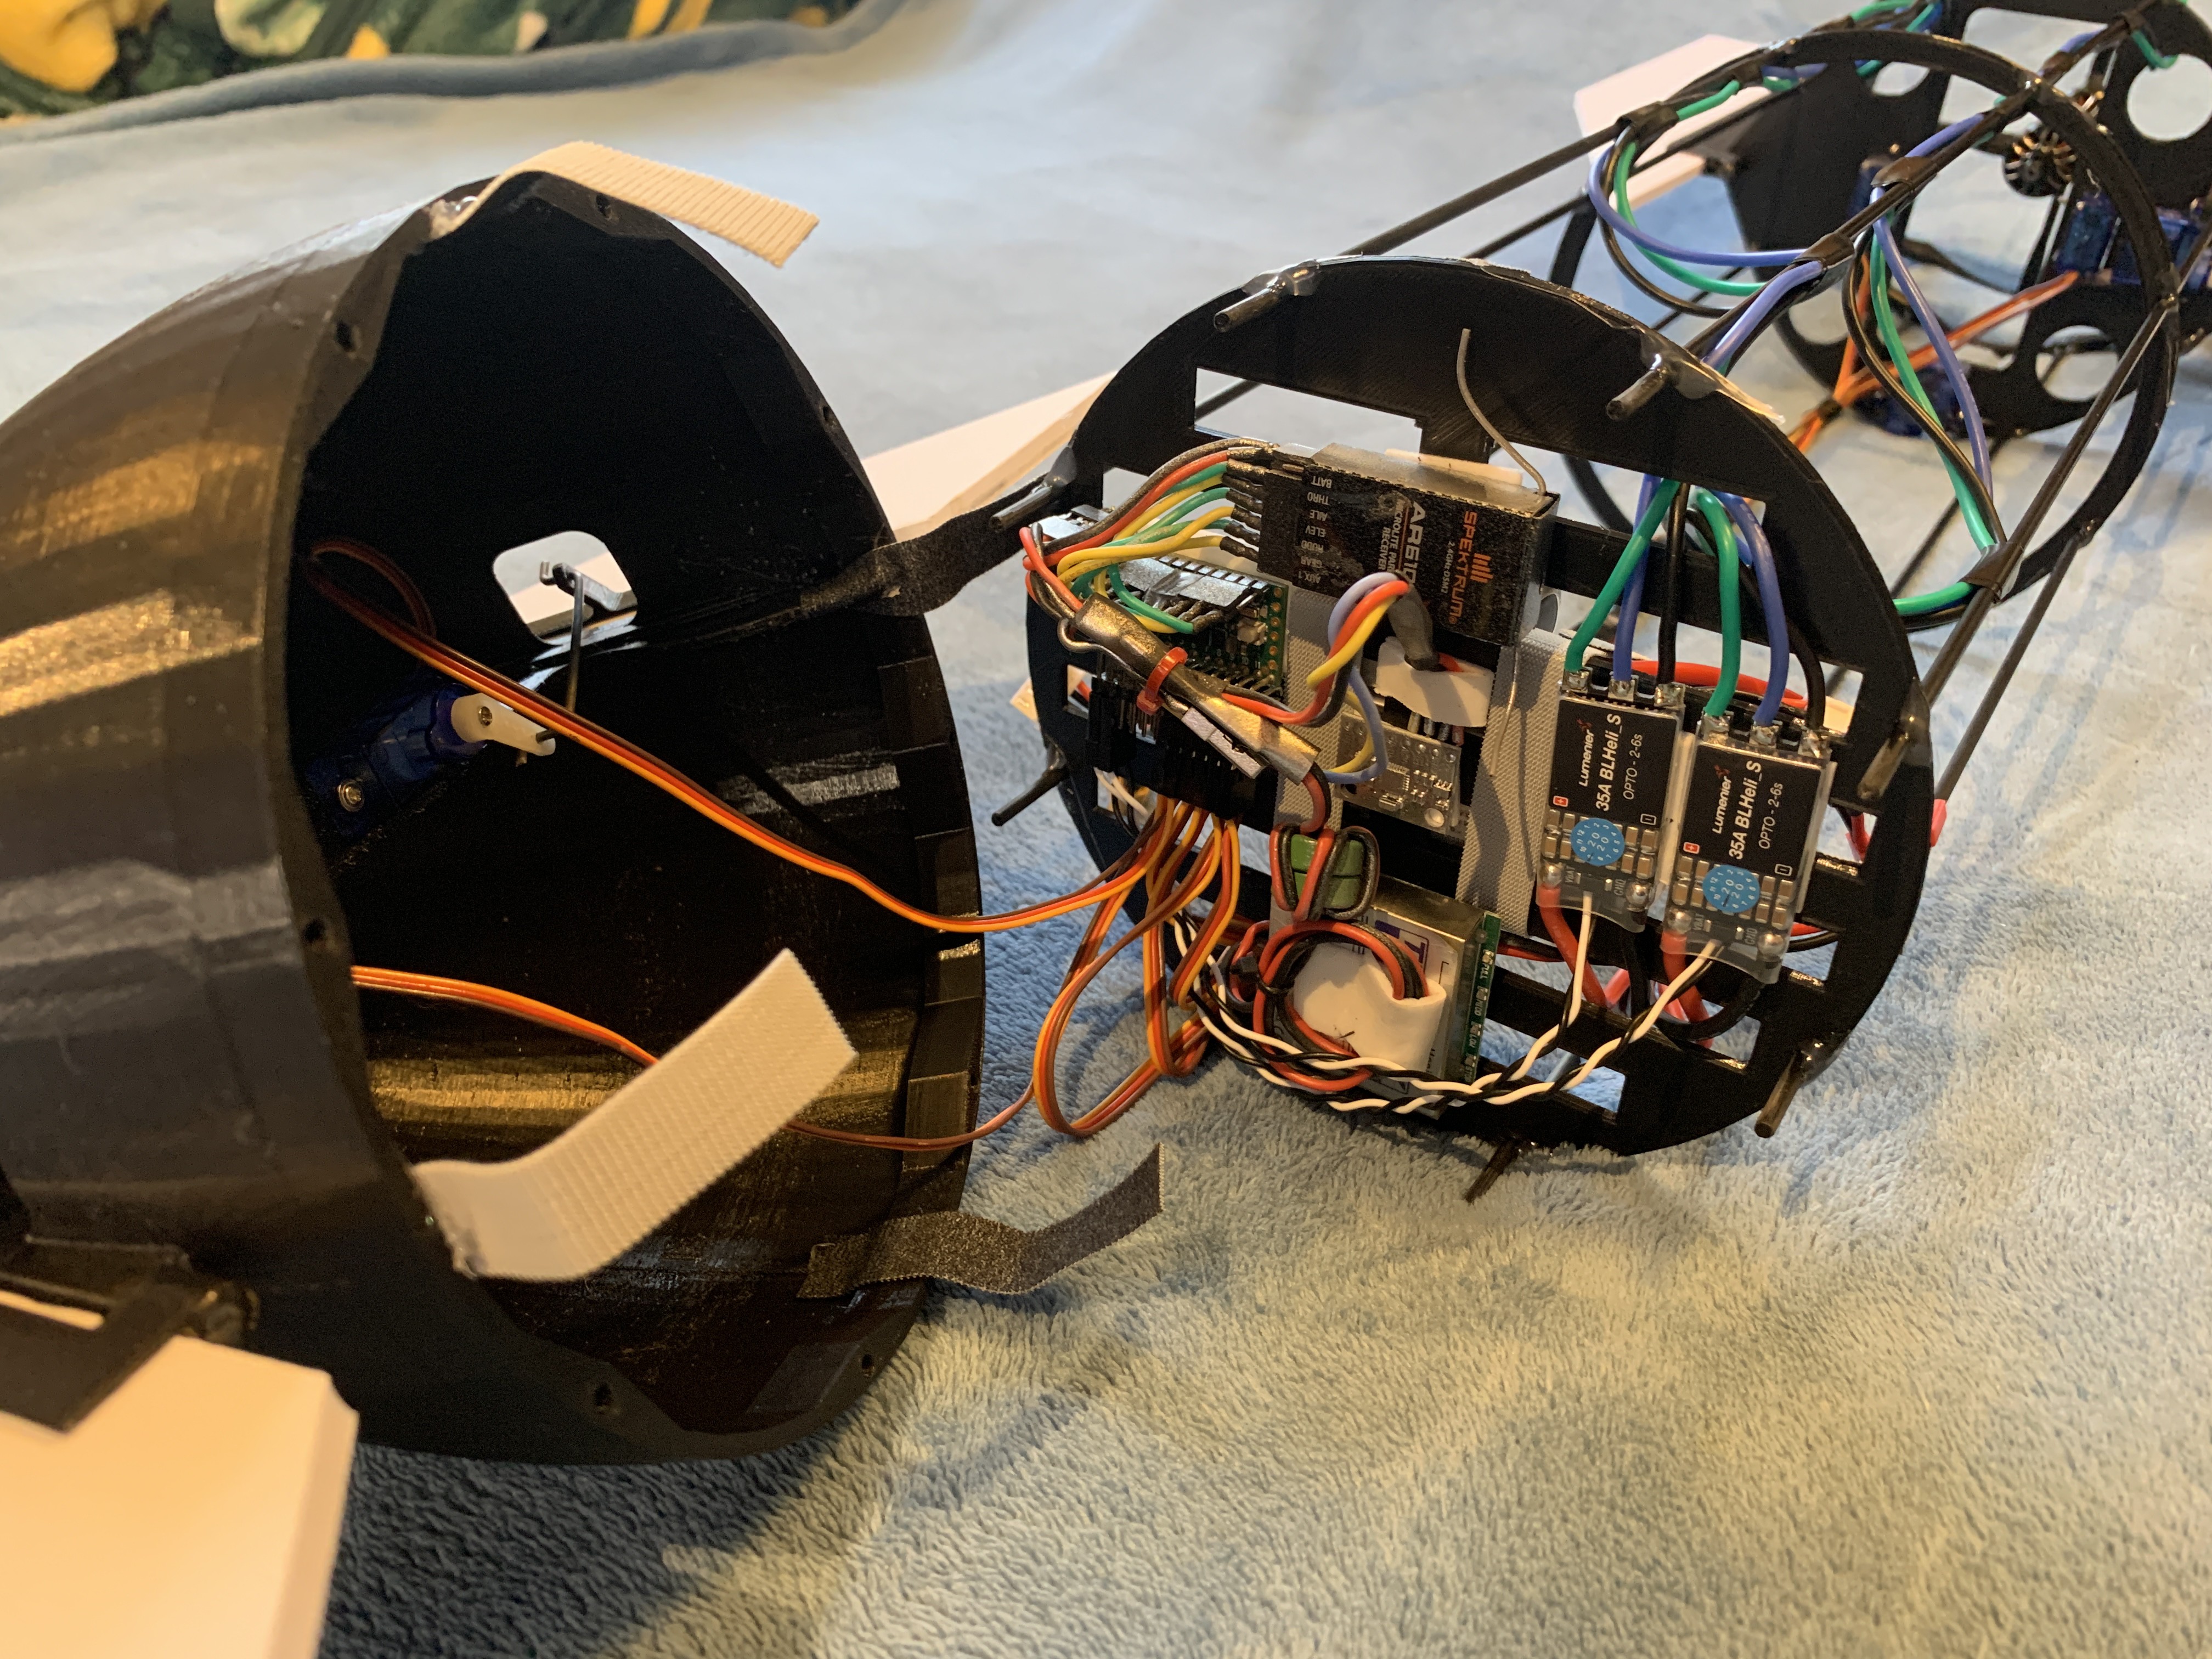
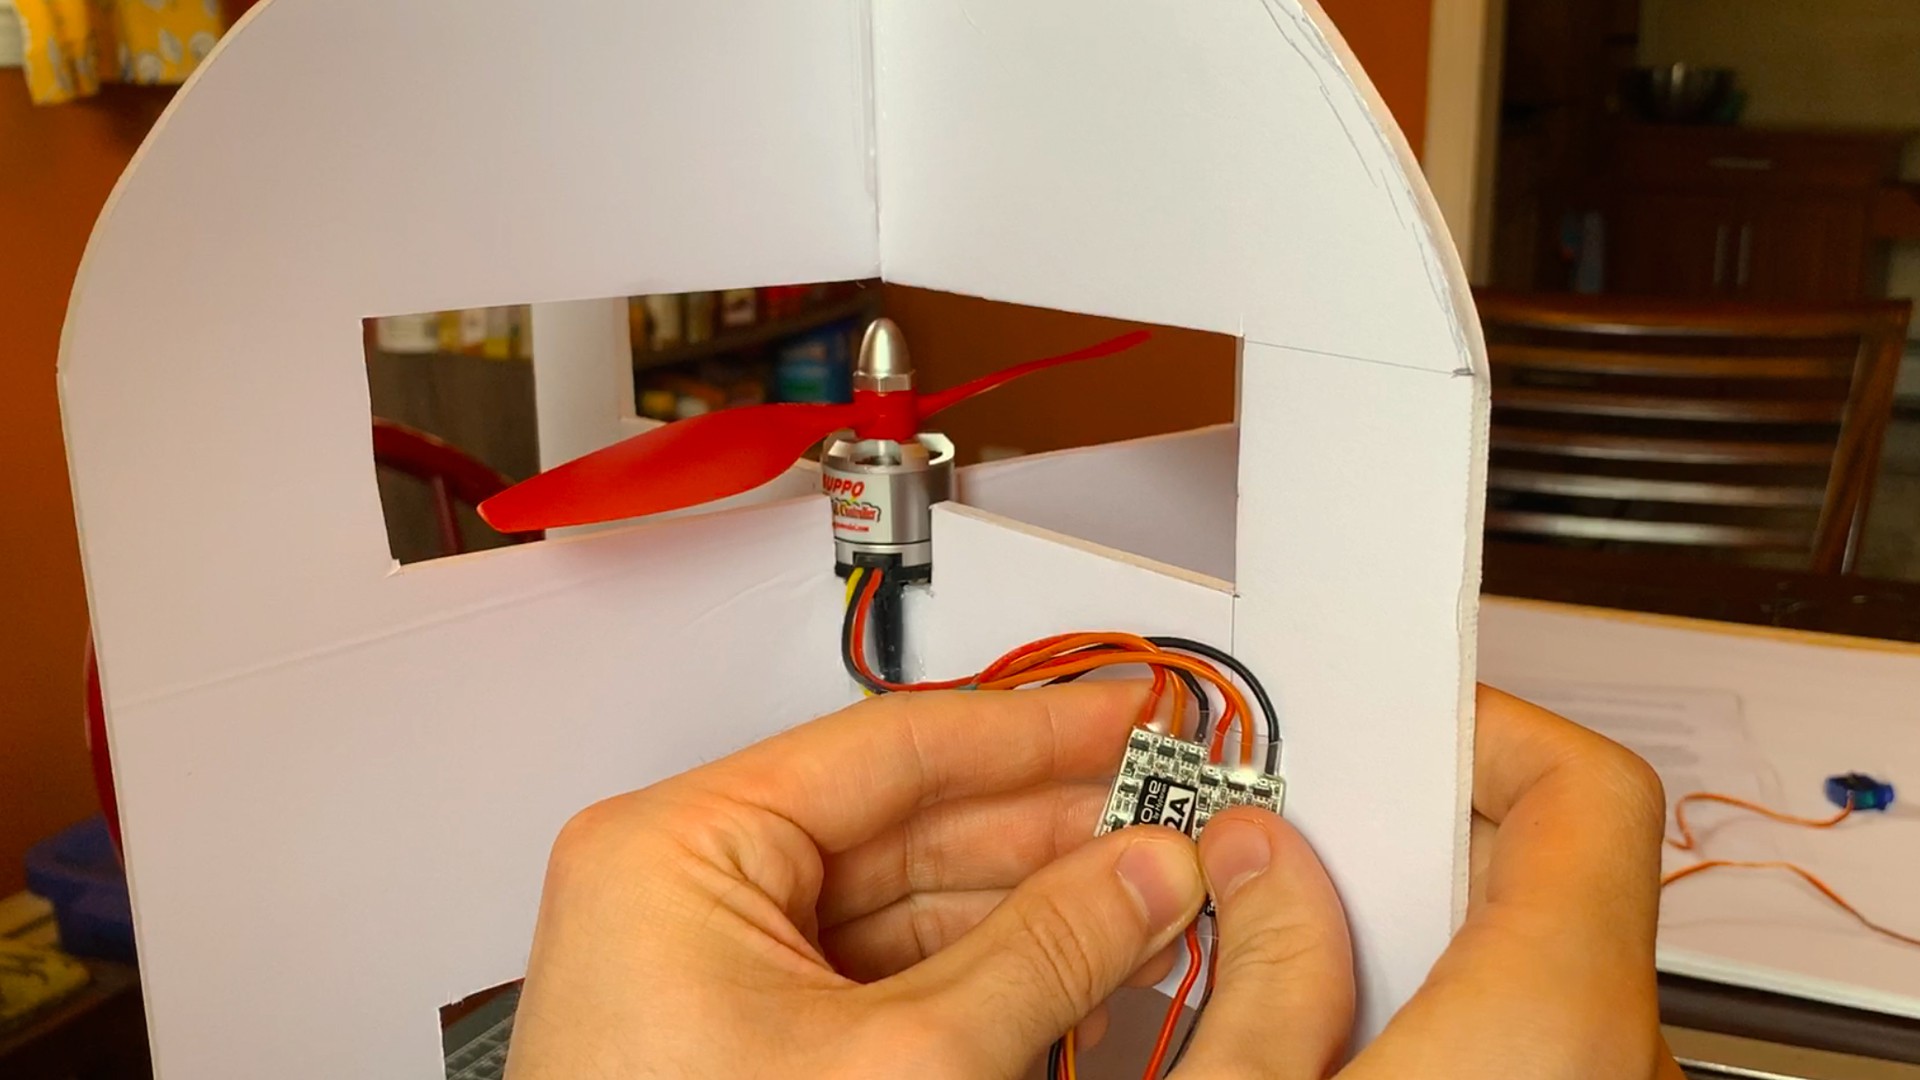
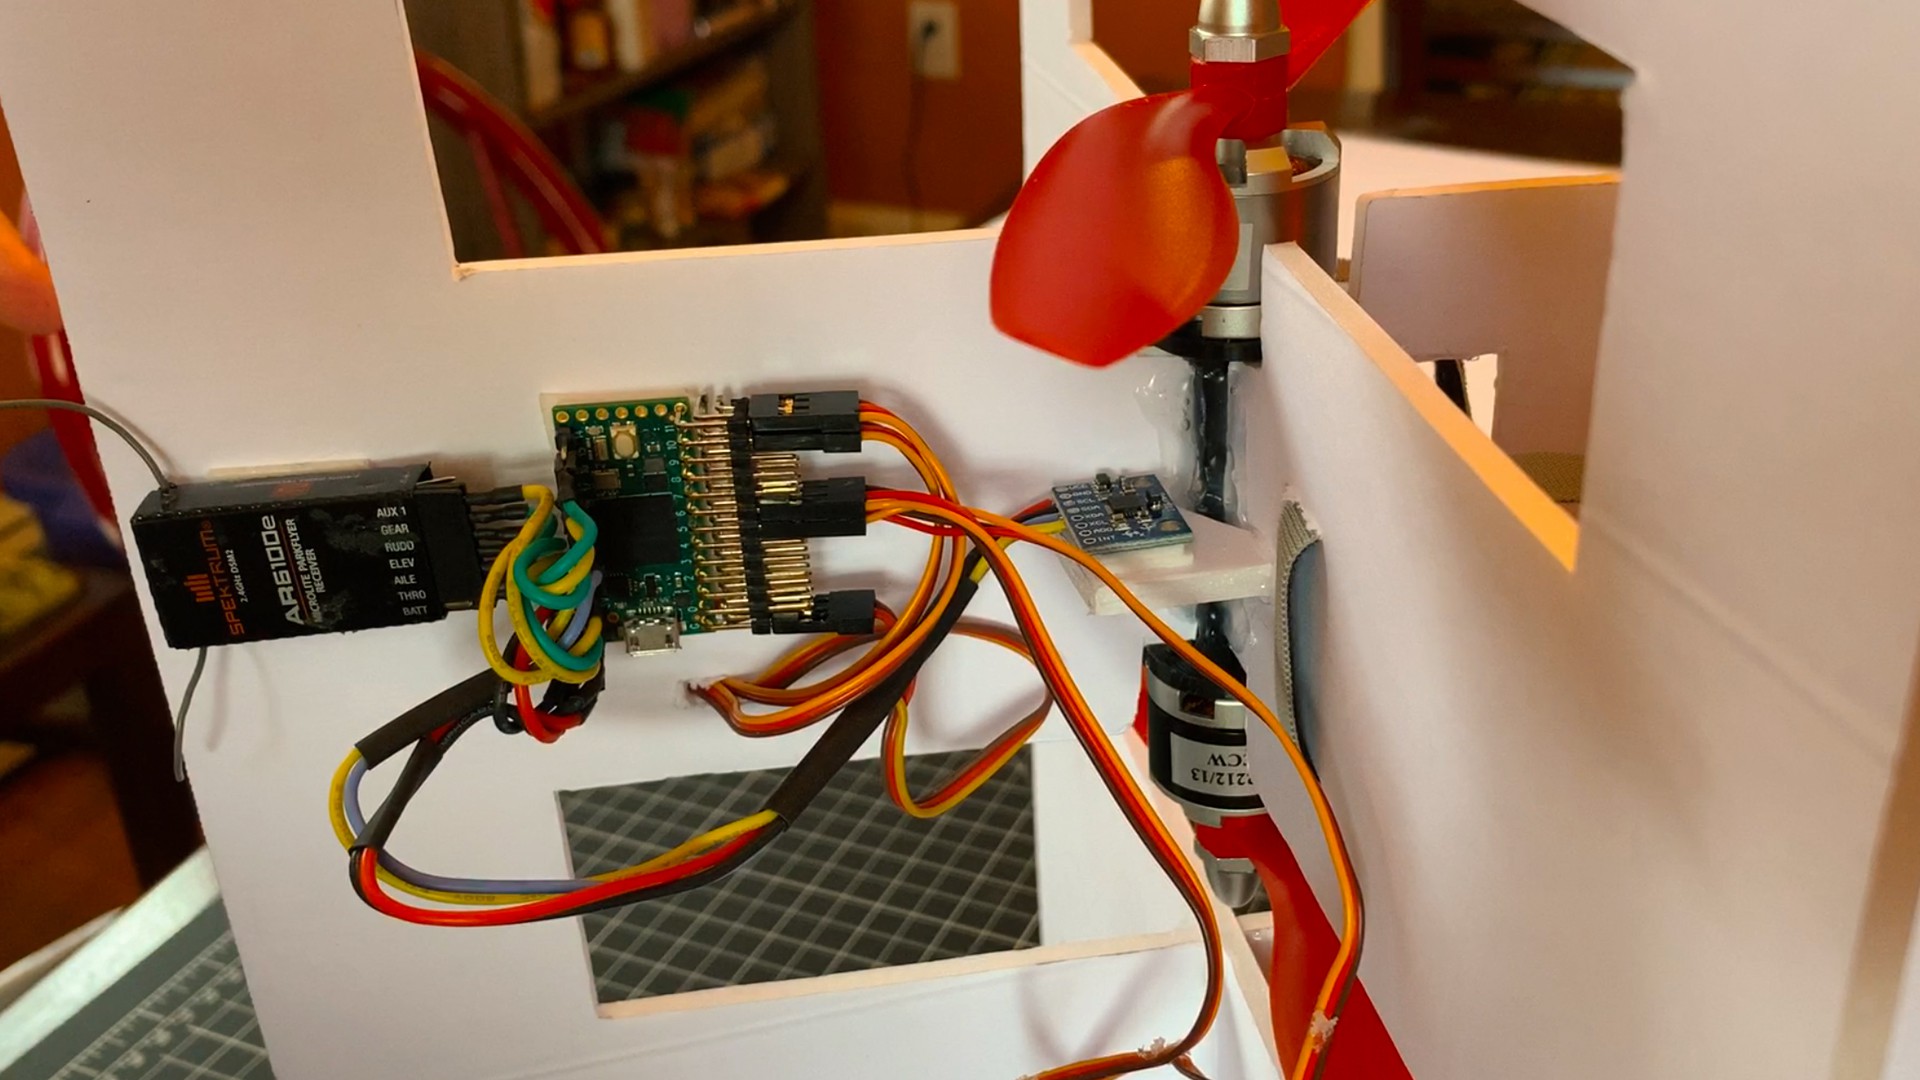
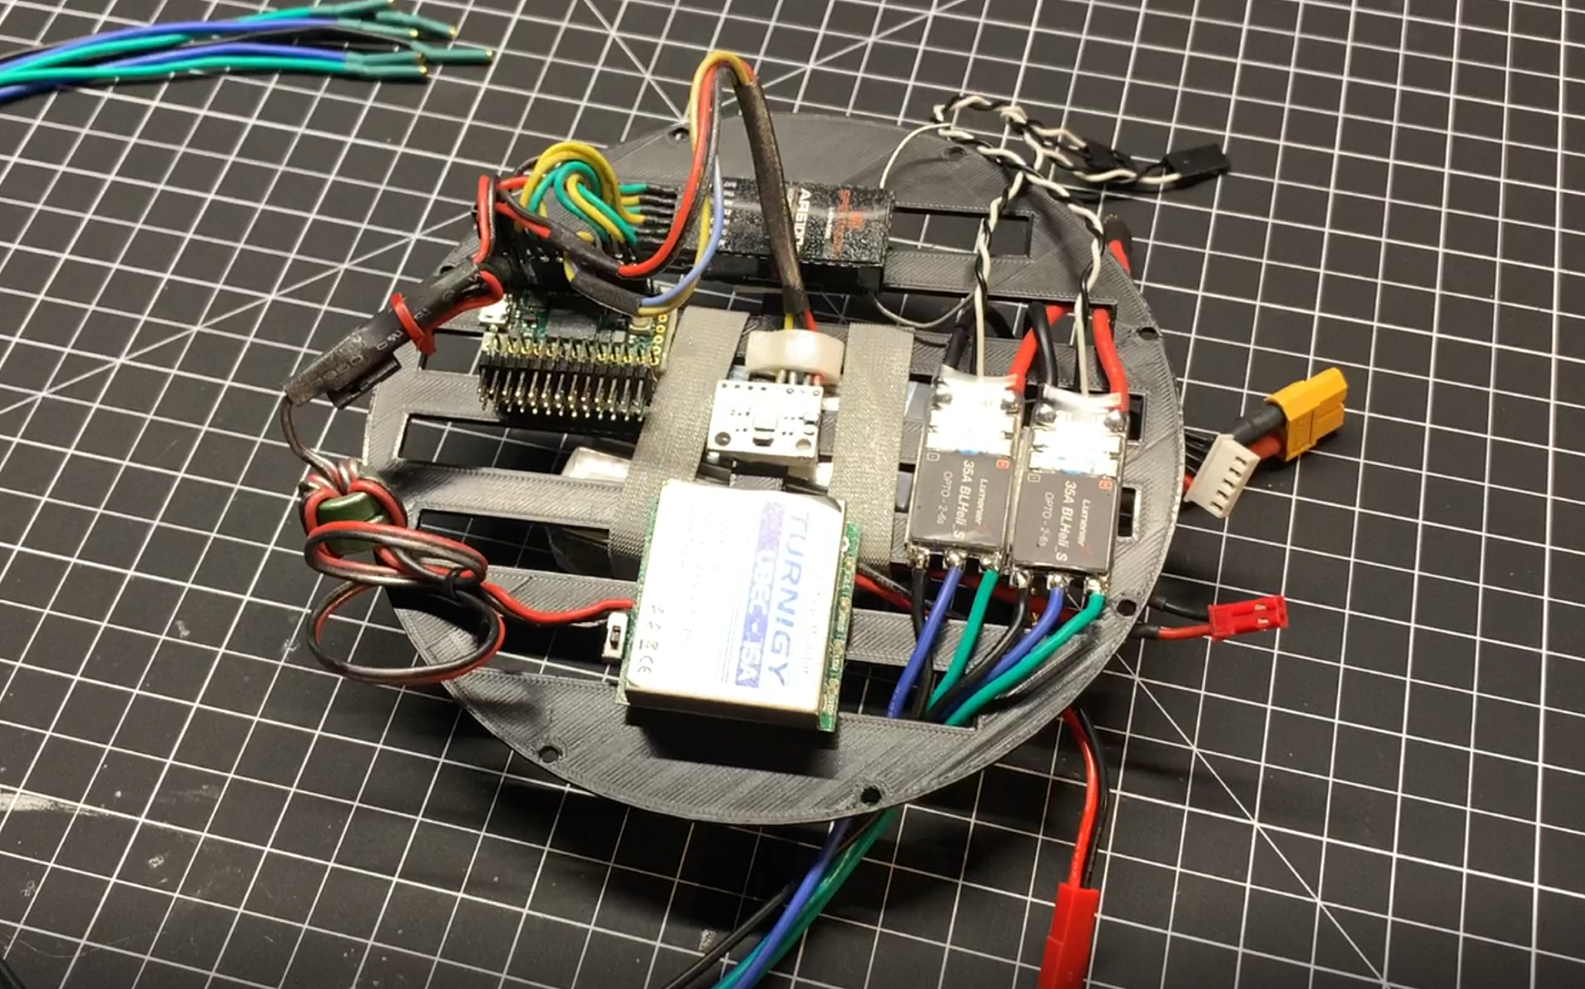
For flight control and stabilization on this project, I'm using my open-source flight controller that is Arduino-based and runs on the Teensy 4.0 with MPU6050 IMU: Project Page


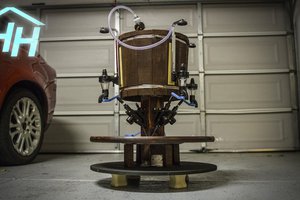
 Hacker House
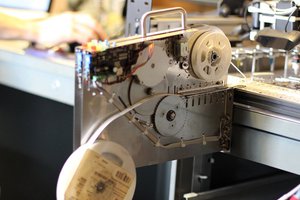
 ProtoVoltaics
 Ronald Jaramillo
 lmckeega
Is there any alternative microcontroller for teensy 4.0?