 Peter Wasilewski
hello!
In this project log, I'd like to show you a few photos of my parts collection for the remaining nine actuators I need to assemble the whole robot. I've been working on these parts for like a month and a half and they're finally ready. I was able to machine them only on weekends in my free time, this is why it was taking so long.
The machining started with over 5 kilos of aluminum slices (140mm in diameter).
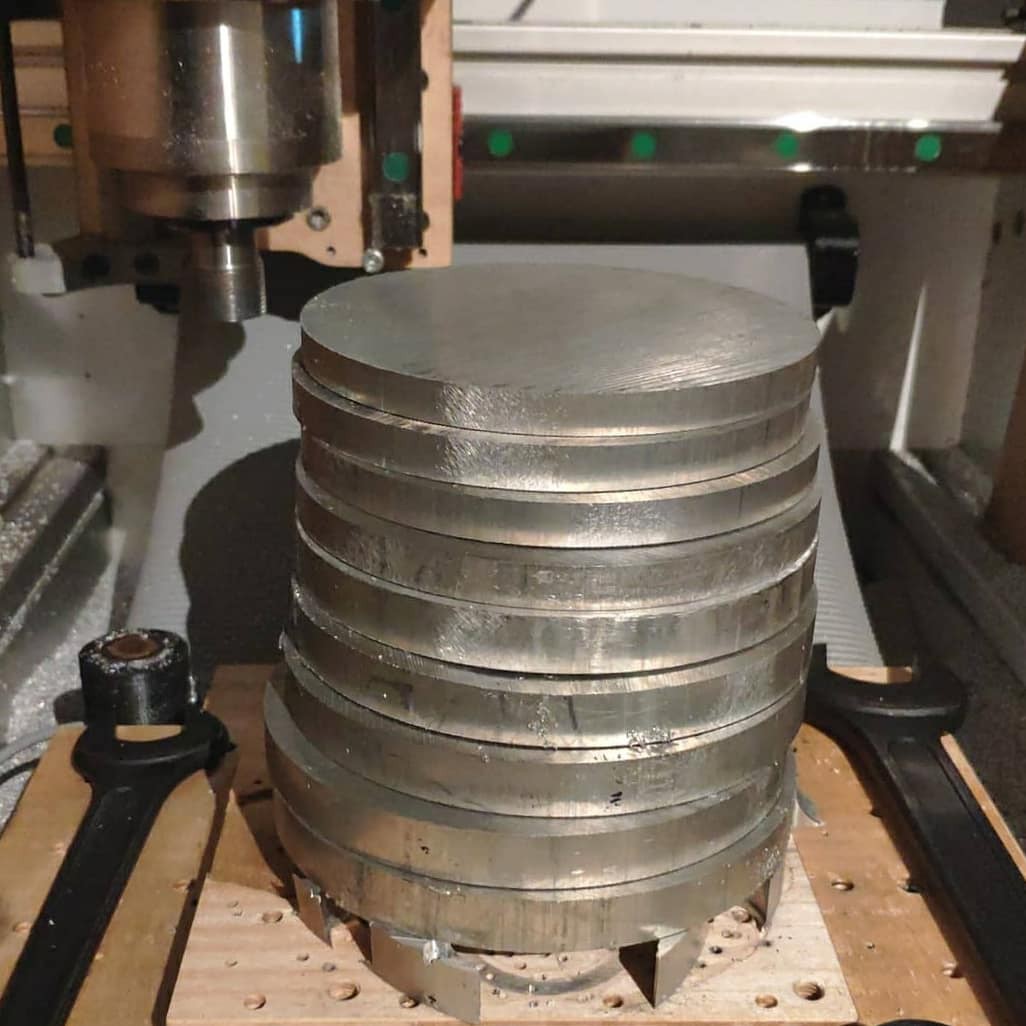
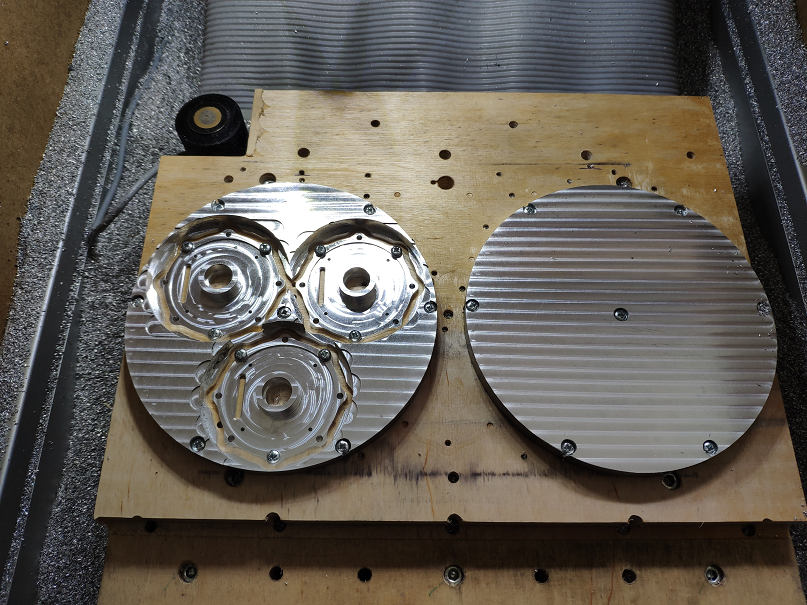
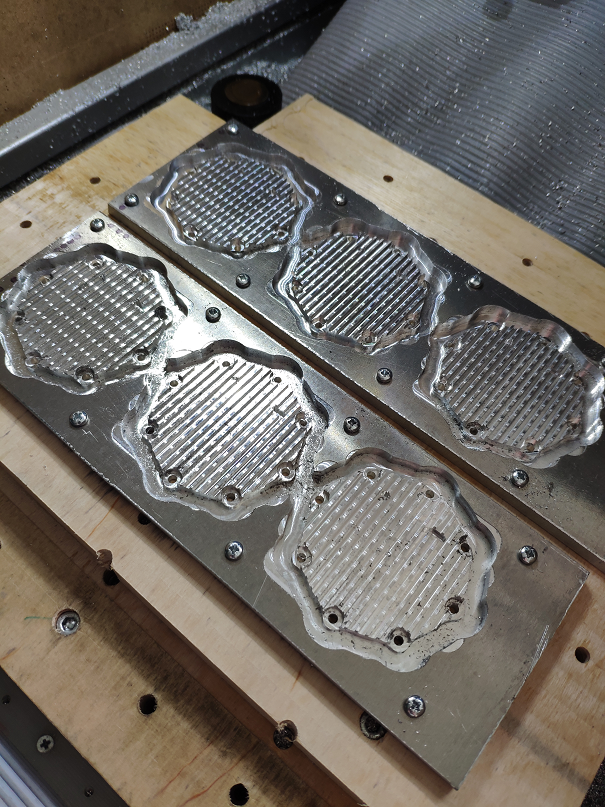
Because of poor surface finish (the slices were cut on a band saw), I had to face-mill both sides of each slice, and then I could proceed with milling the parts. Here is a photo of two slices after this pre-milling treatment:

Having prepared the stock it was time to proceed with the parts:
Since all the parts were milled in a similar manner I'll just post some photos of the process:
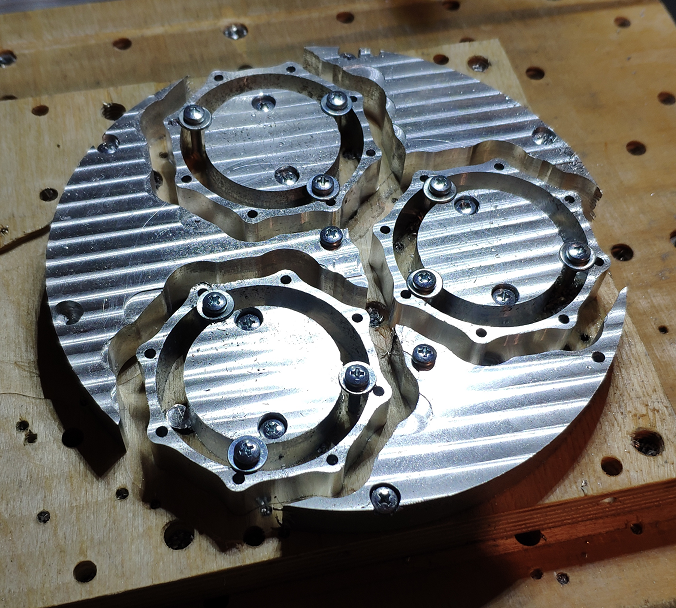
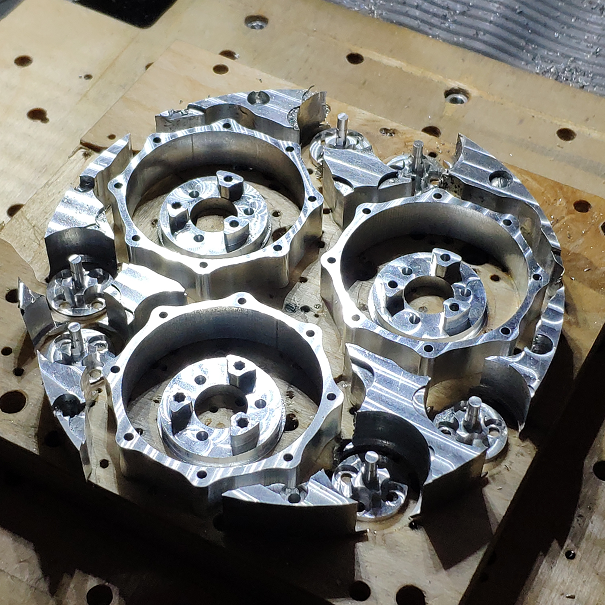
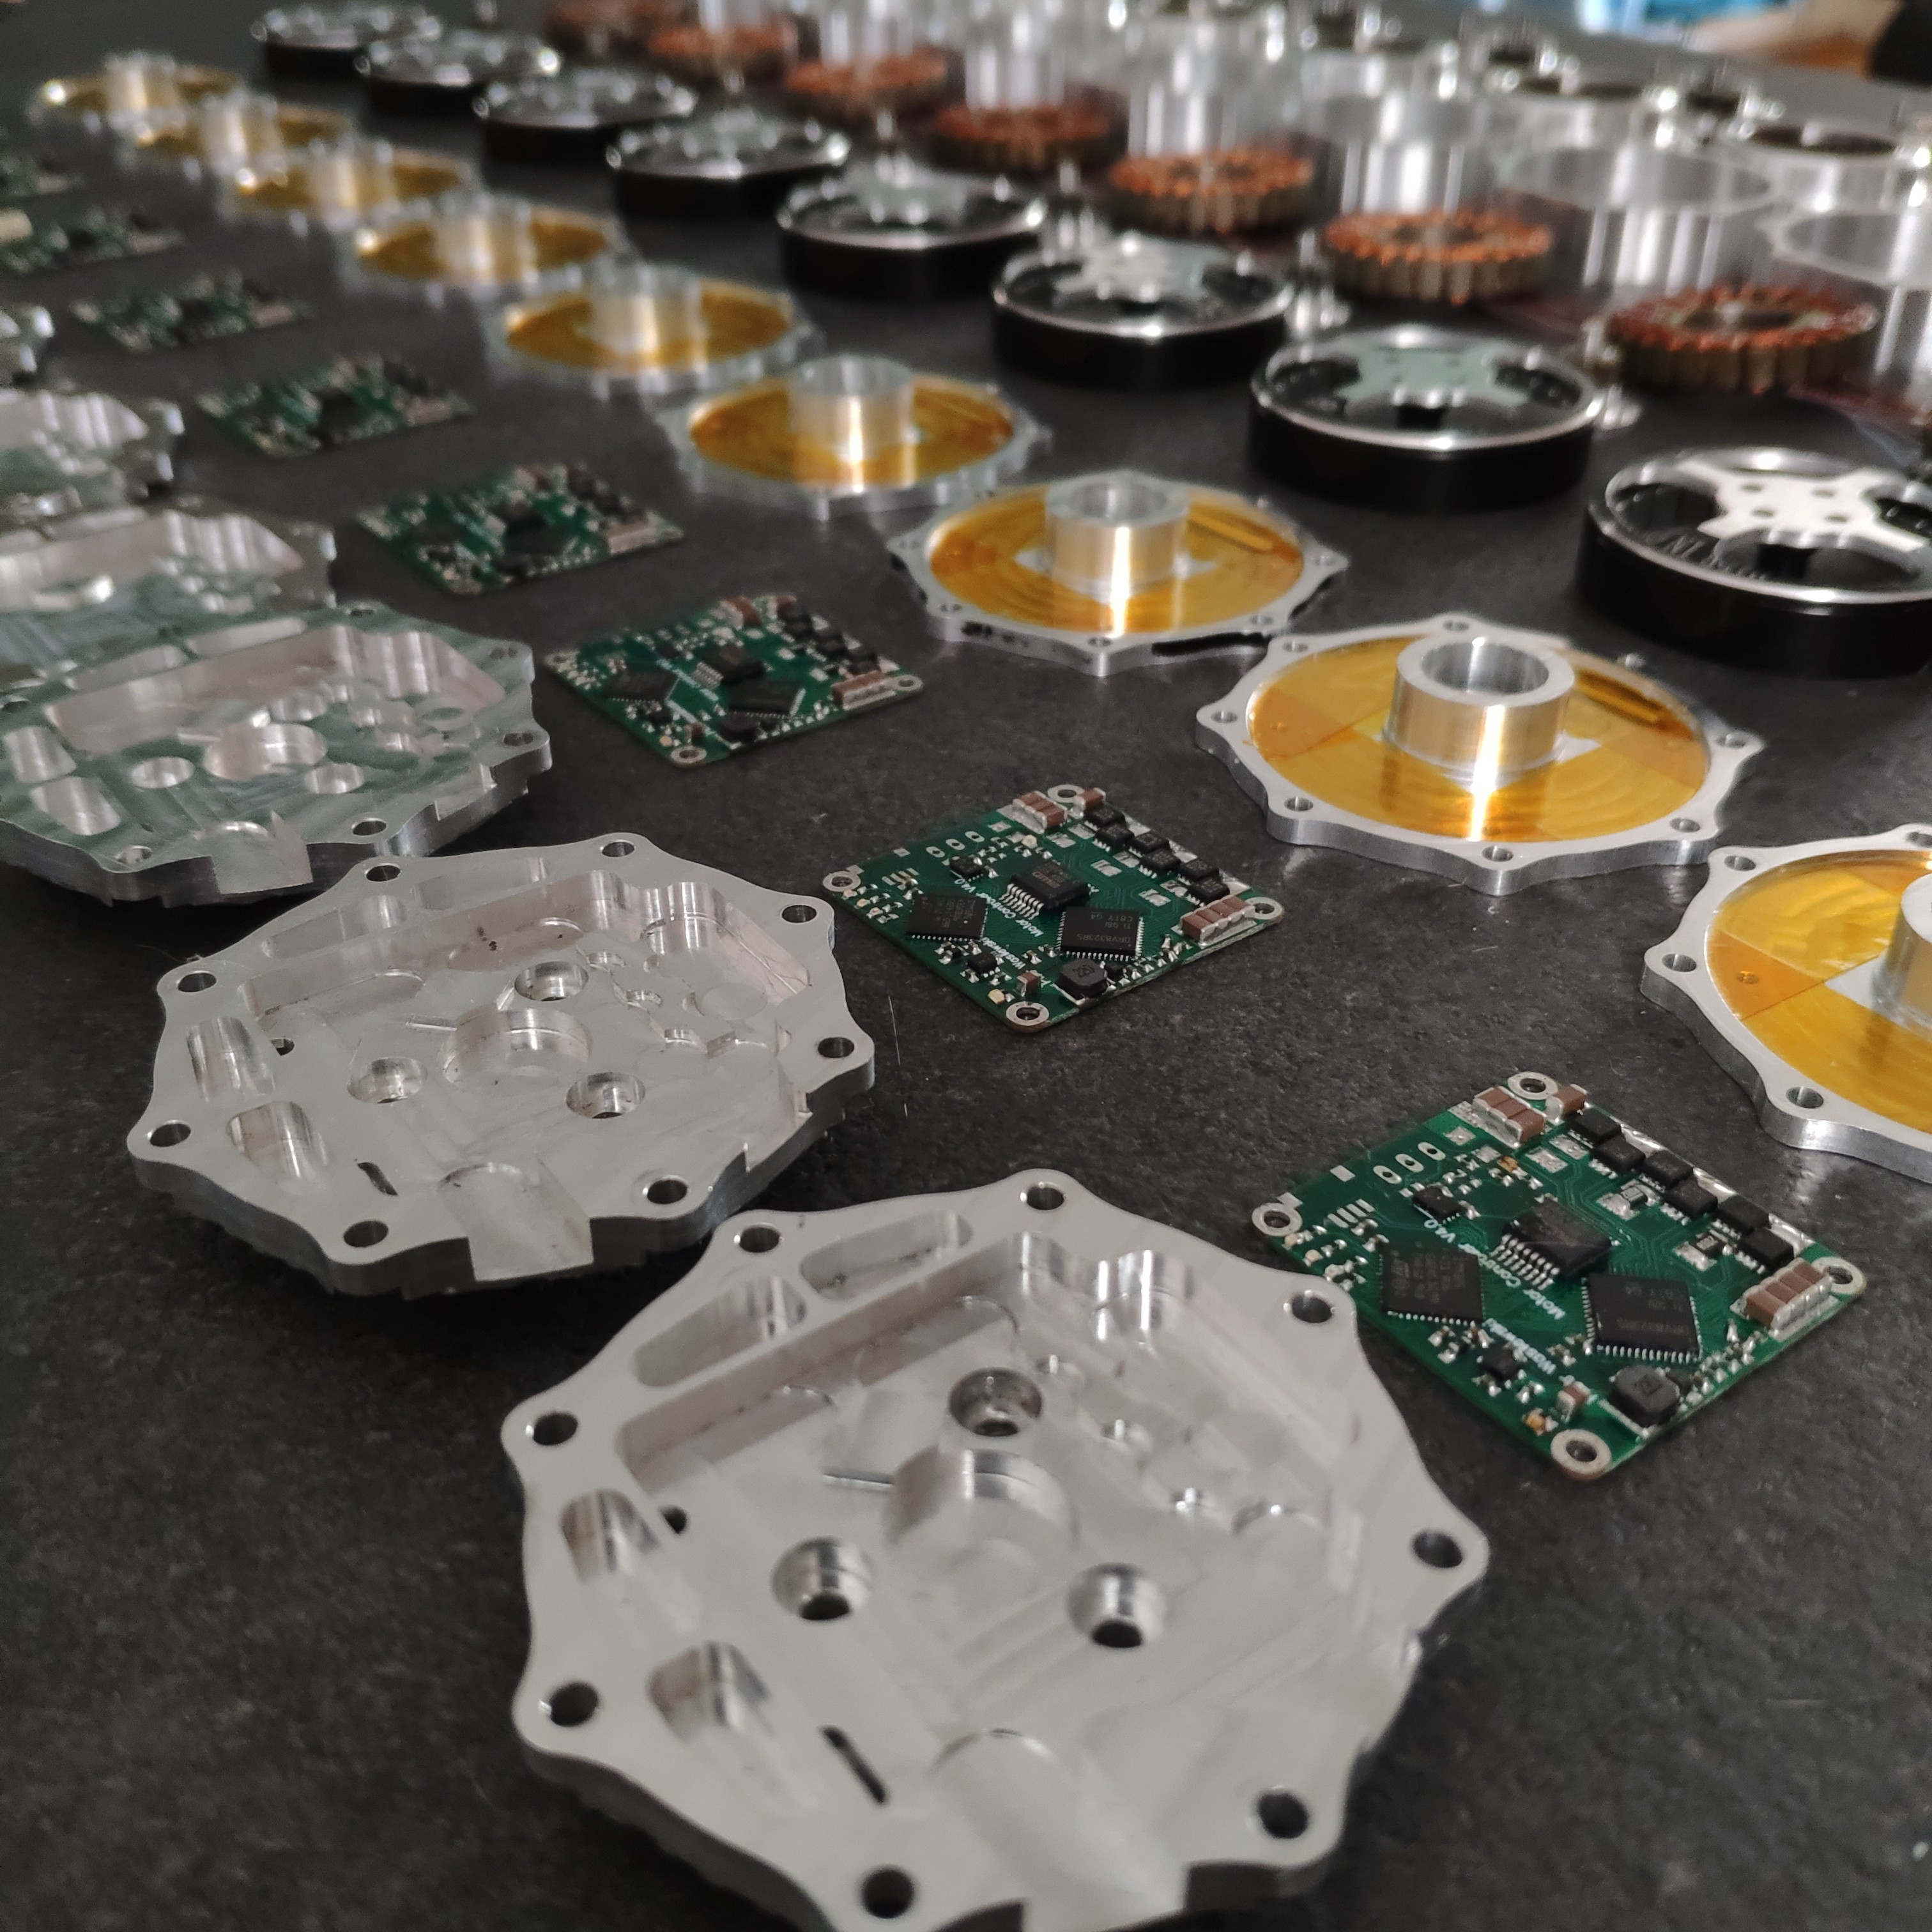
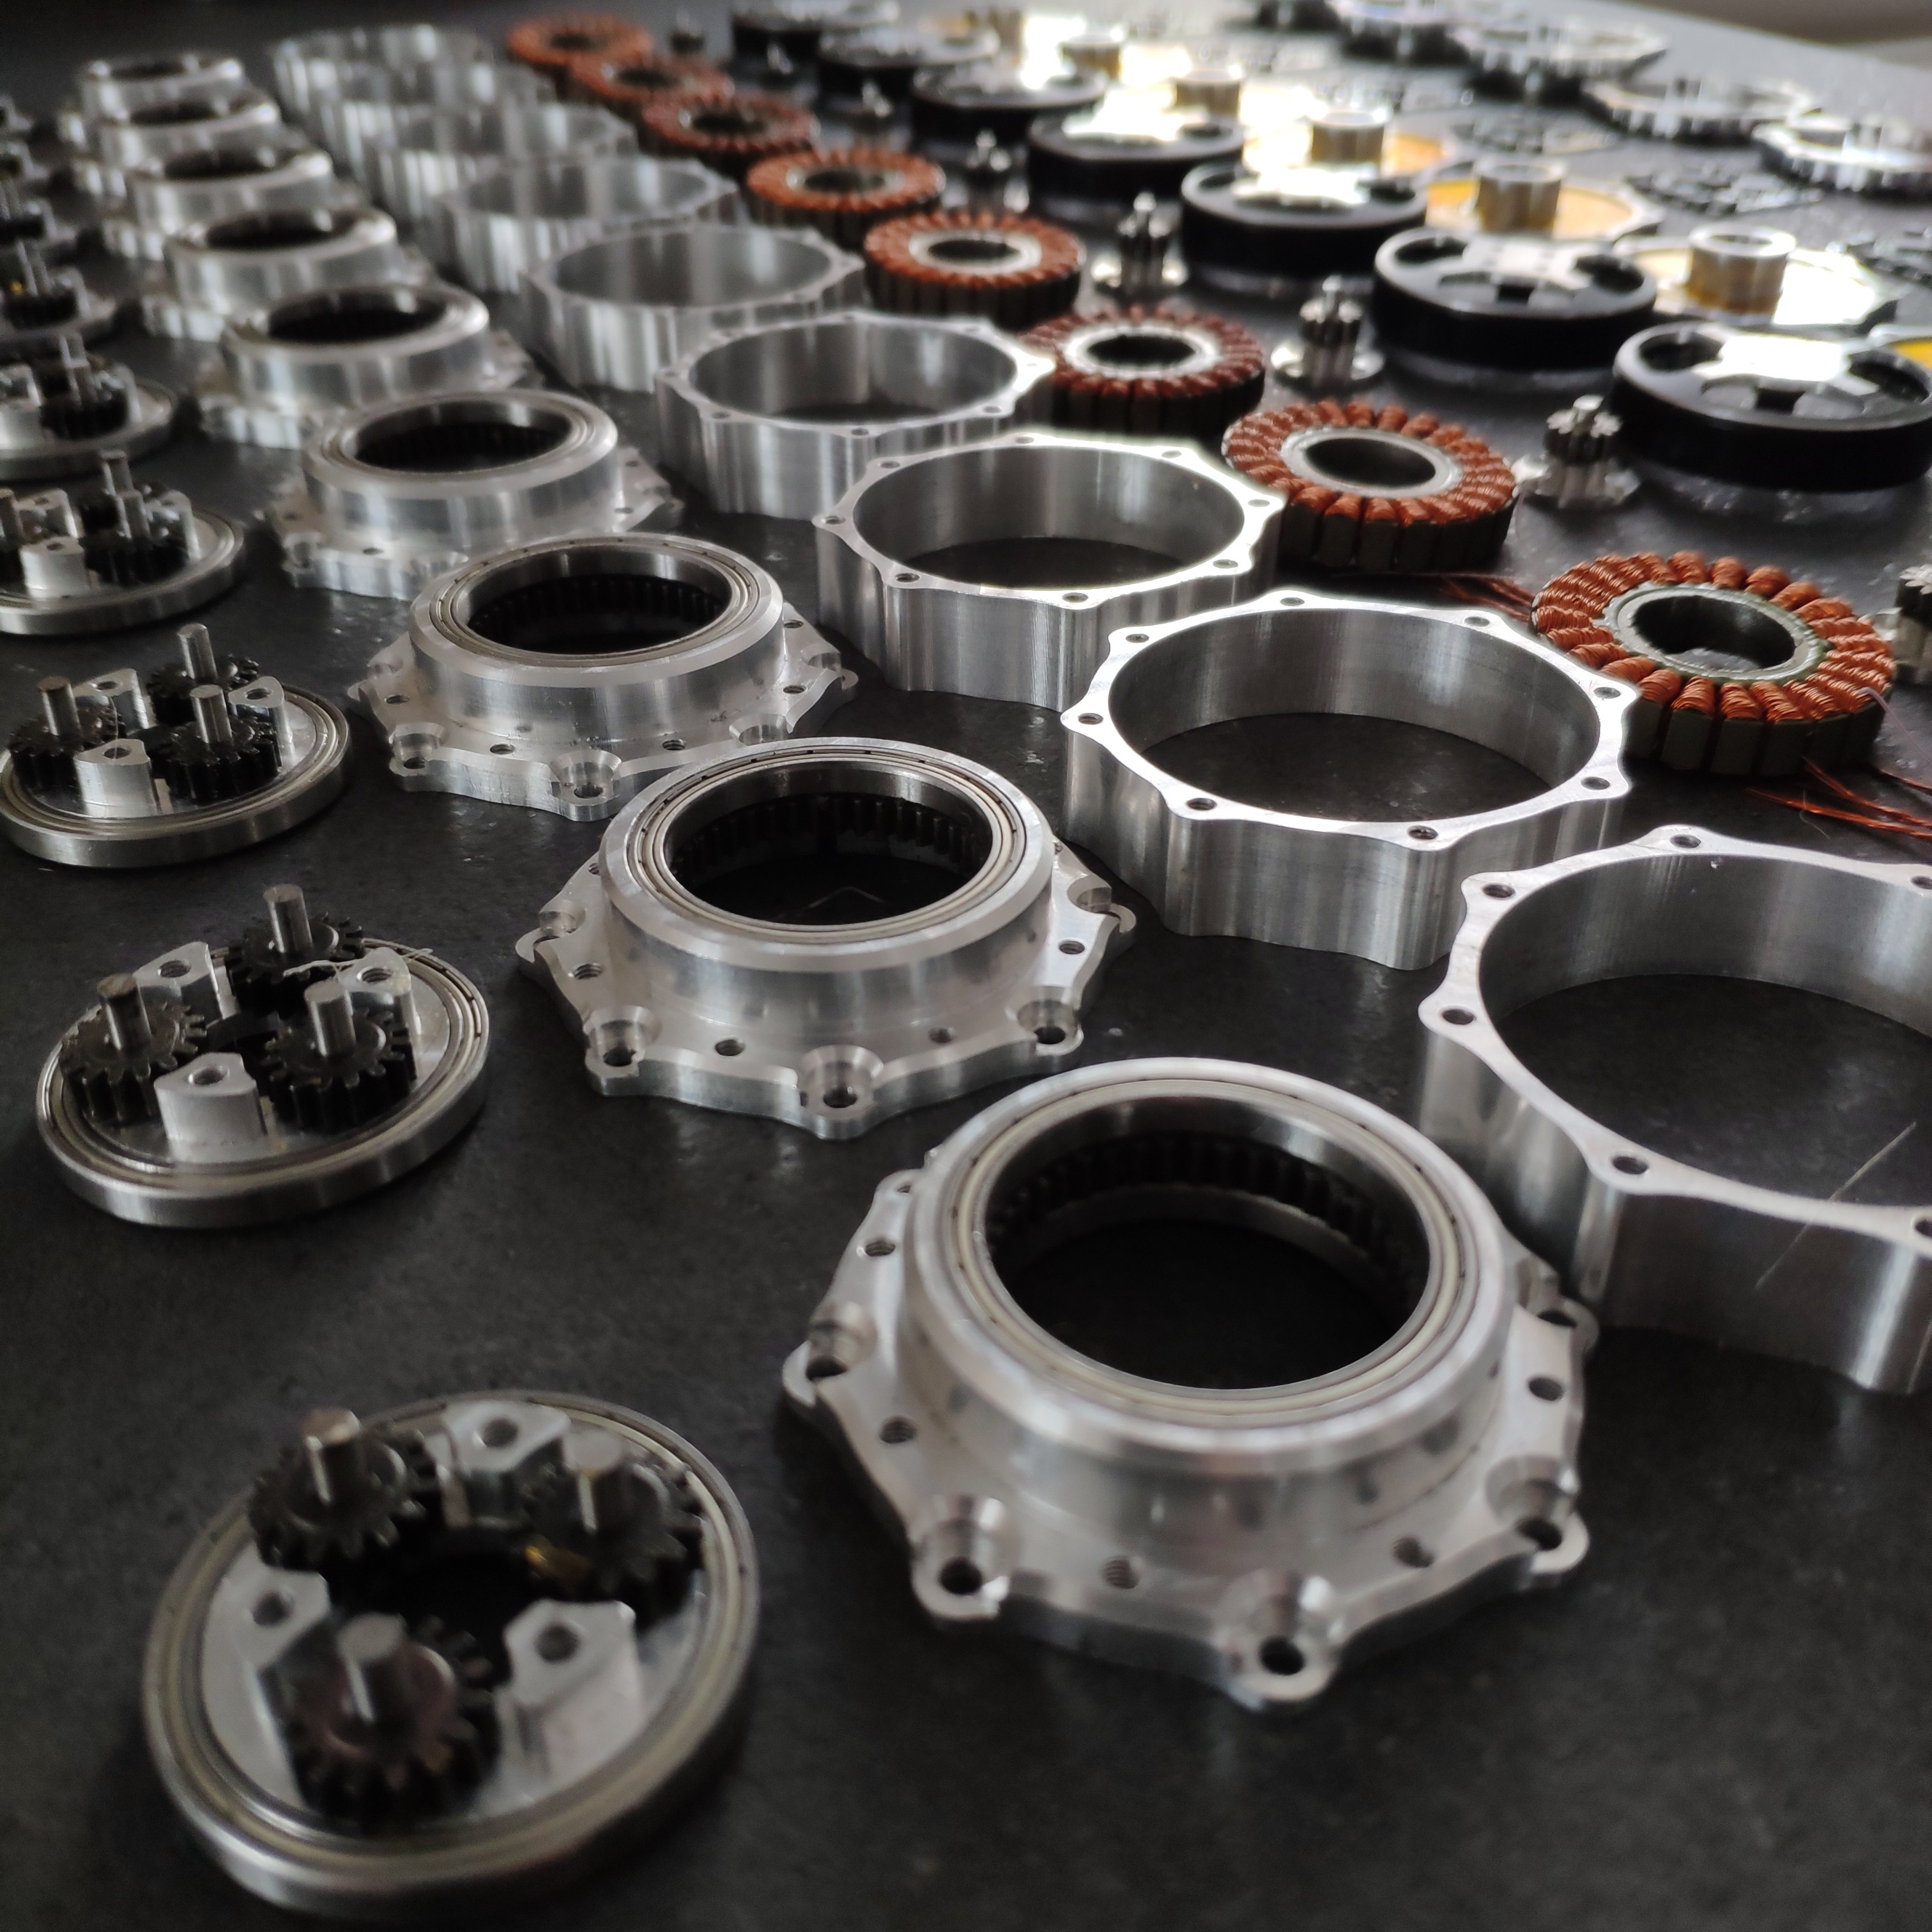
And some photos of finished parts:

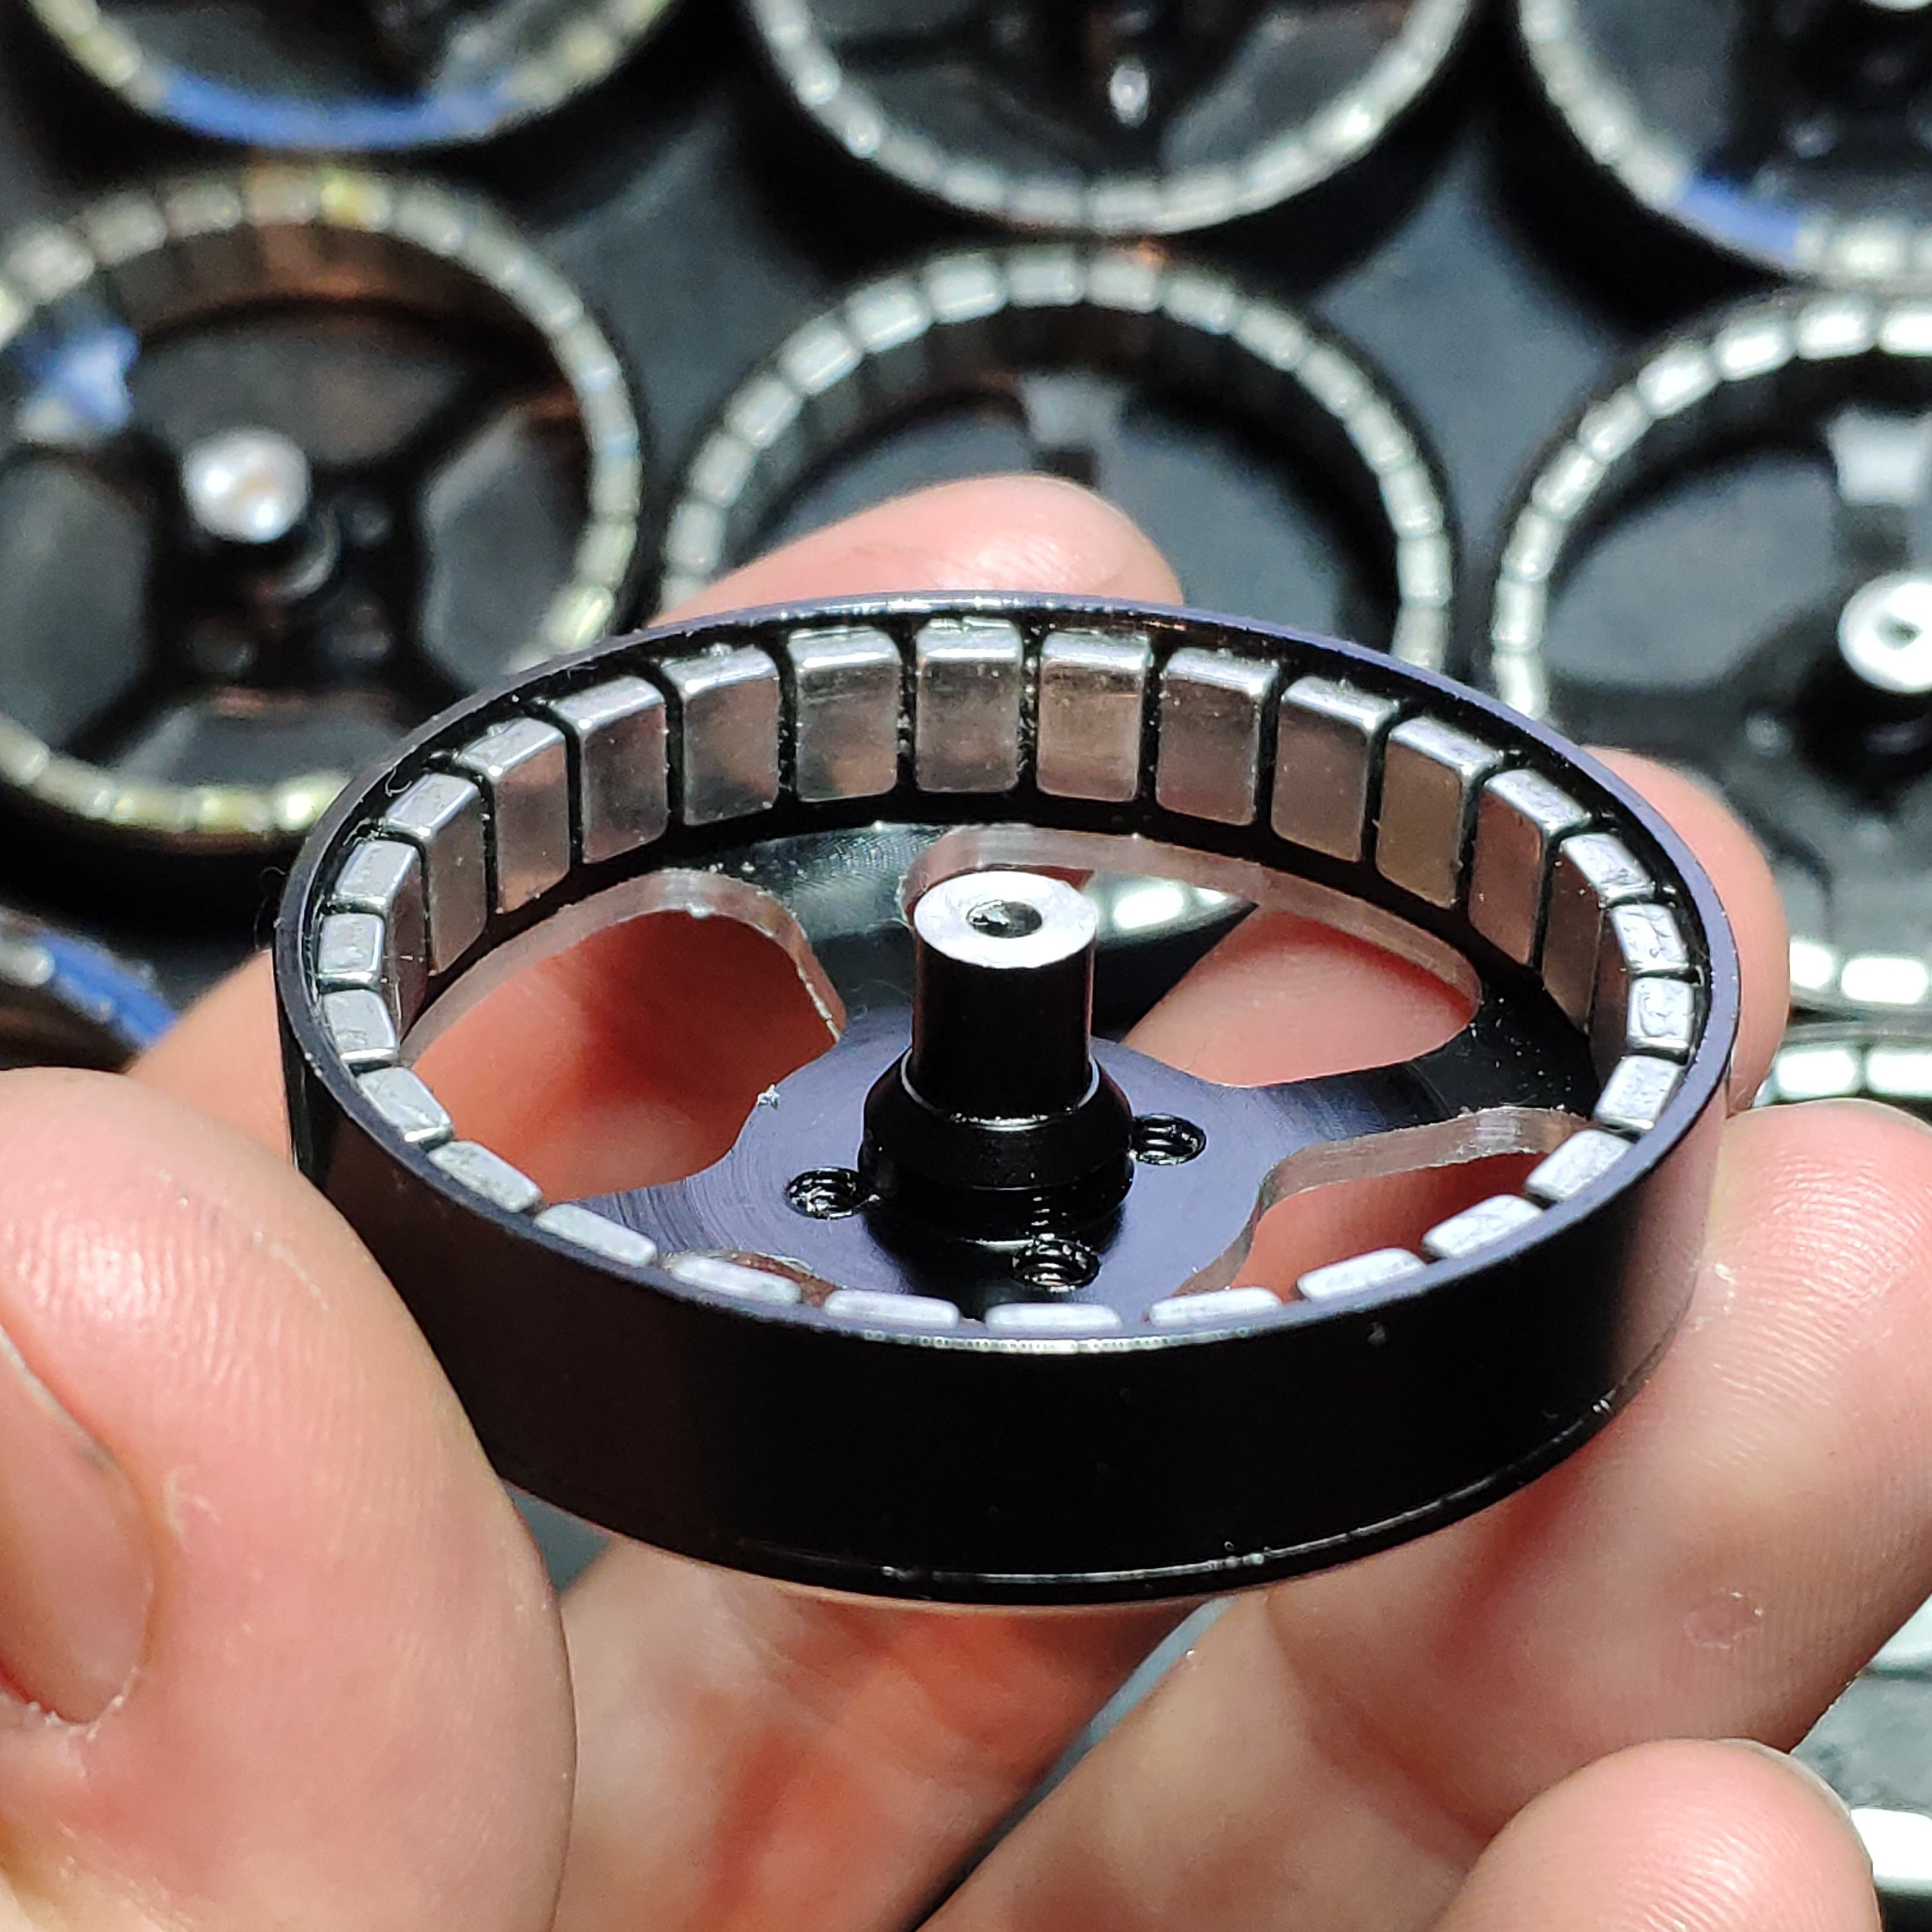
The next step was to modify the off-the-shelf components - motors and sungears. Each QM5006 motor was disassembled and modified. The stator was taken out of the original housing, a temperature sensor was added in between the windings and eventually, each stator was pressed onto the freshly milled motor base part.

Four slots were milled in each rotor and top surface was face milled. Besides, the shaft was shortened as can be seen in the photos below
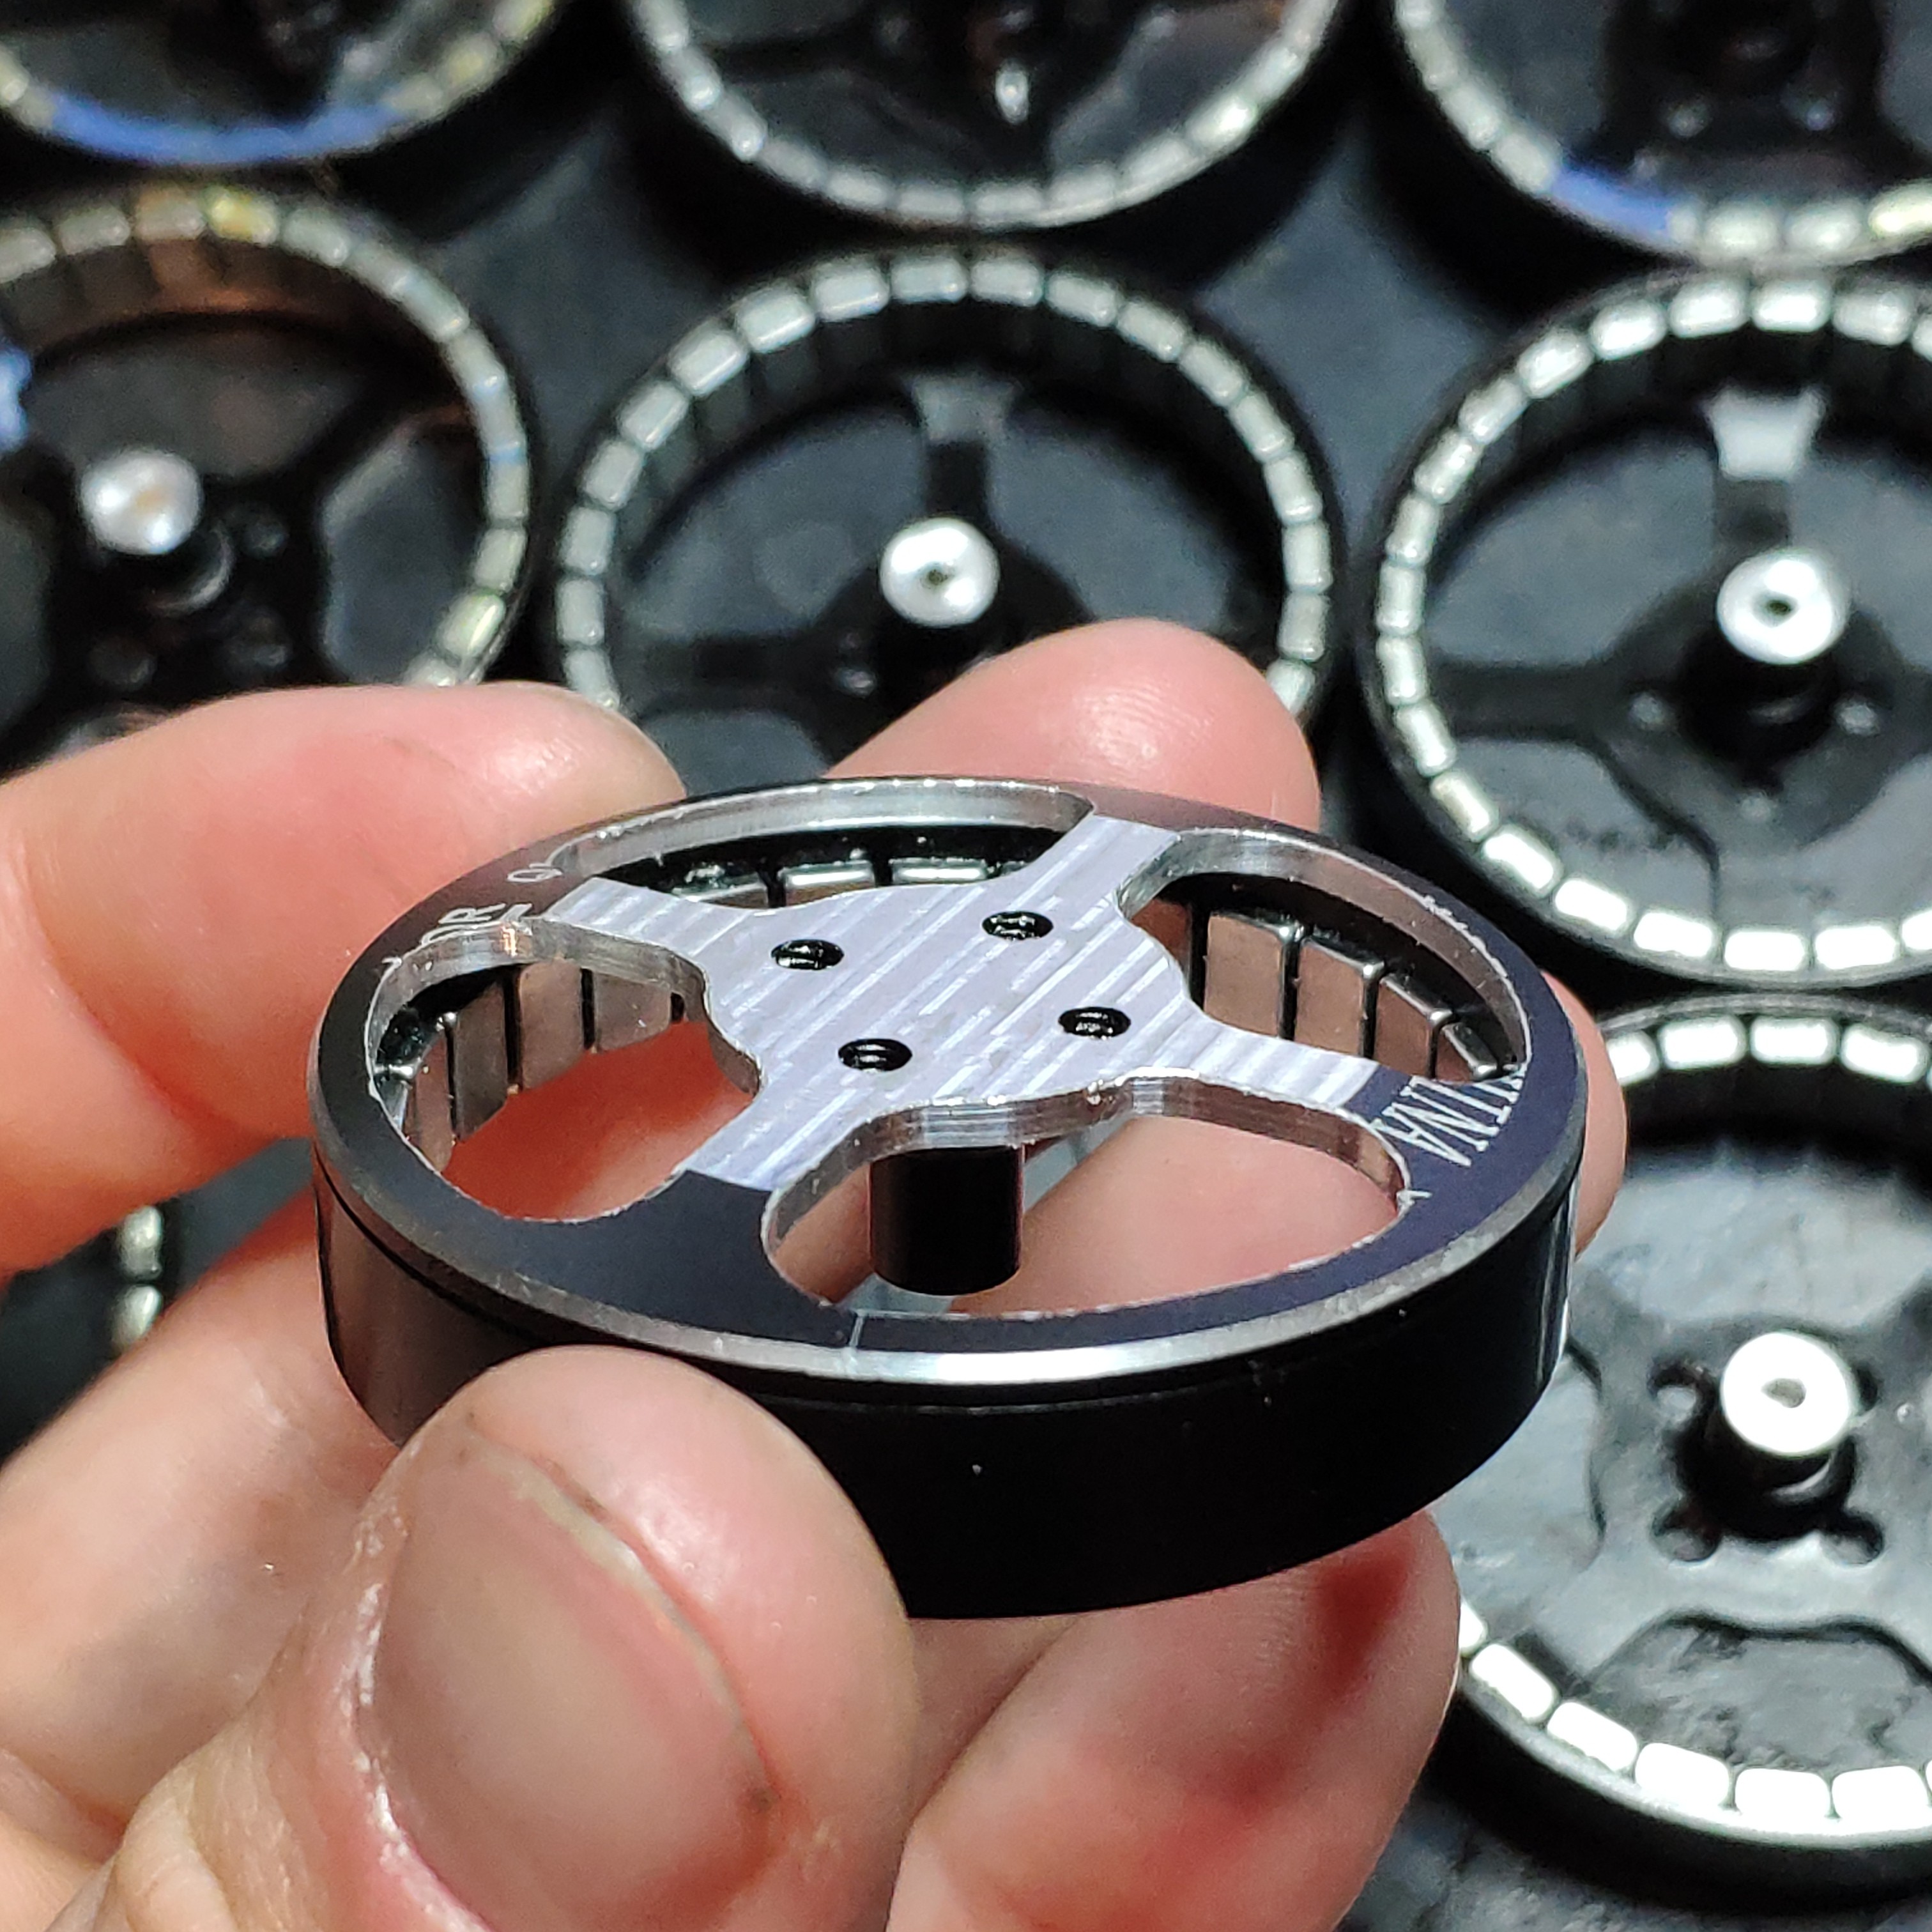
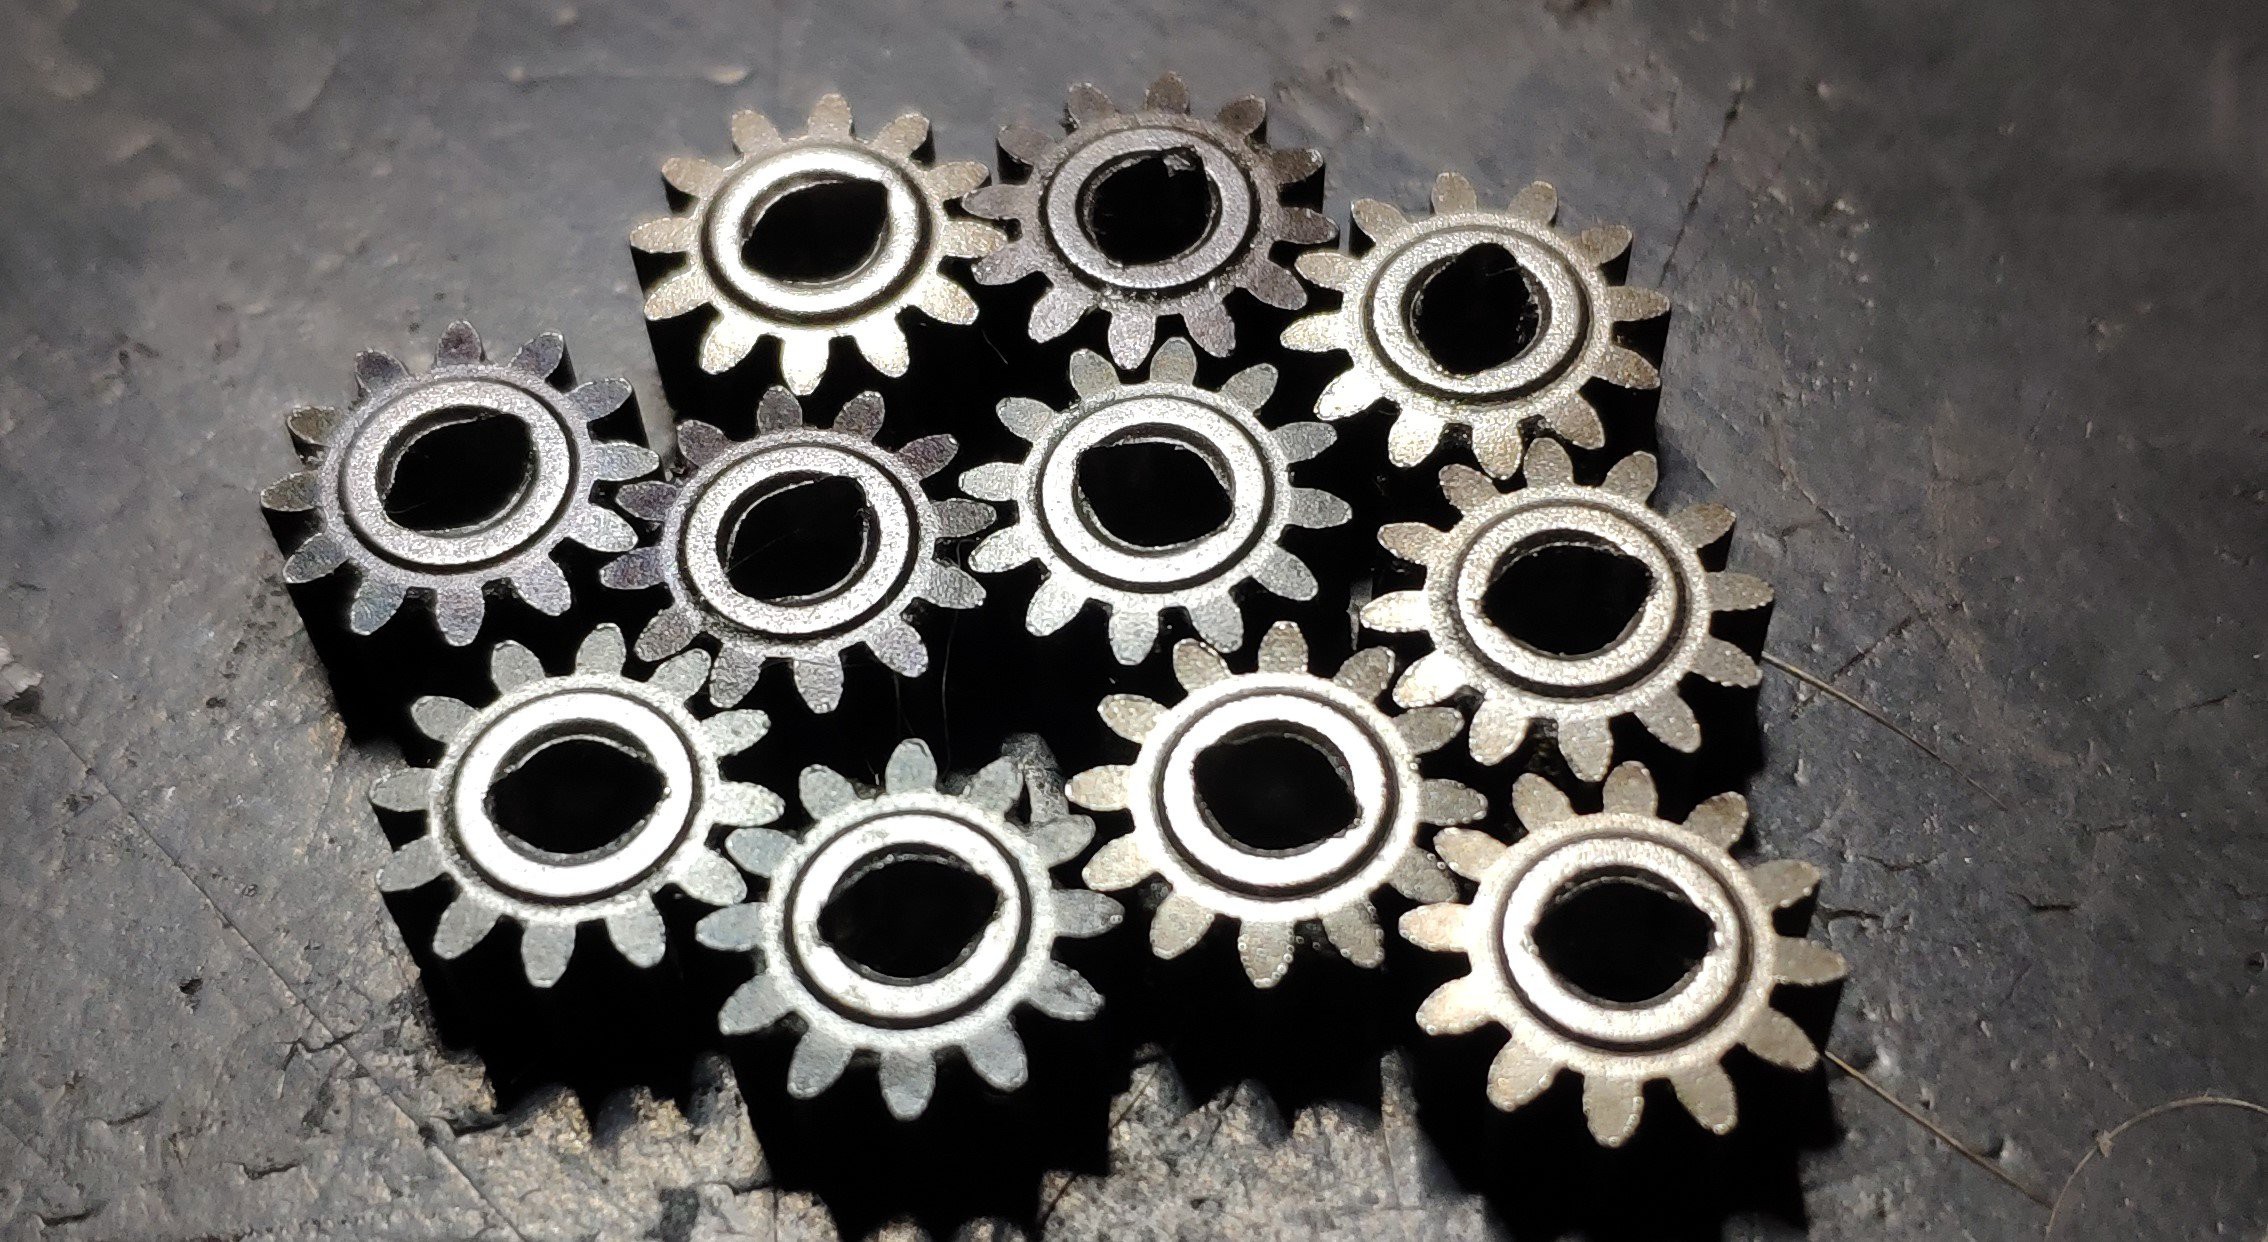
The last step was to modify the sungears so that they match the small aluminum mounts that they;re press-fitted on. If you look closely you'll see the milled lobes:
Right now I'm working on the controller PCB's (they all are soldered and are waiting to be tested), as well as the robot's torso. I hope to soon be able to show the whole robot assembled and standing on it's feet ;)
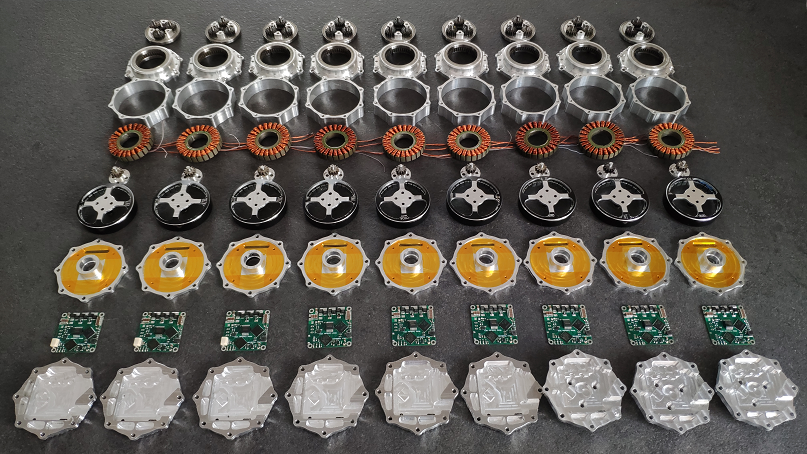
In the end a few pleasant photos of all the actuator parts:
Hope you enjoyed this entry!
As always I encourage you to check out my Instagram account for more frequent updates:
https://www.instagram.com/klonyyy/
as well as my blog for a more detailed description:
Discussions
Become a Hackaday.io Member
Create an account to leave a comment. Already have an account? Log In.
I really wanted to avoid drilling in these magnets, but I guess you've got a fair point. Before that though, I want to try one more thing - putting a piece of metal tube along with the magnet and the shaft. It just seems less time-consuming :P This will effectively make it impossible to pull out the rotor without detaching the magnet or puling the bearing with it, but that's not what I do very often once it's assembled. I'll let you know how I eventually handled it ;)
EDIT: I don't see an option to reply to your last comment so let me just leave it here, hopefully you'll get notified
Are you sure? yes | no
Doesn't get any more fun than that! Did you really make it through all those without a single mistake? I would have started with at least 1 or 2 slices to spare...
I always love seeing other people's workholding solutions. Yours looks more or less the same as what I usually do, except for countersinking the screws to allow for face milling. Most stuff I've done was too thin for that.
Regarding the magnets mentioned on blogspot, you could probably drill holes in them with a diamond bit on your mill and a spiral-down toolpath (with very small Z steps). You can get a big set of bits for 5 bucks on ebay or wherever. They're especially good on carbon fiber (with water to contain the dust), but i have shaped neo magnets on a diamond stone before so I suspect this would work.
Are you sure? yes | no
I can't say there were no mistakes, just no significant ones :P I once considered drilling in those magnets, but I think the problem with drilling is that you break the nickel coating exposing the magnet itself to the environmental factors (they are pretty brittle and prone to corrosion). Anyway, thanks for the idea, I might try it with the diamond bits you've mentioned :)
Are you sure? yes | no
They don't seem to rust any worse than any other exposed iron surface (just speckled after a couple years of indoor air exposure, including high humidity at times). You could coat with shellac or CA glue or whatever for protection if you want a fully waterproof dog.
Are you sure? yes | no