 andriy.malyshenko
As I've mentioned before, I decided to drop motherboard approach and designed my own Atmega368 into the board.
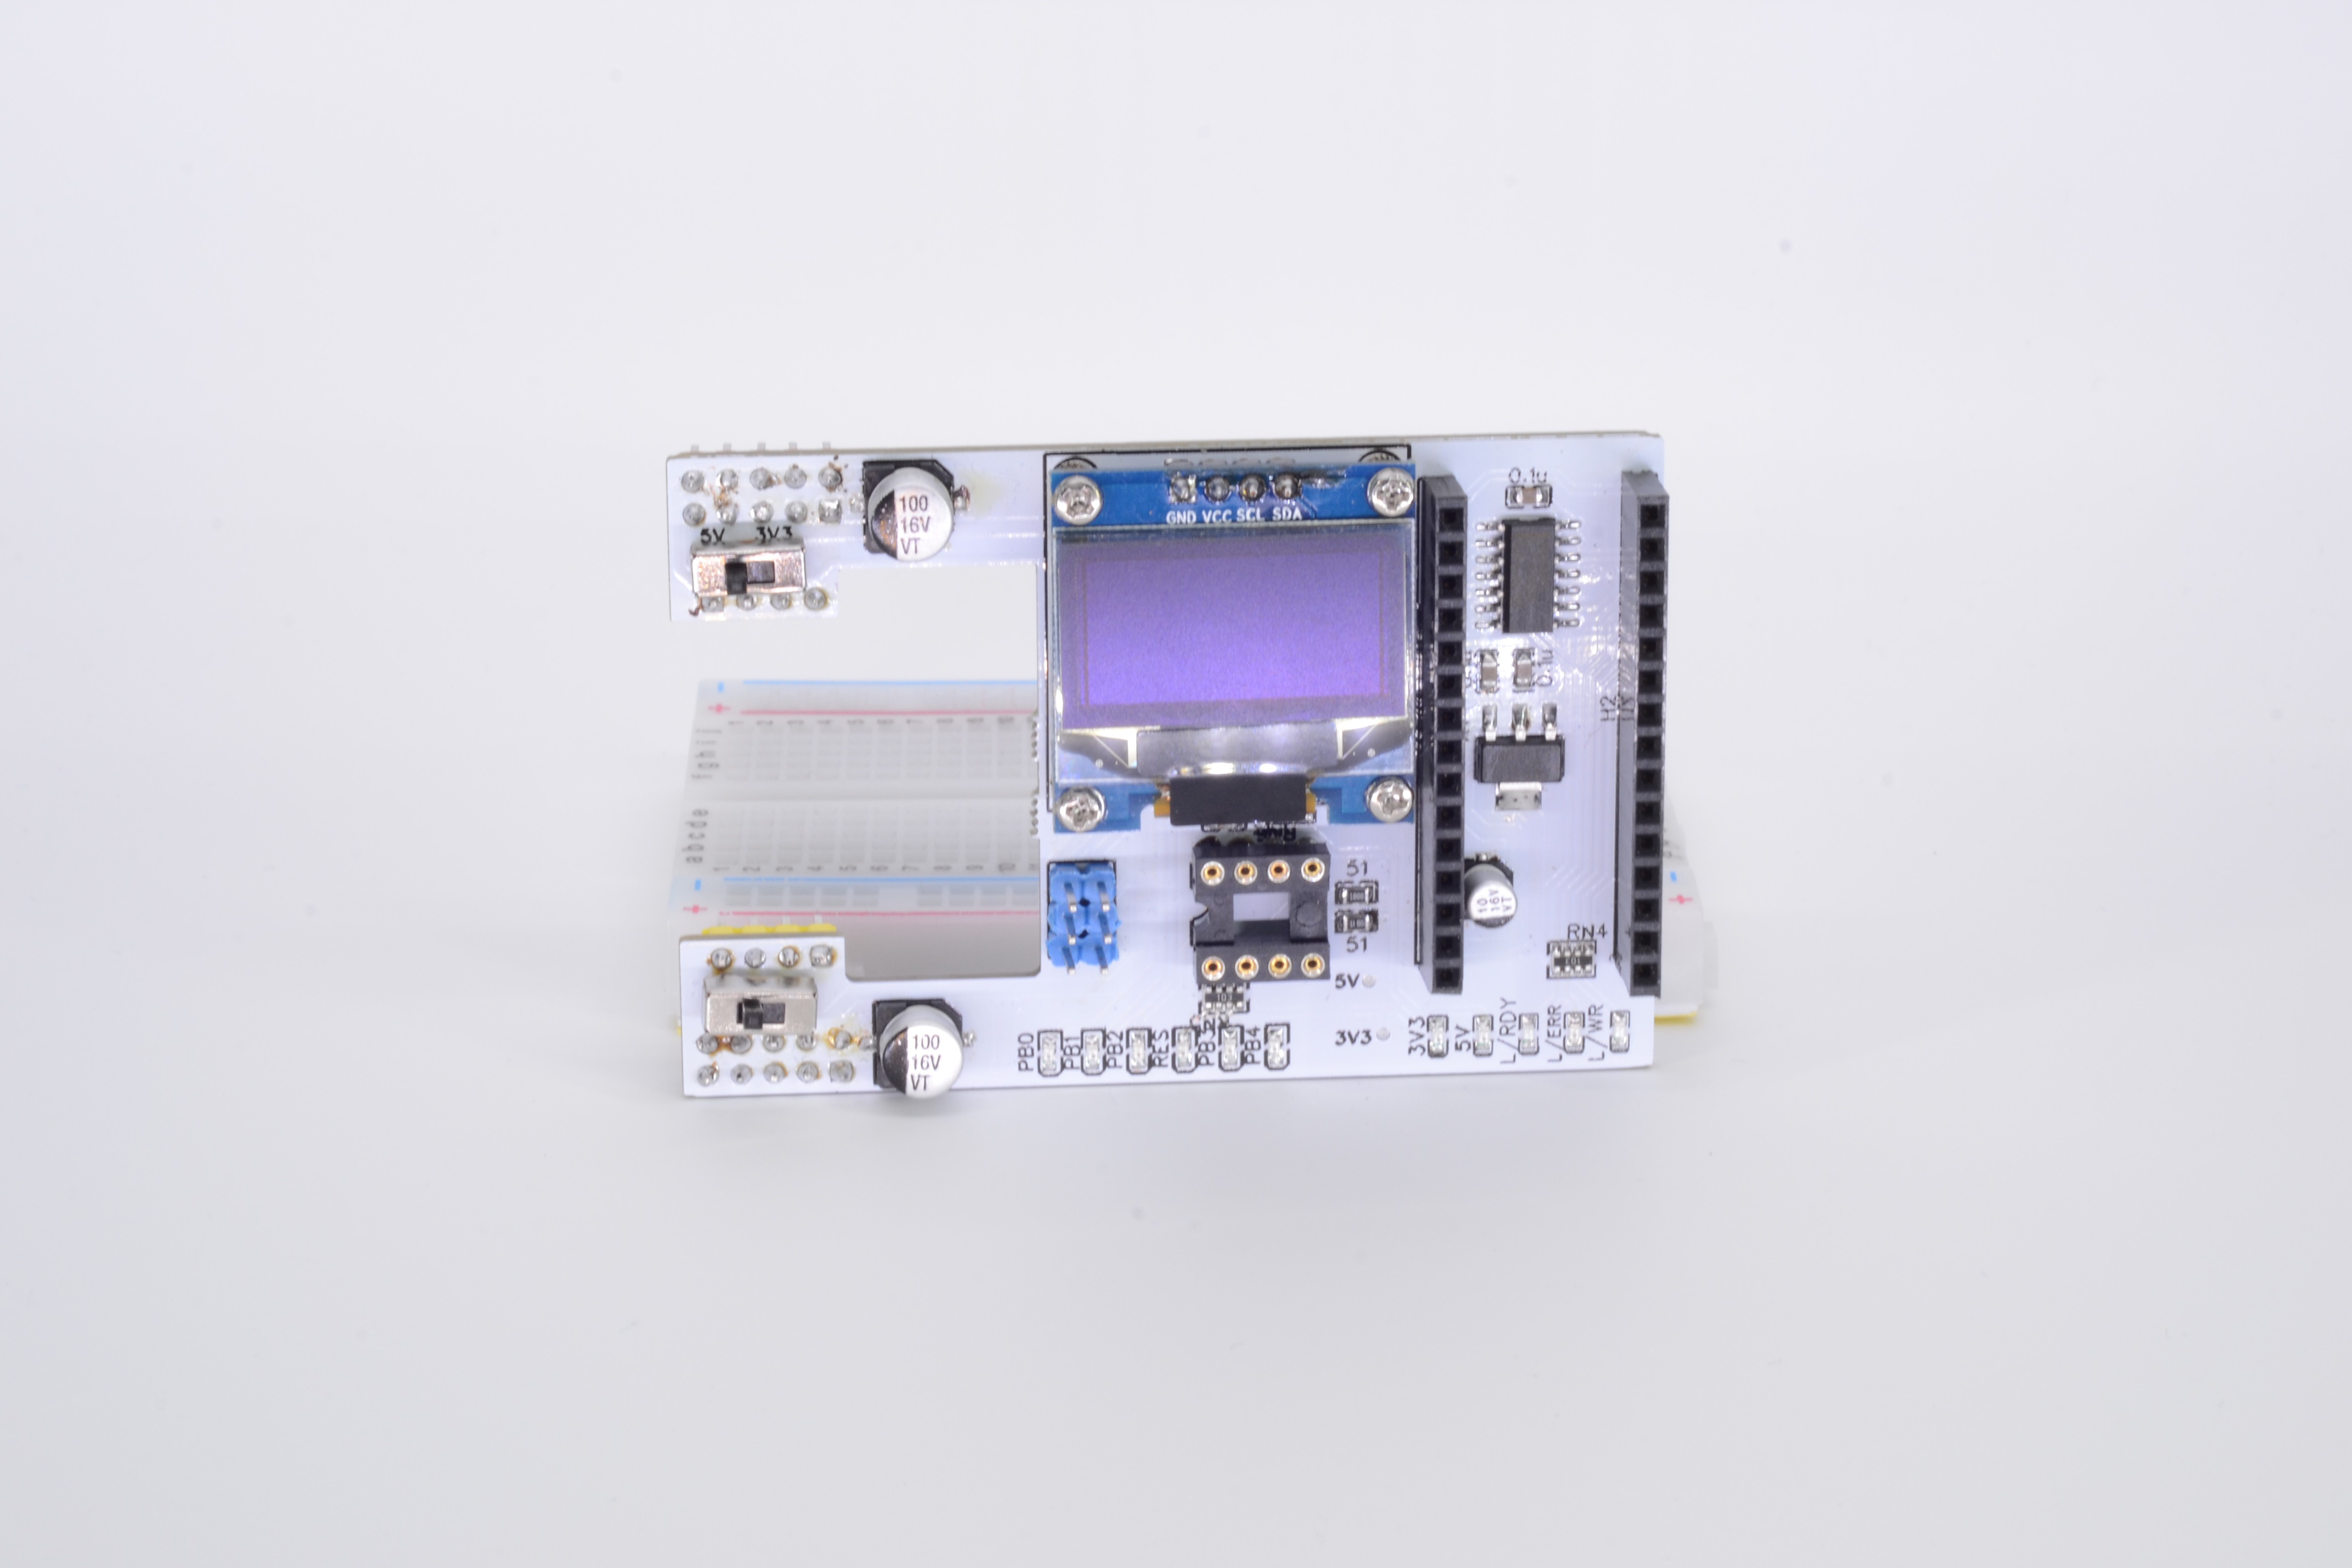
One reason for that is to have proper 5V. All Arduino boards have reverse voltage protection (even when powered from USB, what for?!), as simple as small schottky diode. As the result voltage on the MCU is at best 4.8V, and floating with the current.
Another reason - I wanted to have more control over GPIOs and LEDs, therefore my own design over stock Arduino board will do better.
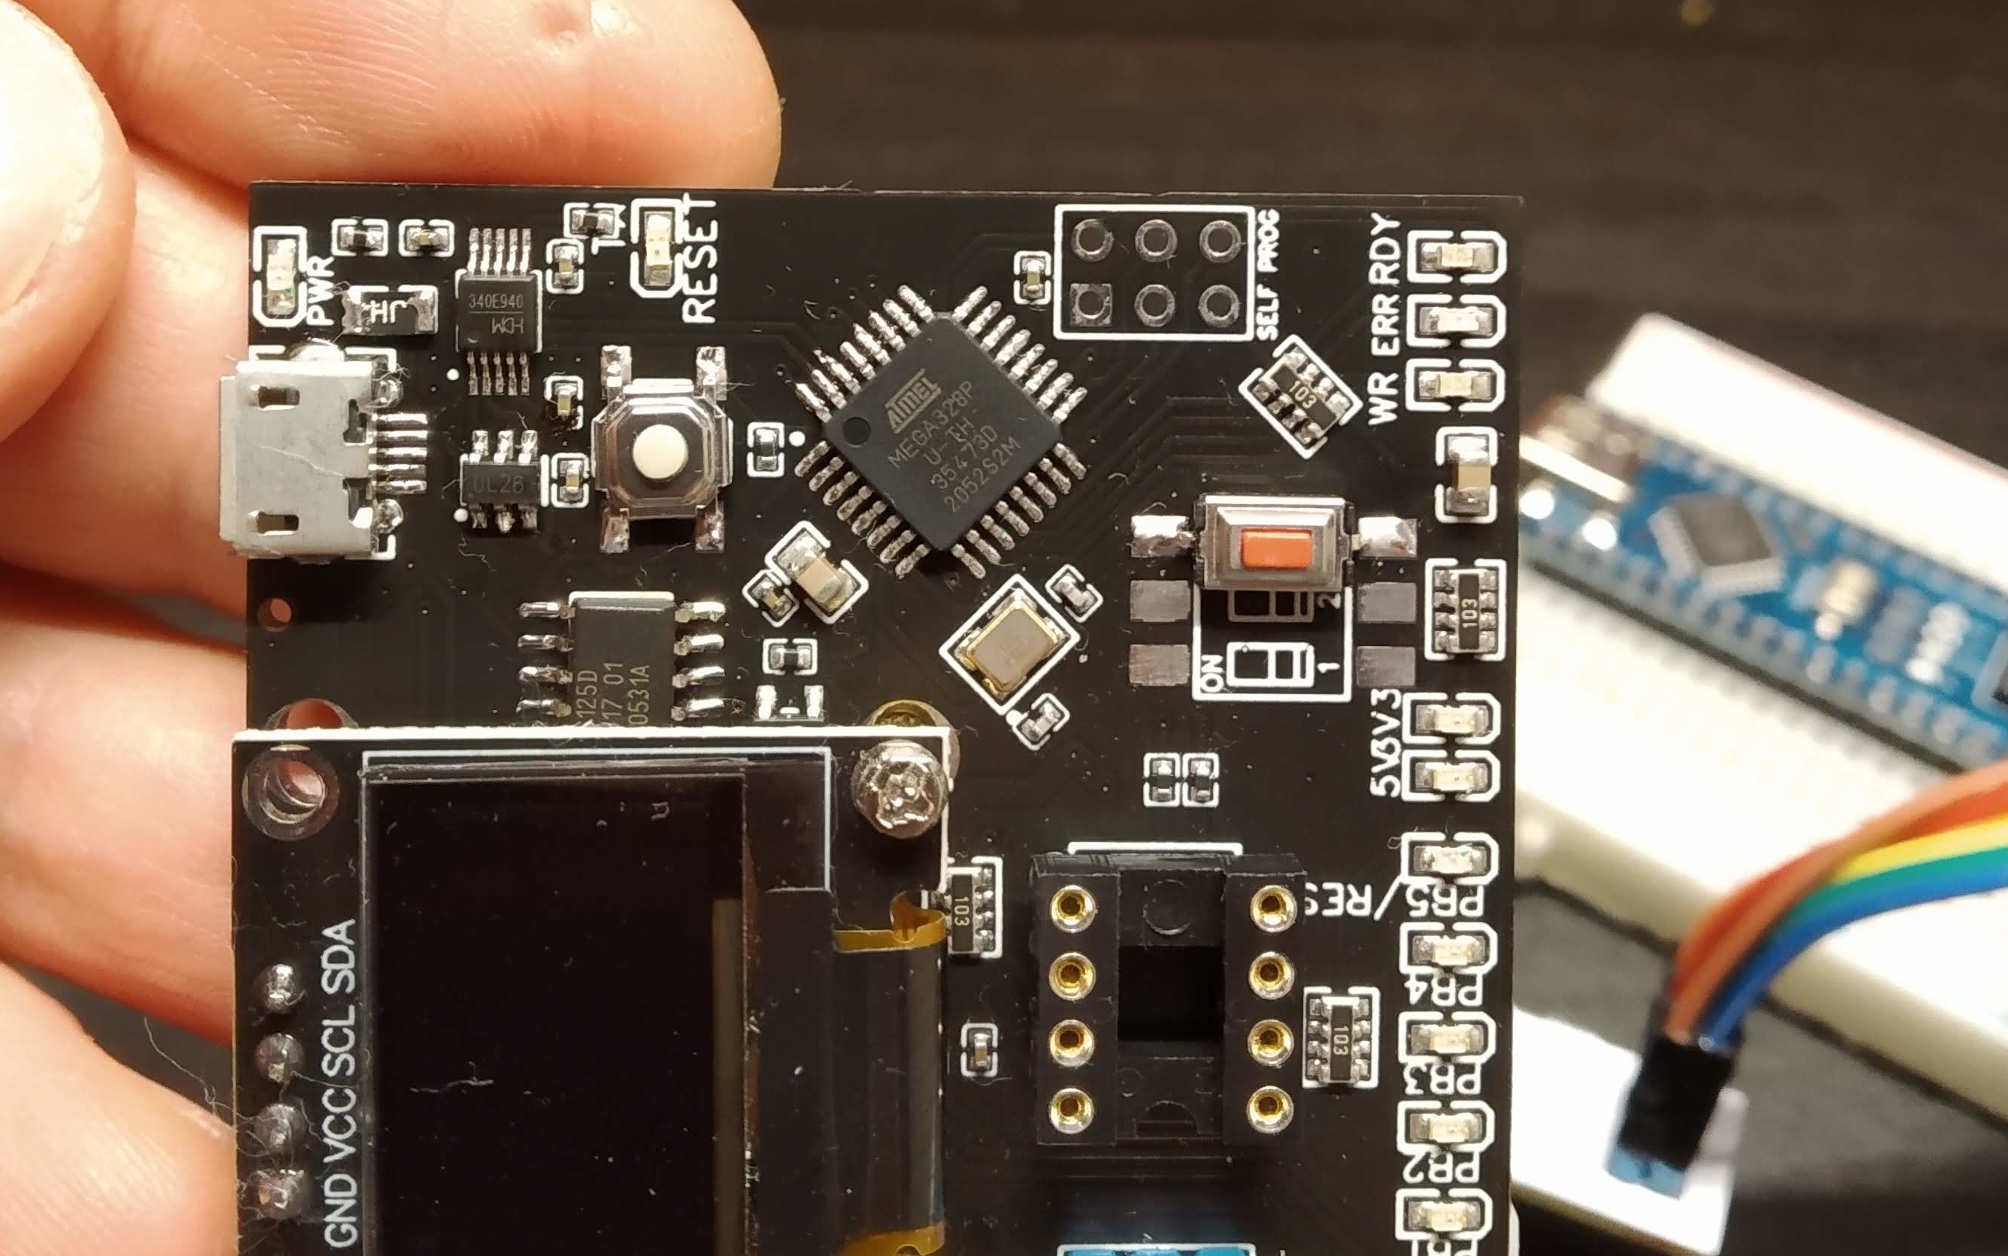
What I struggled with at first is to flash it properly. You see, new MCU comes with no firmware, no bootloader, nothing. If you plug it in you'll get nothing but dead silence.
Only way to flash it is to use SPI pins together with RESET pin and any ISP programmer, another Flasher (older revision) in my case. Note to myself: don't forget to solder out those pins.
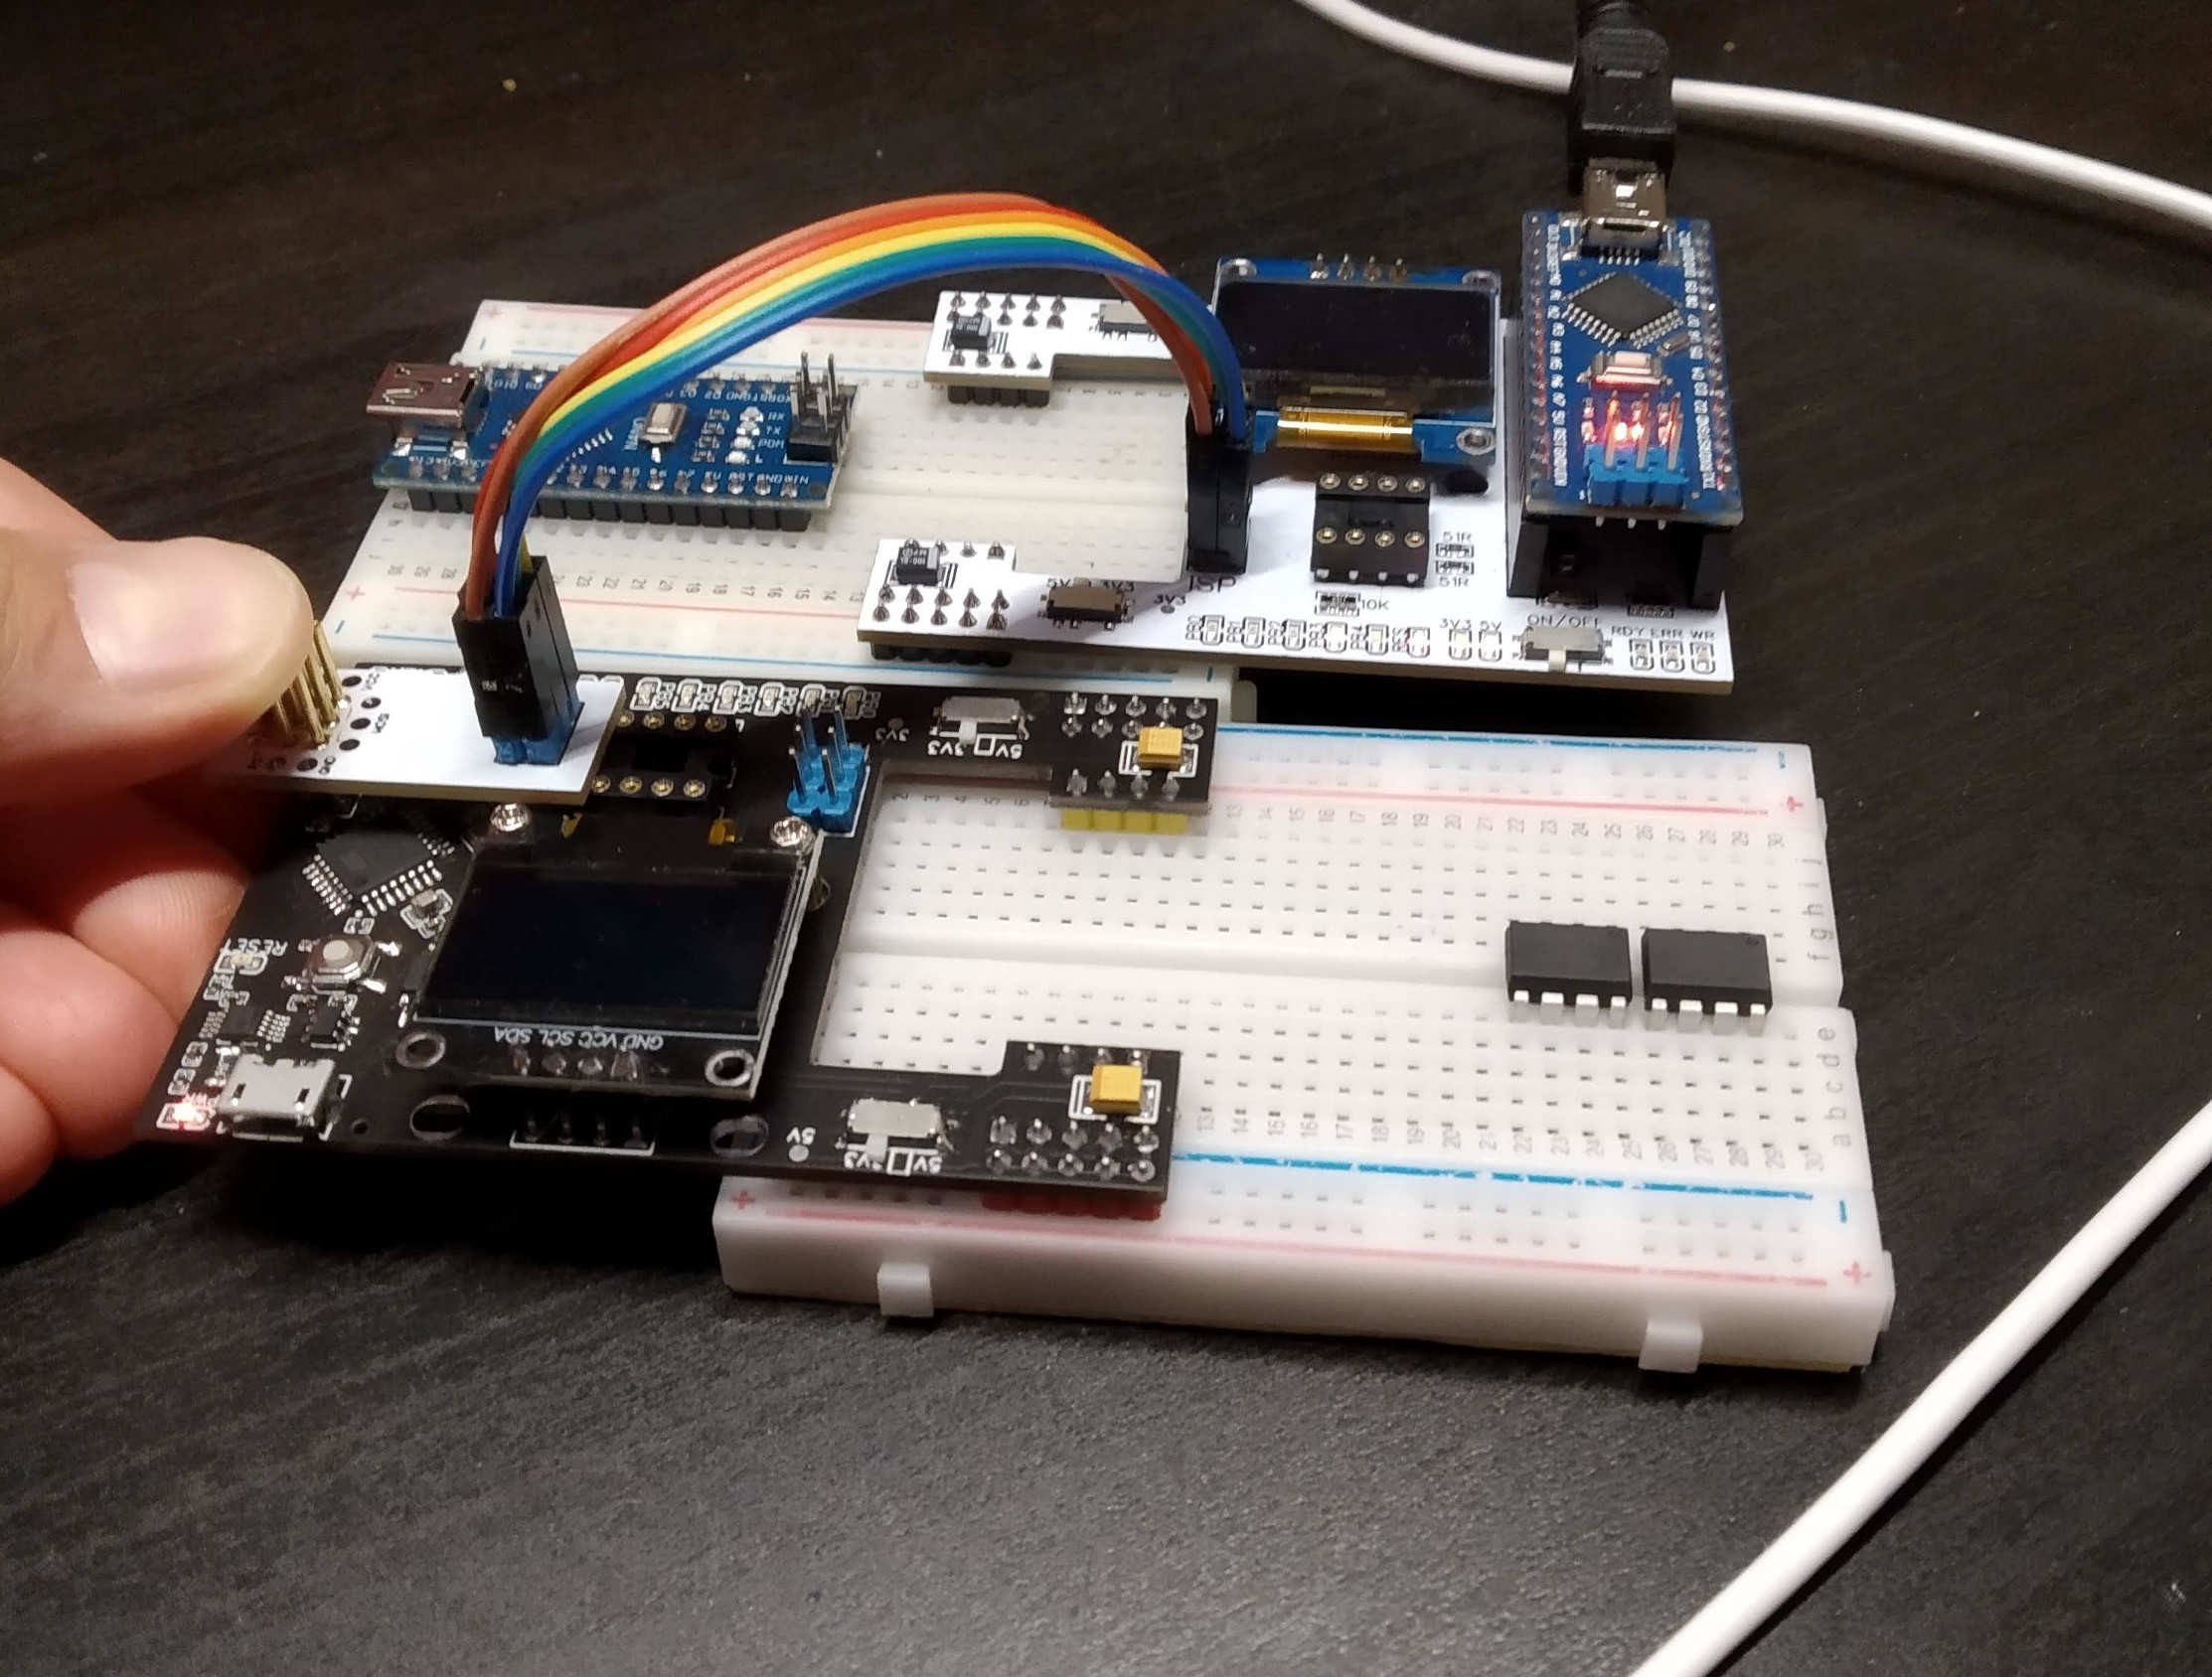
Why wouldn't it work like other Arduinos with USB-UART chip? Because it will only work with proper bootloader, the one that will wait for programming commands upon each restart. I had to take out logic analyzer to figure this out.
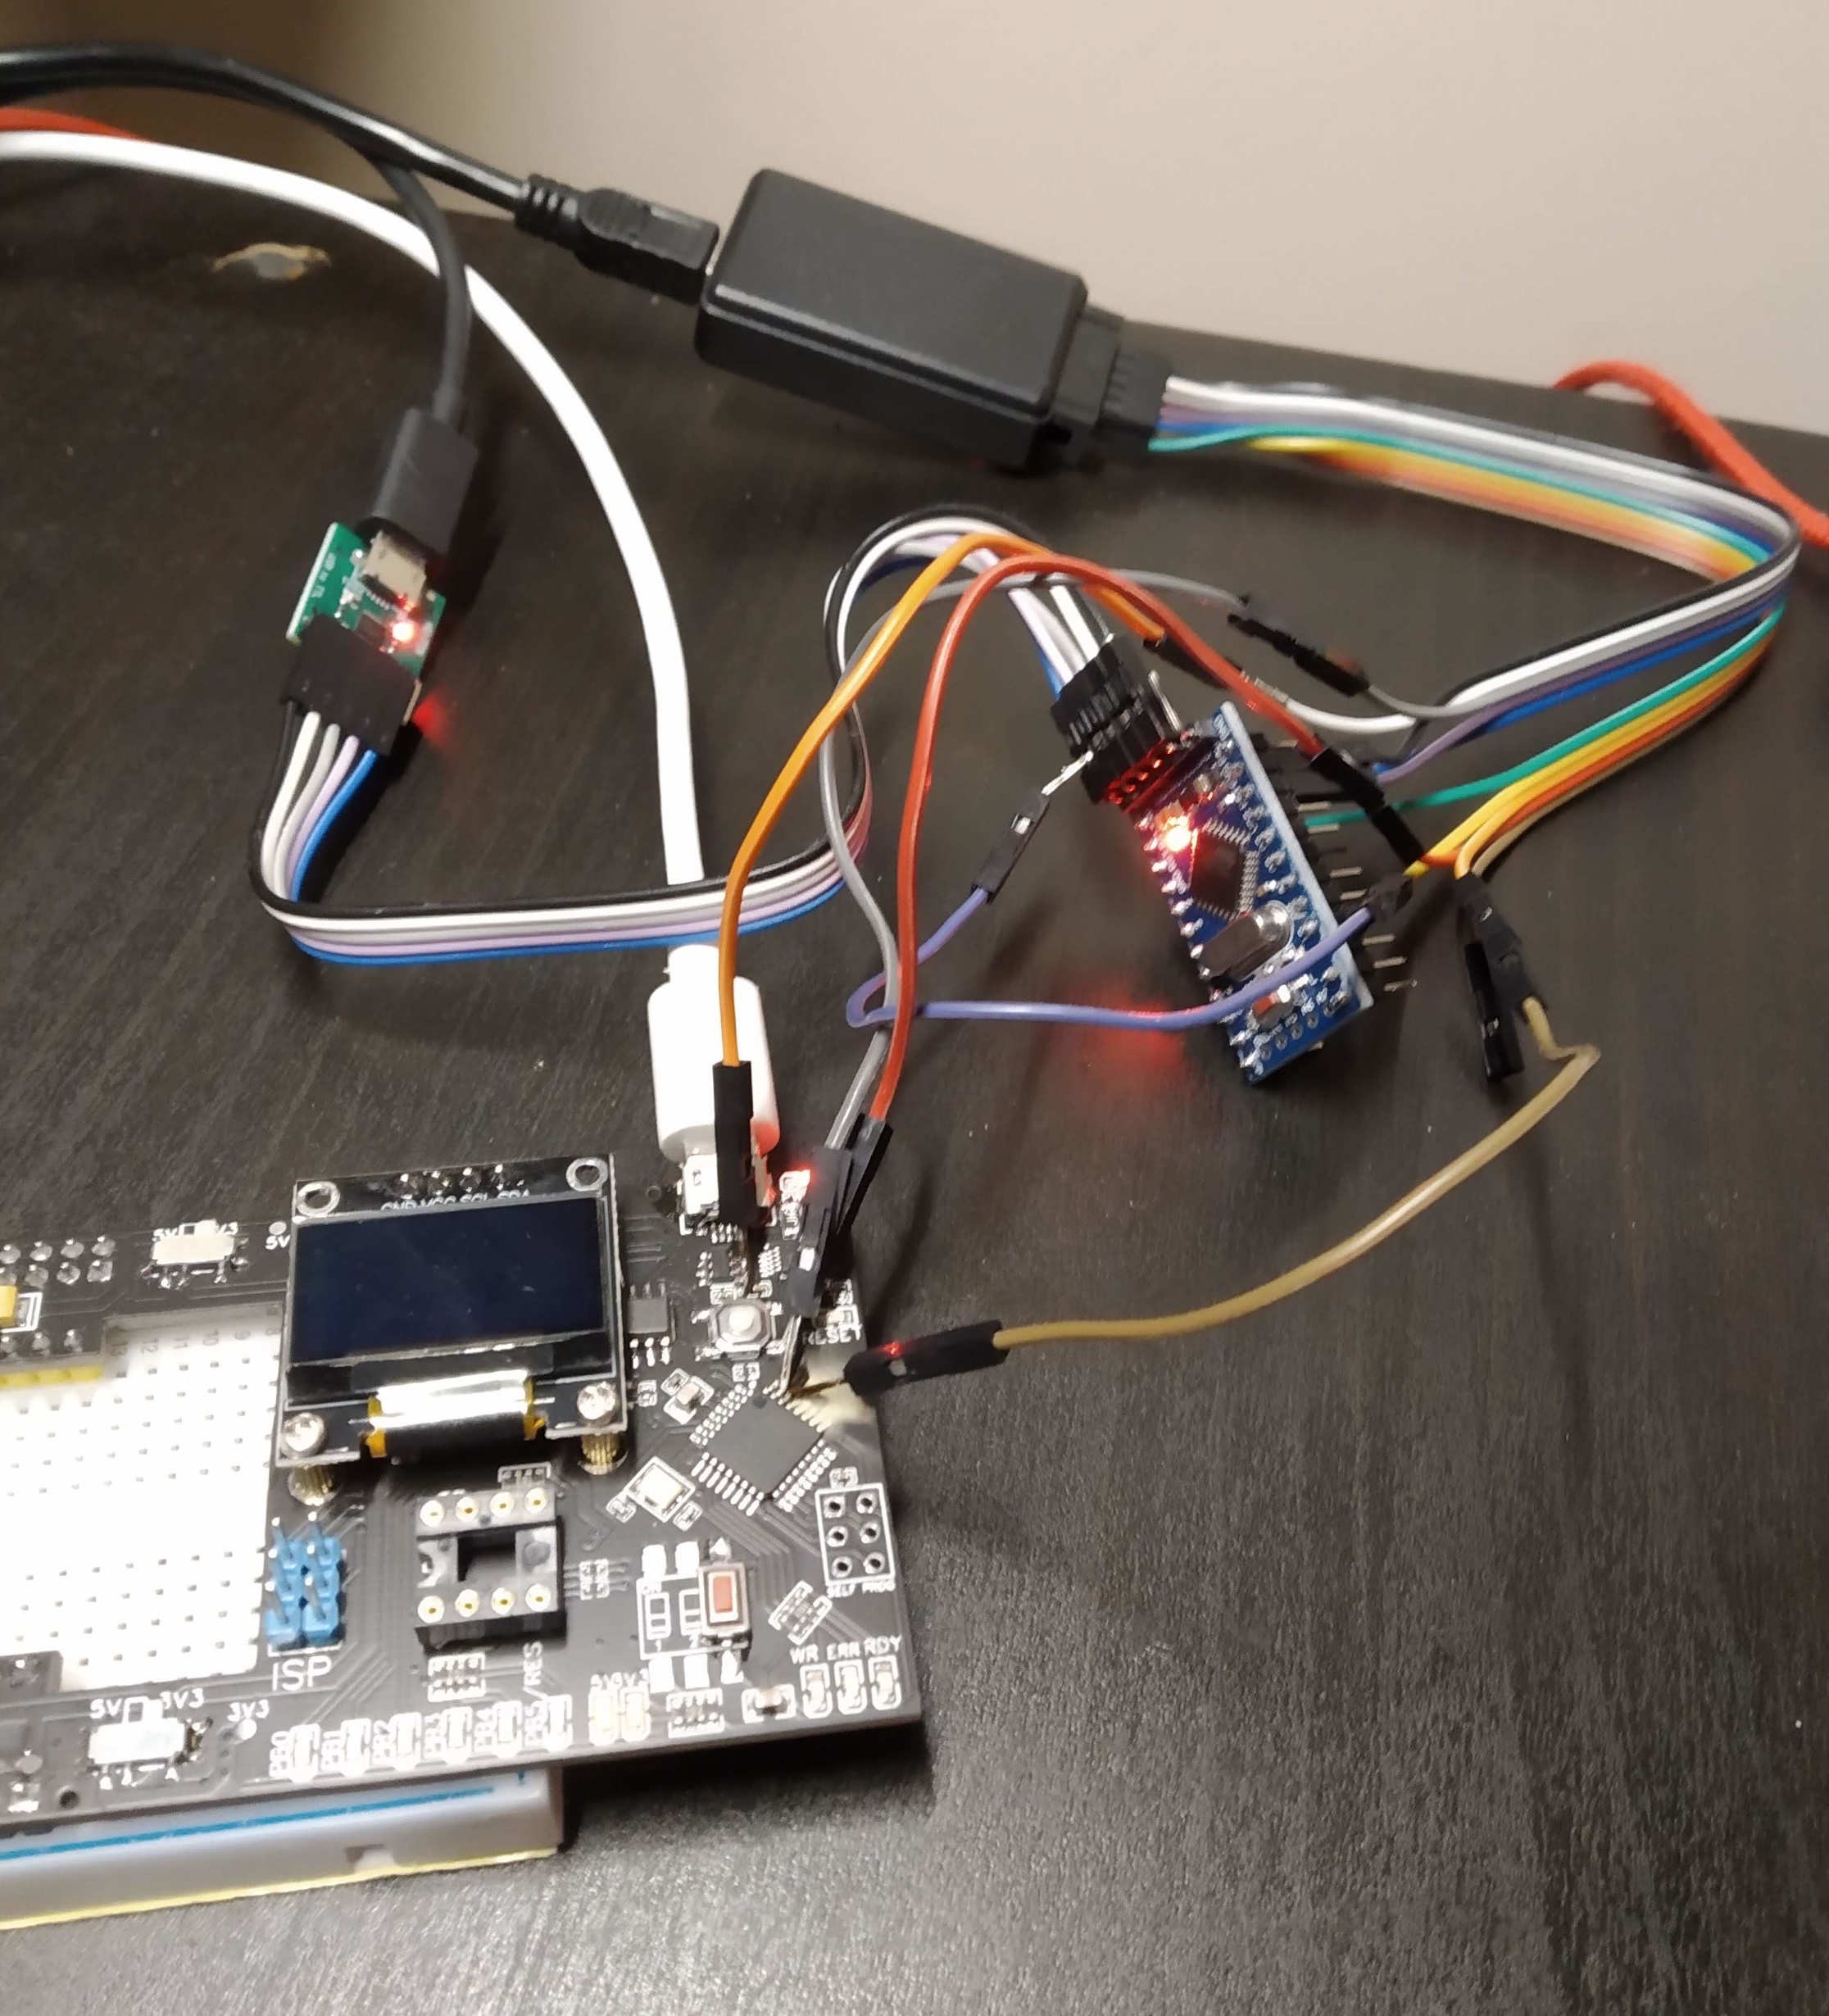
Using another flashing tool is not the most convenient way, everyone get used to do it 'one-click' way. Therefore using SPI method I only need to flash proper bootloader. Once it is flashed (with proper fuse settings) I can use onboard USB-UART bridge and any Arduino-like IDE to flash it next time.
Something I'd have to do for each board before it would leave my house towards customer.
Discussions
Become a Hackaday.io Member
Create an account to leave a comment. Already have an account? Log In.