 Gradivis
**NOTE** The first three project logs I made were for V1 of this project, inside a Lomo LC-A. I'm leaving them here for posterity (and for anyone interested in going that route) but V2 and the active project starts here: https://hackaday.io/project/175776-lomopi-digital-tlr-camera/log/217143-part-4-v2-begins
Well, I just had a huge post typed out and then got a 404 upon submit - good reminder kids...web forms are NOT a substitute for a word processor or hell, even a notes app. Anyway, back to business.
I may have mentioned elsewhere, but while I've dabbled in computer modding and camera electronics out of personal interest for years, I am at MOST a hobbyist and tinkerer. I am not trained in electronics, embedded systems, coding, 3D modelling or anything of the sort. The only models I've made are hand-carved from wax, and I've only done one other successful project with the RPi. I bring this up now, because going back through to post these I've already identified a lot of things I would do differently and places where I can make improvements (so watch out for V2.0). And also because if you f**k something up following my worklog, it's on you. Trust, but verify.
If you would like to try this project out yourself, I'll upload my STL to this project shortly. Please note I have NOT updated it since the first print yet, so it's not production ready so to speak but it will get you close if you want to tinker.
Not owning a proper caliper, and only having a printed A4 sheet for measuring corner radii, I spent a good couple of hours measuring and remeasuring all of the donor plates from the original LC-A before assembling and gluing them together. I had to measure the outer dimensions I was bringing over, but also the inner dimensions, corners, positioning and diameters of holes etc. Never having done something like this before to this level of accuracy was definitely a learning experience. Even with multiple times measuring, I was still 1-2mm off in places due to my rudimentary tools. Needless to say I now own two calipers, because I'm not doing that again.
After a quick hand-drawn wireframe, I loaded up Fusion360 and ended up with something like the following. In the second image you can see my perfect usage of the scientific method to determine whether it would fit or not...


My VERY precise pre-print check...in retrospect it's amazing it turned out as well as it did.
Not having a 3D printer (yet), I decided to jump on Reddit to see if I could find someone to print this for me and not only did I find a specific sub for exactly that (https://www.reddit.com/r/3Dprintmything/) but found someone in my home country who was able to print and have the model arrive at my door in 2-3 days. The cost was less than shipping would have been from a commercial service, and the quality better than I had hoped for the very first print:
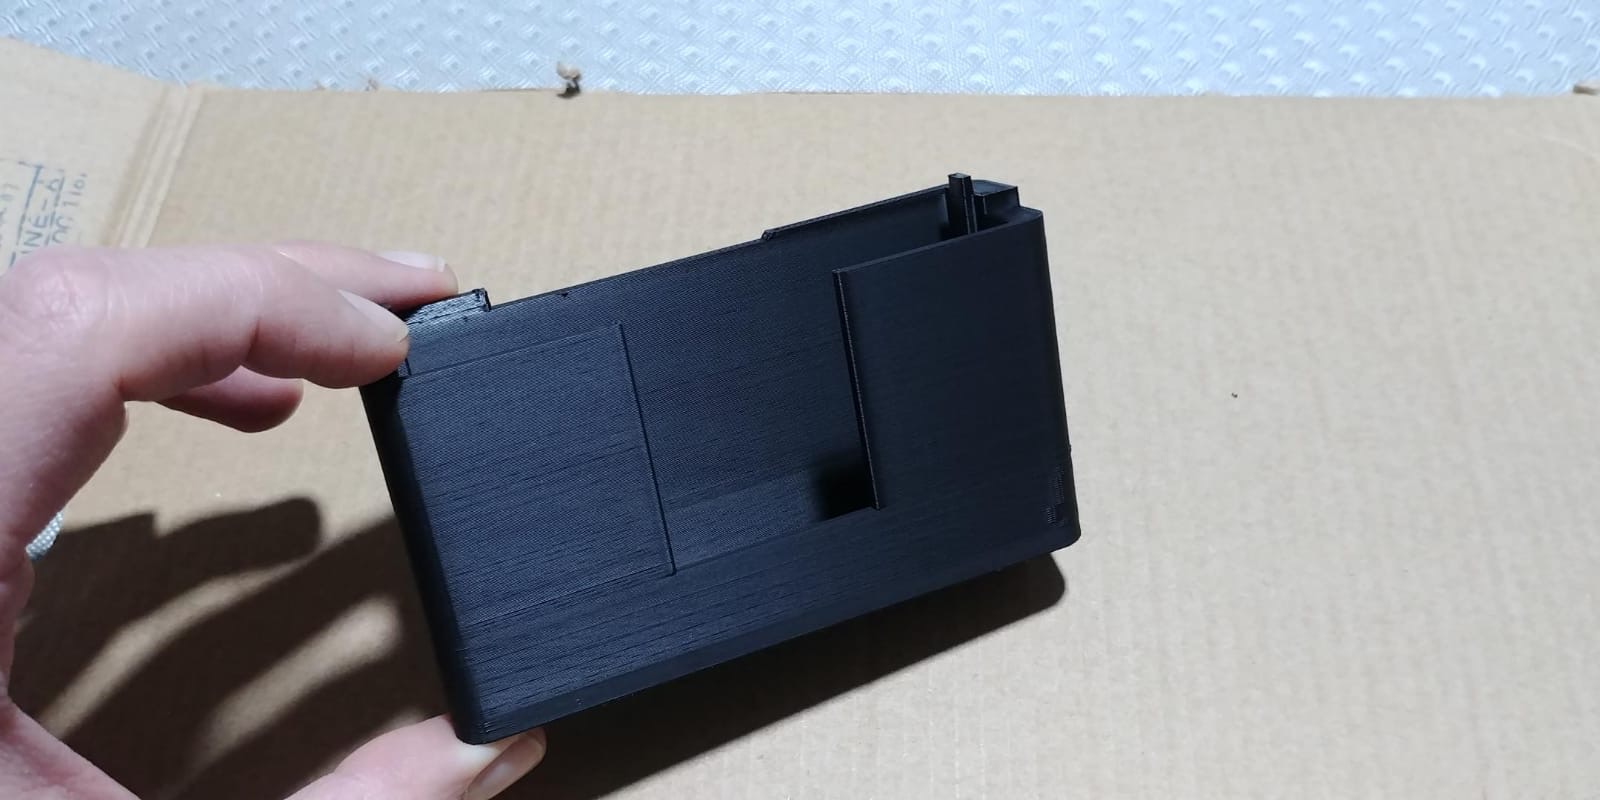
The good:
- The fit is close enough that I can work with it
- The quality is better than I expected (will be covered with leatherette so aesthetics don't matter)
- I'm confident I will be able to fit all of my components in with room to spare
- I didn't totally fuck things up for my first 3D model
The bad:
- The fit isn't as close as I would like, and I will have to file some parts and make a few small cuts
- I forgot to include a hole for the female USB charging port...

Carefully holding all the pieces together that will eventually be epoxyed/screwed in.
So that's pretty much it for the printed case to accept the LC-A donor parts. Going forward I think I would almost certainly re-do it with multiple pieces - that way I could set up an access hatch on the bottom to access the RPi and battery without taking the entire camera apart, as well as join the LC-A pieces to the printed frame more permanently. As you can see from the image above, alignment isn't perfect but I'm hoping some filing, filling and a few screws will help keep everything together! Stay tuned for more, and thanks for reading.
Discussions
Become a Hackaday.io Member
Create an account to leave a comment. Already have an account? Log In.