 Arya
AryaWhat do we have?
0. A gaming laptop from Alienware with broken battery
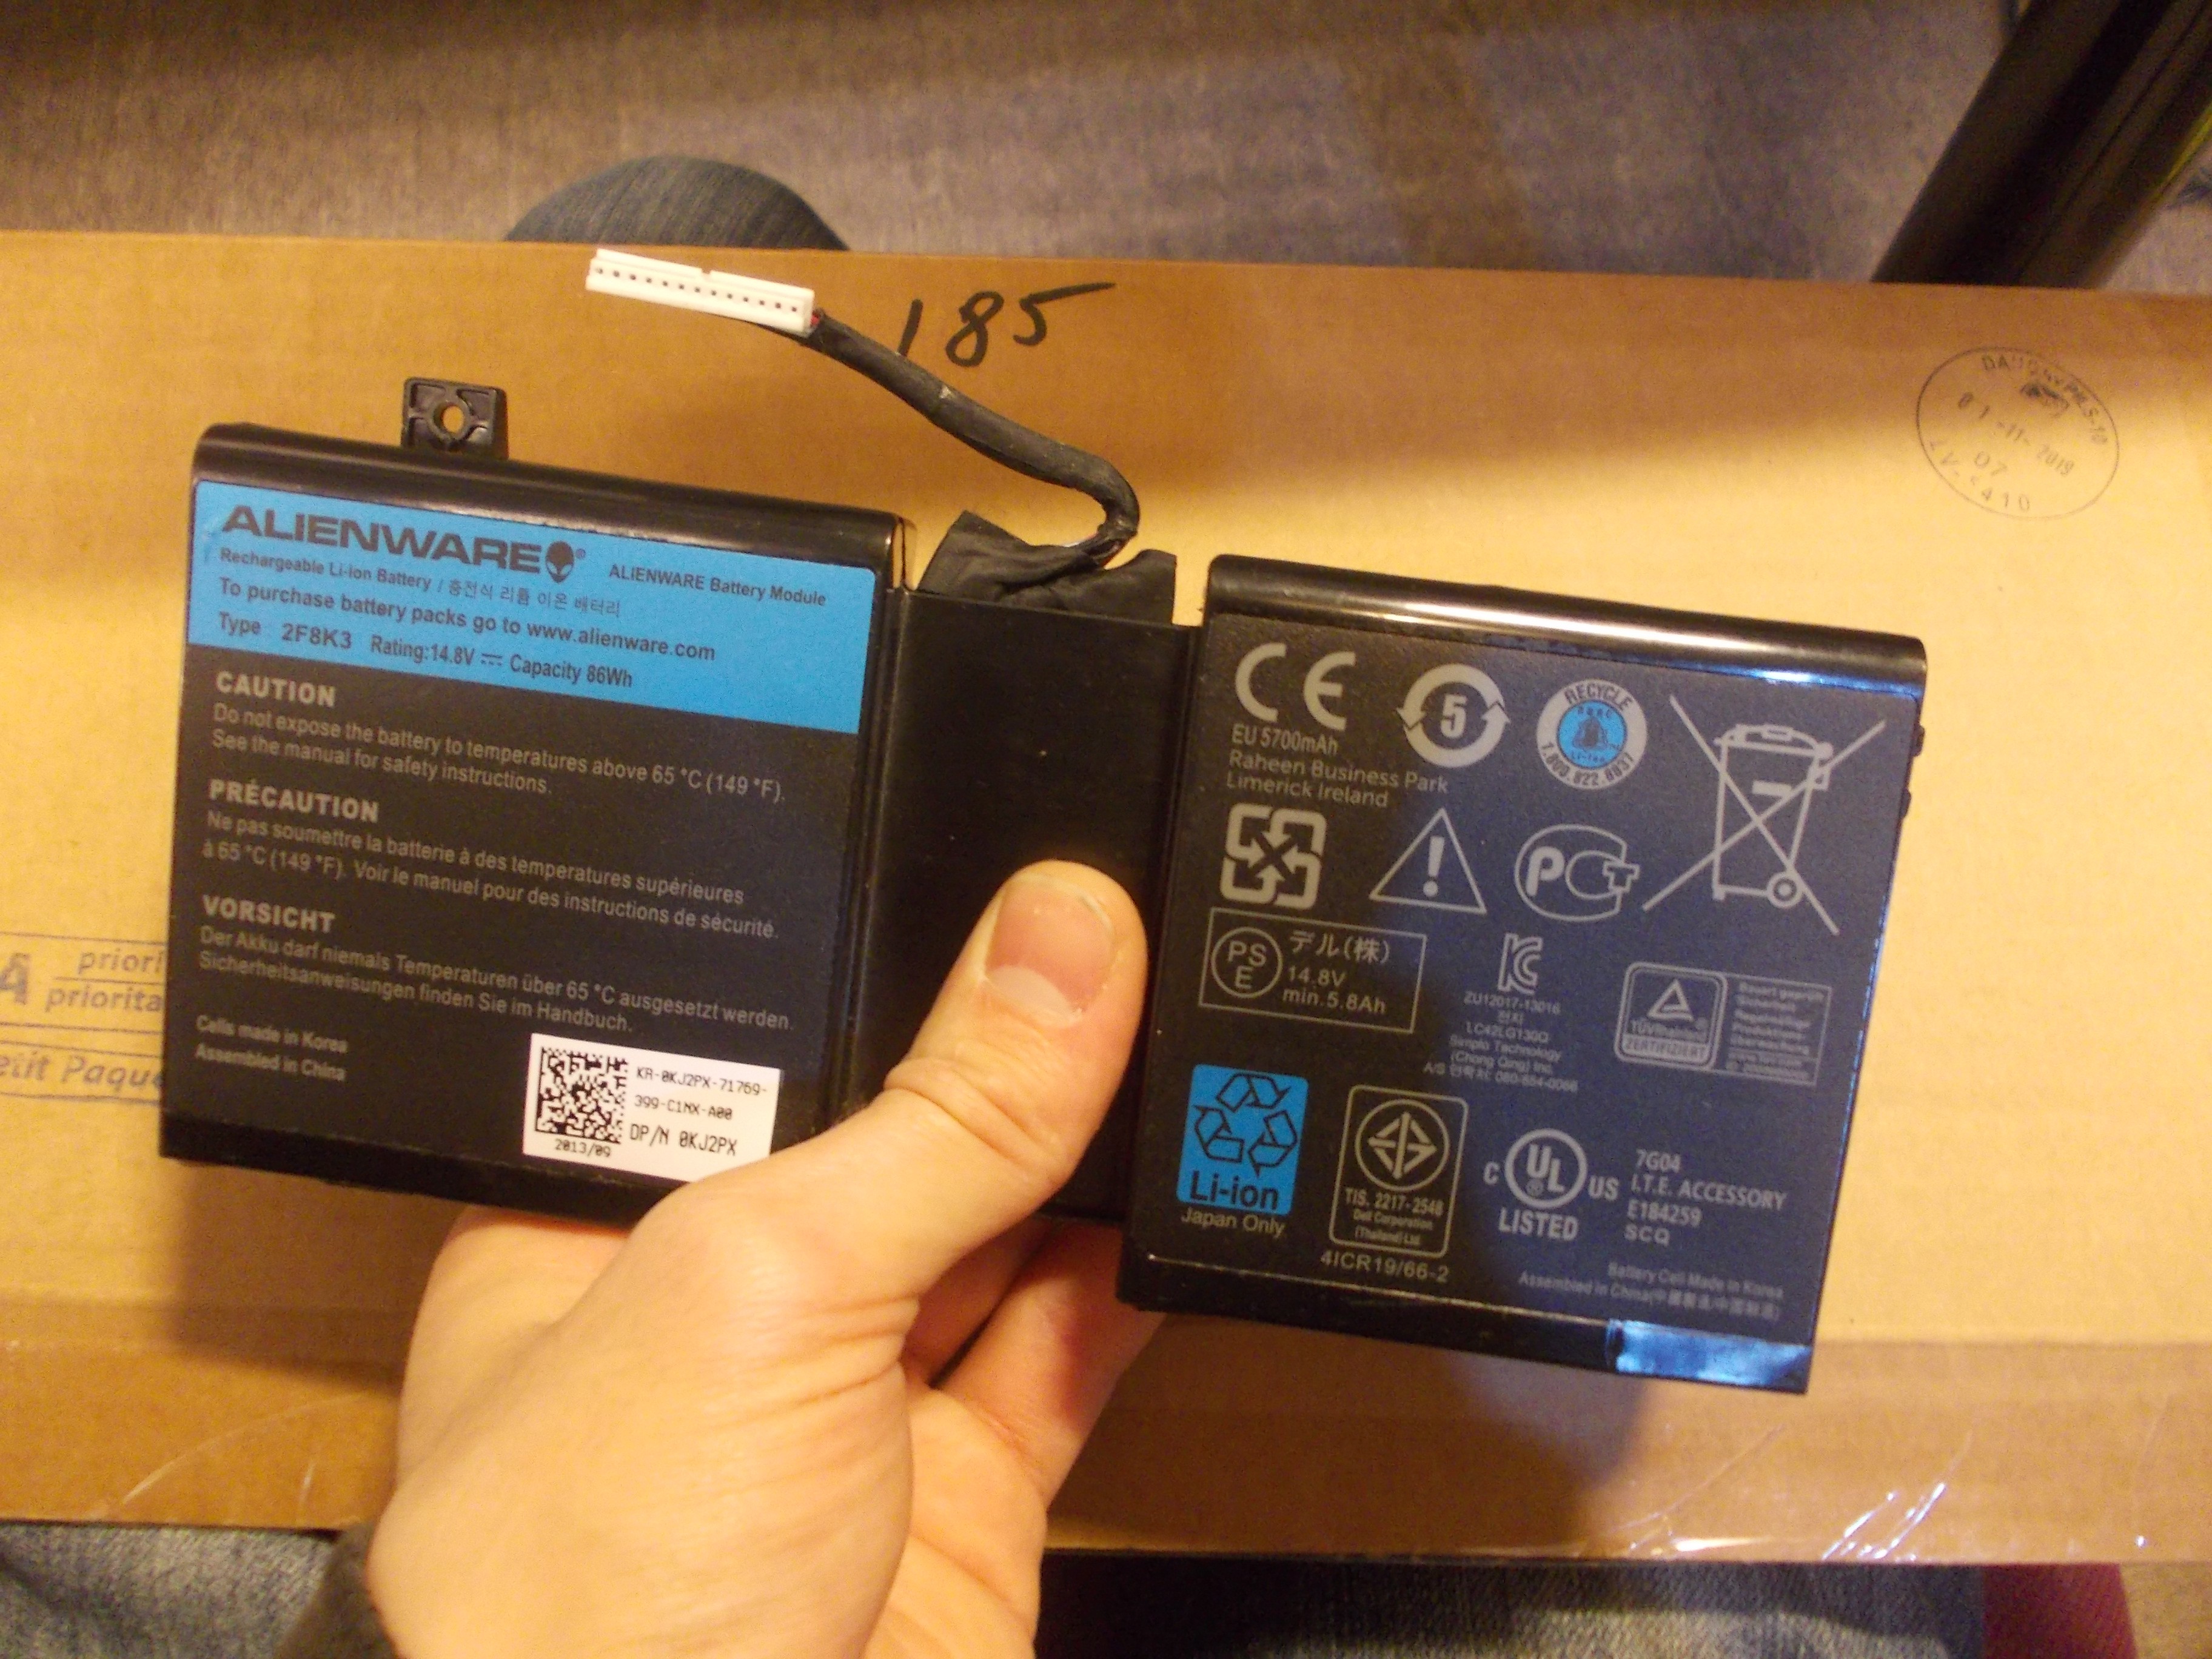
1. Broken Alienware battery from that laptop
2. Working Alienware battery from a different laptop
Ain't no Alienware warranty on this laptop anymore, and being tethered to a wall socket at all times makes a laptop into a shitty desktop. Fixing the dead battery is likely a no-go - the controllers are black boxes, there's people that know the details about them but it costs money, and I'd need to re-cell the battery anyway - spot welding batteries in a live pack isn't my favourite pastime.
When plugging the 2. battery into the laptop, the laptop would work wonders. Internally, it looked really similar - same cell arrangement and very similar controller board.
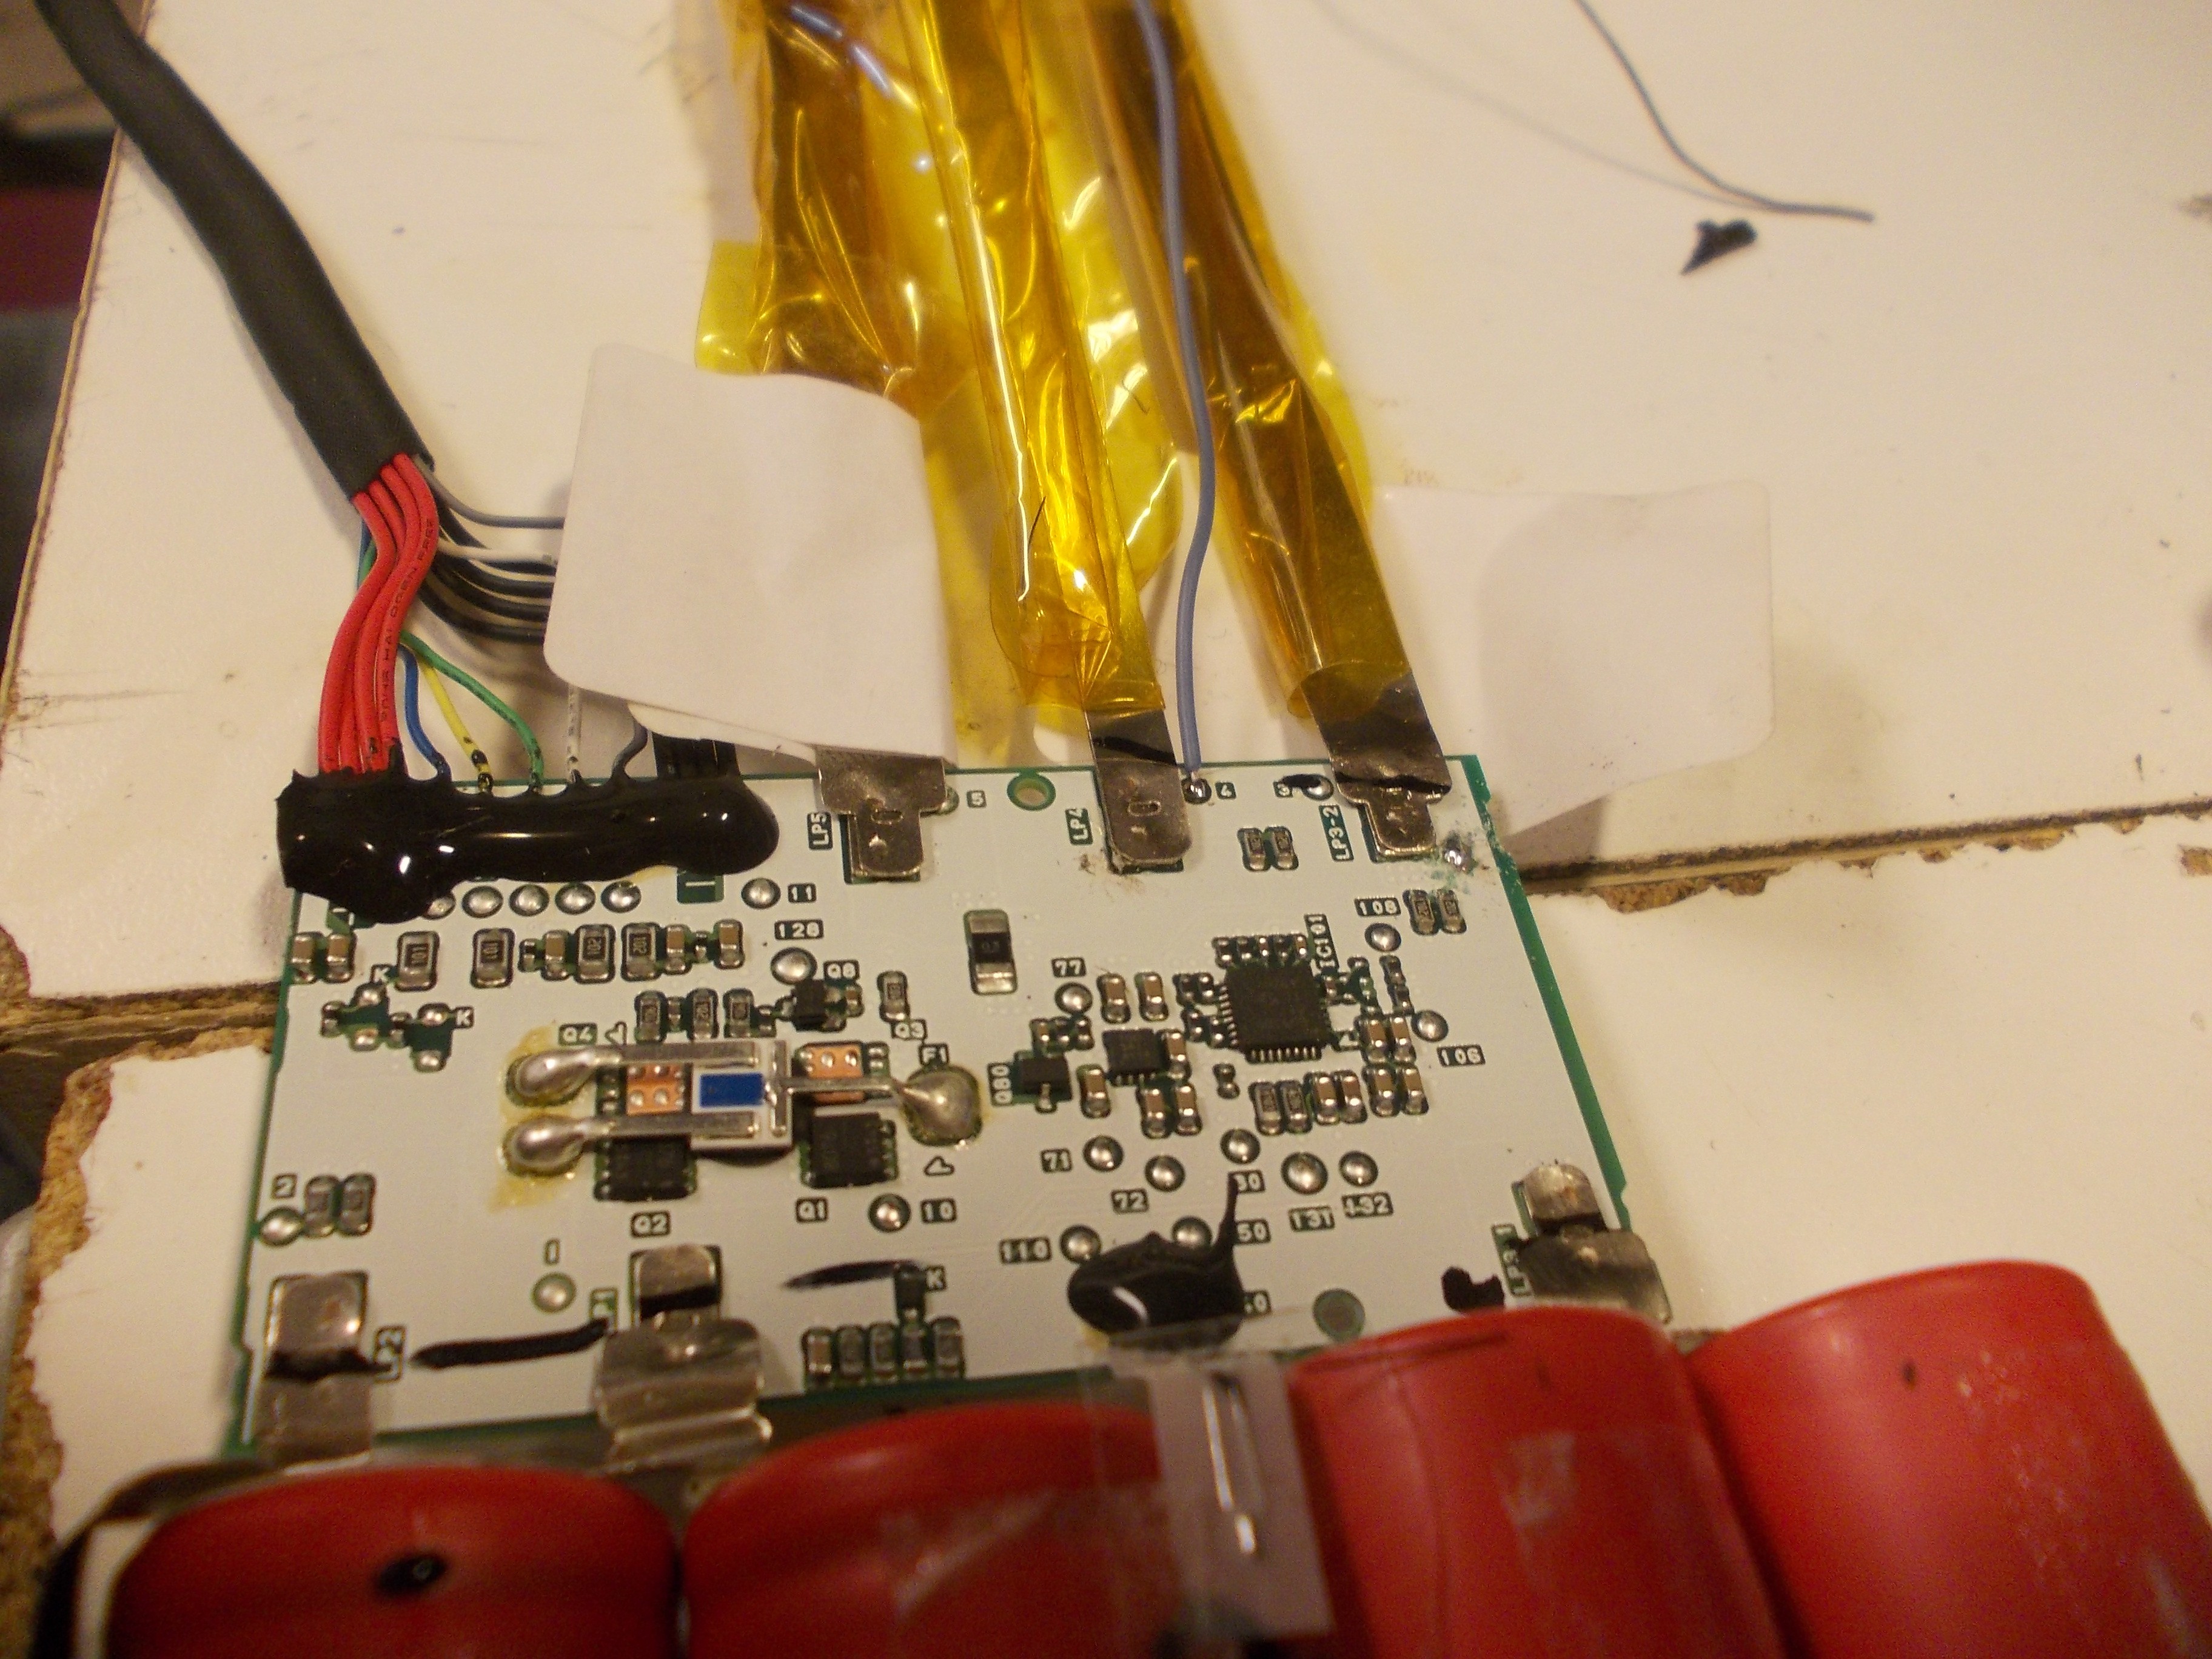
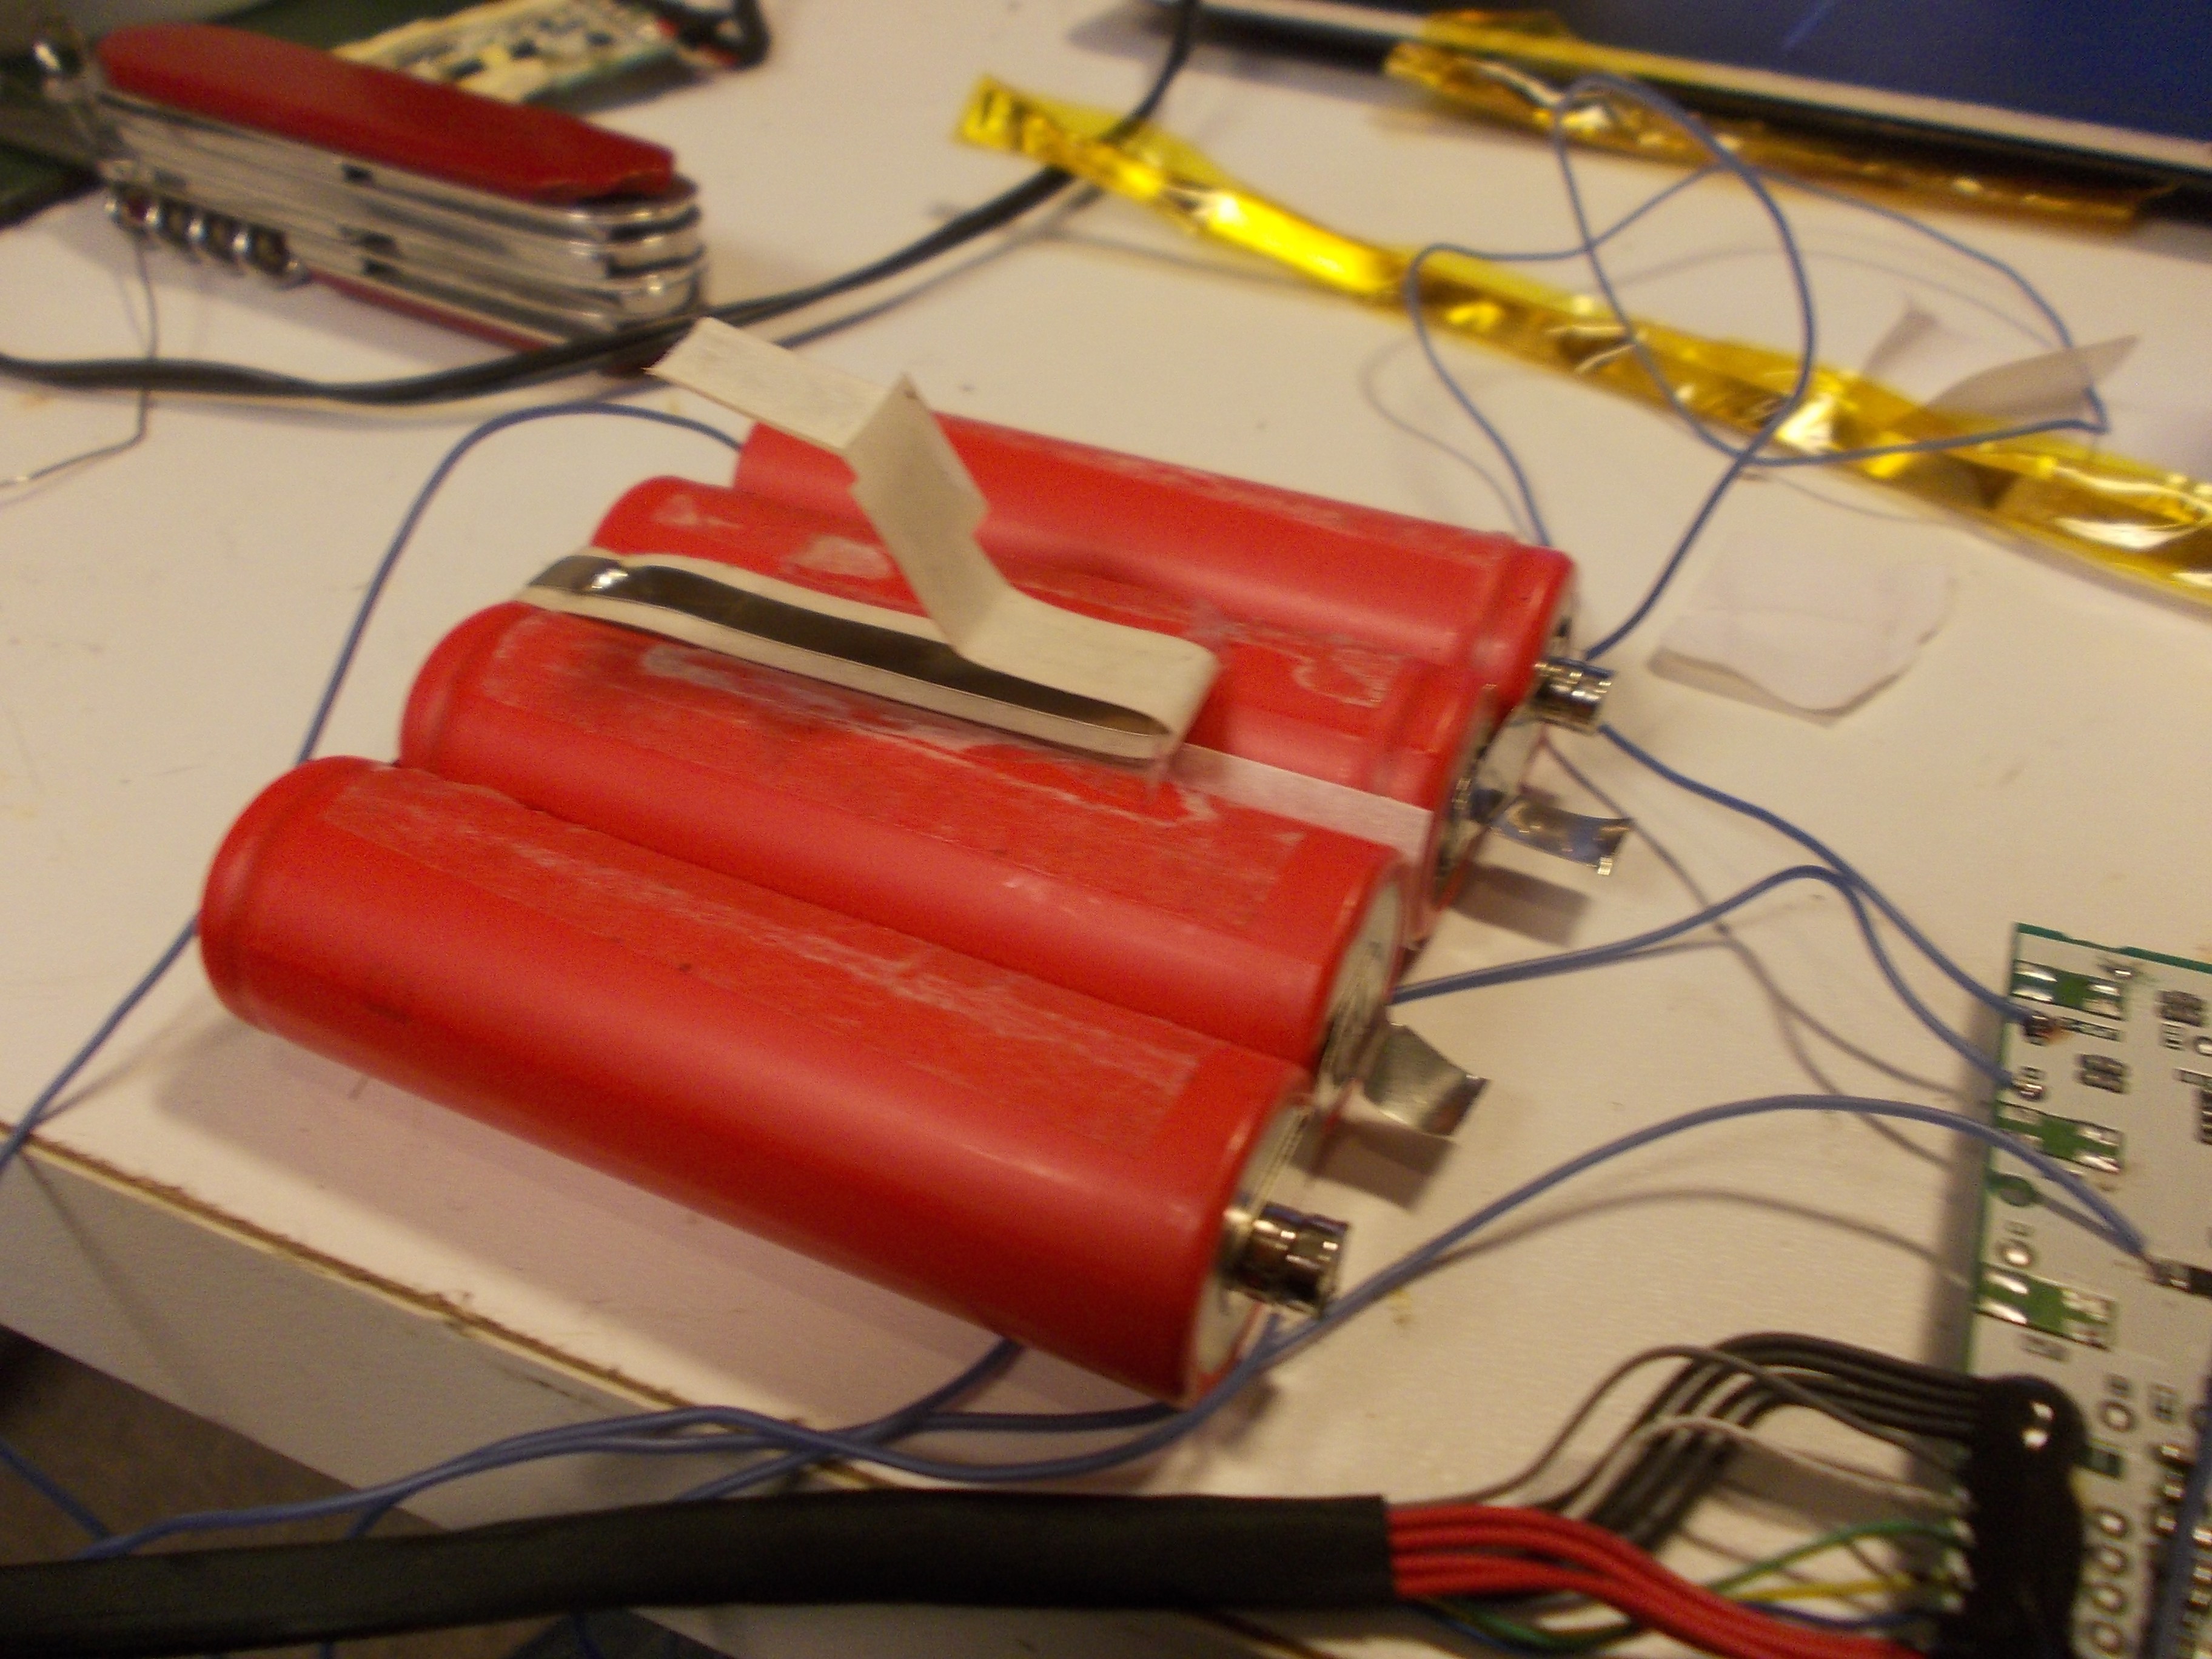
Solution - put guts of the 2. battery into the 1. battery case. However, I'd need to shorten these metal strips:
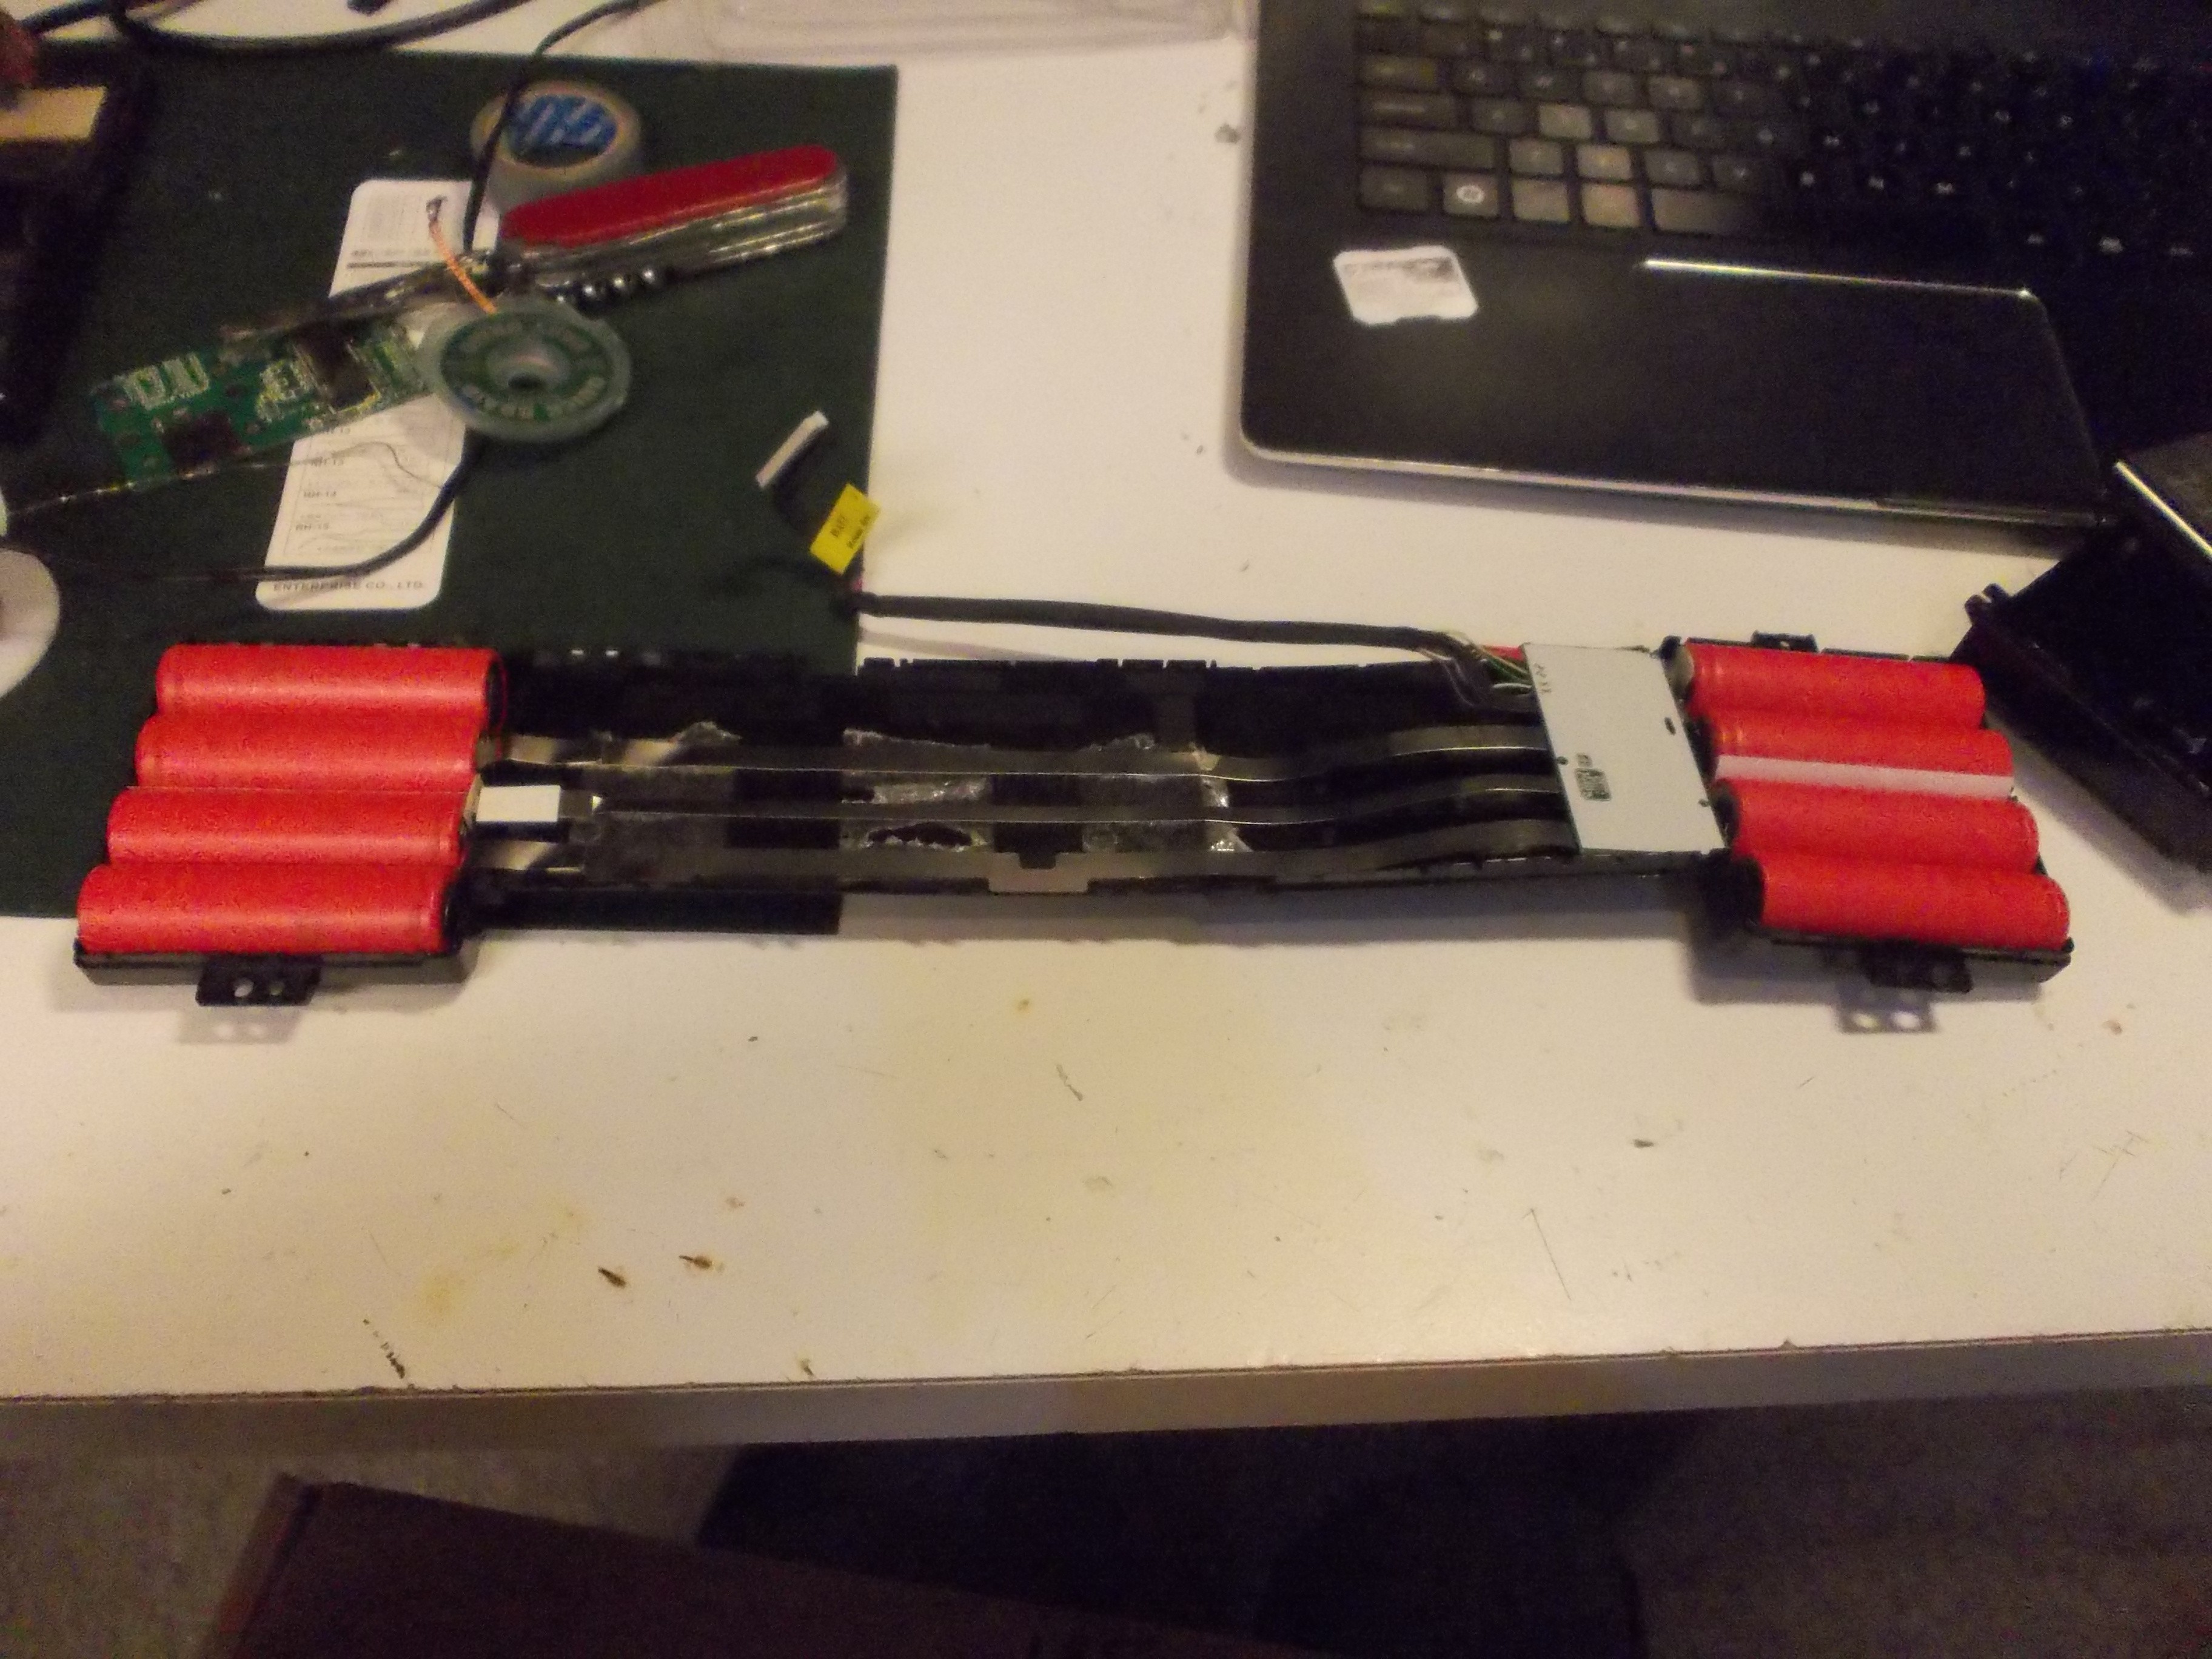
It's not as simple - as soon as you disconnect any of the metal strips, the battery controller bricks itself (rightfully so), as it needs to see valid battery voltages at all times without any interruptions - anything other than that is a sign of battery malfunction, and any laptop manufacturer wants to steer clear of that. Consequently, there's no simple way to "reset" a battery controller from such an occasion, either. However, with the power of magnets and kapton tape, I got it done.
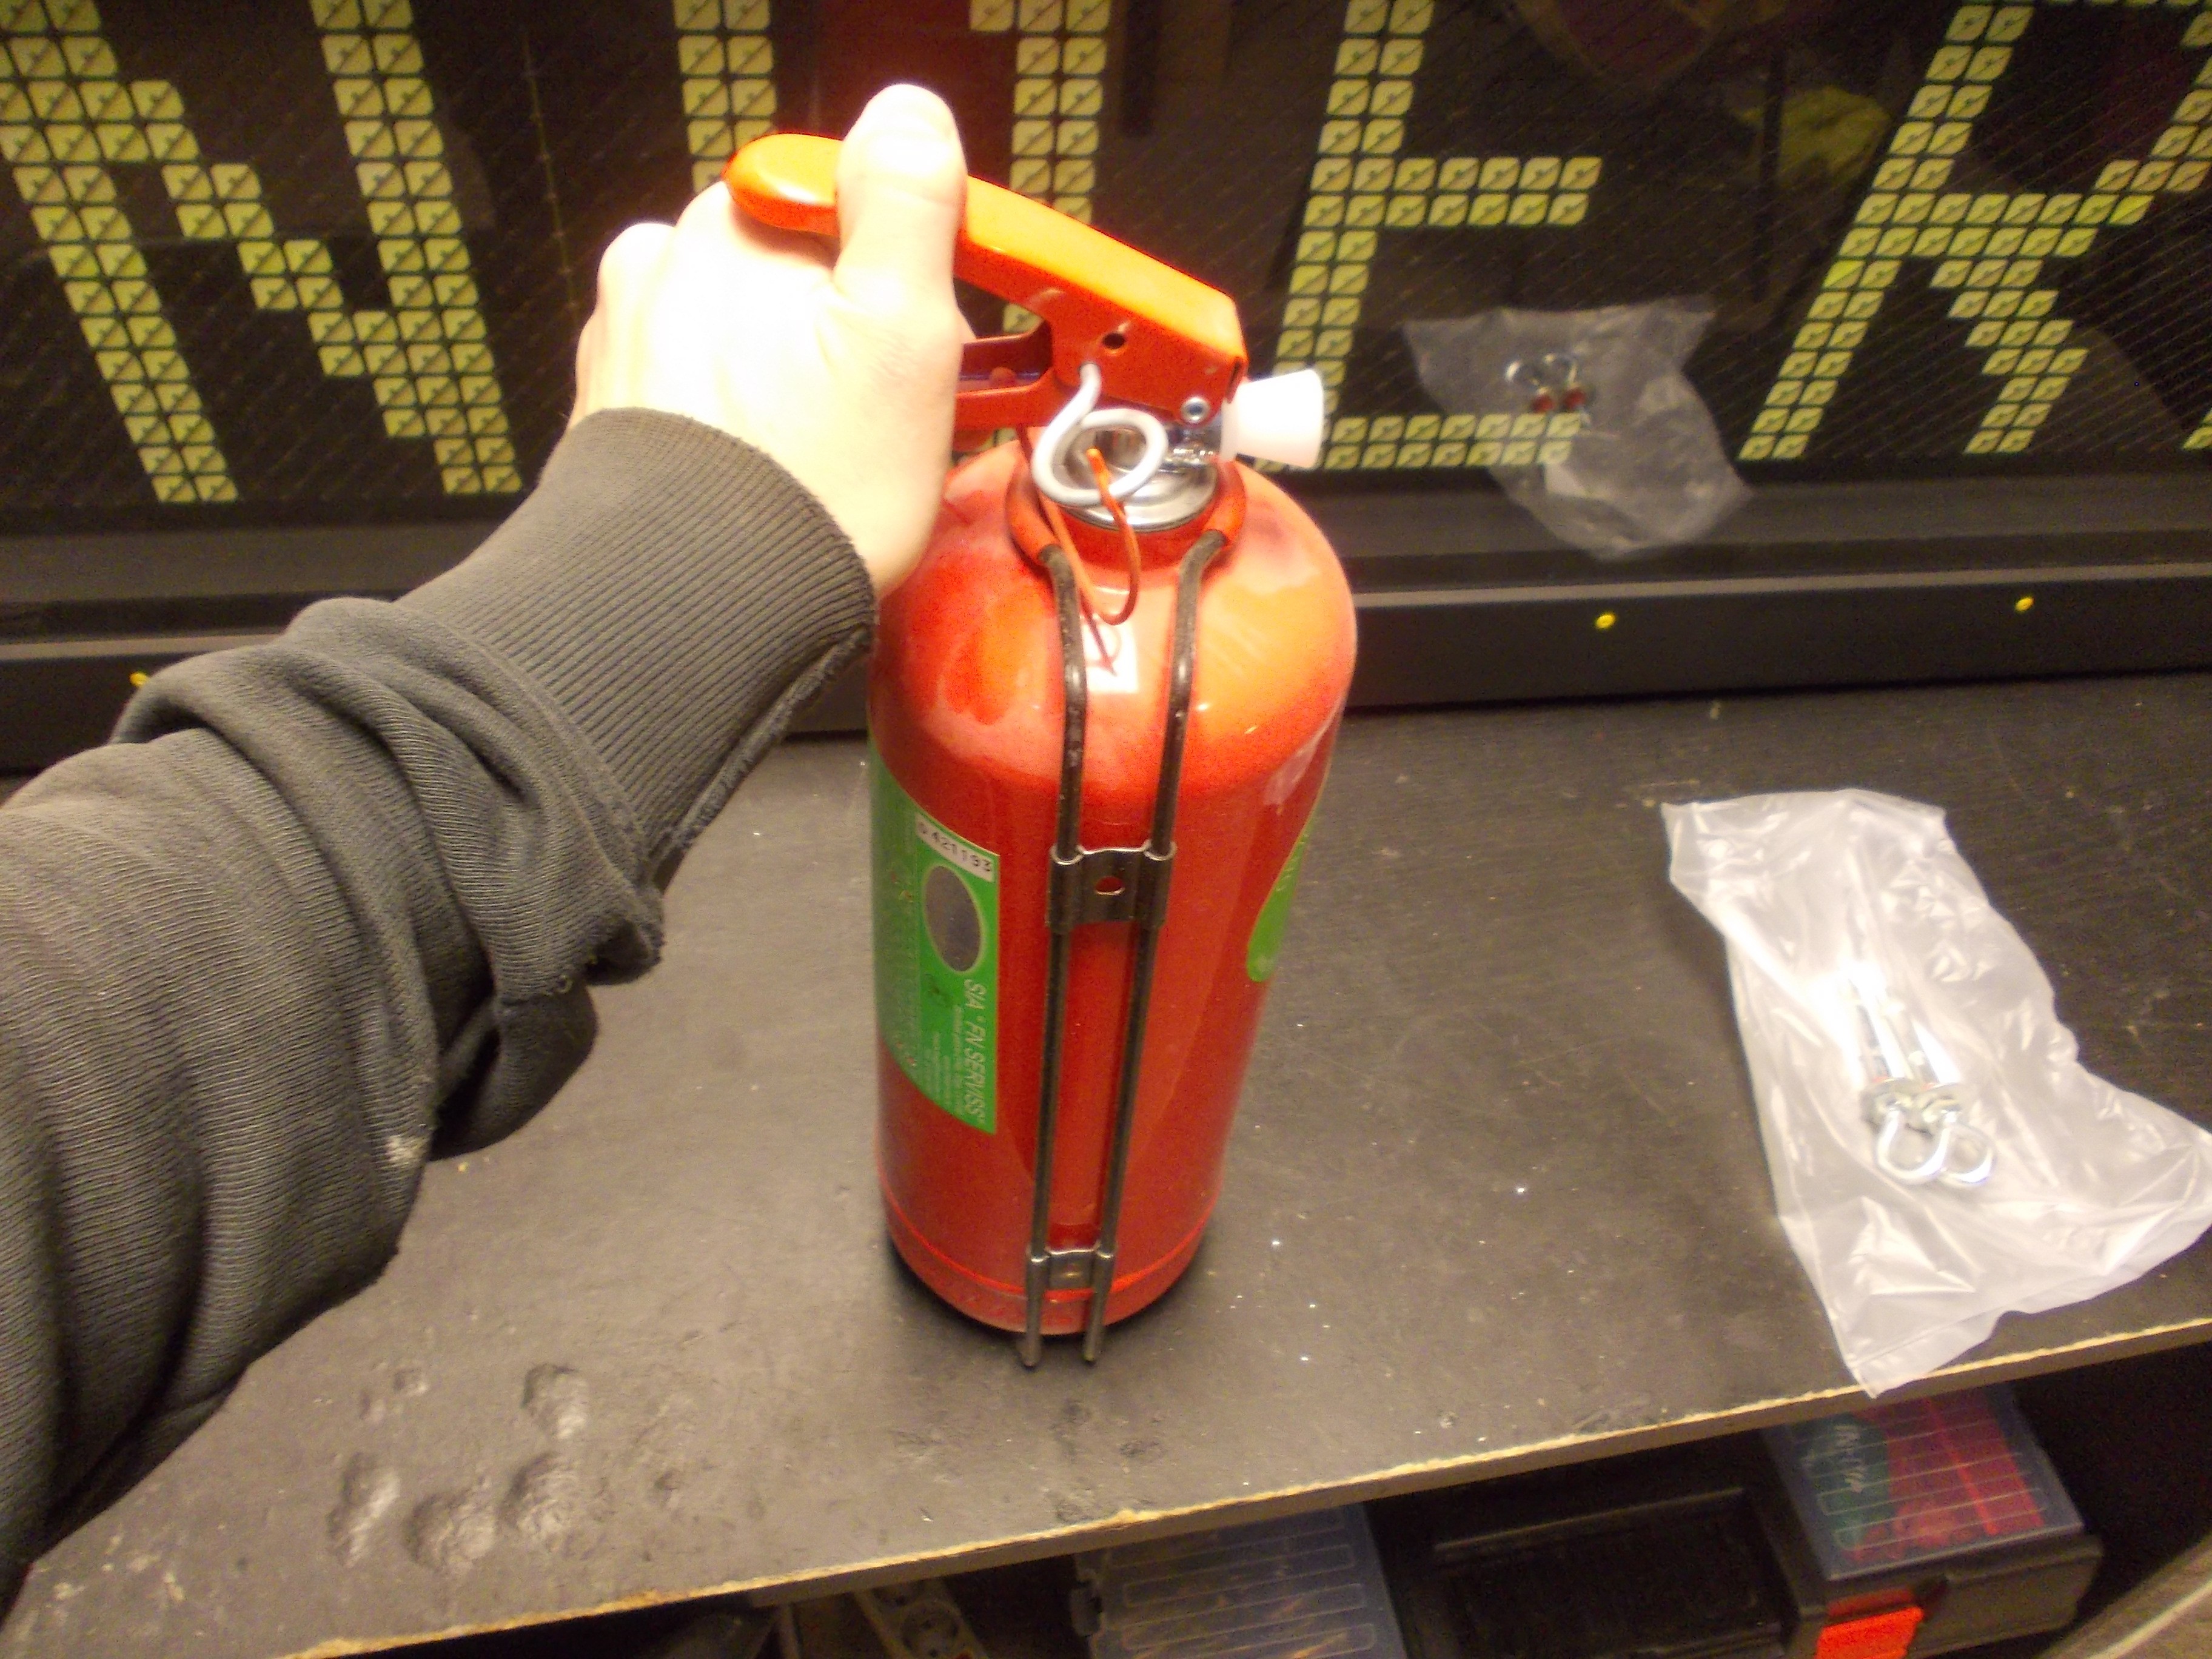
Precautions:
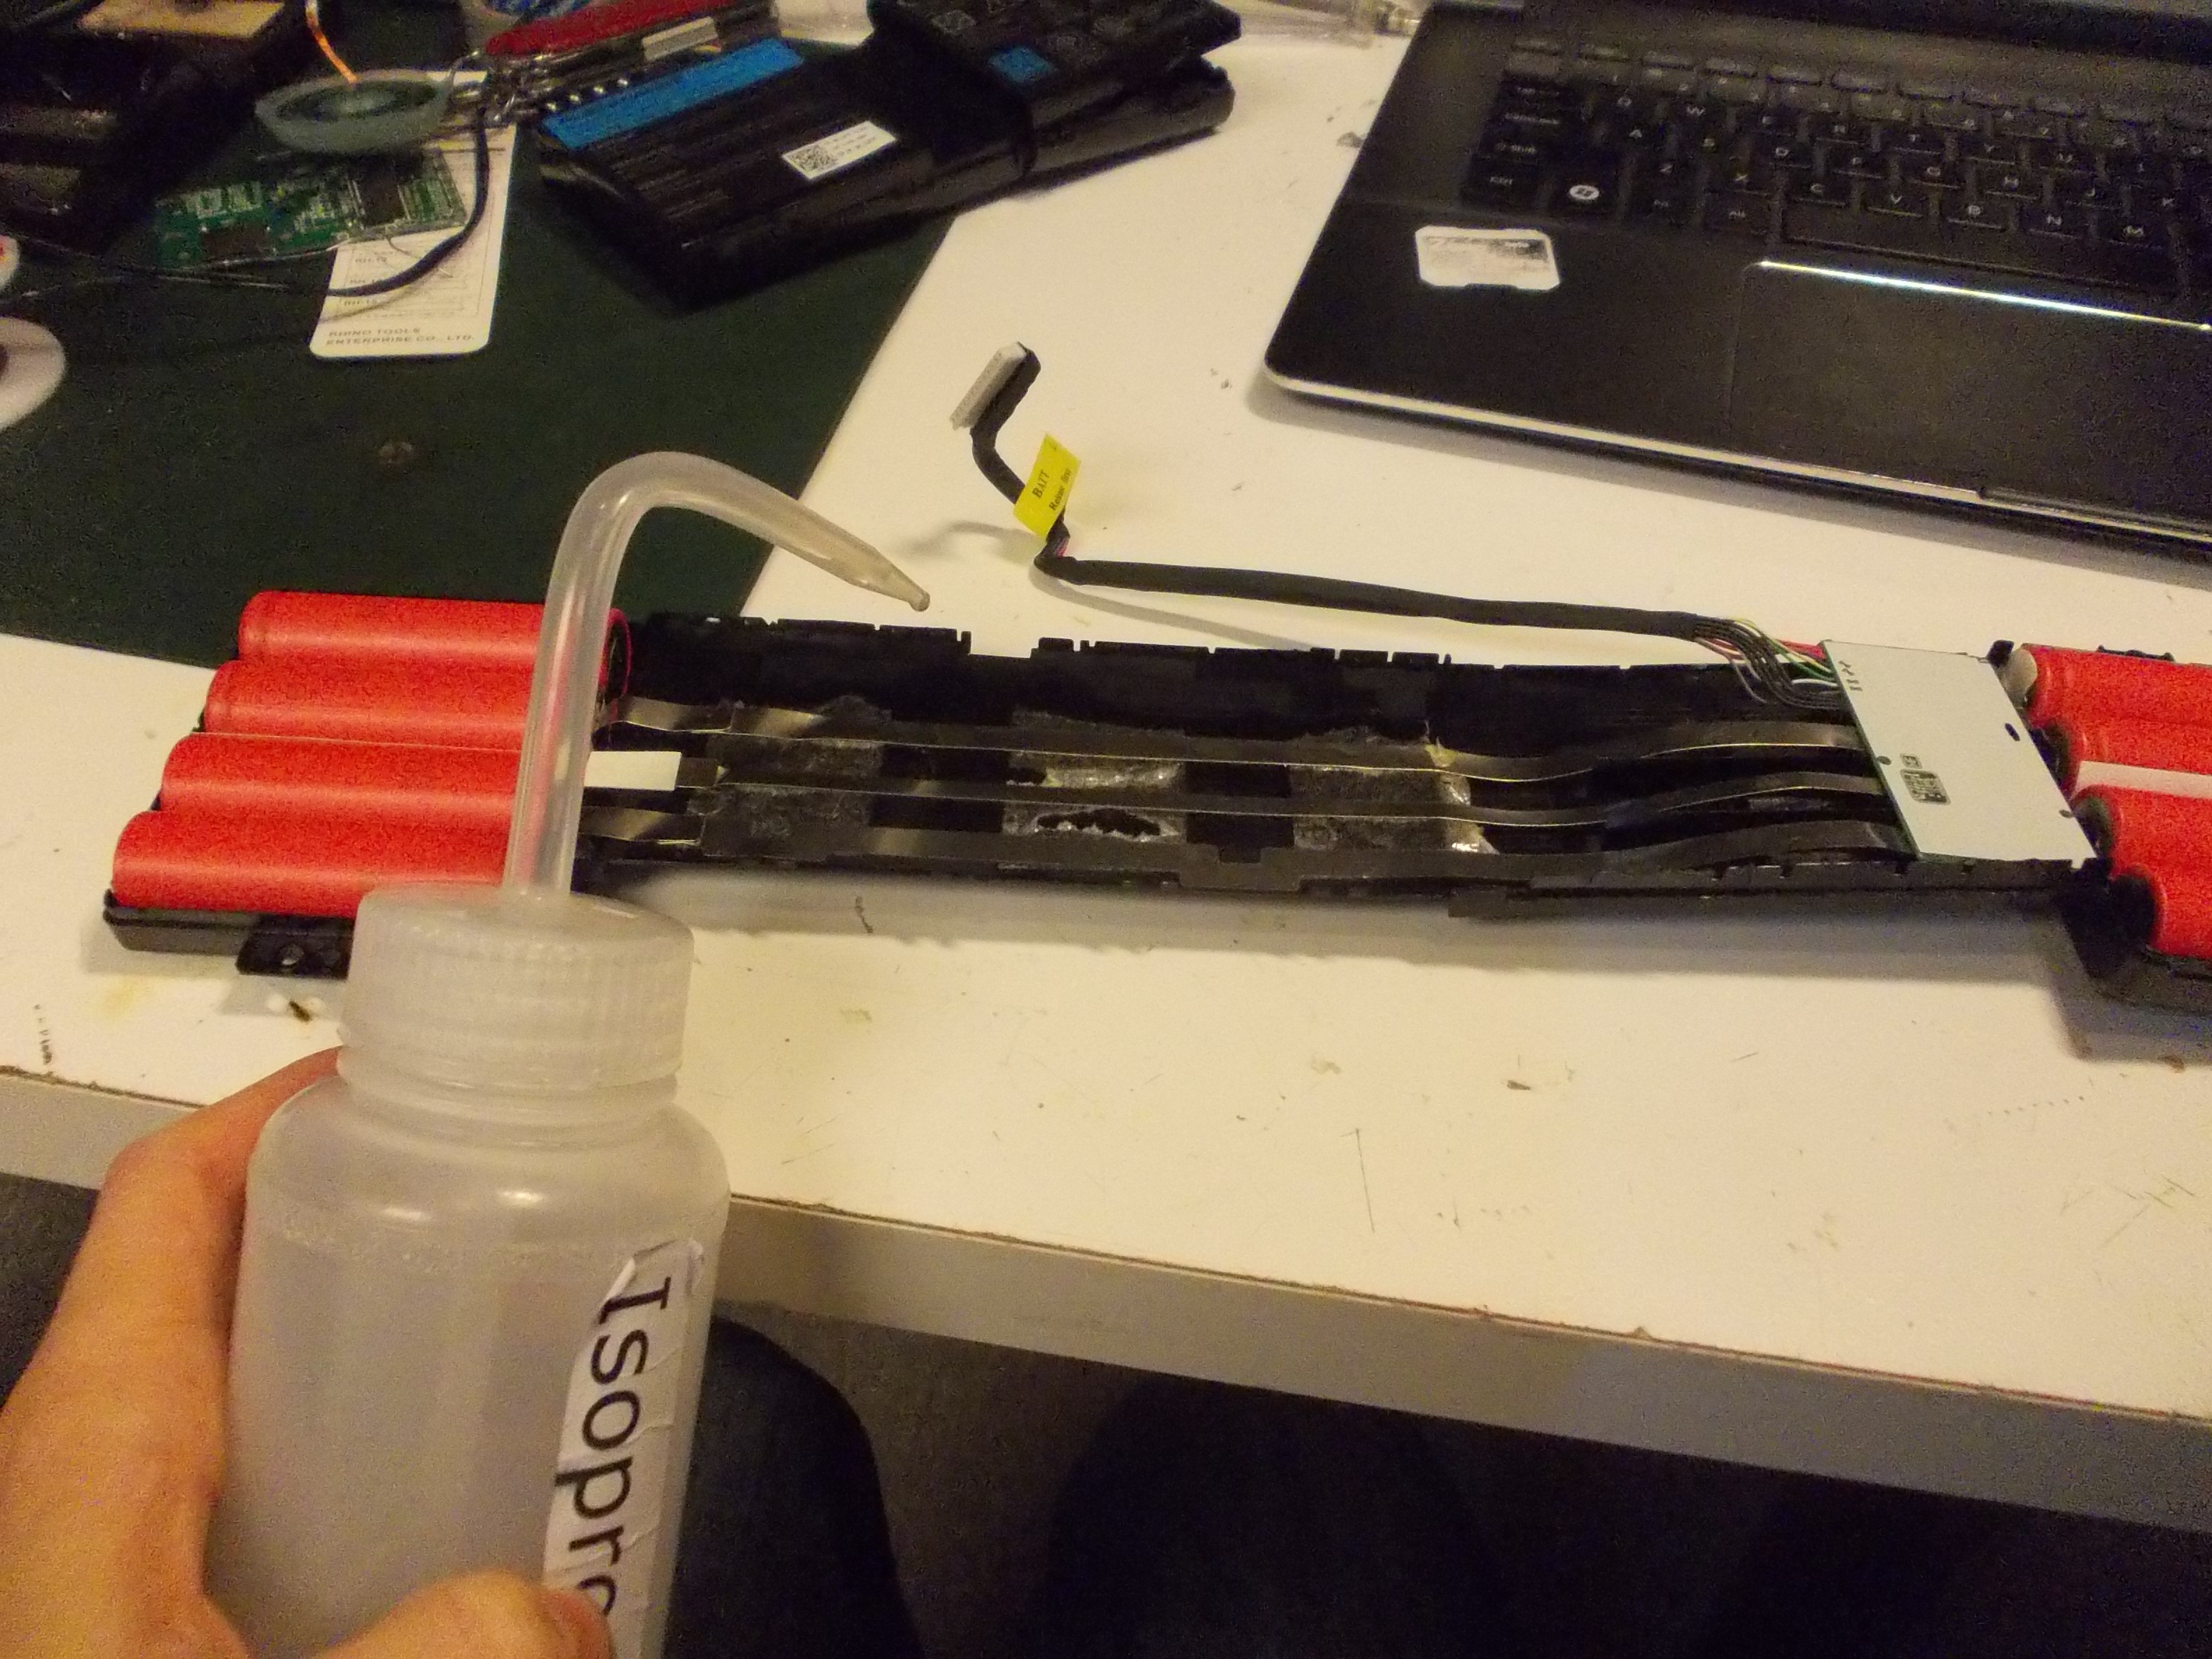
Metal strips glued to the case. Ungluing with isopropyl alcohol:
 Then I realized that it's extremely important to avoid using any metal tools:
Then I realized that, under no circumstances, I should allow the three metal lines to short together unless I want to lose my eyesight from the sparks that'd fly:
Kapton tape to the rescue.
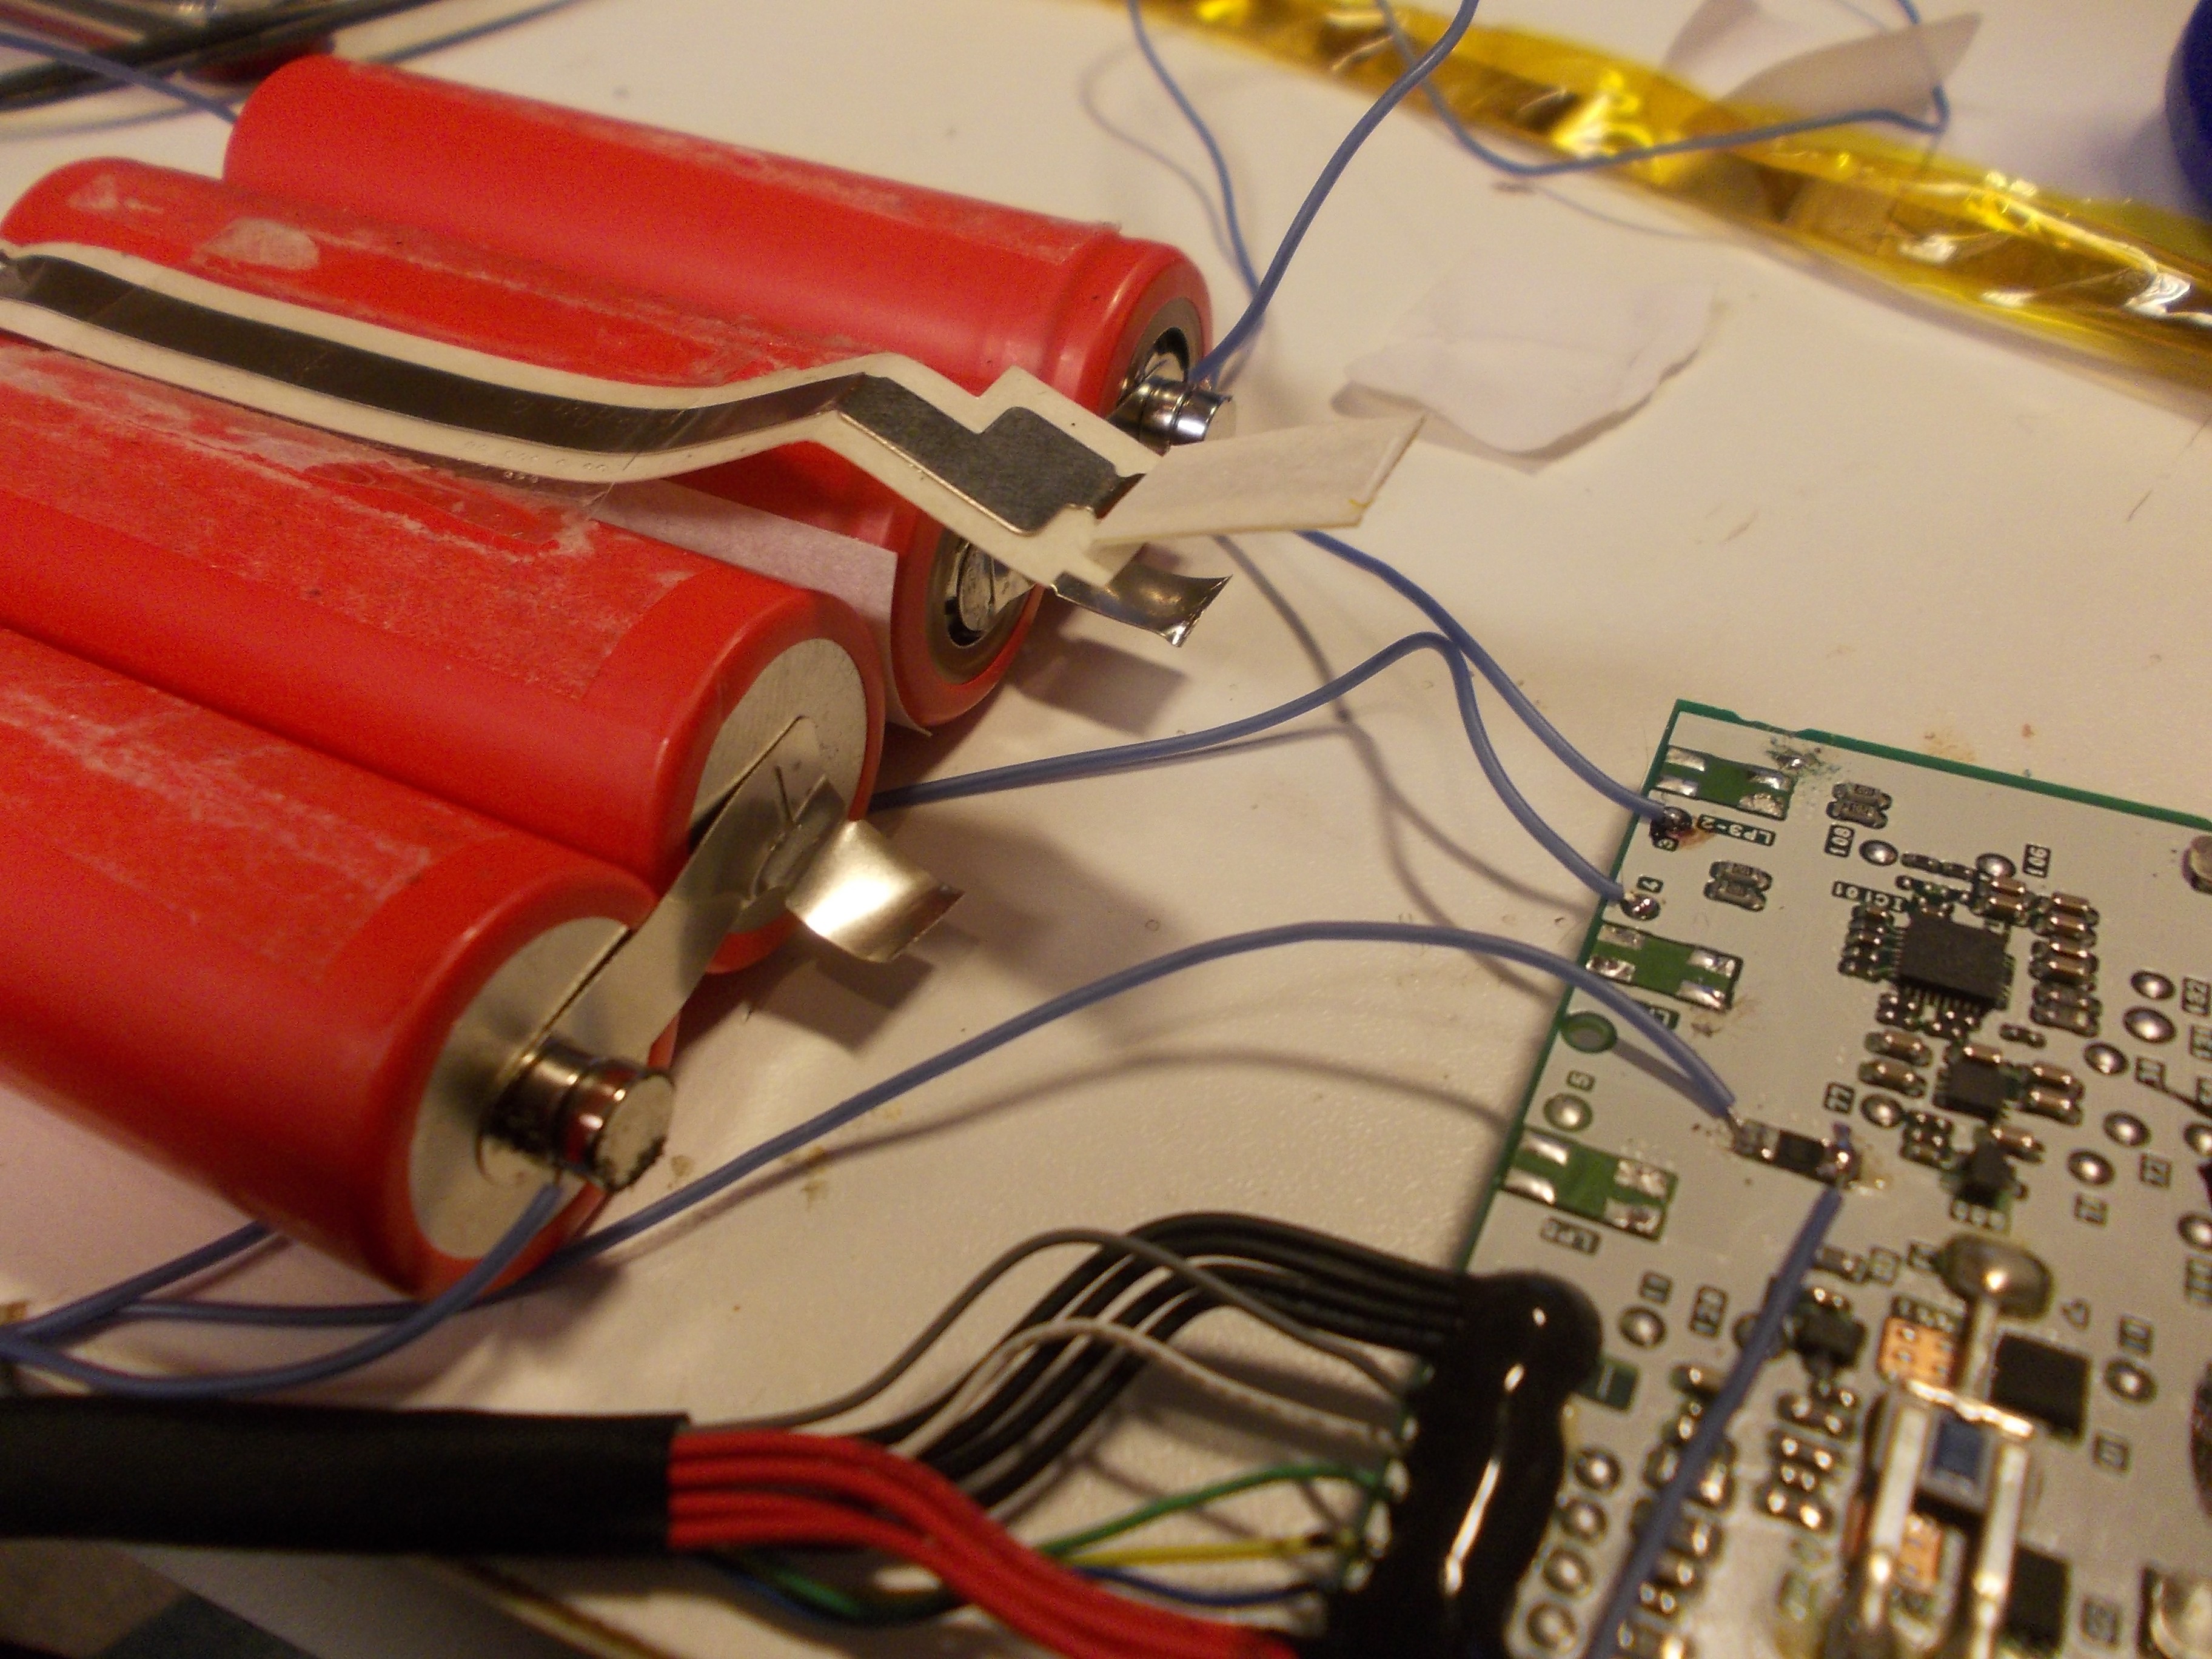
Now, what's the hard part, again? I need to shorten these metal strips and solder the batteries right next to the controller. However, I cannot disconnect any batteries from the controller, since as soon as I do that, it locks up.

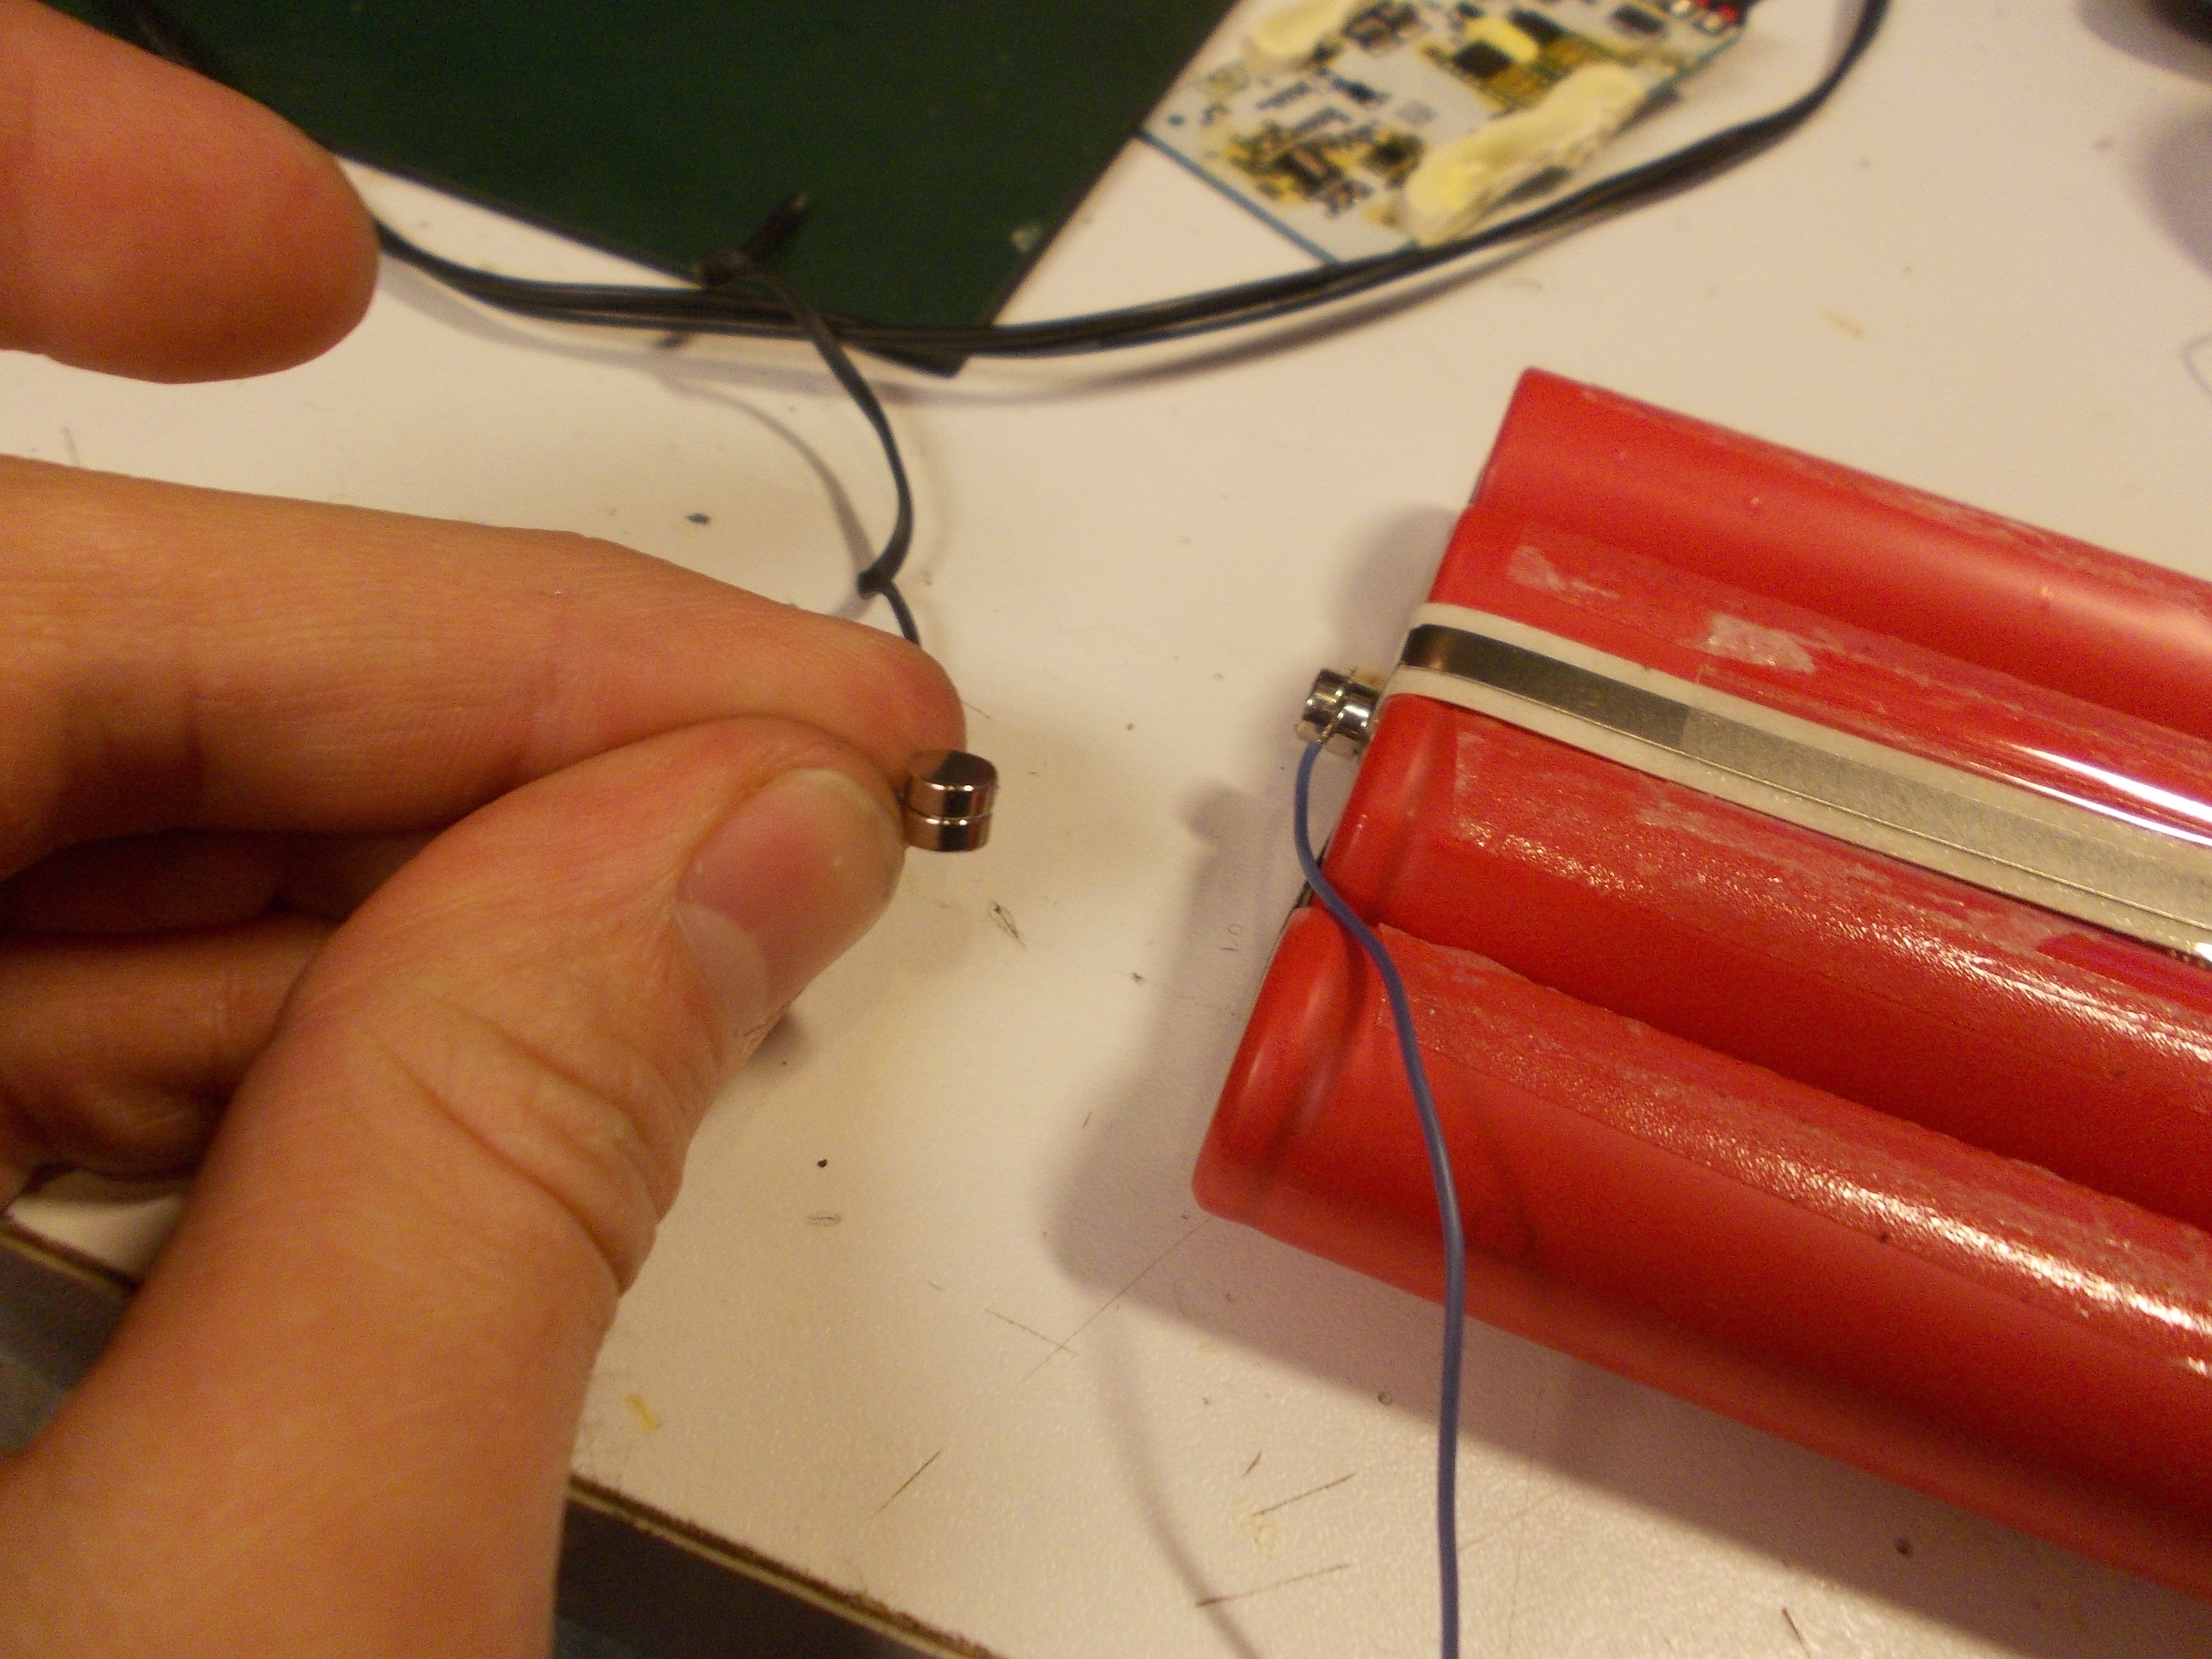
This is where magnets come in. I will make temporary connections using magnets and thin wires - they'll stick to the battery poles (as you cannot solder to batteries) and I'll solder the other end of the wire right to the controller. I cannot solder to magnets either, so I just use two magnets per wire, sandwiching the wire between two magnets so that an electrical connection is inevitable... you should check it with a multimeter anyway, who knows, maybe your magnets have a non-conductive coating.
First wire is attached and checked with a multimeter.
I have to solder wires to testpoints - not the same points where the metal strips disconnect, since I risk wires also desoldering when I desolder the metal strips, and then the controller instabricks.
Attaching second magnet:
Uh-oh, the magnets seem to like each other very much. Might want to look out for that - avoid accidentally connecting two battery poles together through a thin wire - that'd quickly become a fire scene. First, connect the magnets, only then solder the wires to the controller.
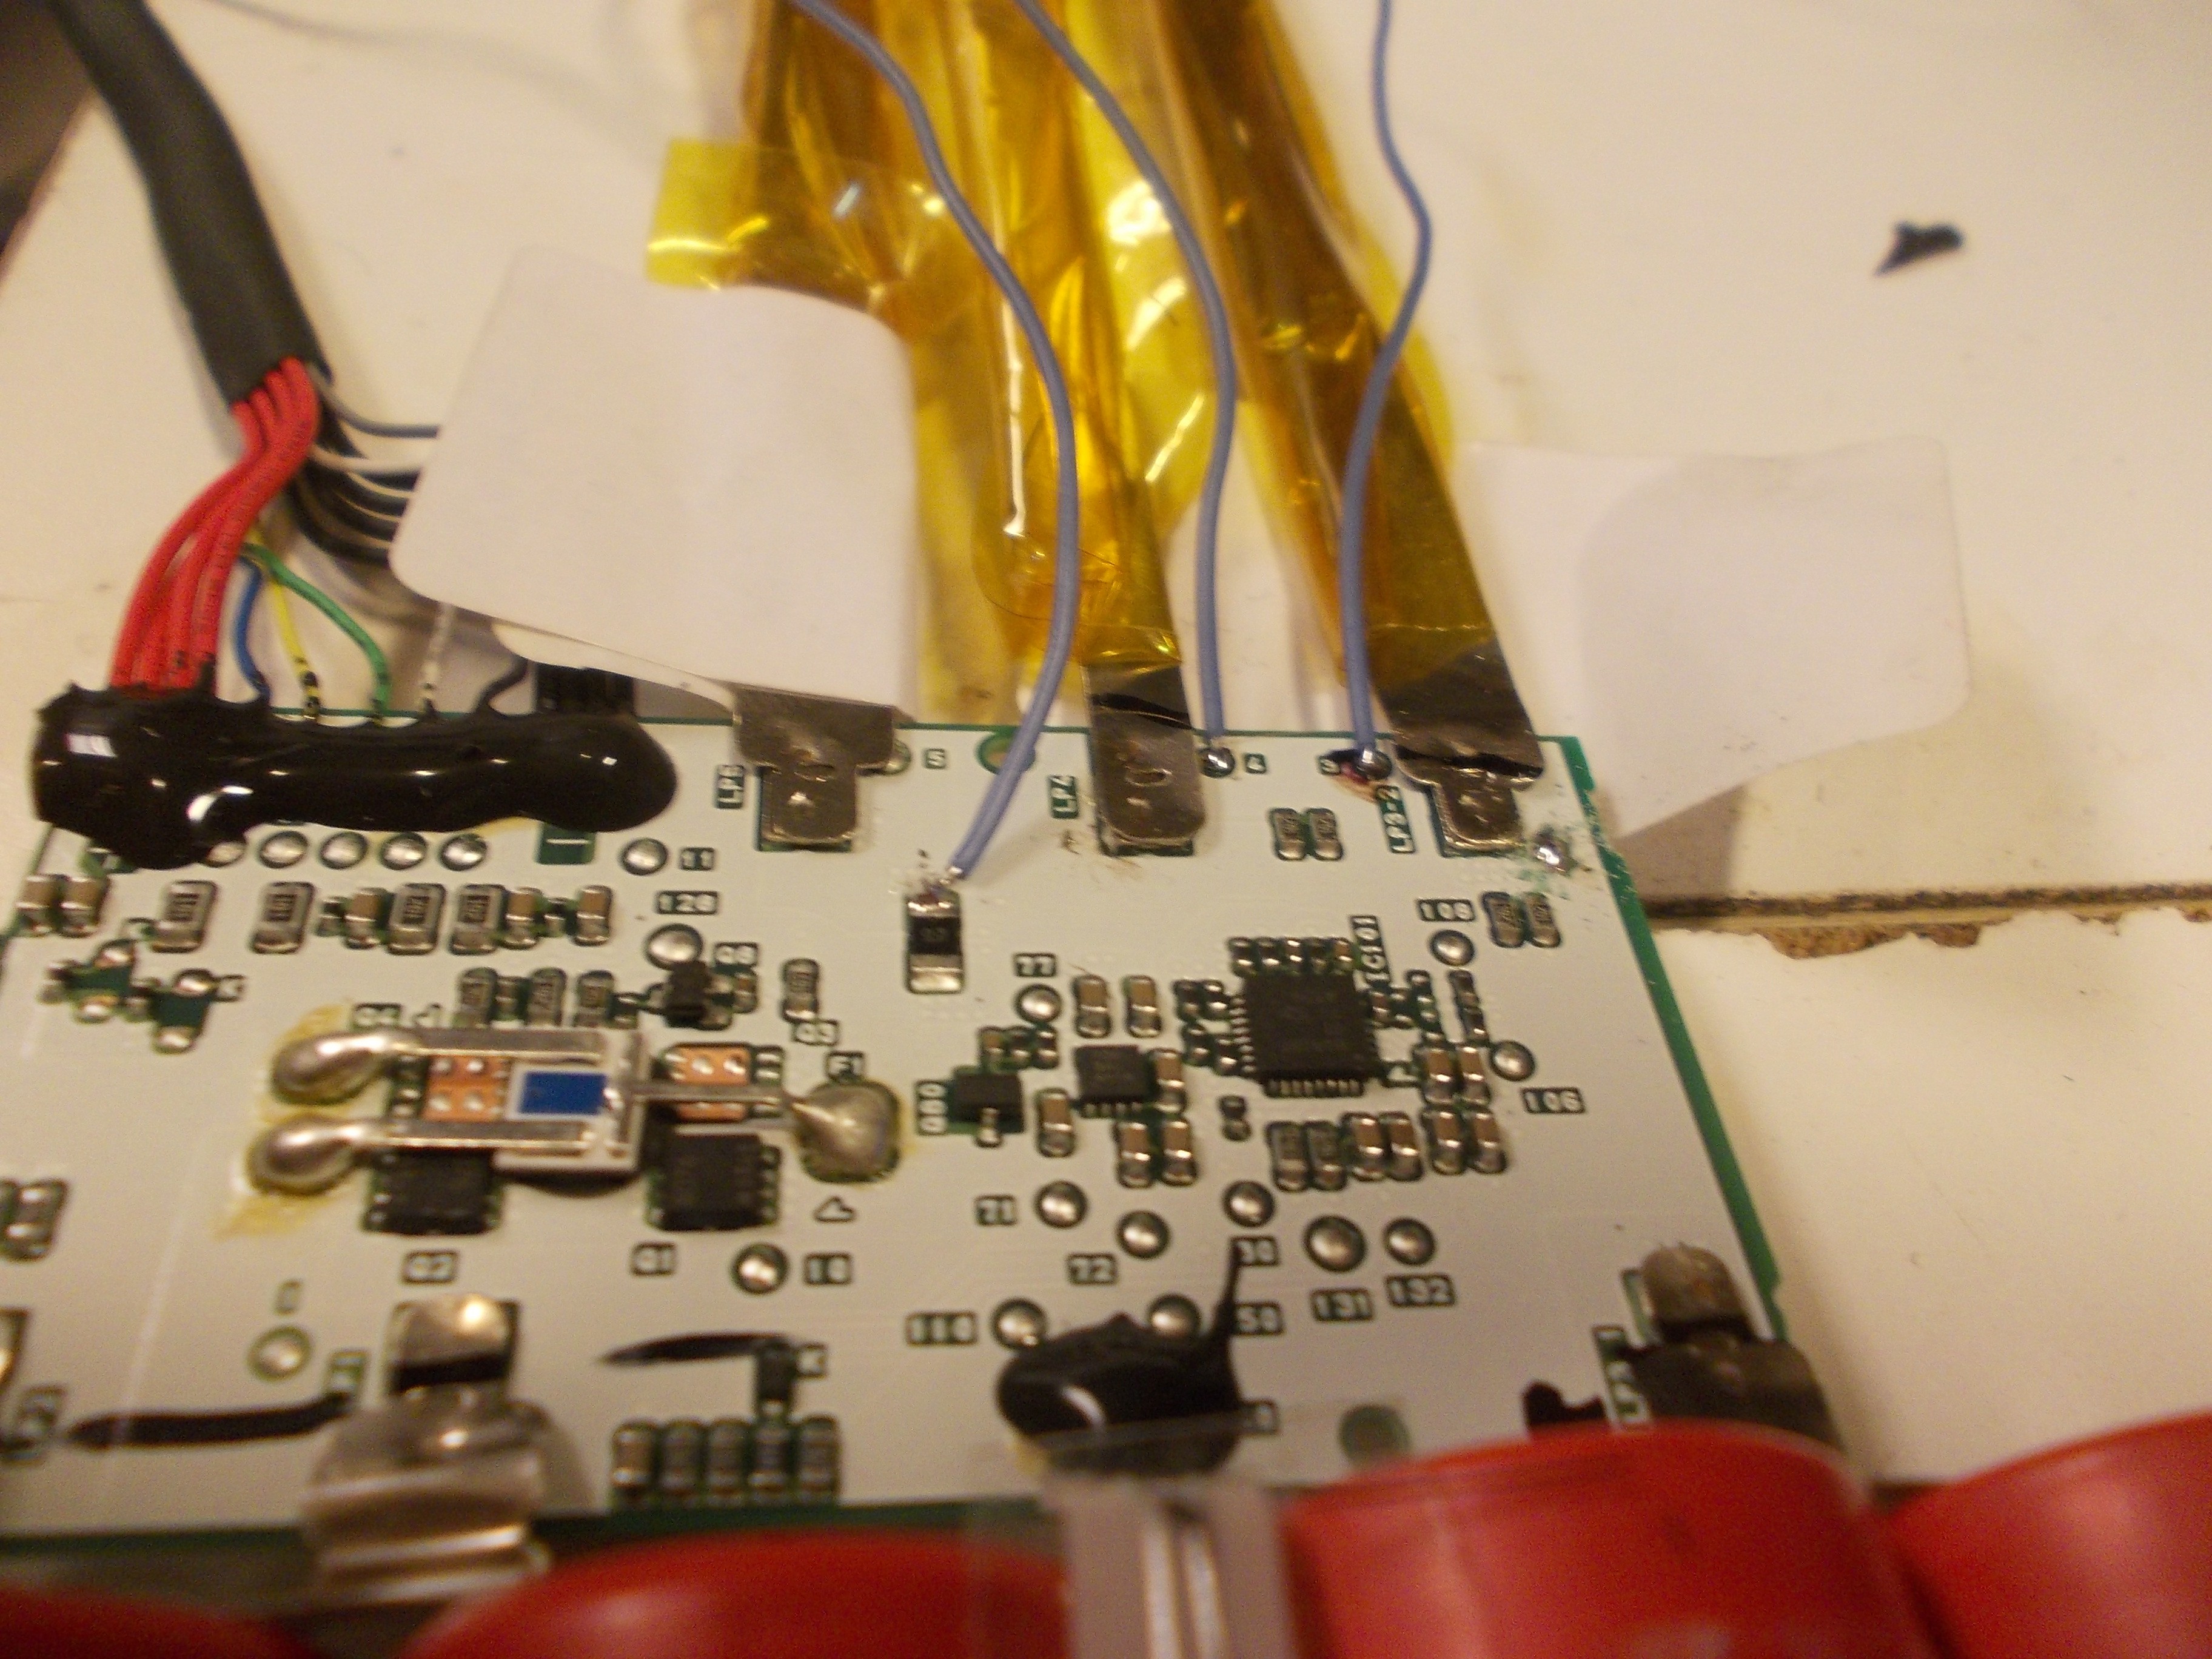
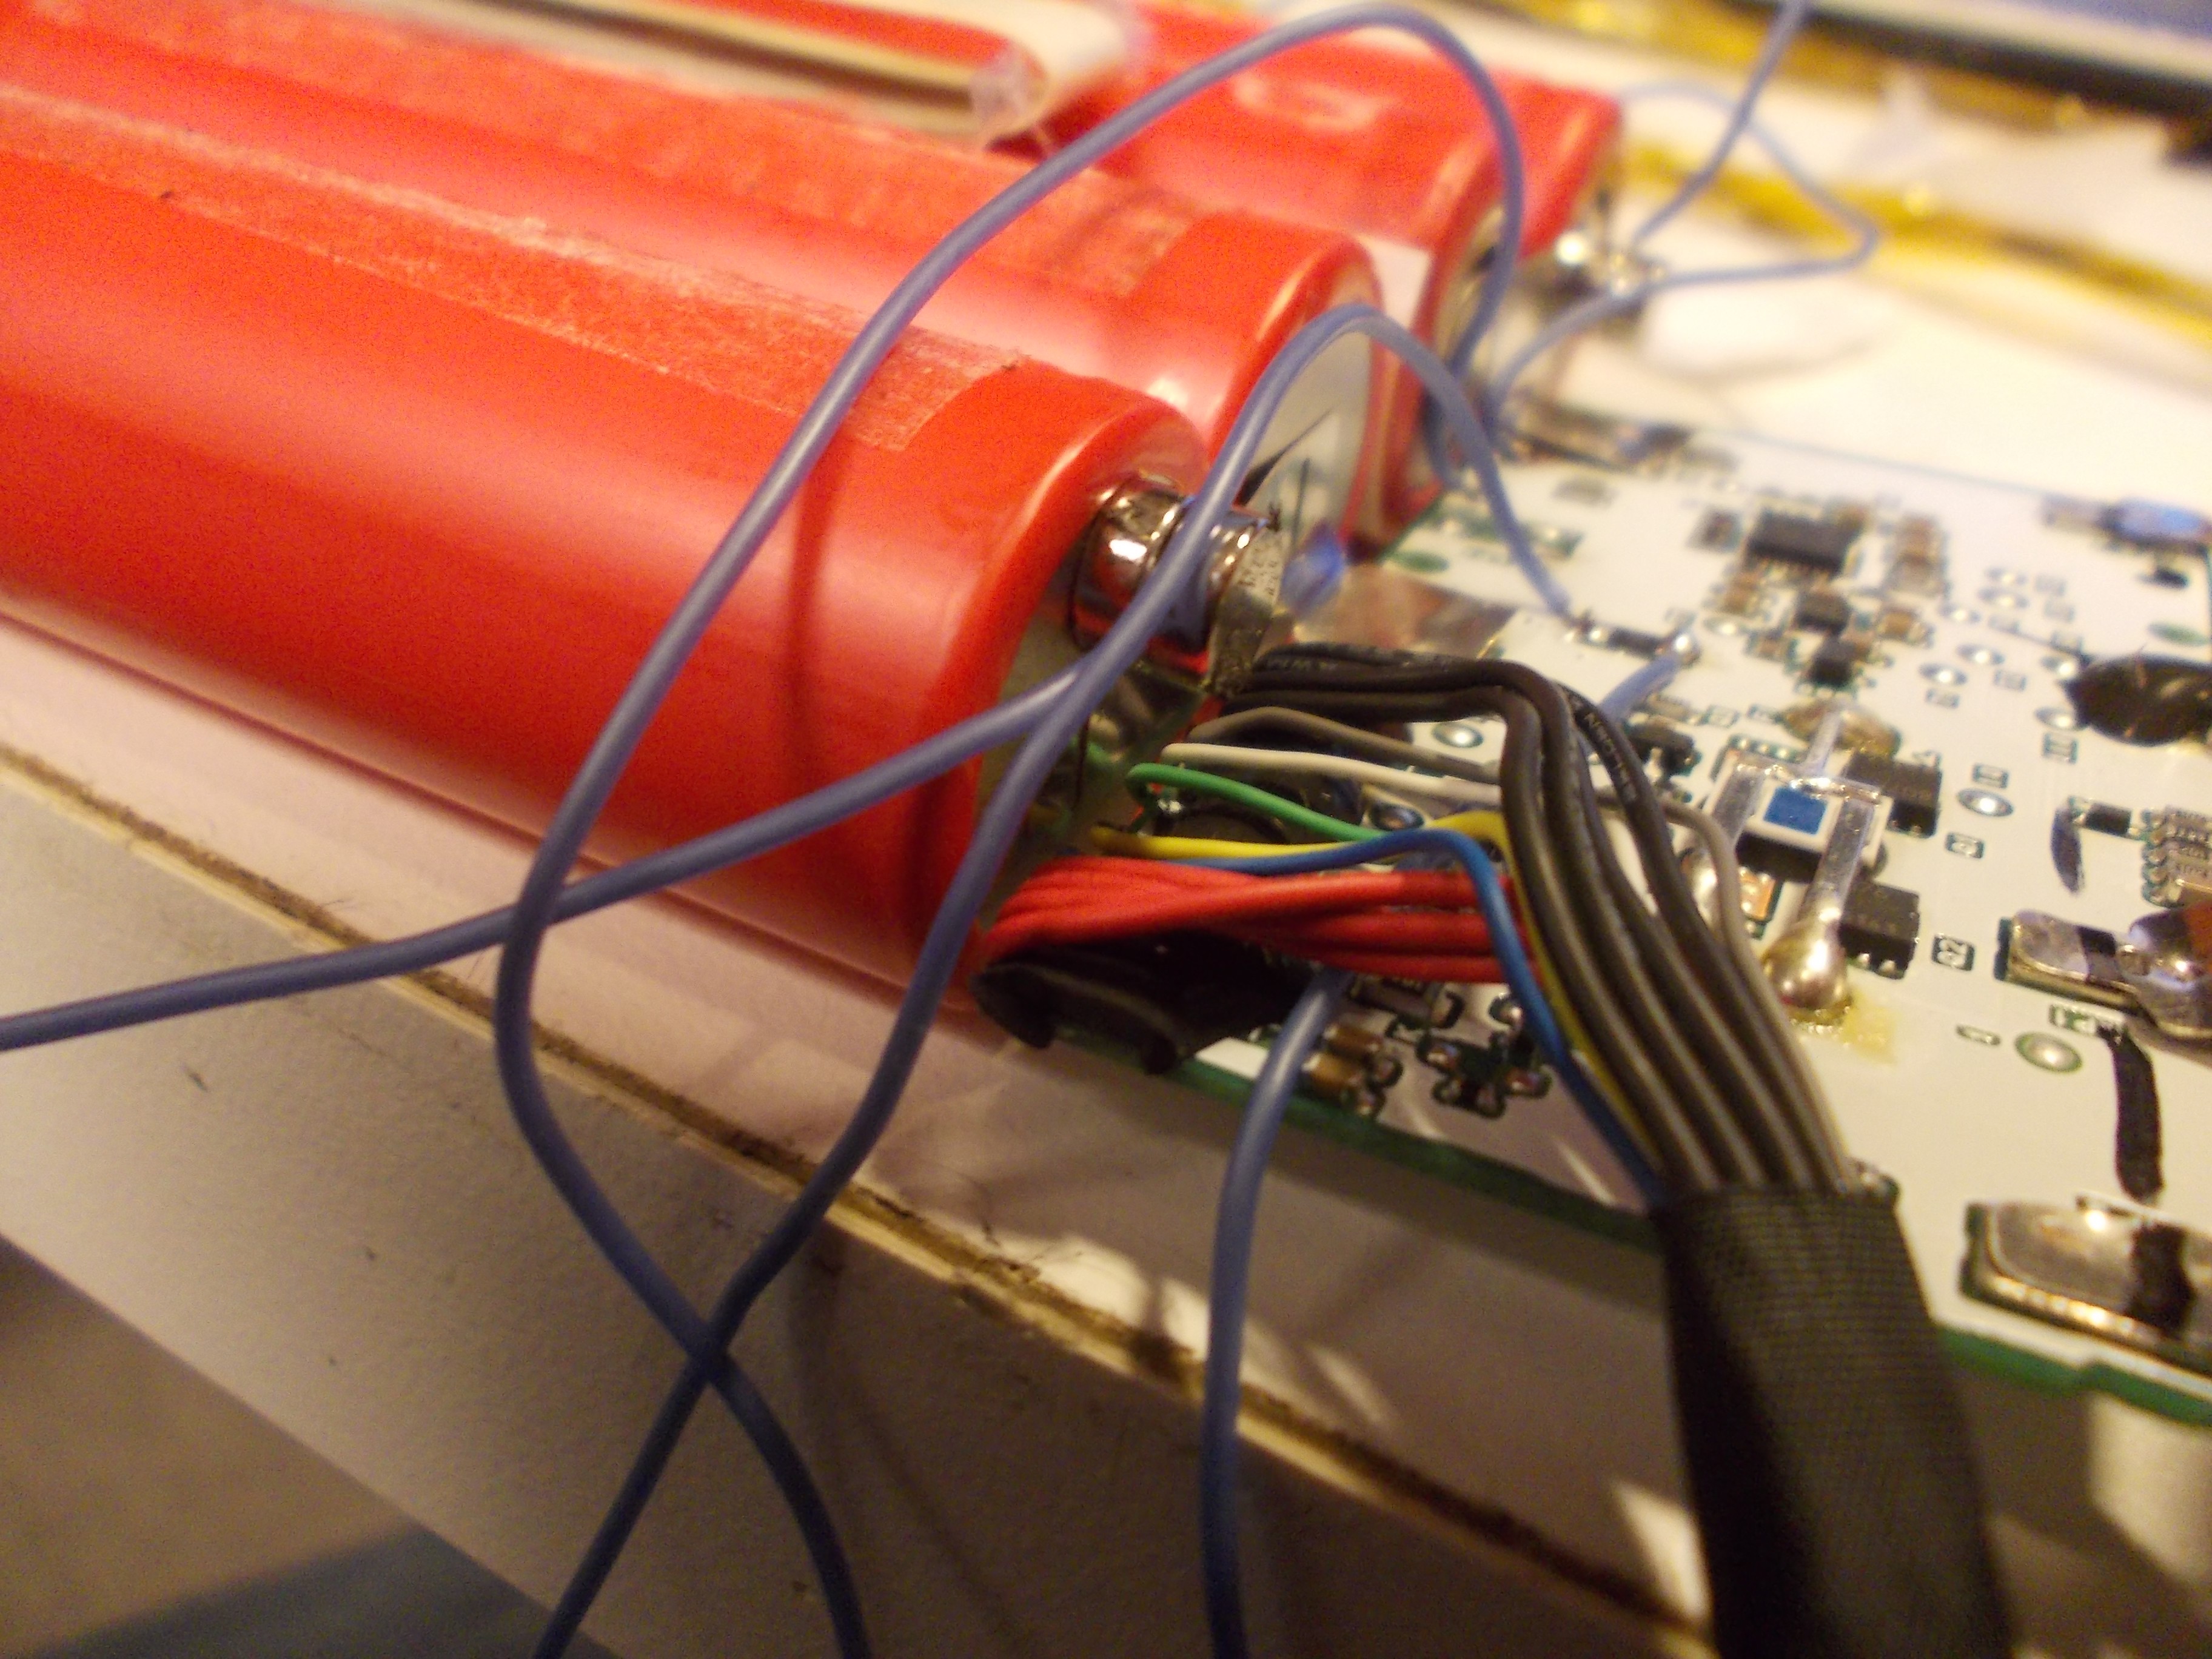
There isn't always a testpoint handy. Either way, all 3 wires attached and soldered.
I no longer remember the context for this picture - and the reason why there's a 4th wire attached to the PCB. Anyway, enjoy.

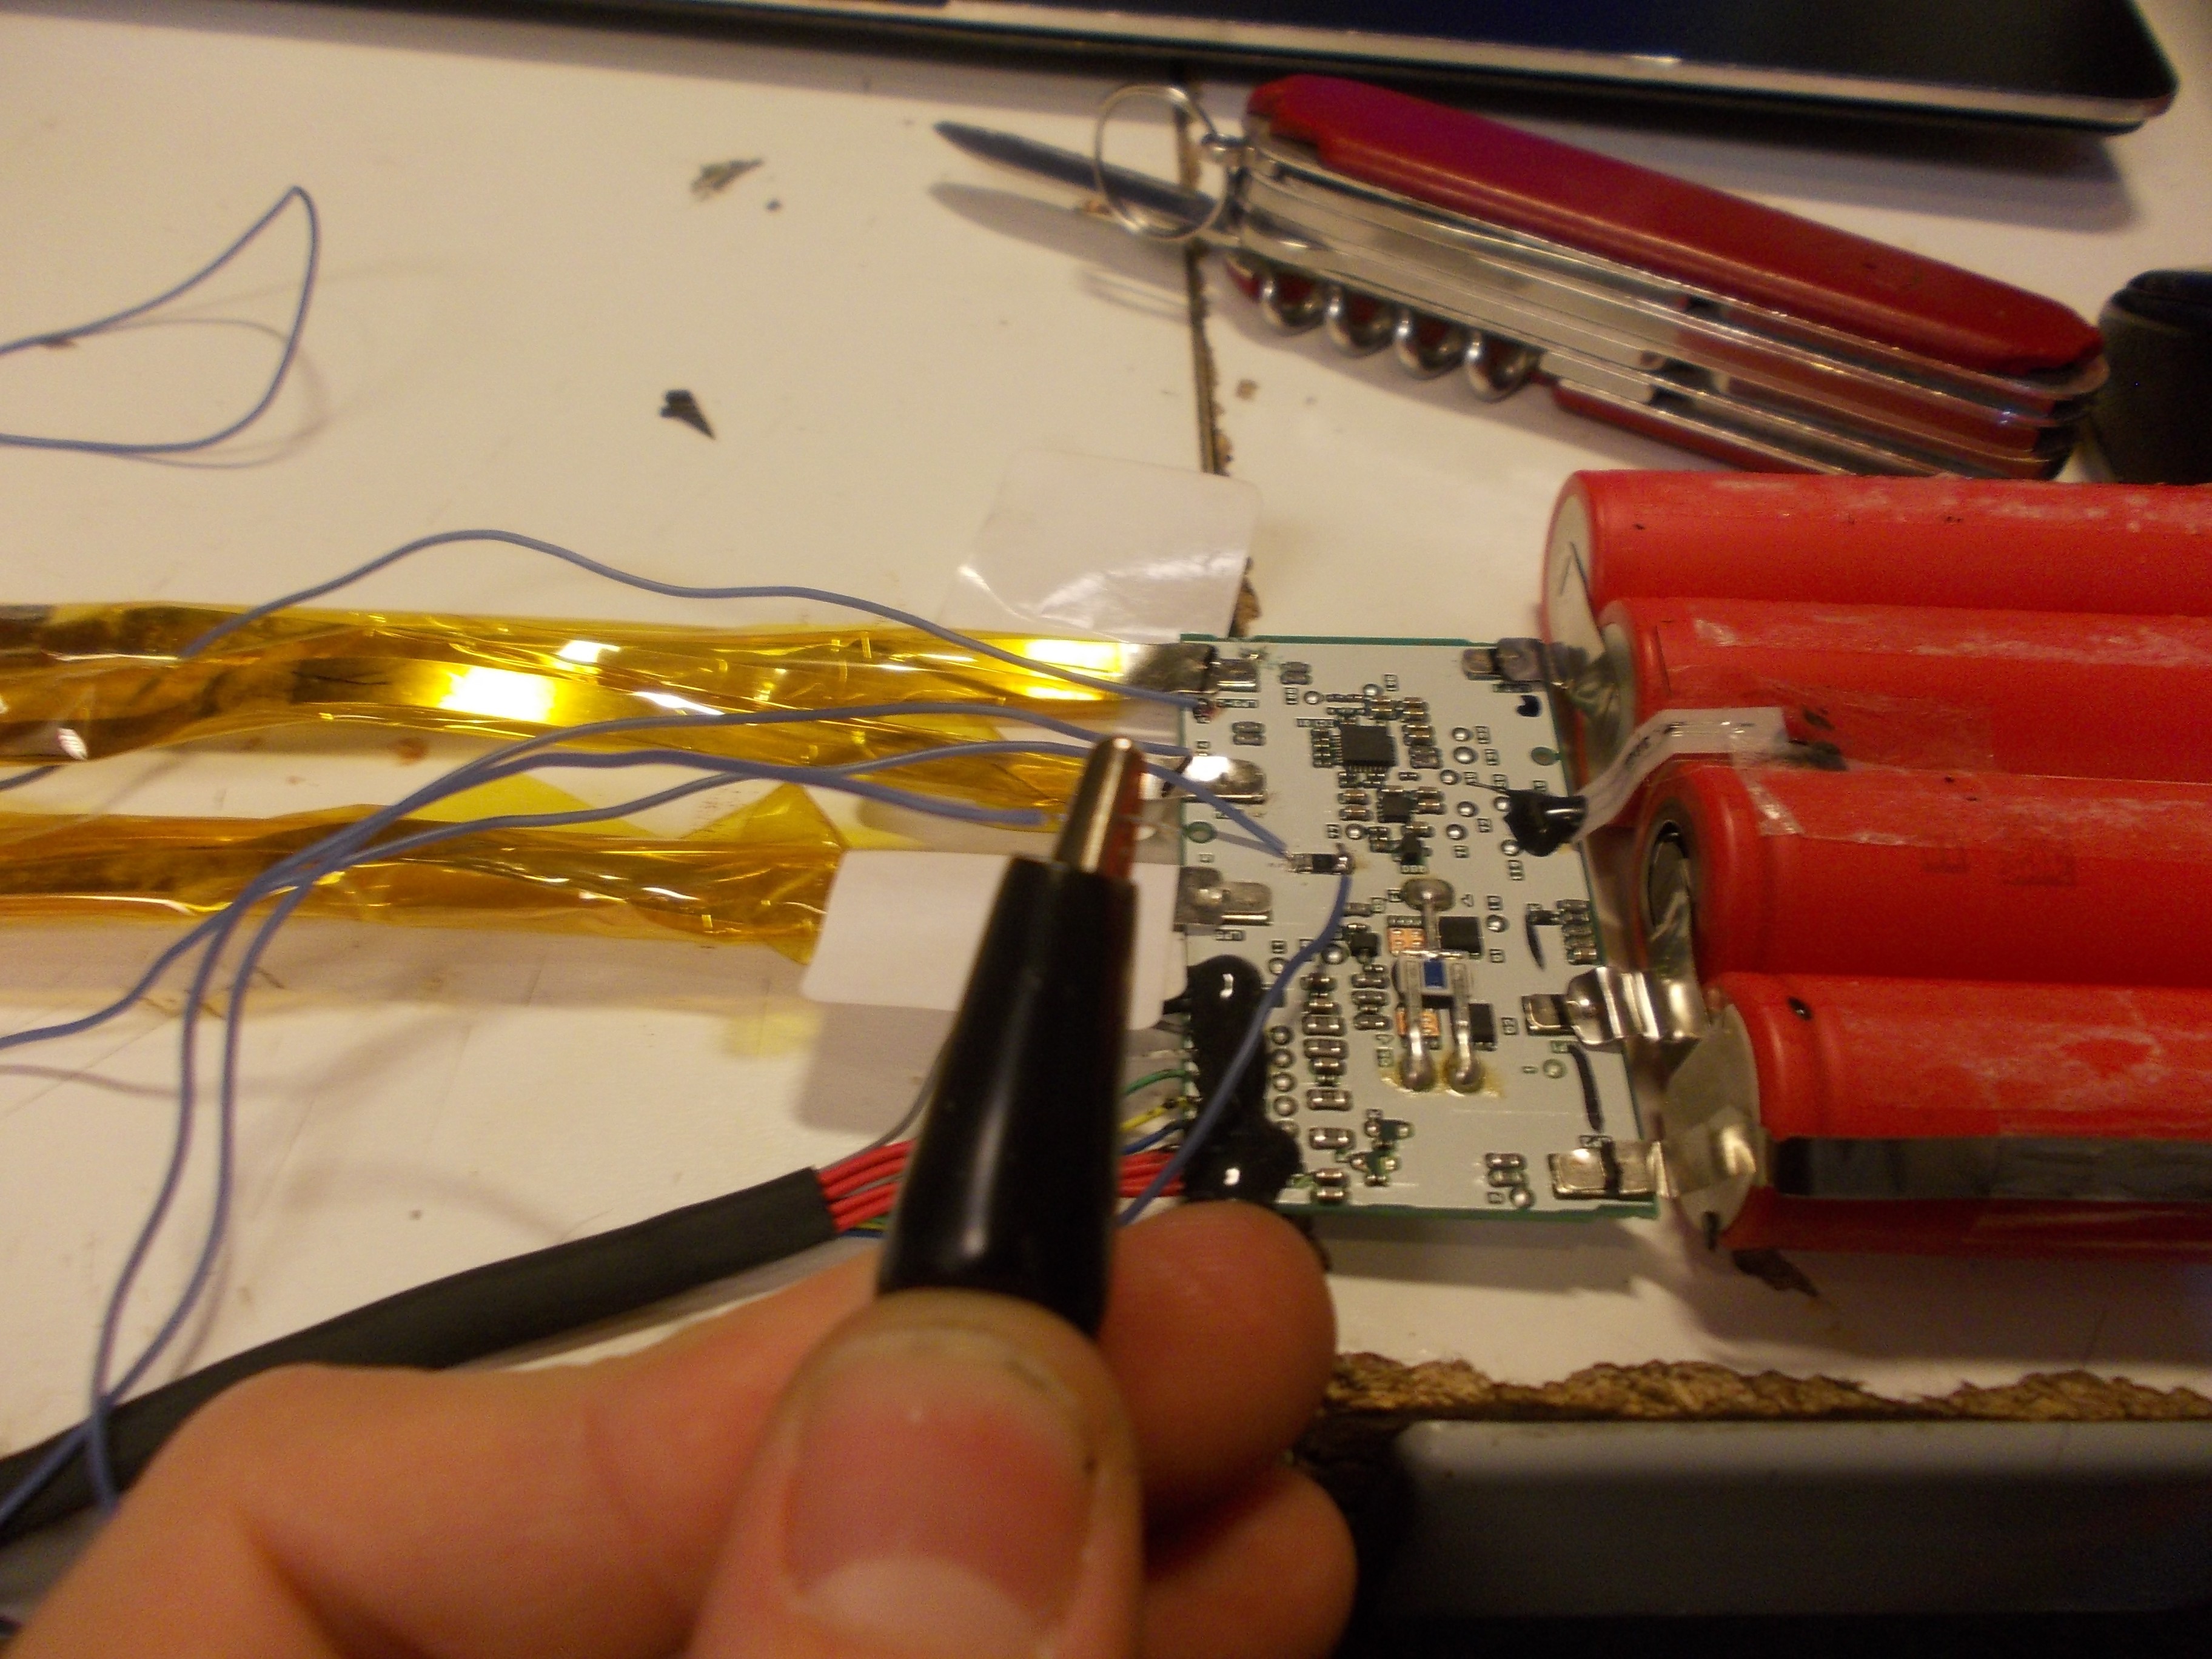
Moment of truth. Measured with a multimeter - all the voltages were still there. Yay! ... ?
Can never be too sure. From this moment, this is Schroedinger's battery.
Snipping all the wires - from both ends. It's important to leave some metal so that I actually have something to solder to the PCB!
Covering exposed pieces of metal with stickers - just in case something shorts to something else.
Desoldered all the leftover pieces of metal from the controller board. Now, let's see how the battery fits...
Wait, I snipped this one way too short. Damn.
Extended with a metal piece that I clipped away before.

Hmm, the controller wires will interfere.
Should sorta work, but needs decent insulation.
Kapton + electric tape ought to do it.
I'll just go ahead and solder these, and remove the wires ASAP.
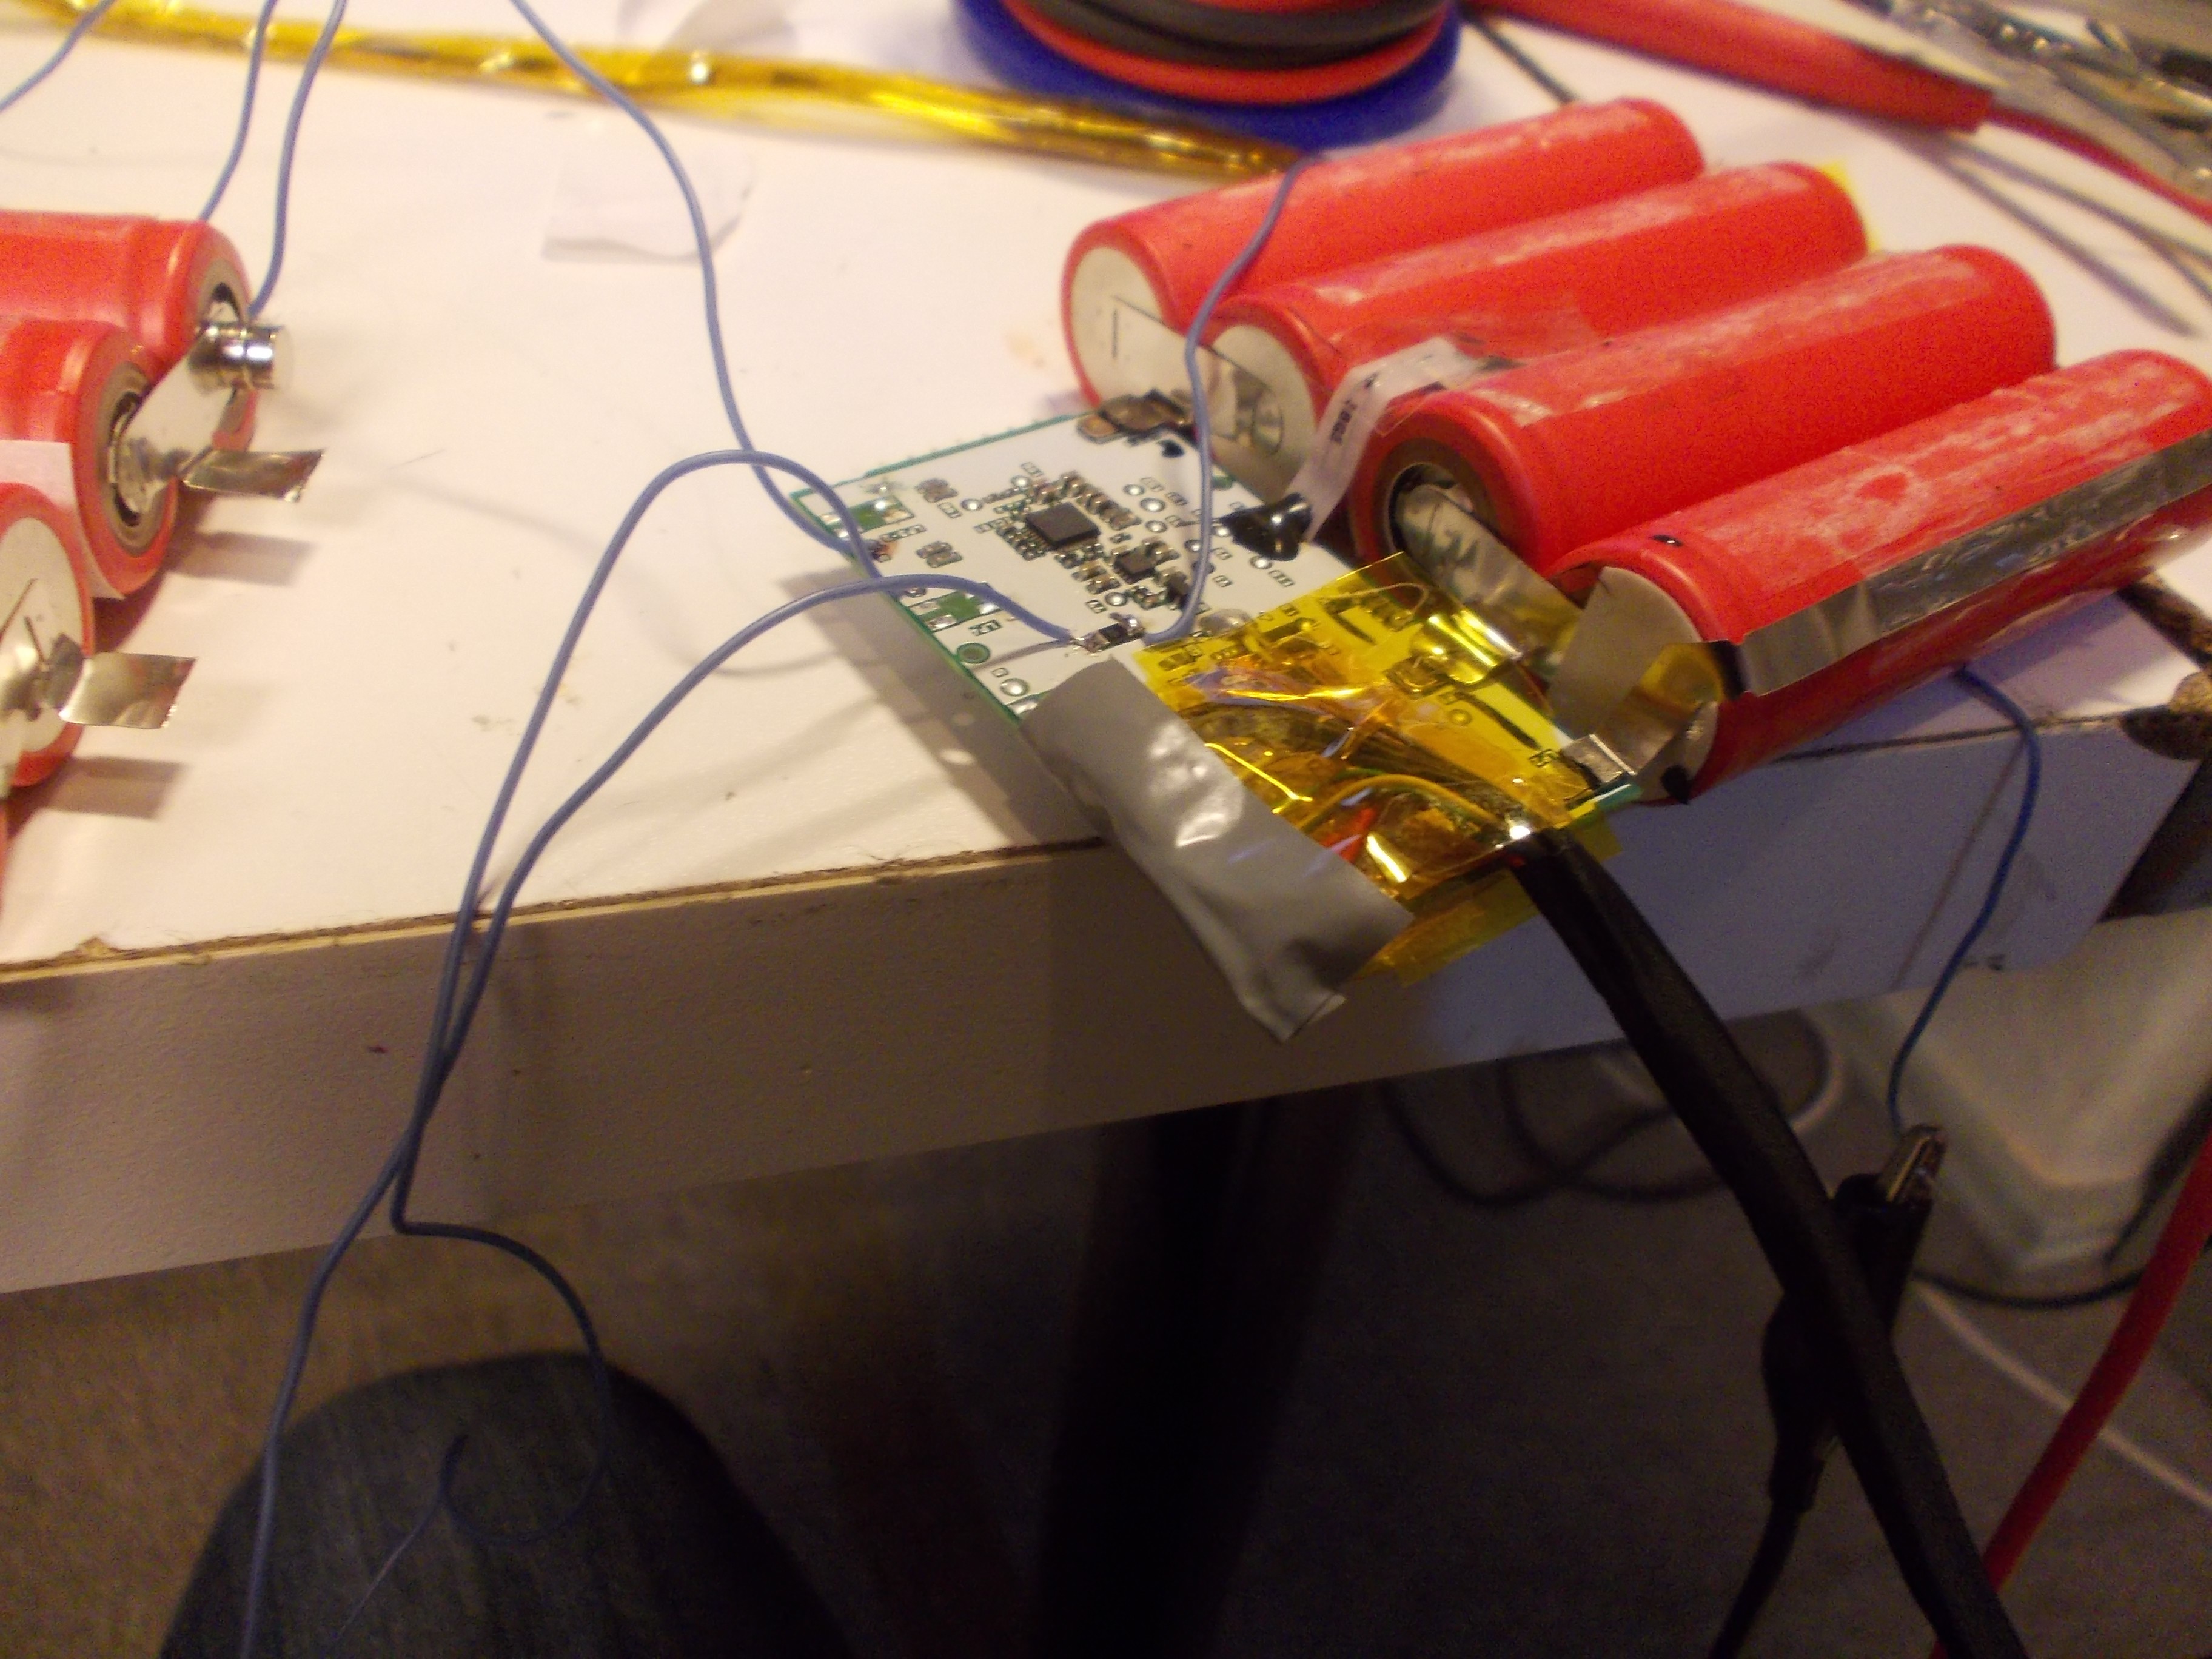
Test fit:

Oof #1 - the controller board sticks out the battery outline. Makes sense, the controller board was never meant to be in this case.
Well, it seems to fit. I won't be gluing it back together though - electric tape to the rescue again.
The battery worked and the laptop recognized it perfectly.
Oof #2 not pictured here - we had to dremel parts of the laptop case because of Oof #1 , as the PCB sticking out would interfere with the case. However, in the end, it did fit inside of the laptop.
Discussions
Become a Hackaday.io Member
Create an account to leave a comment. Already have an account? Log In.