0%
0%
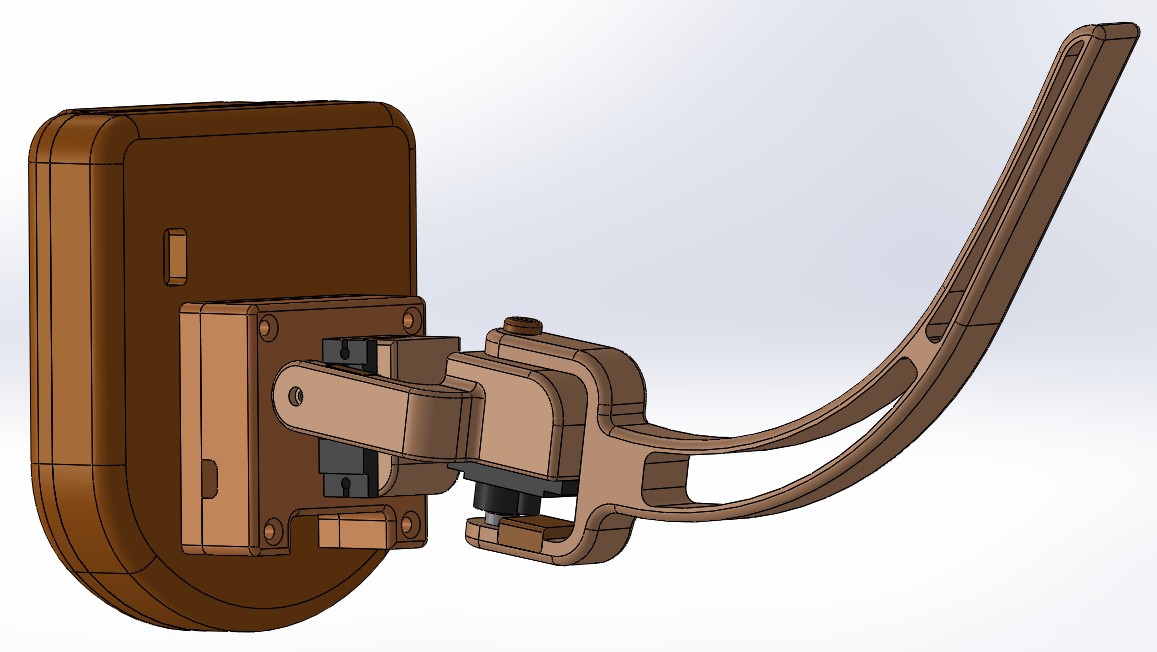
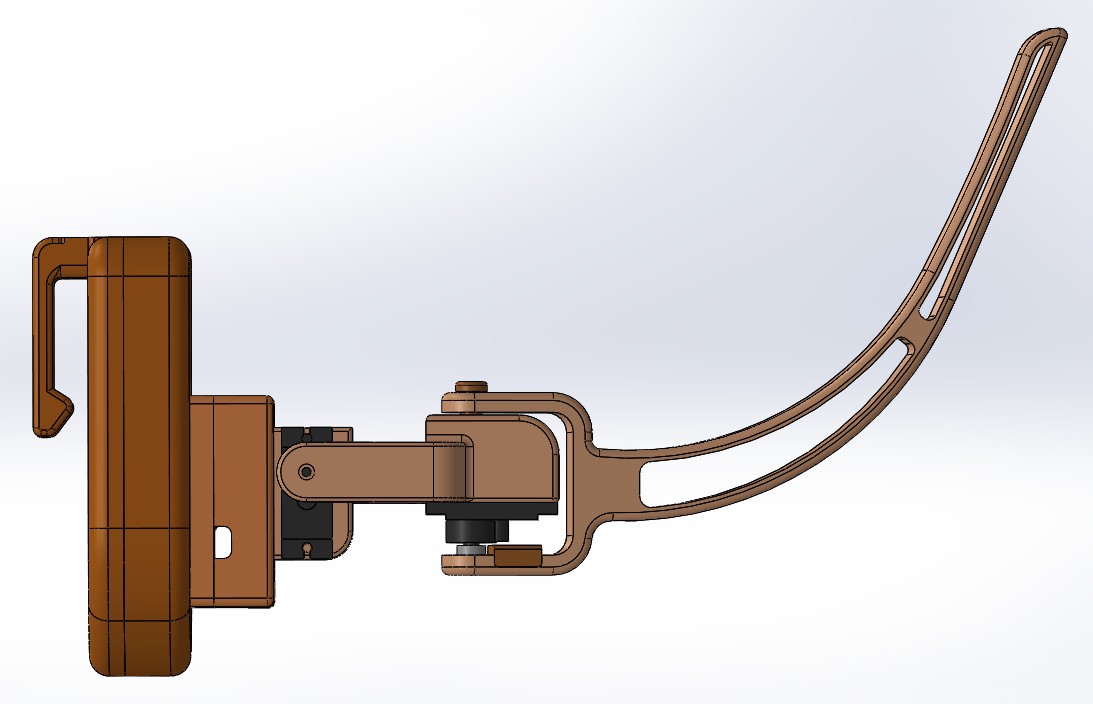
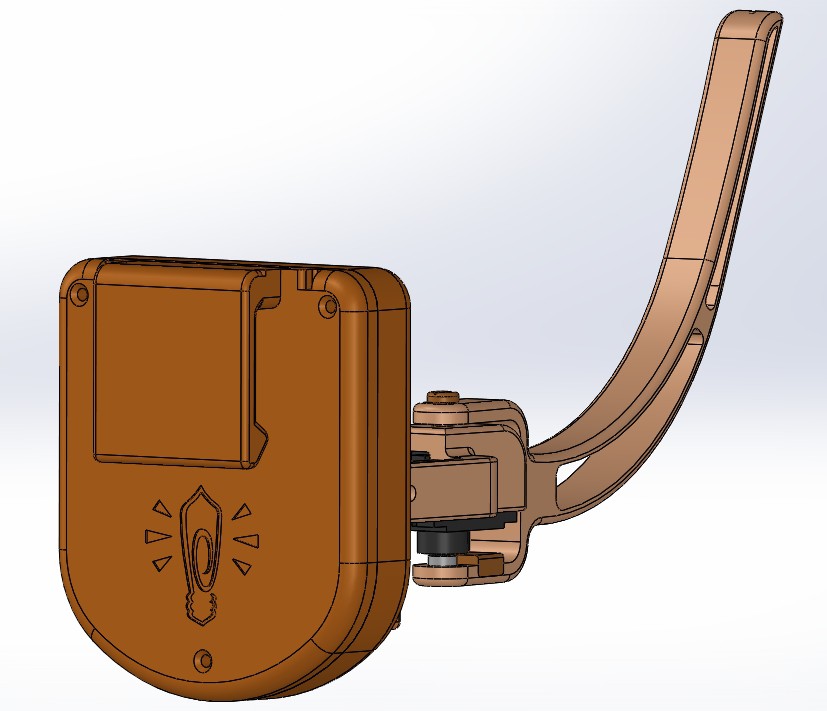
Animatronic Eevee Tail
A wearable to complement an Eevee Gijinka cosplay
 Julio Vazquez
Become a Hackaday.io member
Already have an account? Log in.
Just one more thing
To make the experience fit your profile, pick a username and tell us what interests you.
Pick an awesome username
hackaday.io/
Your profile's URL: hackaday.io/username. Max 25 alphanumeric characters.
Pick a few interests
Projects that share your interests
People that share your interests


 Kevin Cheng
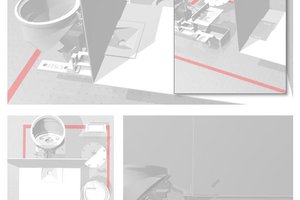
 Brian M. Sweis
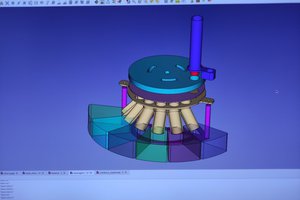
 Sergei V. Bogdanov
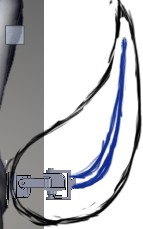
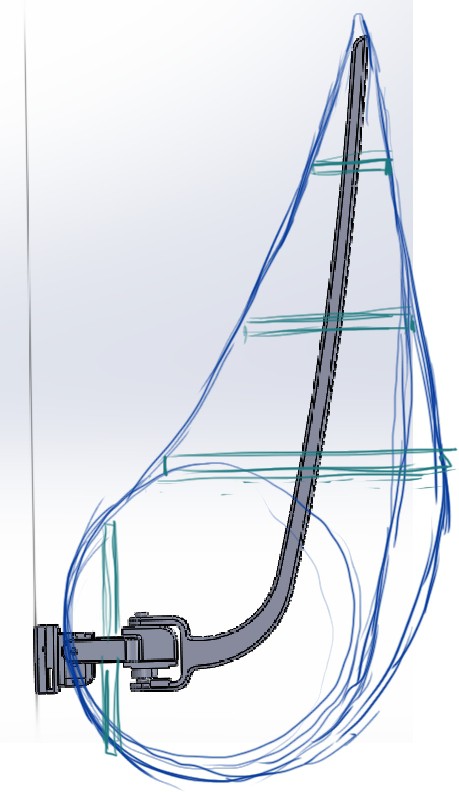
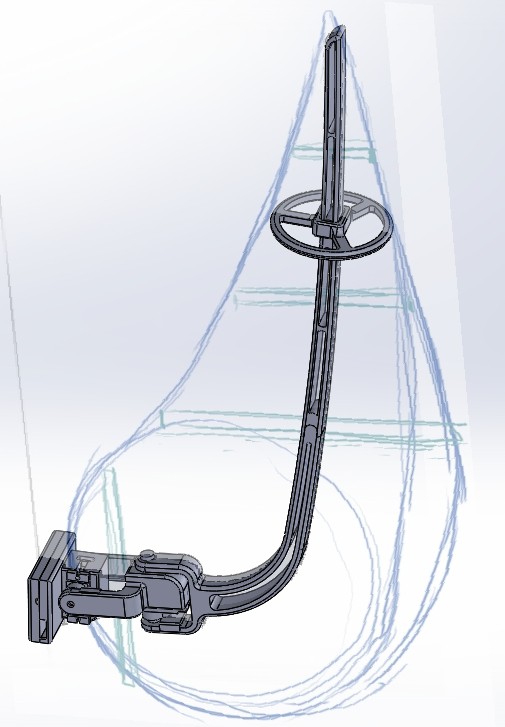
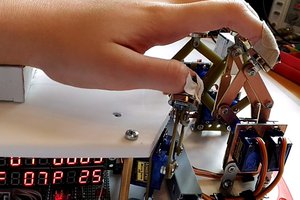
I've three photos of a tail done for a similar sort of costume, that worked a bit like the 'tentacle' mechanism Hackaday did a blog post series on -- basically, there were two servos that each worked a pair of cables. One cable let out as the other pulled in. According to the original owner and builder (not me), because it was done some years ago with not-modern batteries and not-modern servos, it was kind of clumsy and didn't work very well or for very long. That said, it /did/ work.
I'm afraid that that's all I know. The builder/owner has since disassembled and/or discarded the mechanism, and since English was not his first language, there was a bit of a barrier to getting the full details.
That said, if you're at all interested in those photos, let me know and I'll get them to you somehow.