 David Tucker
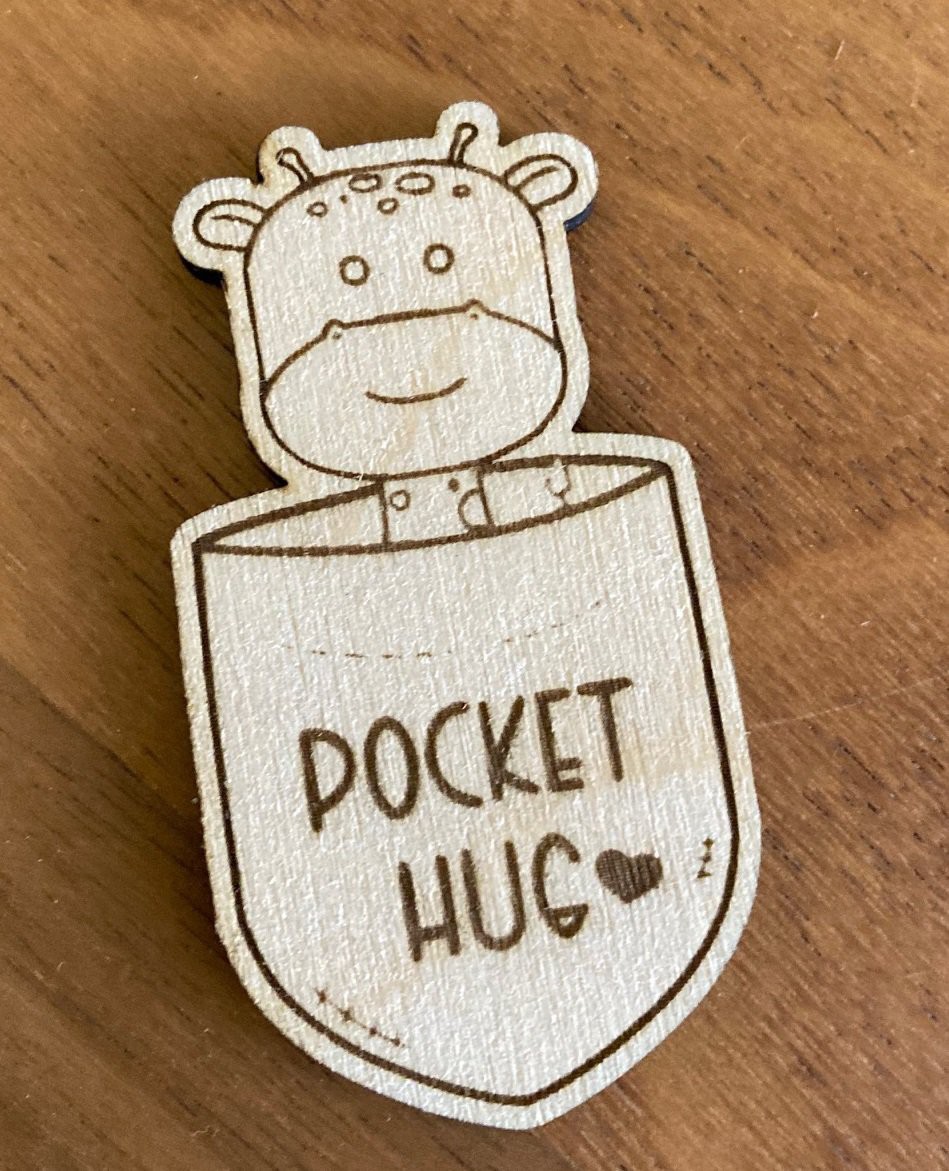
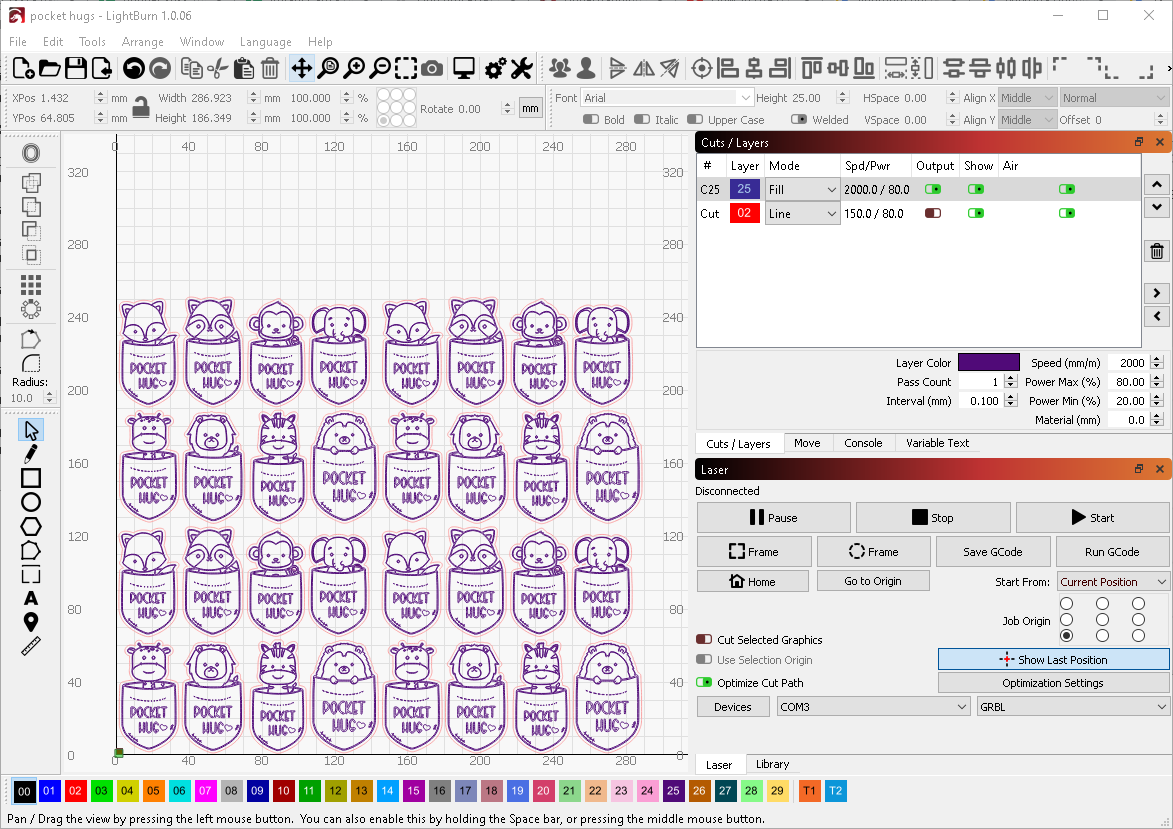
My wife saw these pocket hugs for sale online and asked me to work out how to make a set for her to give away to here students. I looked around and found this Etsy seller with some svg files that looked cute. I imported these into LightBurn and used the offset shape command to create a separate cut outline around the images and arranged them in a grid that would just fit on a 12"x12"x1/8" sheet of Baltic birch plywood.
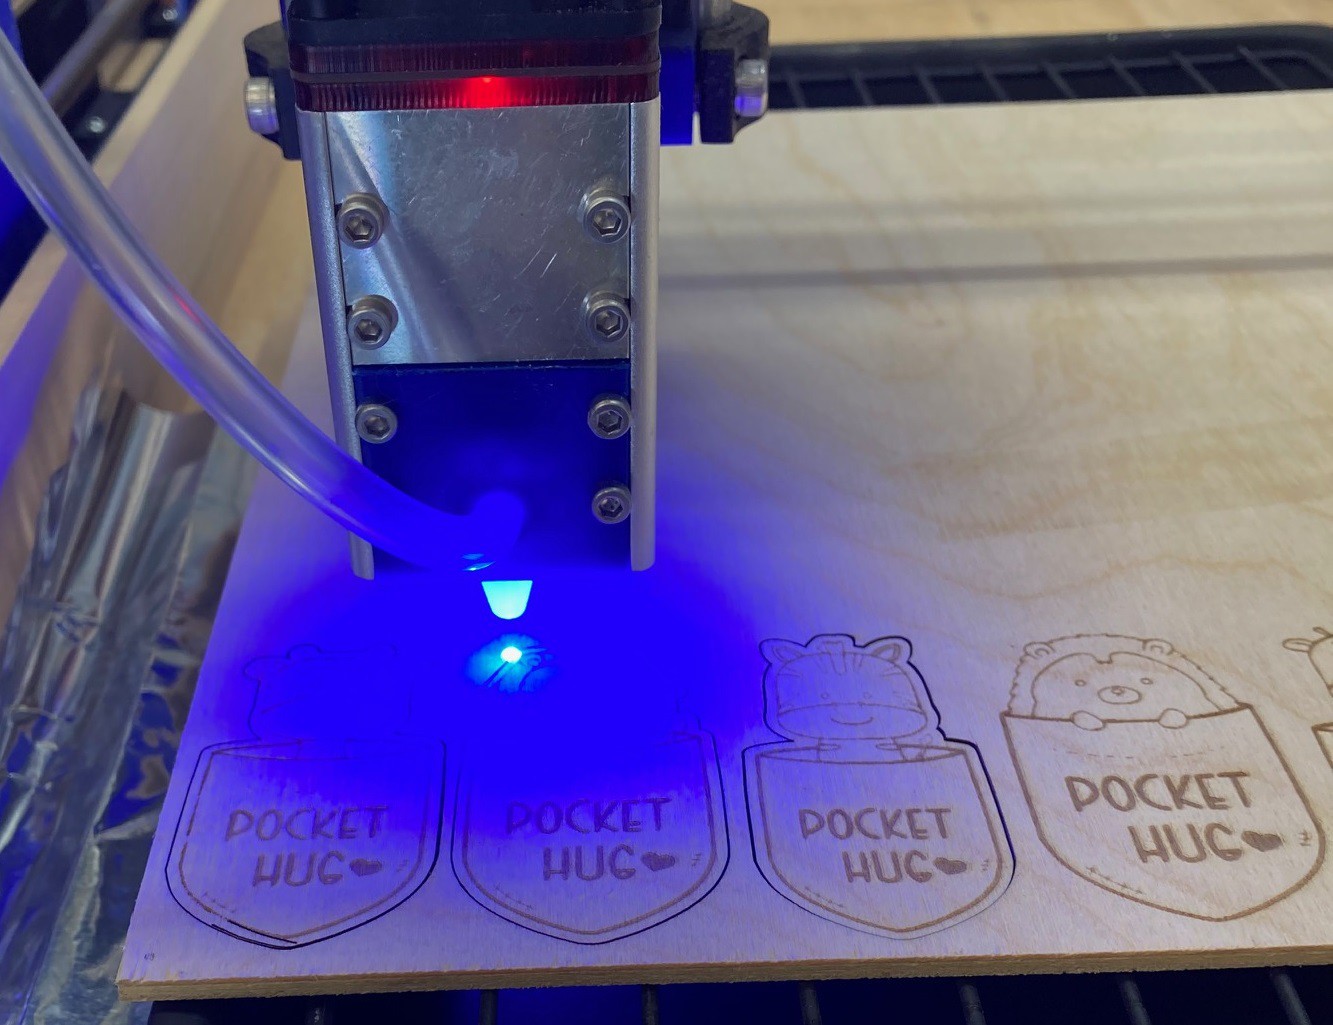
This was a big project for my little NEJE N40630 laser so I have been spending some time experimenting with different ways to optimize the cut.
My initial attempt was:
Engrave: 7.0 hours, 1000 mm/min speed, 50% power, 0.1 mm line interval
Cut: 2.0 hours, 150 mm/min speed, 80% power, 3 passes
Total: 9.0 hours
This looked good when I ran a test cut, but it was really slow. I tried bumping the speed up to 2,000 mm/min and bumped up the power to 80%, that cut the engrave time down to 5.5 hours. Why not to 3.5 hours? It must be down to acceleration limits and y moves. This is better, but it is still a 7.5 hour job.
So I started digging around to see what I could do to make this run faster. One idea is to bump up the line interval so we are making fewer passes. I jumped right to 0.2 mm and found that the quality was terrible. I then tried raising the focus height up 5 mm to make a larger spot size to compensate, but that cut the power down low enough that the image was completely washed out. So I decided it was time to start doing some actual research rather than just taking shots in the dark.
LightBurn has a tutorial on how to properly set the DPI/line interval, basically there is only one right number and getting it wrong will cause the contrast to be messed up or you to loose resolution. I also dug around and found this forum post and video talking about a way to actually test. So I sat down and tried to test it out myself. I drew a 20 mm long line in light burn then used the 'perforation' option to segment the line in 0.1 mm dots with 0.1 mm, 0.15 mm and 0.2 mm gaps between the spots then ran some test. I also drew a small box and filled it in with the same intervals. Using the microscope I could see that 0.15 mm almost worked but 0.1 mm looked better. Still it was close enough, and the speed savings great enough that I attempted to cut some tokens out at 0.15 mm line spacing.
This brings the time way down:
Engrave: 3.5 hours, 2000 mm/min speed, 80% power, 0.15mm line interval
Cut: 2.0 hours, 150 mm/min speed, 80% power, 3 passes
Total: 5.5 hours
However the small details are lost and the fill lines are light.
It worked, but not great, the speed is better but you loose detail and it was hard to capture the small lines in the source image. I also struggled to get the same depth of burn. However in a pinch I would be tempted to fall back to this if I really needed to speed things up.
My hope is that my new A40640 module will allow me to push things faster and I can cut this down from an all day project to something that can be completed in a few hours. I have some experiments in the works on pushing things faster, I will write about those later once I get some hard data.
Discussions
Become a Hackaday.io Member
Create an account to leave a comment. Already have an account? Log In.