 David Tucker
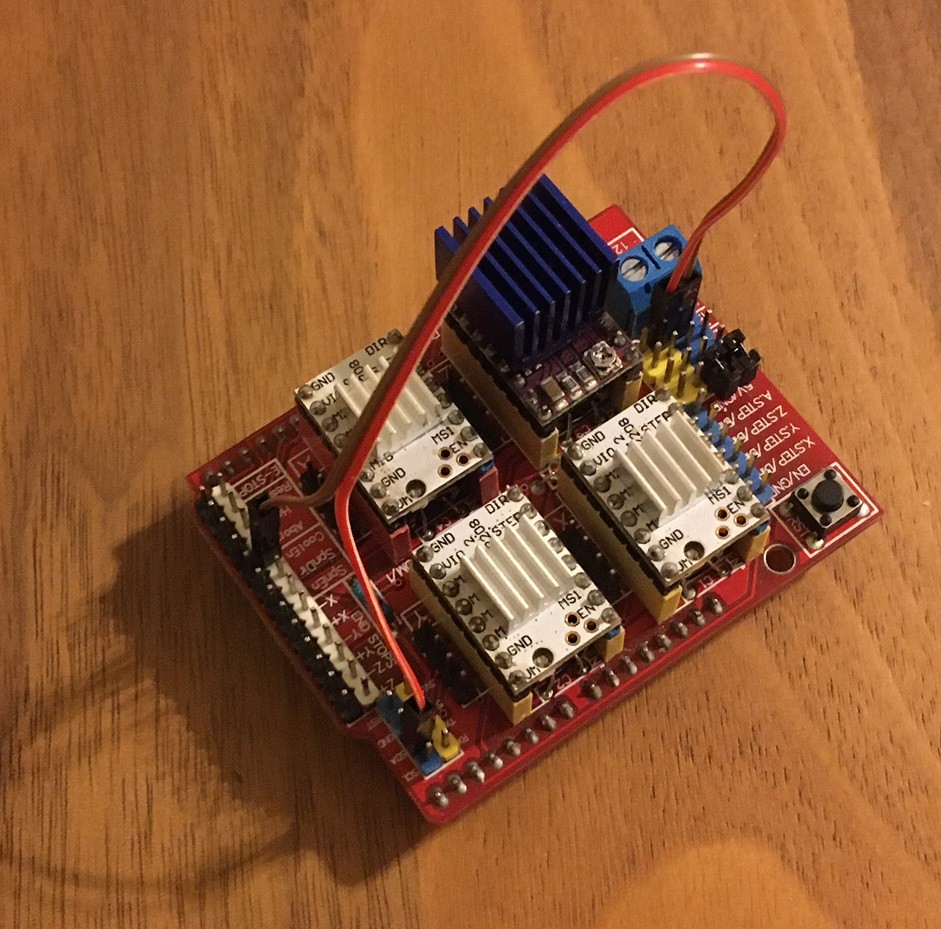
I have a CNC shield clone that I have been using as my controller. For the most part this has worked out well and the price was right (about $5). However since I'm using auto squaring (4th axis support) in GRBL and now that I'm adding in laser support I need to either replace it or find a way to convert it so it matches a proper protoneer cnc shield version 3.51. I should point out that the real protoneer shield is only $20, if you don't have a shield already it is a good deal.
I don't want to throw this shield away so I worked out the difference in pinouts. The first column below is the arduino pin name, the second column is the default connection on the cnc shield, and the third column (in the brackets) is the new mapping when you enable auto squaring in grbl. For some reason this is not well documented online, I had to pull info from several sources to verify this is the proper pinout.
CNC Shield v3.0 (ebay clone)
 D11 z limit
 D12 spindle enabled   (A motor step)
 D13 spindle direction (A motor dir)
 A3  coolant enabled   (spindle enabled)
 A4  not used          (coolant enabled)
 *** variable spindle/laser not supported!!!

CNC Shield v3.51 (protoneer.co.nz)
 D11 spindle enabled/pwm
 D12 z limit
 D13 spindle direction (coolant enabled)
 A3  coolant enabled   (A motor step)
 A4  not used          (A motor dir)
The big difference between these two shields is that the A-motor step/dir pins have been moved from D12/D13 to A3/A4 and the spindle enabled and z limit pins have been swapped. The z/spindle can be taken care of just by swapping the pins we plug into, that is no problem. But the A-motor needs a small modification on the board to make it work. Fortunately there is no need to cut any traces on the board. Simply remove the 4th axis clone jumpers and instead connect the A Step pin to the coolant enable pin, and the A Dir pin to the SDA pin. I chose to use connectors for this, but you could solder in a wire permanently if you want.
With that modification in place you can then tell GRBL that you have the newer Protoneer v3.51 cnc shield and it will enable TTL control of the laser for you. Just remember to plug the laser control line into the Z limit switch pin and the z limit switch into the spindle enable (SpnEn) pin.
Anyway I have this wired up but still need to actually test it out. I'm looking forward to giving it a proper go when I get back from vacation.
*** Note, I may have the a-step and a-dir pins backwards. If you try this and the stepper does not seem to move try swapping them.
Discussions
Become a Hackaday.io Member
Create an account to leave a comment. Already have an account? Log In.