I wanted to control a Nikon D3100 camera, but for whatever reason, remote control of cameras (in general) is some kind hidden thing. Honestly, why can't they just be controlled over USB through some standard interface? Anyway, I'll stop grumbling and get on with it.
First, get yourself a MC-DC2 shutter cable. Open the case (remove the two screws and gently pry the two sides apart). There are 3 contacts. The "middle" one is the common one. When you press the button, the top contact presses the middle (focus), and then you press the upper two into the bottom one (takes a picture).
Solder one wire to each of the contacts of the MC-DC2 and land them on your breadboard.
Not knowing what the signals are for the camera, I played it safe and built a completely isolated switch.
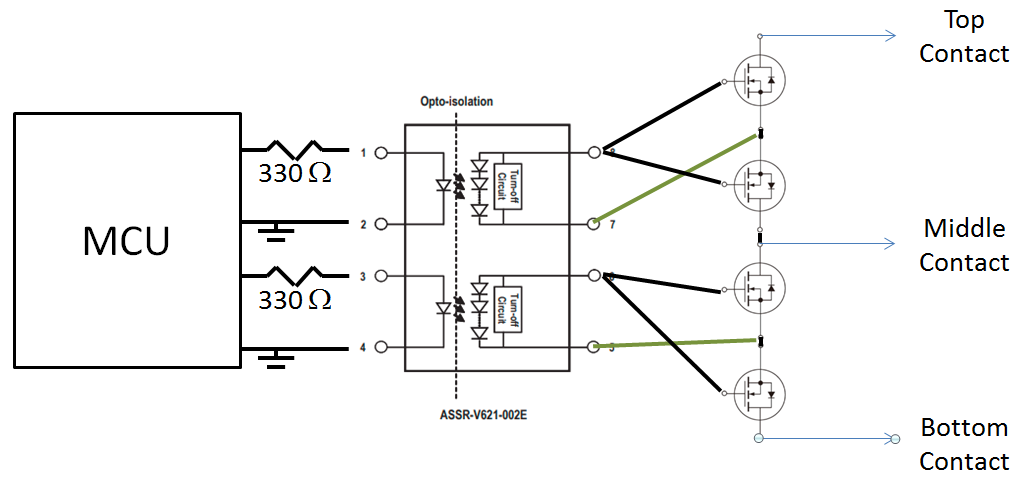
The MCU (atmega328pb xplained board) is connected to the Dual Channel Photovoltaic MOSFET Driver (the Avago ASSR-V621). The 330 Ohms resistors limit the current into the photodiode ports (the MCU runs at ~5V). The outputs are connected to N-channel mosfets arranged source-to-source. This means that the body diodes of the transistors won't conduct, and from the point of view of the camera, it is a true switch.
The mosfets were Taiwan Semiconductor TSM170N06, but these were just transistors I had lying around.
So, the MCU just has to bring one output high, and then the second output high to take a picture. In my case, I connected to PB0 and PB1, so just had to write 1, then 3 to register 0x25 (see my ATMEGA328PB code in one of the posts below).
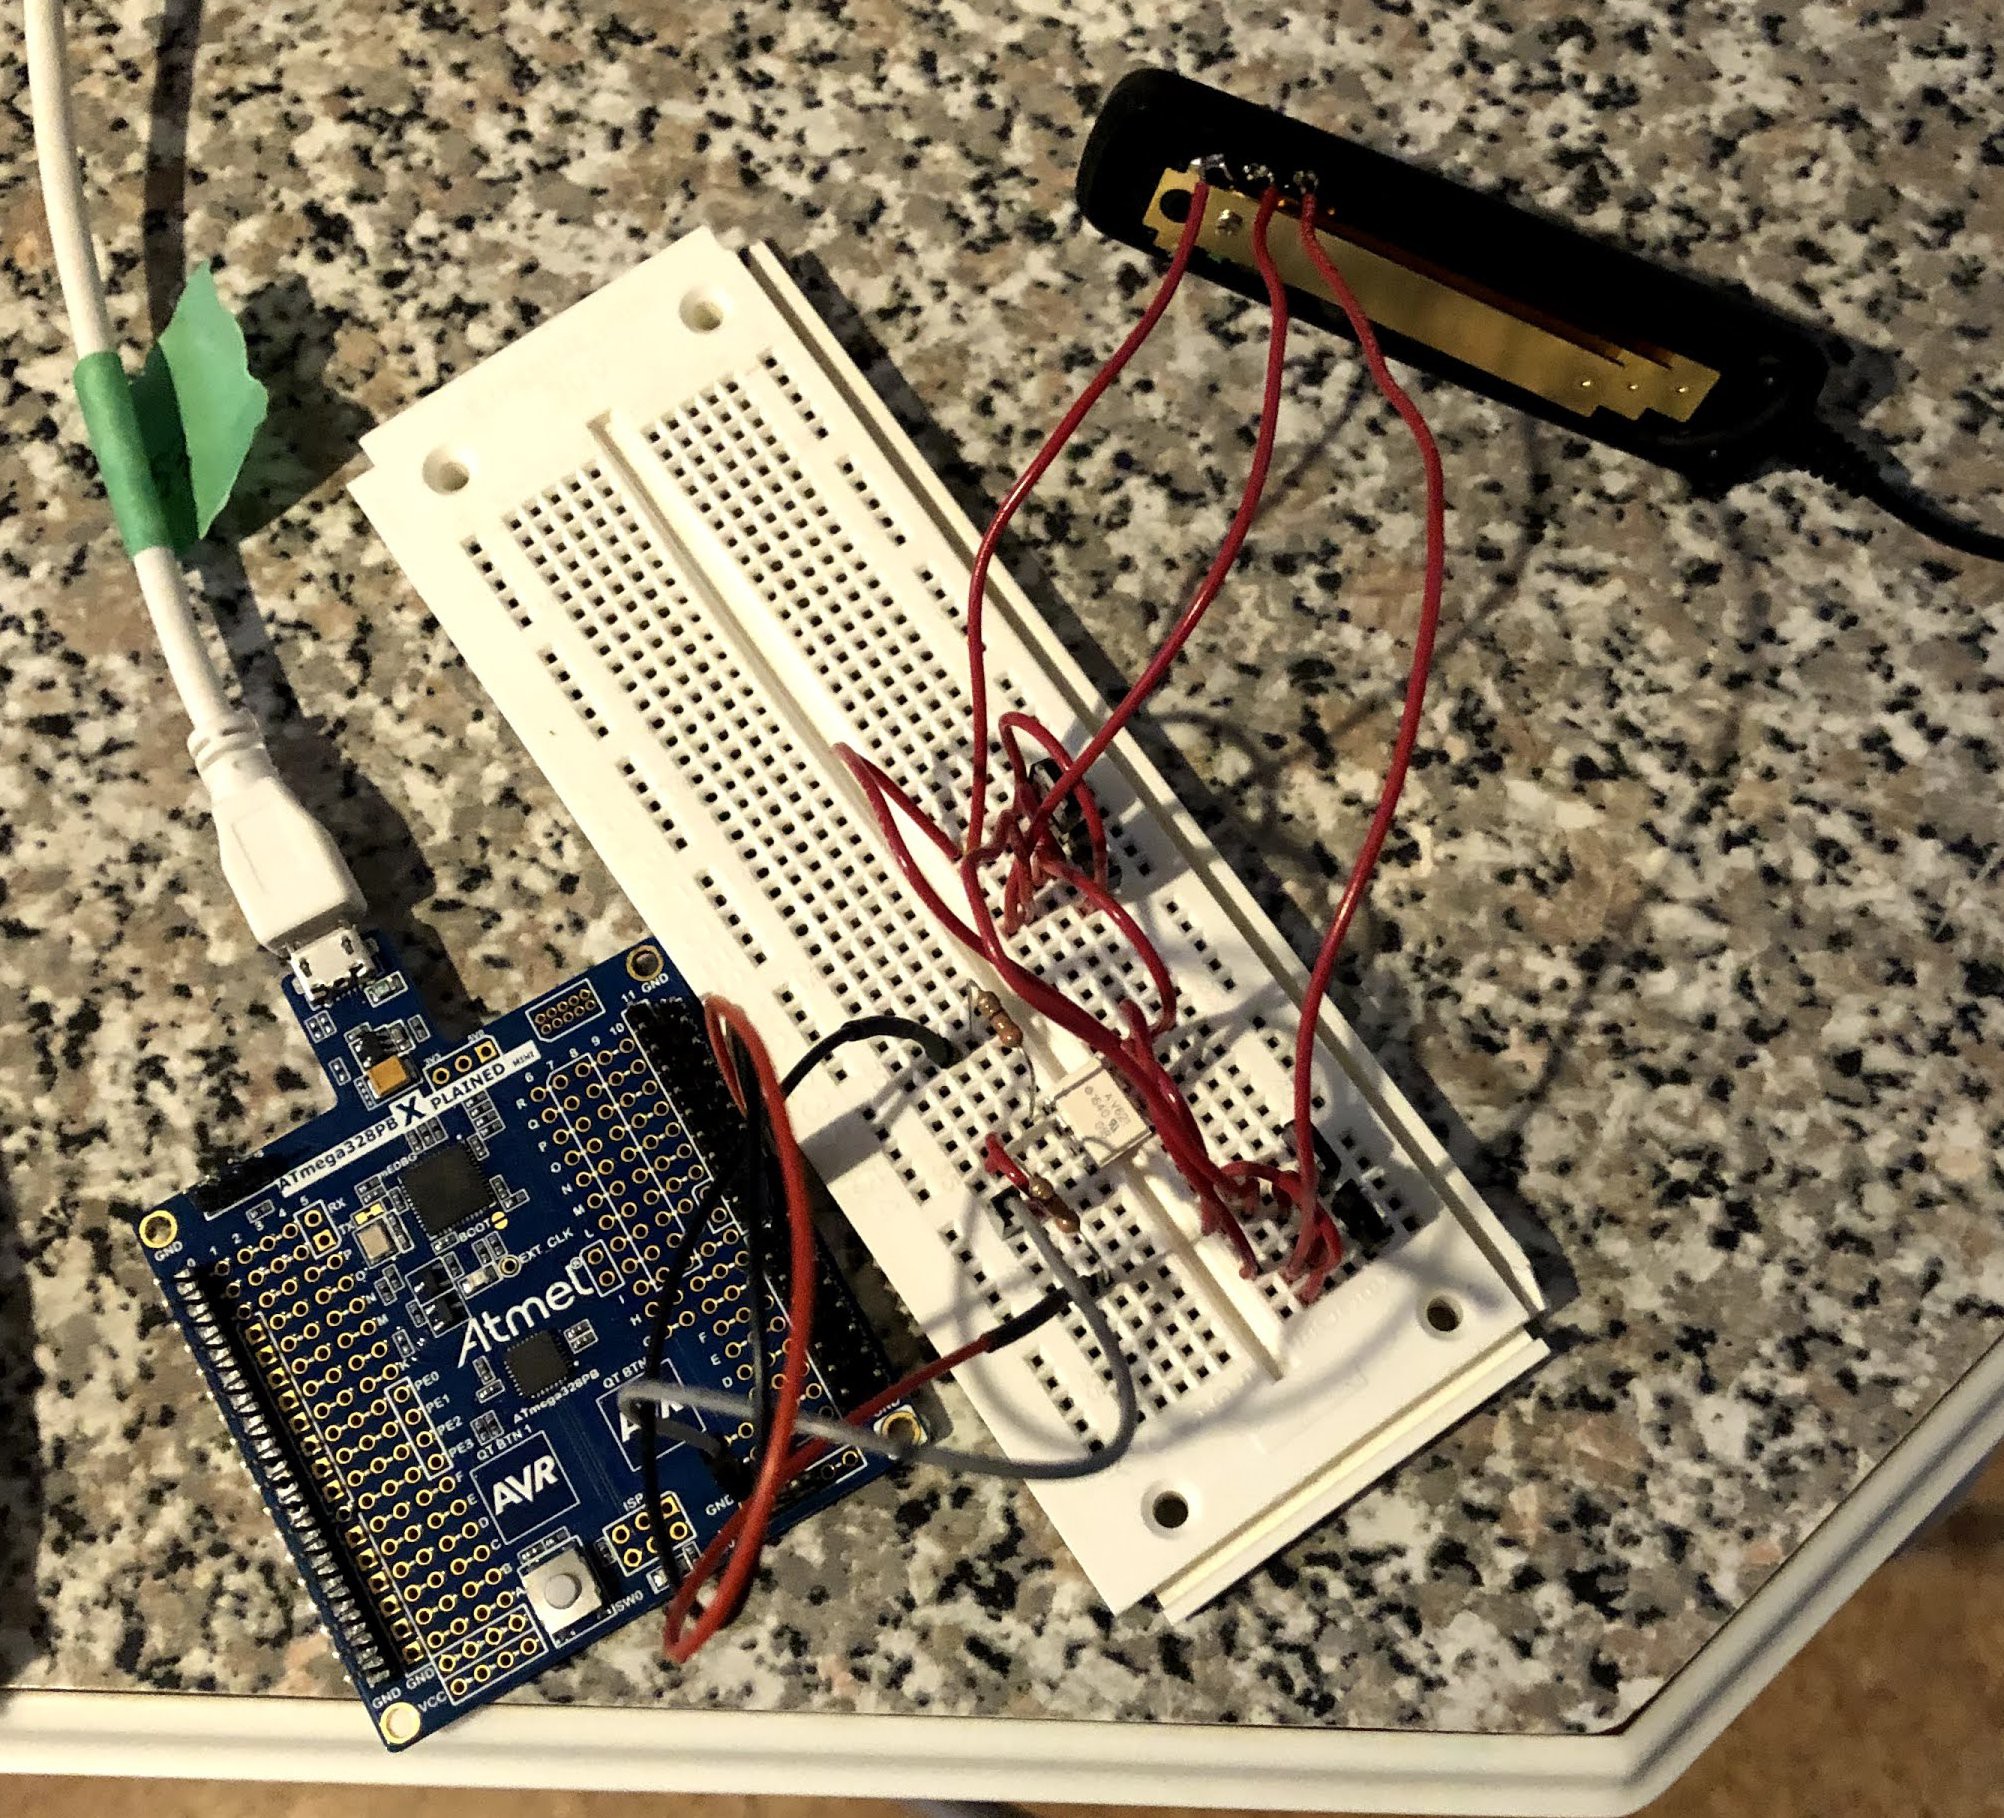
Here is the whole setup on the "bench".
I used the setup to create a timelapse of melting ice:
Here is the MATLAB code to take the time-lapse video. The activex control required a lot of effort to make sure the SendKeys method actually worked...
%% Identification
% Science Dude 1990
% December 10, 2020
%
%% Code
% Take a photo with a Nikon D3100 and transfer to local PC, for making
% timelapse movies!!!

%% Clean up
clc
close all
clear
drawnow

%% Parameters
% Pause after all the other tasks (i.e., the main timelapse parameter)
pause_tasks = 0;

% Number of pictures to take
N_pictures = 1024;

% COM port
com_port = 5;

% BAUD rate
baud_rate = 9600;

% Data bits
data_bits = 8;

% Camera directory
camera_dir = 'Computer\D3100\Removable storage\DCIM\100TEST_';

% Current directory
current_dir = pwd;

% The filename
temp = clock;

% Filename for saving
f_name = ['Timelapse_Record_', num2str(temp(1), '%04d'), '_', num2str(temp(2), '%02d'), '_', num2str(temp(3), '%02d'), '_', ...
          num2str(temp(4), '%02d'), '_', num2str(temp(5), '%02d'), '_', num2str(round(temp(6)), '%02d')];

%% Let the operator steady the setup
beep
pause(3)
beep
pause(3)
beep
pause(3)

%% Open the COM port
% The serial port
s = serial(['COM' num2str(com_port)], 'BaudRate', baud_rate, 'DataBits', data_bits, 'Terminator', 'CR');
fopen(s);
pause(1);
% Save the response from the microcontroller (opening com port resets the
% controller)
scan_count = 1;
tmp = {};
while s.BytesAvailable > 1
    tmp{scan_count} = fscanf(s);
    scan_count = scan_count + 1;
end

%% Active X to be able to copy the pictures from the camera to the local PC
% Create active x server
h = actxserver('WScript.Shell');

%% Main loop
% Cell array to hold the COM port communications
com_record = cell(N_pictures, 3);

% The pause to let windows react
pause_ui = 0.15;

% Pause for the snapshot
pause_snapshot = 1.5;

for ii = 1 : N_pictures
    %% Send the COM commands
    pause(pause_ui);
    % Read the register for reference
    fprintf(s, 'r37');
    pause(pause_ui);
    % Set PORTB to 1, then 3, to take a picture
    fprintf(s, 'w37=1');
    pause(pause_ui);
    fprintf(s, 'w37=3');
    % Note the time the picture was requested
    com_record{ii, 1} = clock;
    pause(pause_ui);
    fprintf(s, 'w37=0');

    % Let the picture get taken
    pause(pause_snapshot);

    % Save the response from the microcontroller
    scan_count = 1;
    tmp = {};
    while s.BytesAvailable...
Read more »

 Chris Jones
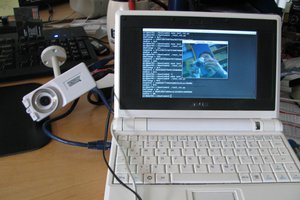
 rawe
rawe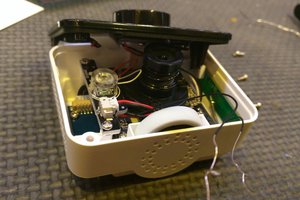
 ril3y
ril3y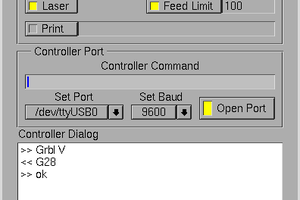
 agp.cooper
I did a project related to imaging and the diffraction limit! Check it out:
https://hackaday.io/project/178655-getting-cozy-with-the-diffraction-limit