Startec Innovations
Notable Features
Qr Code Generation
- QR codes generated through the app are stored locally on the app to prevent repetitive form sign-ups.
- Allows for easy navigation to the code app. All QR Codes generated are unique.
- Customer information is encrypted first to prevent unsuspecting data leaks (i.e. unsolicited photos of the code)
Customer Data Protection
- Customer data is encrypted in the database and can only be retrieved through authentication by a governing body or authority.
- Ensures data is only accessible for the exclusive use of contact tracing.
An all-new Print Feature!
- Users will be able to connect their device to a printer and automatically print a QR ID with their details by a simple click of the scan button. This is for the benefit of those who don't have access to the Registro PWA.
- They will be asked to input their information either through an encoder or through a borrowed phone for their QR to be generated for printing.
Pending
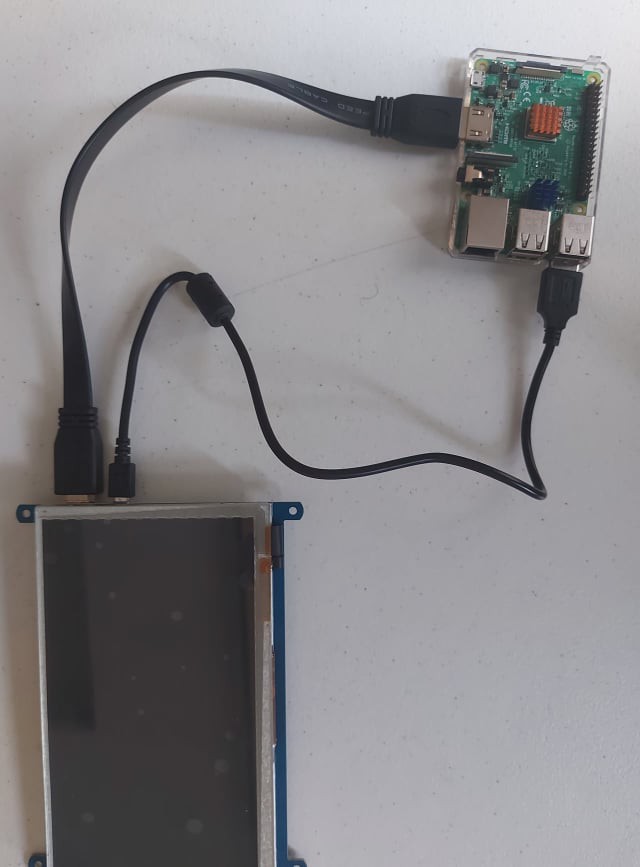
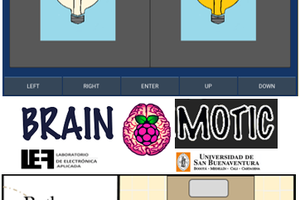
Button Control
- We will also be including button controls using the Raspberry Pi's GPIO pins. This is for the benefit of those who want to keep their budget at a minimum by getting a no-touch display.
Important Info
License and Use
This project is covered by the BSD 3-Clause “New” or “Revised” License.
In summary, you can:
- Use this for commercial and private use
- modify and distribute
and we wont have:
- Liability for any damages *
- warranty
Also make sure to add a copyright notice:
Copyright © 2020 Startec Innovations
Note: Though we may not be liable,* we will try to fix issues as they come and go

 Daniel Felipe Valencia V
 Samuel Bowman
 KeeZhongPing