 Keenan Rebera
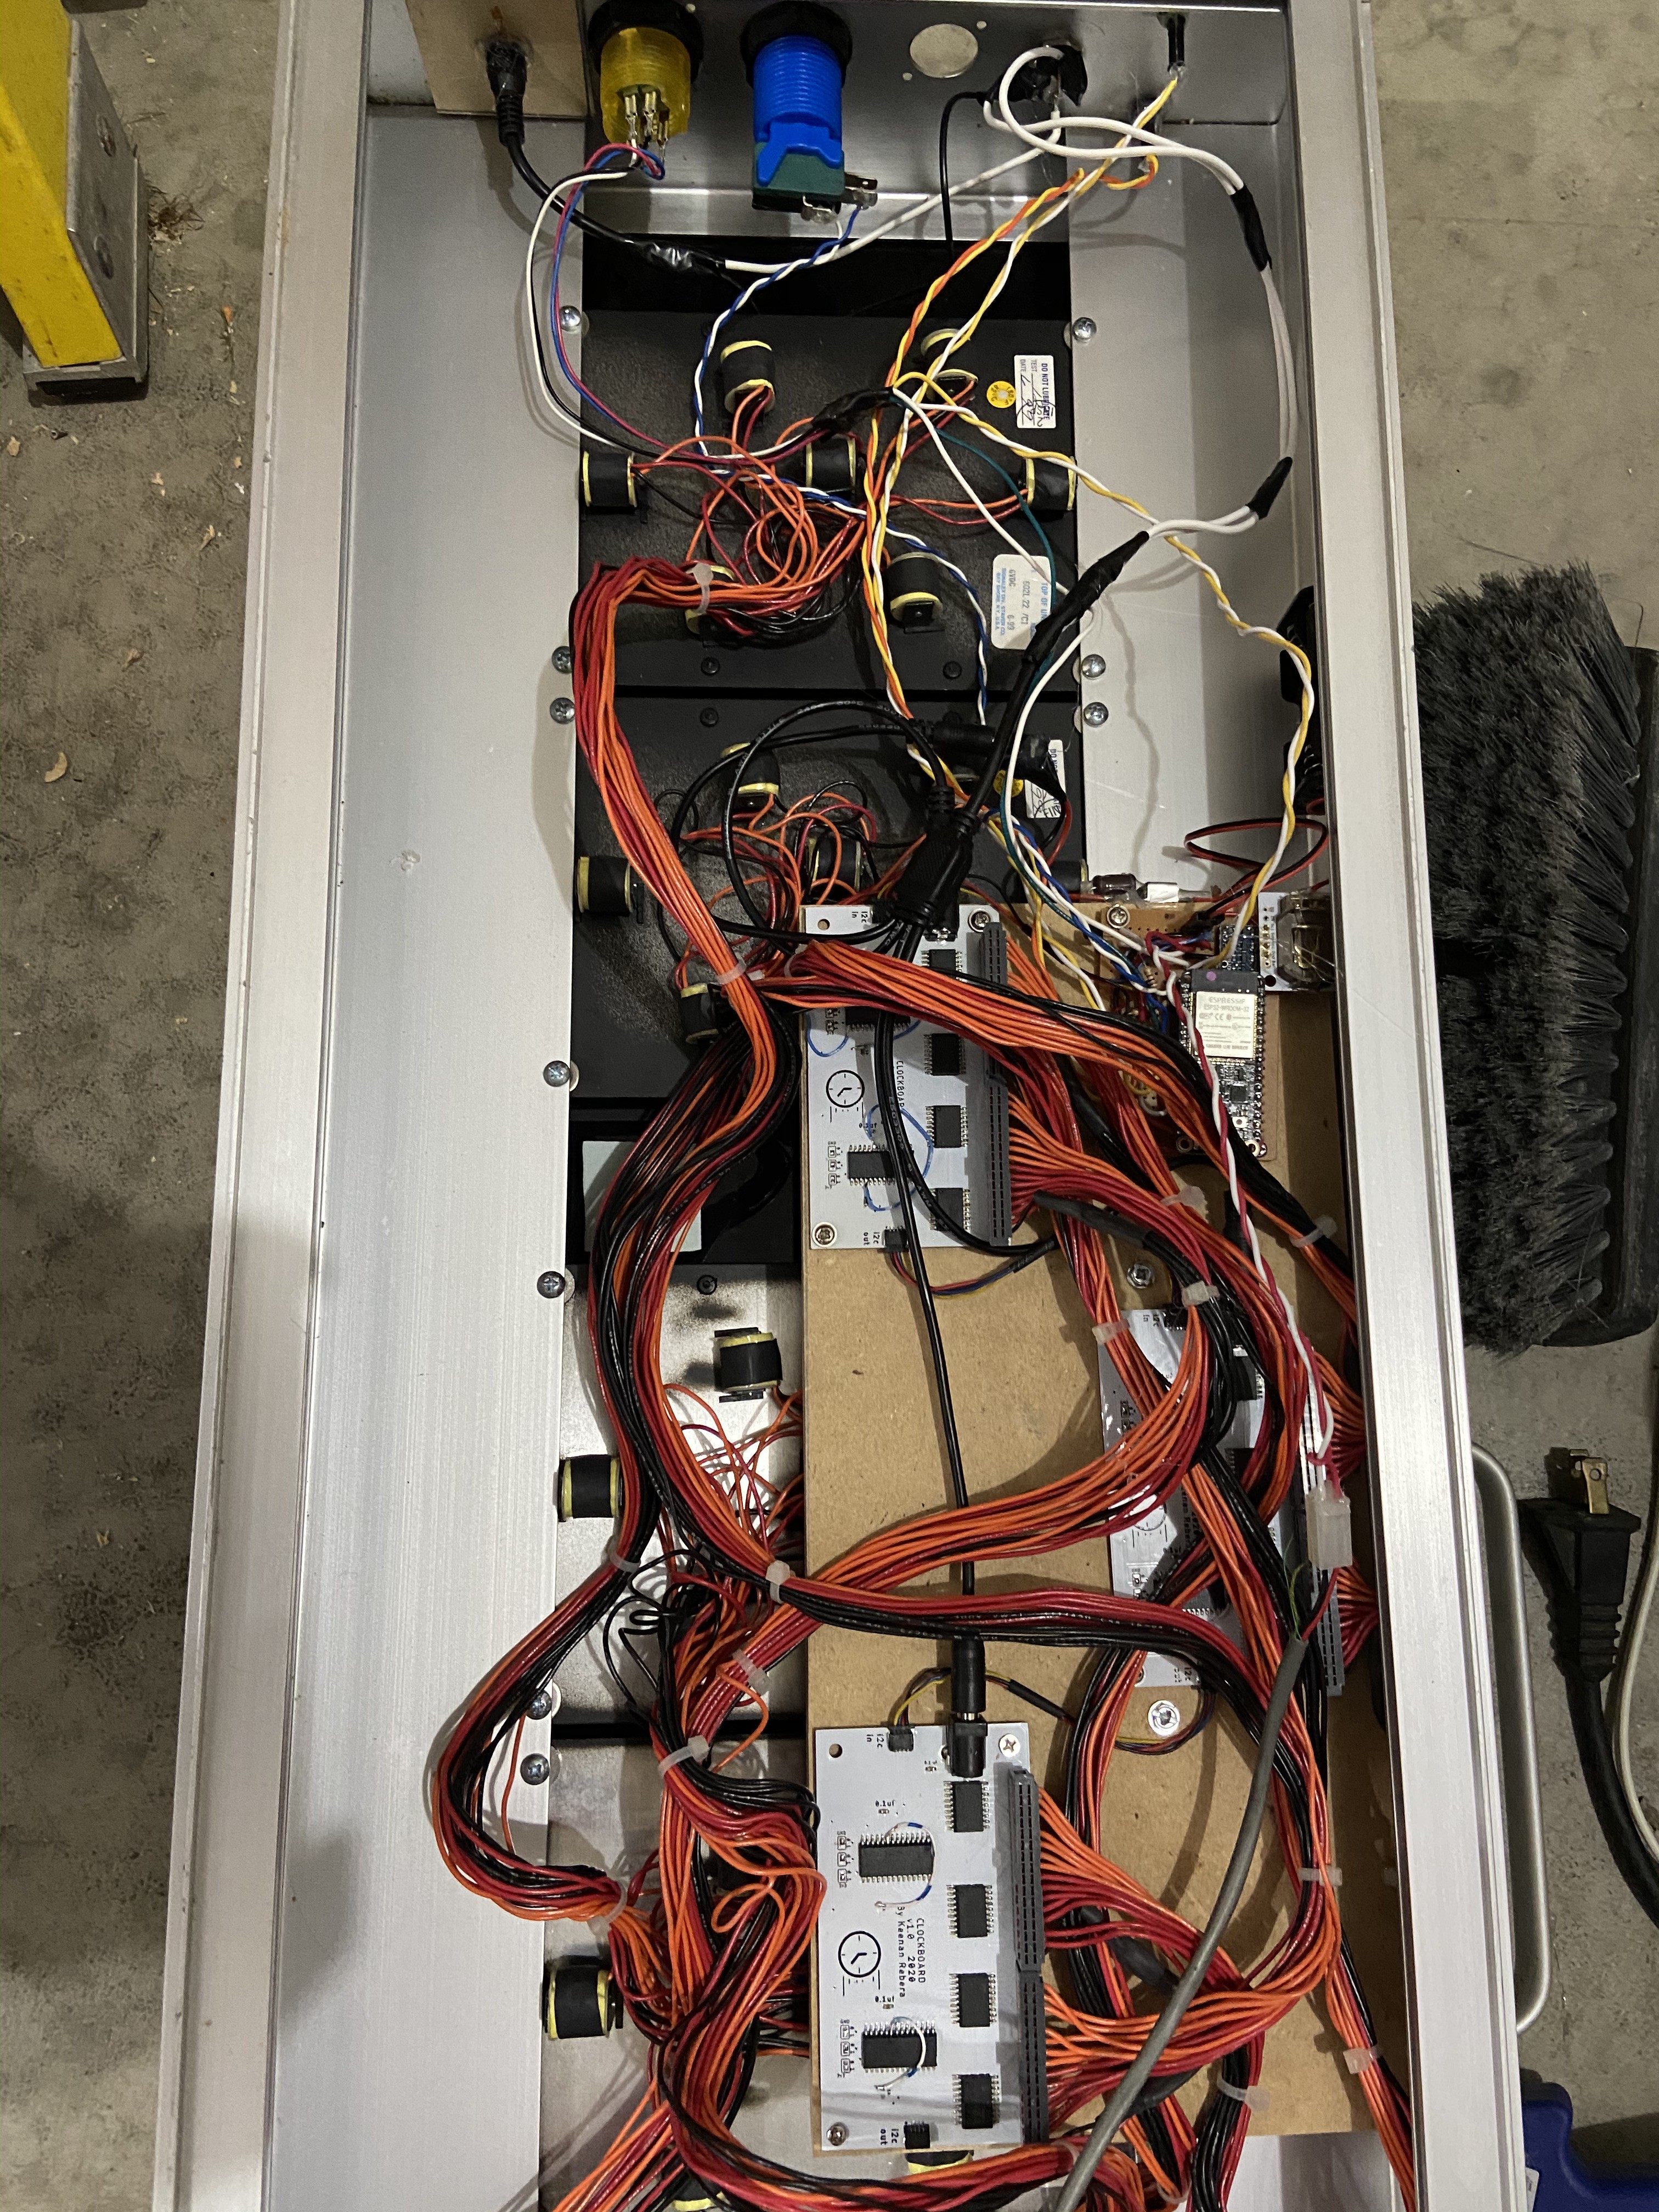
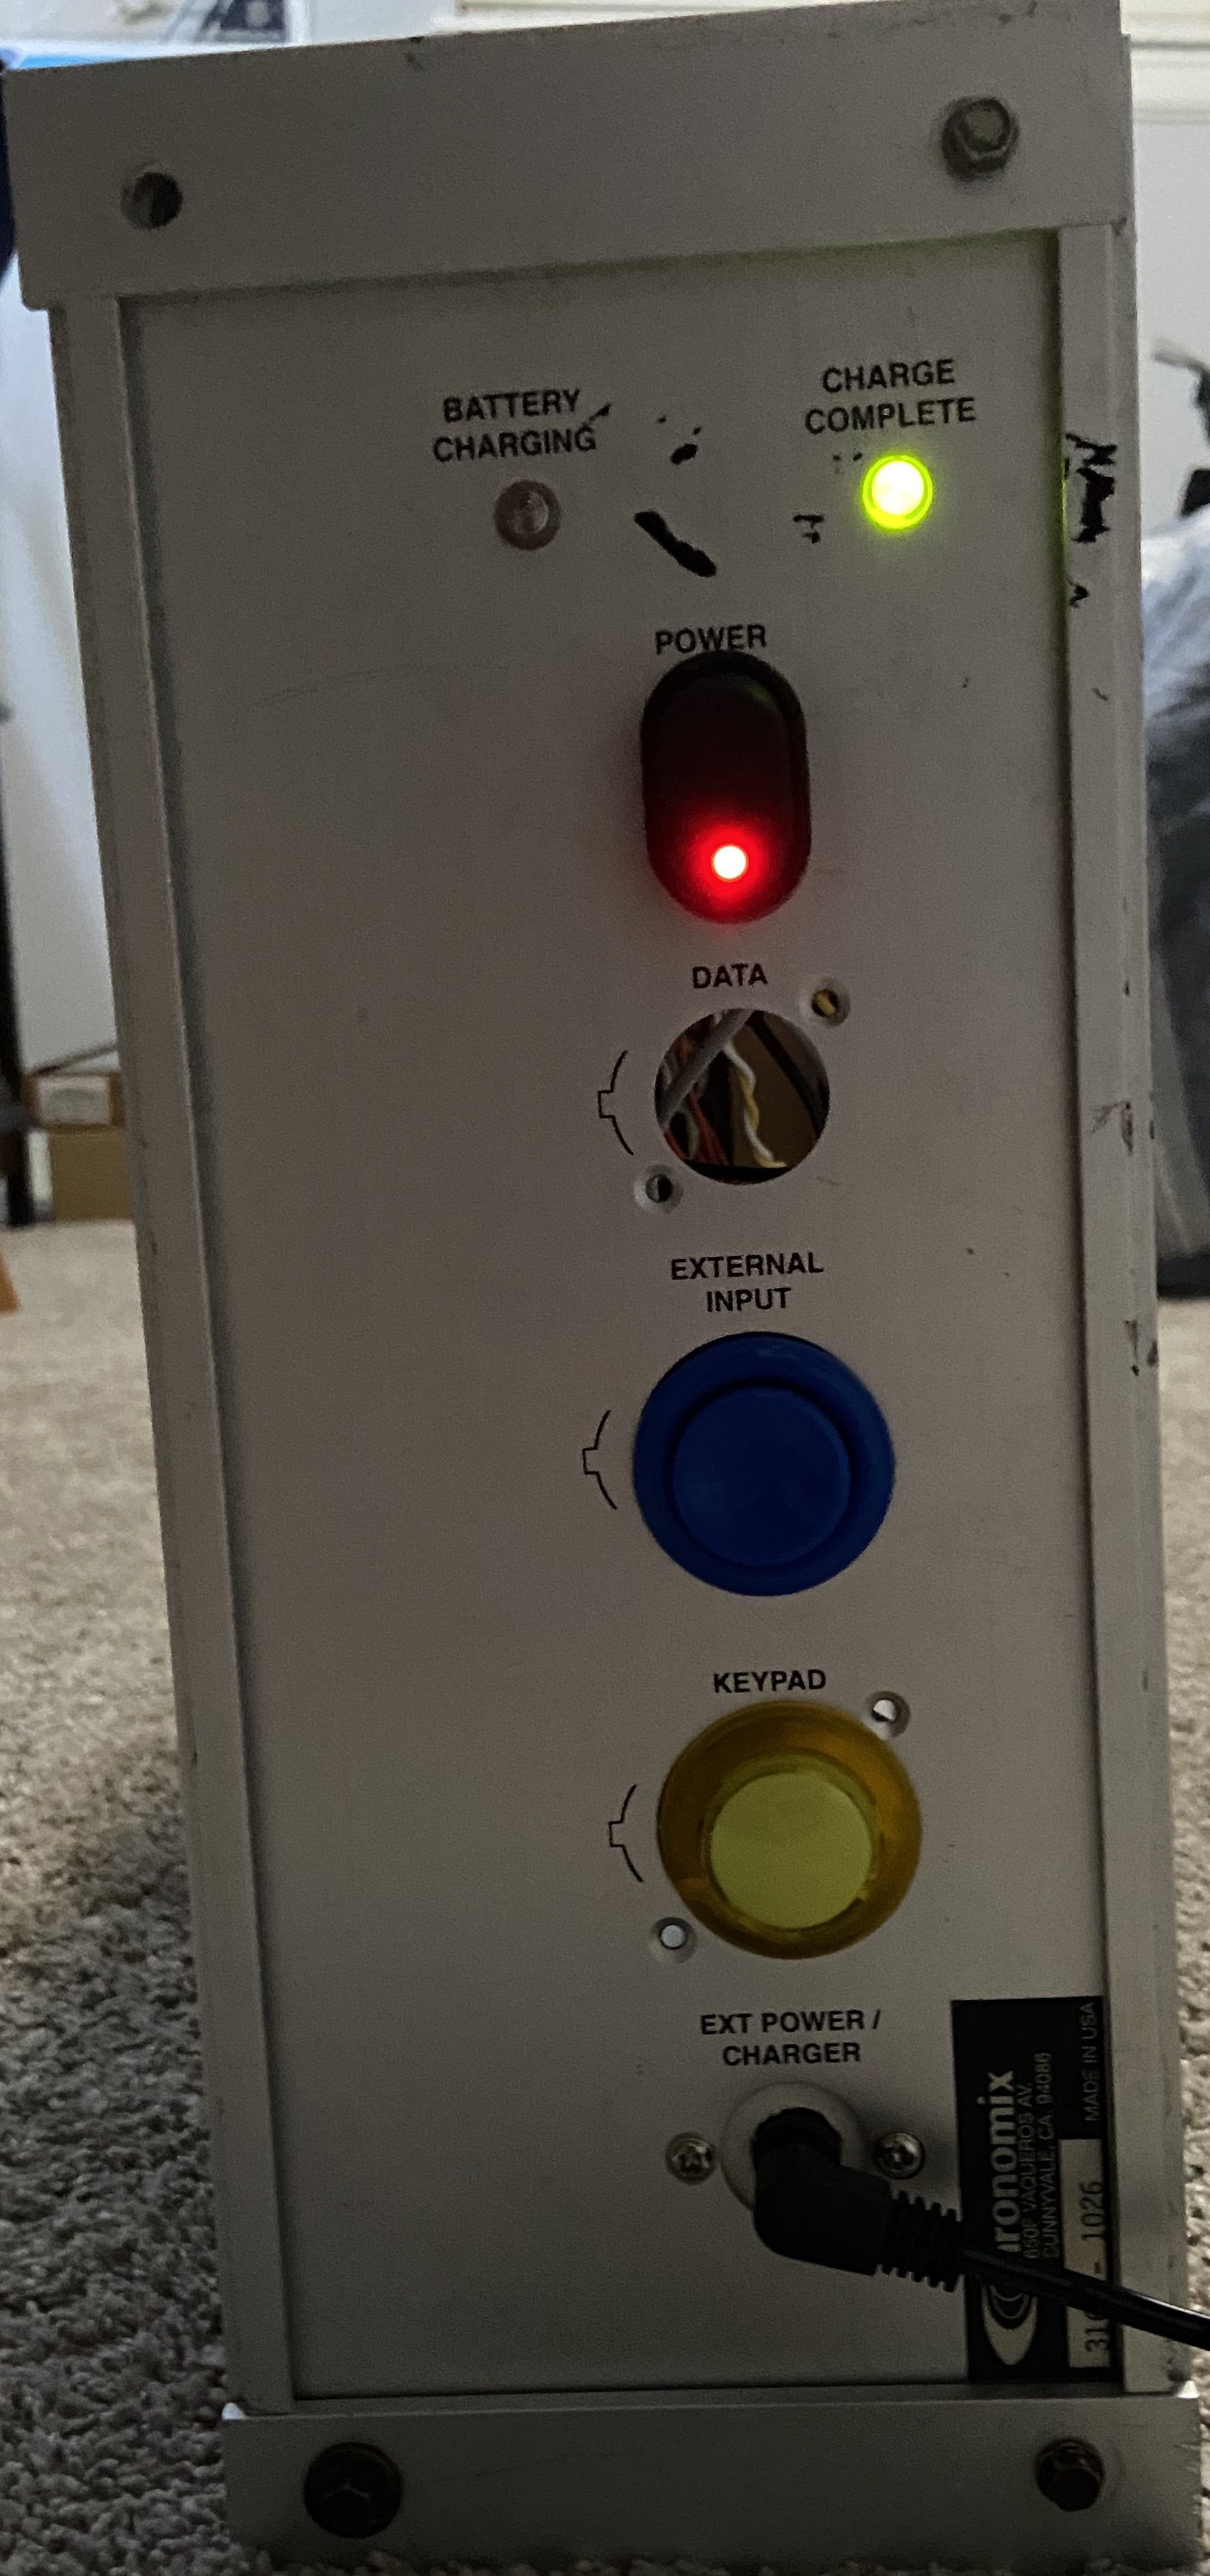
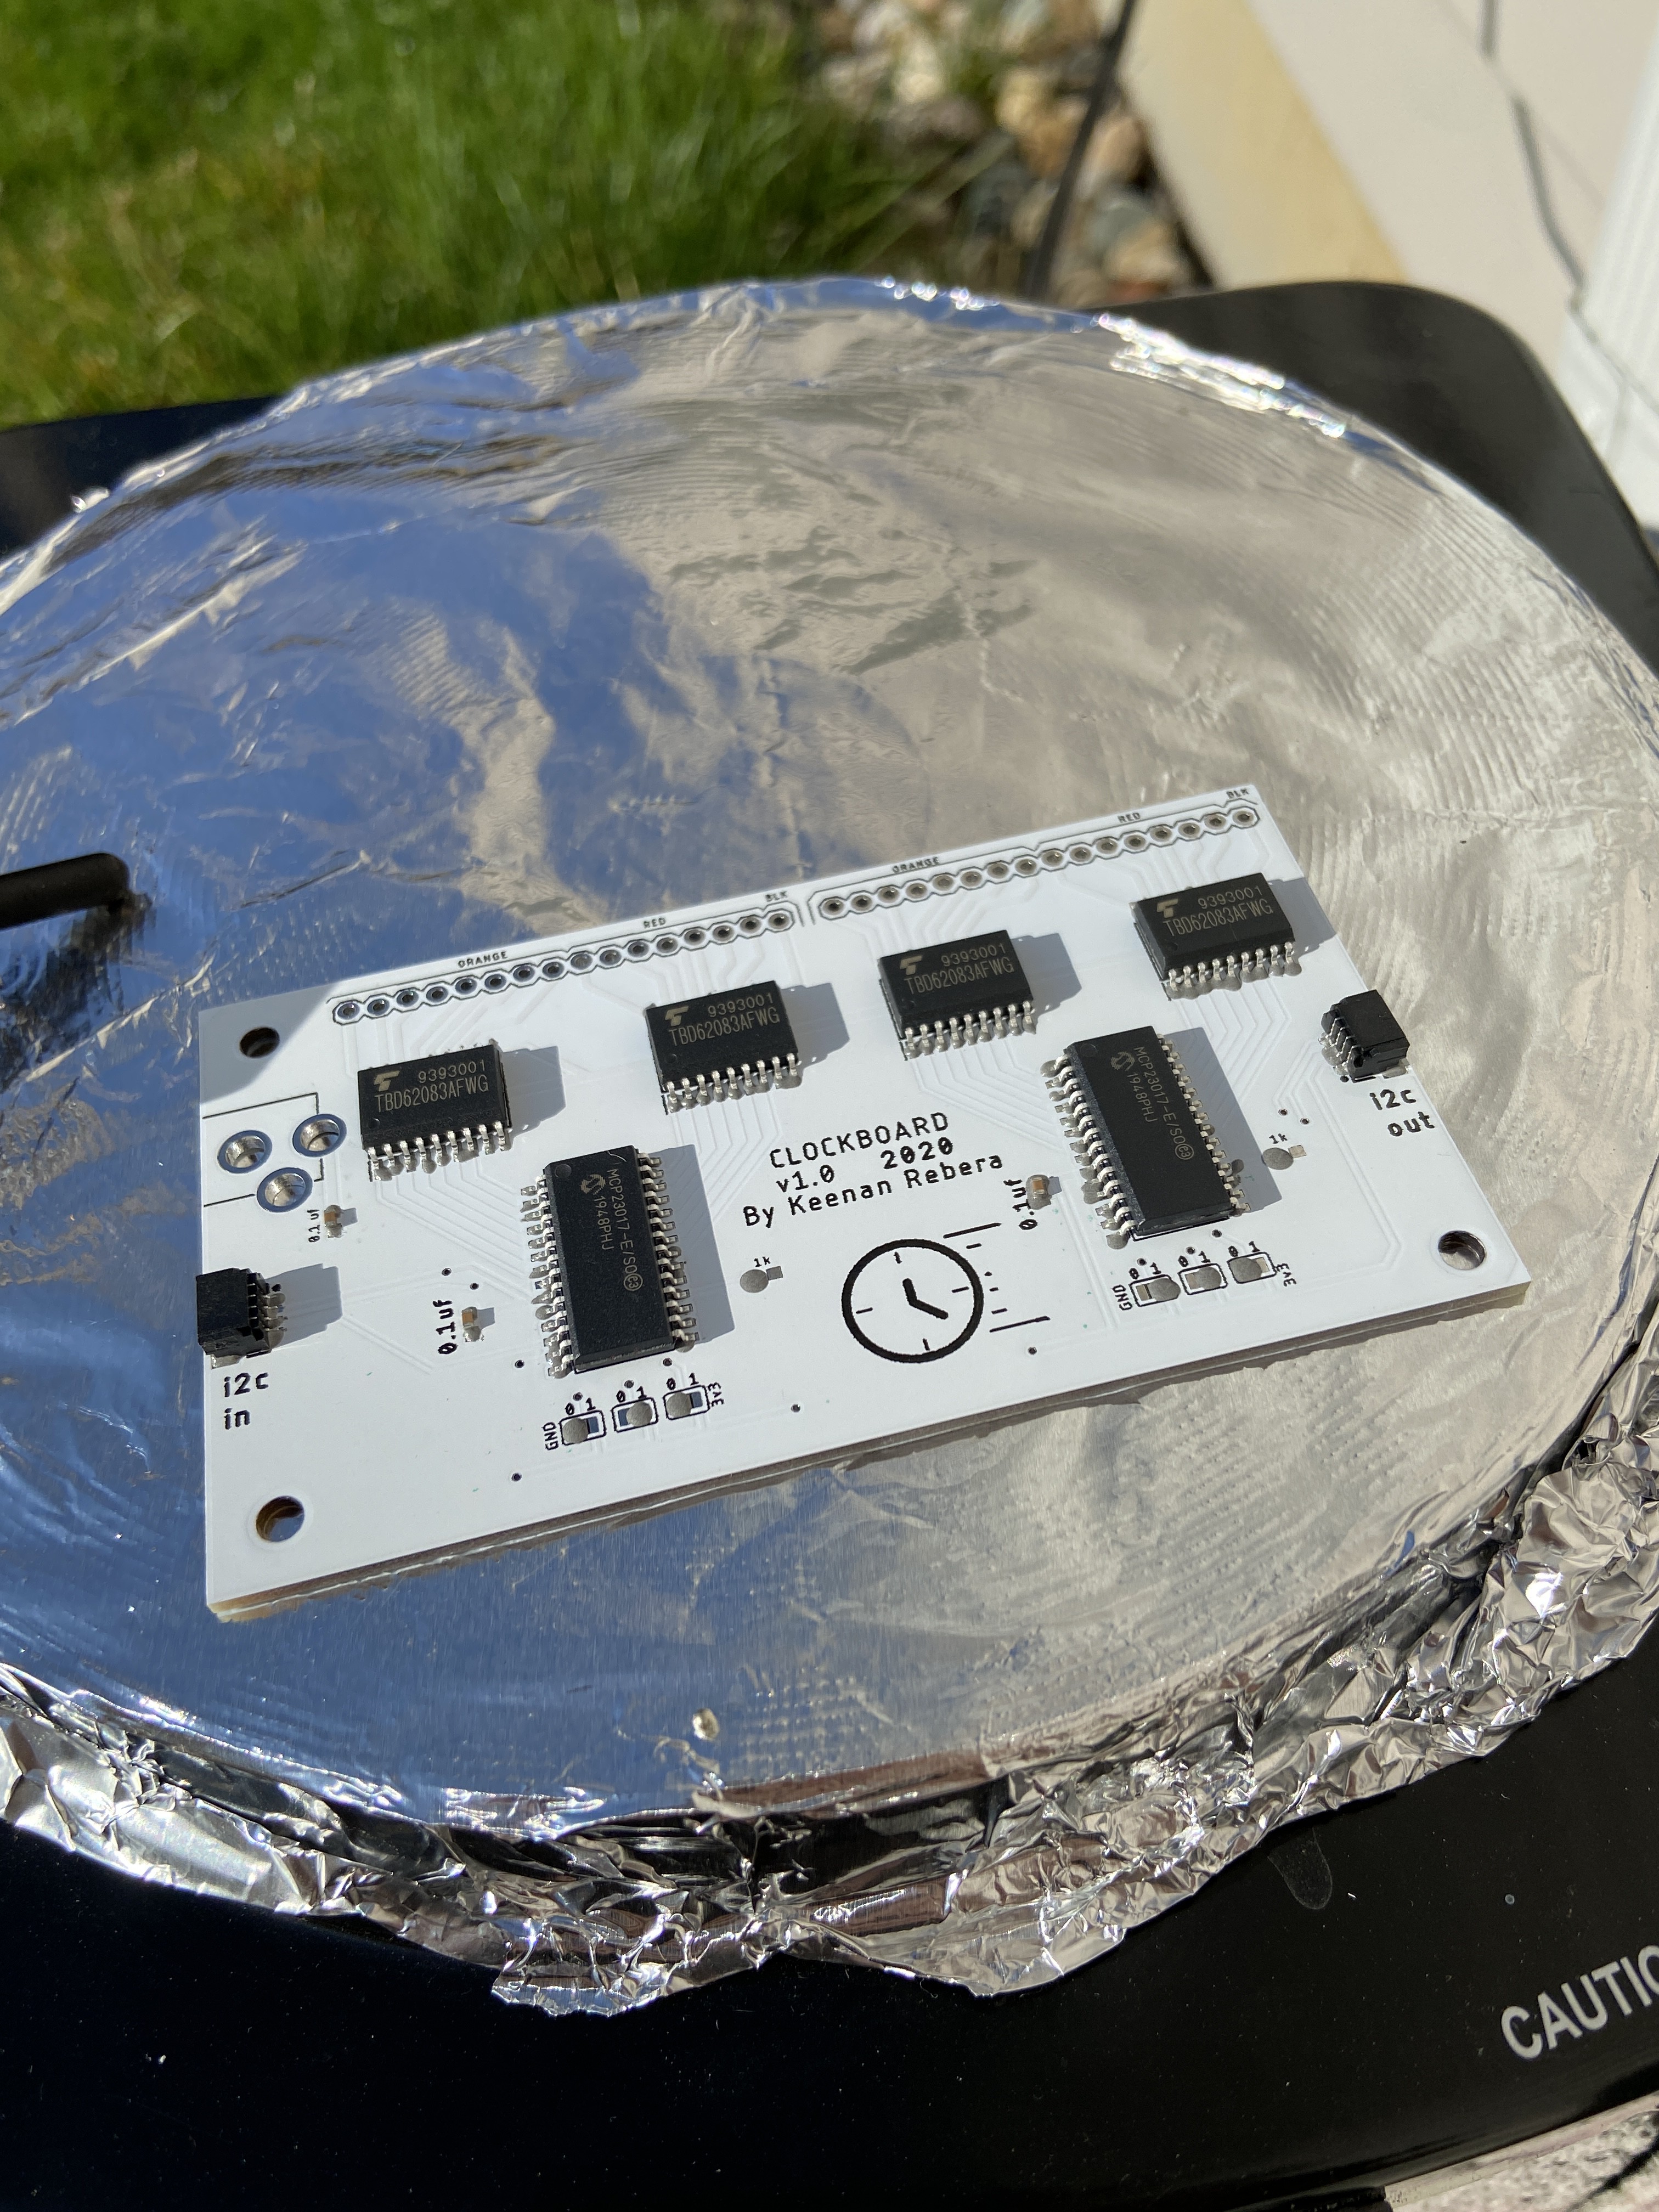
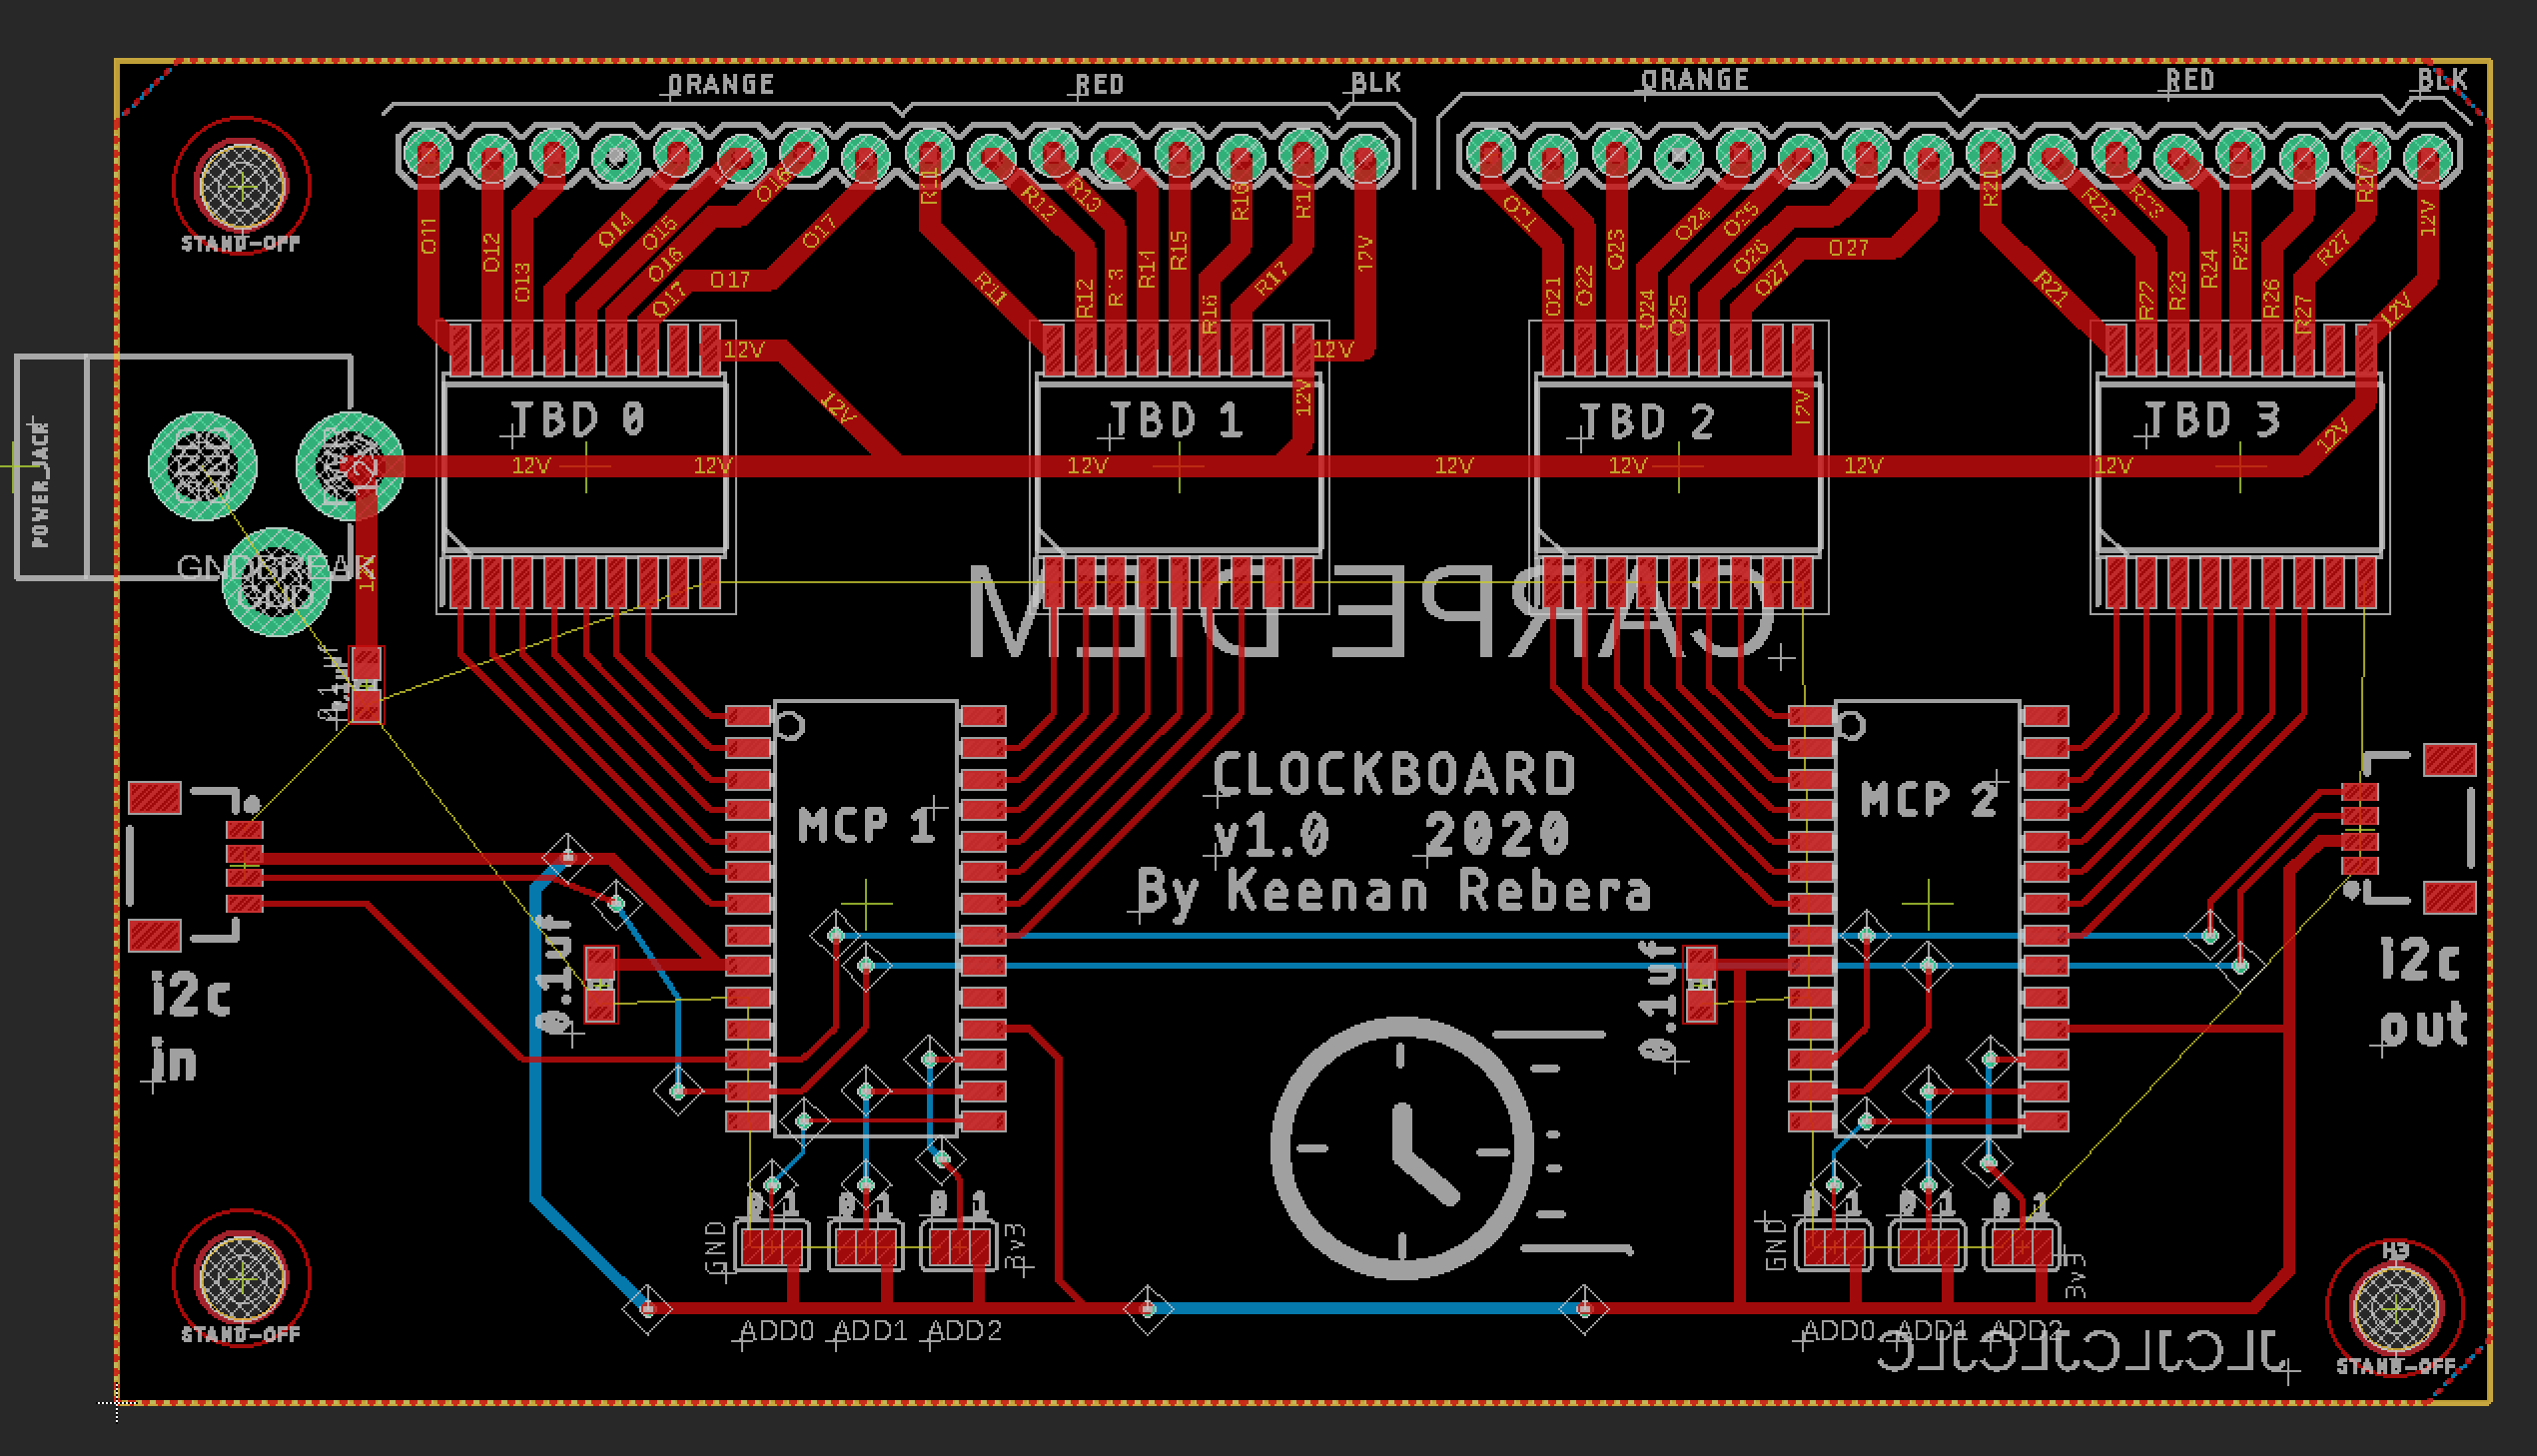
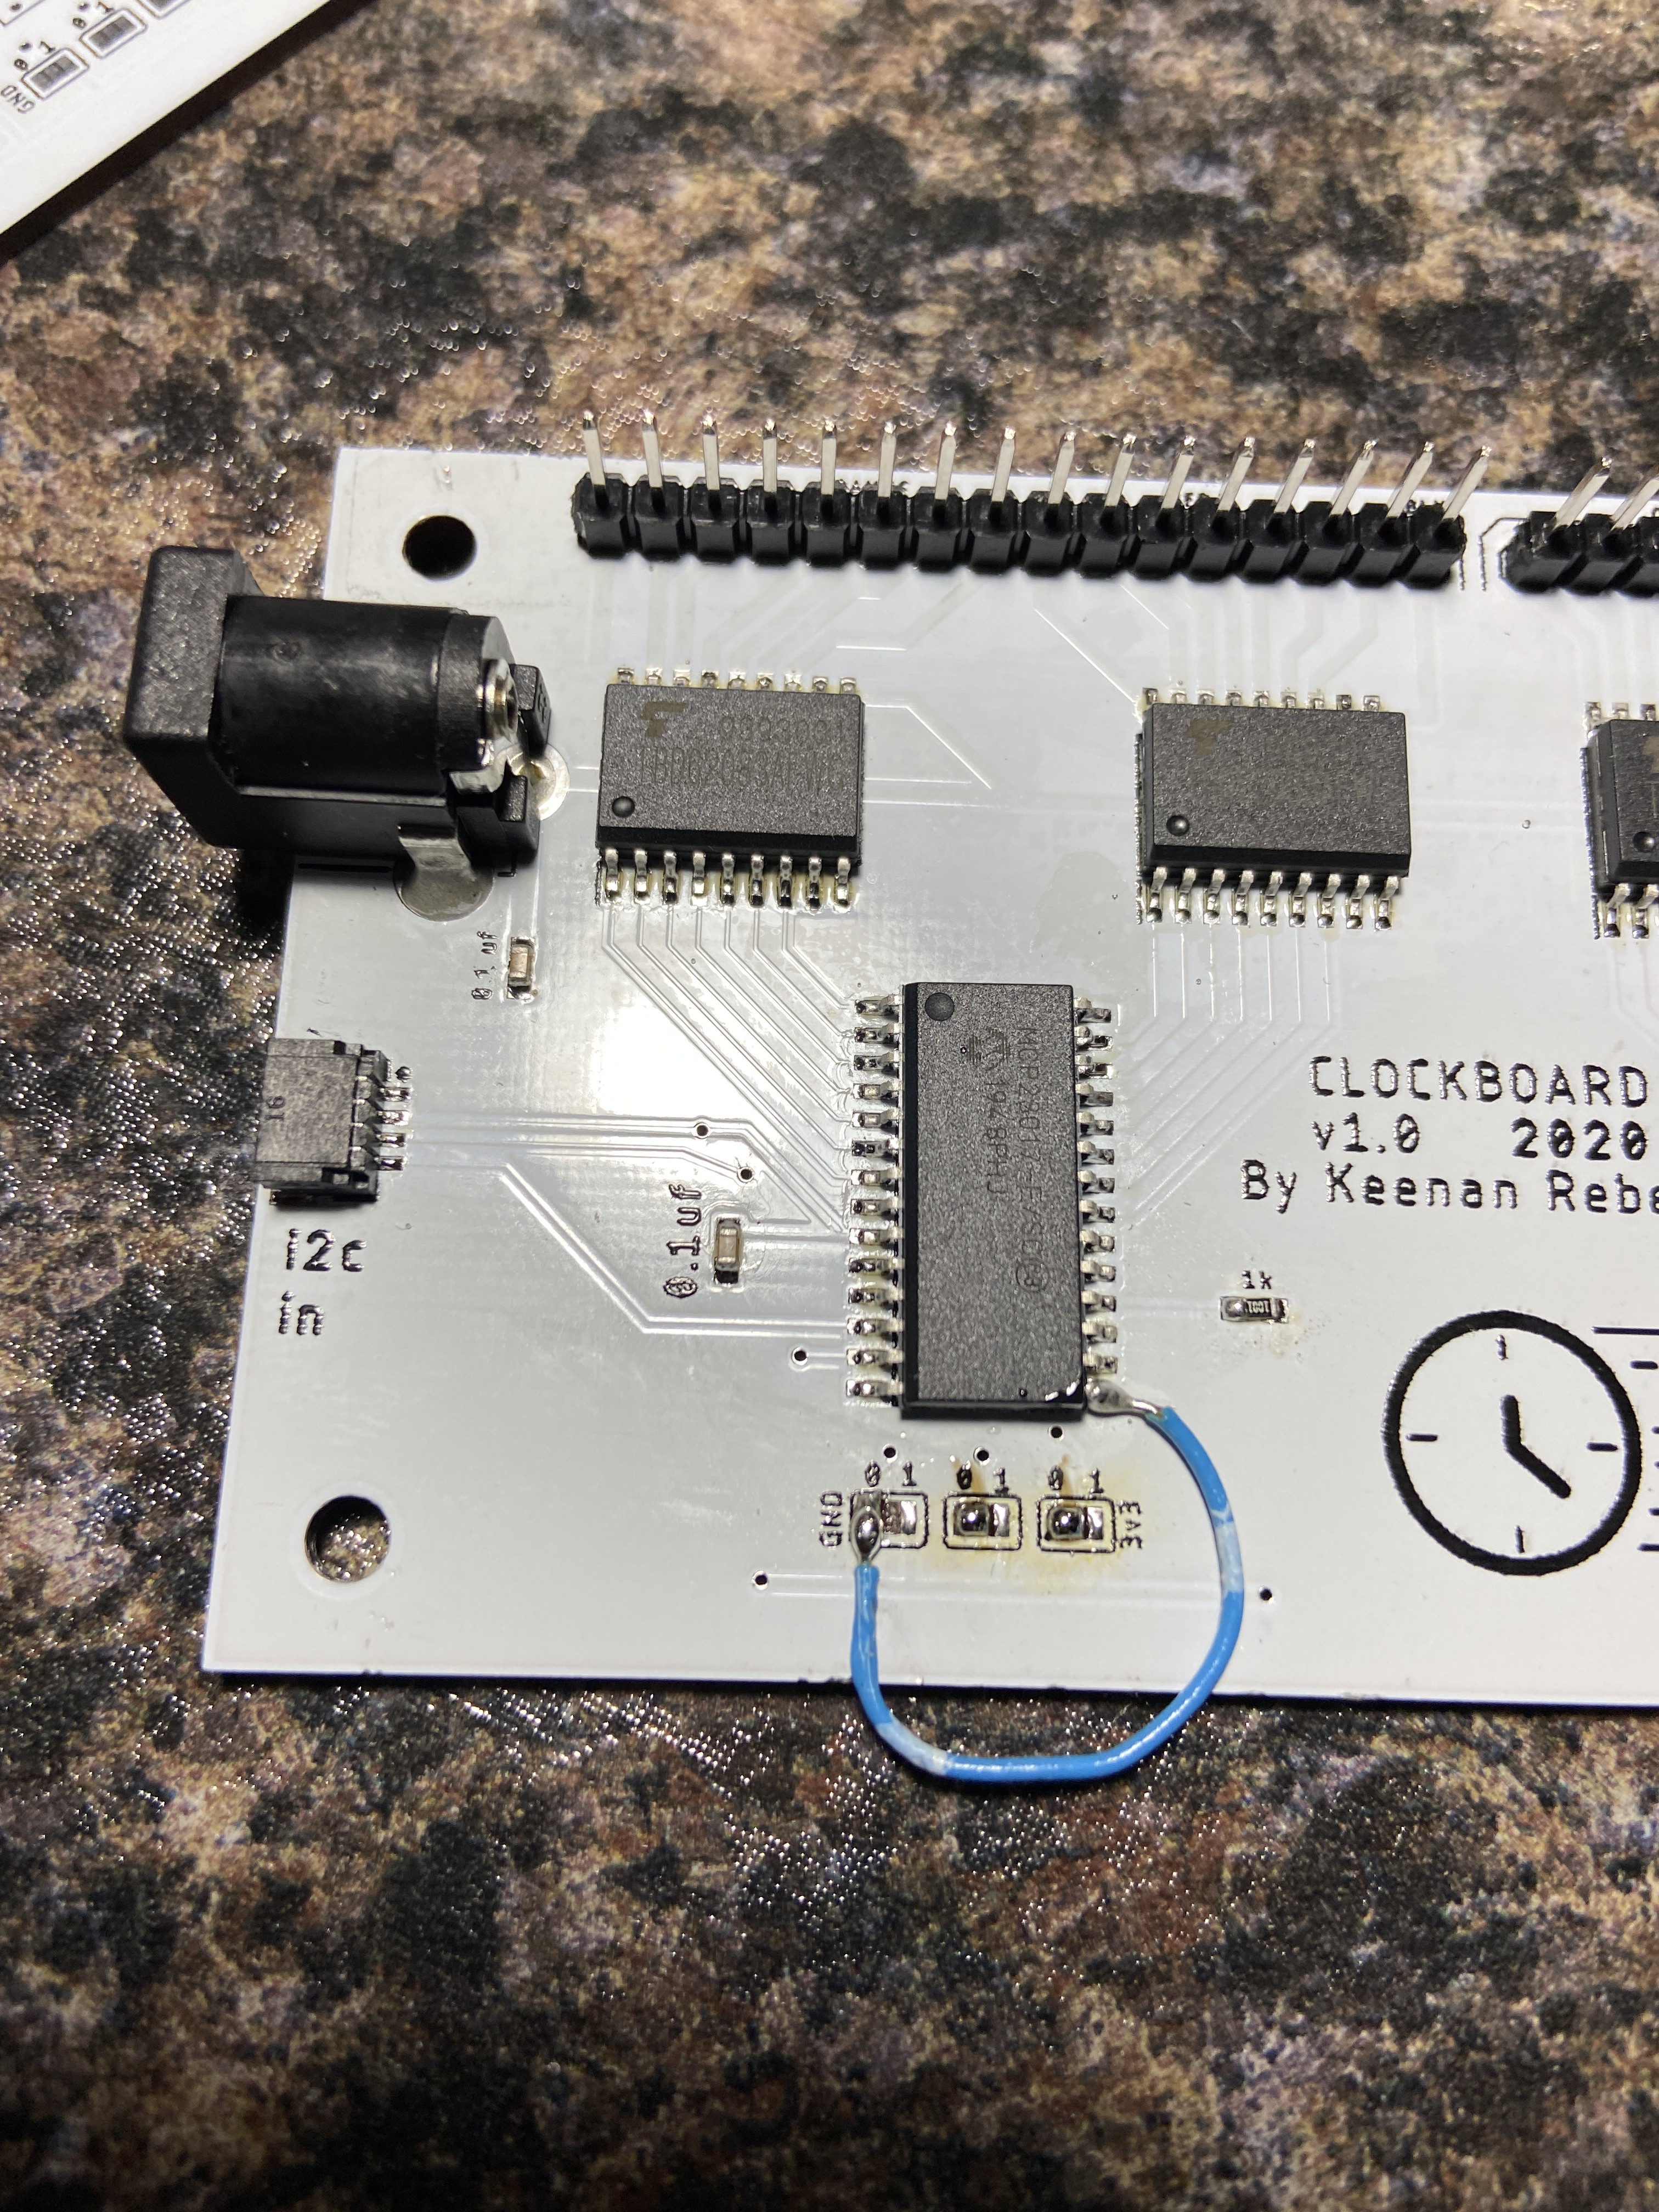
So this thing took a long, long time to build and included a lot of trial and error, but I'm happy it is working!
It has several mode of operation:
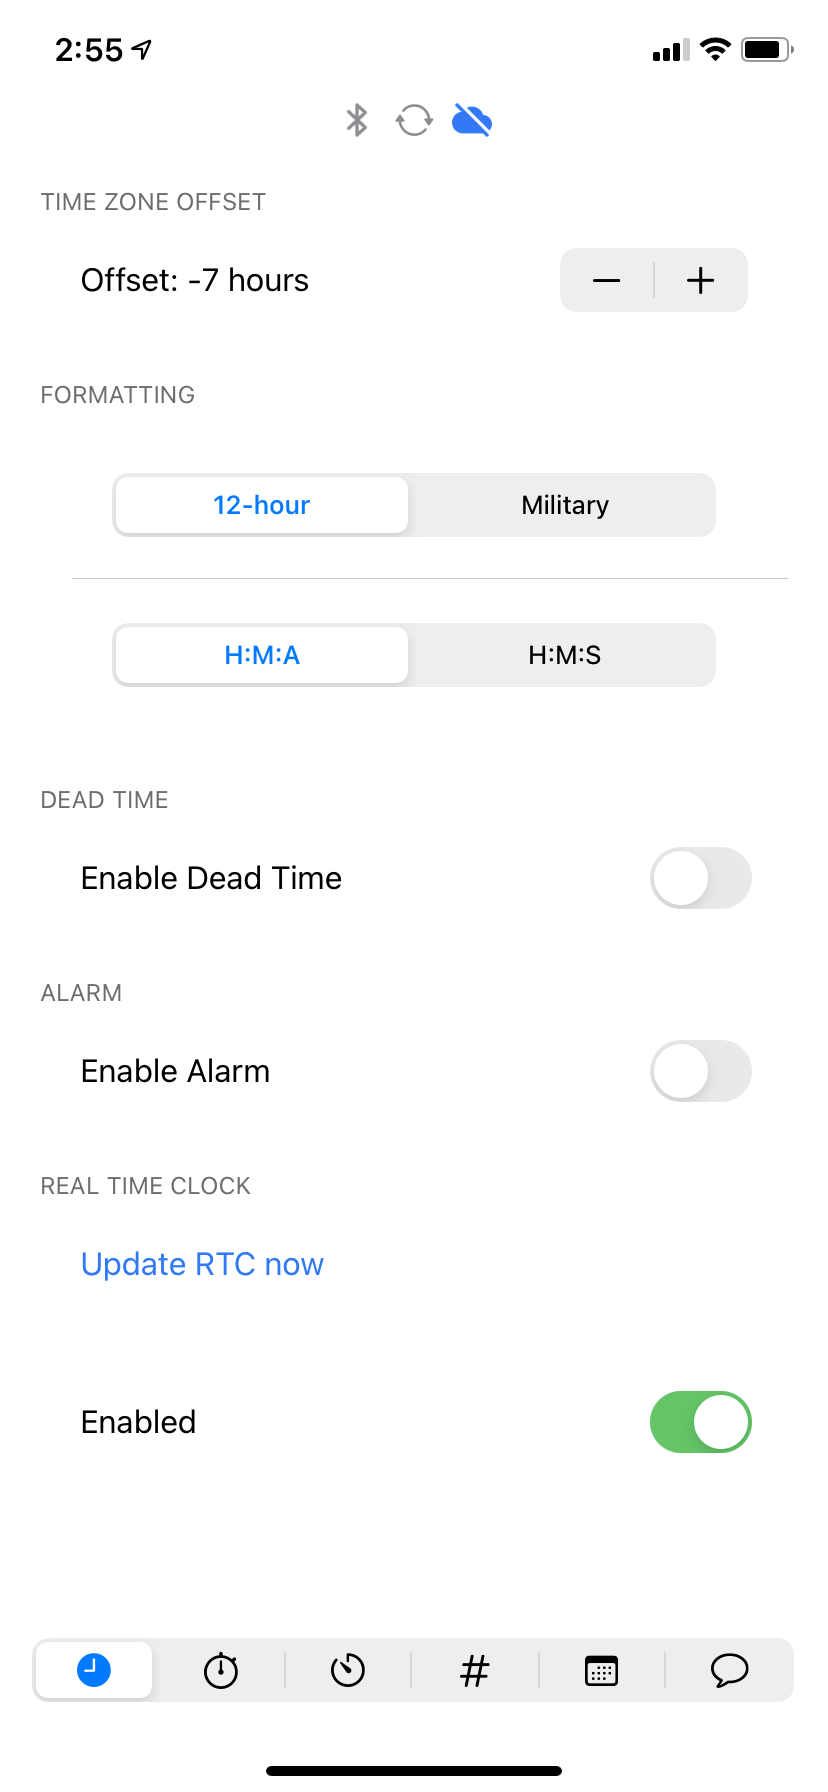
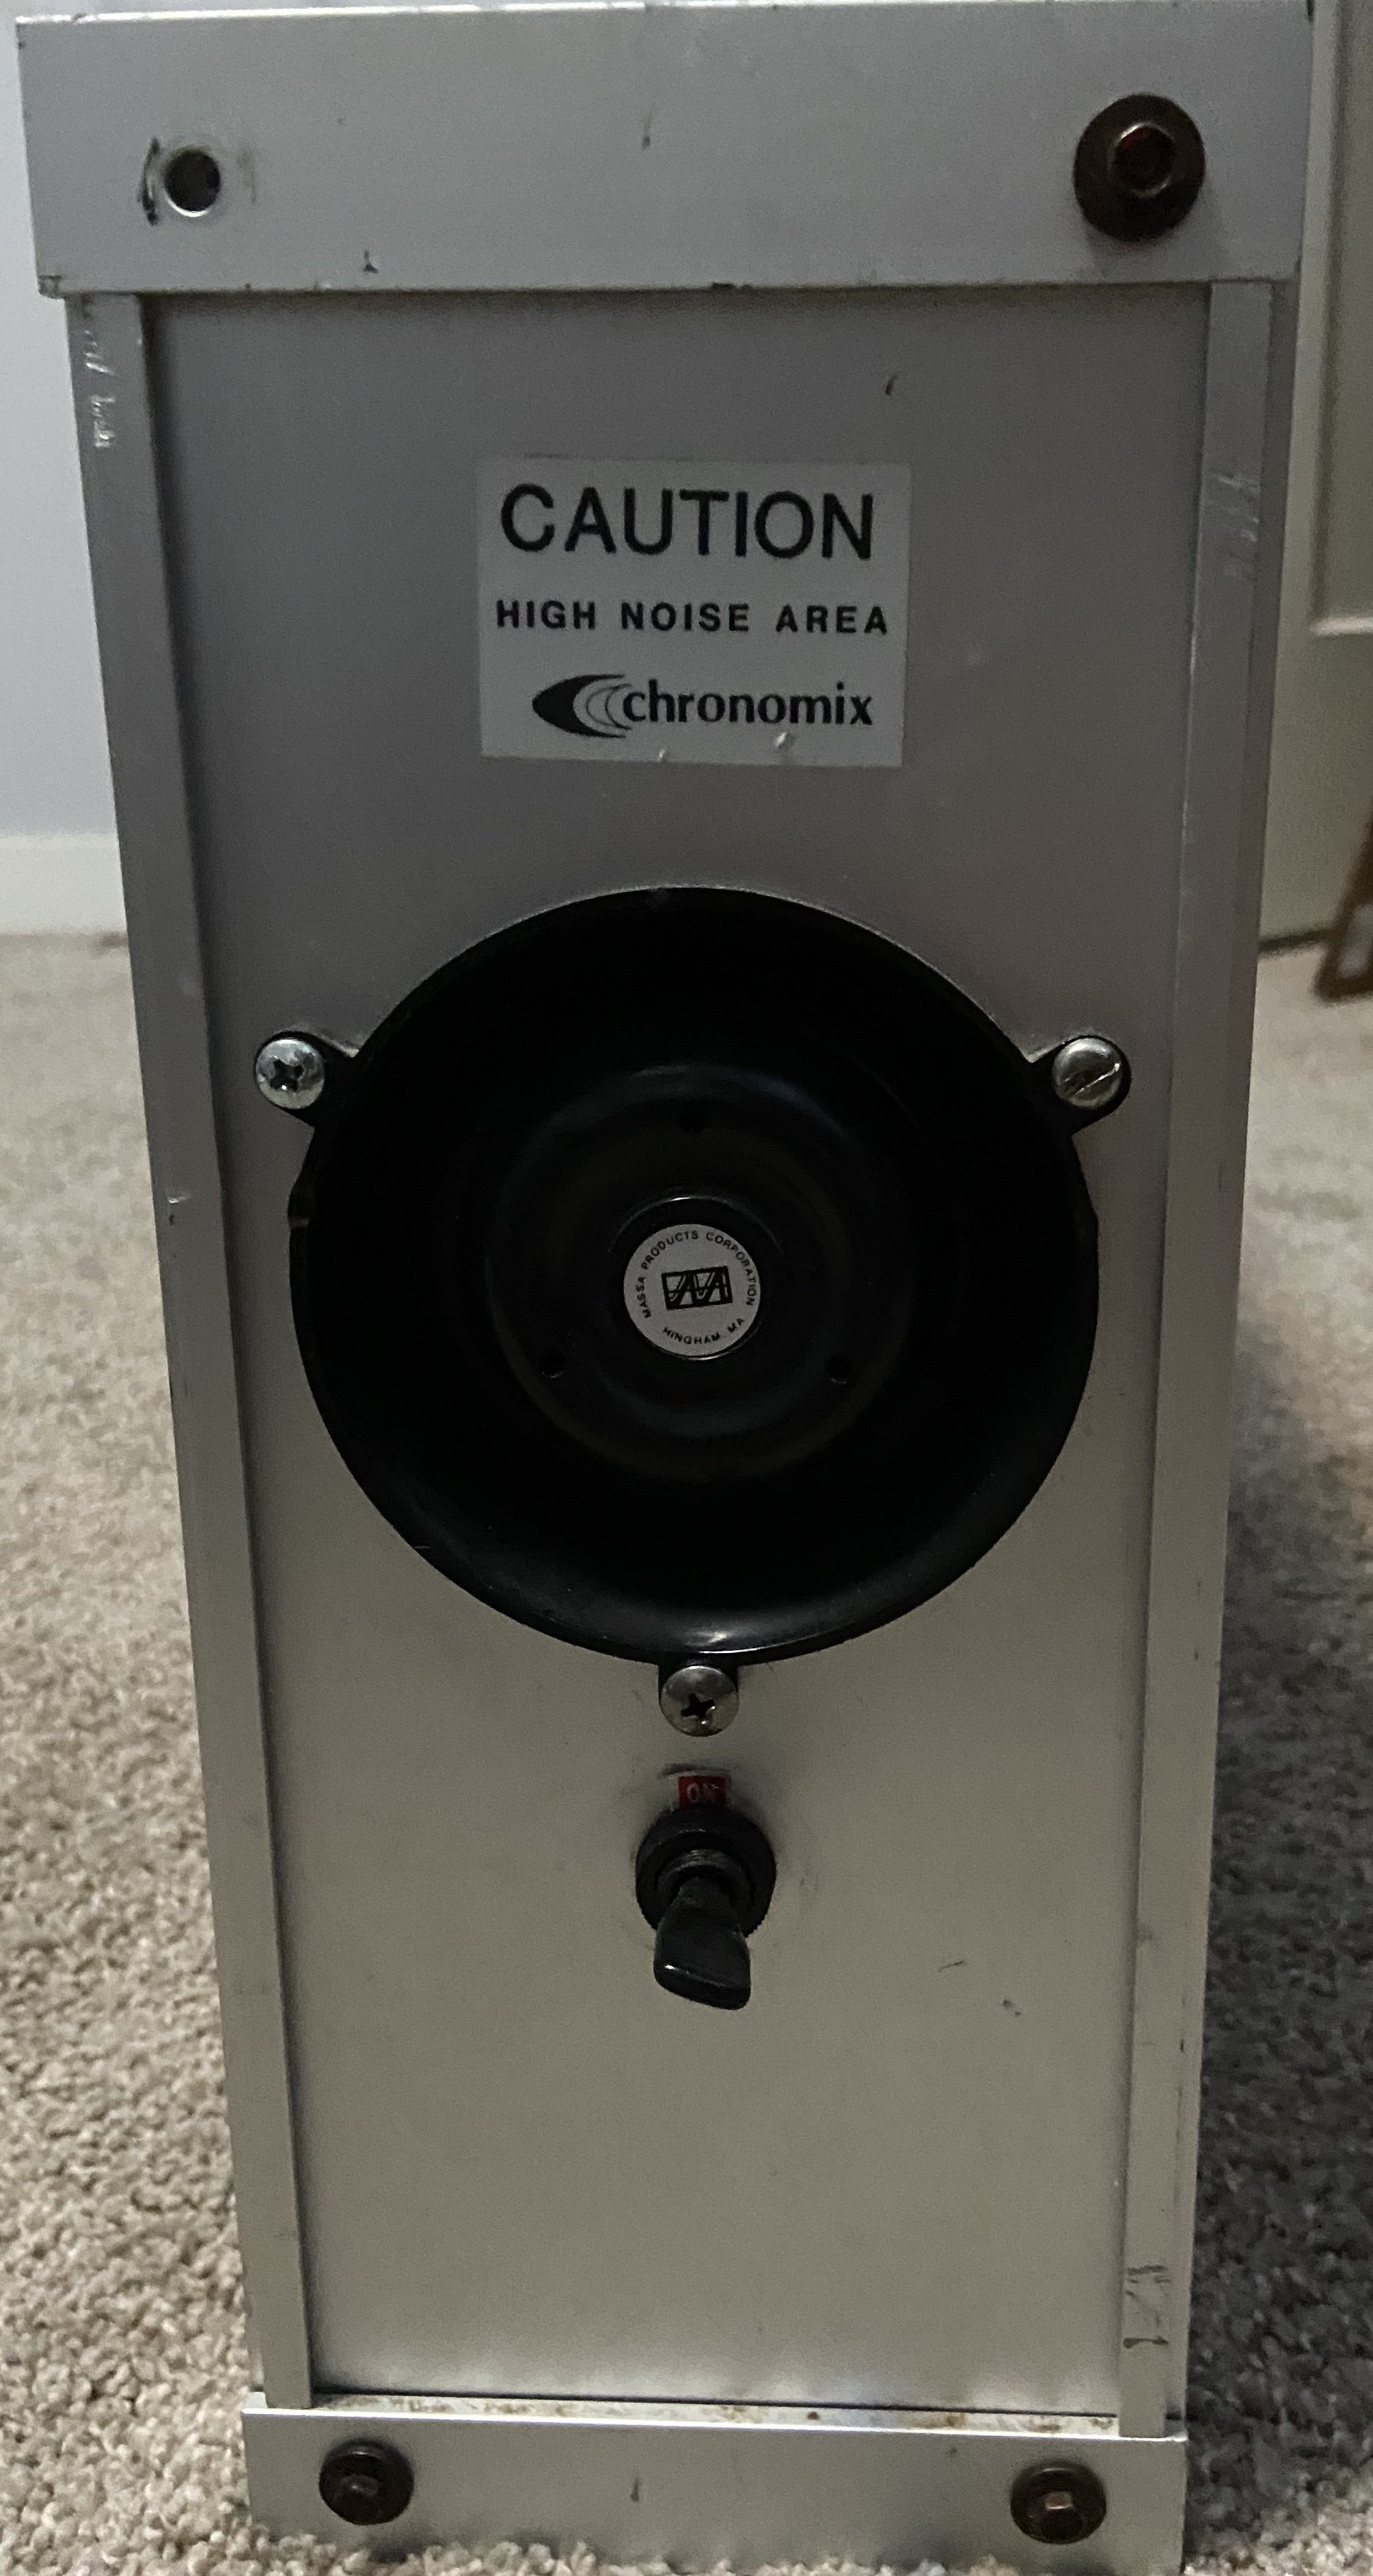
- A basic 'clock' mode that supports time zone updates, 12-hour and military time, granular readouts, a 'dead time' period that will only flip the digits once every fifteen minutes or not at all, an alarm using the giant horn on the clock, and an 'enabled' switch
- (Not finished) a 'stopwatch' mode
- (Not finished) a 'timer' mode
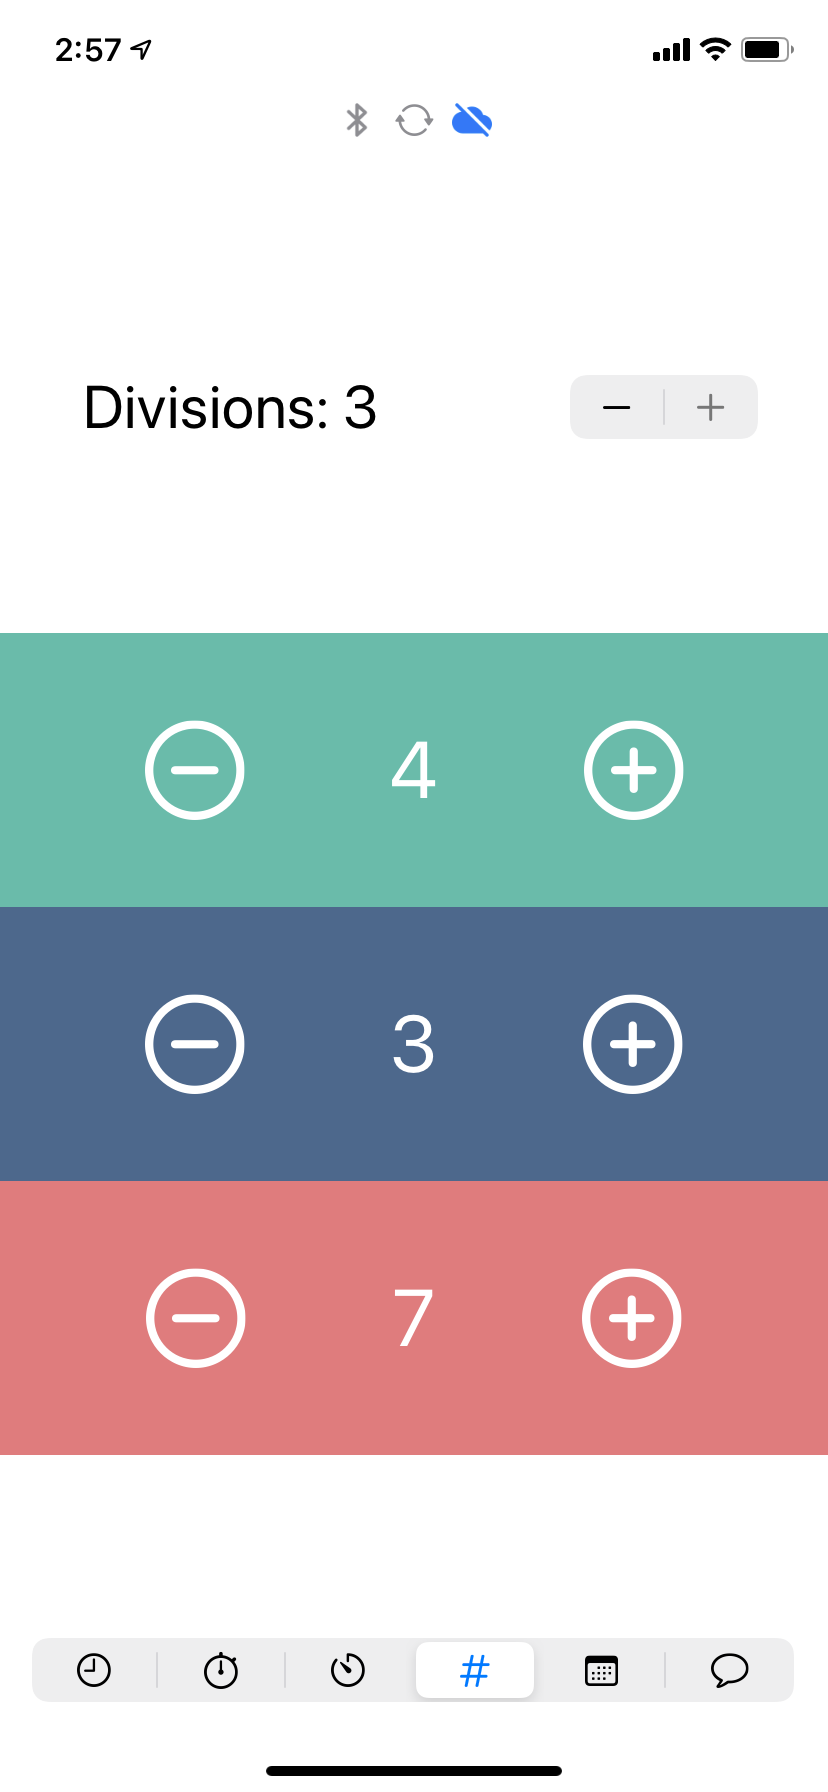
- A scores mode that will keep score for up to 3 teams at once. Good for pickup games, volleyball, etc
- A 'date countdown' ability that dynamically counts down to a future date and time
- A 'message' screen that allows the clock to attempt to display viable strings
It also contains a bluetooth HUD with feedback for message send/receives, as well as generic toasts. Lastly, there's a screen to select a wifi network and set the key and SSID.

 Fabien-Chouteau
 Jonathas Barbosa
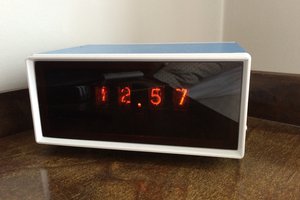
 Tobias Rathje
 Martin Fasani