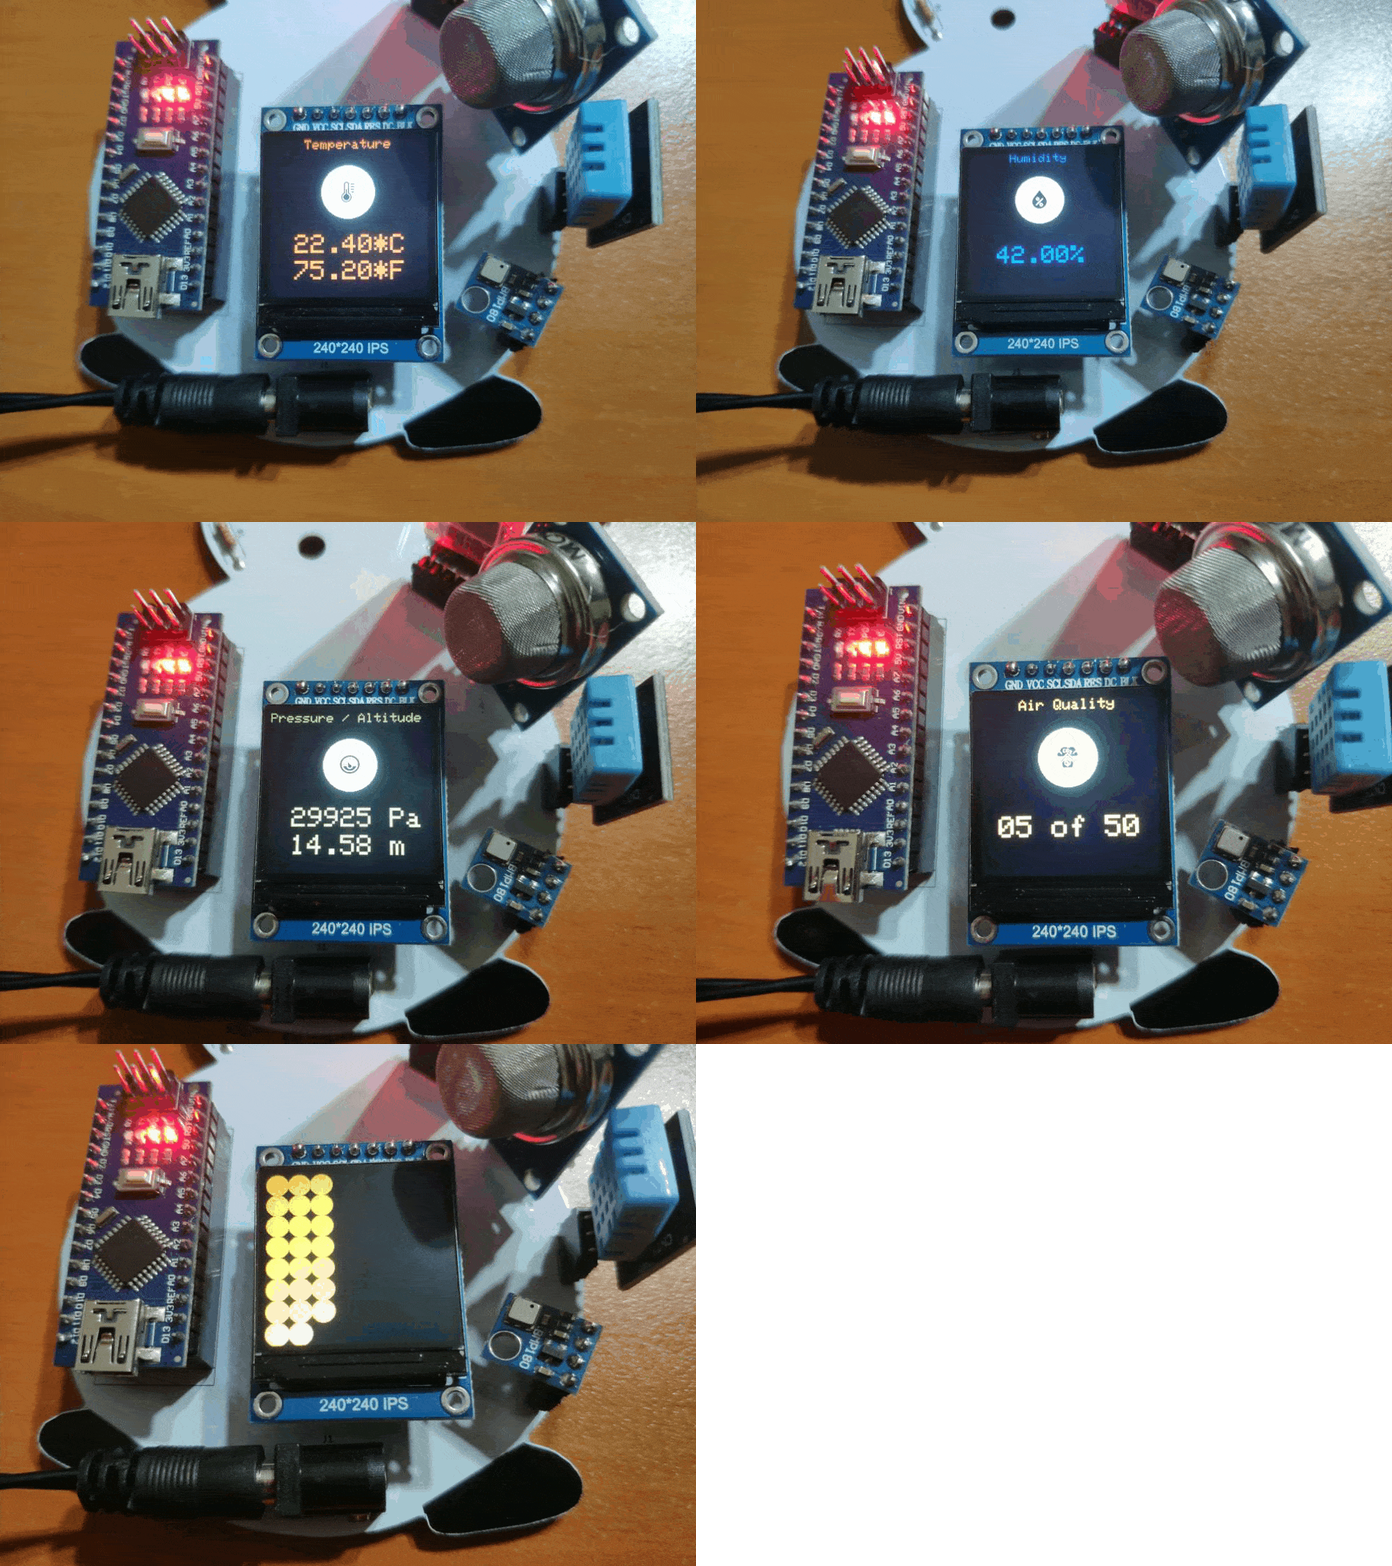
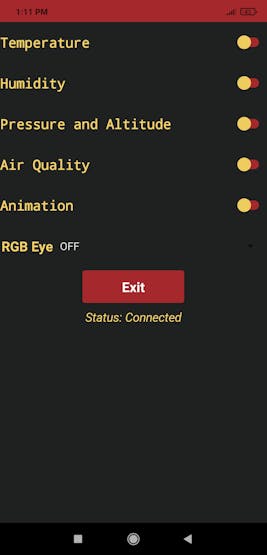
- Temperature
- Humidity
- Pressure and Altitude
- Air Quality
- Animation
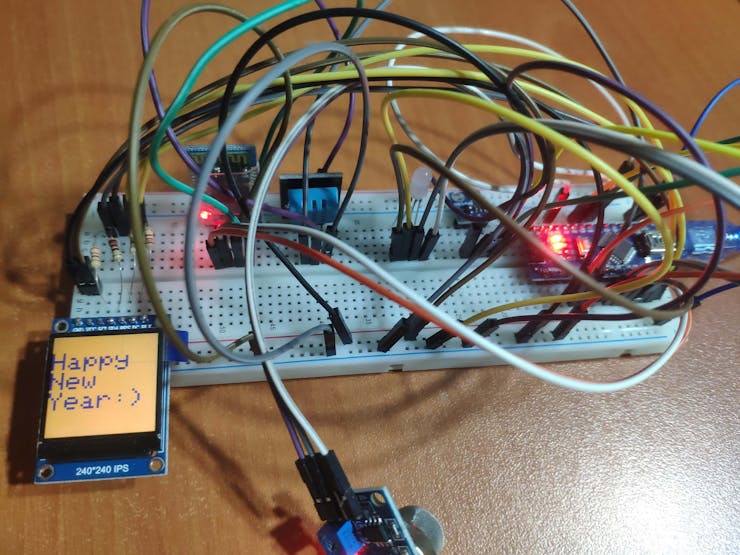
- Home Screen (Happy New Year)
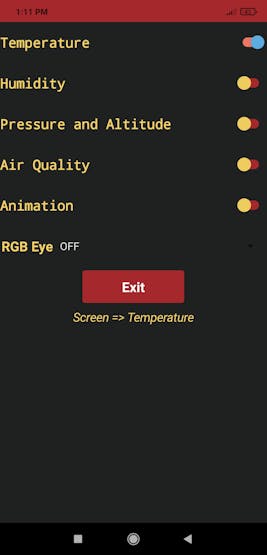
First of all, I developed an Android application named Gift Card to control the gift card's modes and features via Bluetooth. And, therefore, I added an HC-06 Bluetooth Module to the gift card.
To be able to obtain weather information accurately, I used a BMP180 Barometric Pressure/Temperature/Altitude Sensor and a DHT11 Temperature/Humidity Sensor.
Then, to detect the air quality, I used an MQ-135 Air Quality Sensor with large-scale detecting scope and high sensitivity - NH3, NOx, alcohol, Benzene, smoke, CO2, etc.
Finally, I included an ST7789 240x240 IPS Screen to display each screen (mode) with colorful images and texts. Also, I added an RGB LED to the gift card as the eye of the snowman.
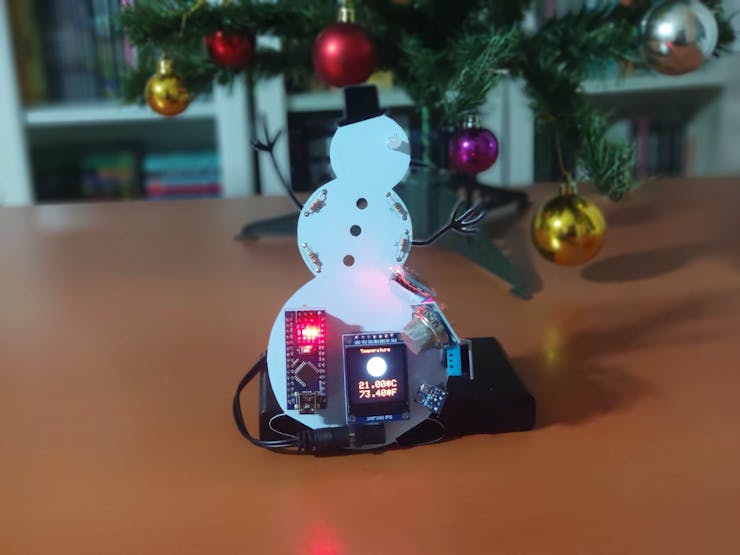
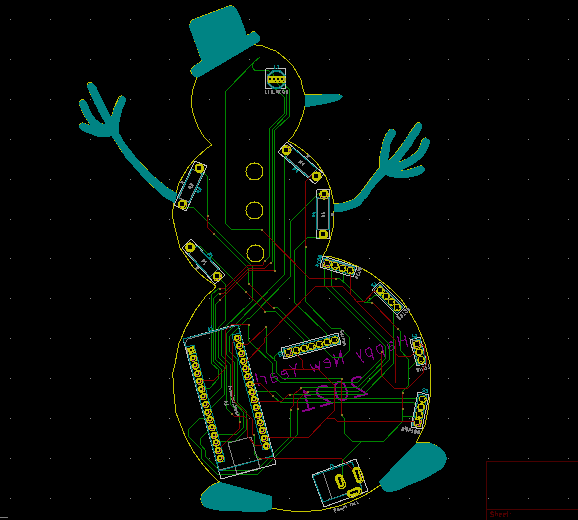
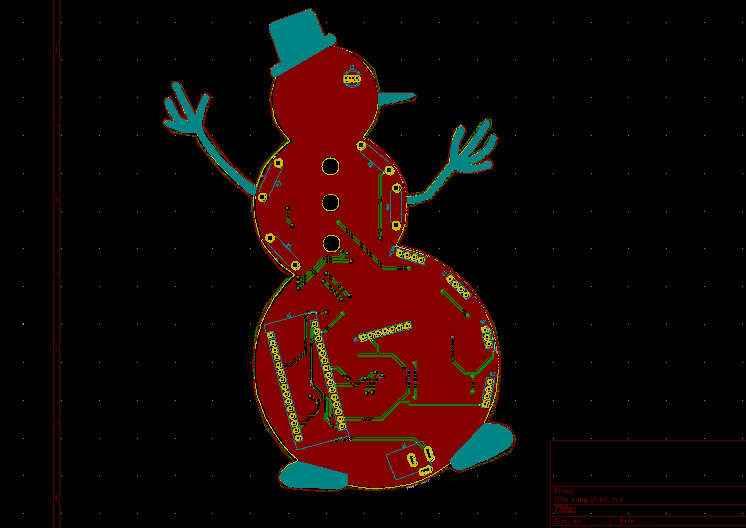
After completing my design on a breadboard and testing the code with the Android application, I designed a PCB (Snowman Gift Card) with a unique snowman shape to create an intriguing and apt gift card design for Christmas :)
I tried to keep components as simple as possible to integrate into the board to make this gift card easy-to-use even for novices and beginners who receive it as a gift for Christmas :)
Huge thanks to PCBWay for sponsoring this project.
Step 1: Designing and Soldering the Snowman Gift Card PCB
Primarily, I tested all connections and modules with the Arduino Nano on the breadboard.
Then, I designed the Snowman Gift Card PCB by using KiCad. I attached the Gerber file of the PCB below, so if you want, you can order this PCB from PCBWay to create a stylish snowman gift card to give your friends and family who can utilize its features as a home automation interface even to the next Christmas :)
Click here to inspect and order this PCB directly on PCBWay.
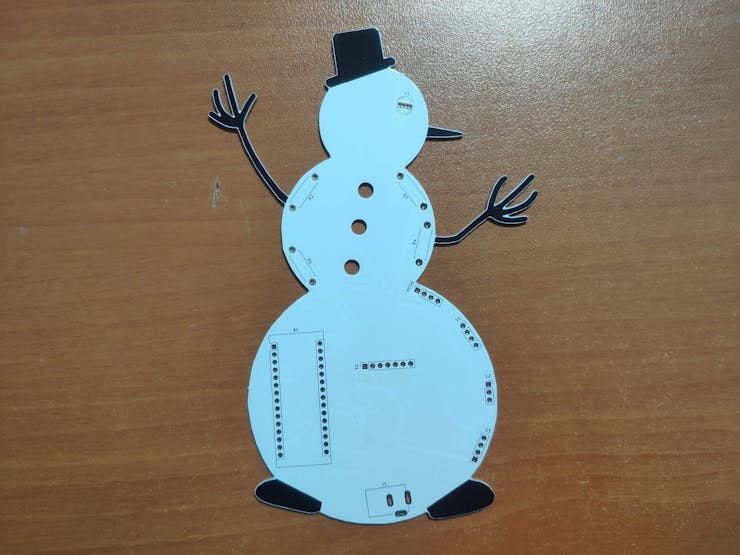
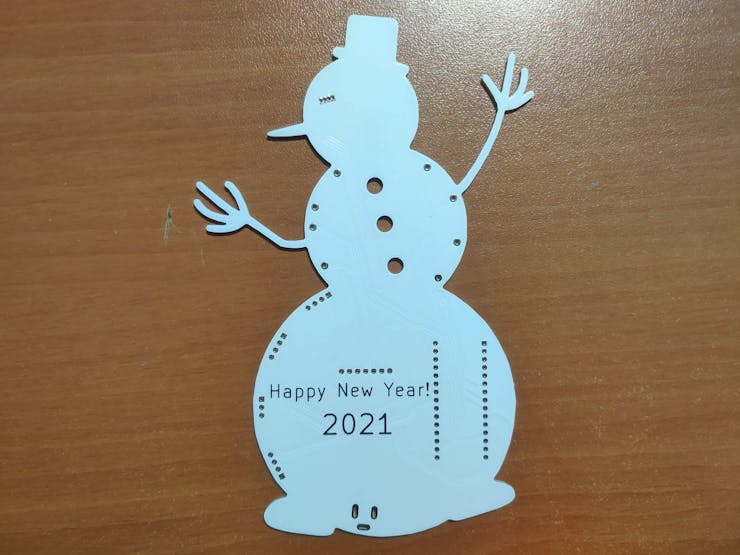
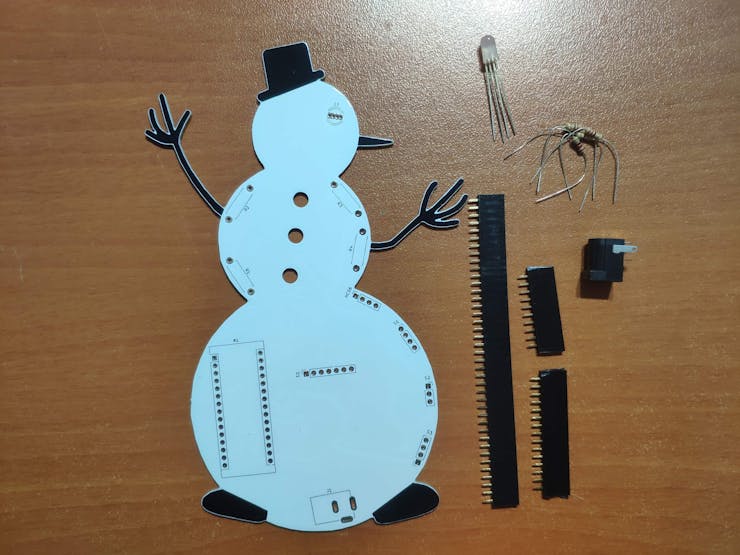
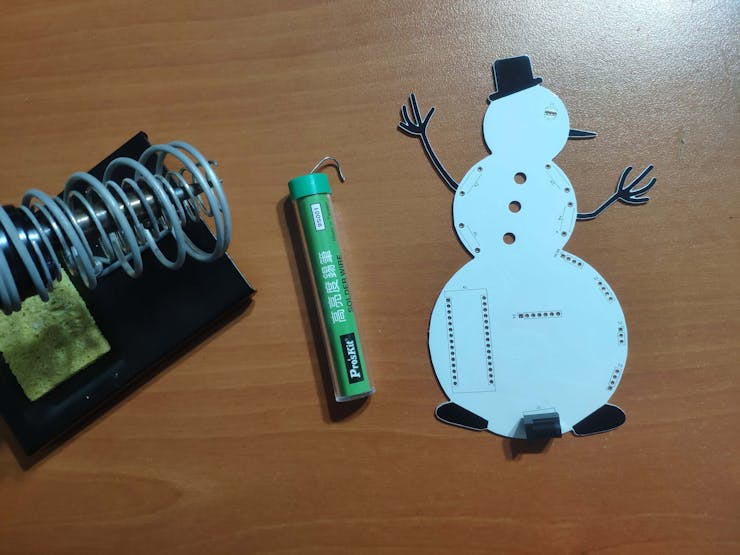
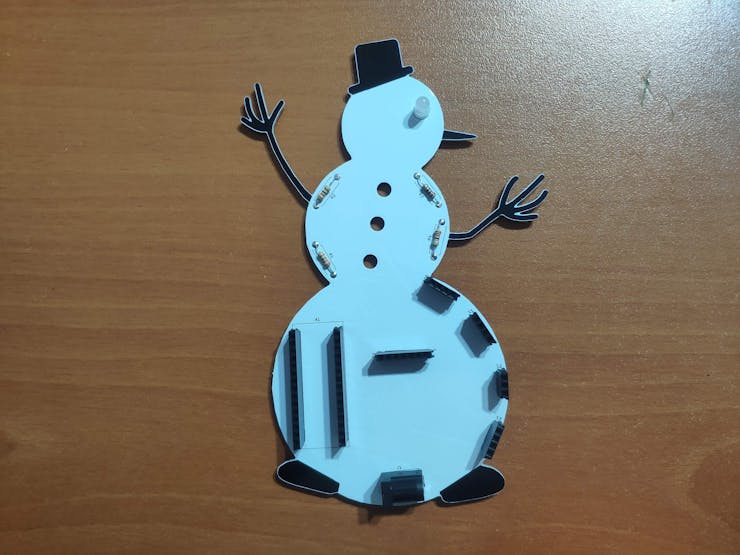
First of all, by using a soldering iron, I attached headers (female), 5mm RGB common cathode LED, 220Ω resistors, and the power jack.
Component list on the PCB:
A1 (Headers for Arduino Nano)
D1 (Headers for ST7789 240x240 IPS)
HC06 (Headers for HC-06 Bluetooth Module)
S1 (Headers for MQ-135 Air Quality Sensor)
S2 (Headers for DHT11 Temperature/Humidity Sensor)
S3 (Headers for BMP180 Barometric Pressure/Temperature/Altitude Sensor)
R1, R2, R3, R4 (220Ω Resistor)
L1 (RGB Common Cathode)
J1 (Power Jack)
Step 2: Developing the Gift Card Android application on the MIT APP Inventor 2
I chose to use the MIT APP Inventor 2 to create the Gift Card Android application due to its easy-to-use designer interface with drag and drop editor for simple functions. MIT App Inventor is a web application integrated development environment provided by Google and now maintained by the Massachusetts Institute of Technology.
You can download the apk file (Gift_Card.apk) of the Gift Card Android application from the Downloads below to install it on your phone or send it to people you want to present this gift card.
I also published the application on Google Play:
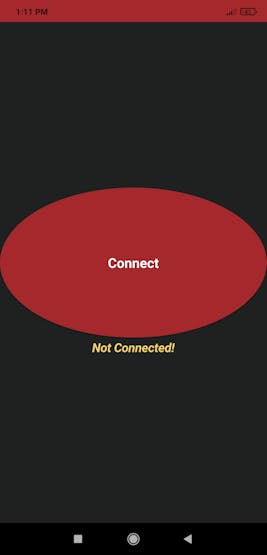
⭐ When installed, click the Connect button to view all paired Bluetooth devices.
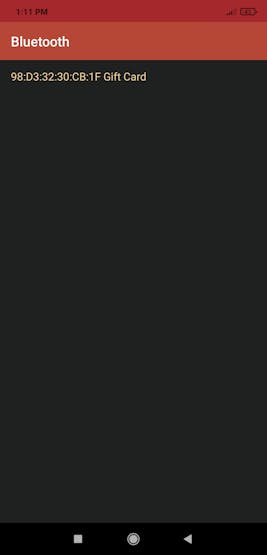
⭐ Then, select the one named Gift Card (HC-06 Bluetooth Module) if not named differently by the user.
⭐ If the connection with the Snowman Gift Card PCB is successful after entering the given password (1234), the application prints Status: Connected. Otherwise, it prints Status: Error.
If you want to change the design of the application or view the source code to add new functions, follow the steps below:
⭐ Go to the home page of the MIT App Inventor 2 and click the Create Apps! button.
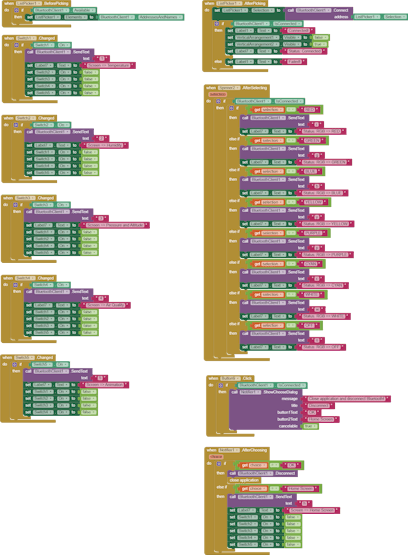
⭐ Then, import the aia file (Gift_Card.aia) of the application to the MIT App Inventor 2 to view the application settings and code.
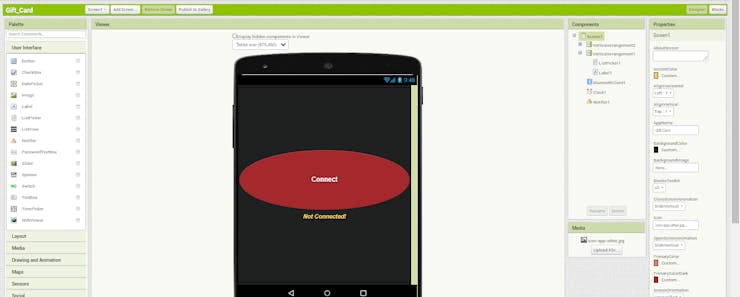
⭐ The application has two screens, five switch buttons, one spinner, and one notification box. You can change their functions by using the Blocks editor.
 kutluhan_aktar


 SaberOnGo
 Lithium ION
will this project will work for such like application android apps and game.https://mksapk.com/subway-surfers-mod-apk/