 Manuel Tosone
3D Printing
As a printer, I used a Prusa i3 MK3S with a 0.4 mm nozzle diameter. All the parts are printed with PLA. The case, the drawer, and the stylus are printed with 0.2 mm layer height, the other parts with 0.1 mm layer height. The case is the only part that needs supports.
Assembly Instructions
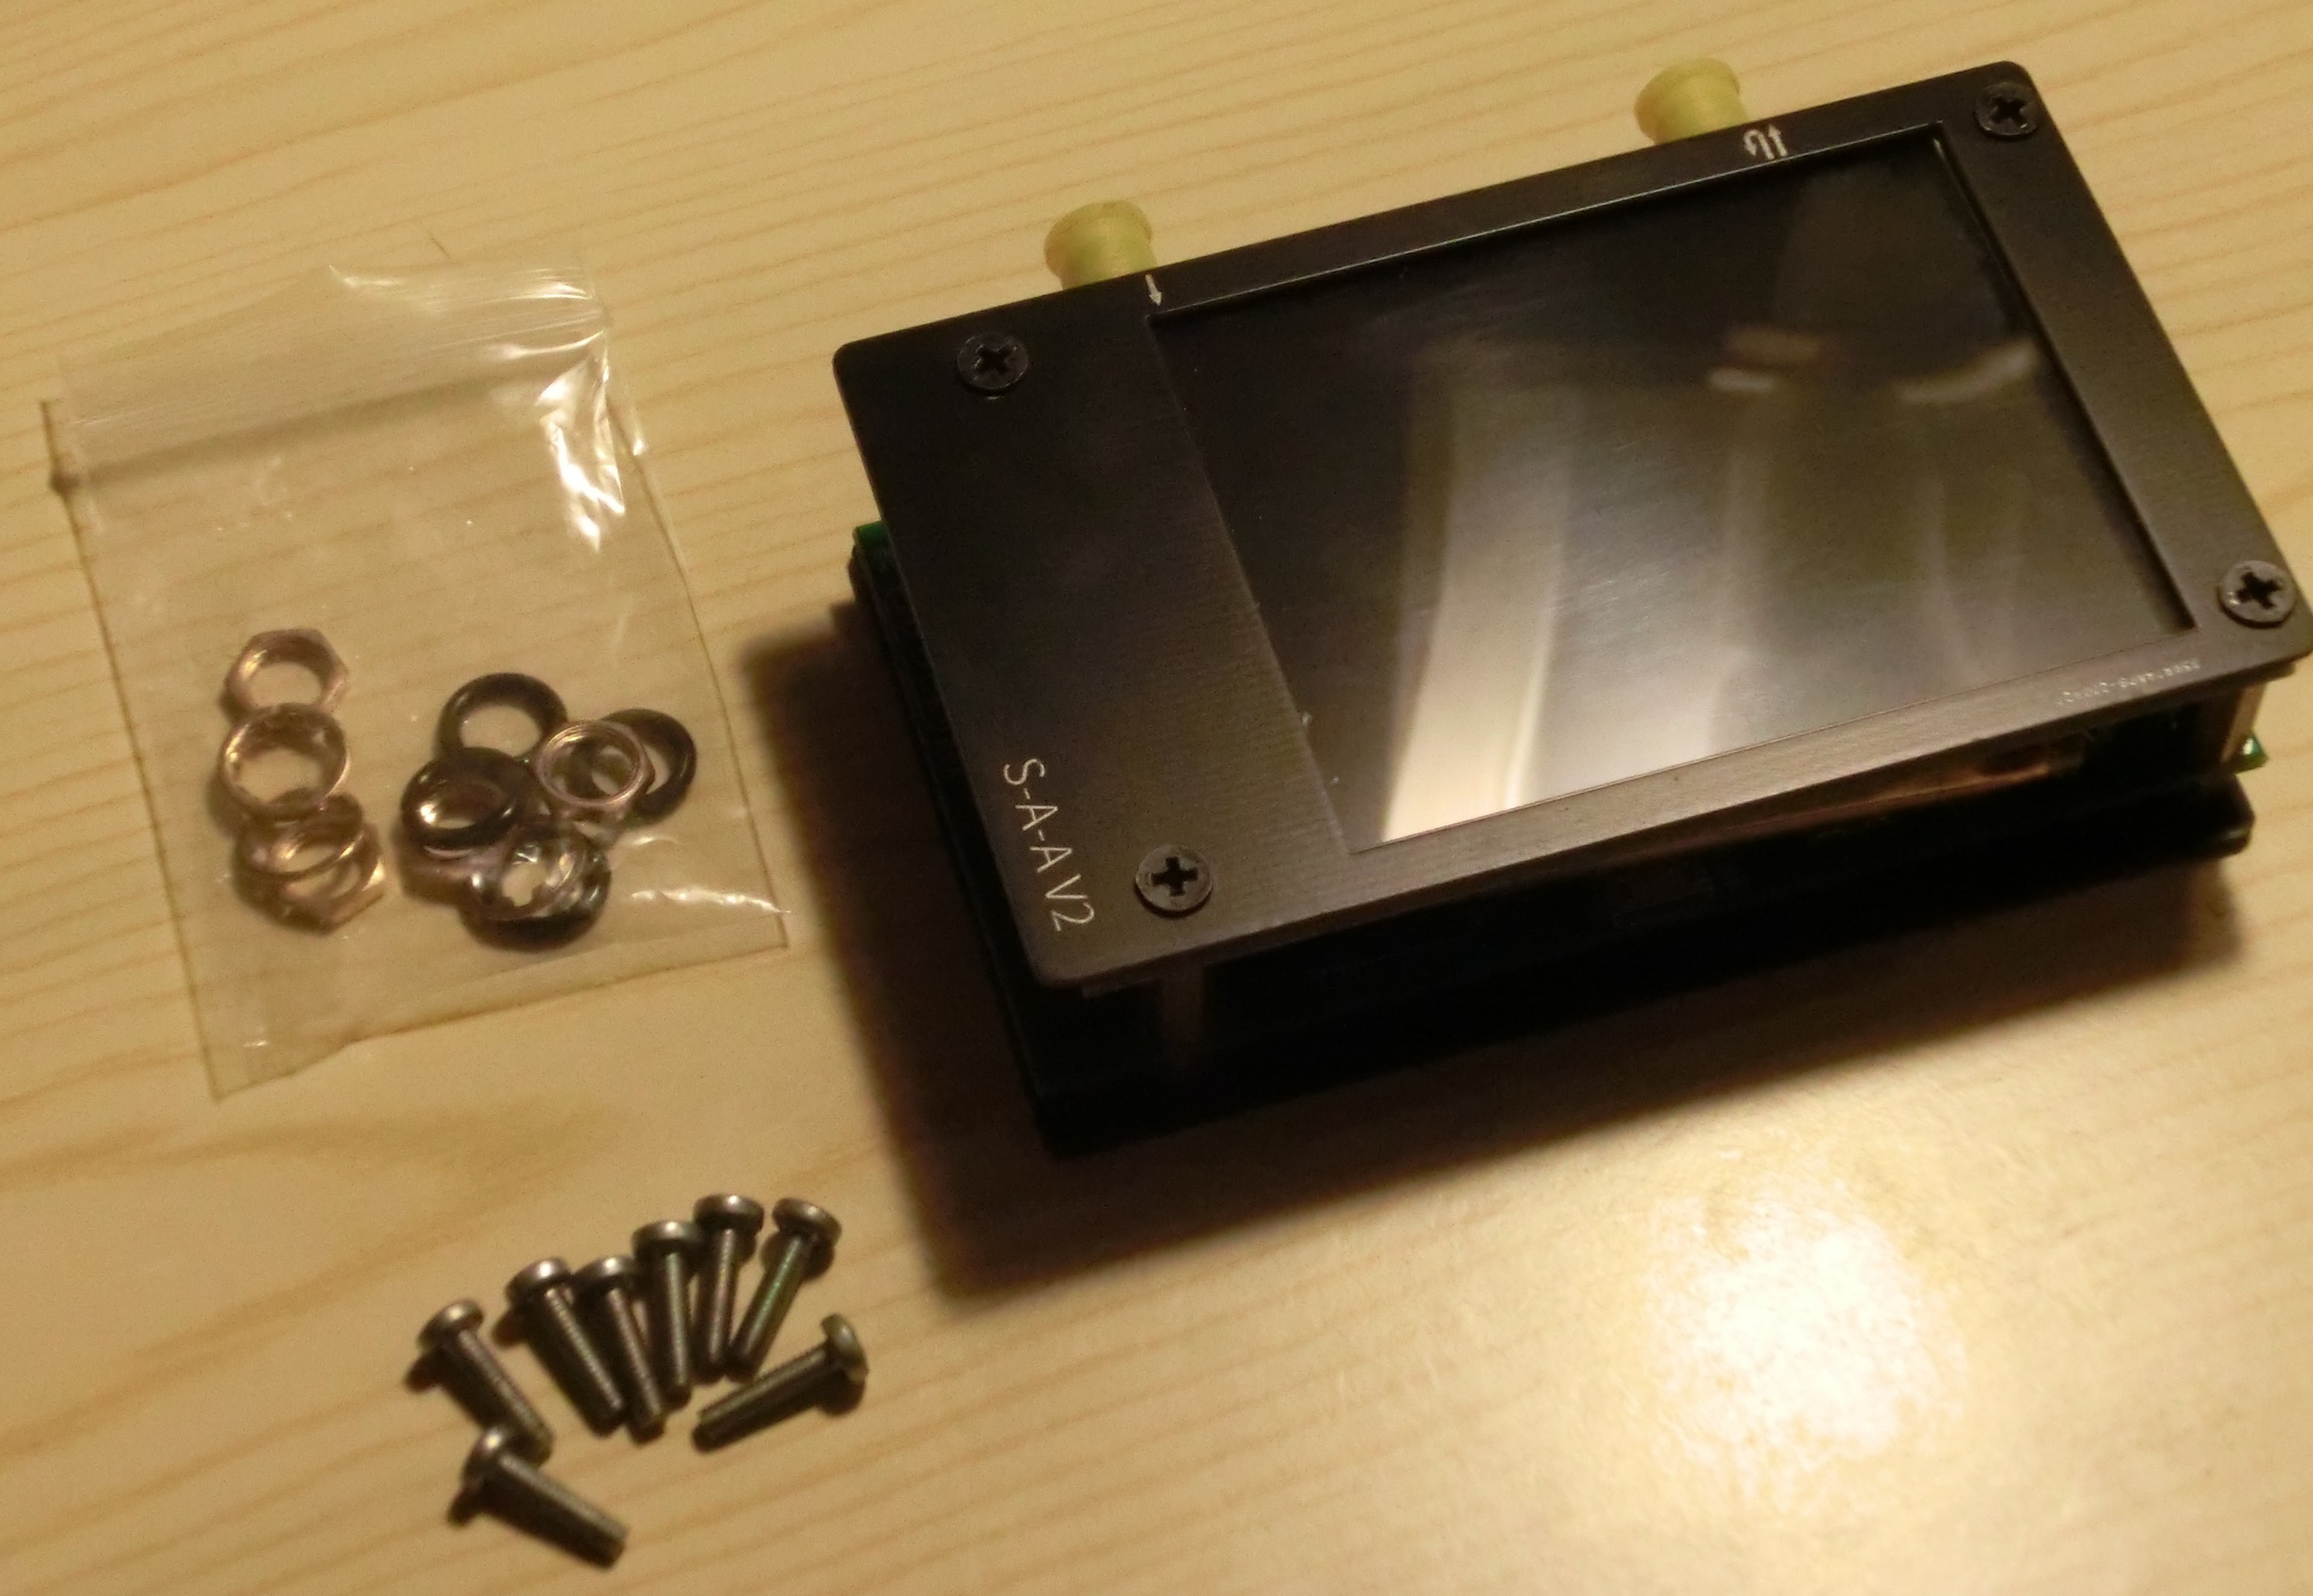
My NanoVNA came as shown in the picture, the bag of nuts and washers was included in the box. To assemble the parts you need 8 extra screws M2.5 x 10 mm.
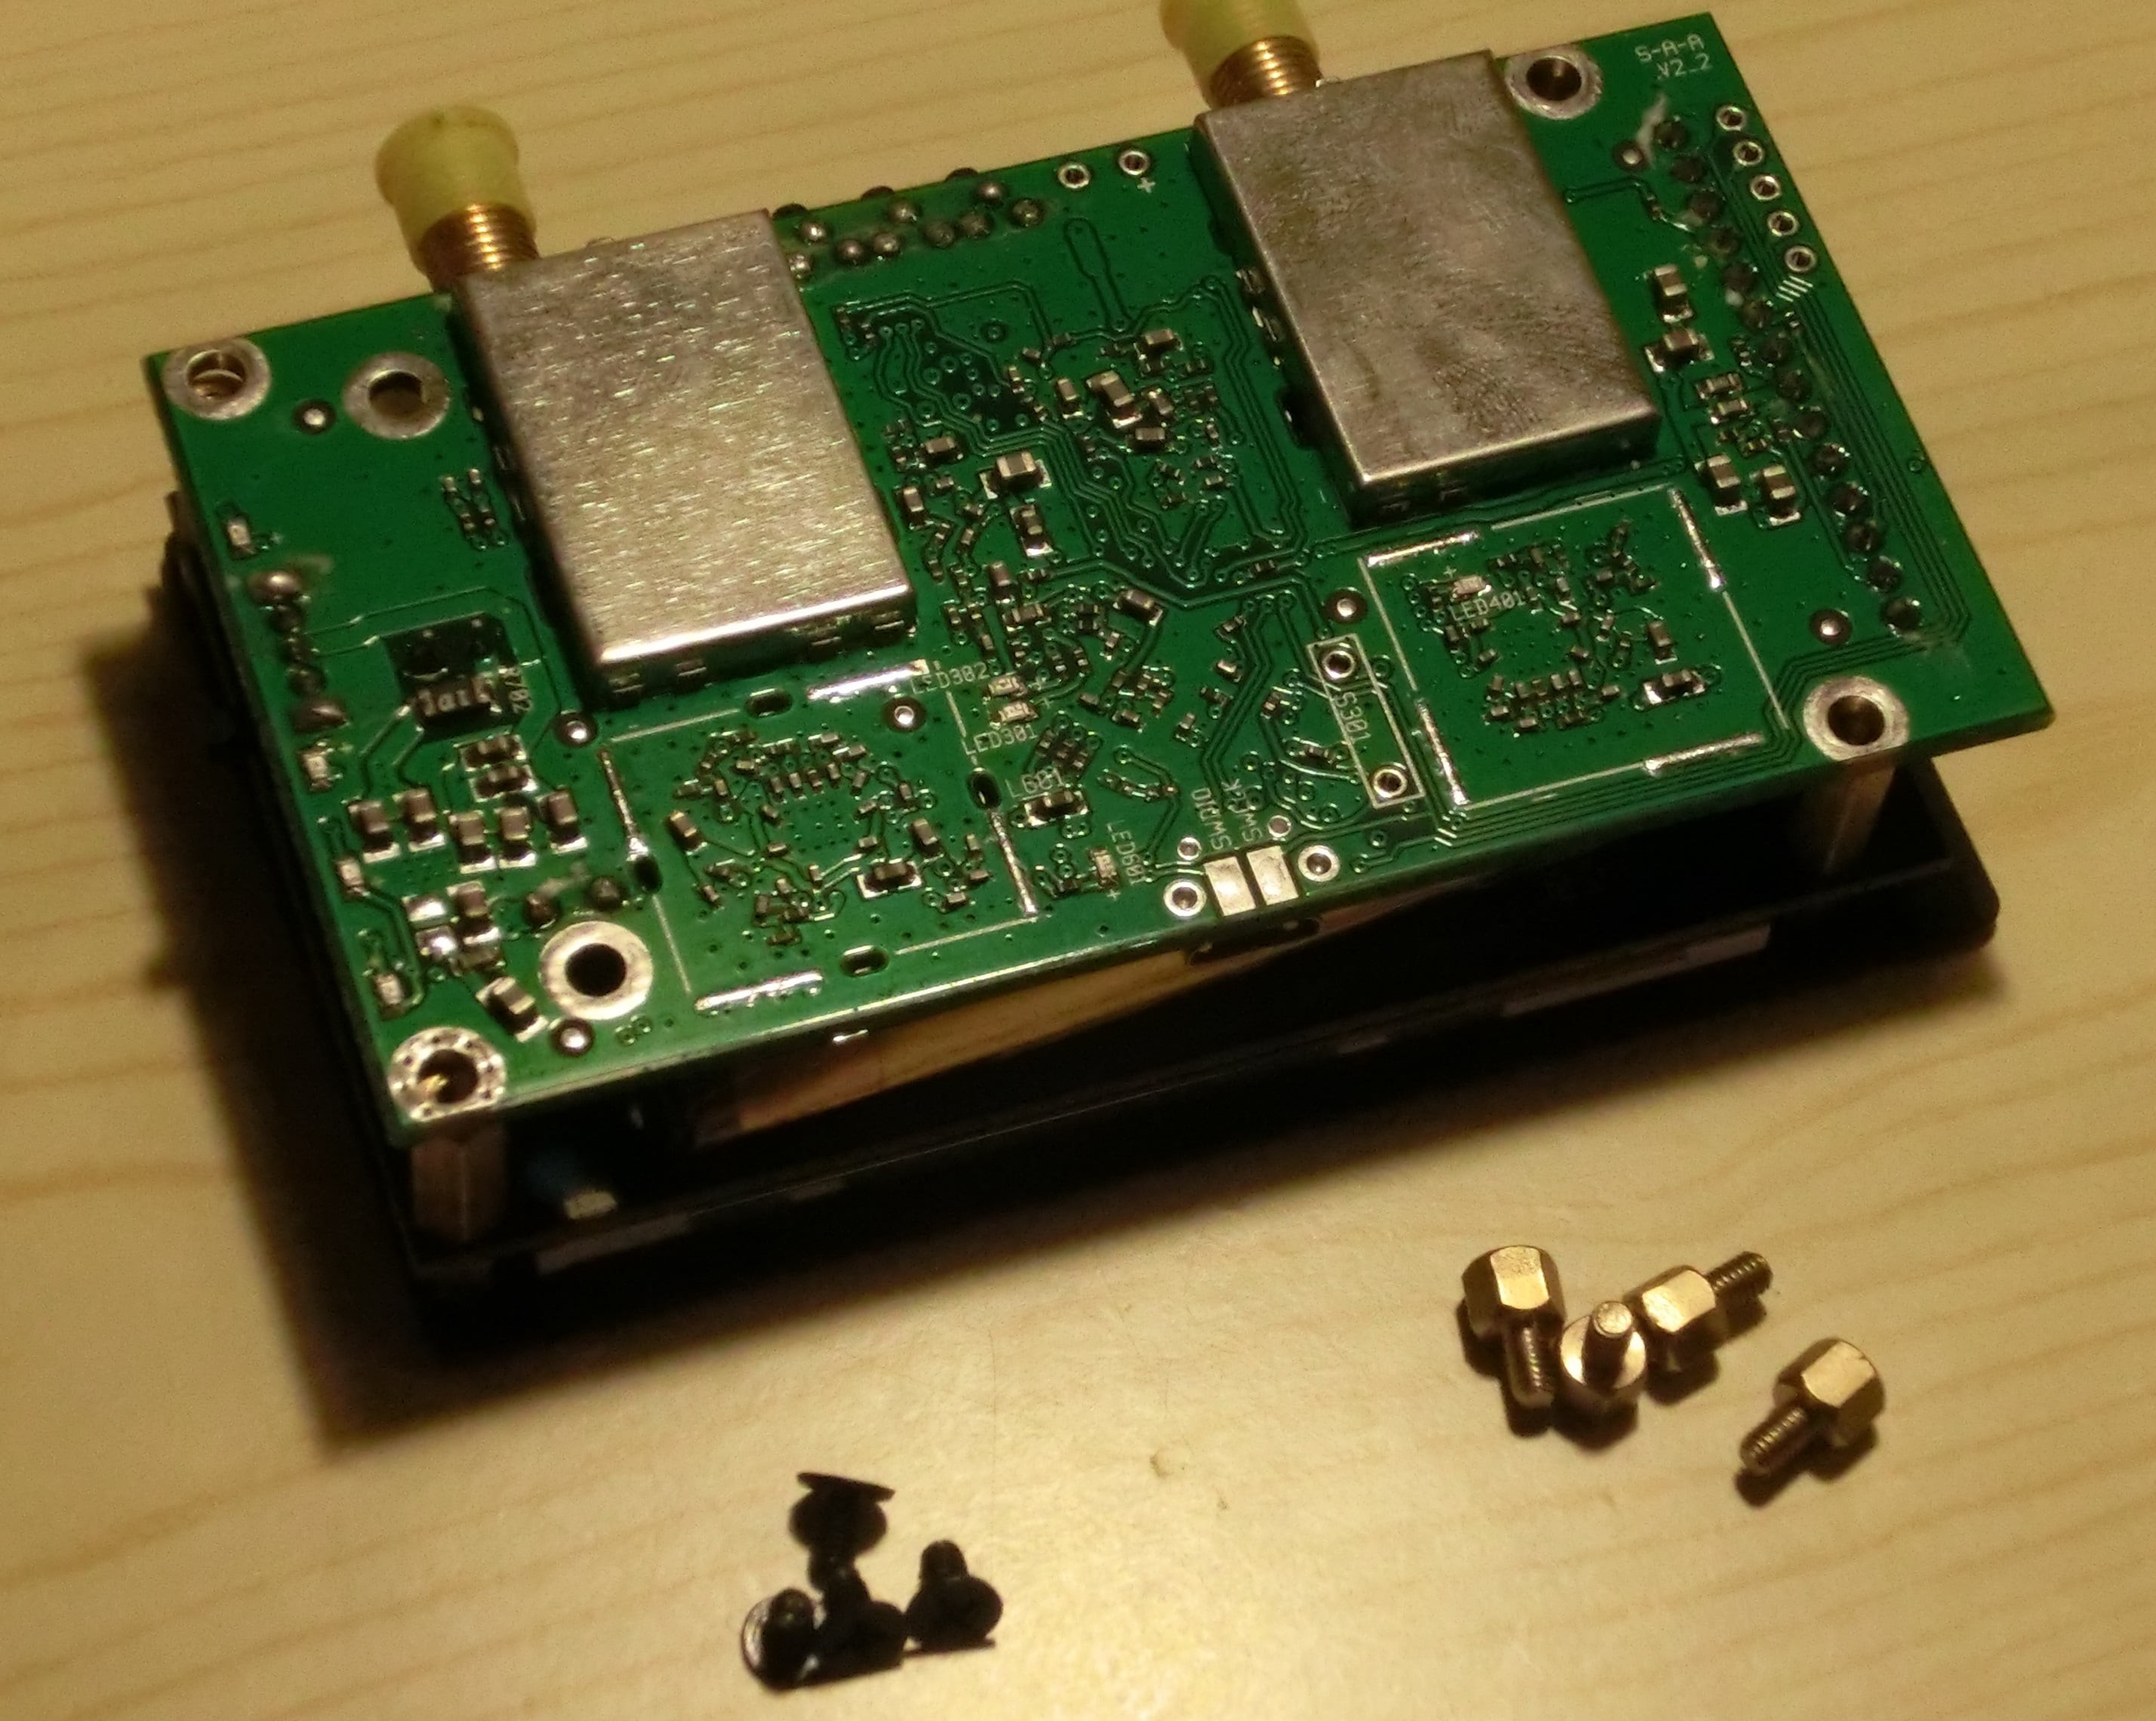
The easiest way is to start from the bottom. First, unbolt the bottom plate and remove the four brass spacers.
Insert the switch and two of the three buttons, leave out the middle one otherwise it will fall. Flip the parts and screw in the bottom plate.
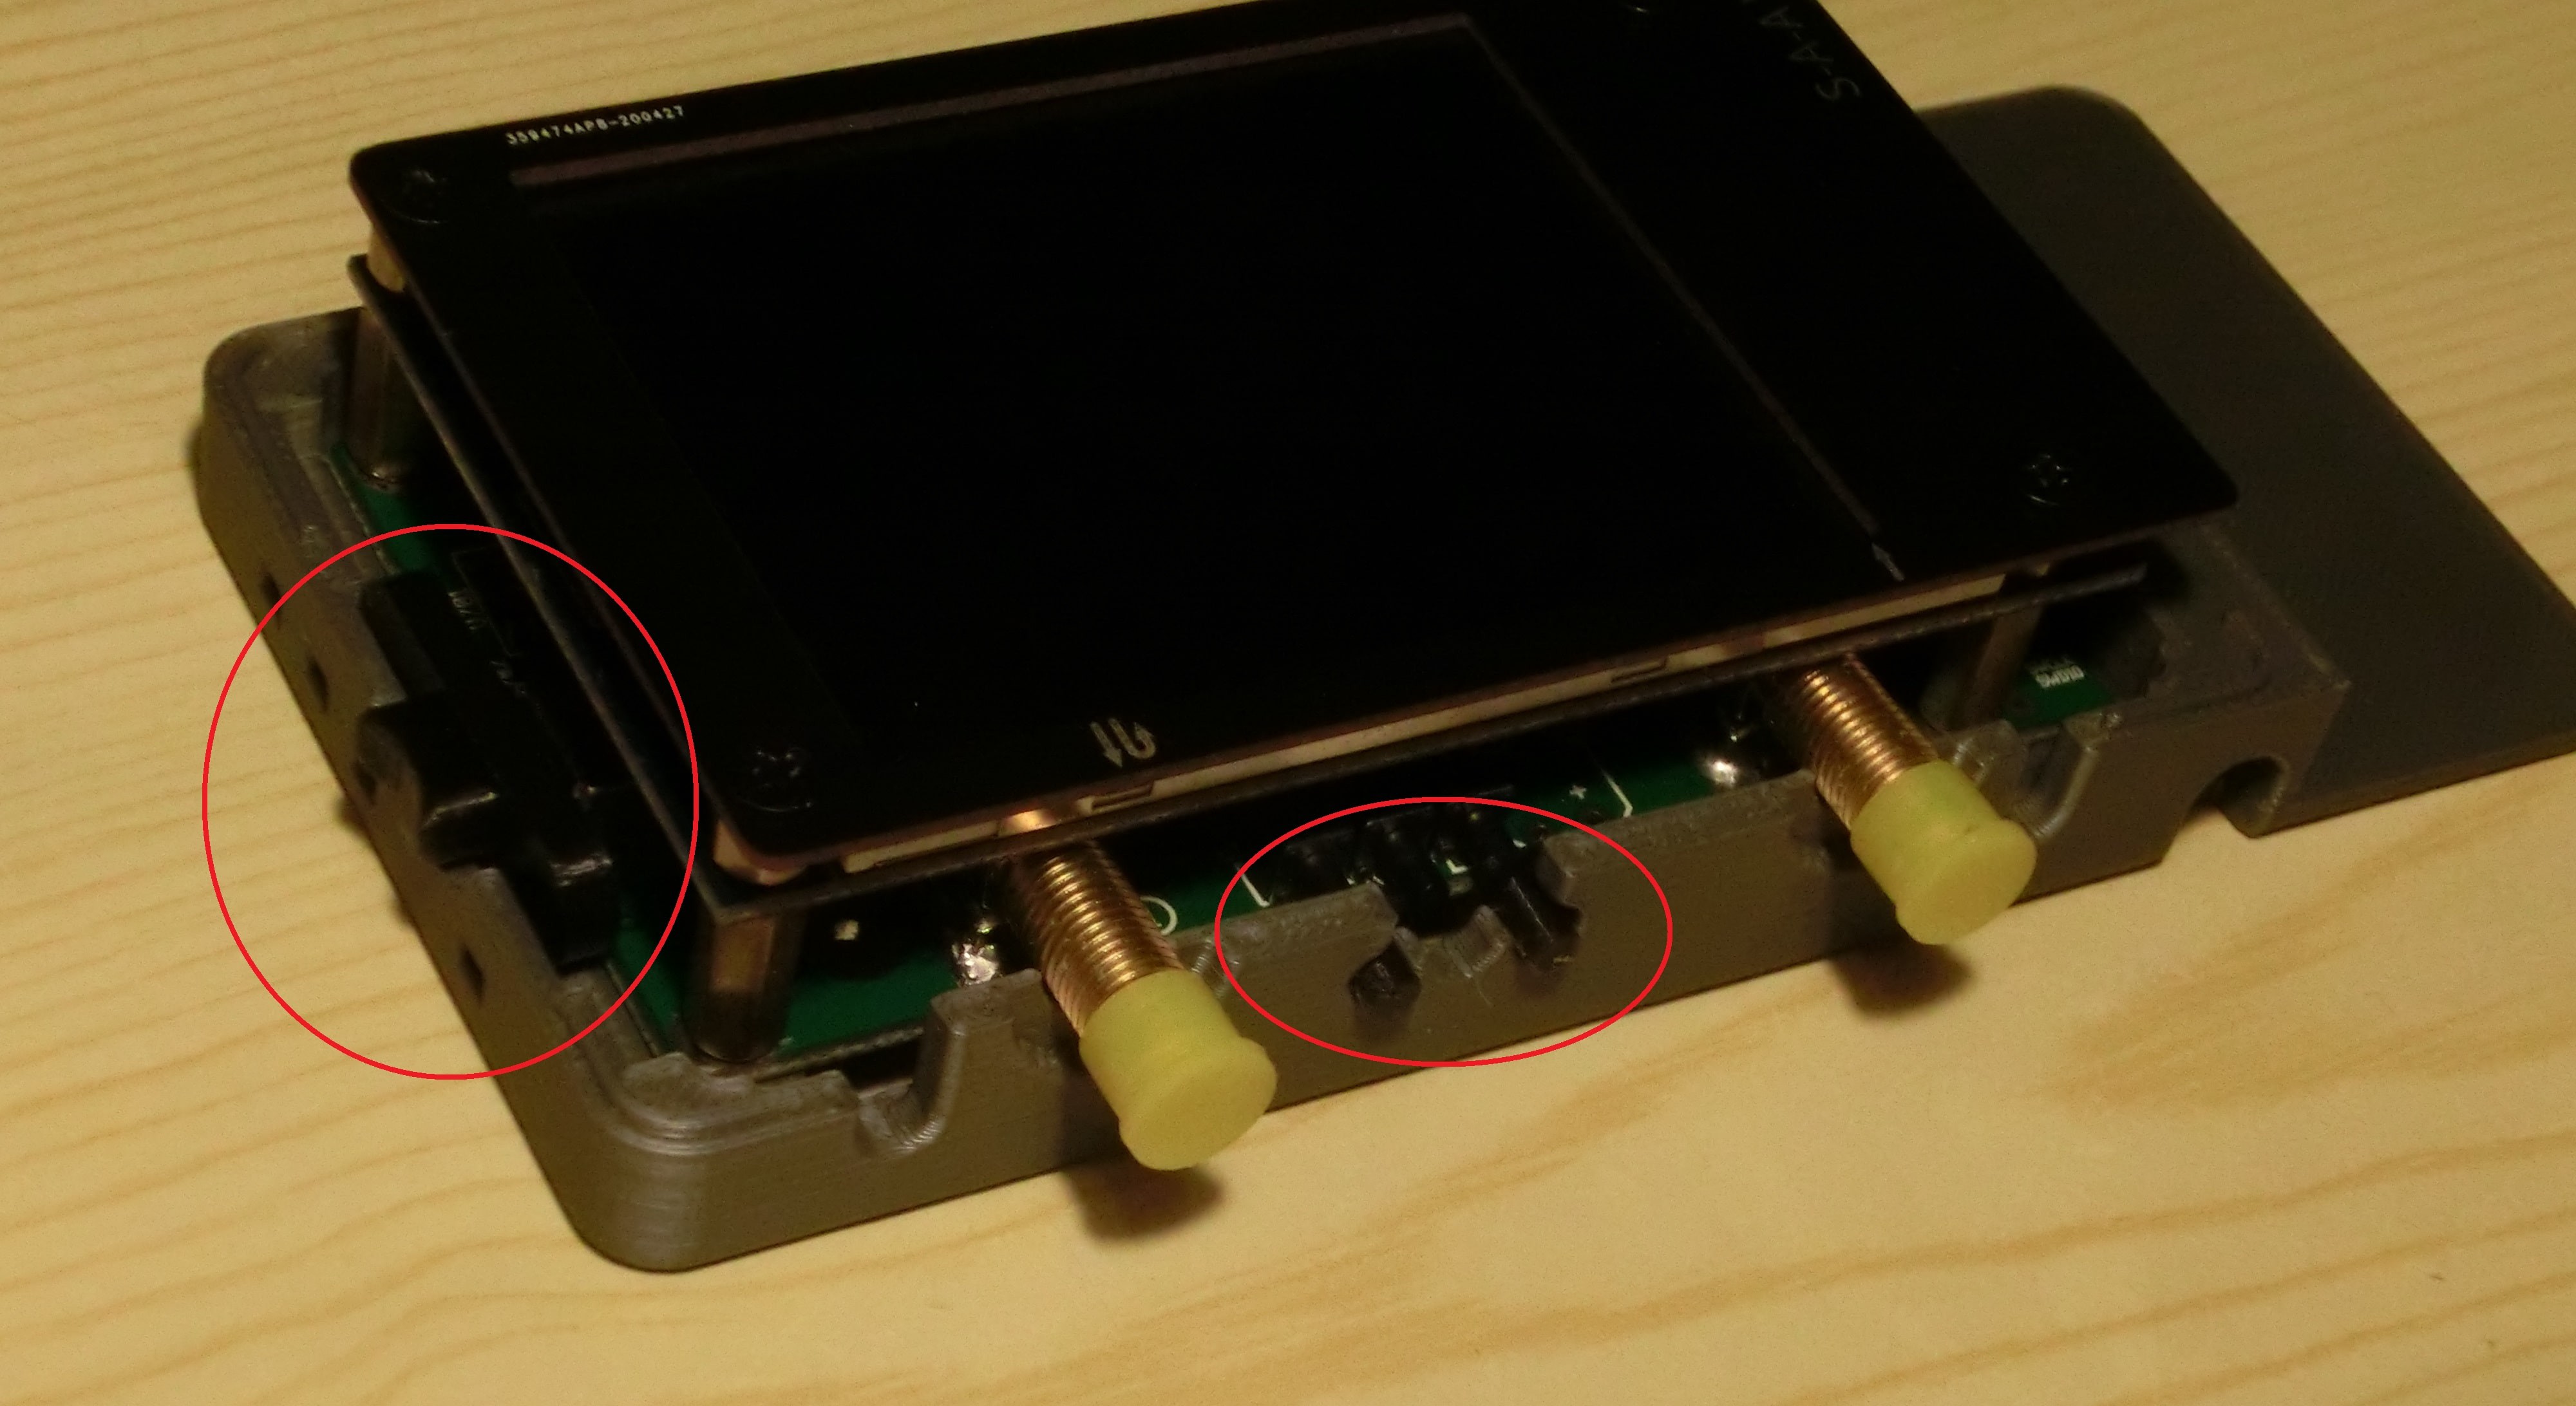
Unscrew the top plate and the four brass spacer, insert the last one of the three buttons, and position the drawer. Insert the lock in the top half of the case whit its spring. If you are following along, make sure to lose at least a spring in the process... That's how I did it.
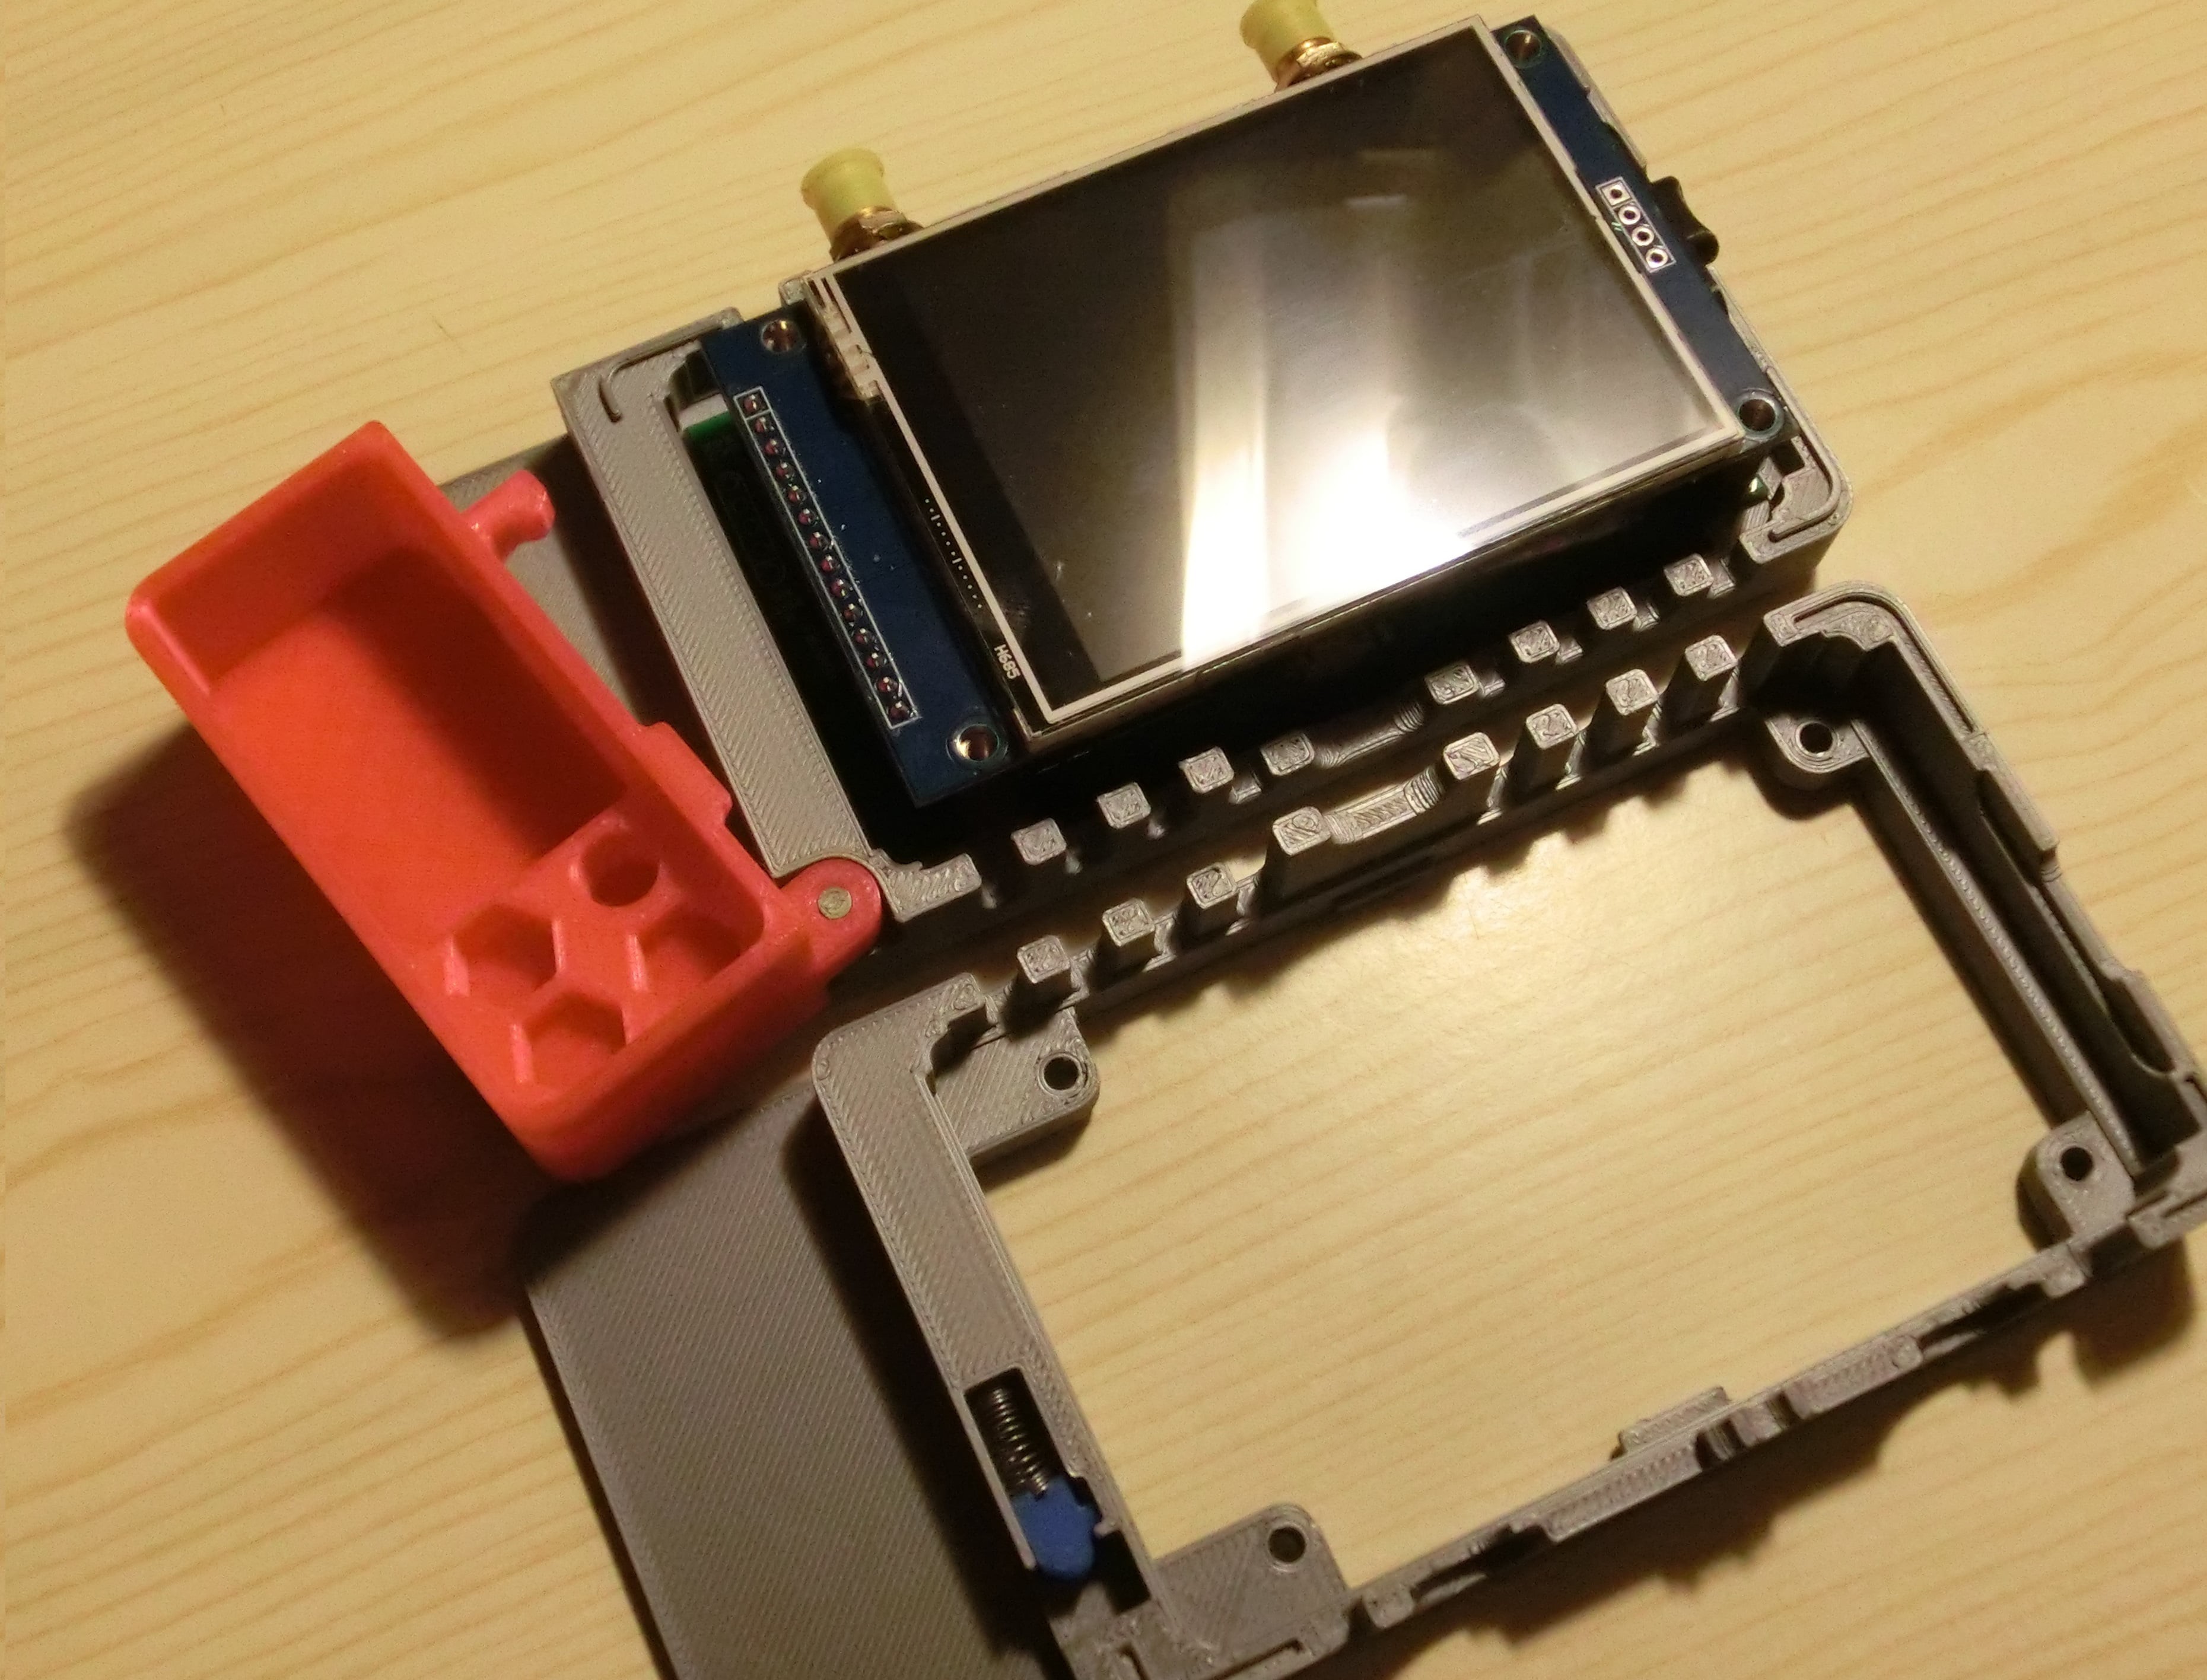
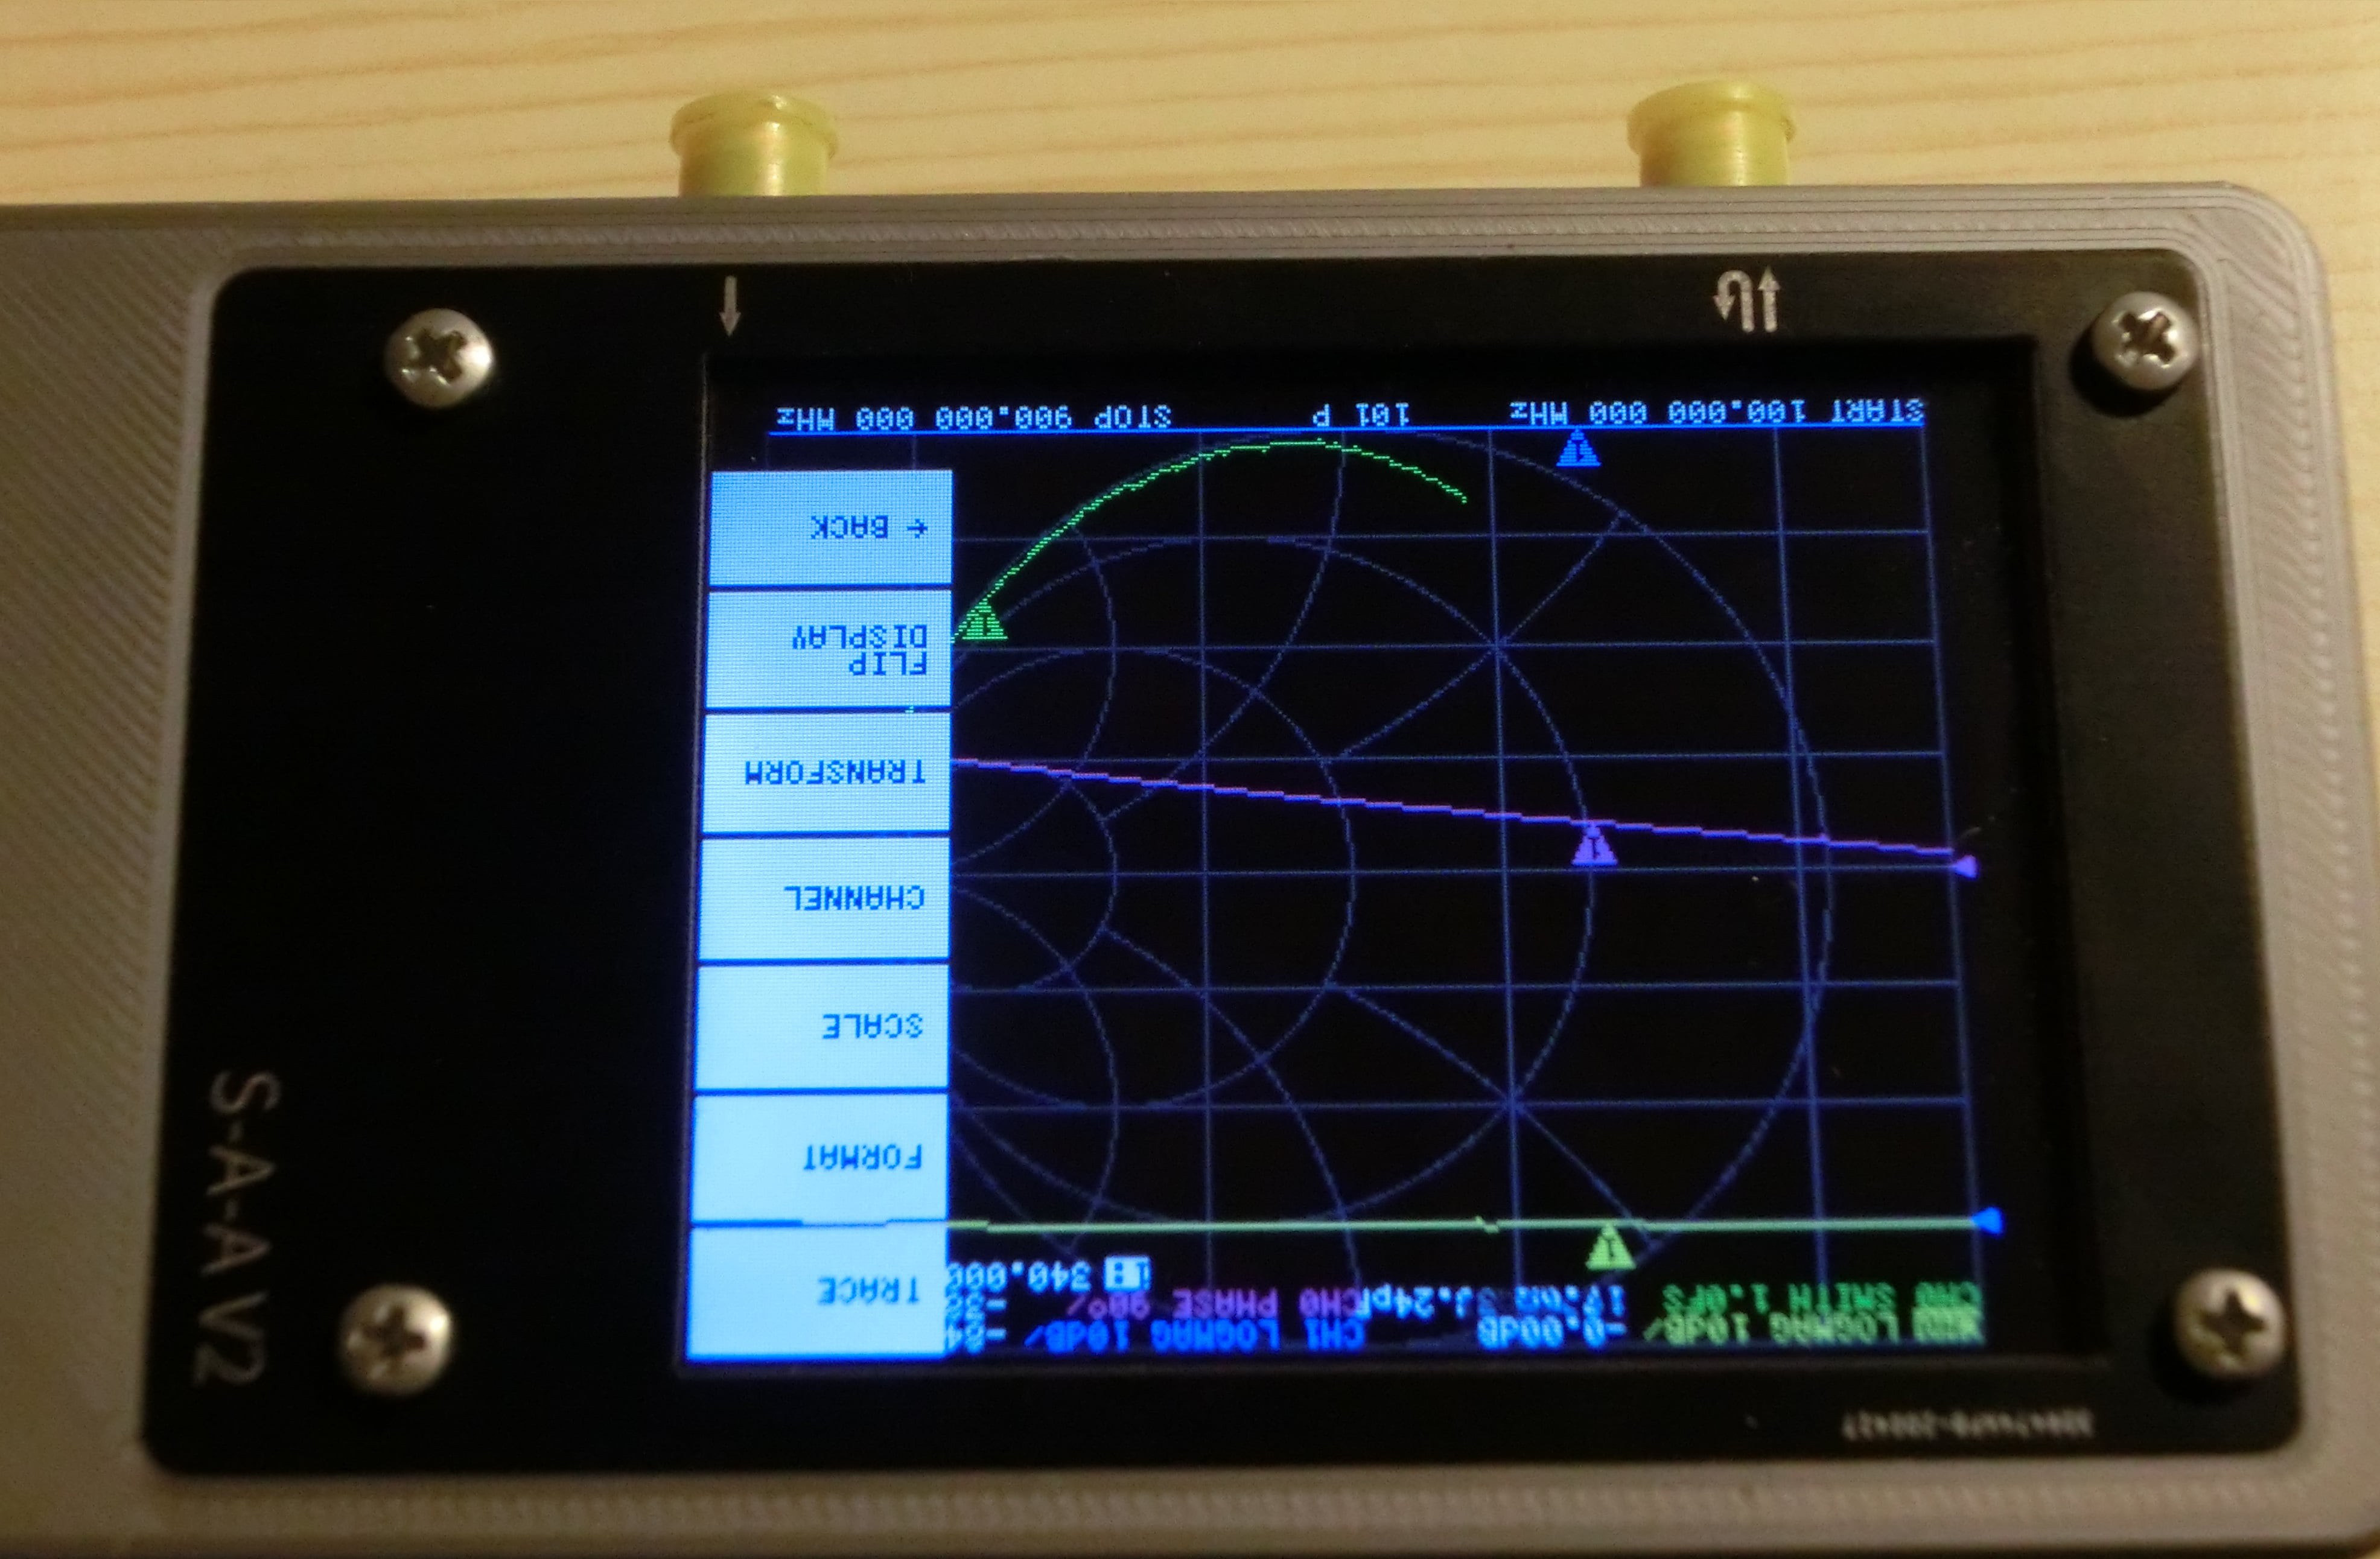
Now you can screw in the top plate. One annoying thing is that you need to flip the screen every time you power on the device. To do that open the menu, click on DISPLAY, then on FLIP DISPLAY.
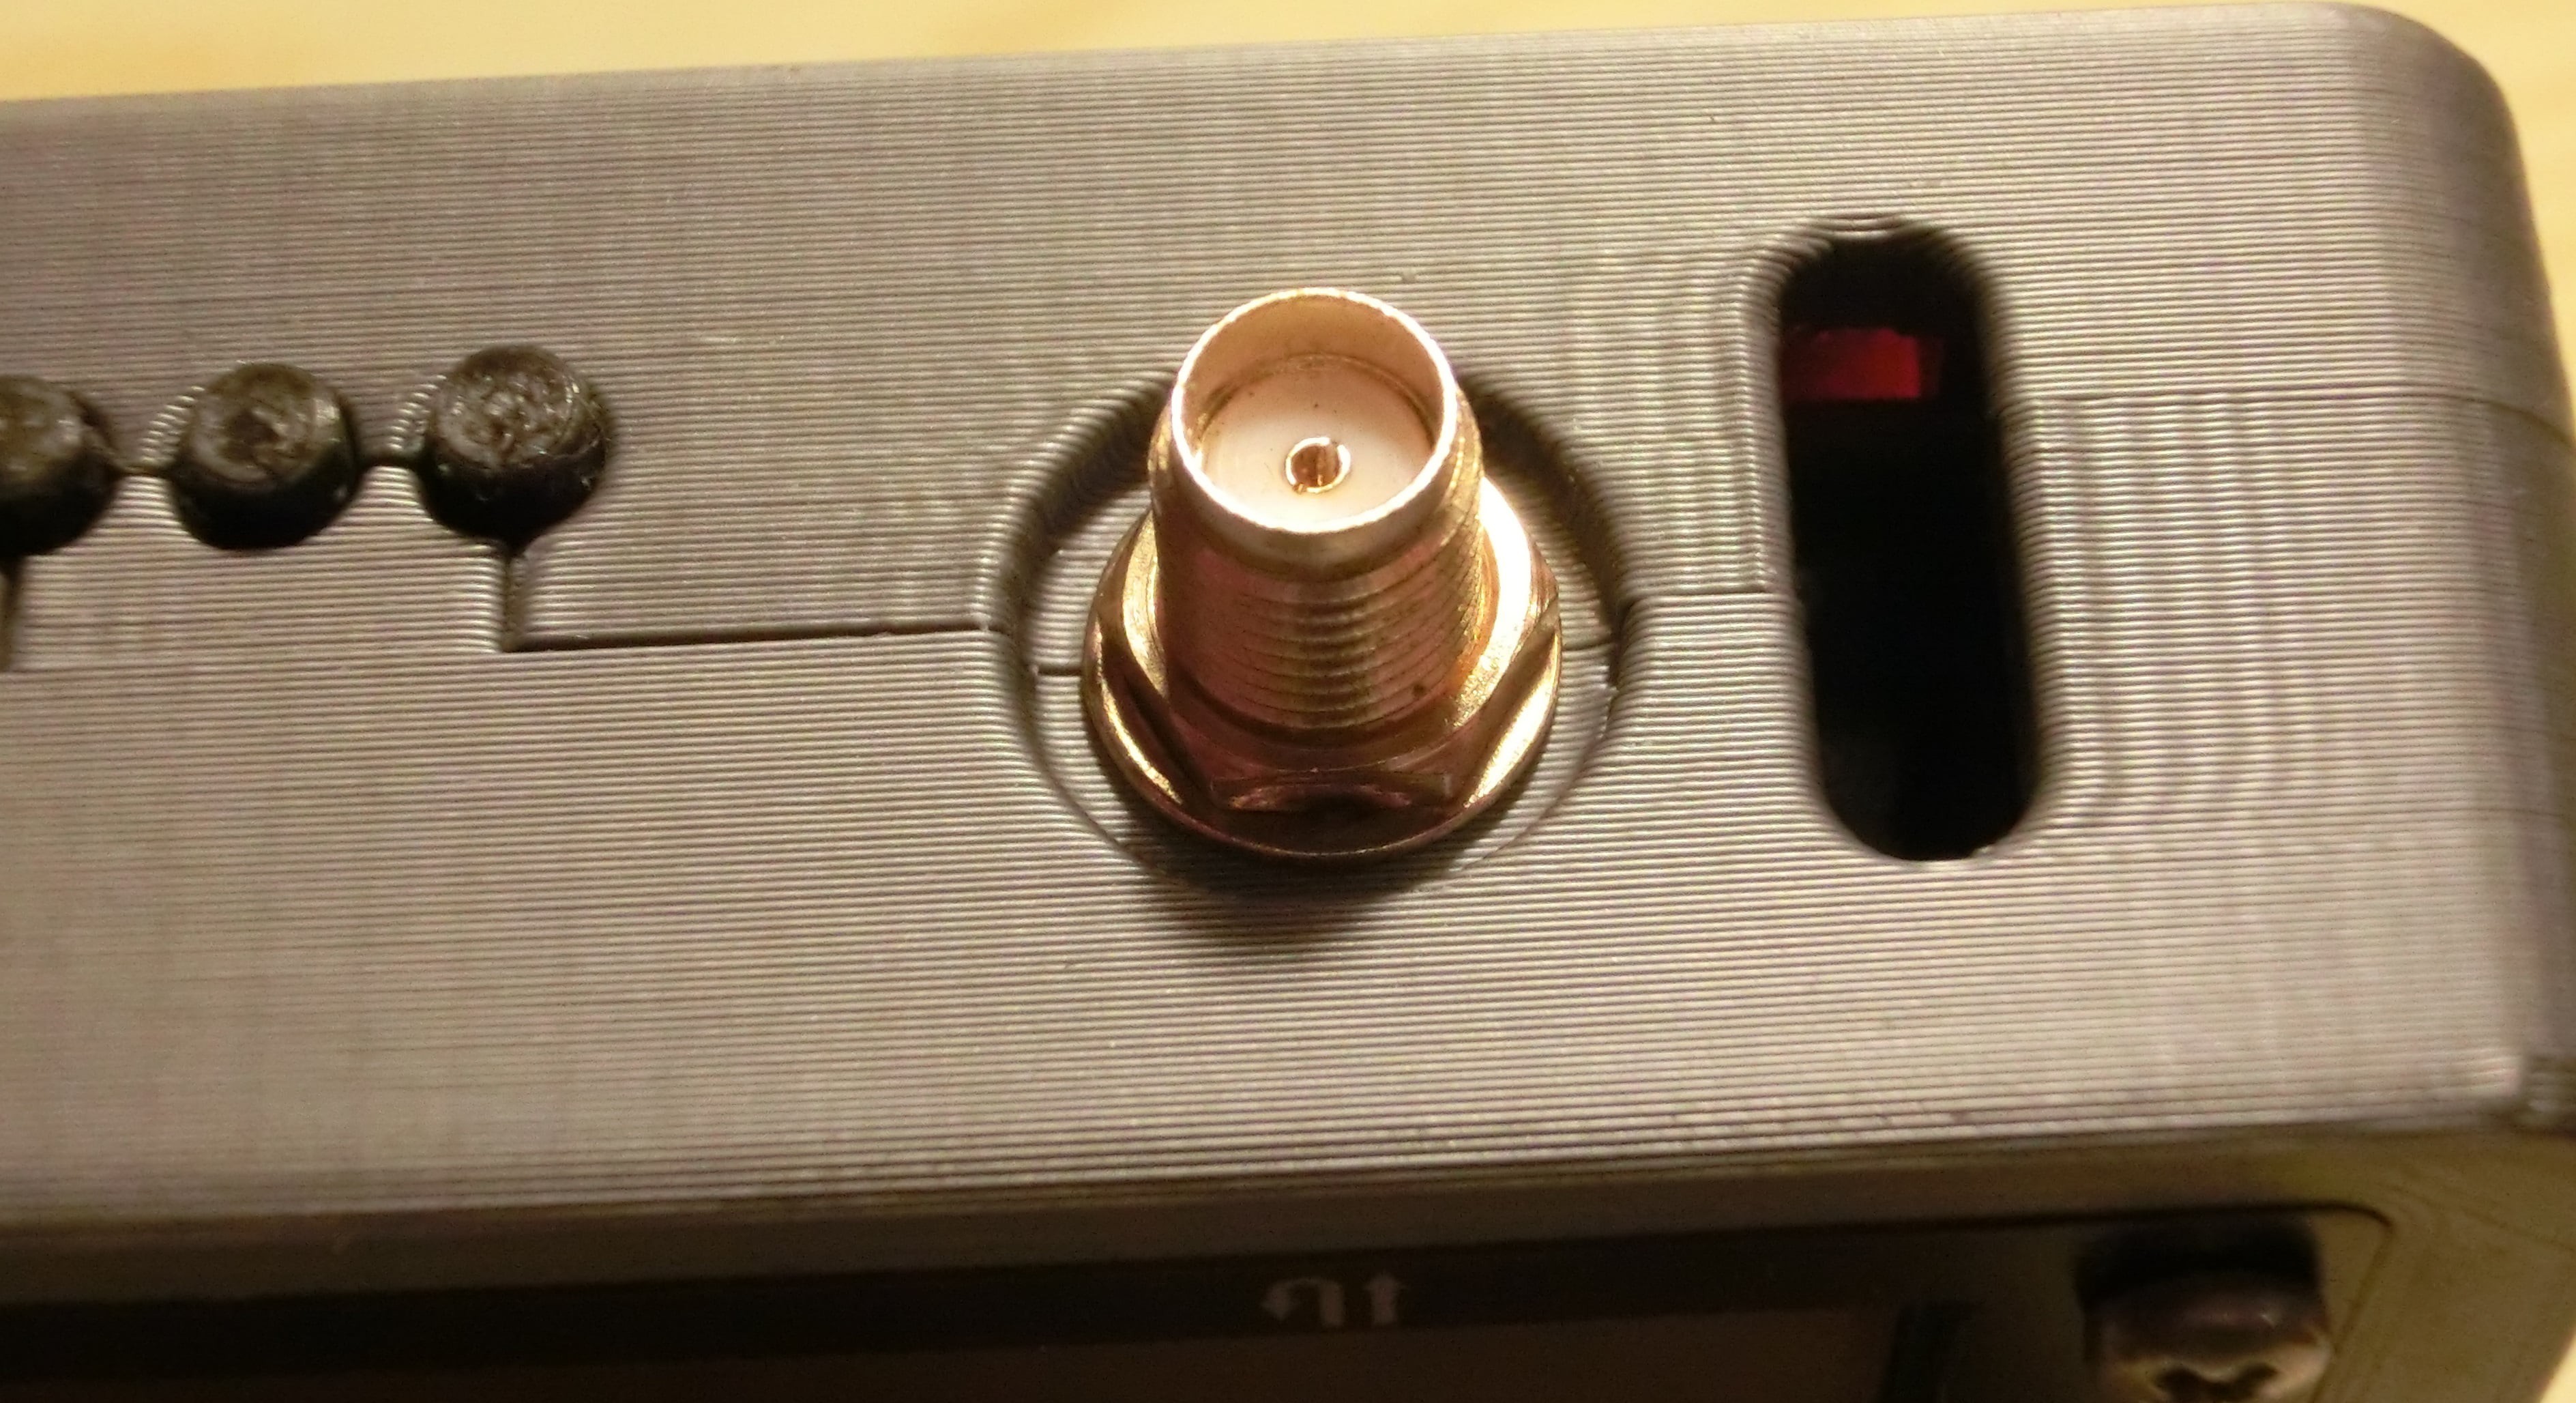
My NanoVNA came with nuts and washers so I put them on the SMA connectors, this is just for looks and has no mechanical reason.


 Marius Taciuc
 B2
B2
Beautiful job Manuel. My VNAv2 fits perfectly. Thank you for sharing.