 Quinn
QuinnI've wanted to do this project for some time, but a long winter break during quarantine gave me a good excuse to do it. Using parts and hardware I had on hand, mostly scavenged, I was able to finish in a couple days. Most of the effort was making the mounting brackets, support and adjustments.
There is a lot of great information about pattern projection systems in the Projectors For Sewing Facebook group. (please keep in mind this group is for people who sew while deciding if it's appropriate for you) The pinned post has several very helpful documents and tips, including the calibration files and tools for assembling multi page patterns into one.
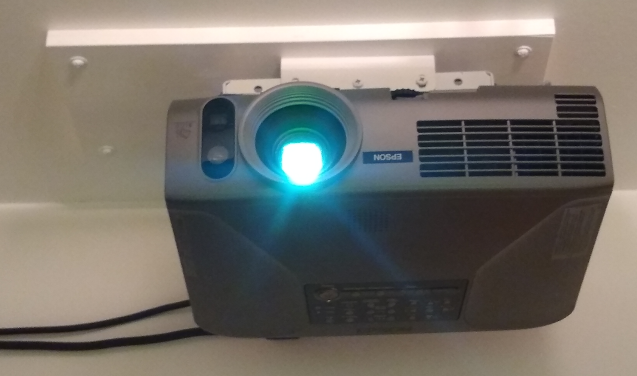
Projector
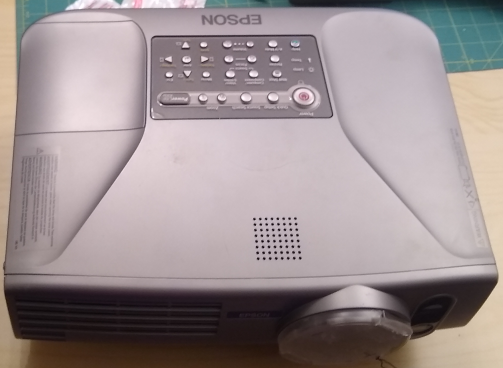
I had a couple Epson PowerLite 830p (EMP-830) projectors stored that I salvaged from the trash. They'd been discarded as they were quite old, the bulb was no longer available(at that time) and the rooms had new projectors installed. The ones I have have 2000 and 2500 hours, out of a 3000hr lifetime, though these hours are all at low intensity, so they should last longer. Regardless, these bulbs are now available online.
You need a projector with square pixels(or adjustments that can force it), reasonable resolution and cabling to connect to a computer. Brighter is better so you don't have to work in the dark, and wider angle permits a larger image. This one is 3000 lumen 1024x768 resolution, which is sufficient. This has higher end configuration options, including corner mode keystone(more flexible than simple H/V keystone). This brightness and throw means it is plenty bright enough to use on light colored material even with the full room lights on. On darker material, some of the room lights need to be turned off.
See Projector and Mount project log for more details.
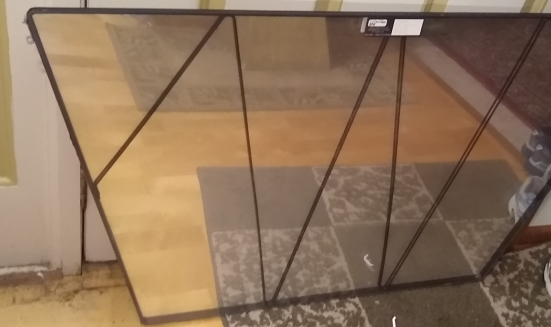
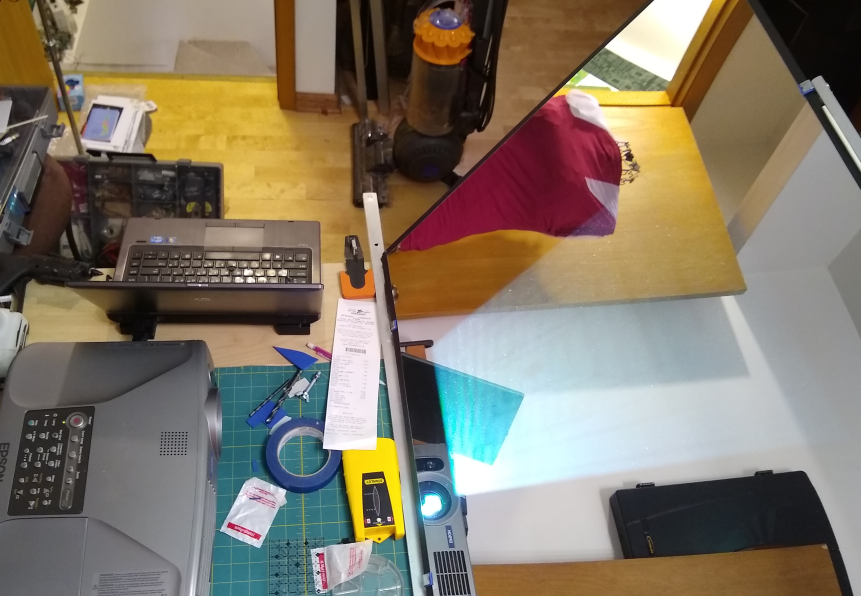
Mirror
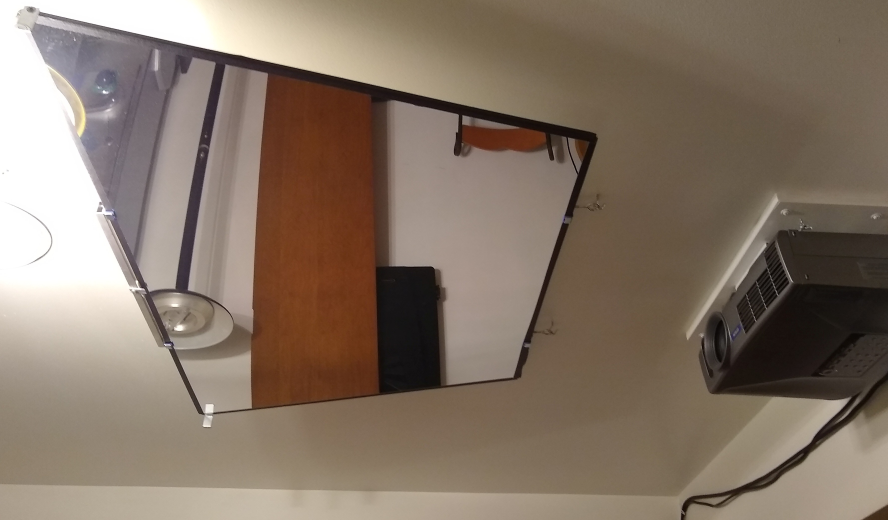
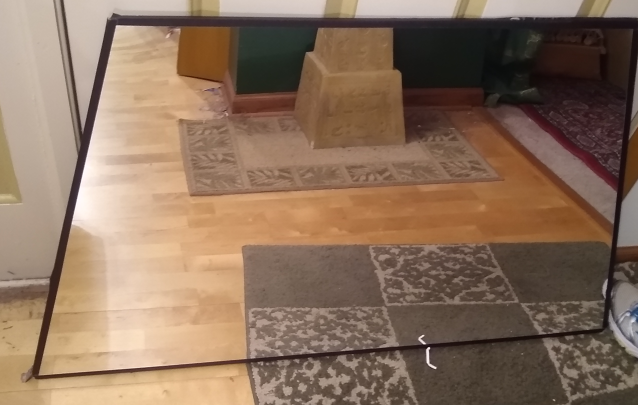
Unless you have a very wide angle projector, you will need a mirror, ideally first surface. You can use a bathroom mirror, though the image will be blurred in one direction. I'm repurposing a mylar mirror out of an old rear projection TV. You can purchase these for much less money than a first surface glass mirror, and they are much lighter and safer that hanging a large glass mirror overhead.
My mirror has a very slight bow in the frame along the long edge, which I adjusted out with a clamping screw. This is another advantage and disadvantage of a mylar mirror, the frame can bend more easily, which permits perfecting the image, though a glass mirror may get away without this. Mine is trapezoidal due to it's original purpose. The actually used surface of the mirror is a trapezoid, though this mirror is much wider as it was from a 3 tube rear projection tv instead of a DLP. You can easily use a rectangular one.
See Mirror and Mount project log for more details.
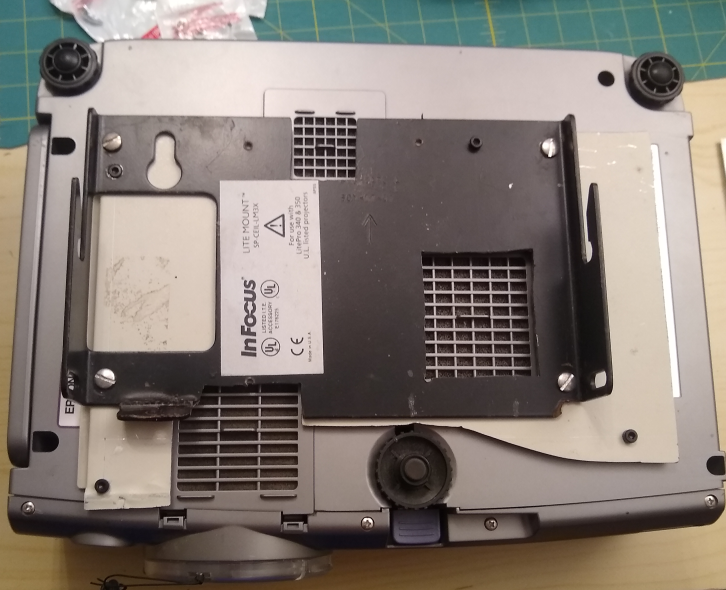
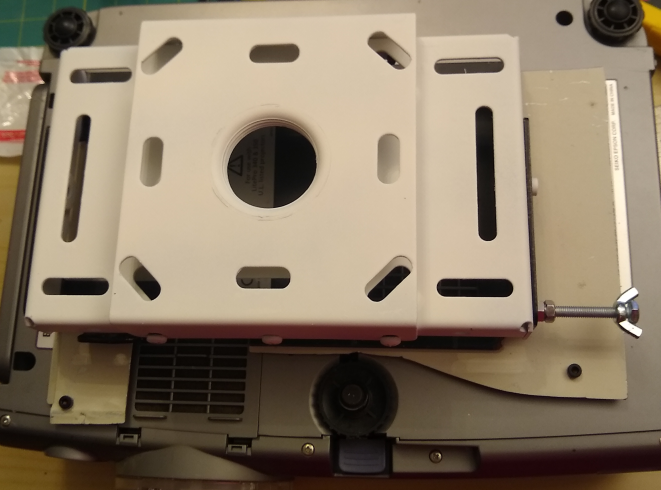
Projector Mount
I already had a slim projector mount, though it's hole pattern was not the same as this projector. I used some scrap metal to make an adapter. As this is an offset image type projector, I needed the projector as close to the ceiling as possible, making this style better than most of the ones easily available. This style allows it to be mounted to the ceiling, and the projector side can simply be hooked on and tightened down. This allows me to take it off if I want. I repainted the ceiling side of the mount white to match the ceiling.
See Projector and Mount project log for more details.
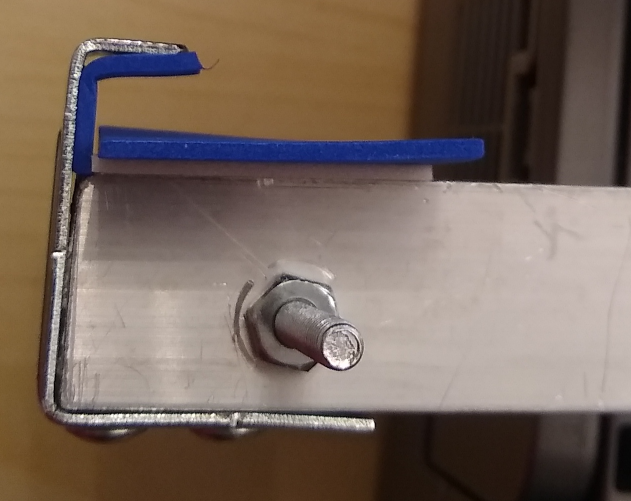
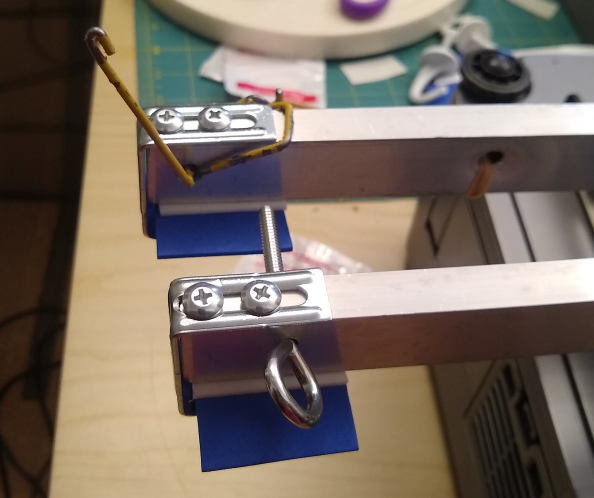
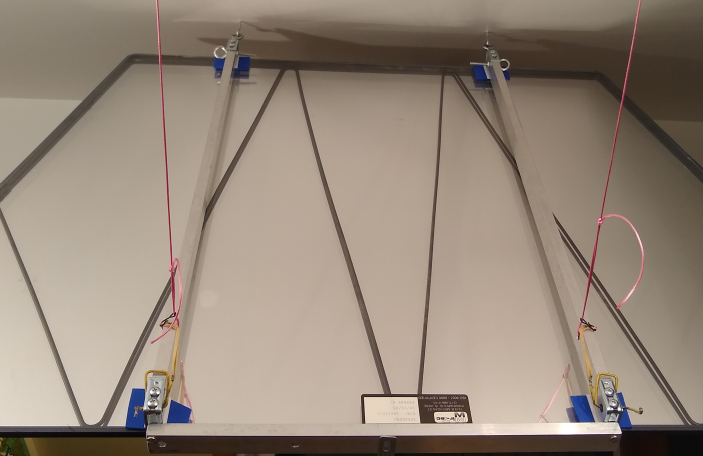
Mirror Mount
They mylar mirror I had only has mounts on one side as the other originally fit in a channel in the tv. I made up a couple brackets which spanned the back side and clamped on. This was based on some 1 by 1/2 inch aluminum box tube I had around. I mounted further hardware onto this, connecting everything with tapped holes for easy adjustment.
Eyebolts stuck out the end to hang on hook on the ceiling. ...
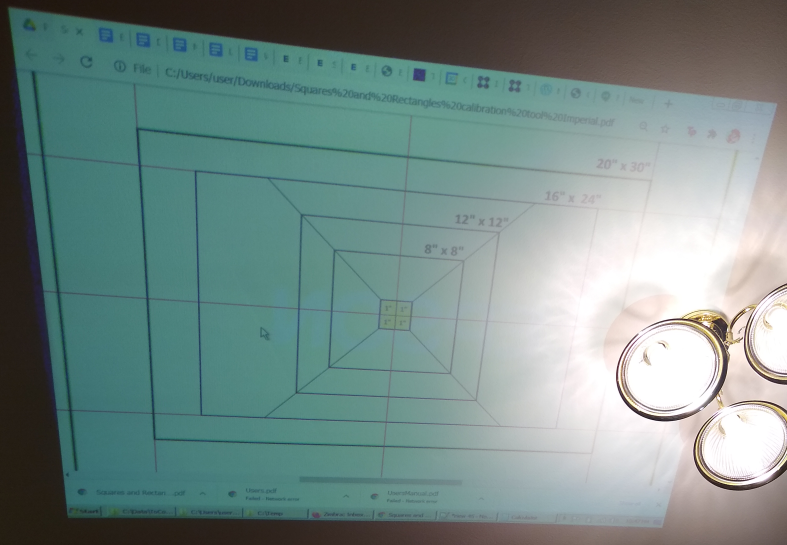
Read more »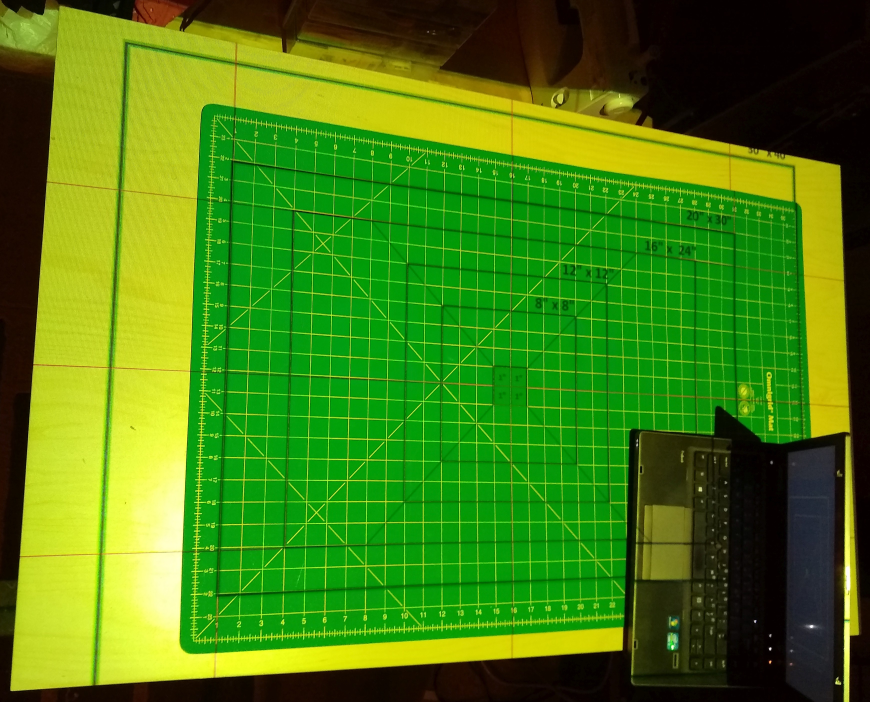 This calibration was done using the calibration pdf in the Projectors For Sewing group, along with a cutting mat. The cutting mat as well as the table are slightly bowed creating some unevenness, but overall it is extremely accurate. Across the entire 48" width of the projection, a projected line does not deviate from a straight edge by more than 1/16", which is mostly due to the bow in the table. Vertical and horizontal lines are perpendicular to within less than 0.5 degree(within the tolerance of reference grid)
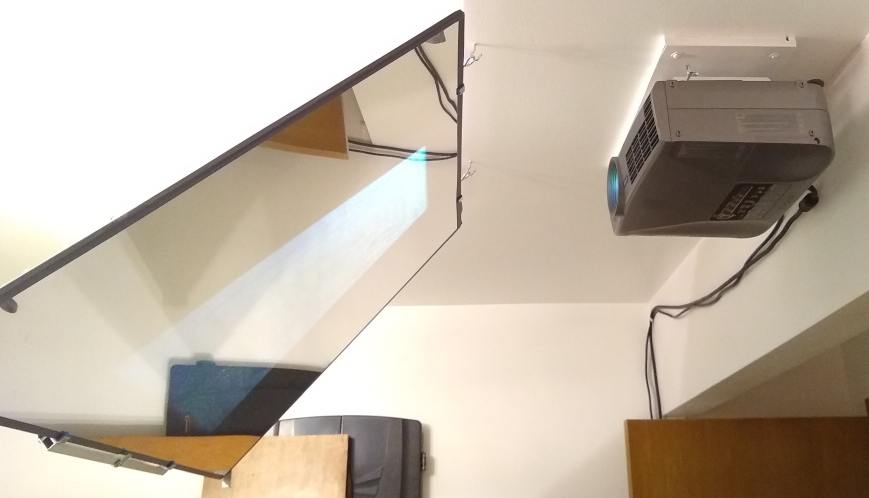


 N. Christopher Perry
 Steve Dearden
 Brainy.Baboon