Index
This page is the introduction.
Statistical AnalysisThe Effect of Particle Size
What's a colloid?
Colloids are particles which are larger than molecules but are small enough that they stay dispersed in the coffee. They scatter light. When you shine a laser through a colloid dispersion, you can see the light beam. link
Do colloids matter for coffee?
Colloids and acids are two things that change depending on the brewing method. link
One major purpose of Traditional Cupping is to greatly enhance Brew Colloid formation, so that the broader spectrum of a coffees flavour can be perceived.
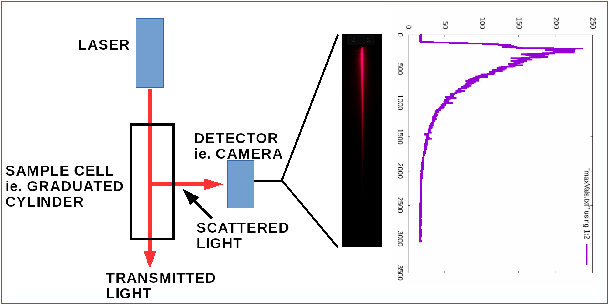
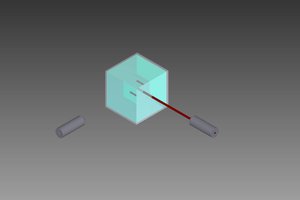
How does this project work?
We shine a laser through diluted coffee and take a picture of the resulting light beam. By analyzing the picture, we can tell how much light reaches the camera from each point along the light beam.
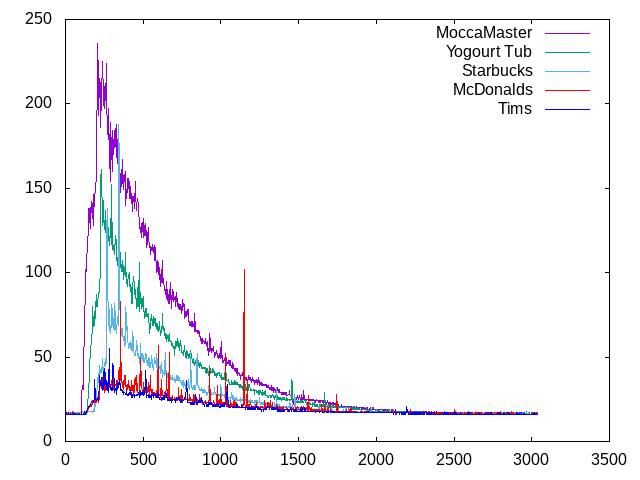
Results
 maildodanillo
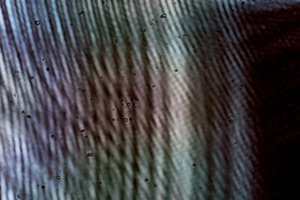
 wnodvik
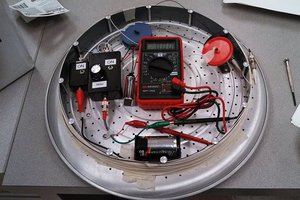
 Sky Carter
 utsourceproduct