 Mario Ninic
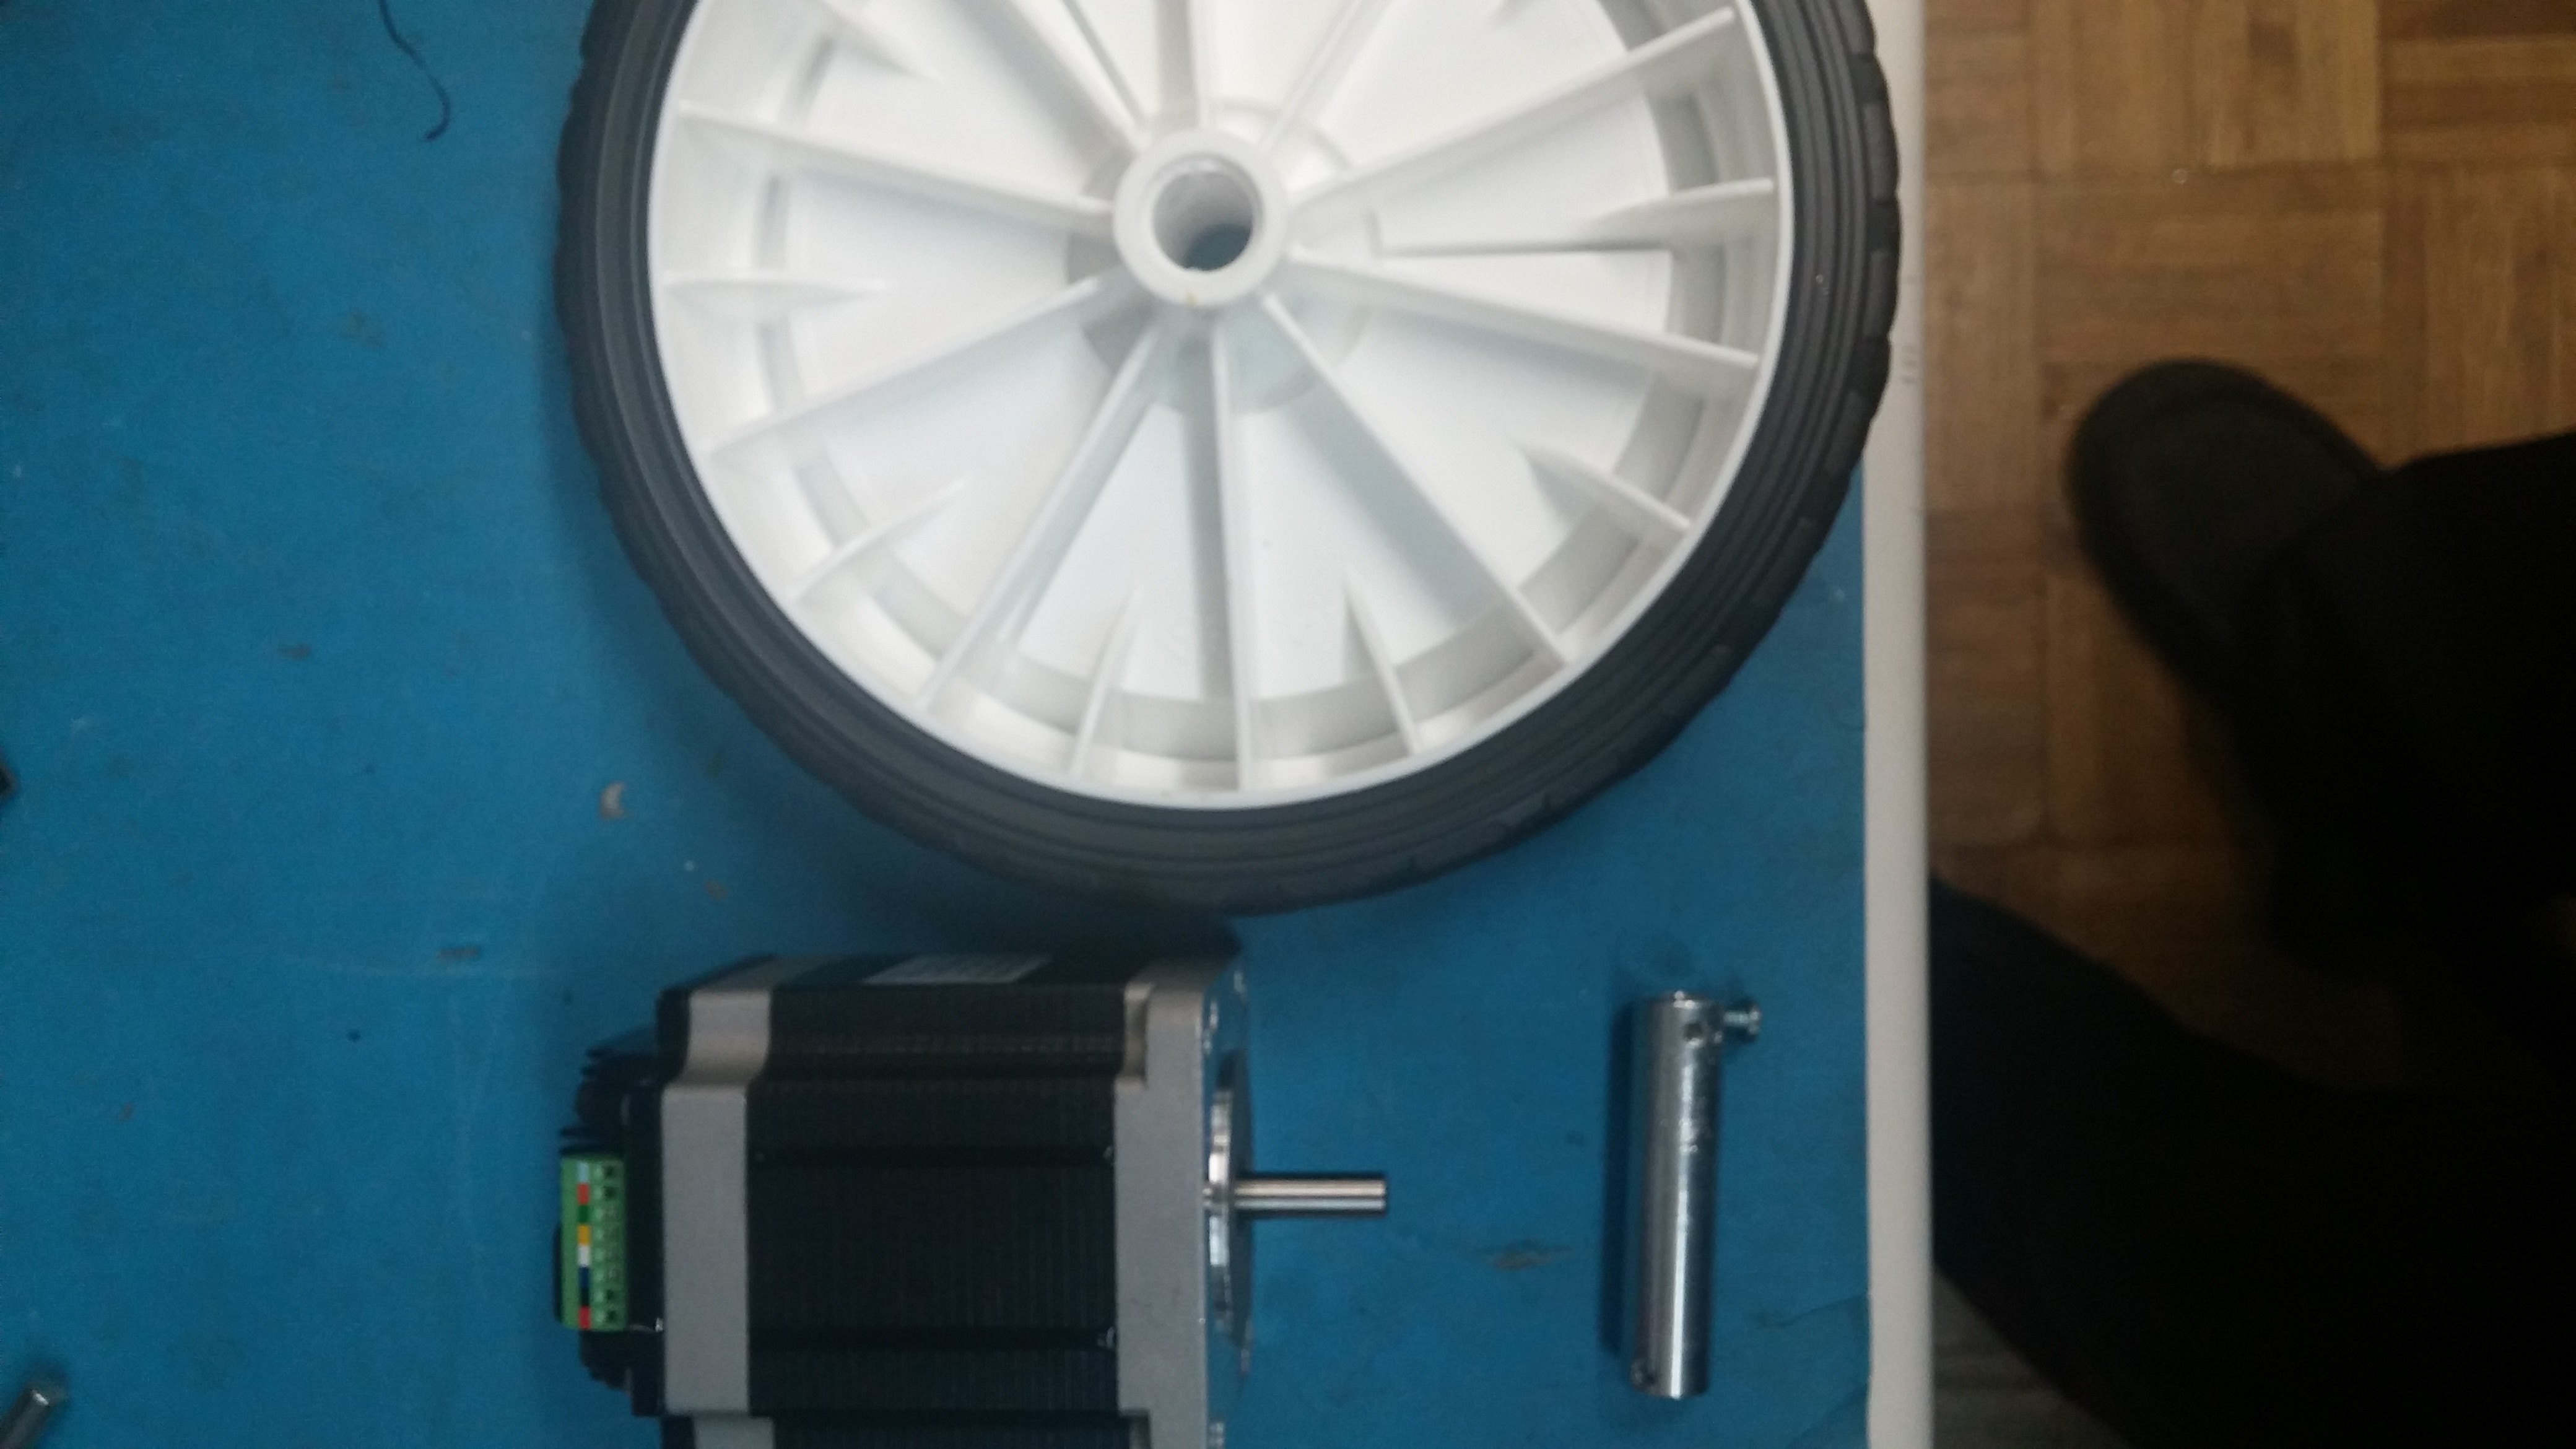
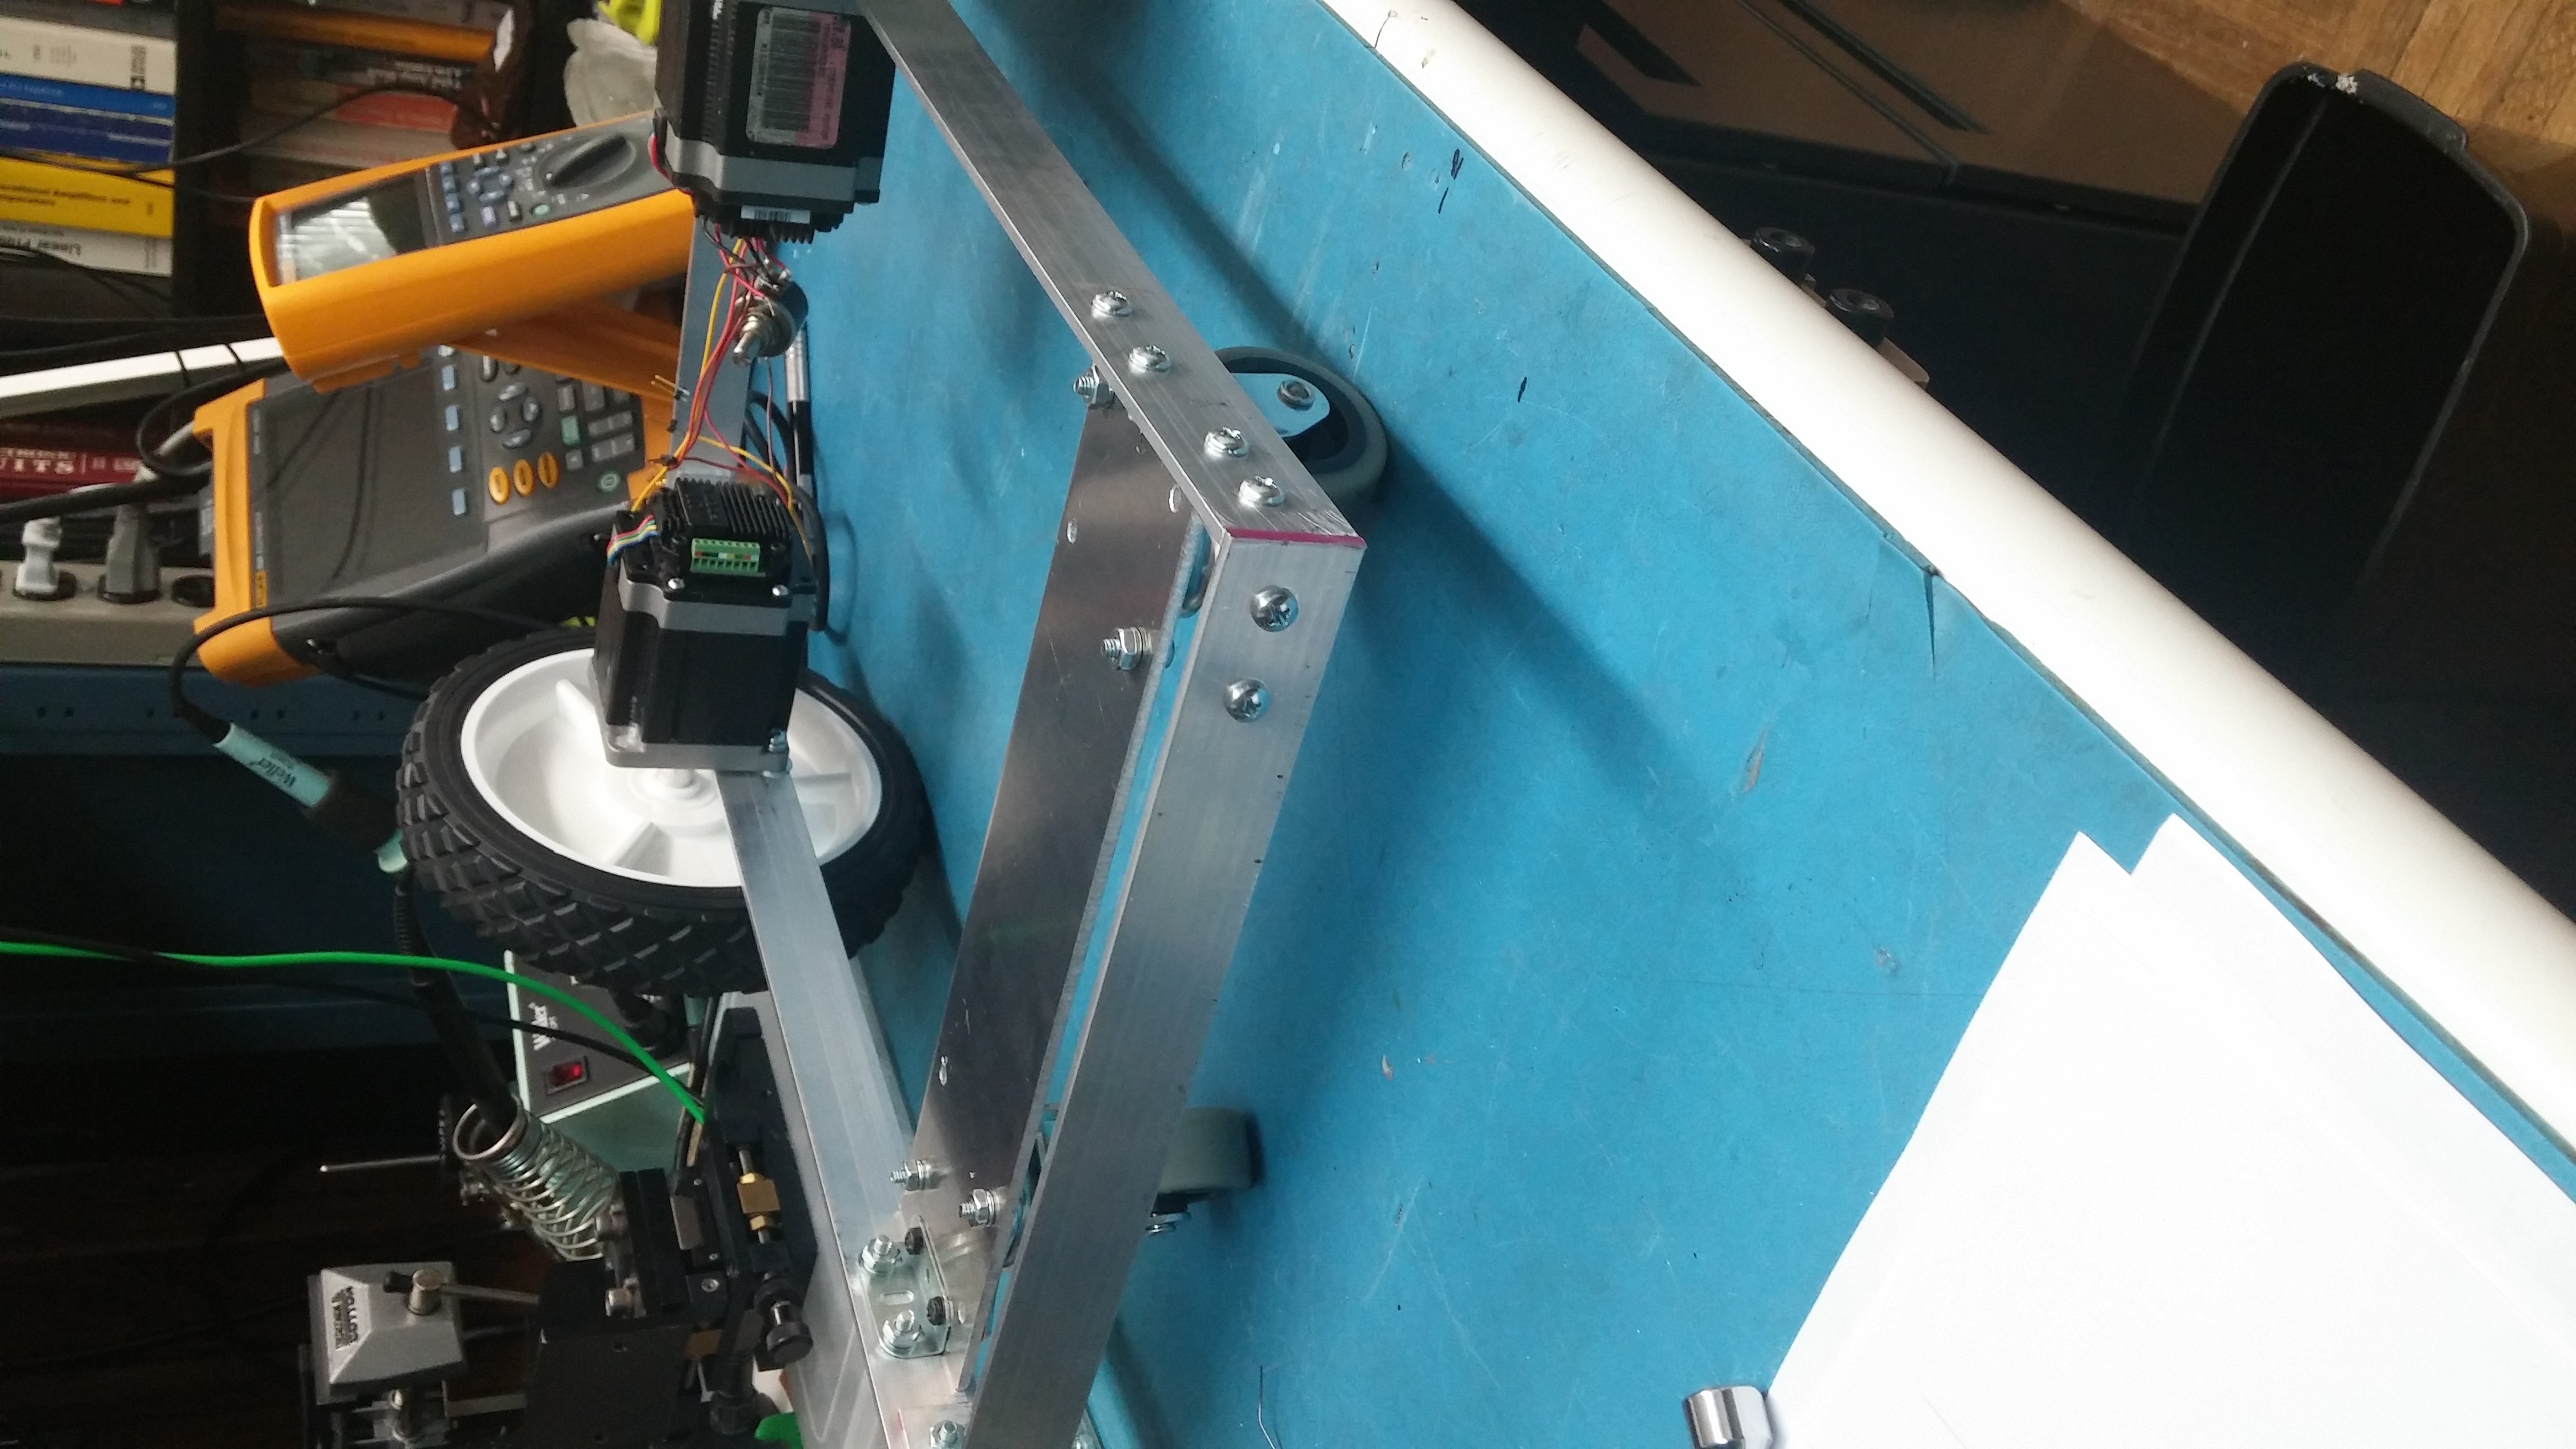
The motors used for this projects are two Exmek Electric MP060NB303 with Integrated Stepper Motor Controller UIM243XXA/B. You can use different motors but you will have to verify if they have enough torque to be used with the size of wheel you select.
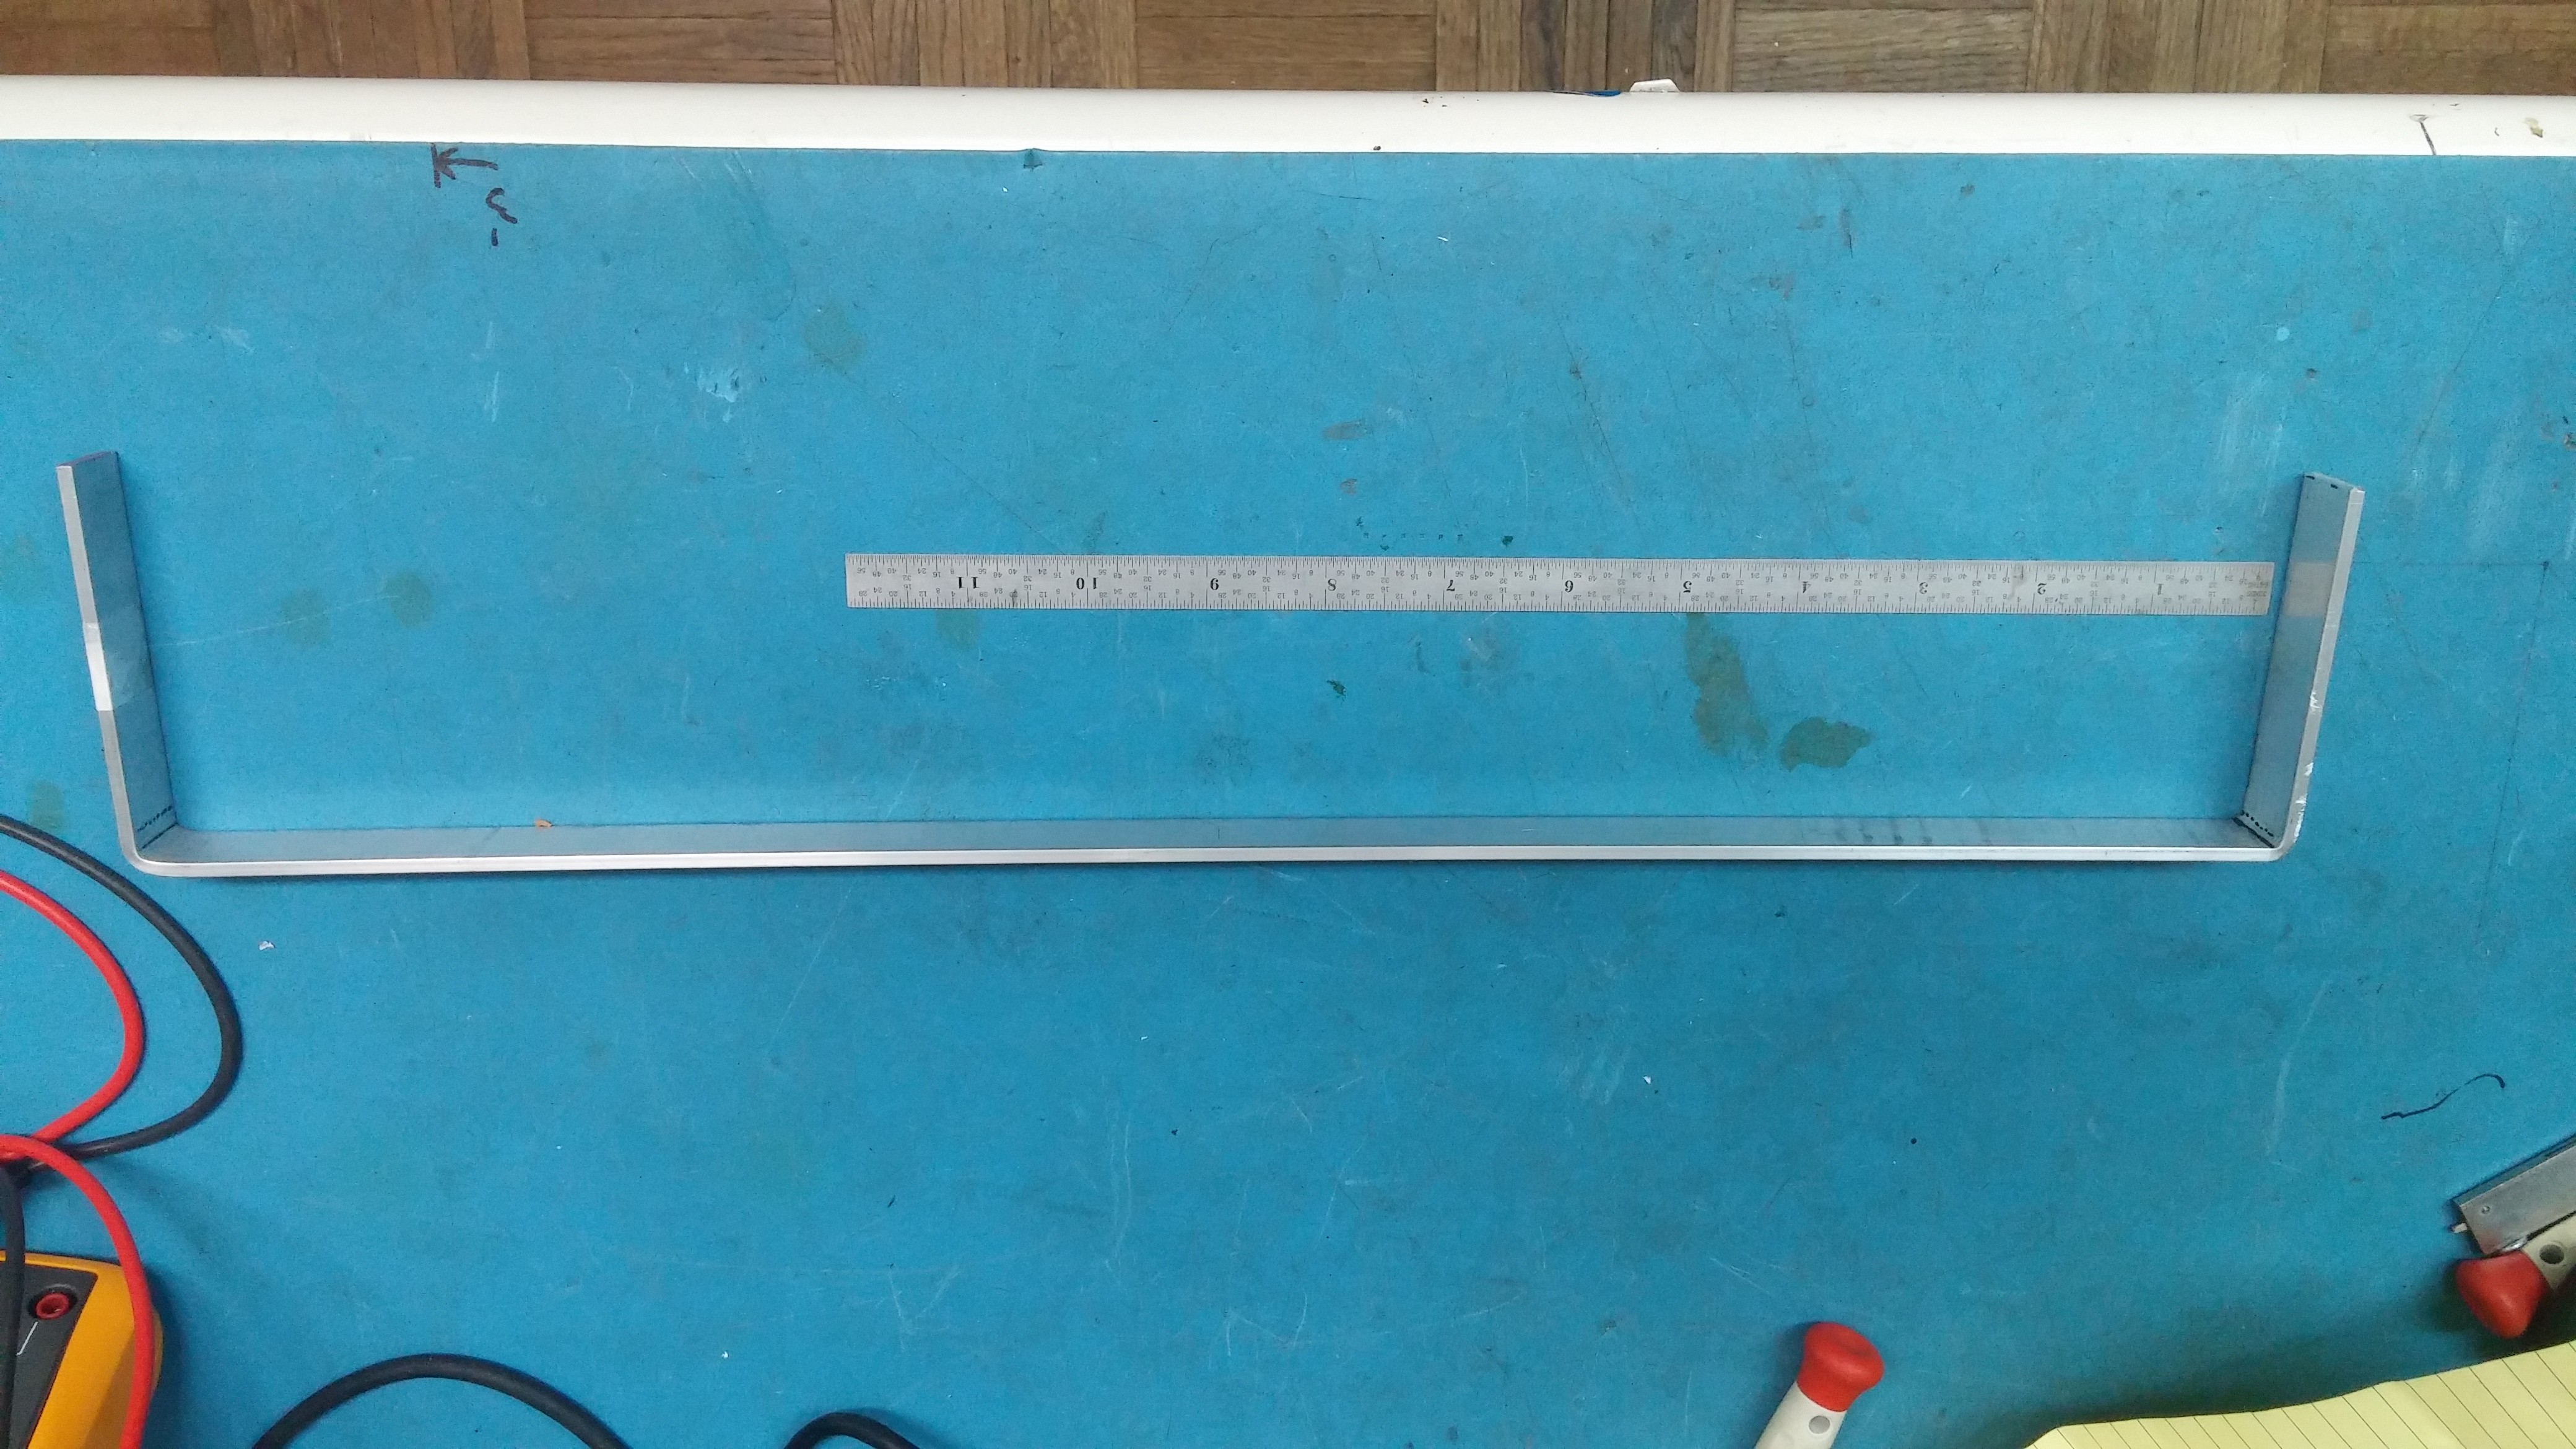
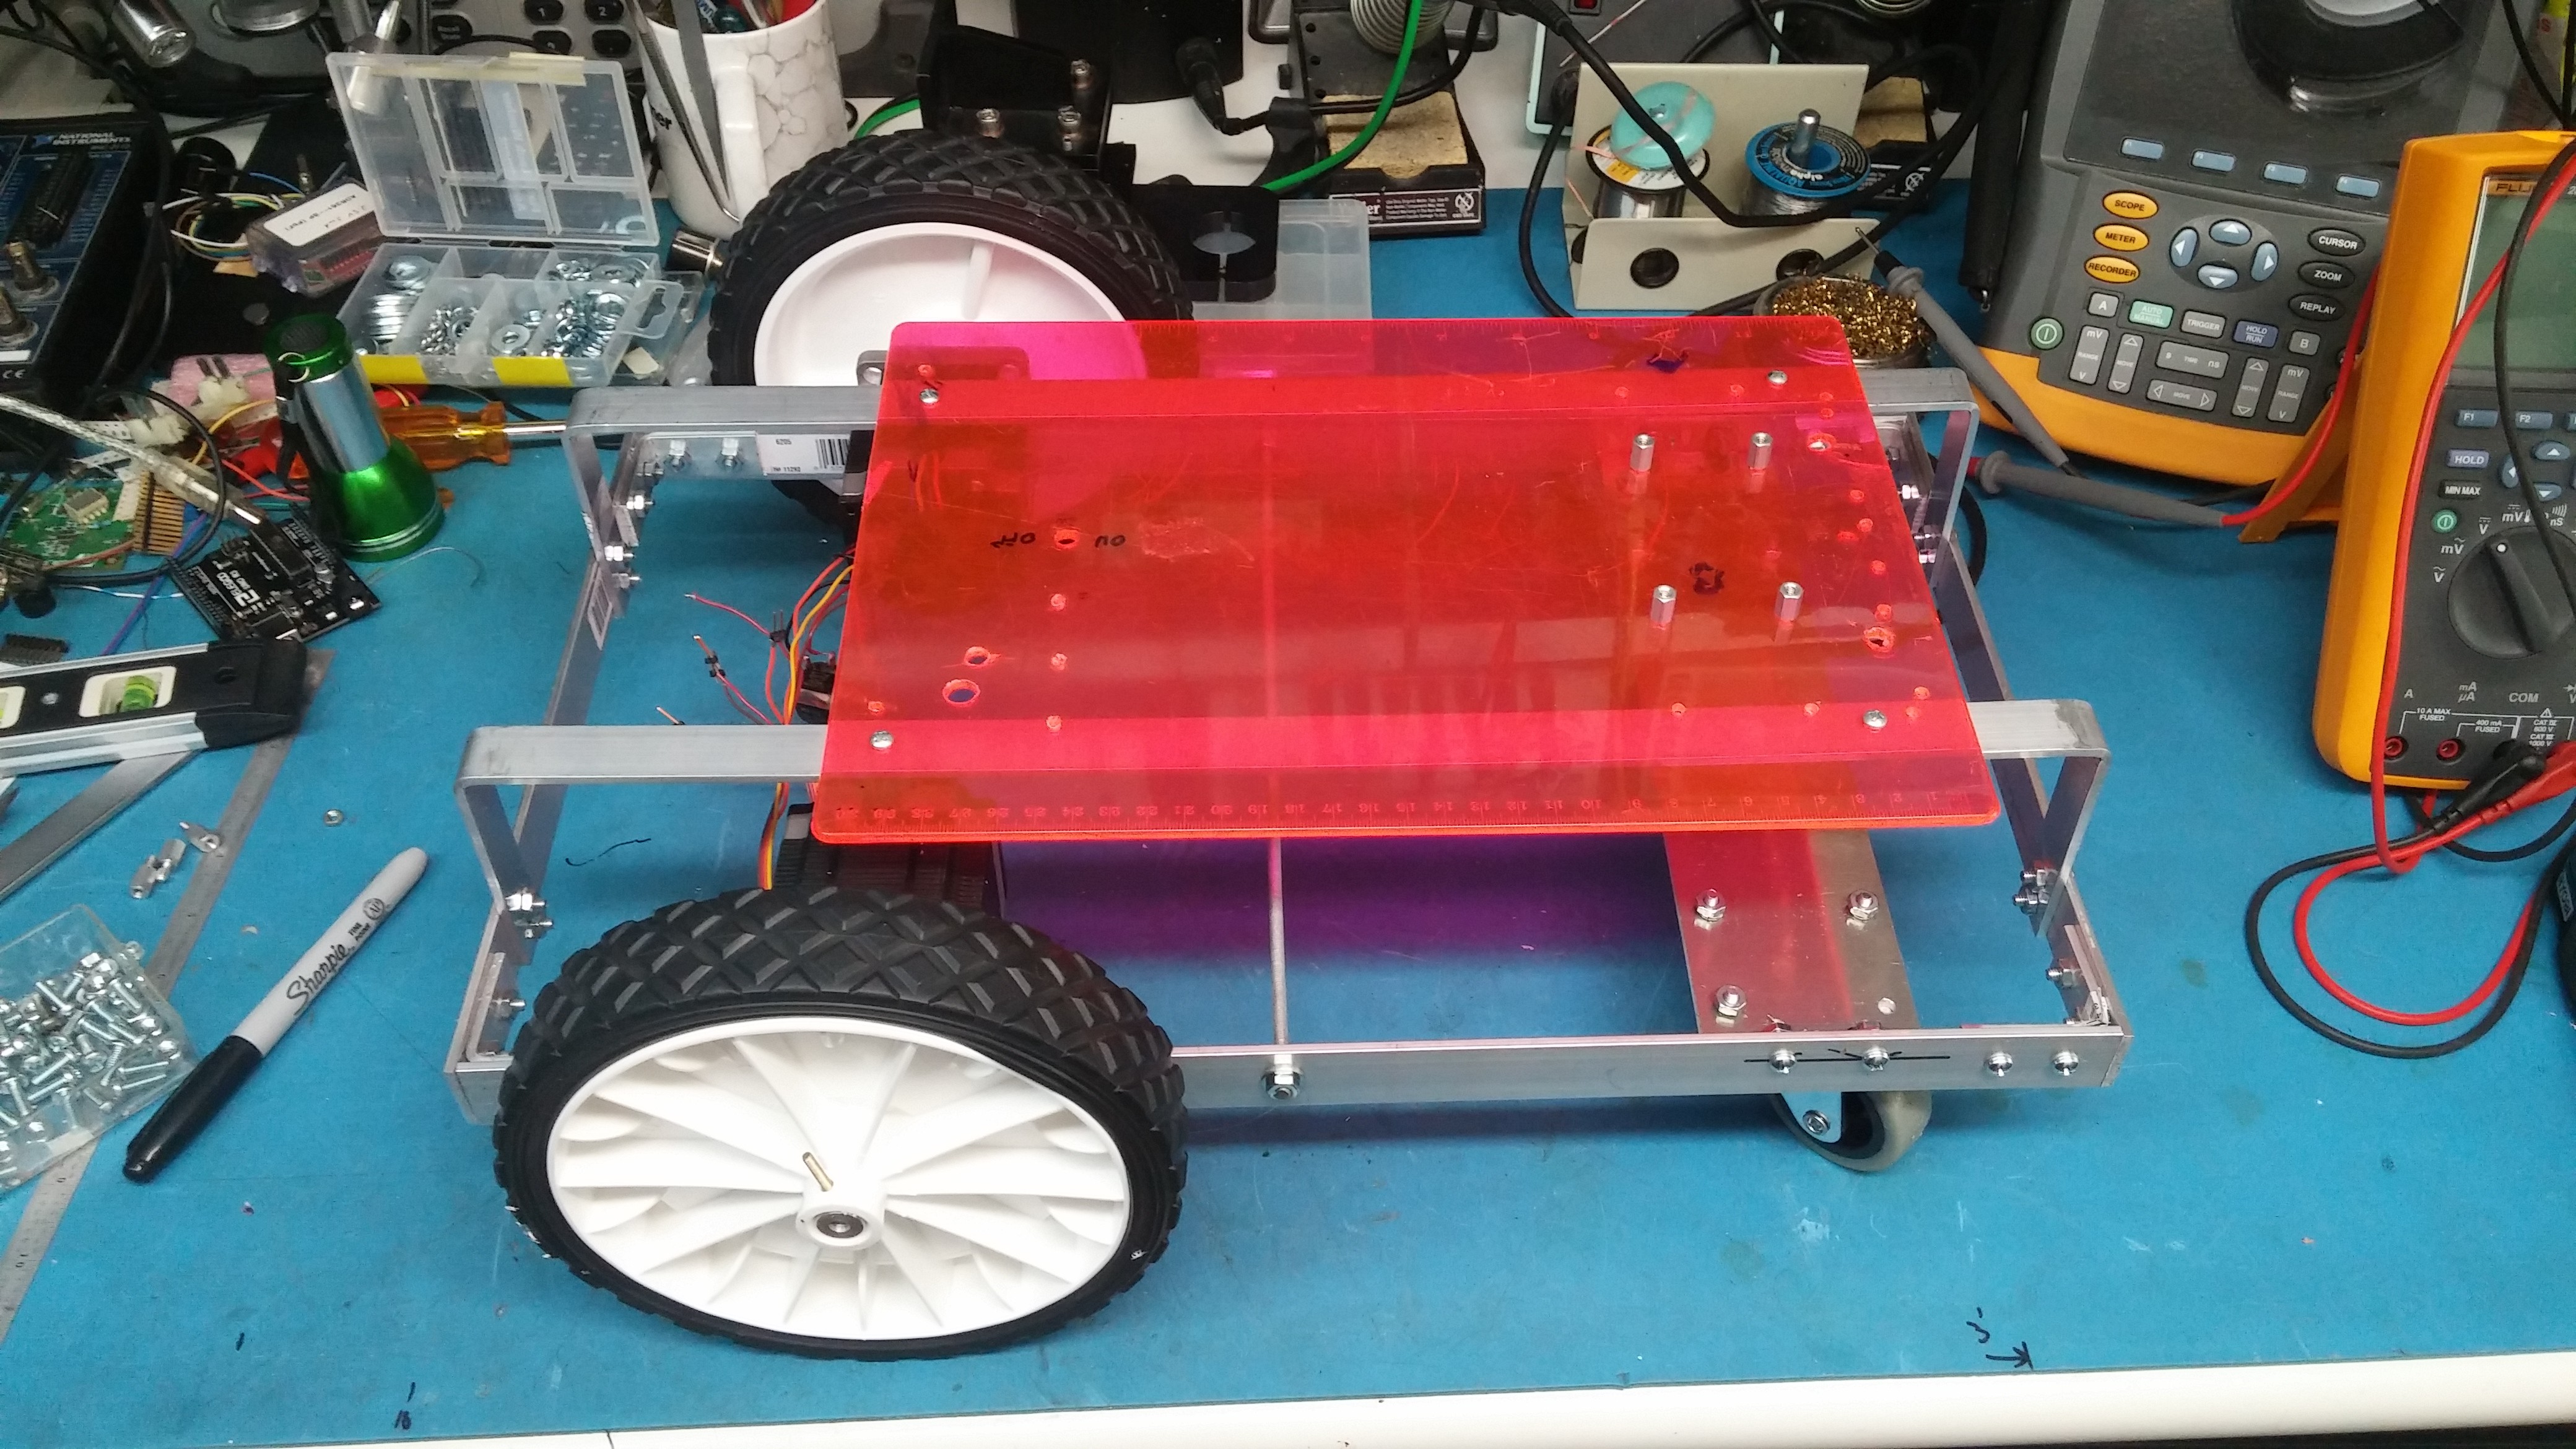
The frame is made of aluminum rails (1/8 " x 1" -3FT Model# 11292) cut to size I needed. I picked arbitrary size to minimize material waste.
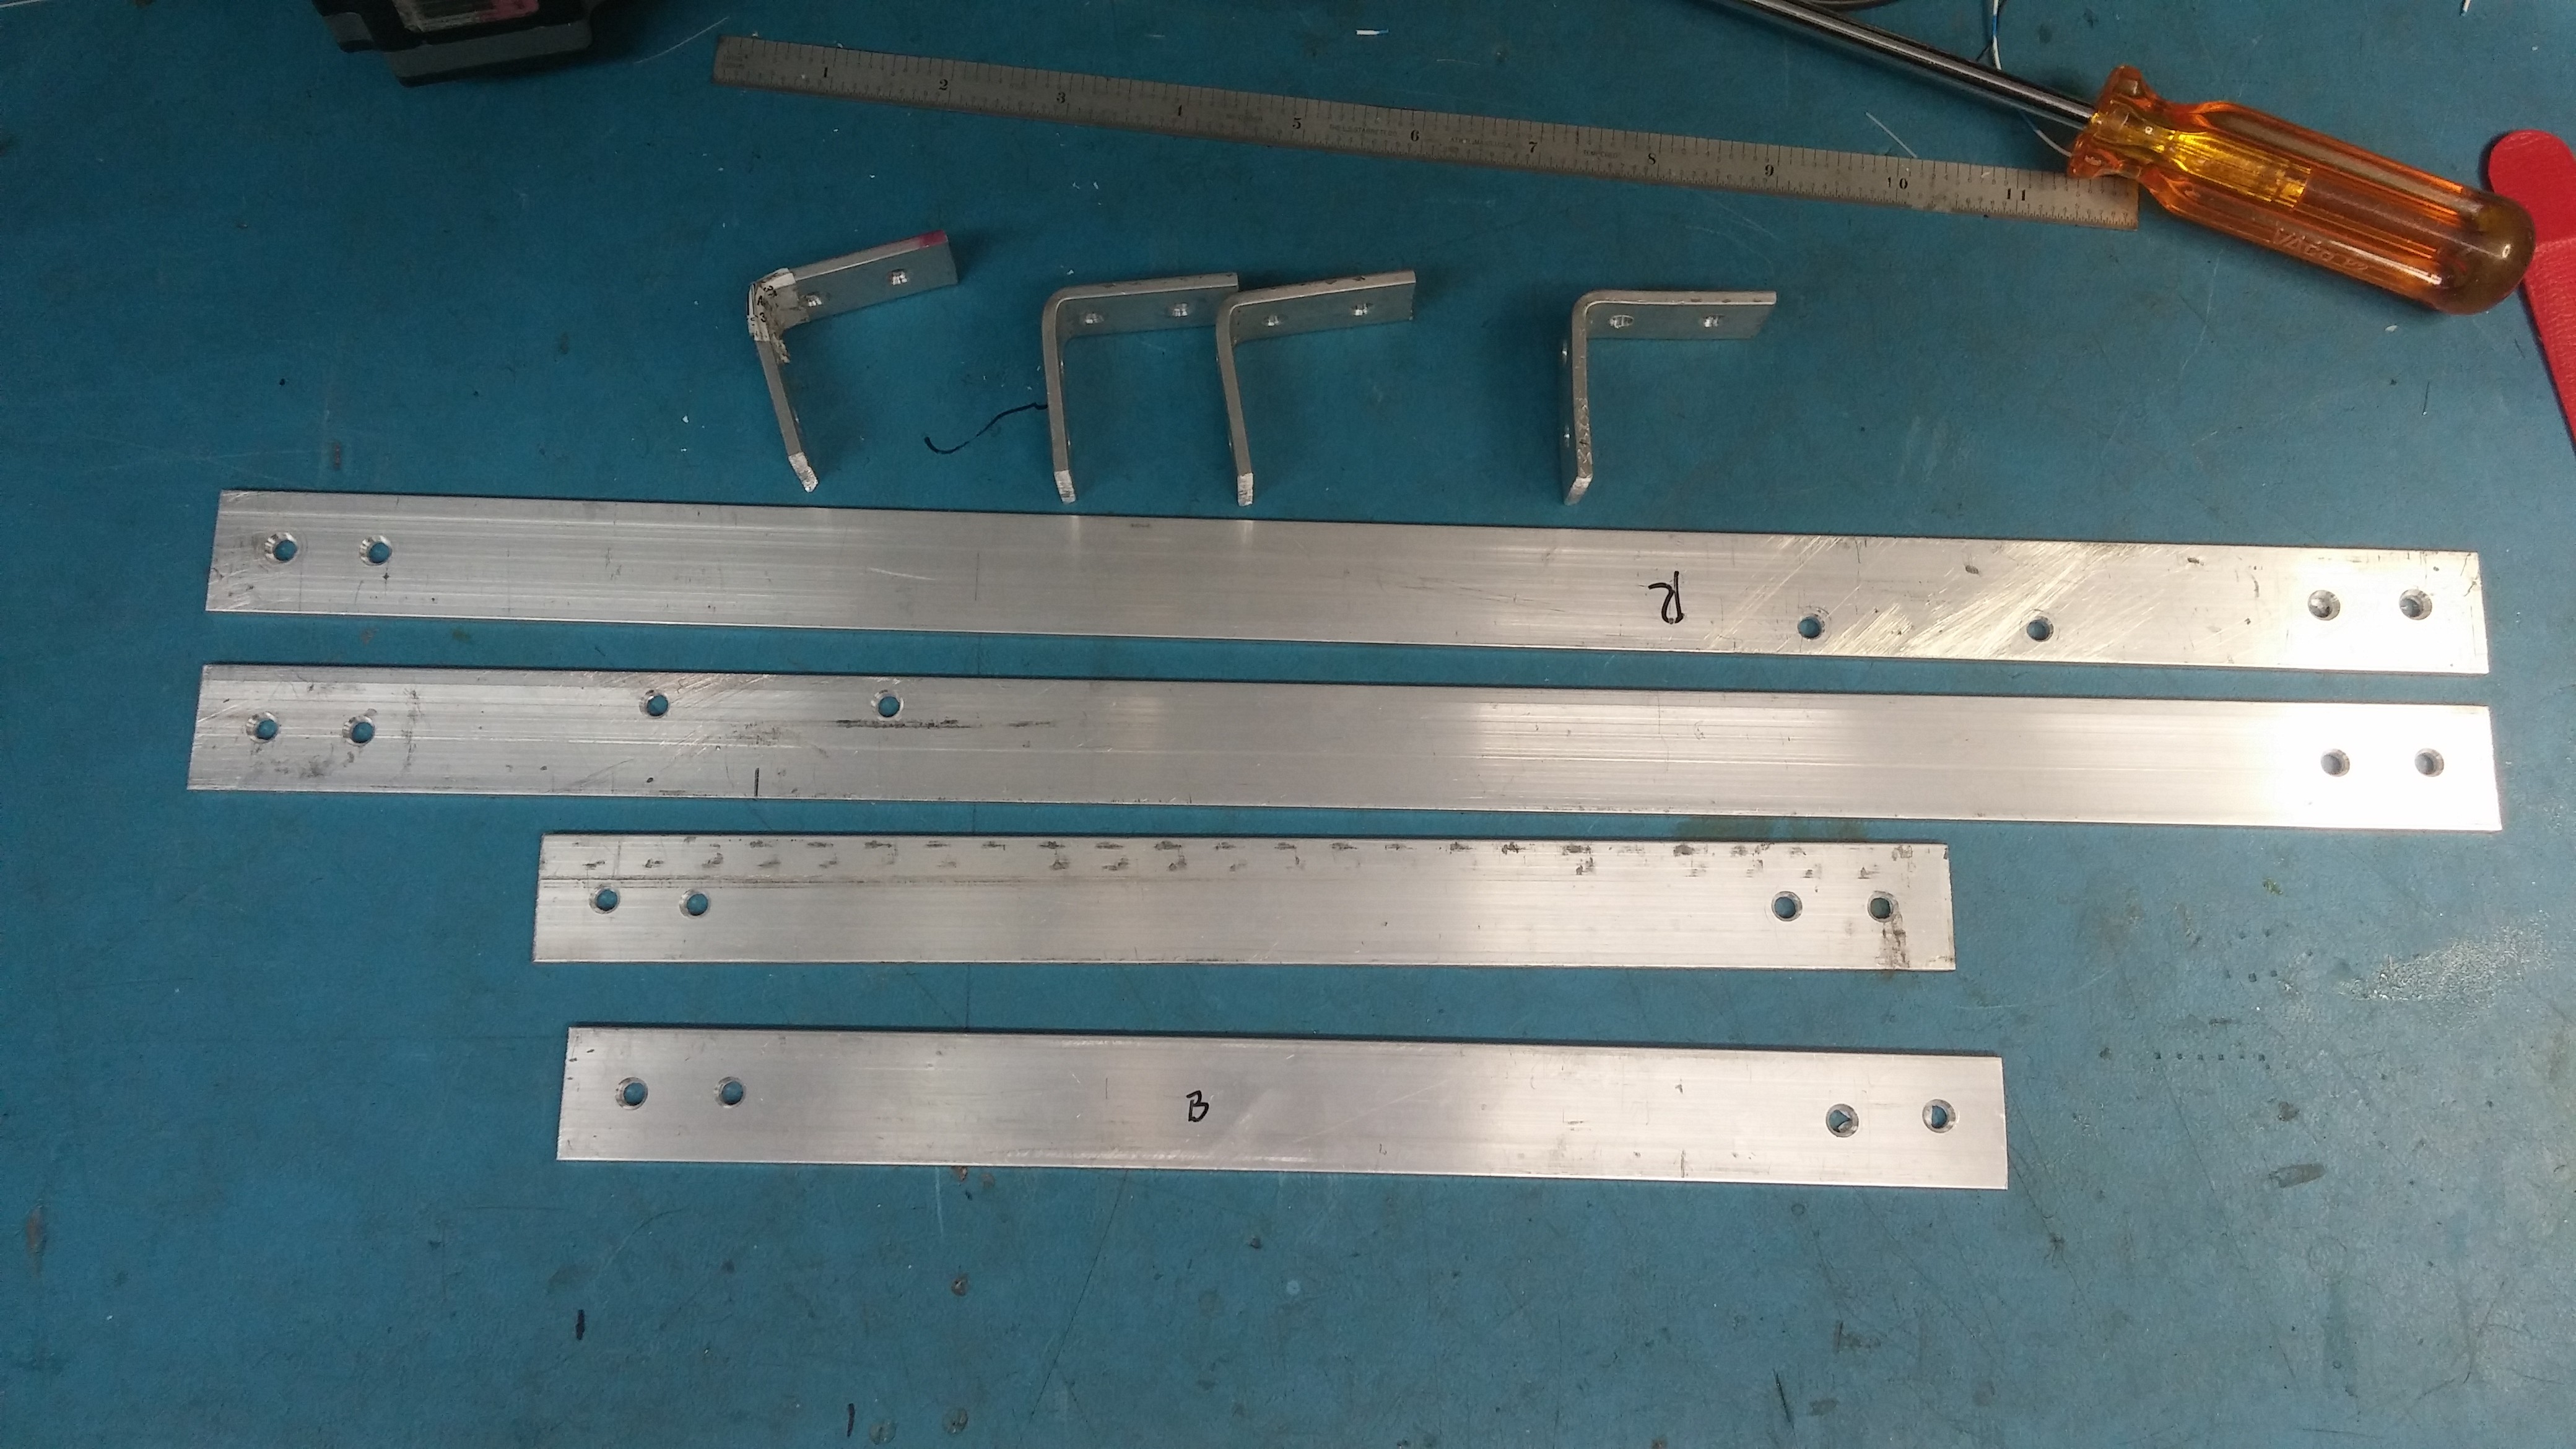
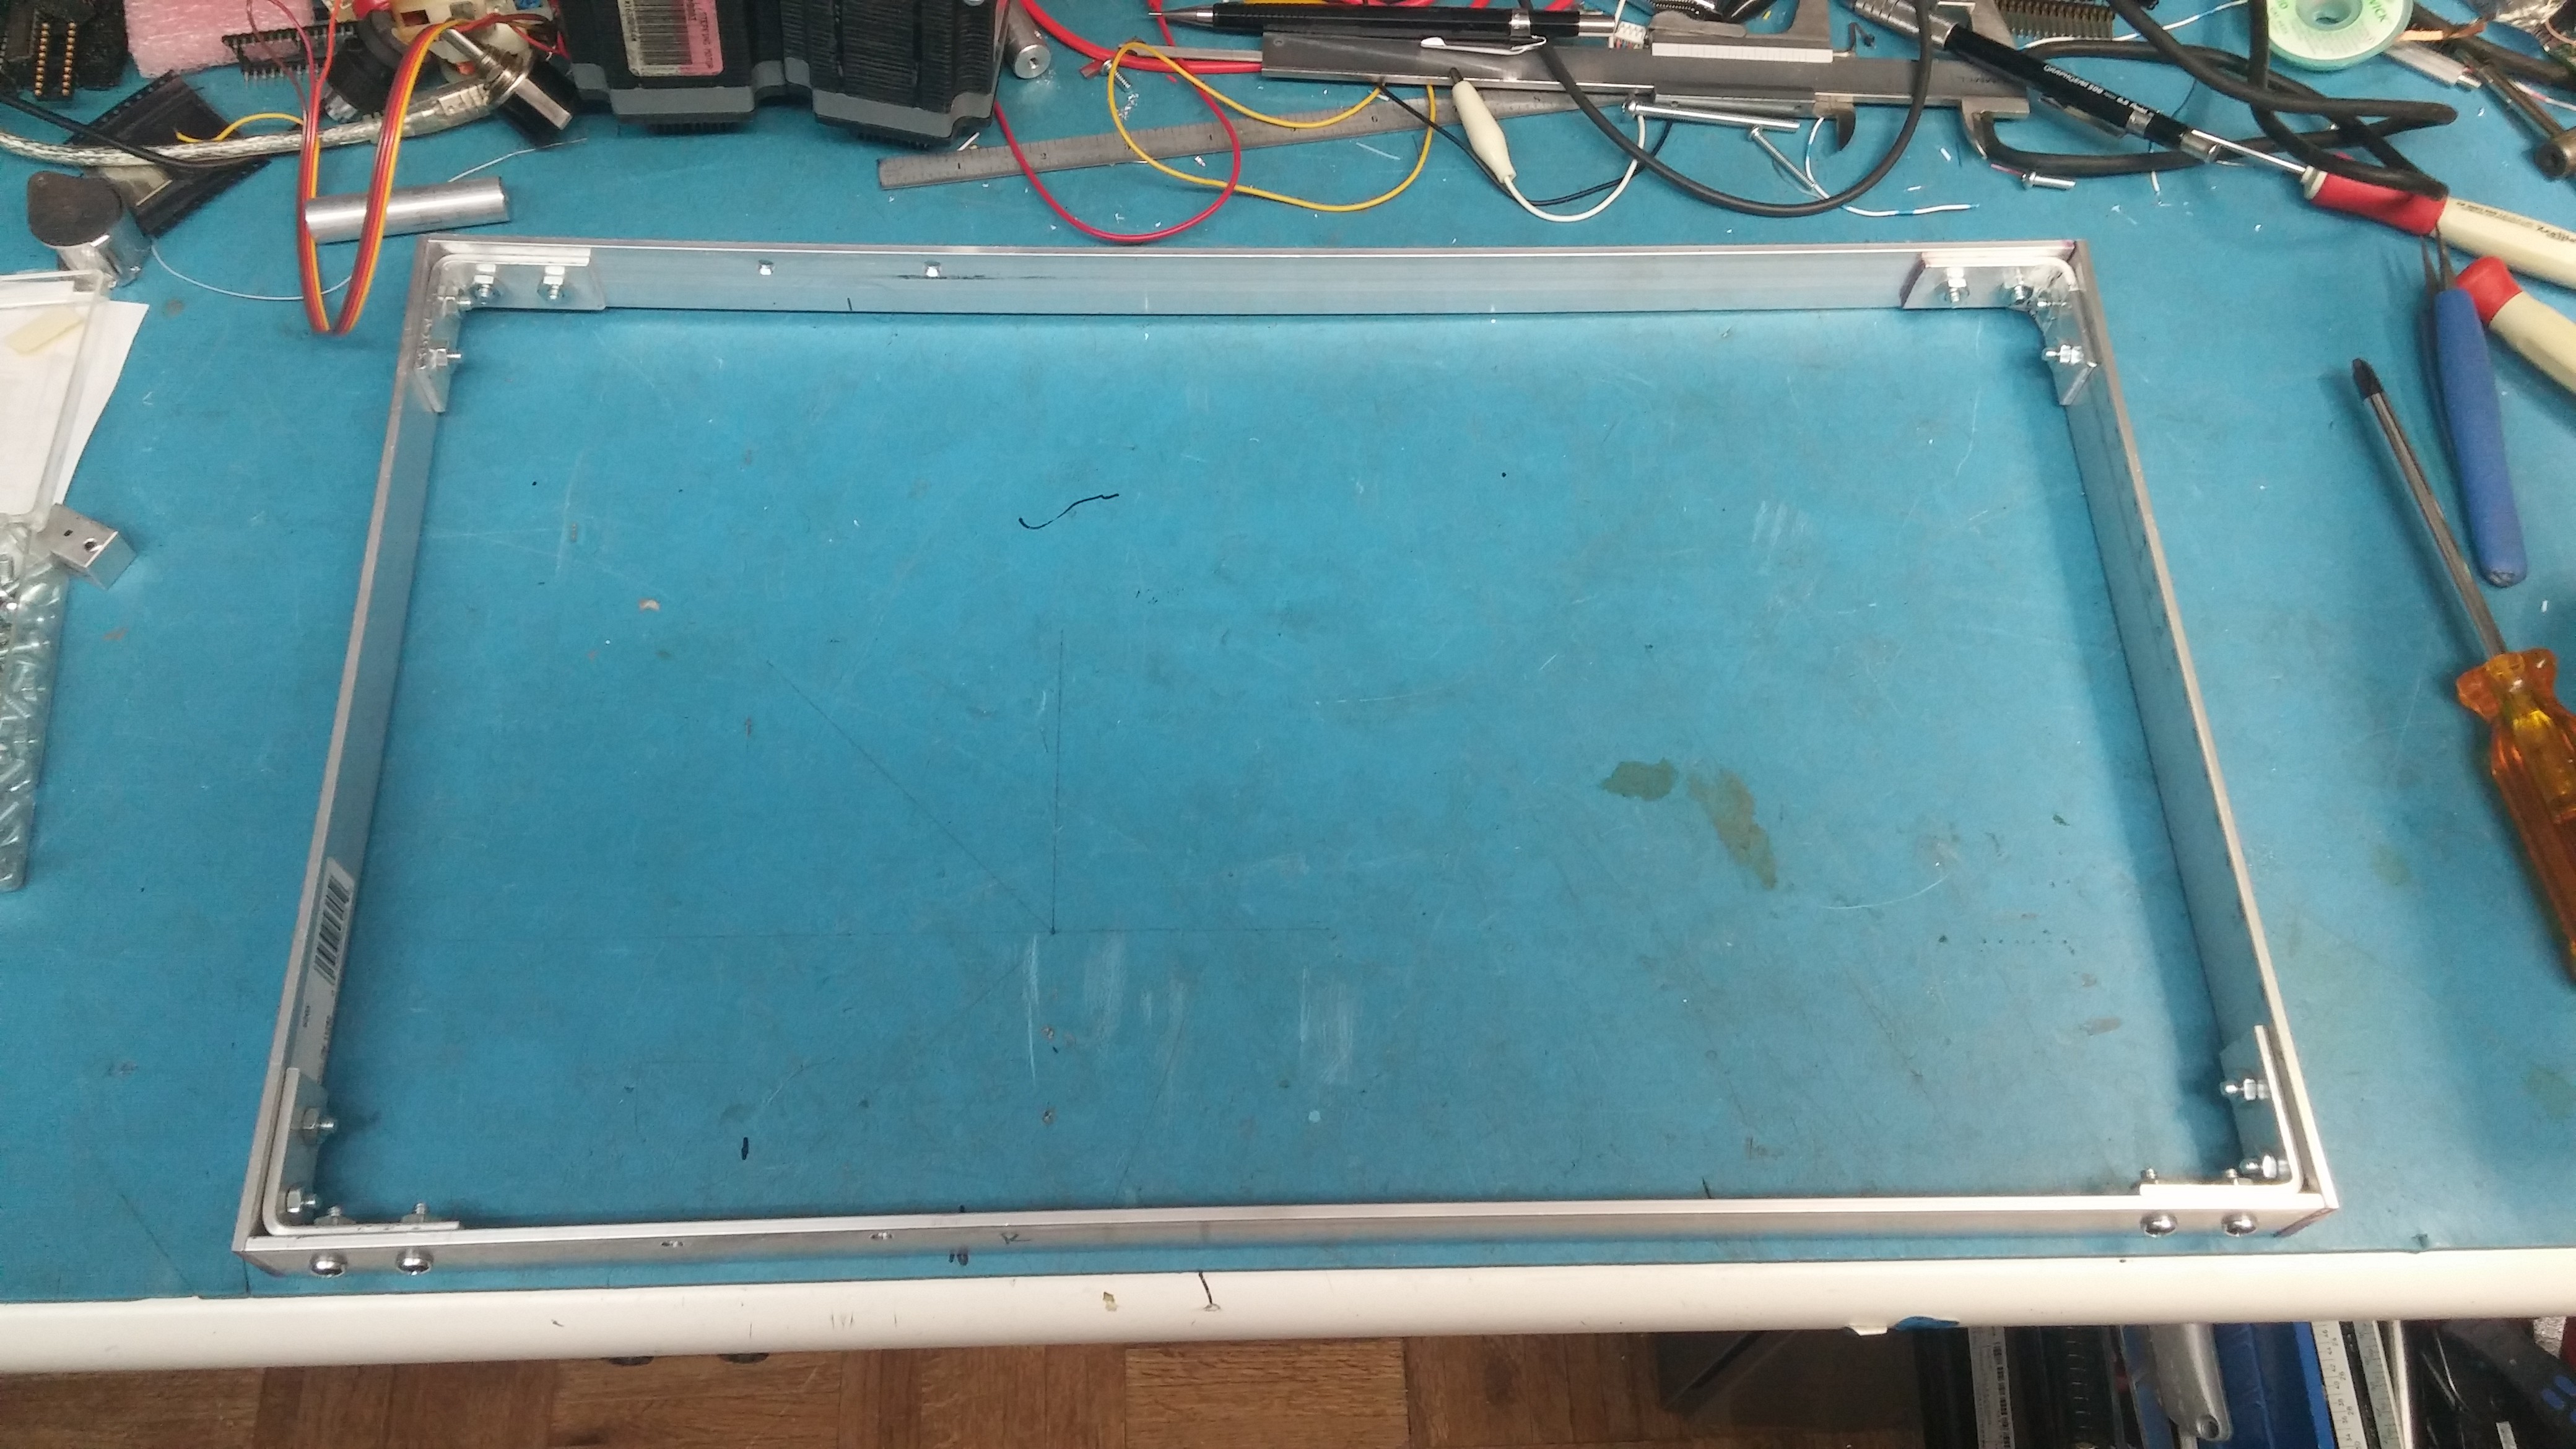
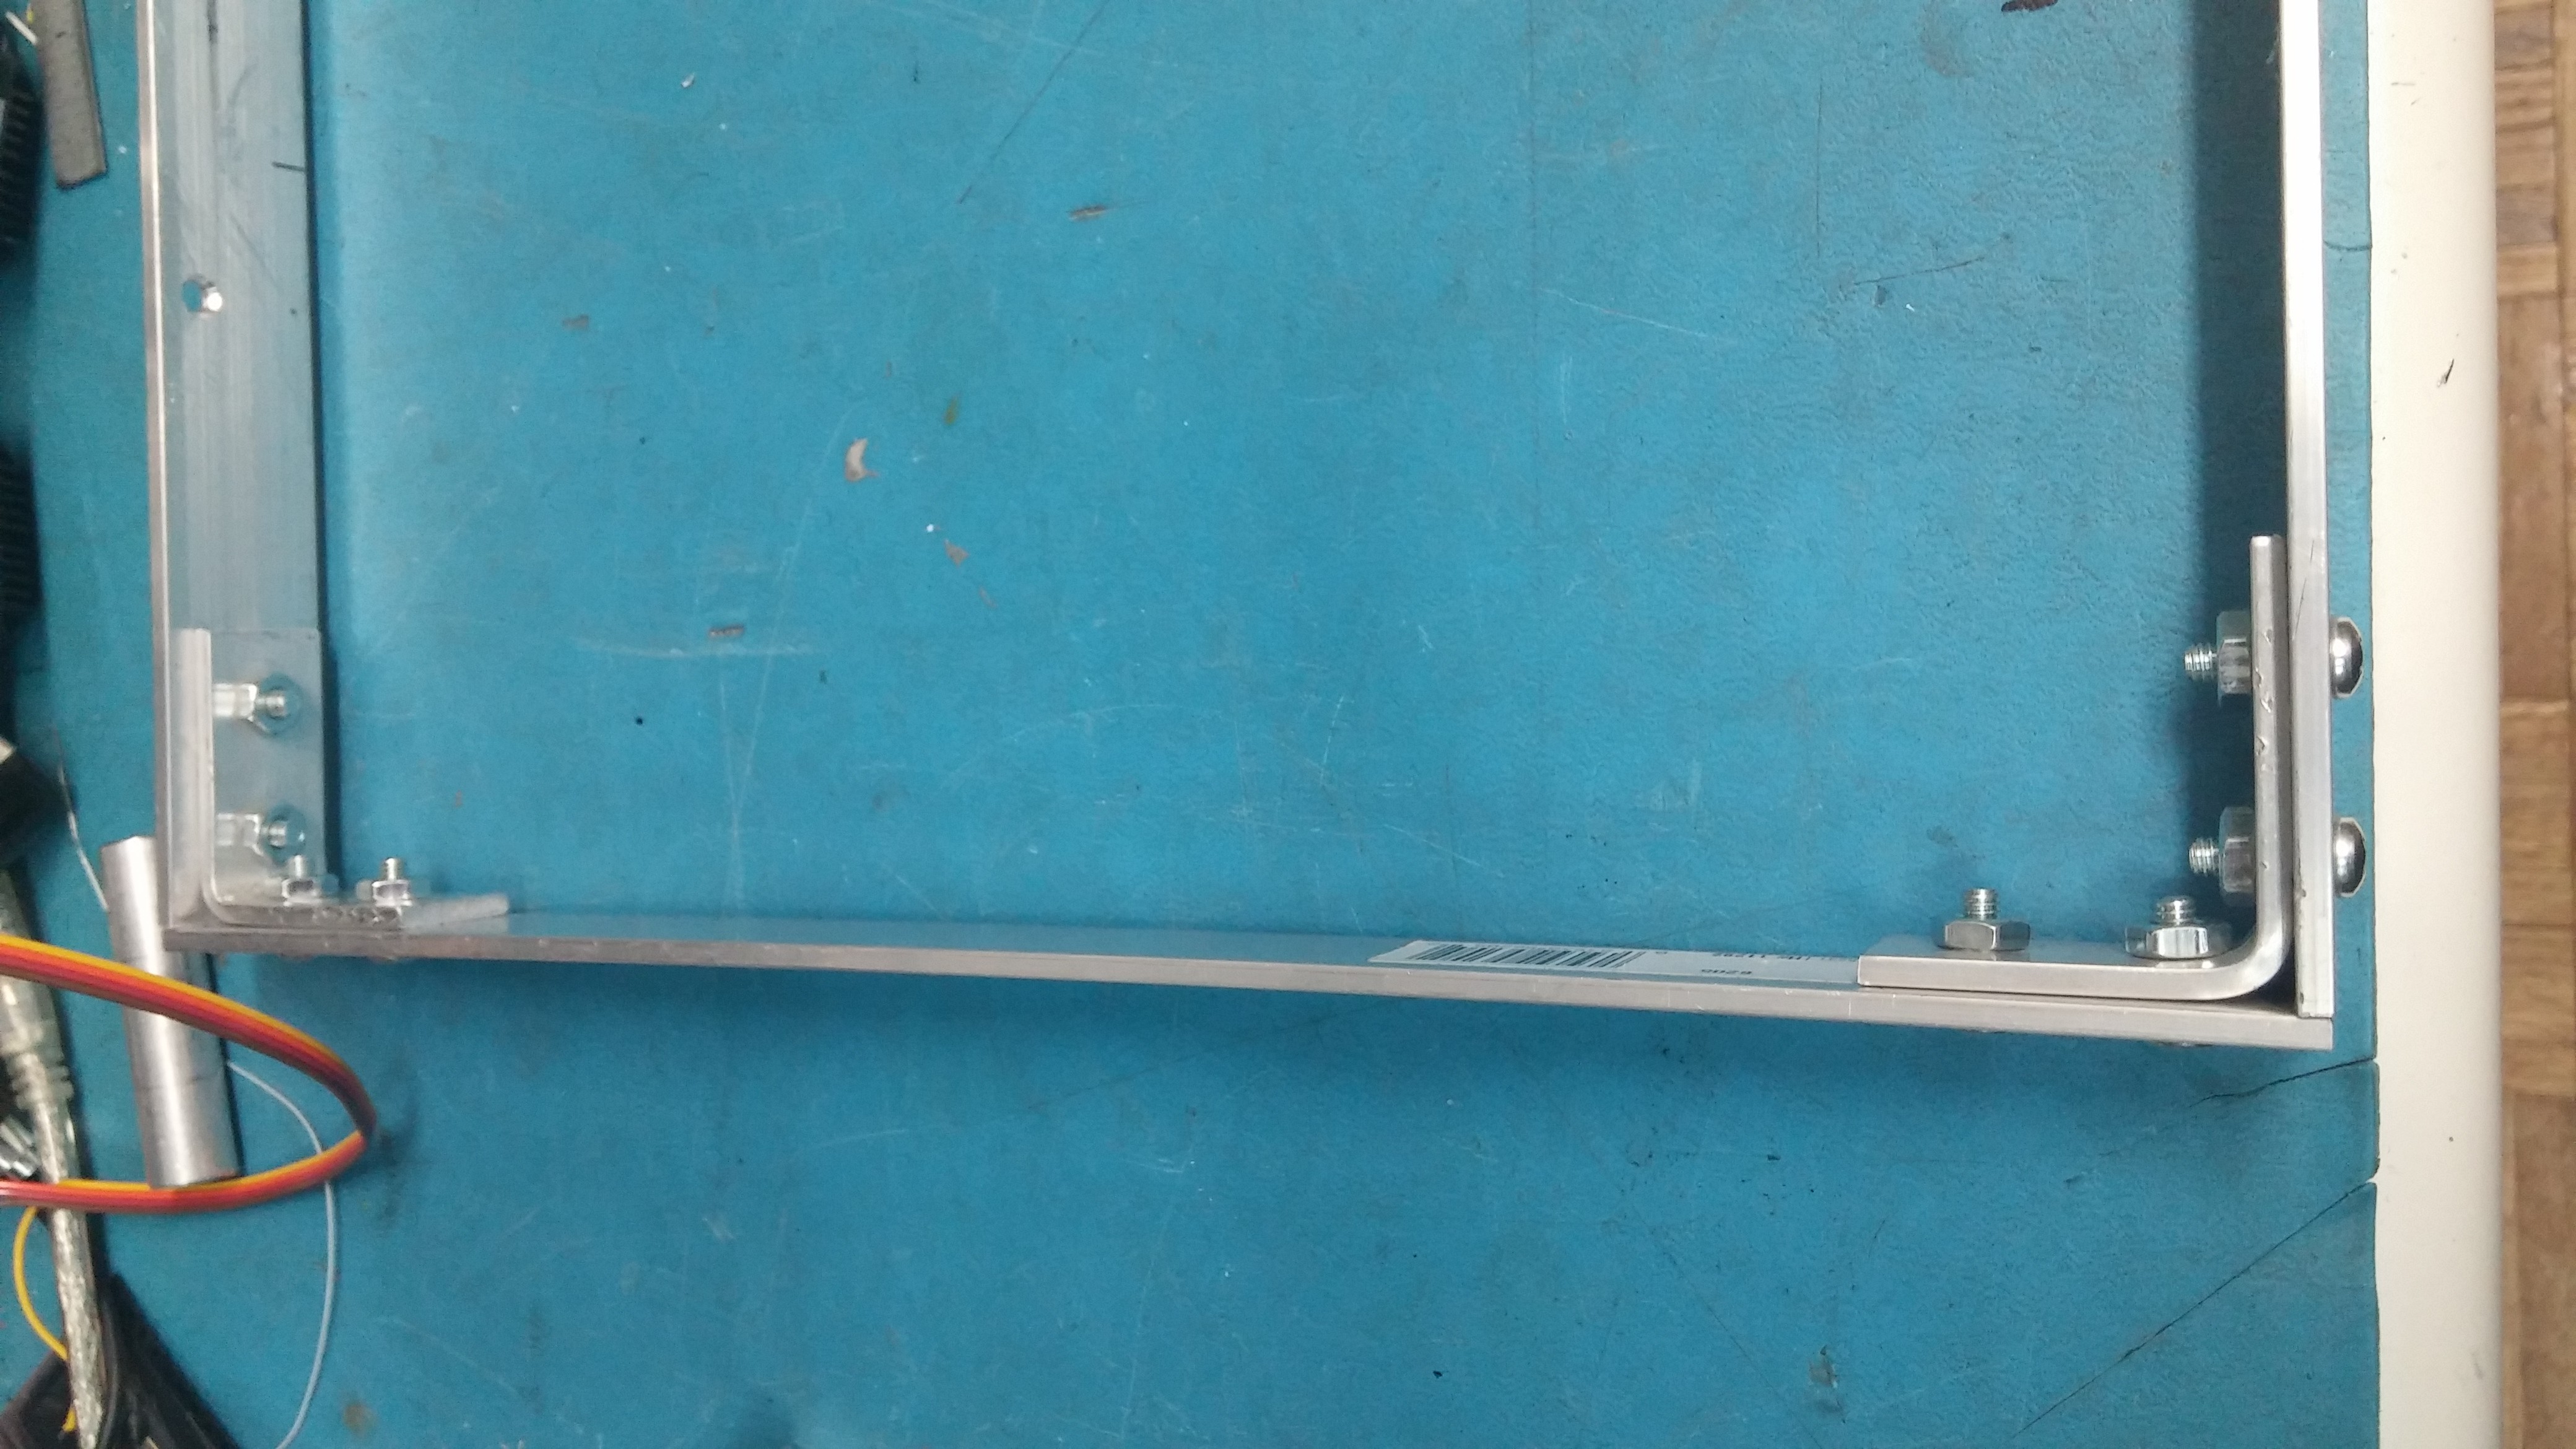
I marked and drilled holes to mount motors and assembled the frame using l shaped pieces made from the same material.
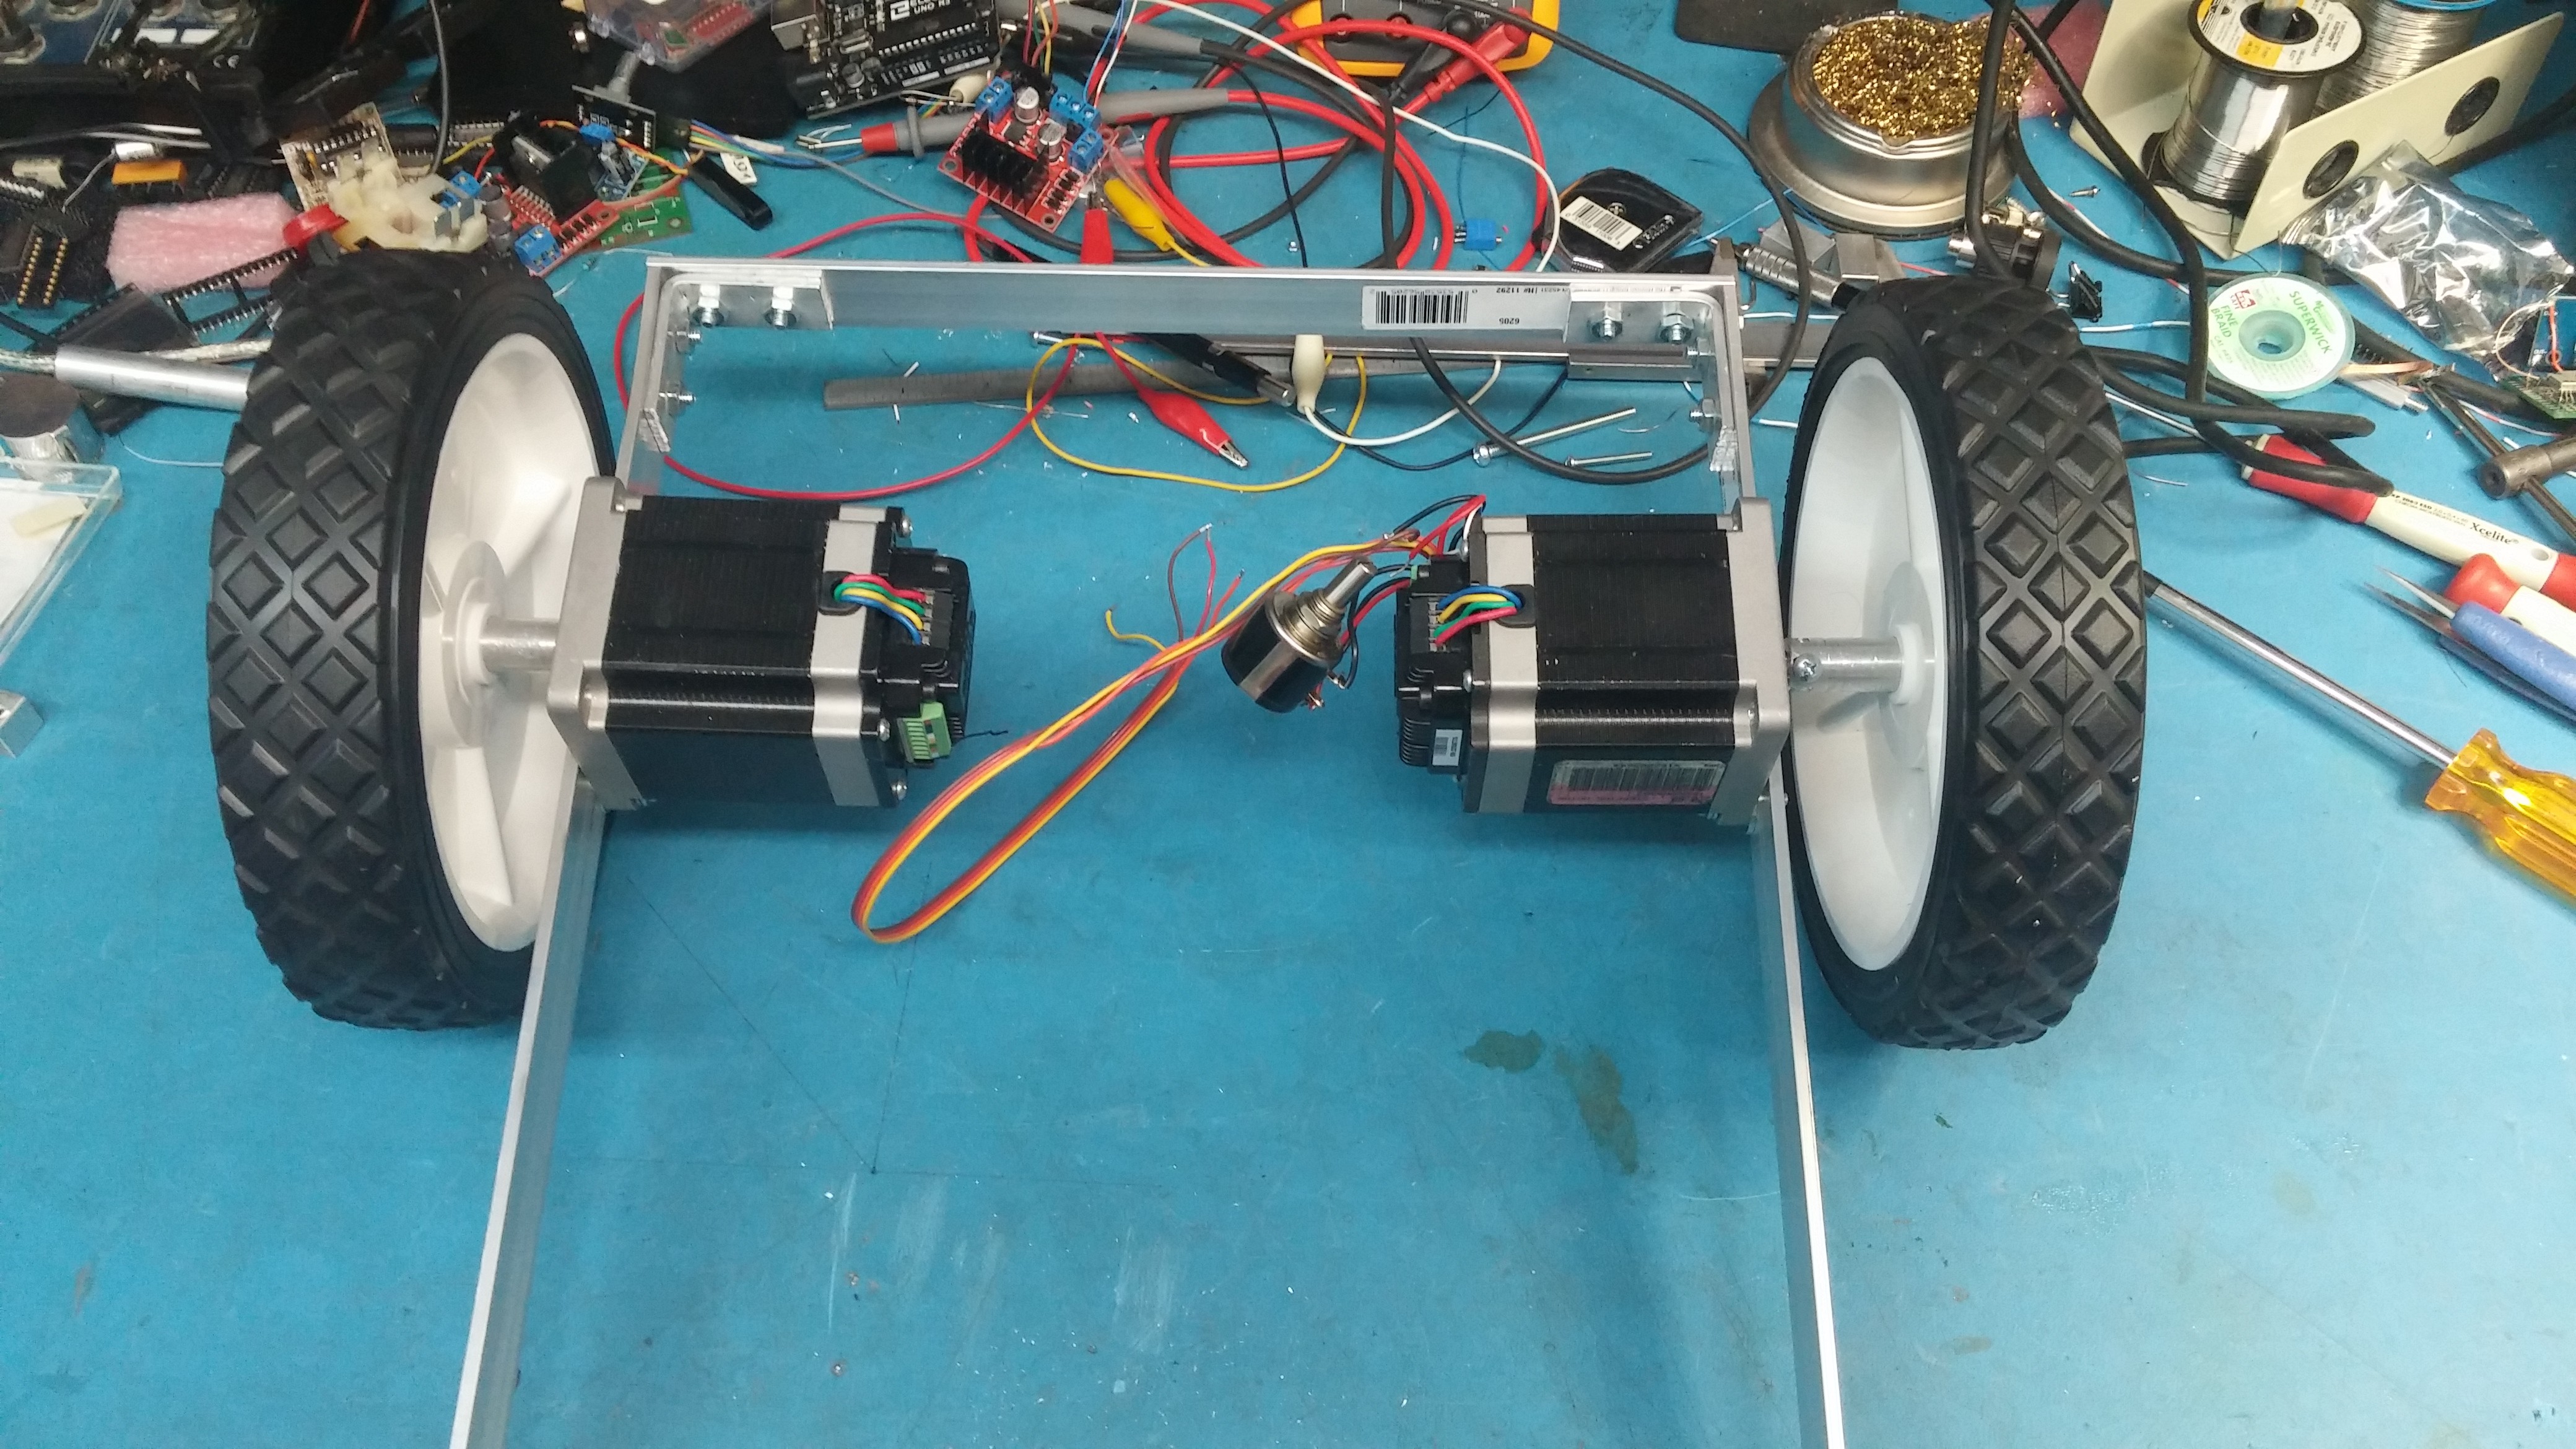
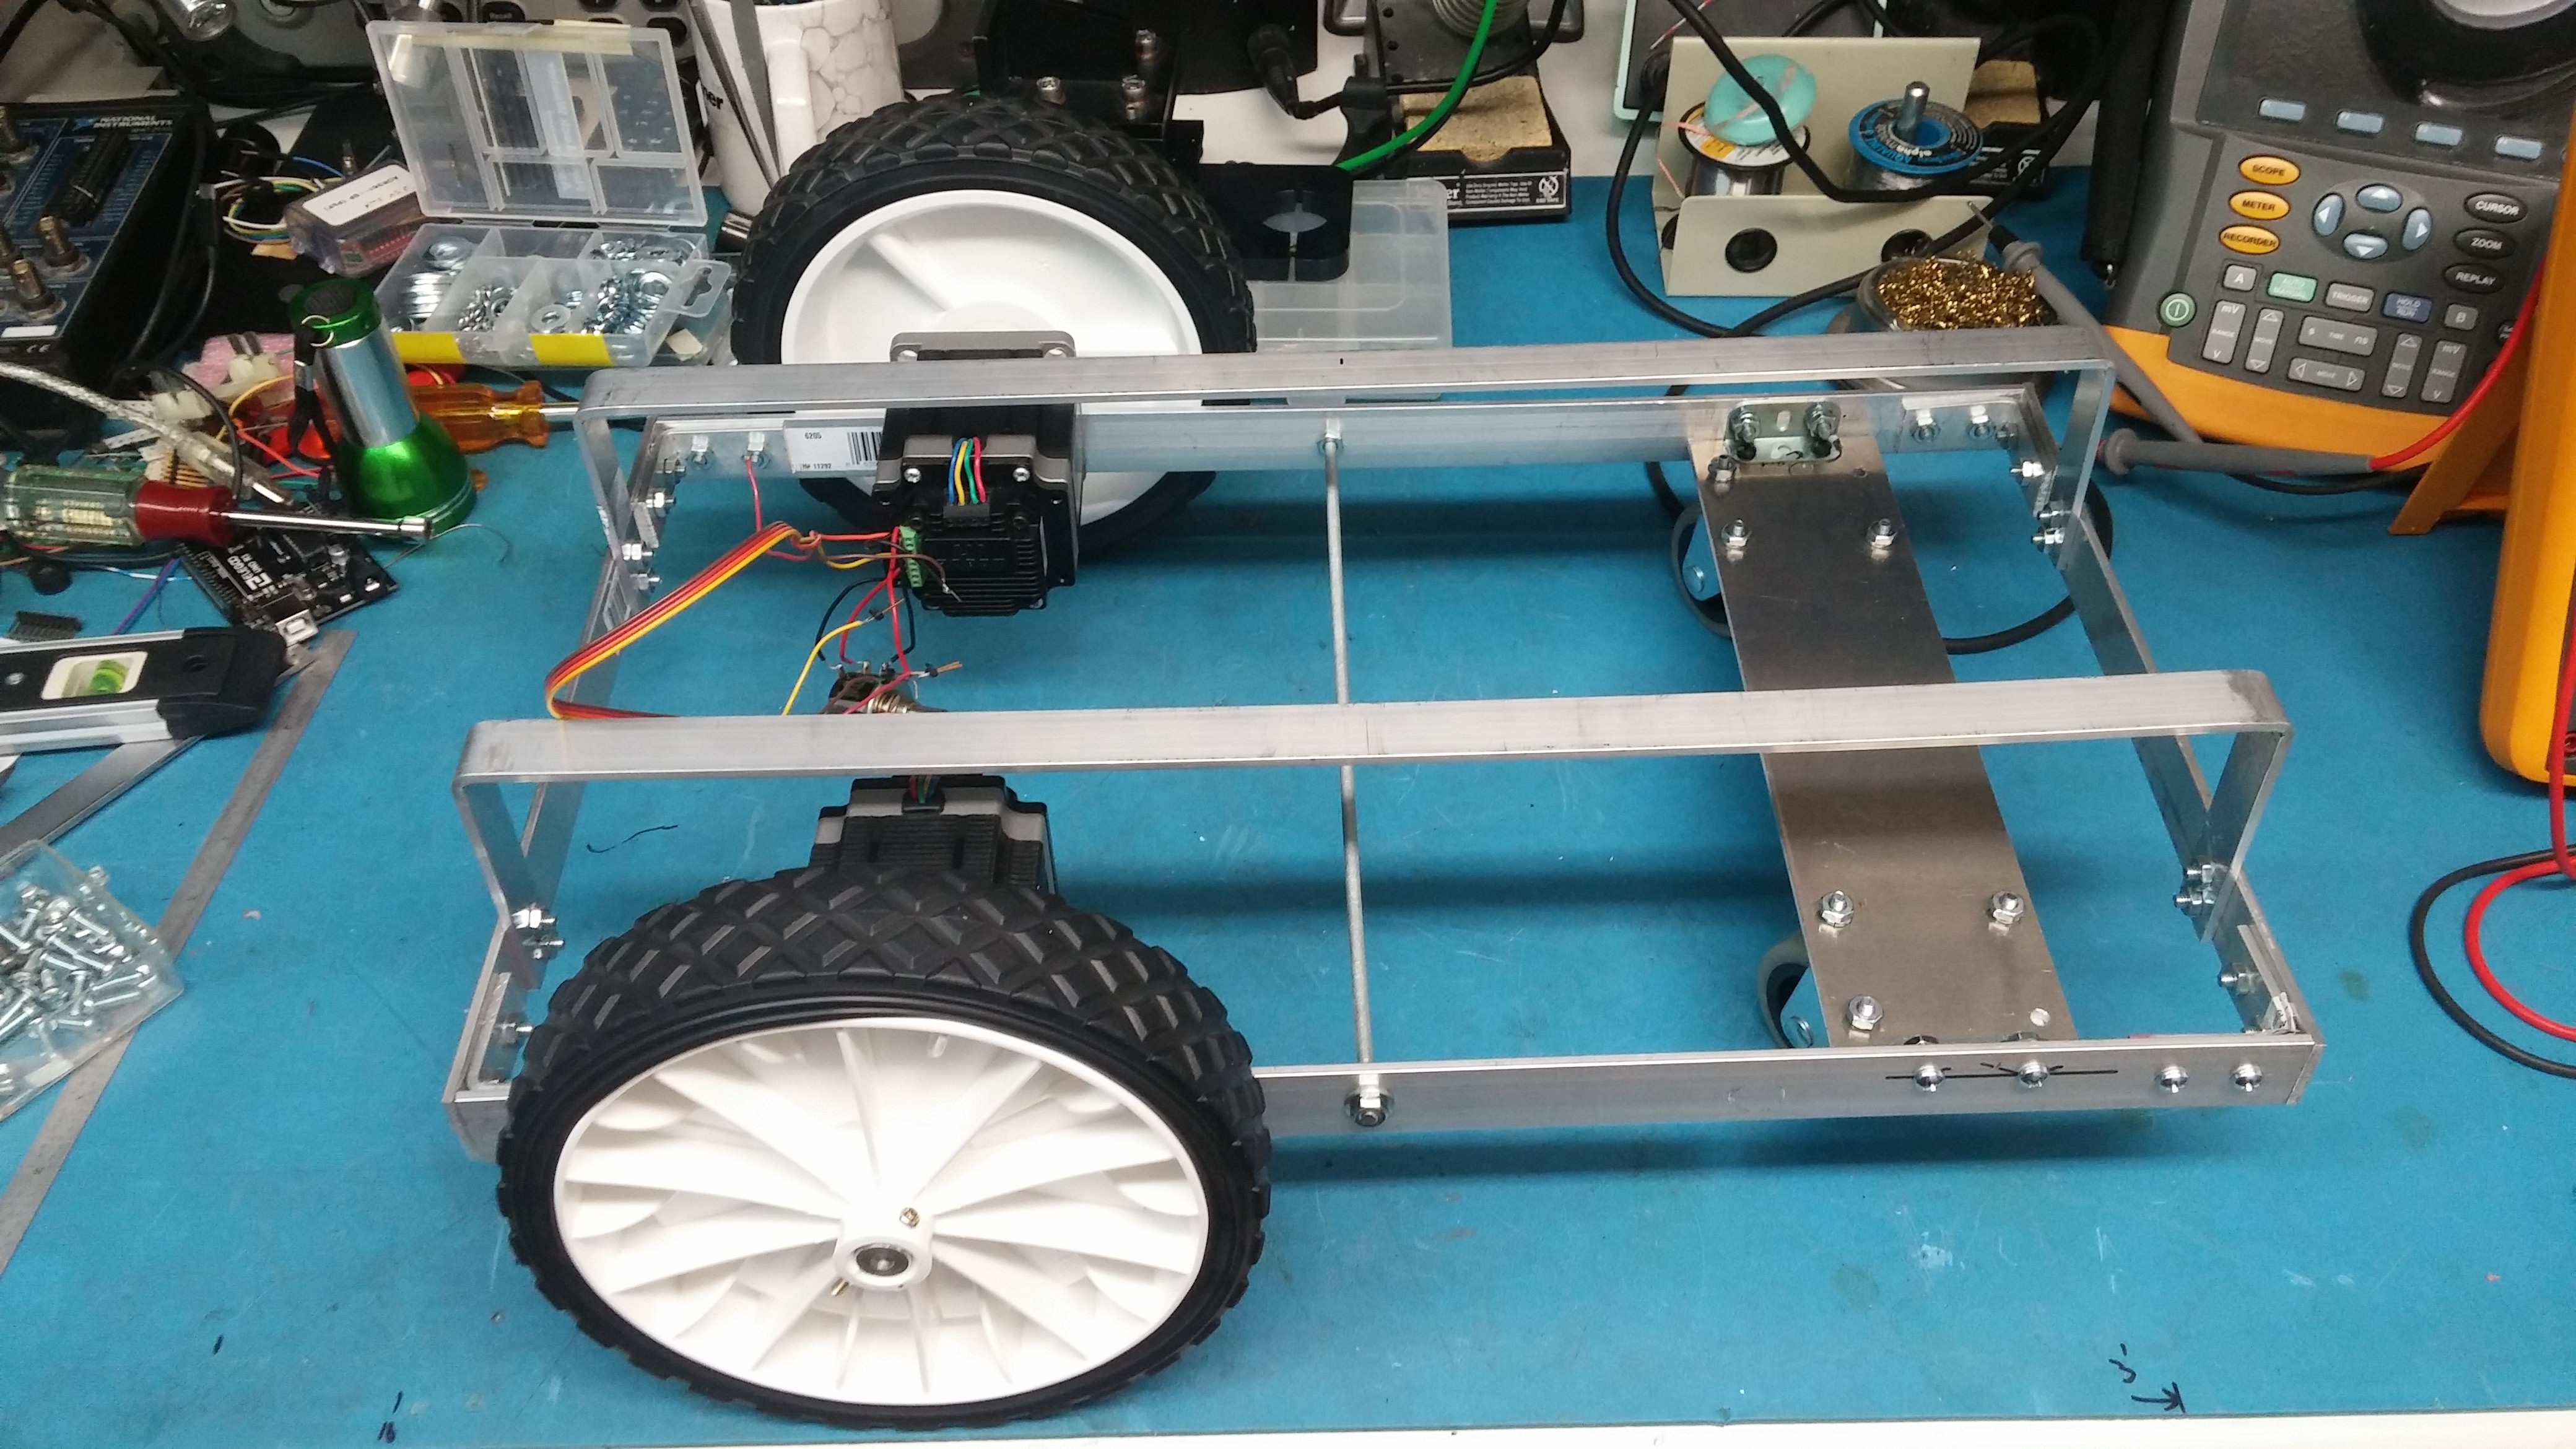
The next step was to install motors and verify they fit and that wheels can be attached without any issues.
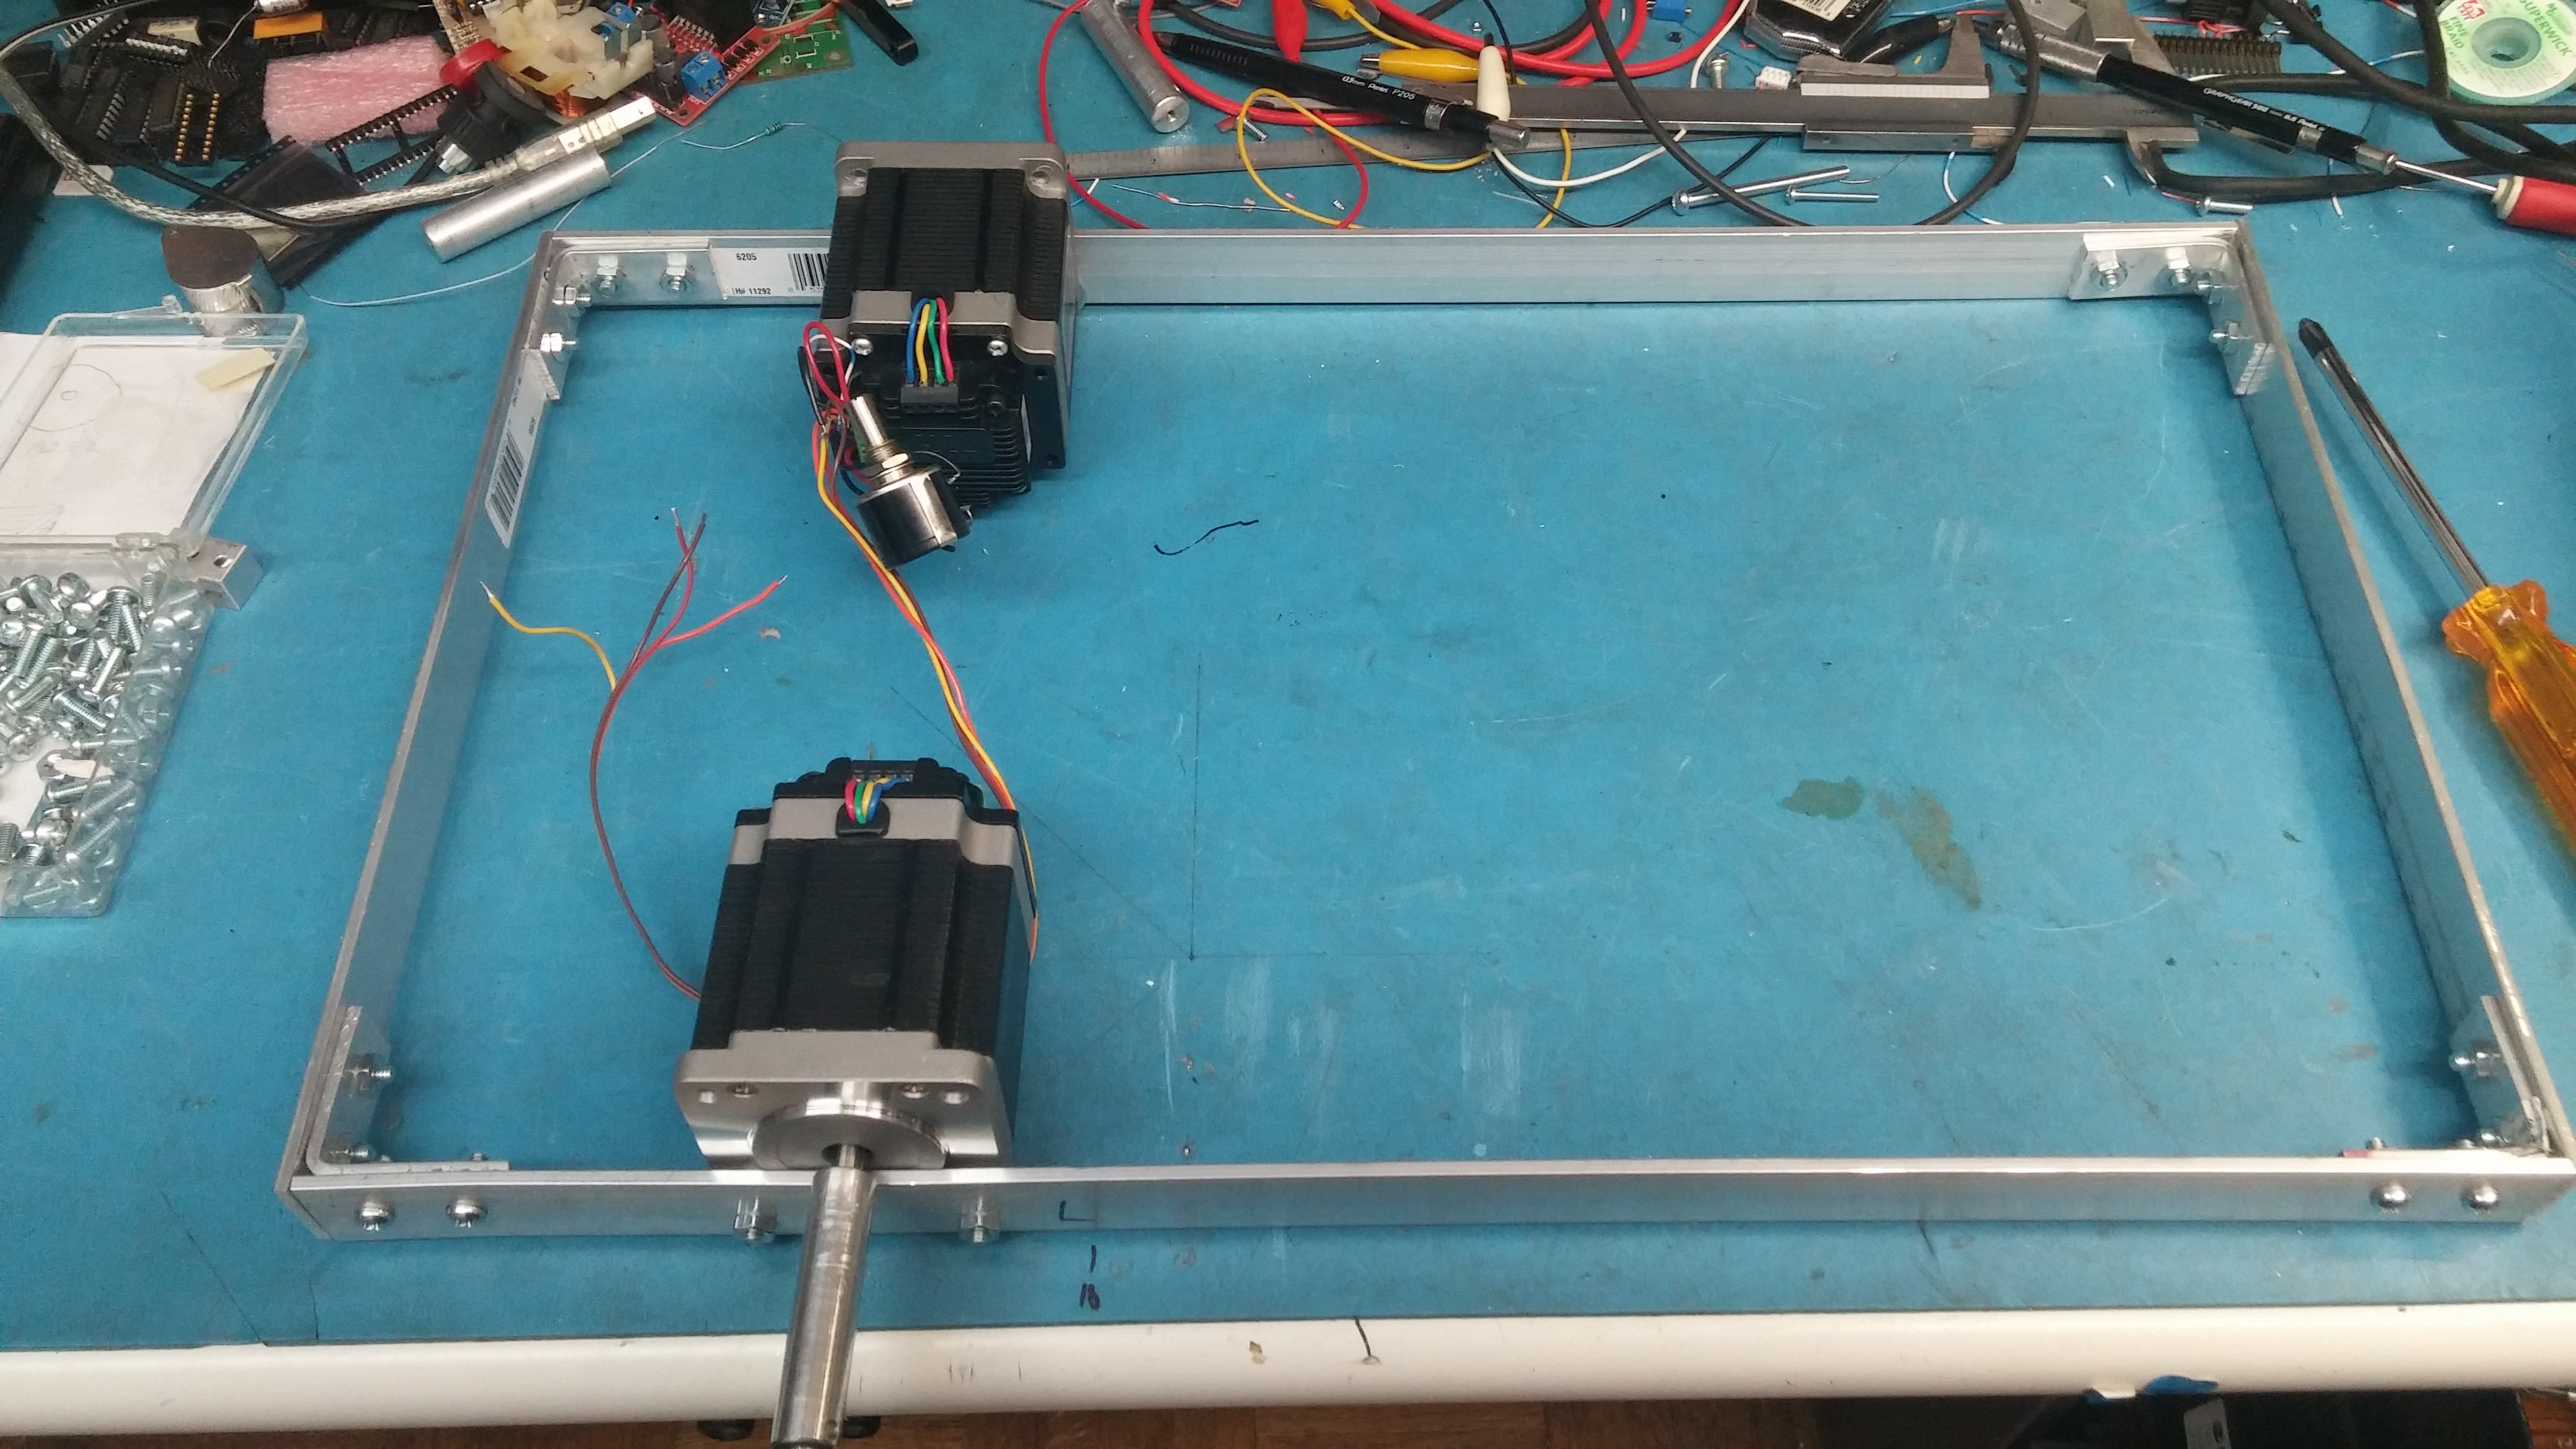
The wheel shaft was little trickier to made using round aluminum rods drilled to fit the motor shaft and secured by the set screw. Not perfect but it works. You should figure motor to wheel coupling first before you continue with the build. I did it this way simply because I had those parts and I like to reuse material.
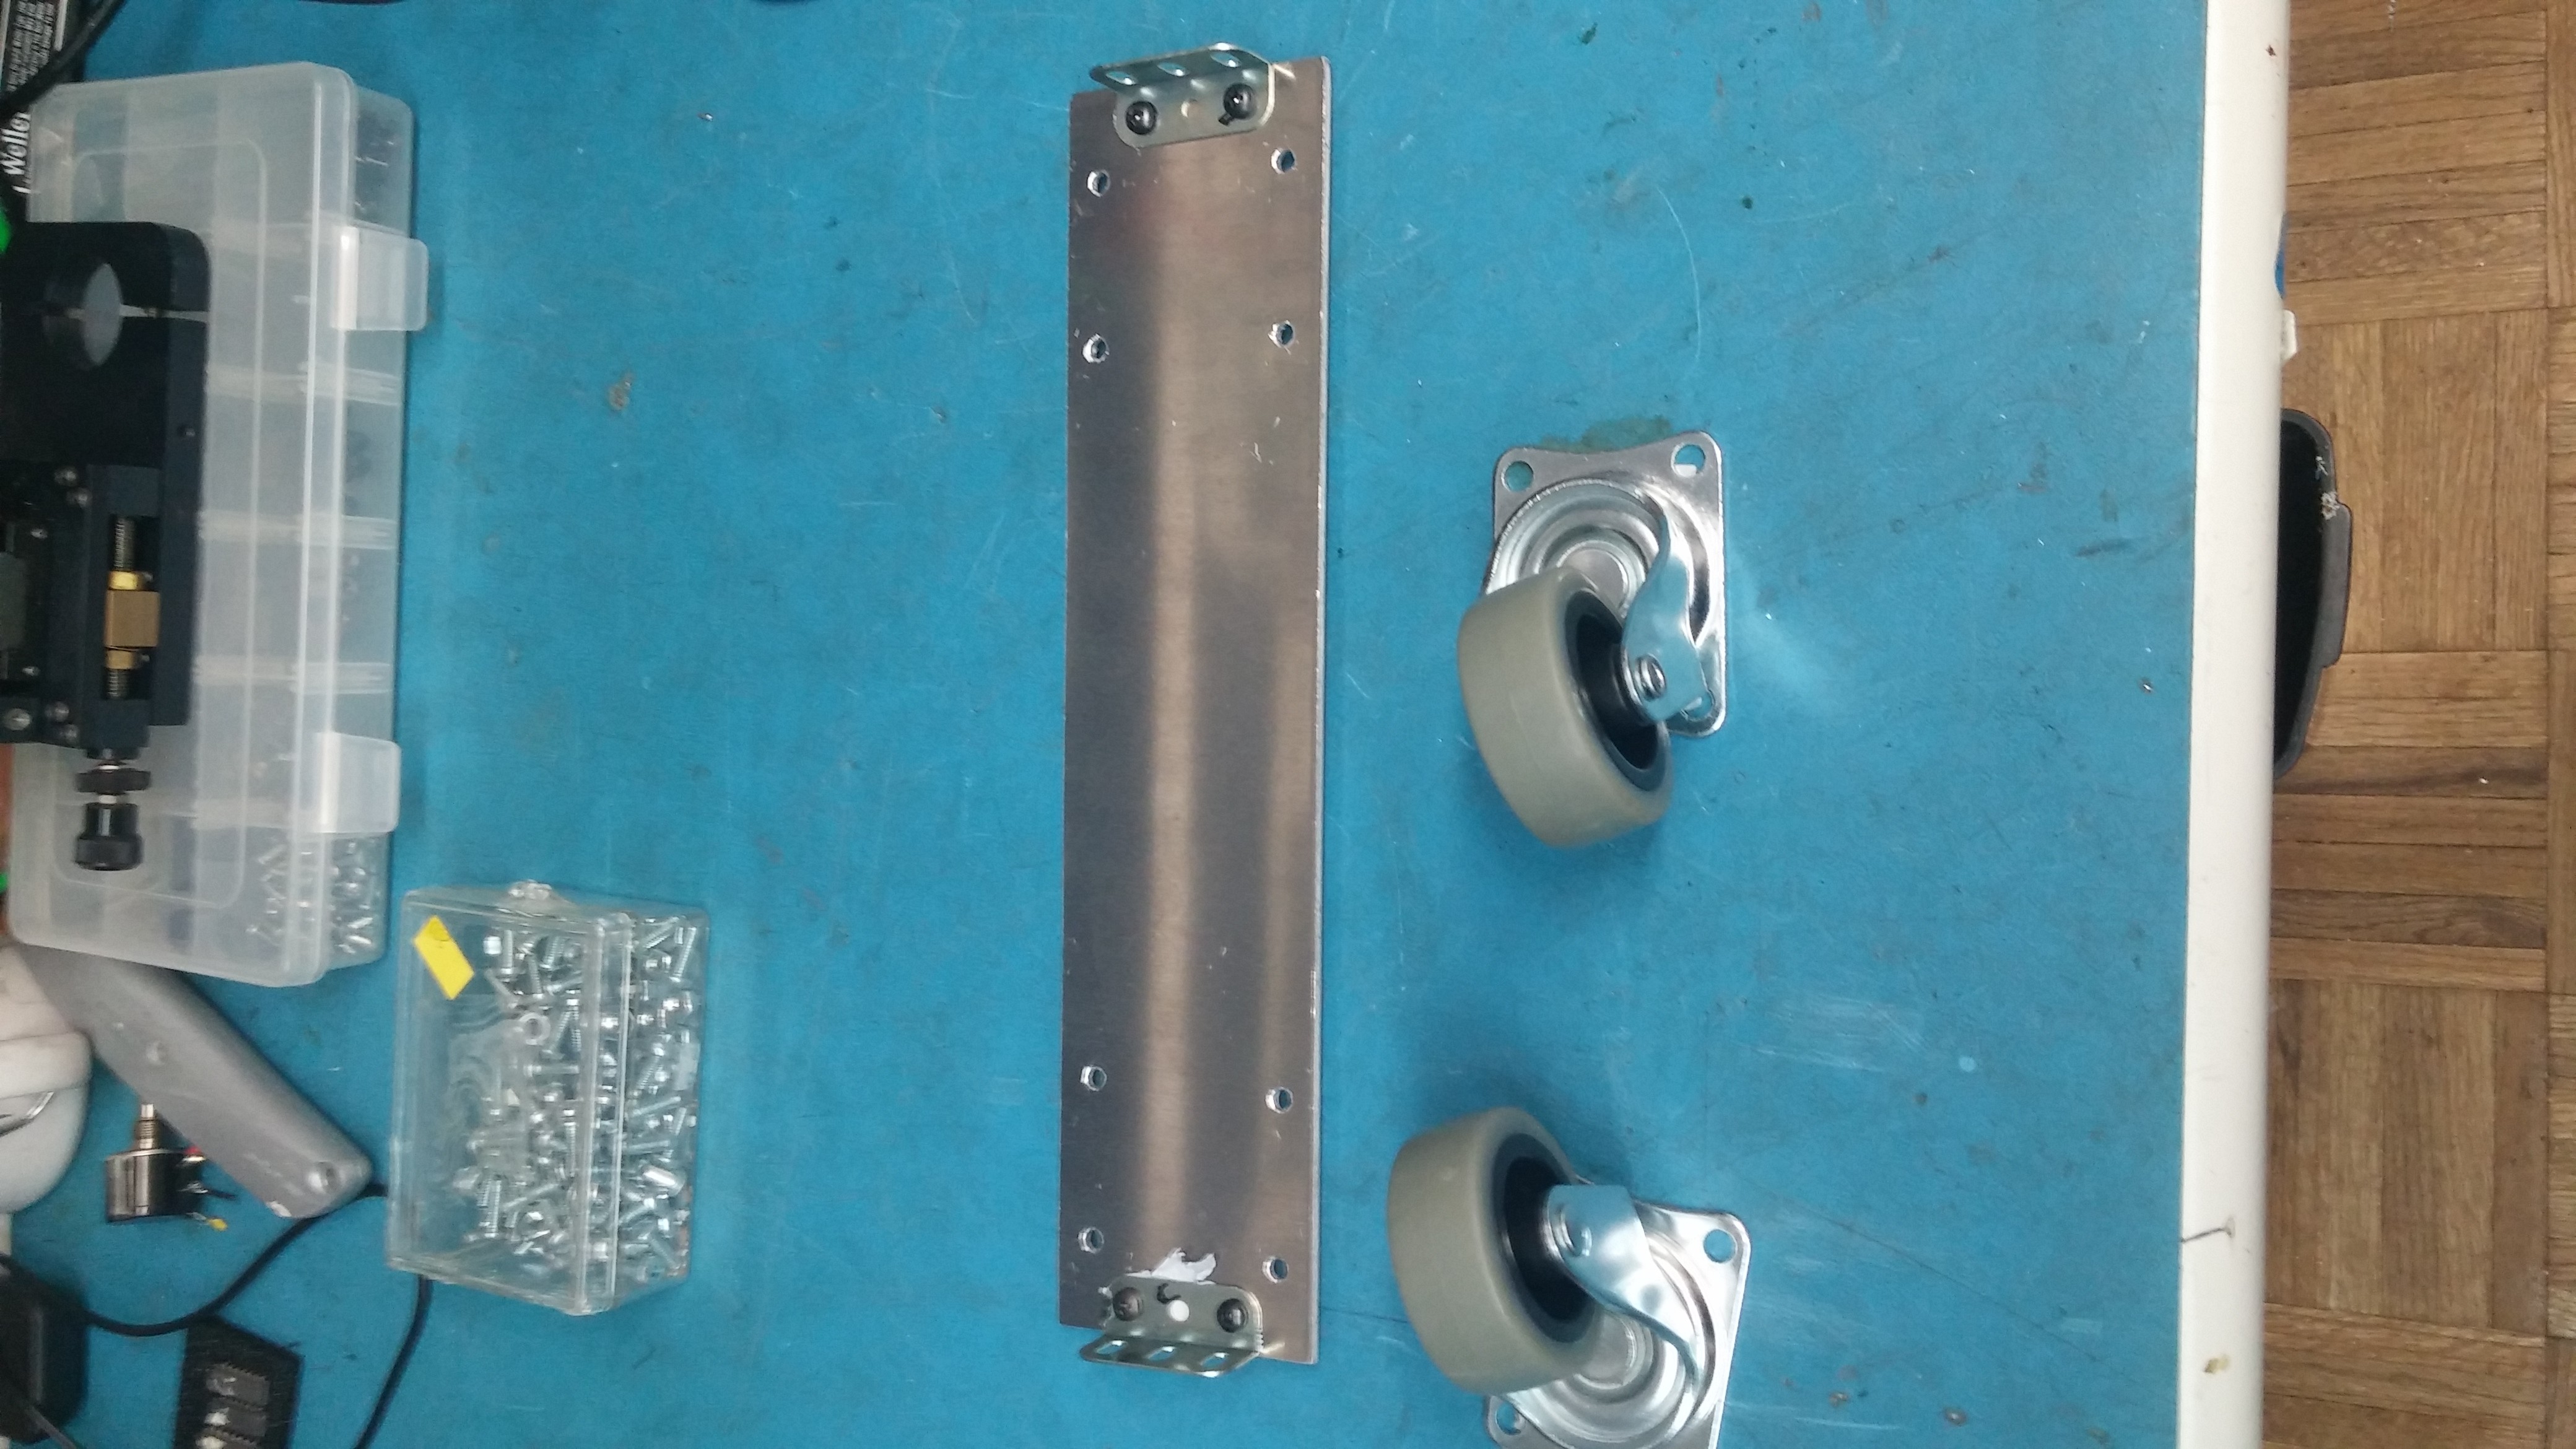
The next step was to mount 2 inch castor wheels. They should be mounted to the frame in such a way that whole frame is leveled with the ground. I mounted them on the aluminum plate suspended on the frame side. This way I could adjust the height if needed.
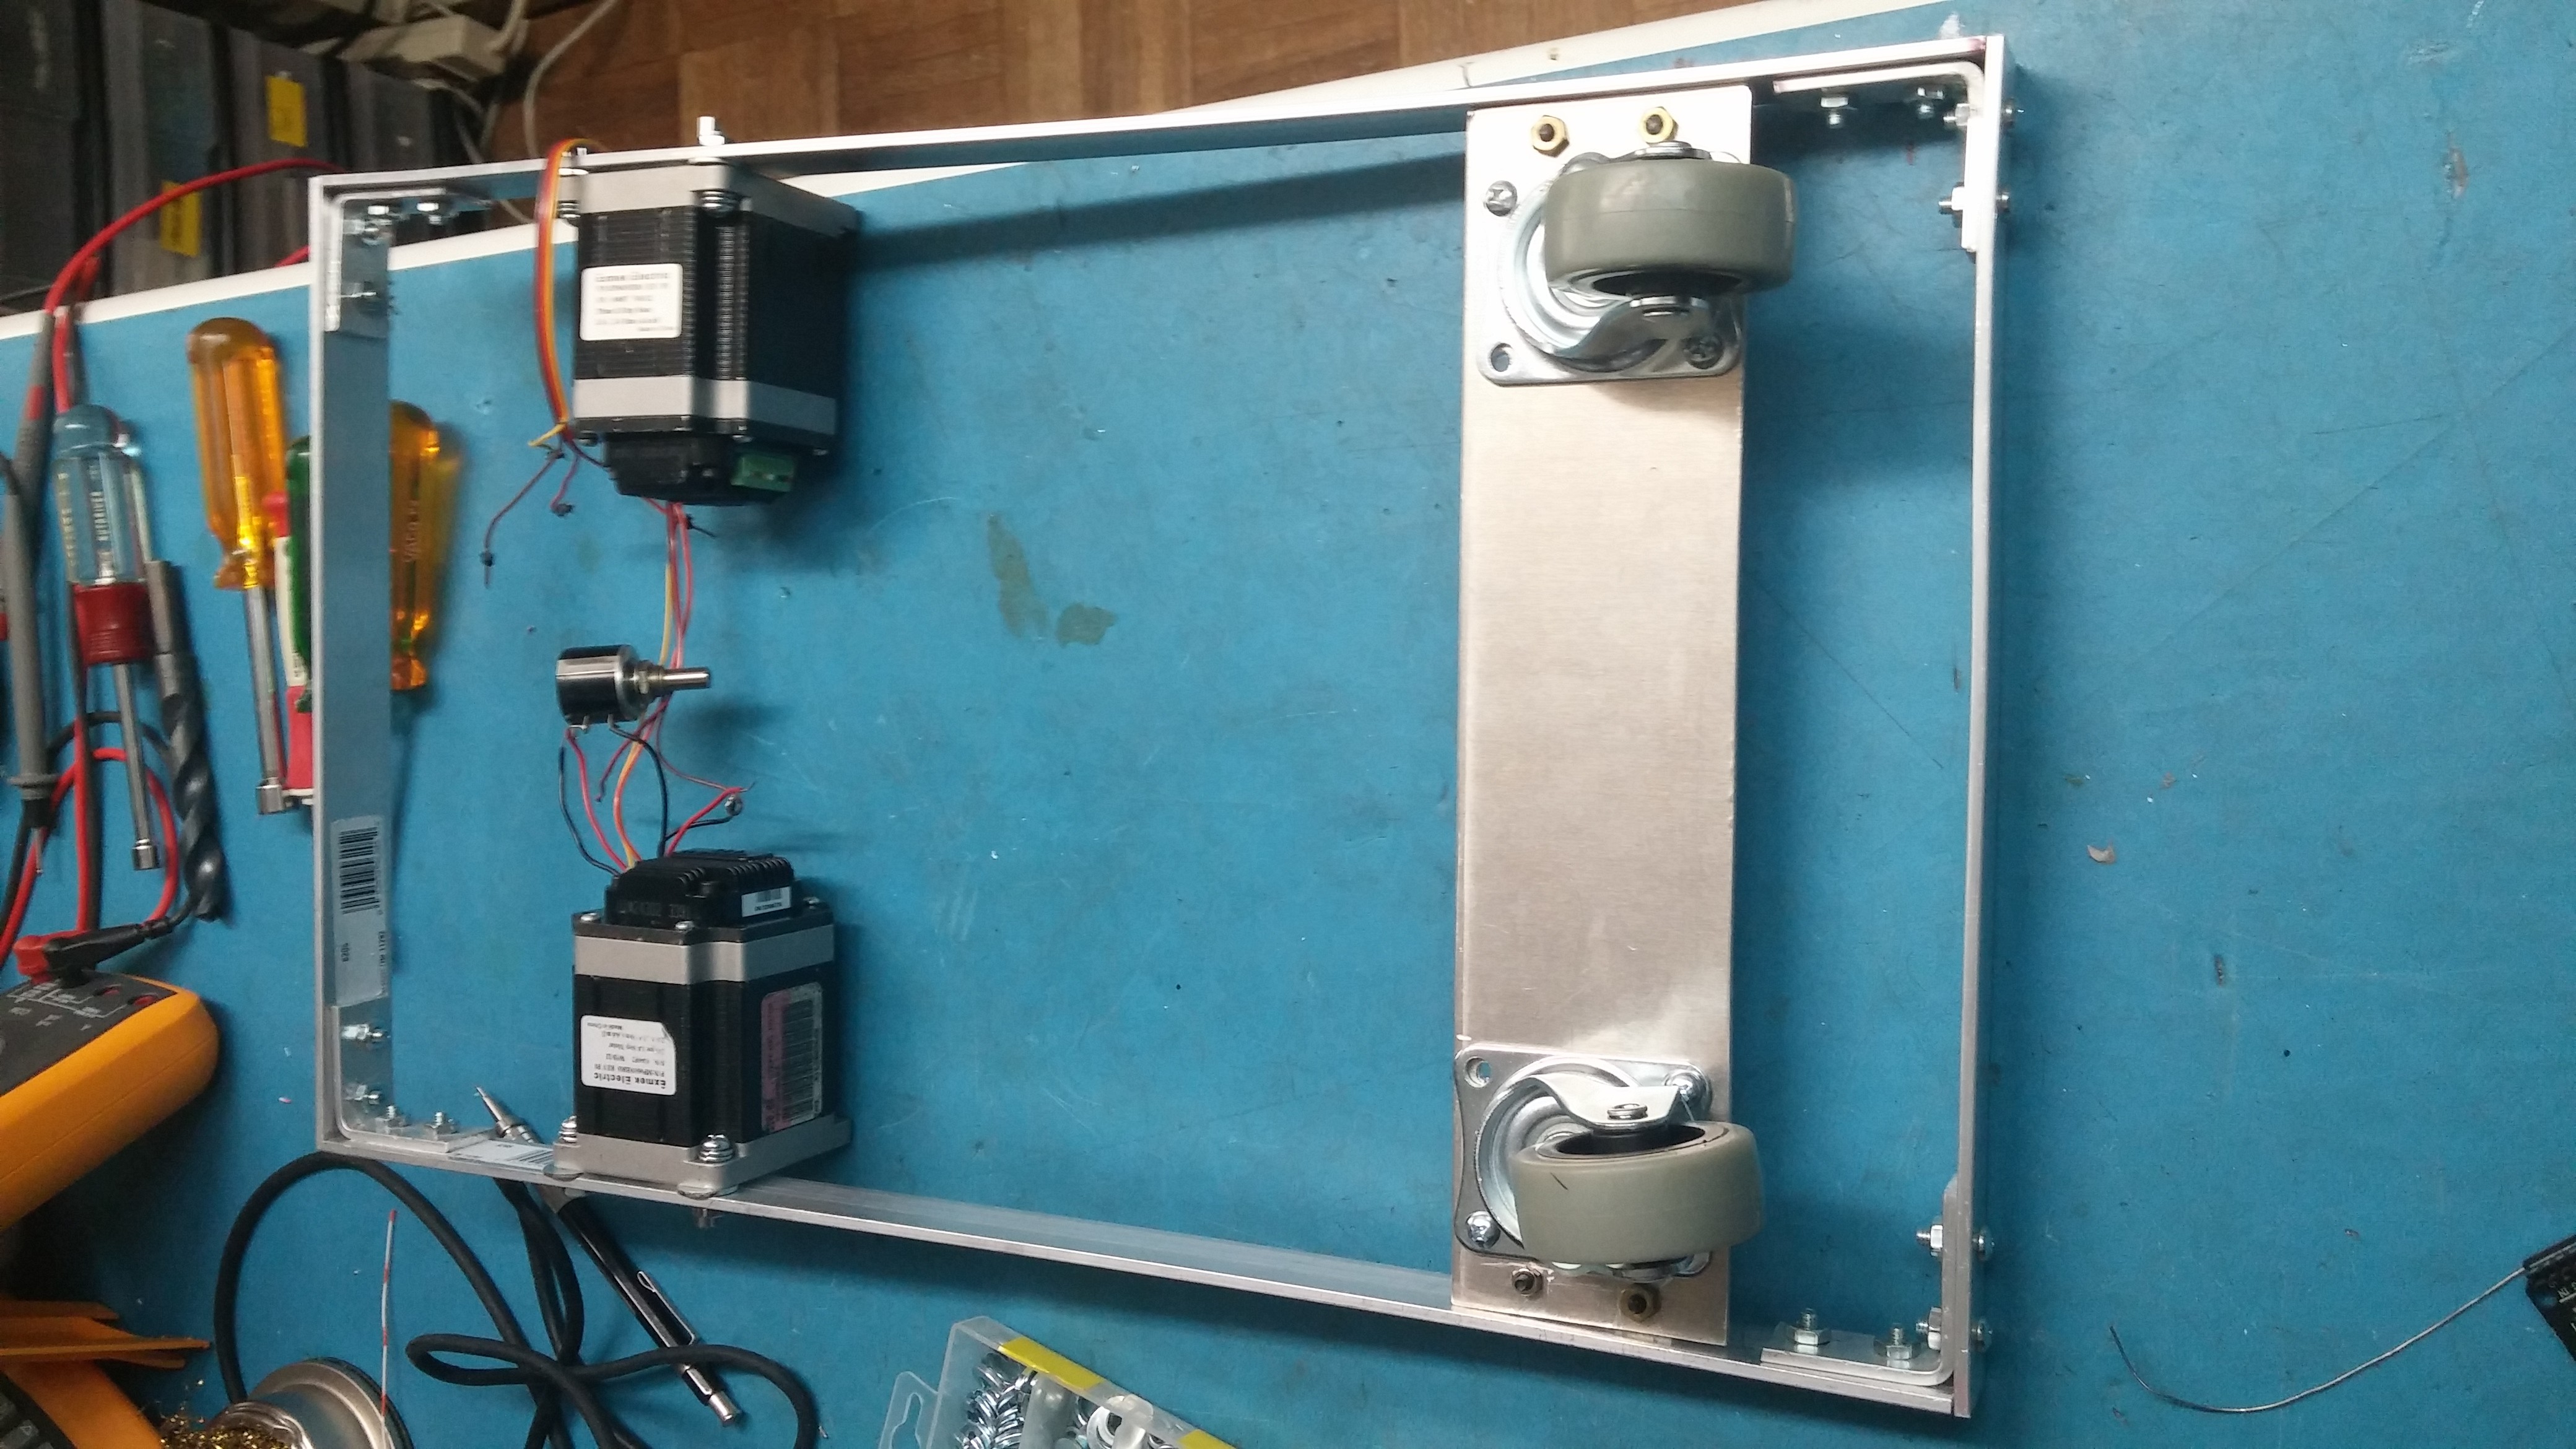
At this point you can verify how flat is the frame with the wheels mounted. Also, if you have a means to power up the motors, it will be a good idea to test the motion.
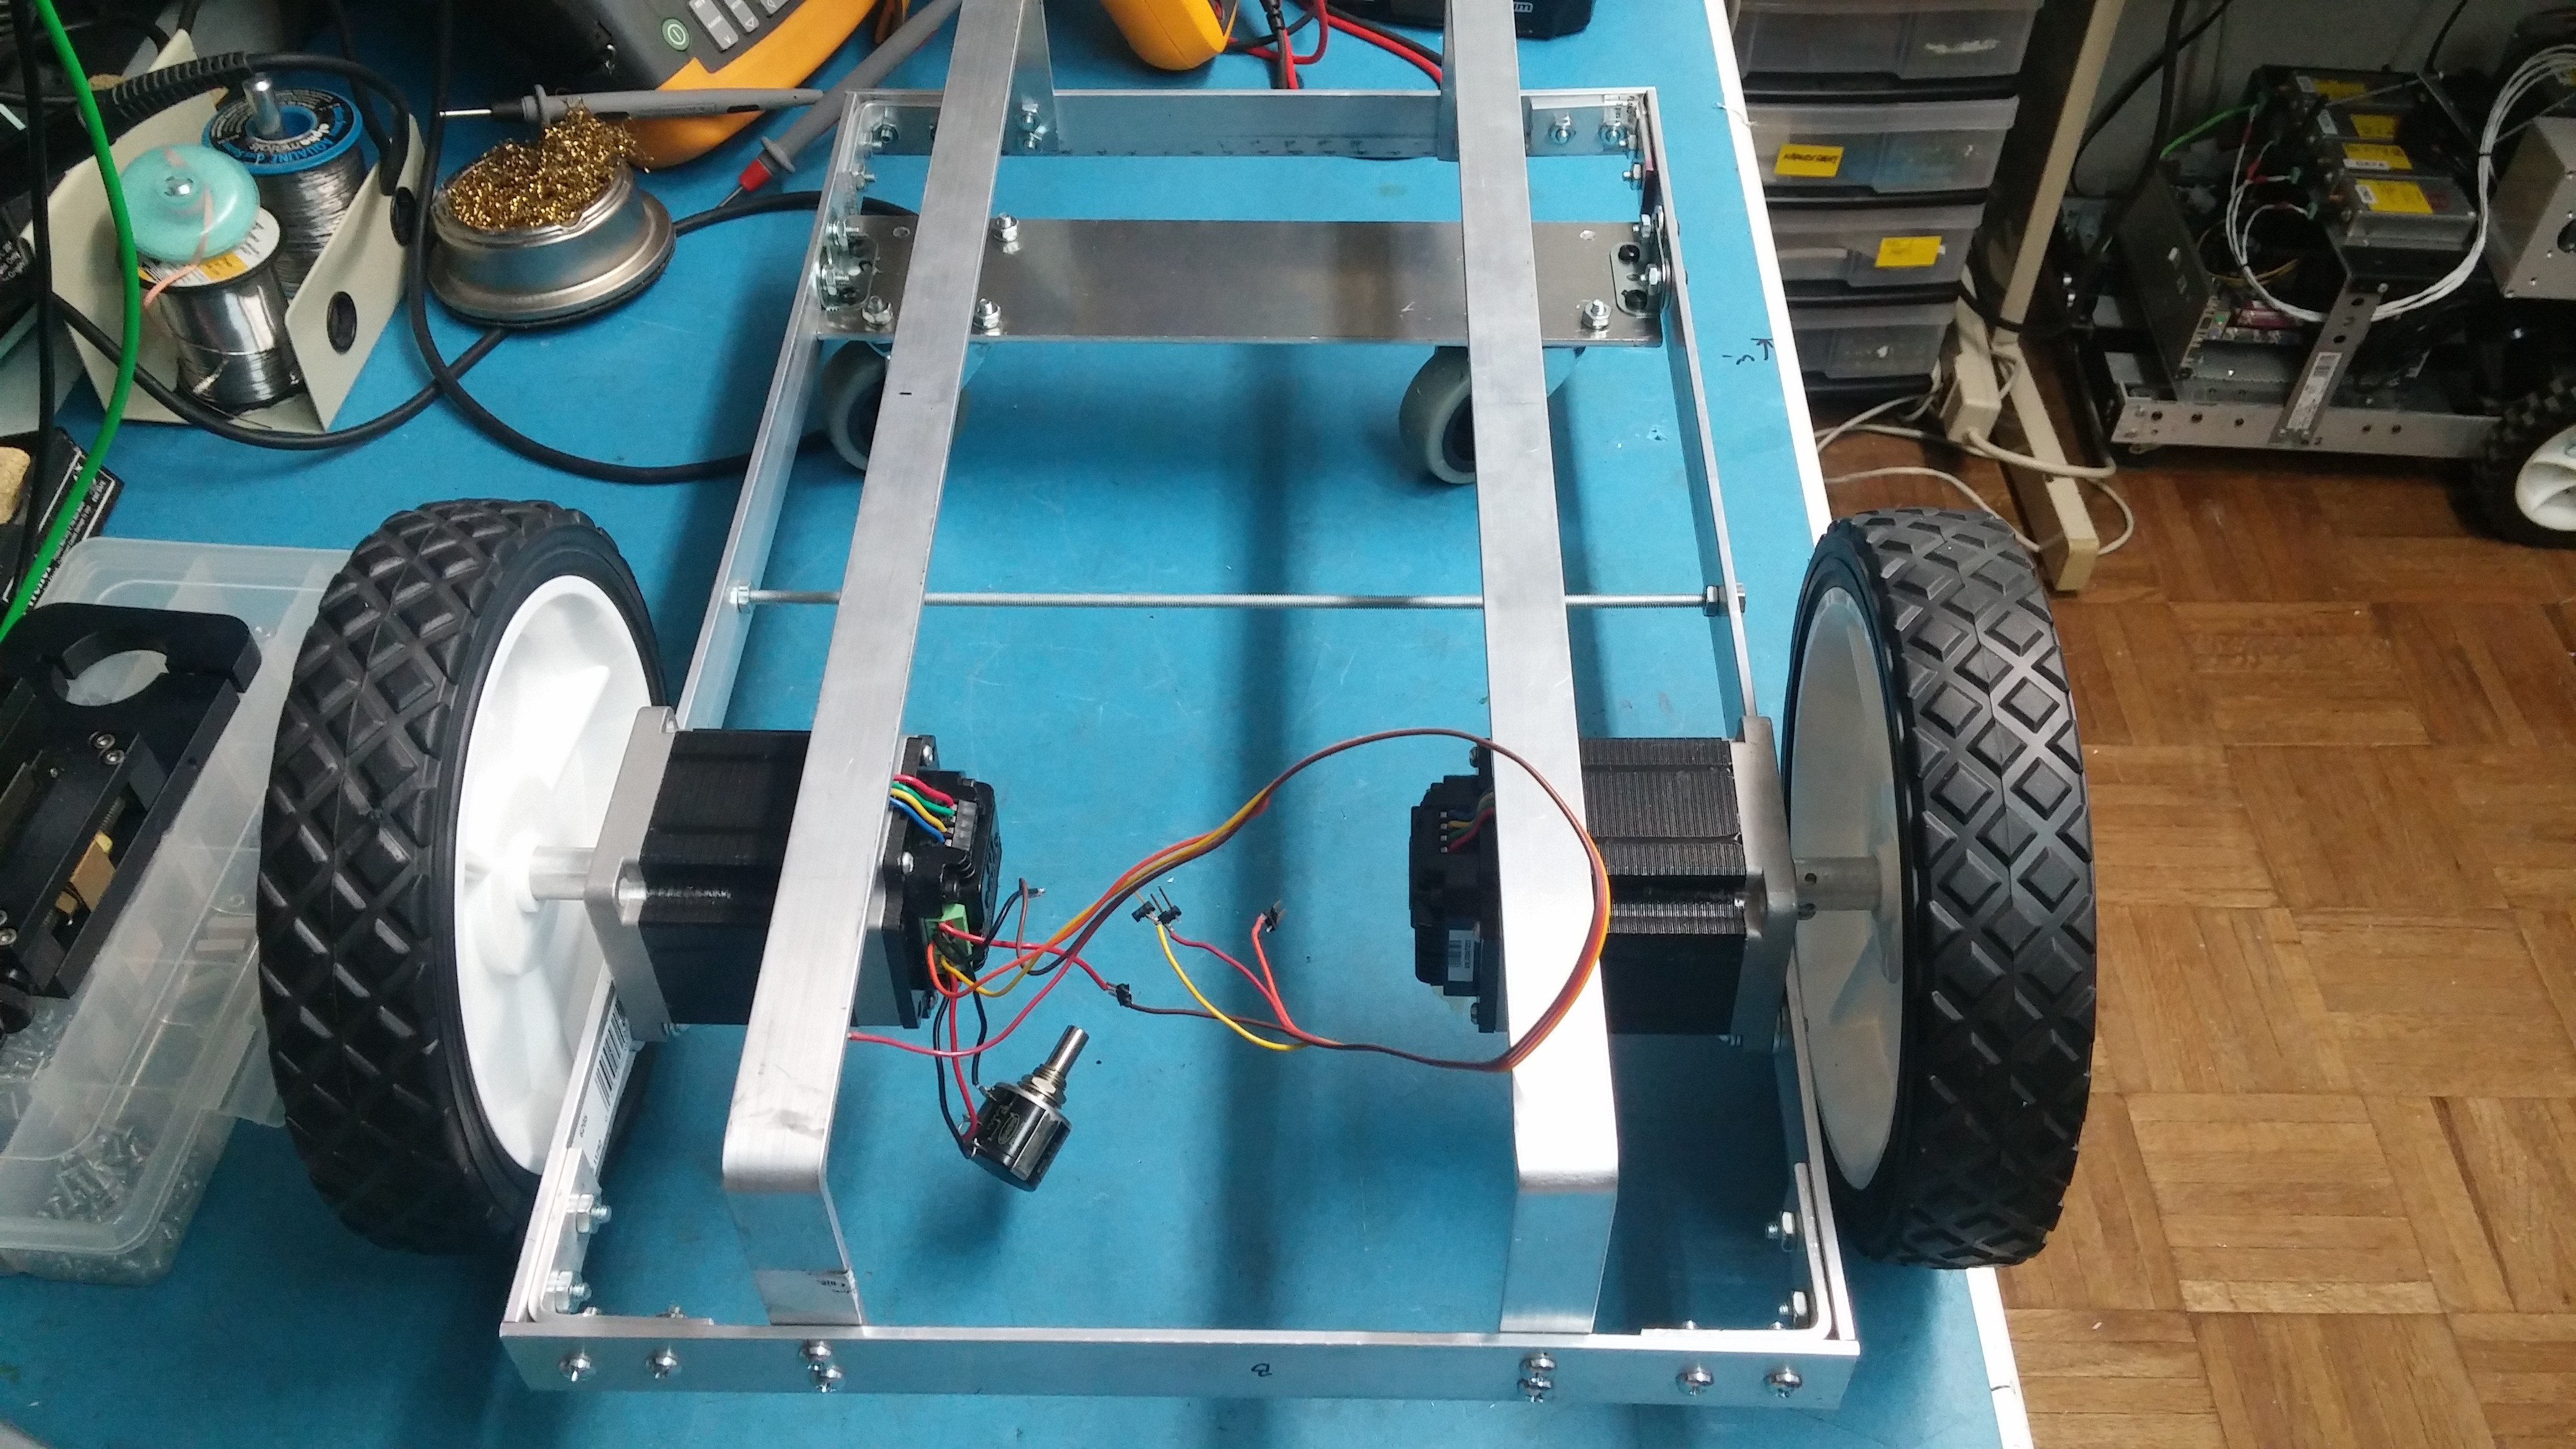
The next step was to mount frame top, which will hold any electronics you plan to put on this robot. I used the same aluminum rails cut to the required length and bent to "U" shape to be mounted to the frame.
I added threaded rod in the middle of the frame to increase frame stability.
The final step in this build was to mount top plate which is an old plastic clip board I found at the thrift store for less than $1.00. You can use aluminum sheet but they are costly.
At this point the frame is completed and the next step was to install electronics.
Electronics.
I will post another project to describe remote controller and driver used with this robot.

 willbaden
 Ahmed Azouz