 Fabian
I think it's time for an update again. :)
In the meantime I haven't quite managed to get the PNP up and running. The board that I had initially planned to use does not seem to be compatible with the current smothieware and thus also with the current openpnp version. That's why I'm now waiting for a new board.
In the meantime, however, I've been working on the following details.
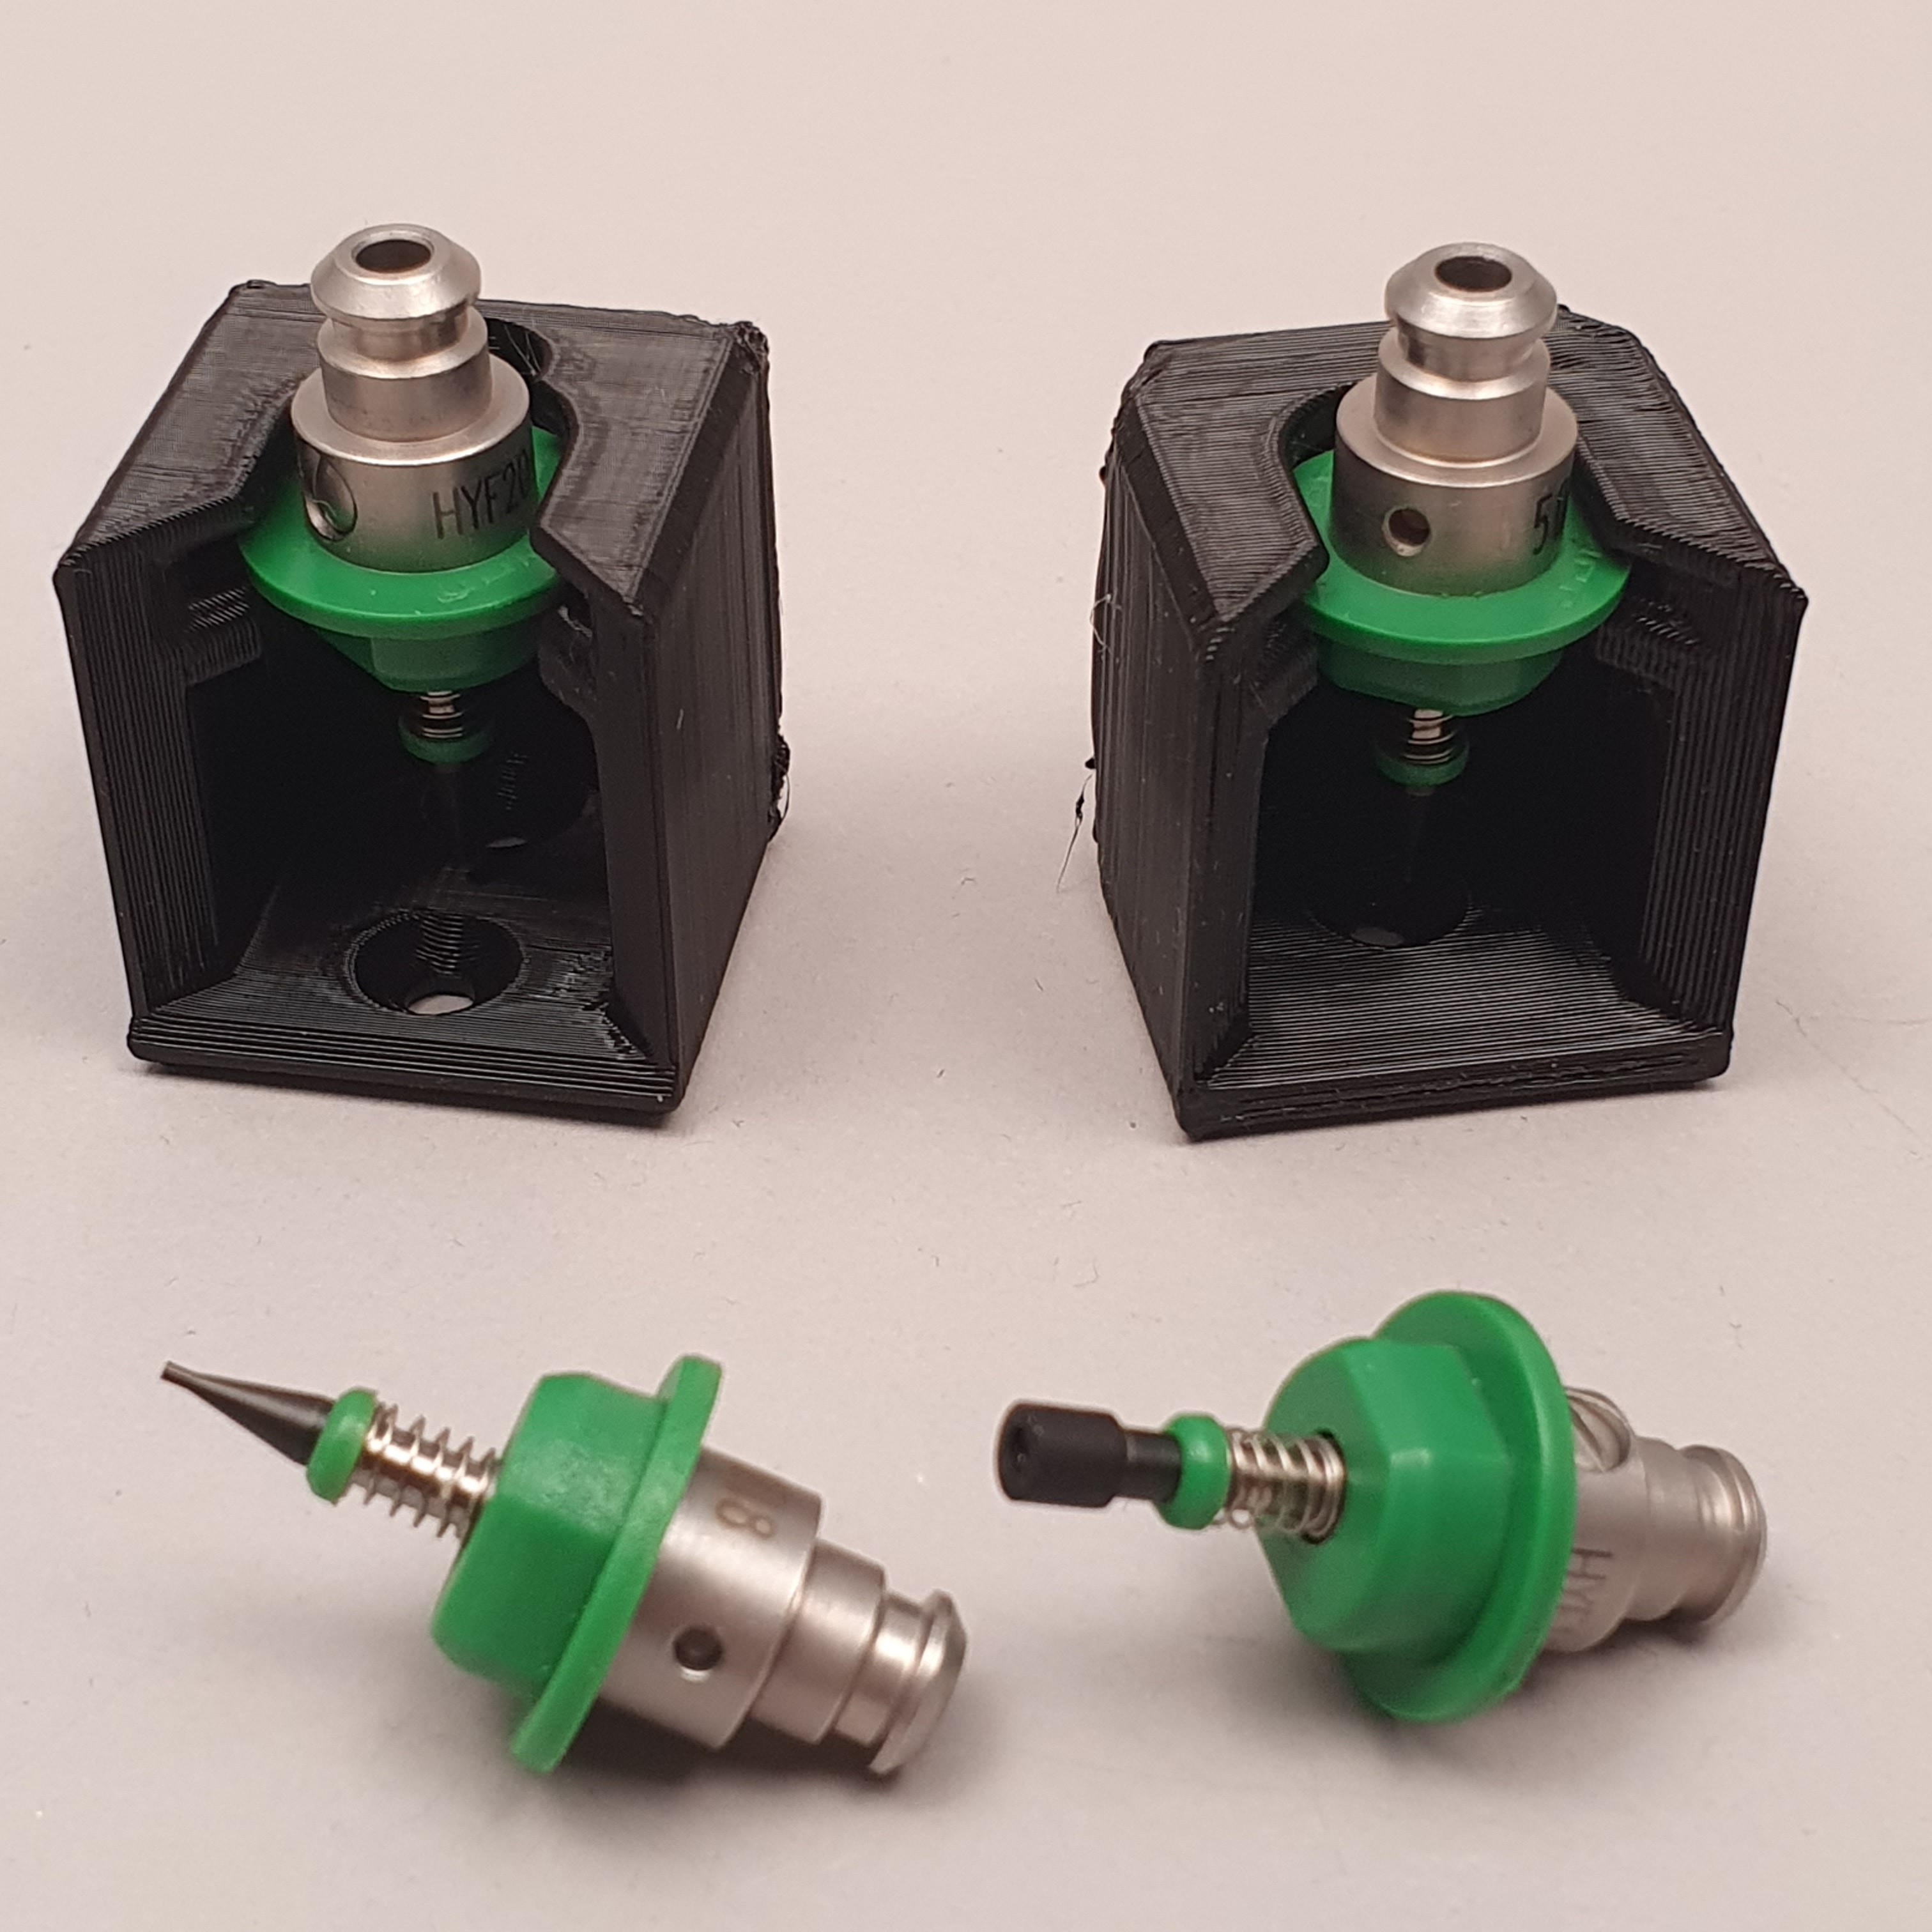
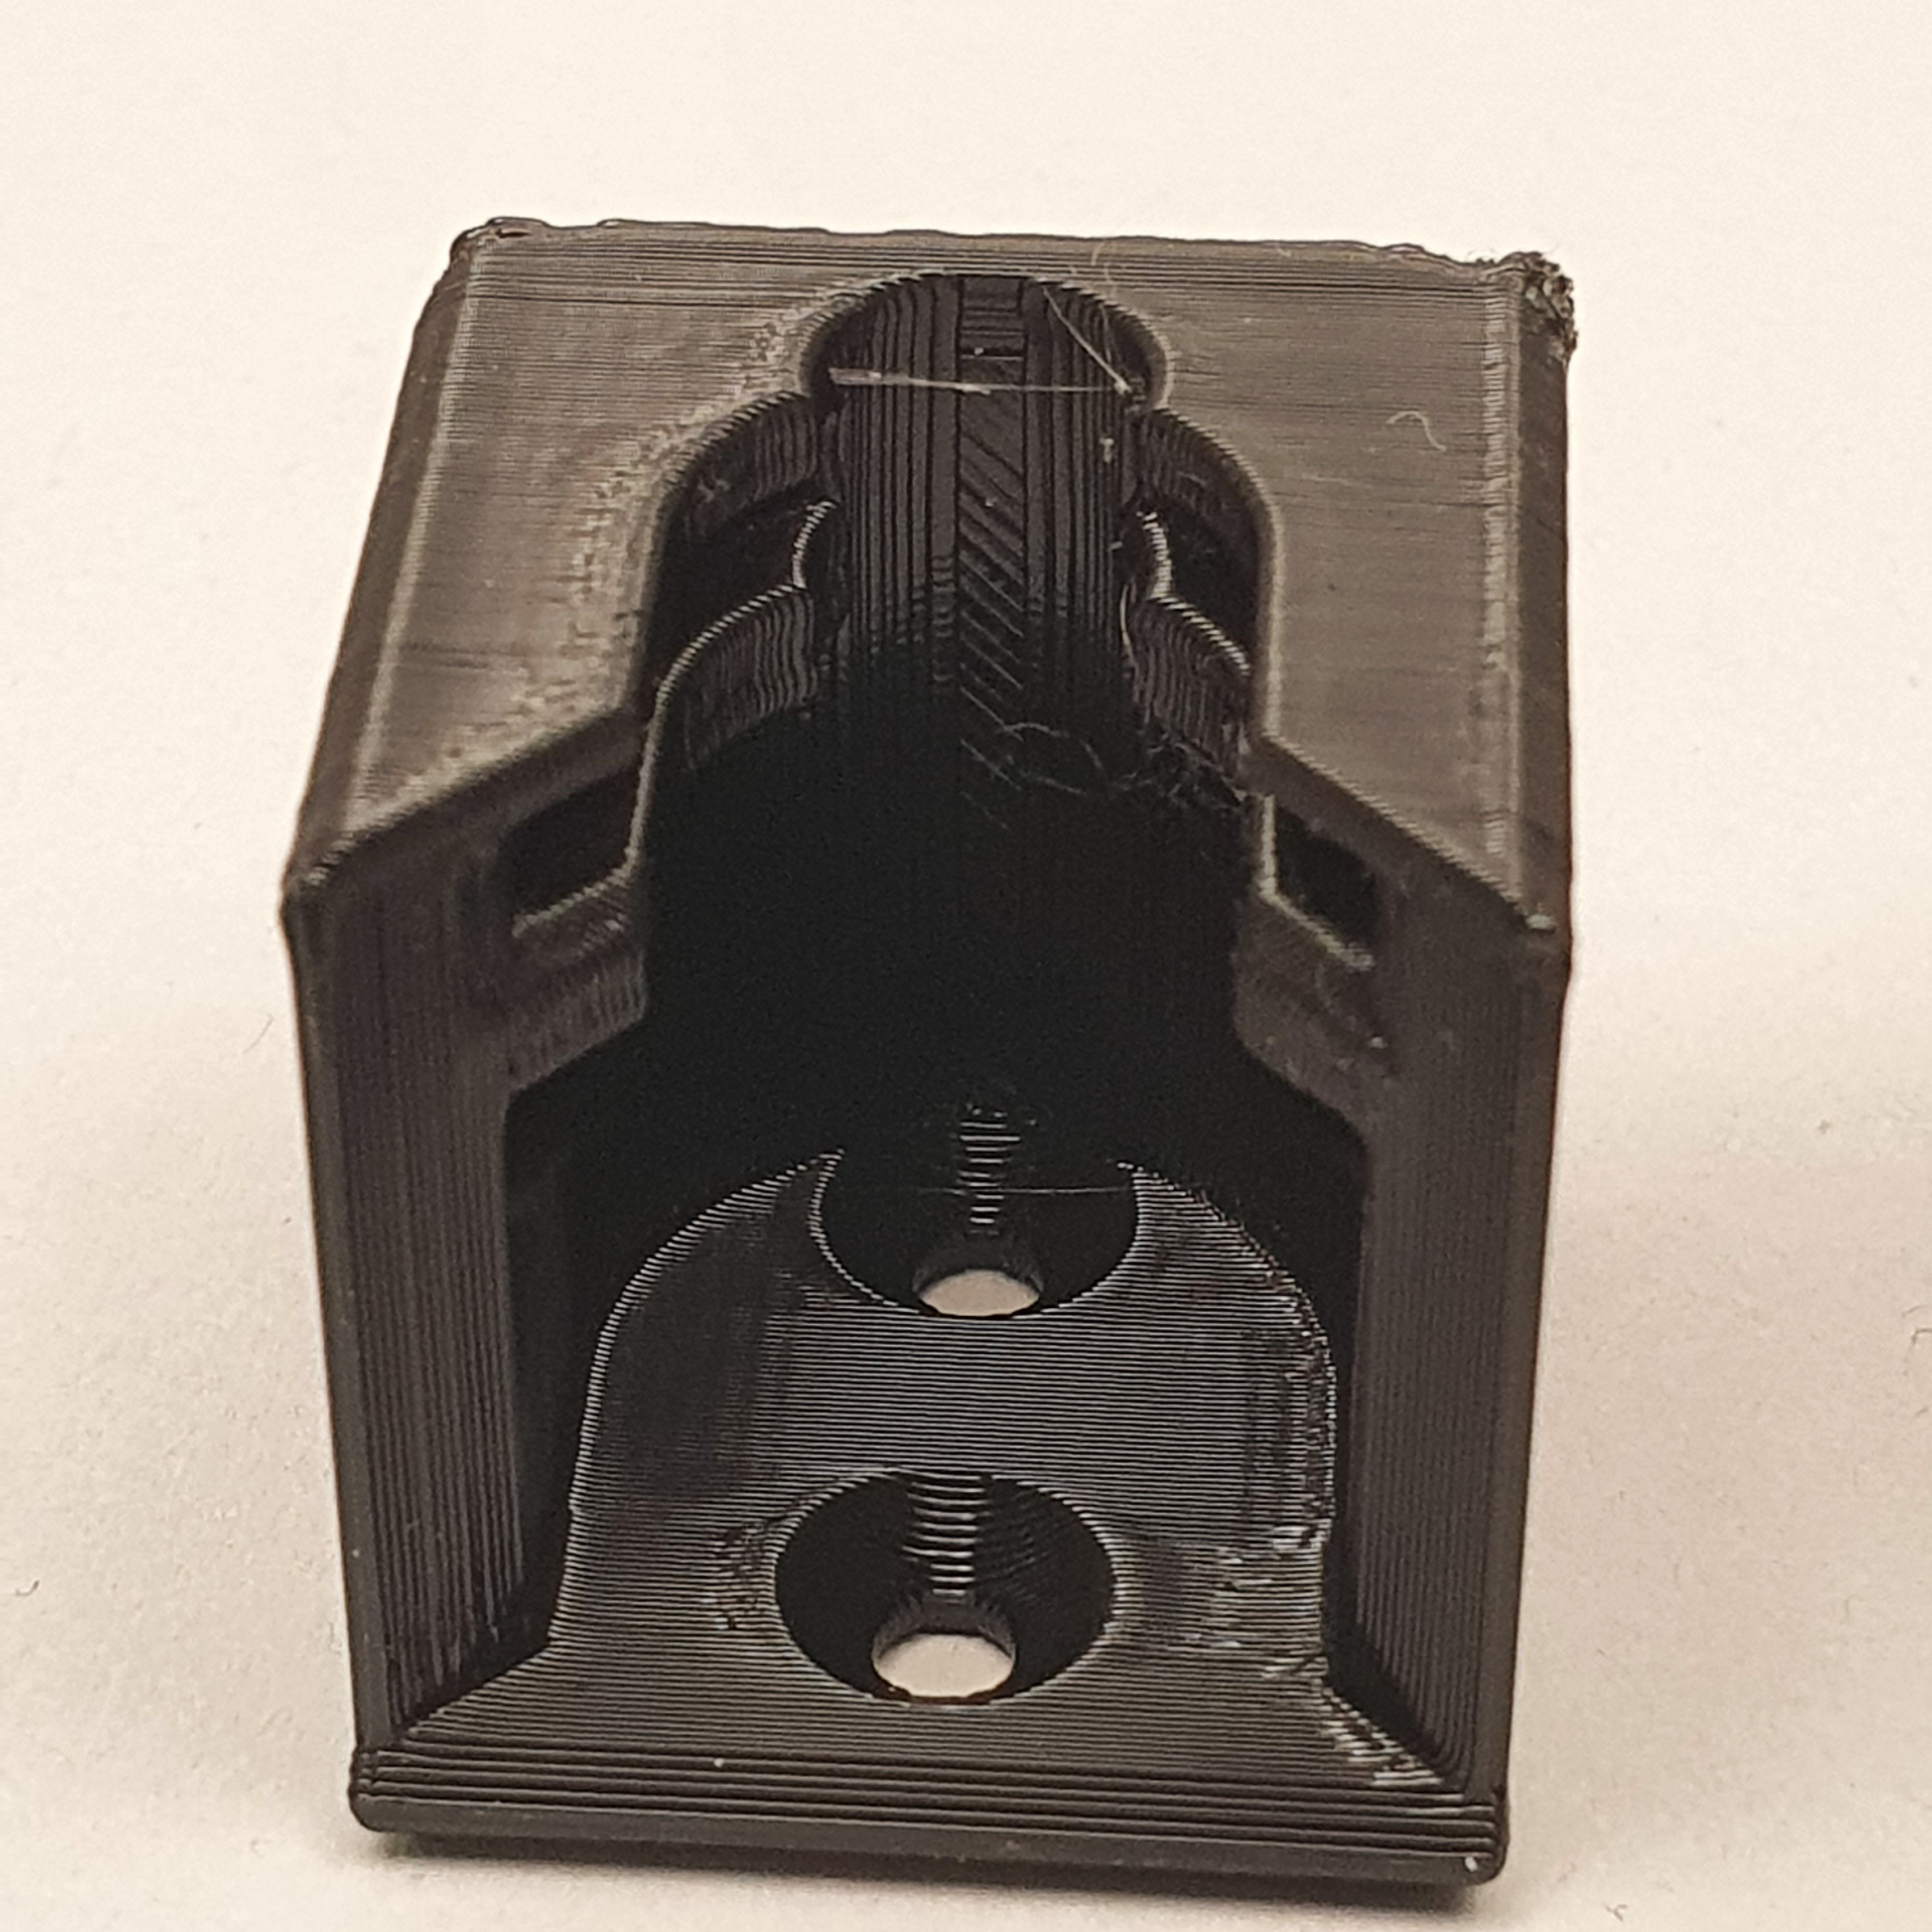
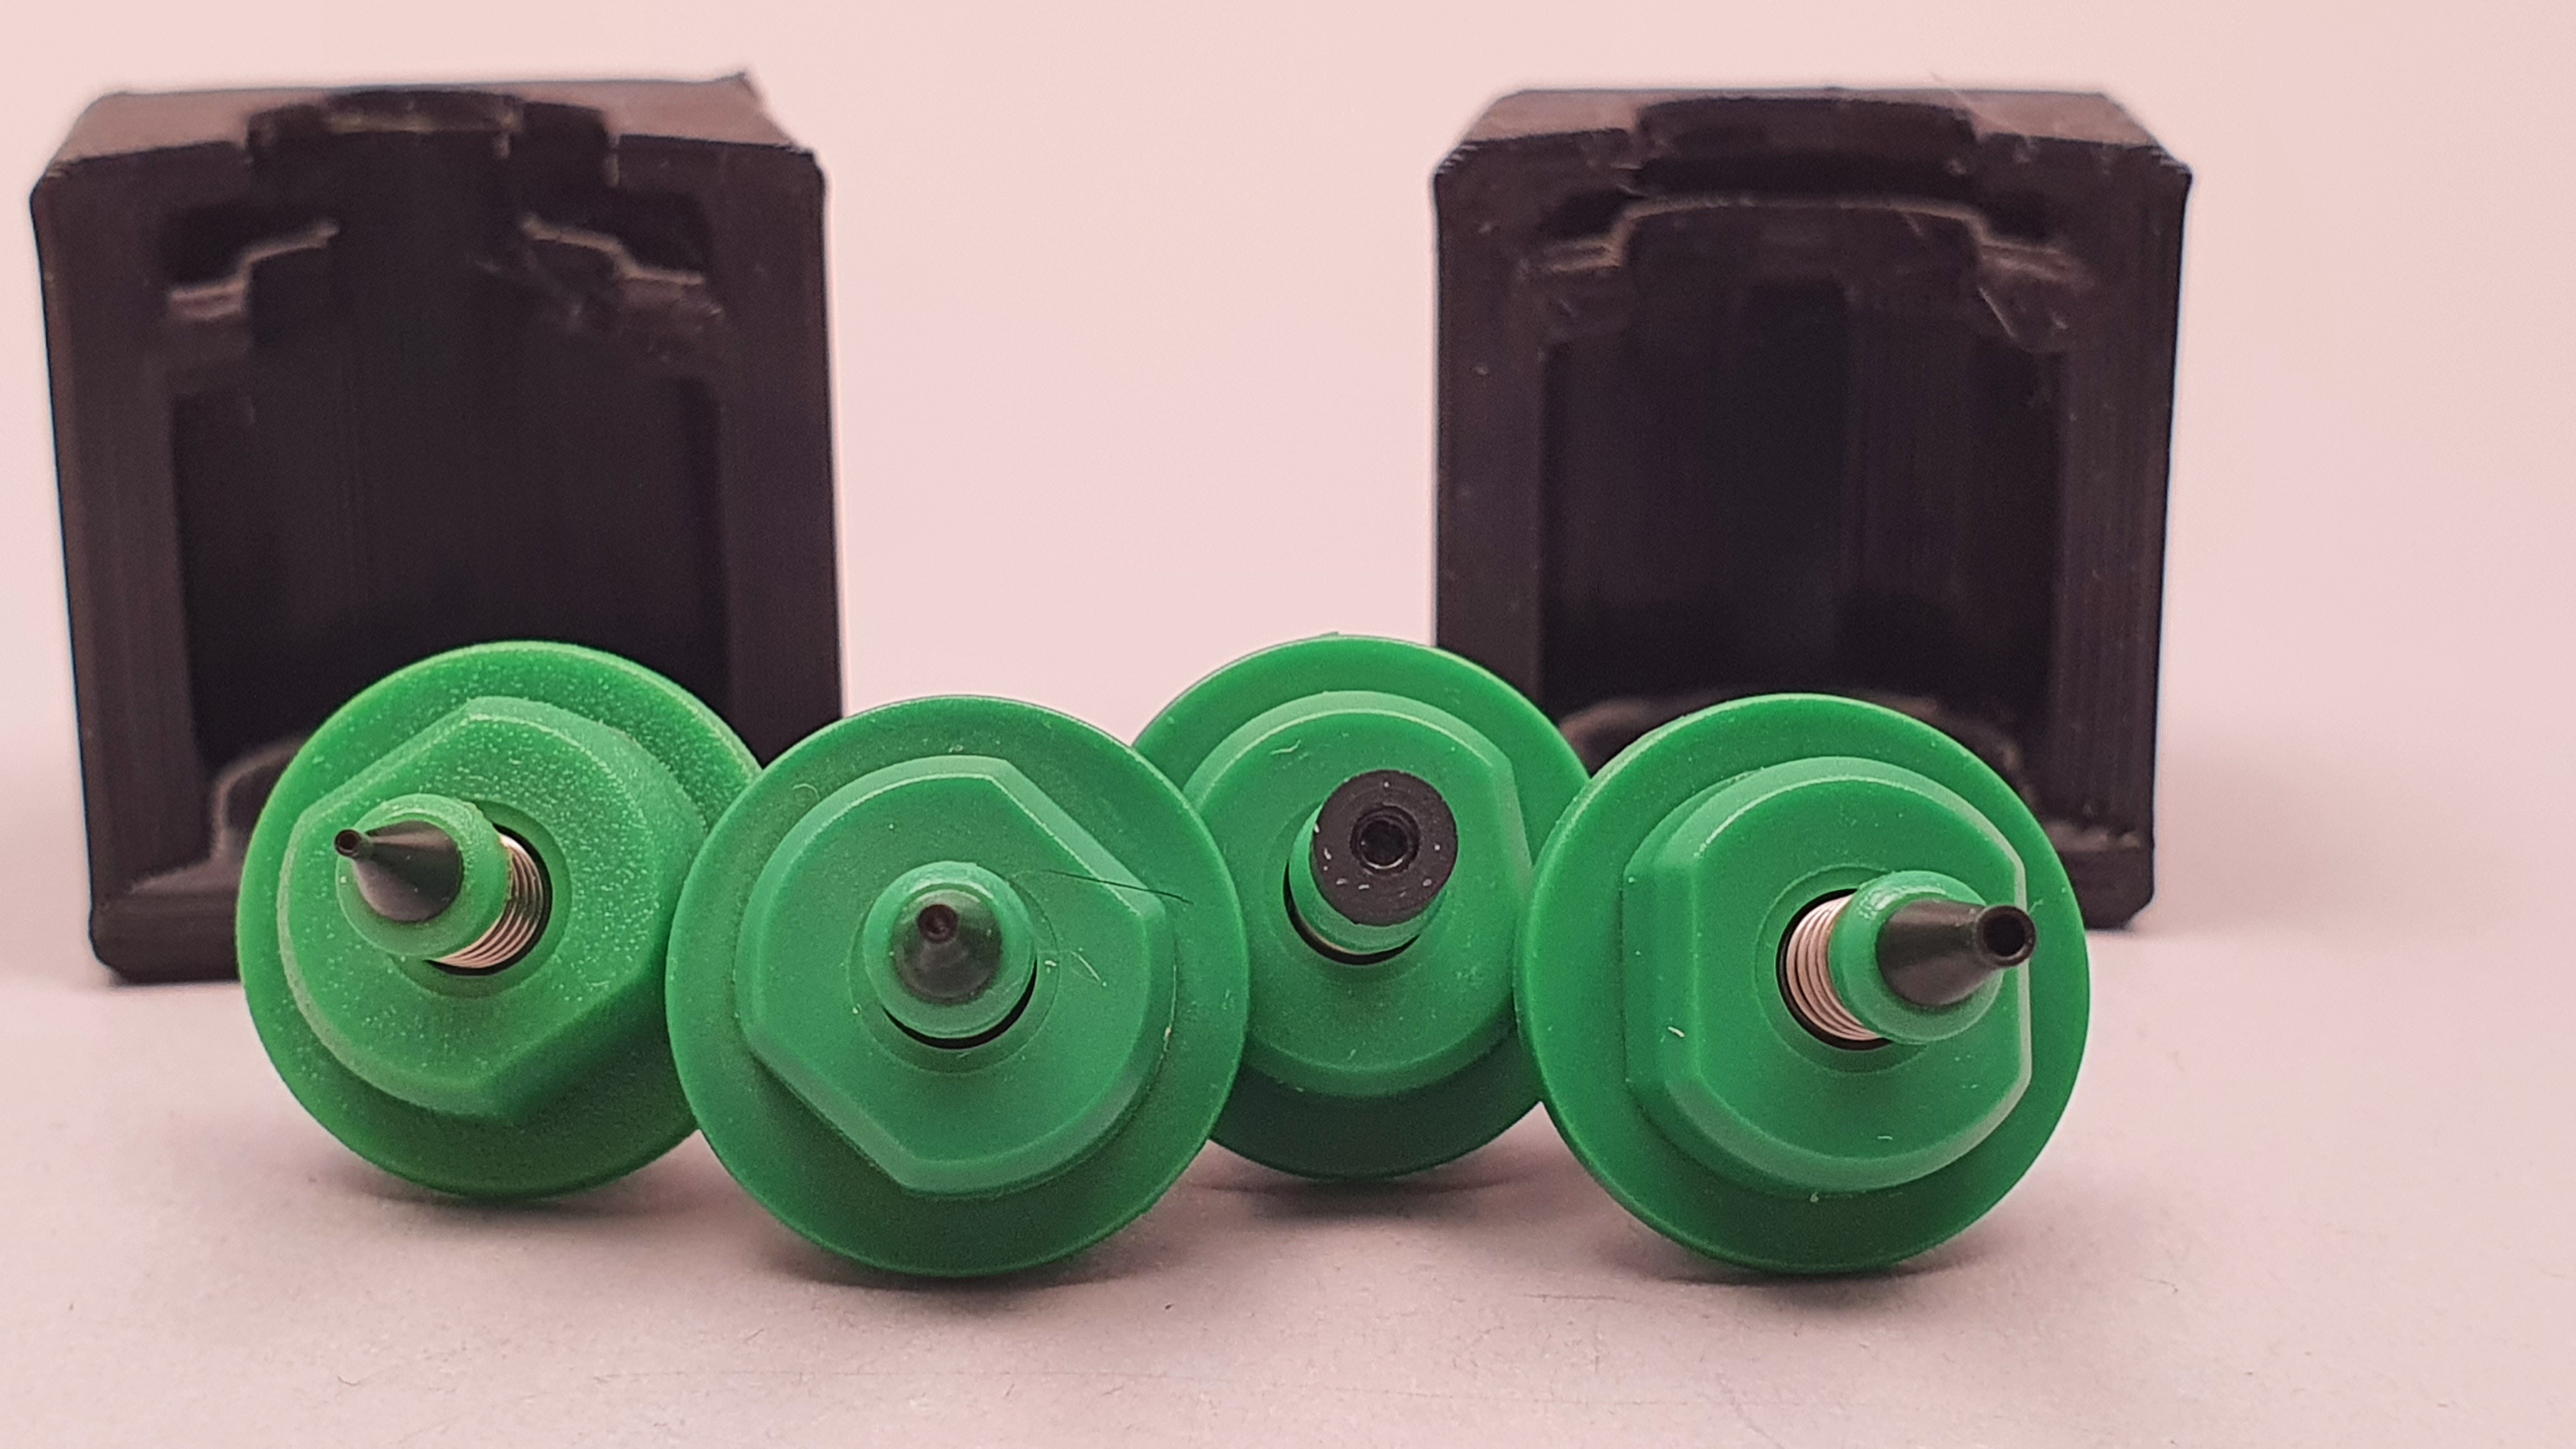
Nozzle holder:
The tips with which the components are later sucked on are available in different sizes. Depending on the component size, these can then be changed automatically. To do this, the nozzle to be changed is inserted horizontally into the corresponding holder and then pulled down from the Z-axis stepper motor. Picking up a new nozzle then works the same way. Just the other way around. You can see the first two iterations in the pictures. As soon as I have found the perfect slot width I will print a nozzle holder in which all nozzles can be accommodated at the same time. That makes the assembly a little easier.

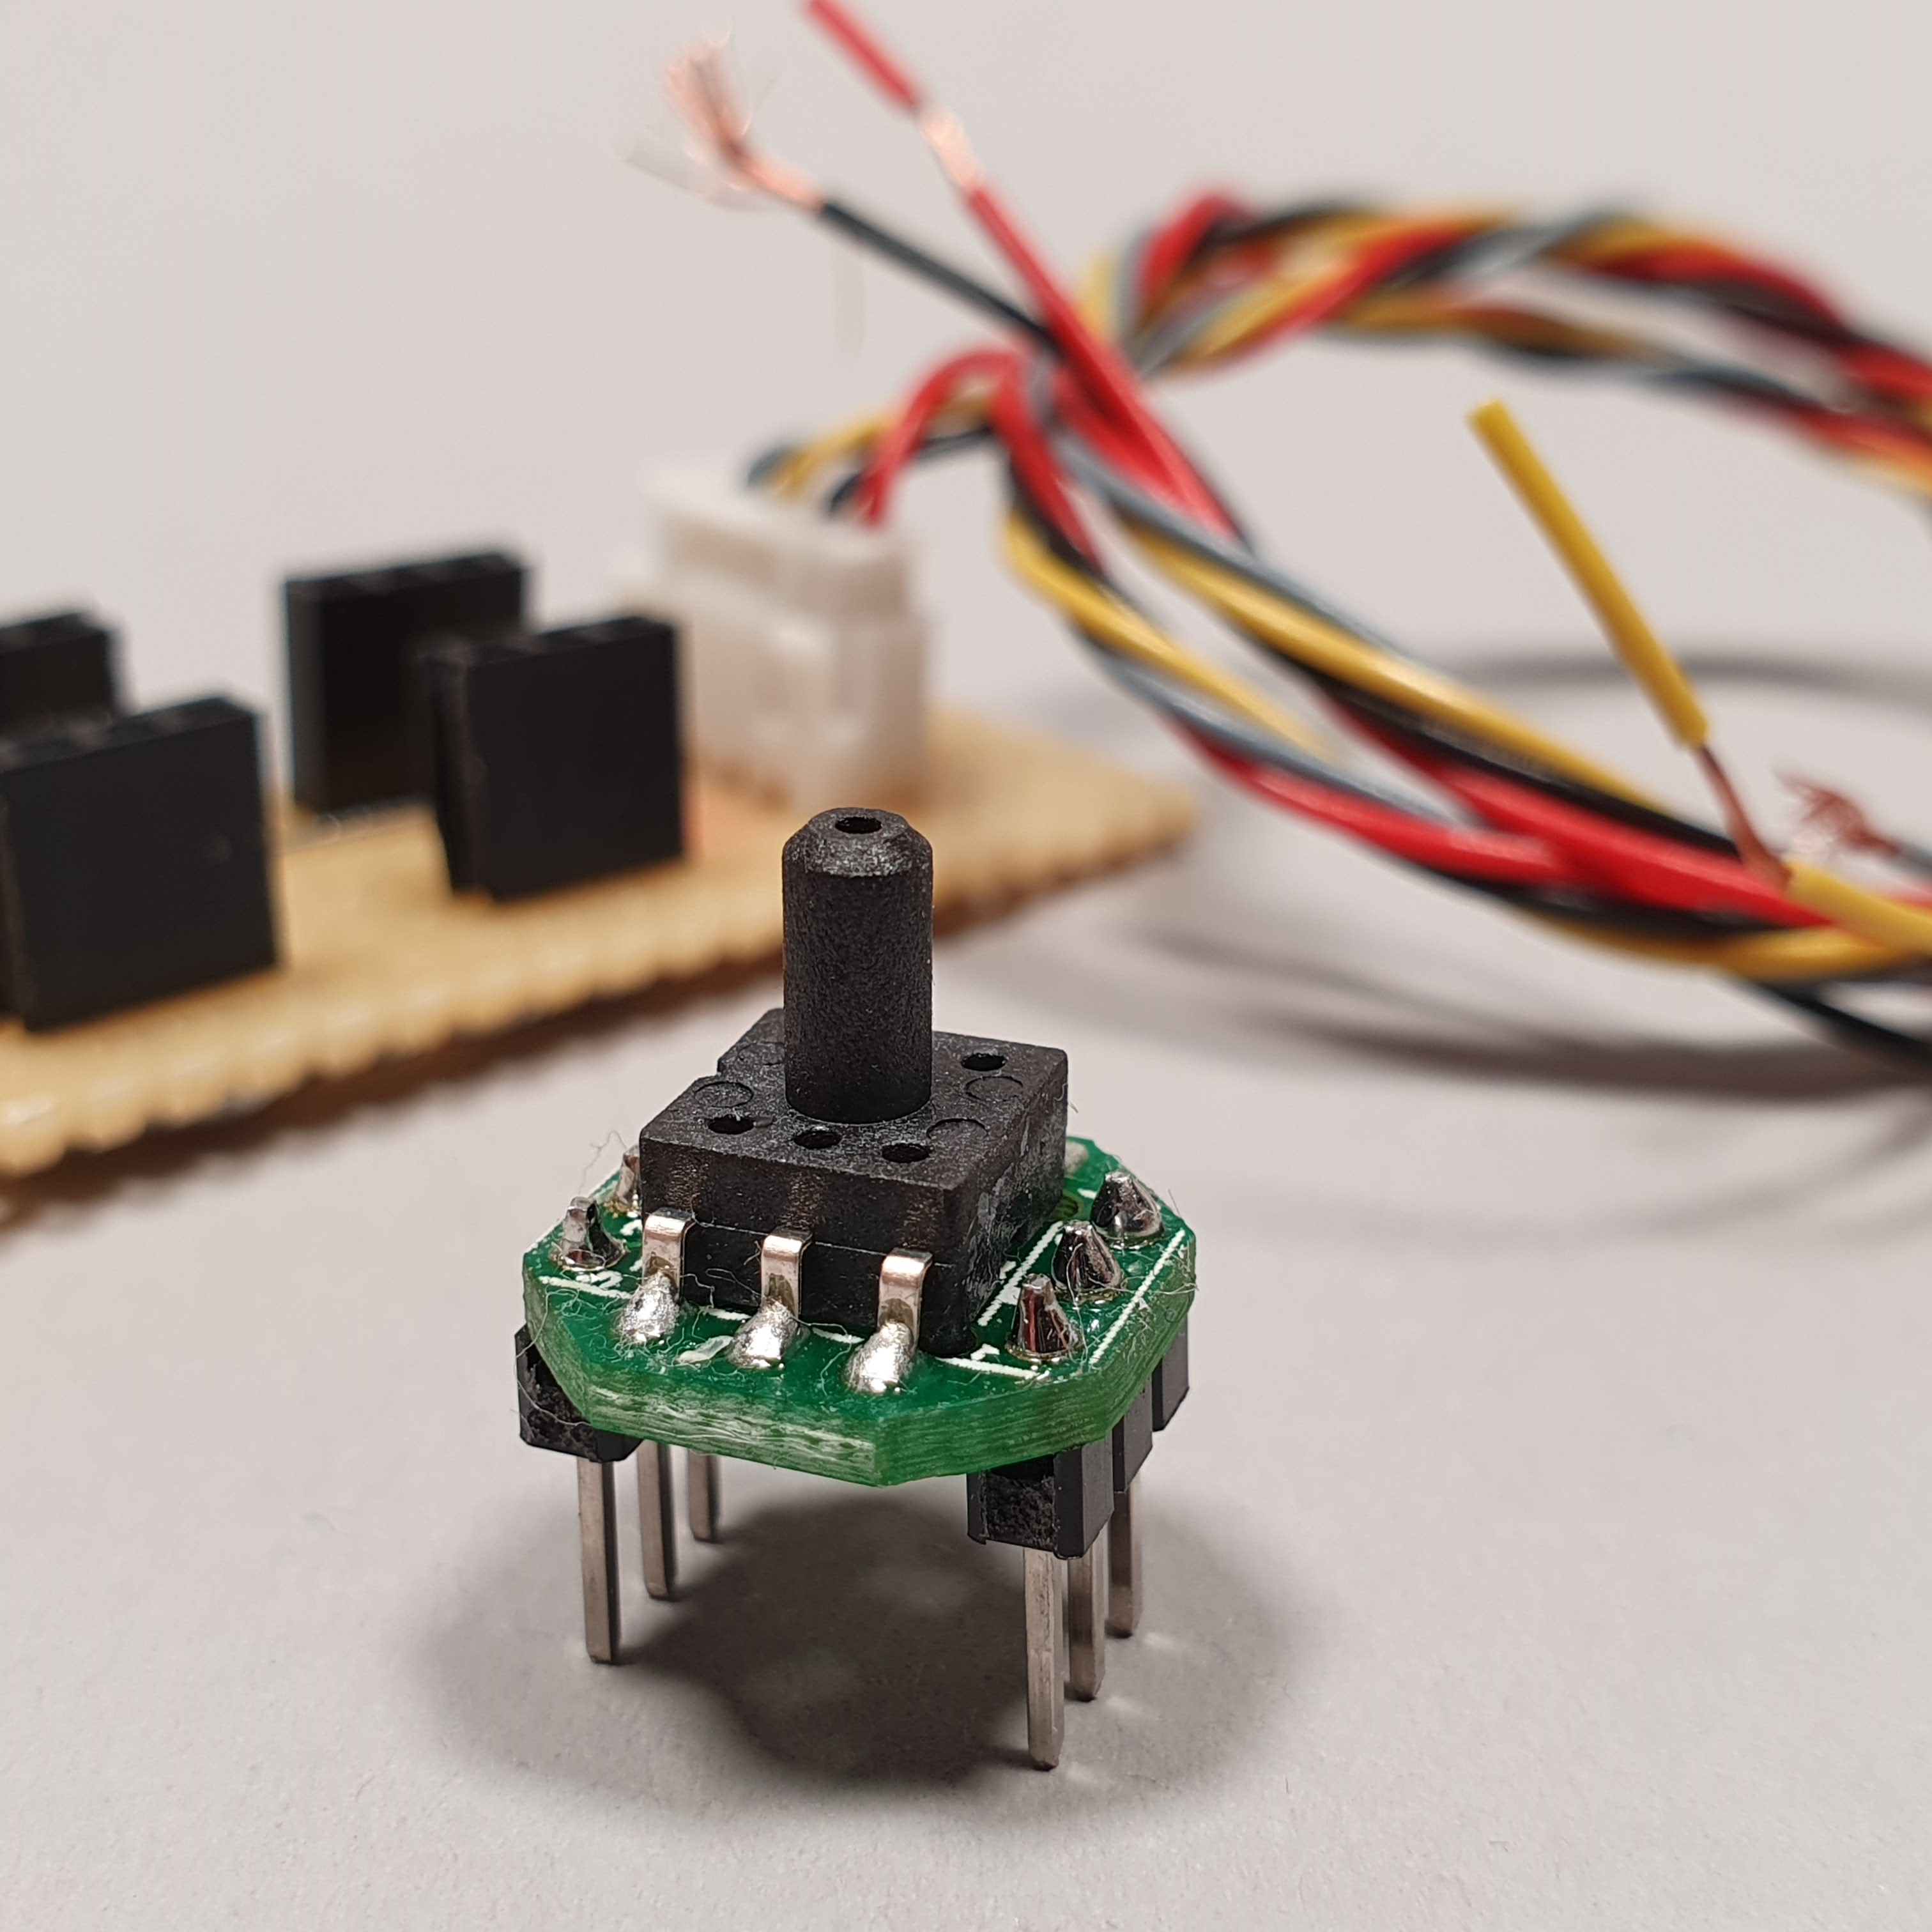
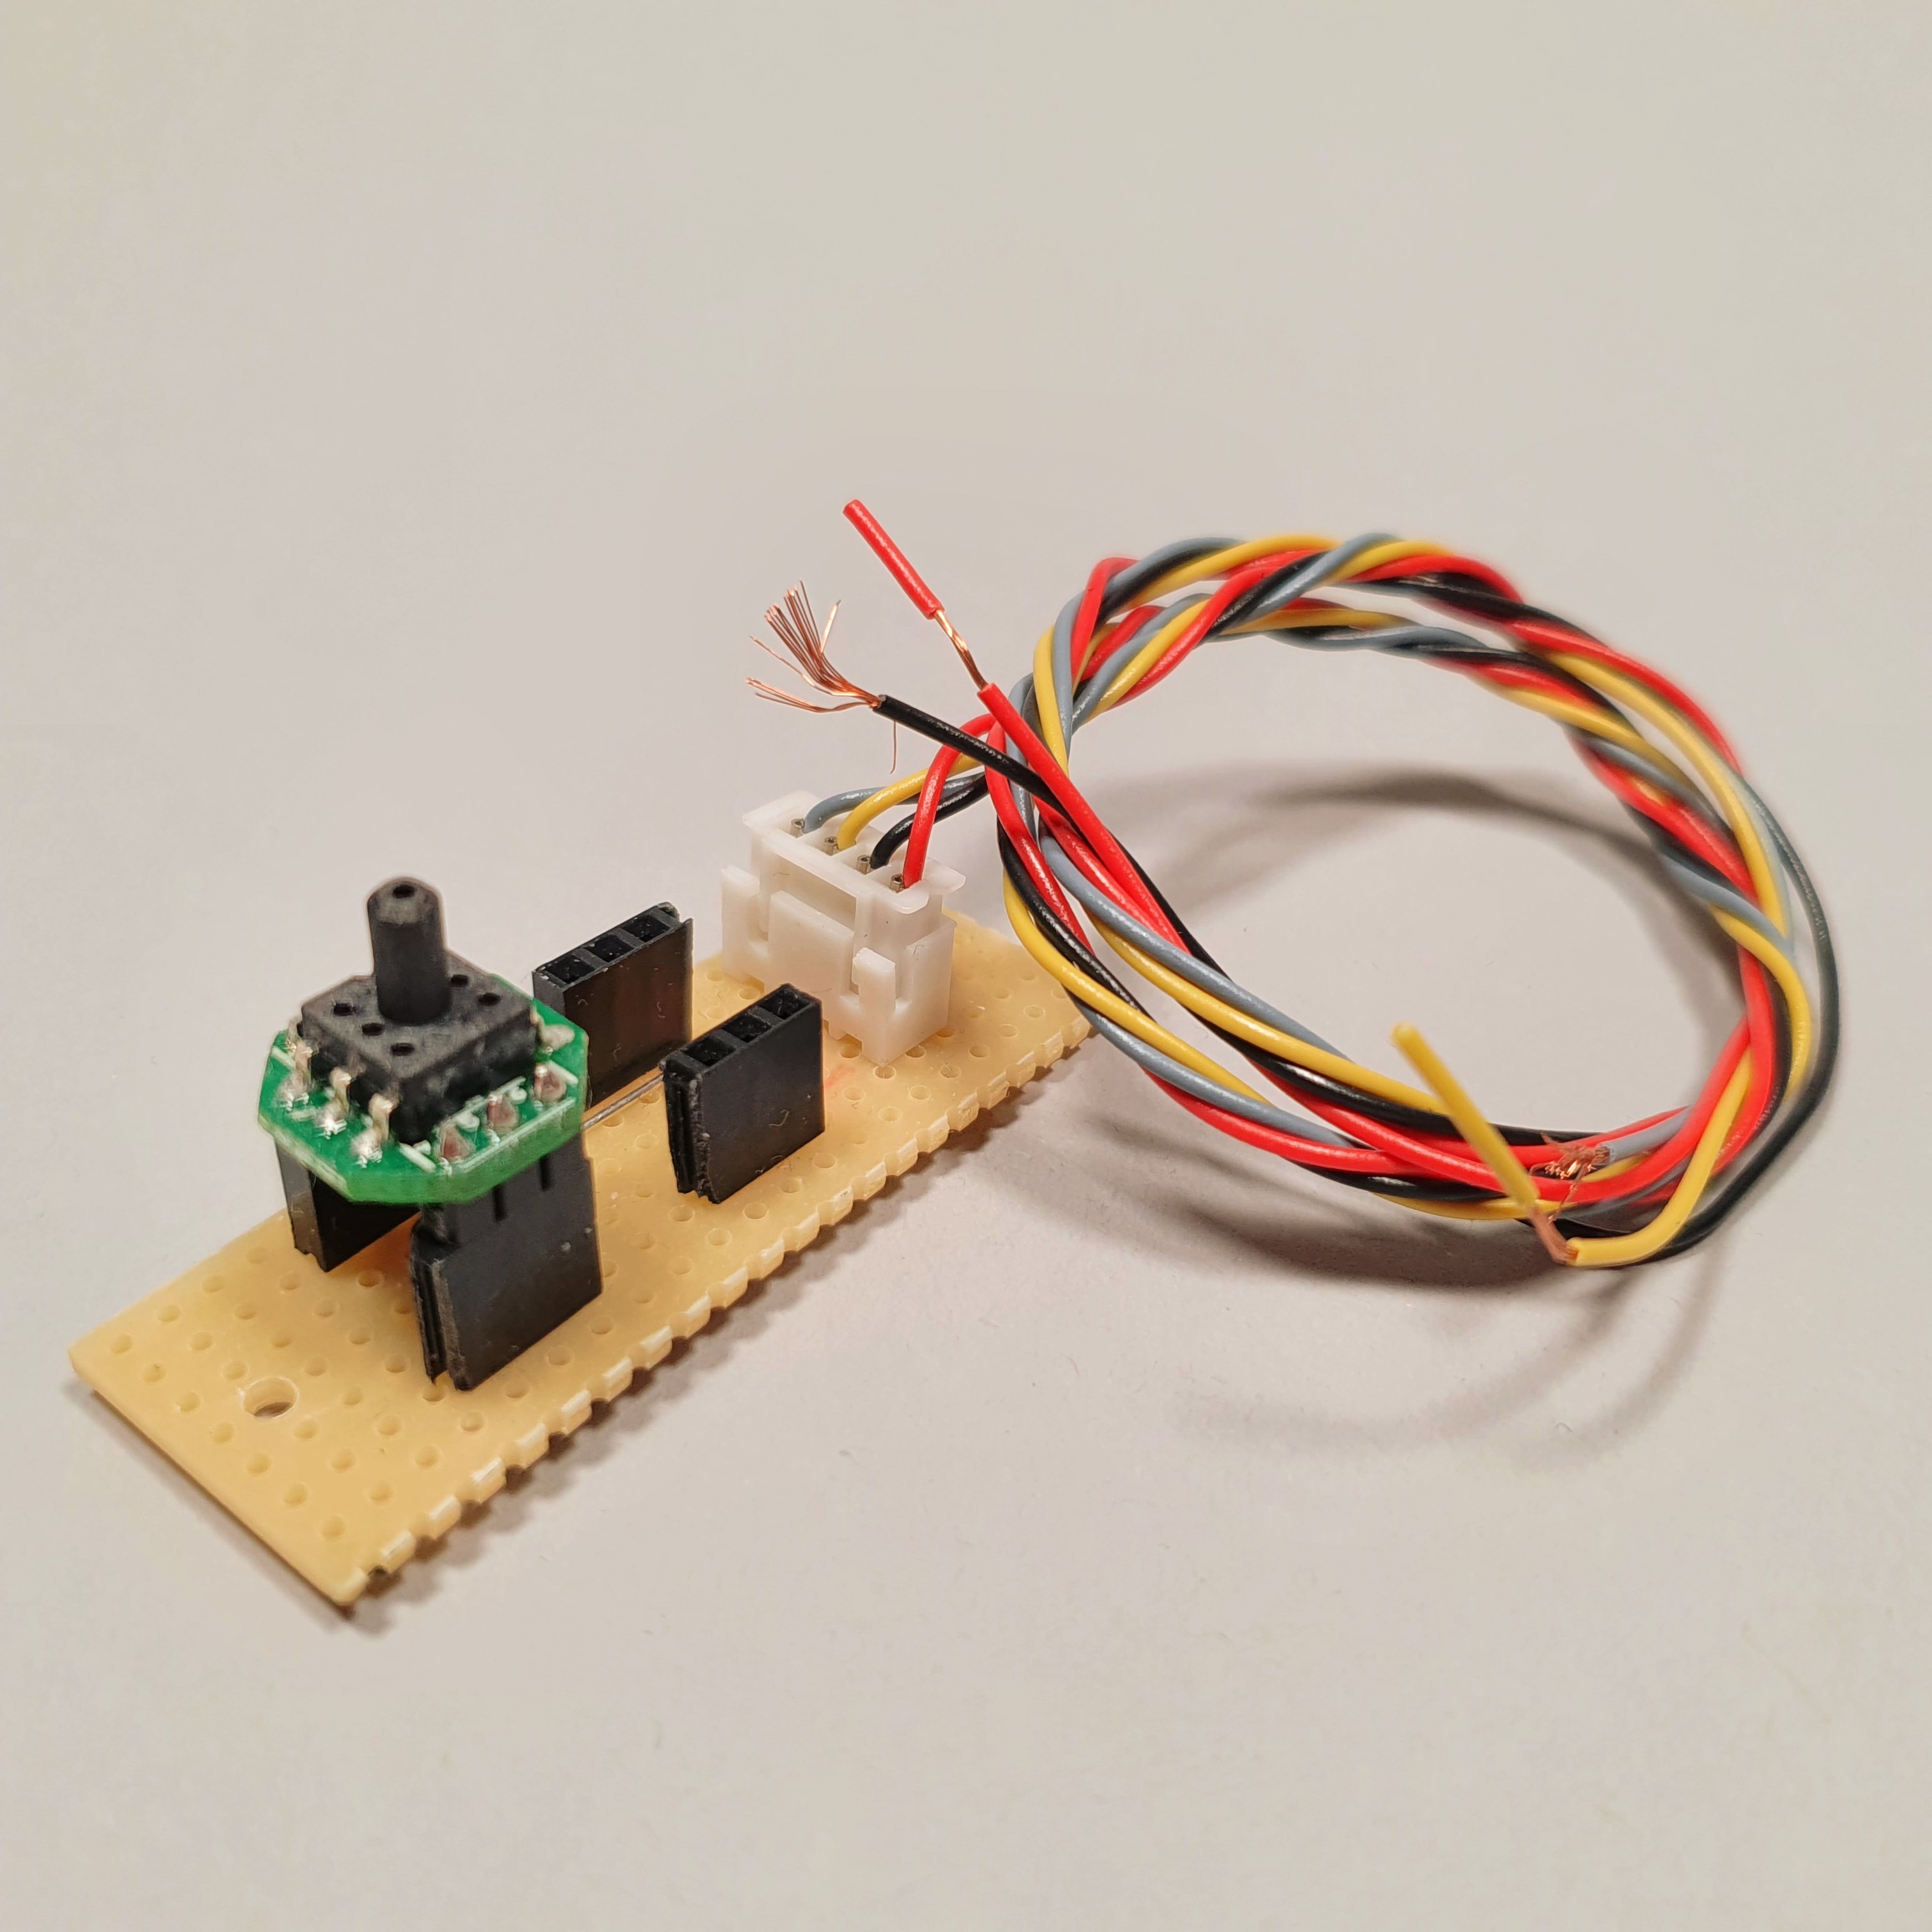
Vacuum sensor adapter board:
To connect the vacuum sensors to the mainboard of the pick and place machine, I built a small provisional adapter board on a breadboard.
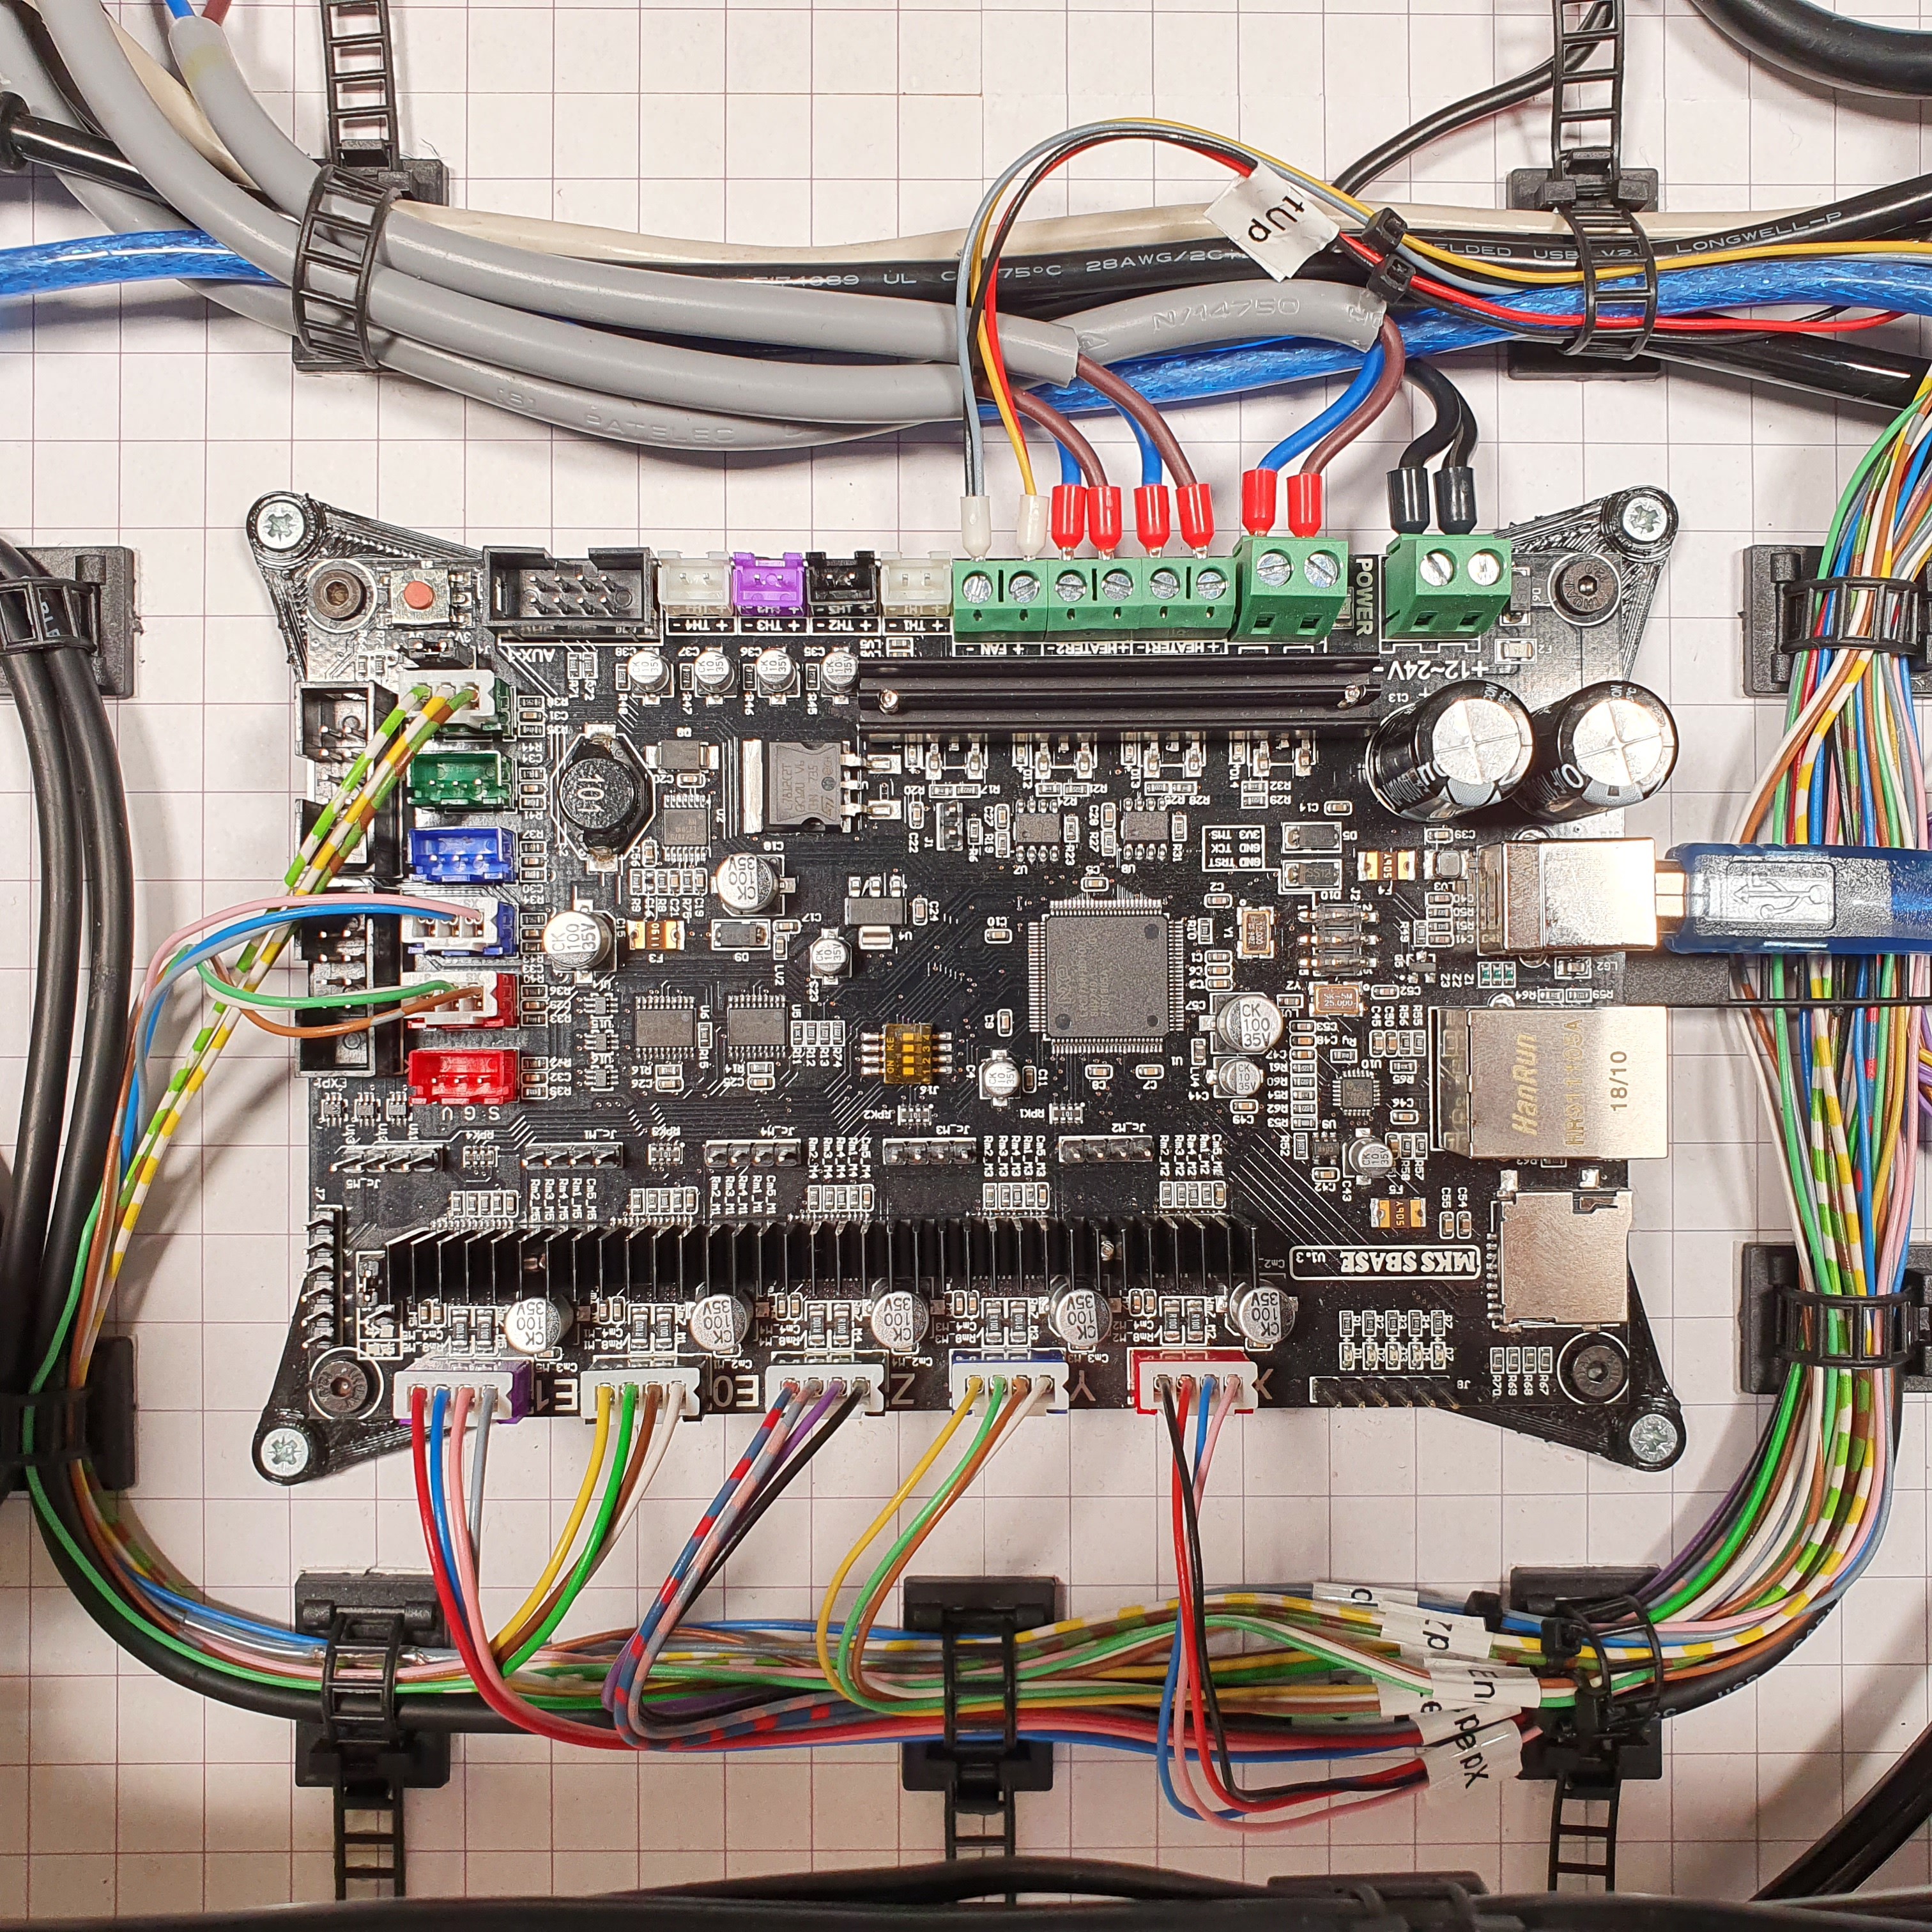
First movements:
It doesn't look like much, but it was quite a bit of work. :D The controller boards I have used so far are all based on the Marlin firmware. The controller board of my pick and place machine is based on the smoothieware. The latter uses a completely different concept for configuration. A couple of timing belts have suffered a bit, but now it's moving.
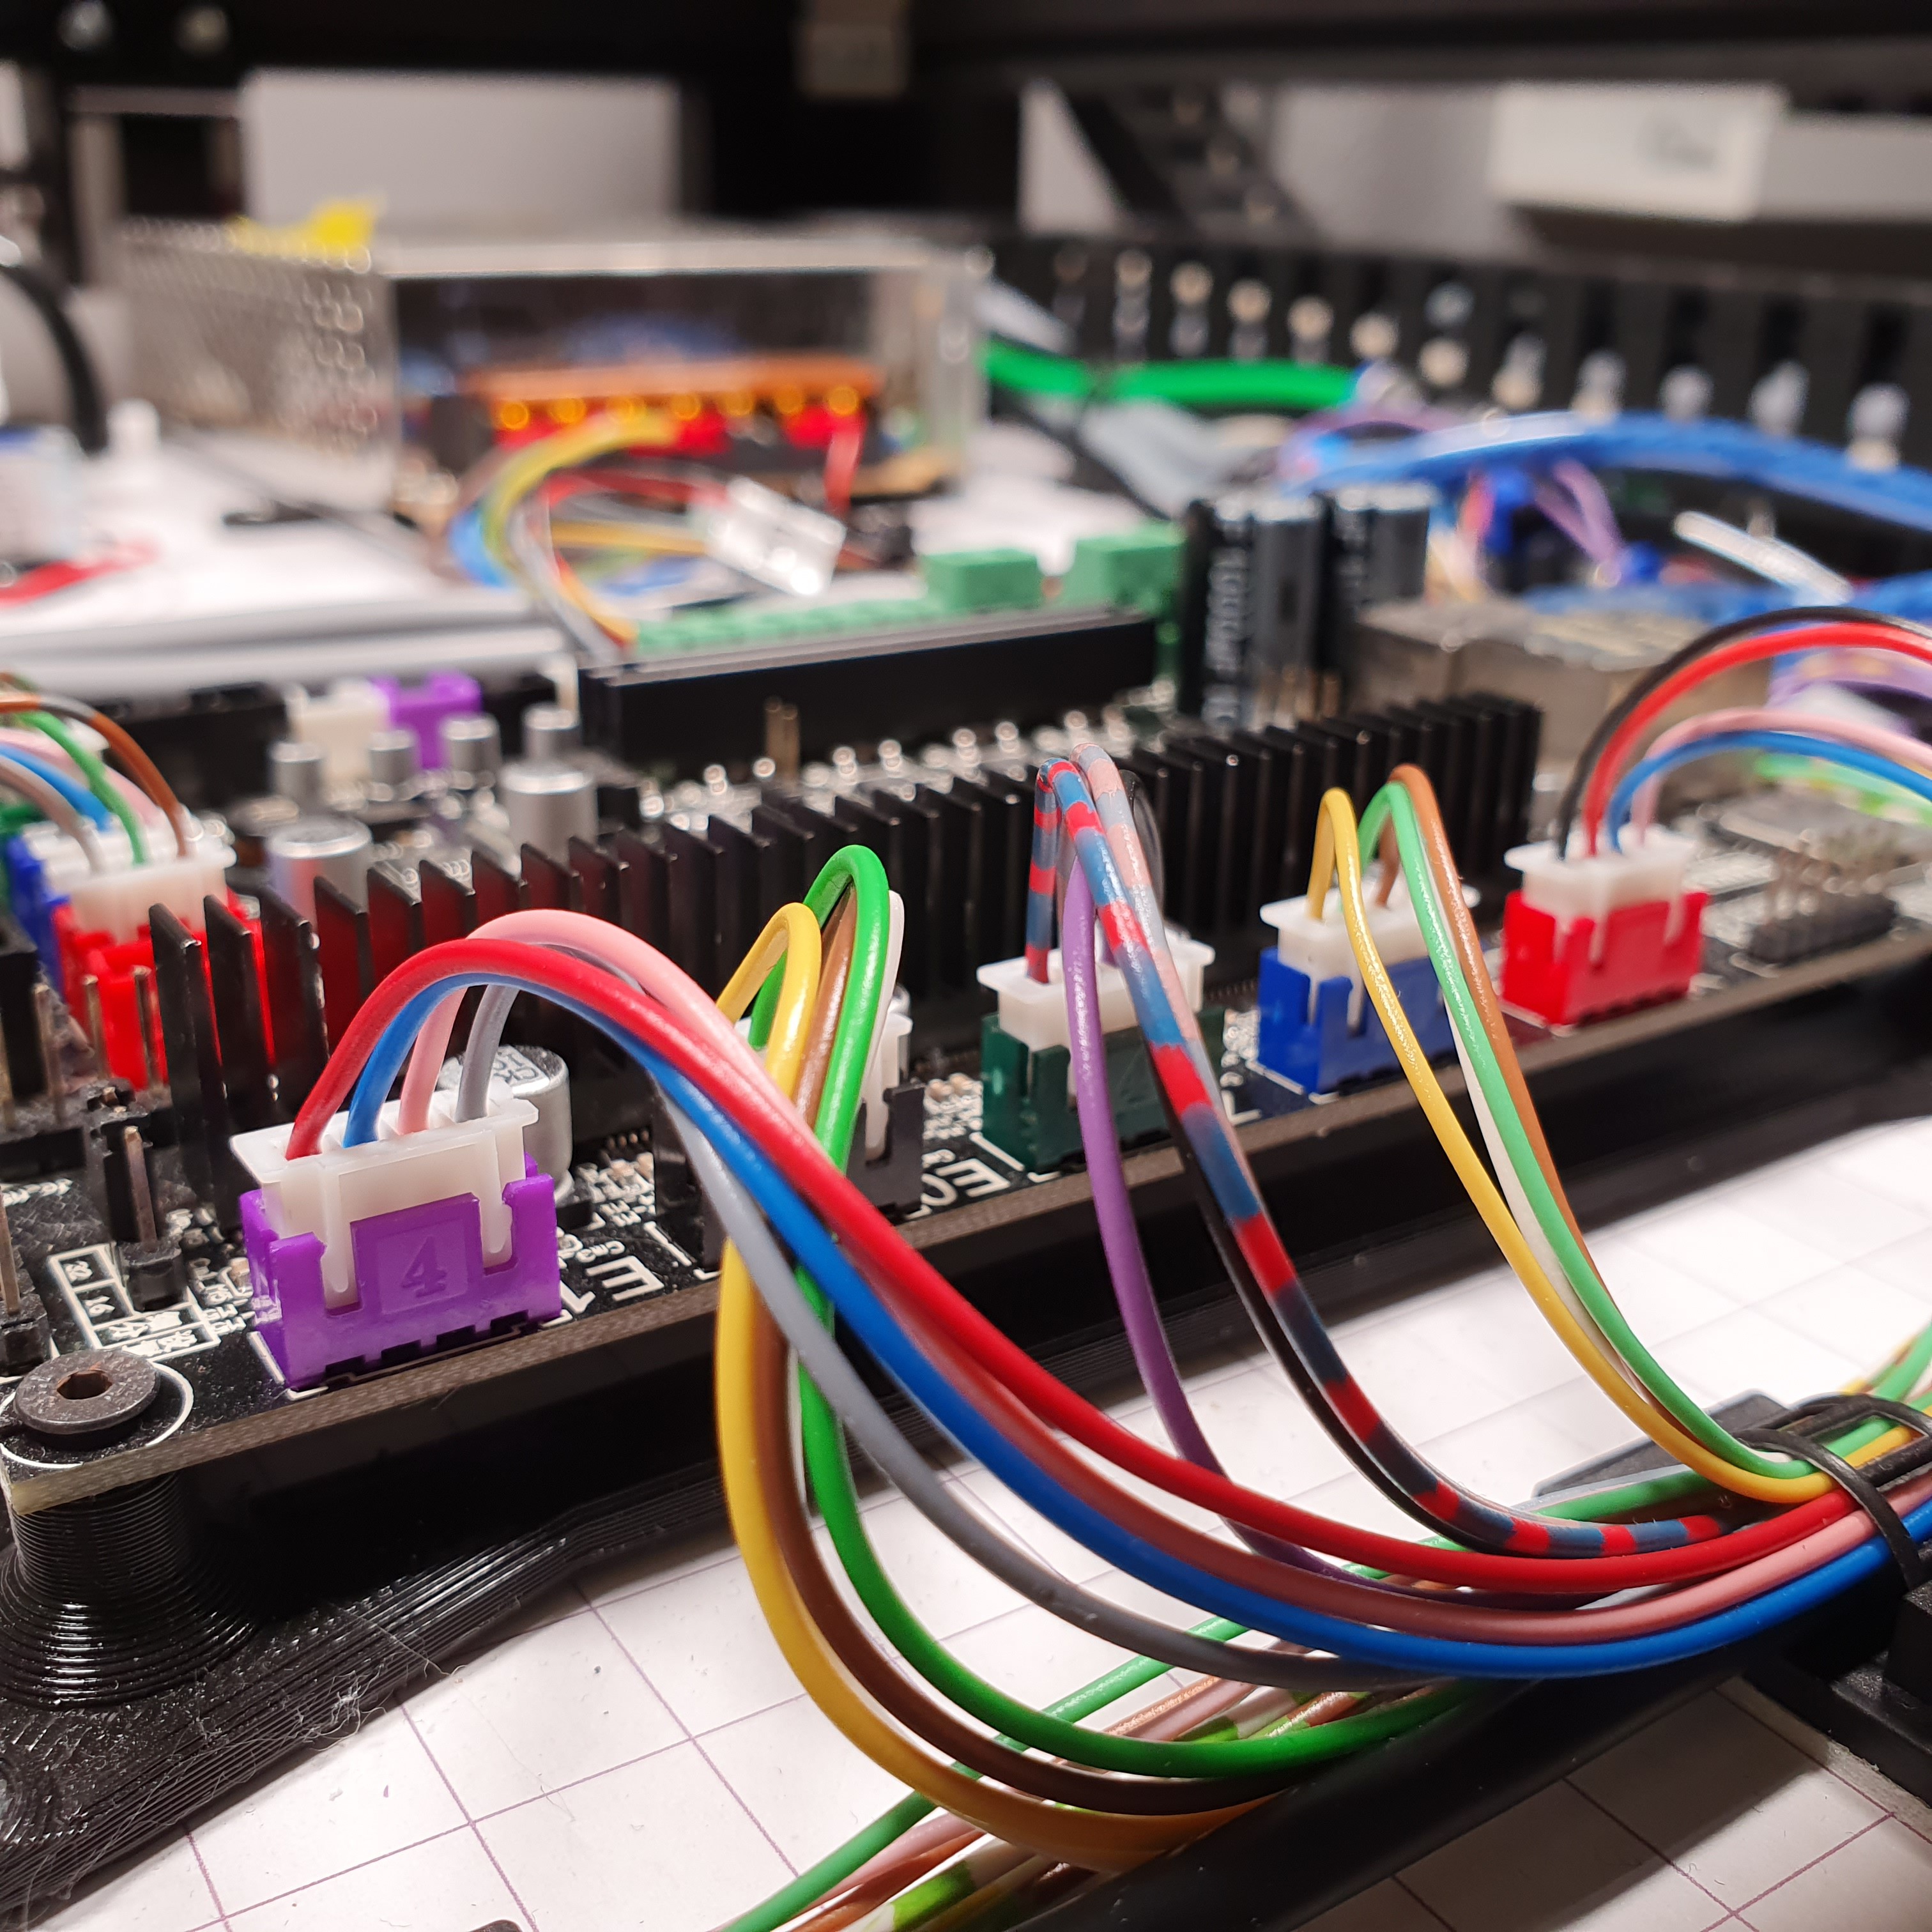
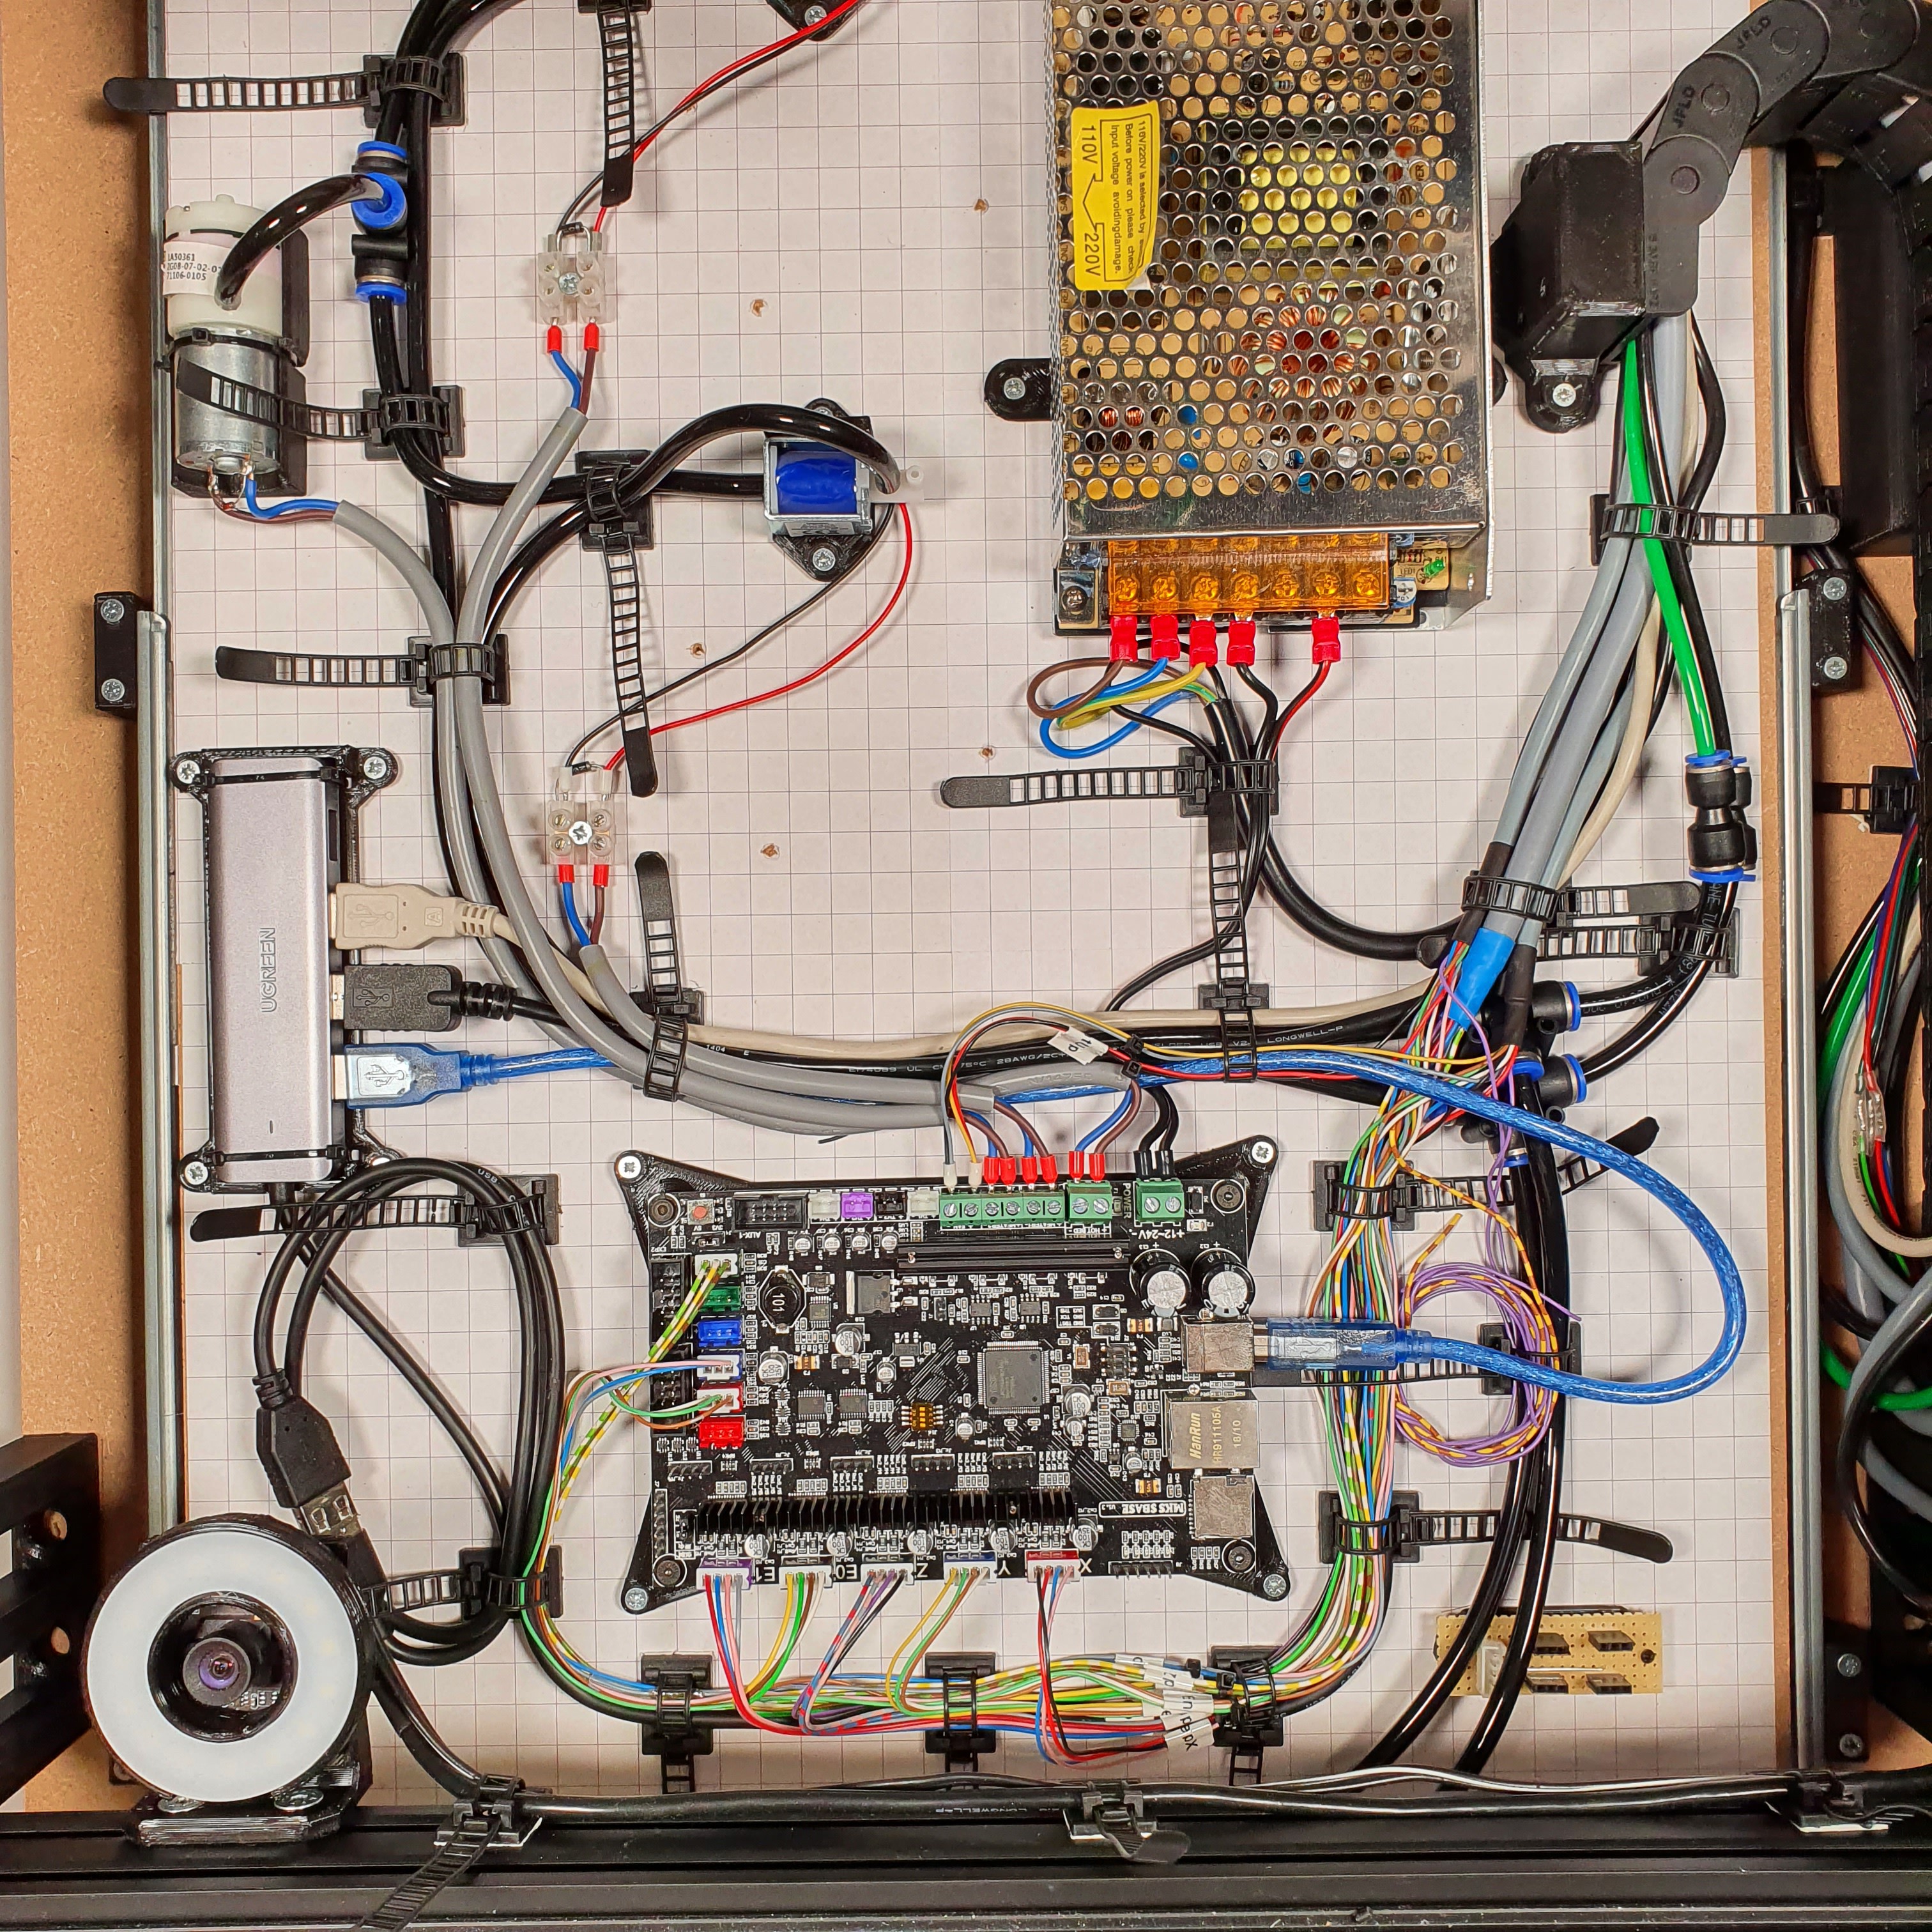
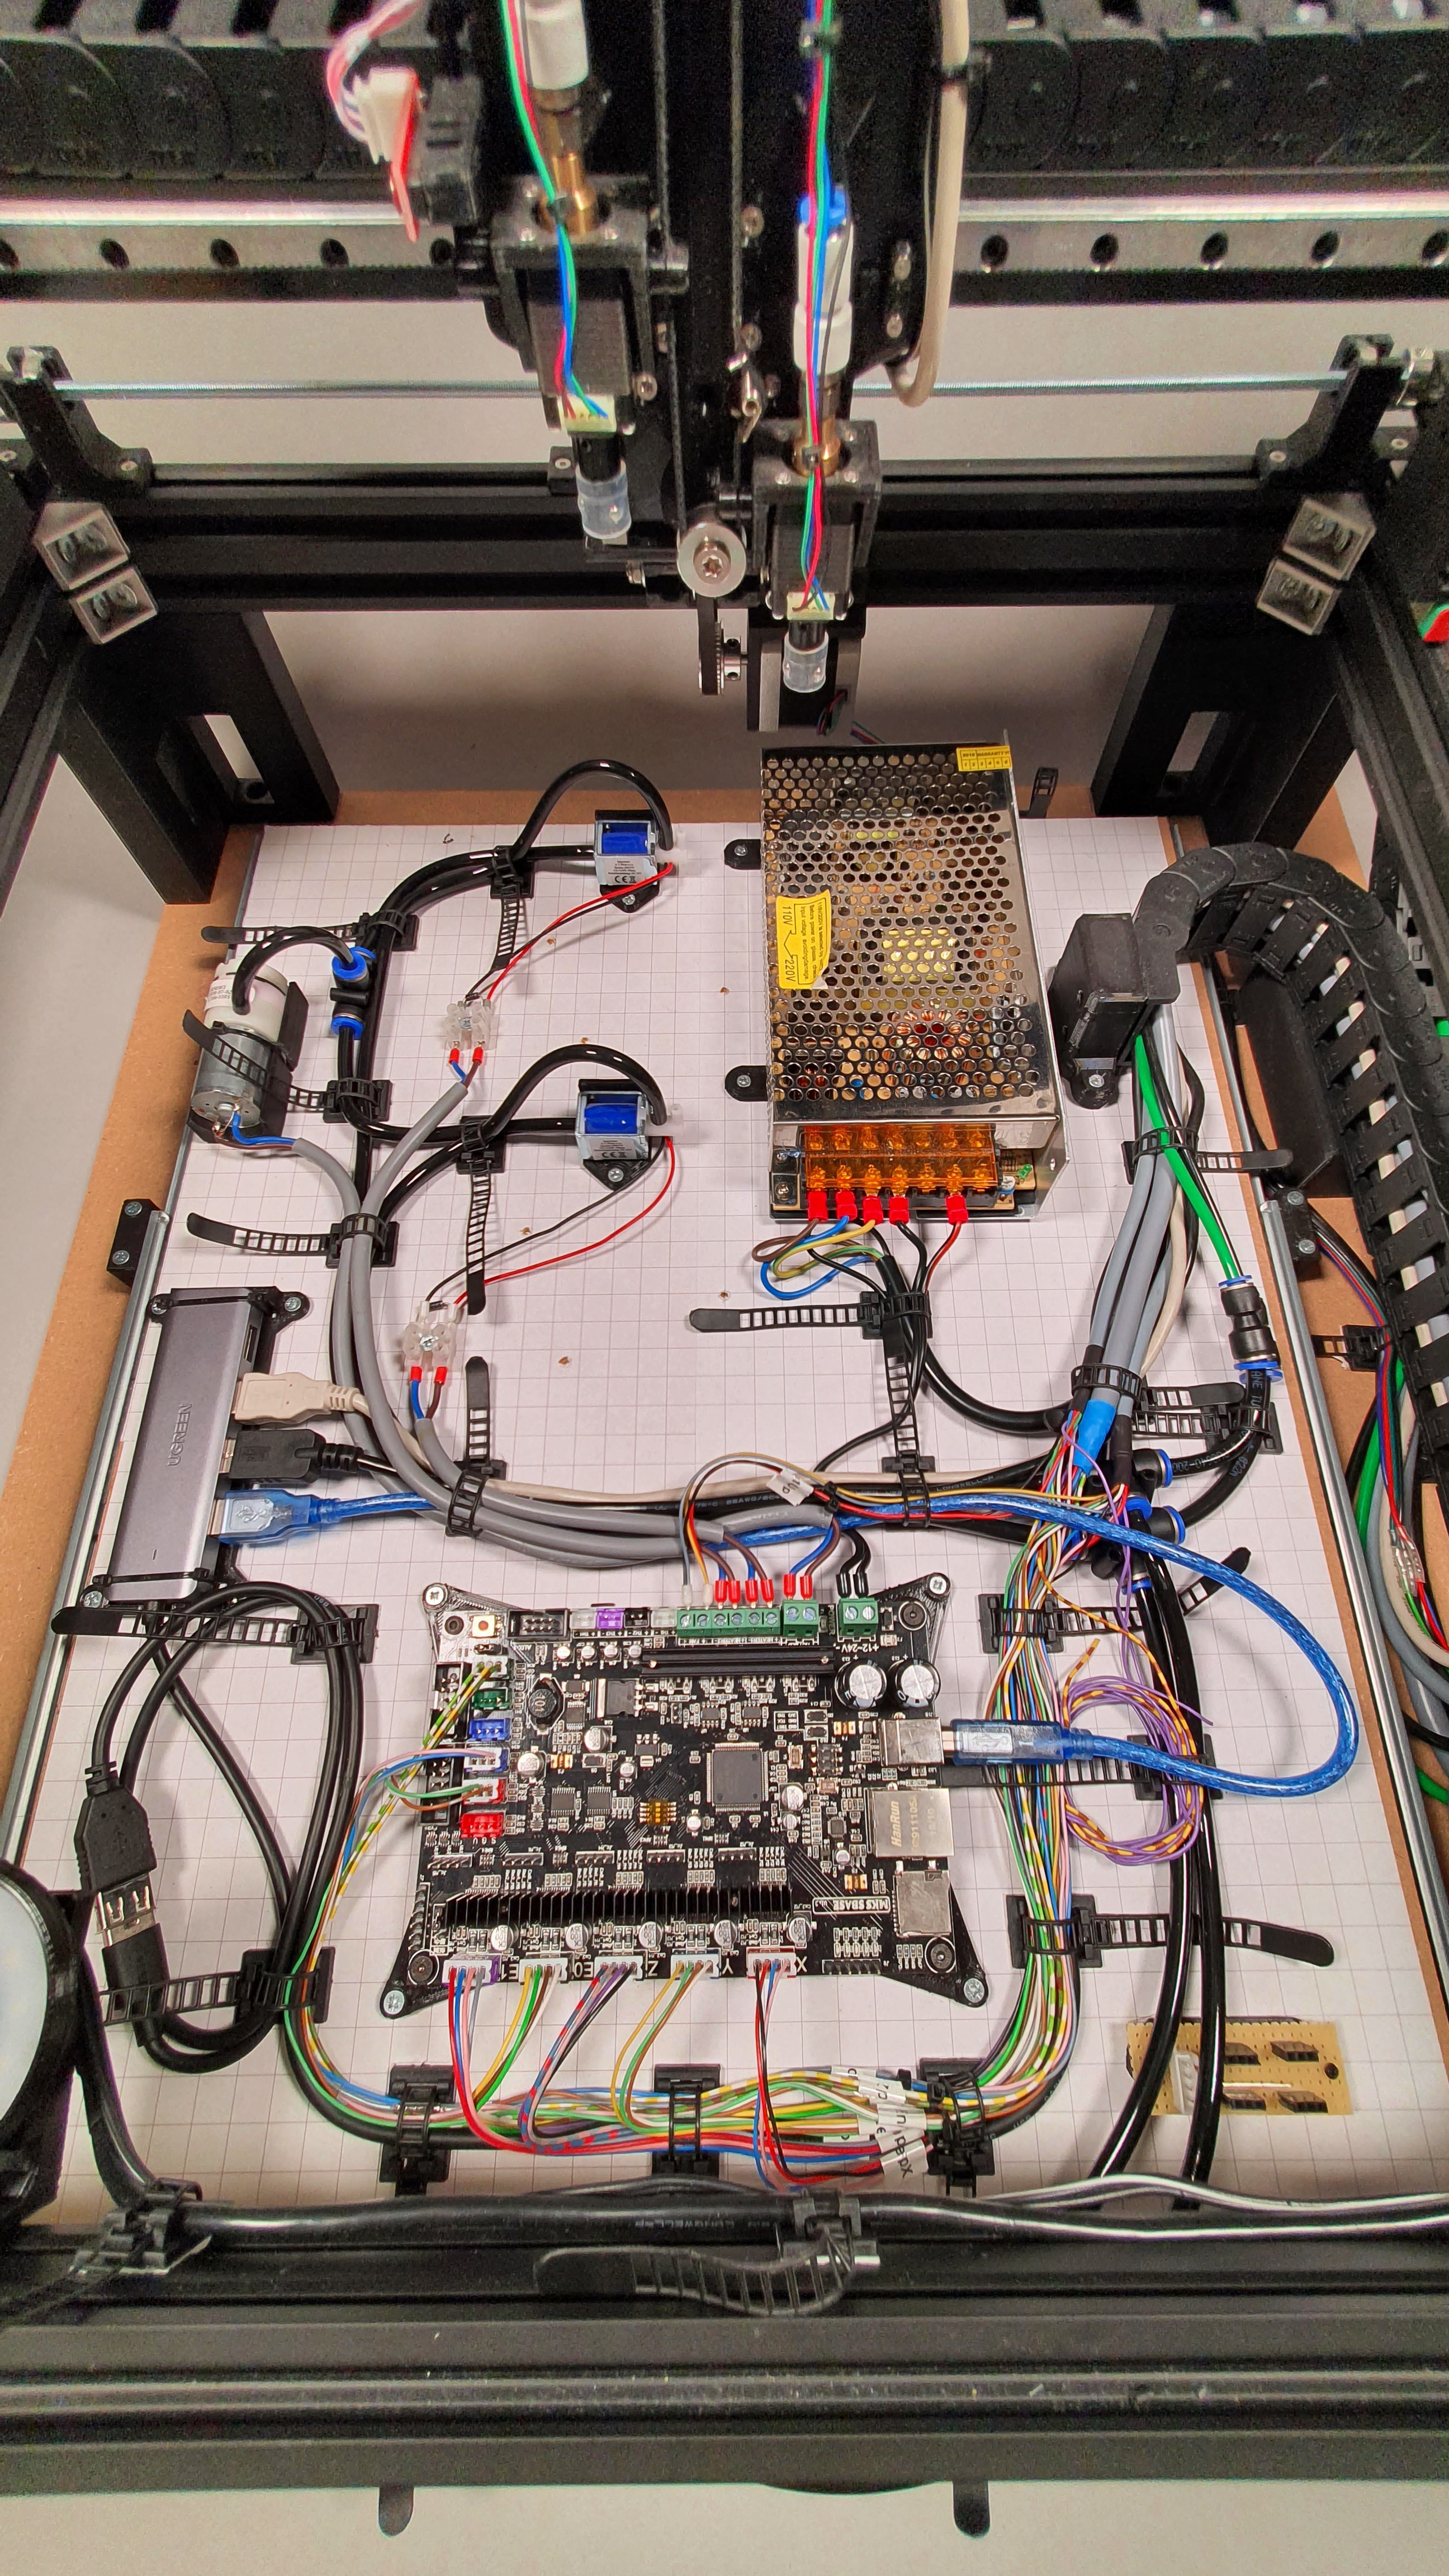
Wiring:
In the last few days I have stripped, shortened and crimped a lot of cables. That means slowly the first real test of the pick and place machine is getting closer and closer. The lines are all laid and connected. For the (negative) pressure sensor I built a small provisional board on a breadboard. So two of the sensors (one for each receptacle) can be connected to the mainboard. I replaced the old valves with relatively cheap but sufficient 12V valves. Both the adapter for the pressure sensors and the valves are installed on the base plate via a 3D printed adapter. The MDF board on which the circuit boards are to lie later is already cut to size and is just waiting to be installed. So the picking and placing will start soon.
Discussions
Become a Hackaday.io Member
Create an account to leave a comment. Already have an account? Log In.