Close
0%
0%

LoRaWAN Battery Pack Monitor

Continuously checking on my Li-Ion battery packs from afar using LoRaWAN

Similar projects worth following

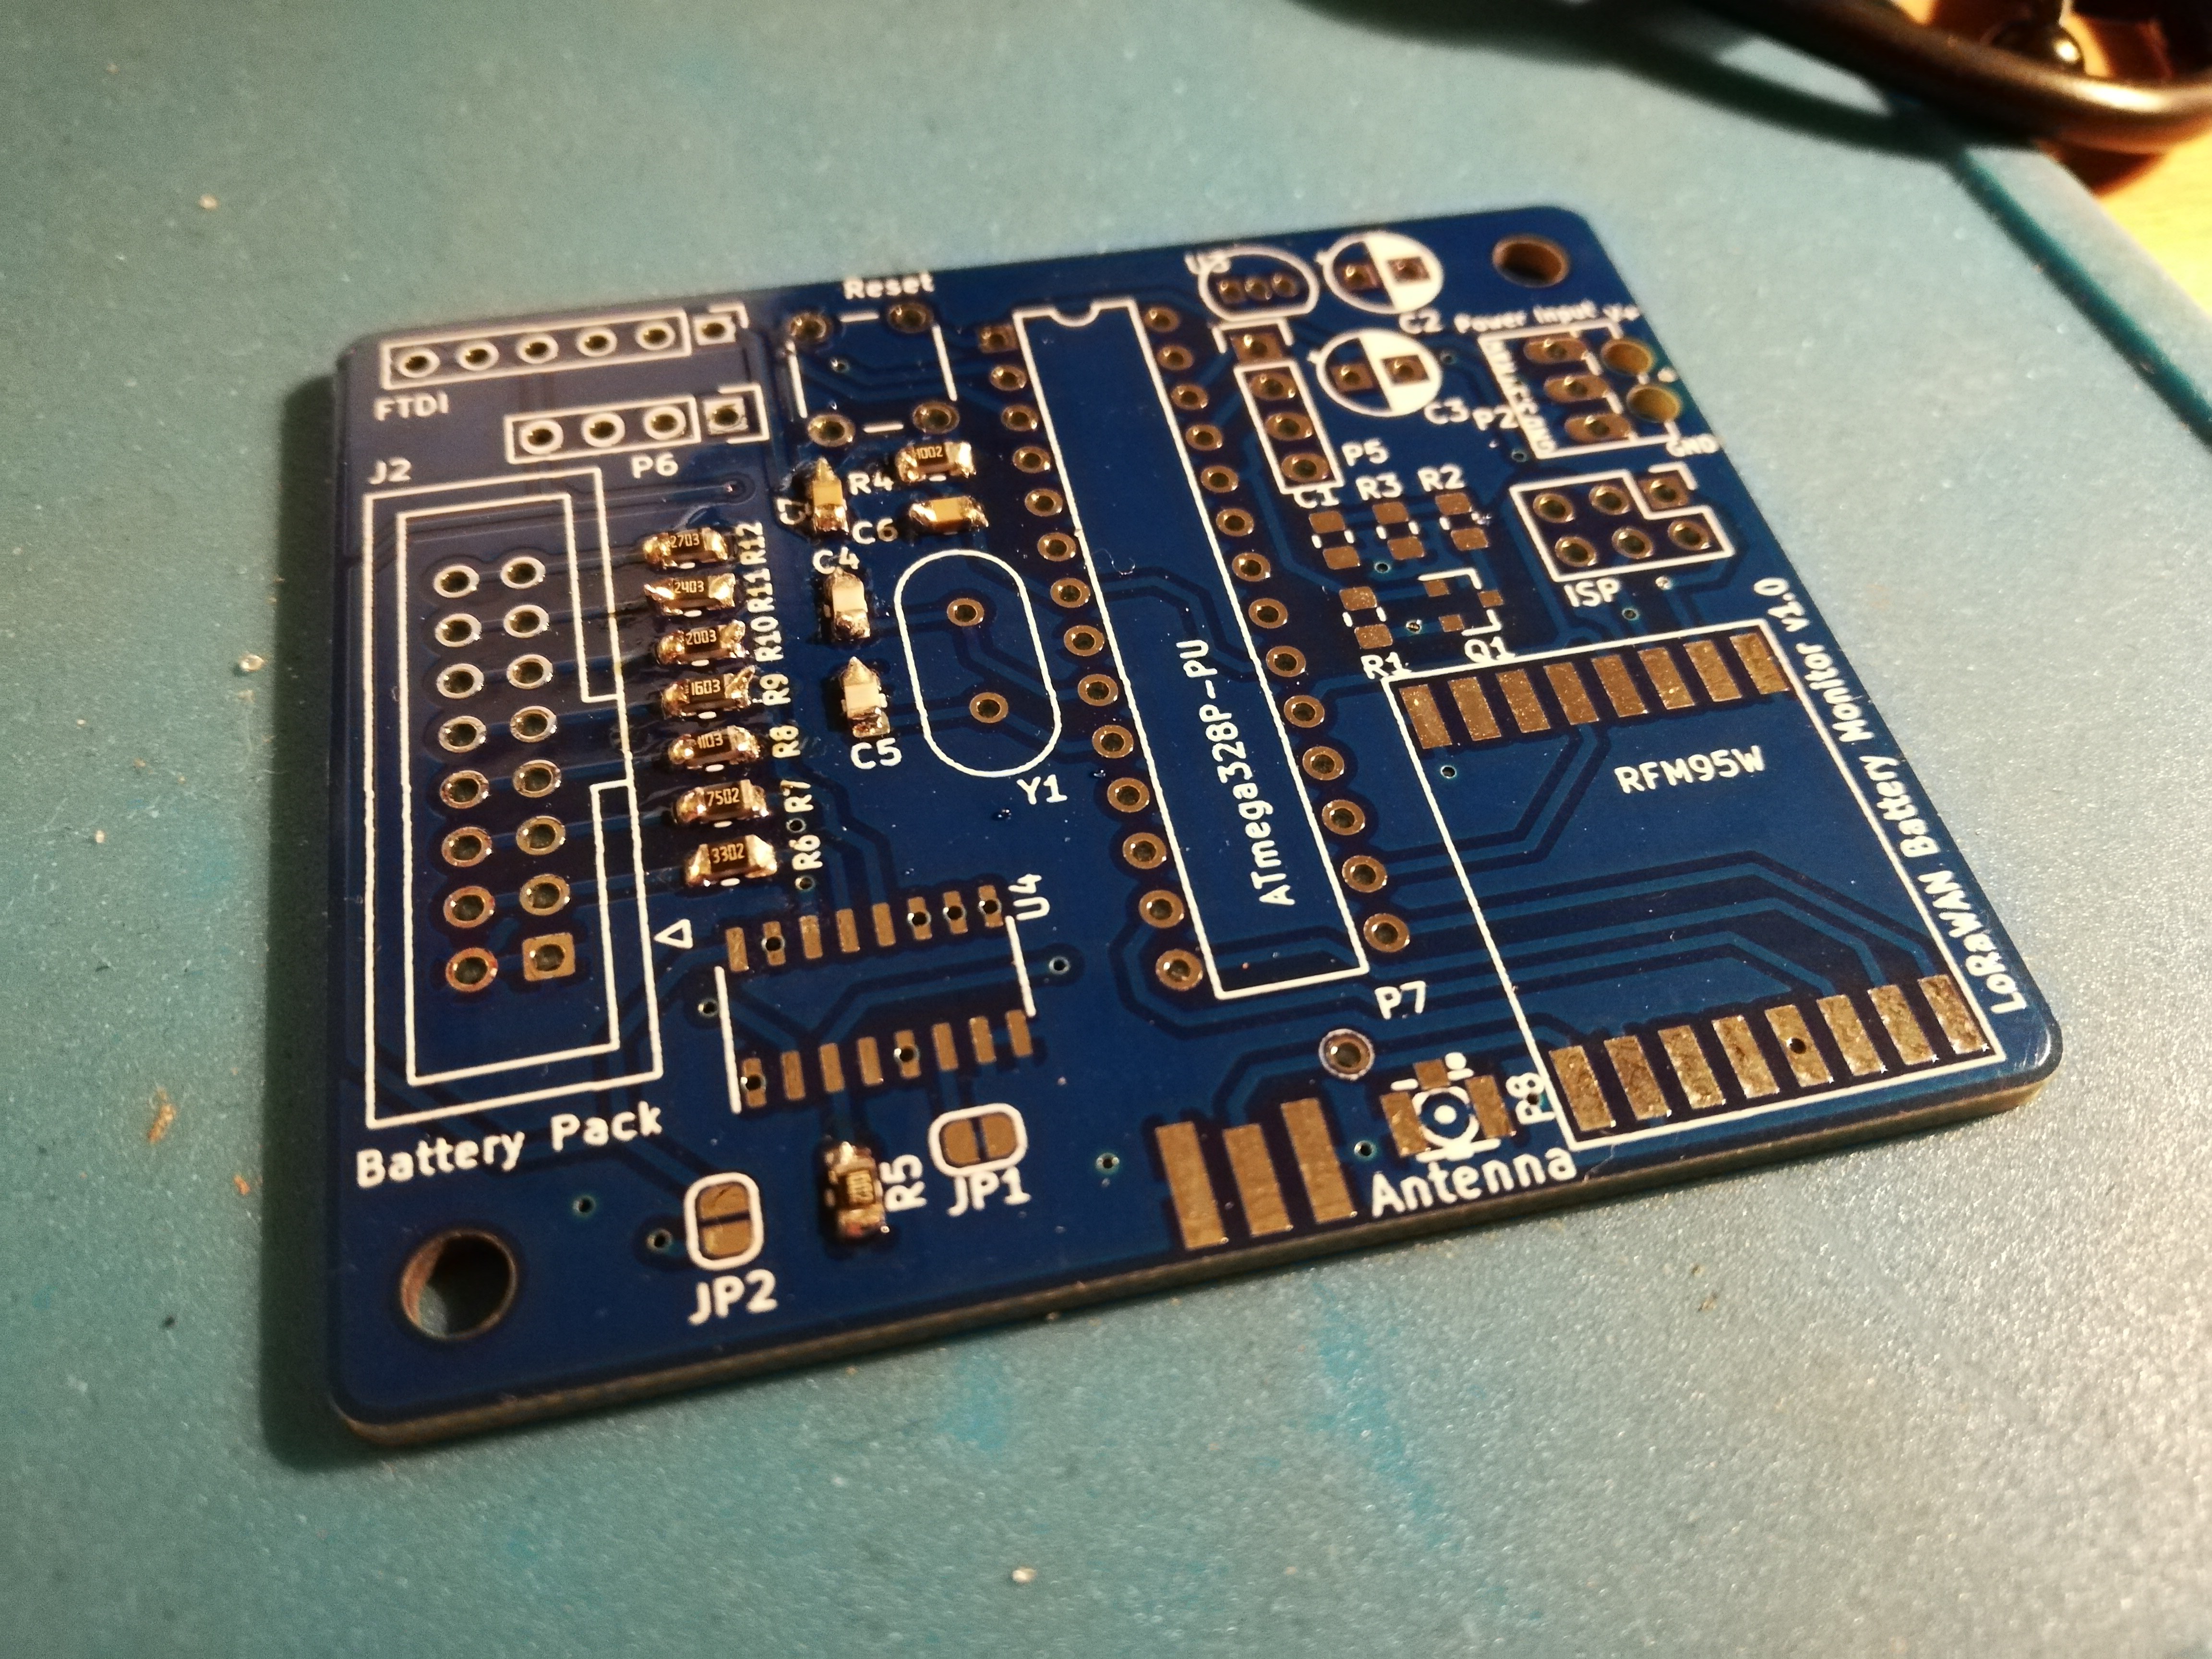
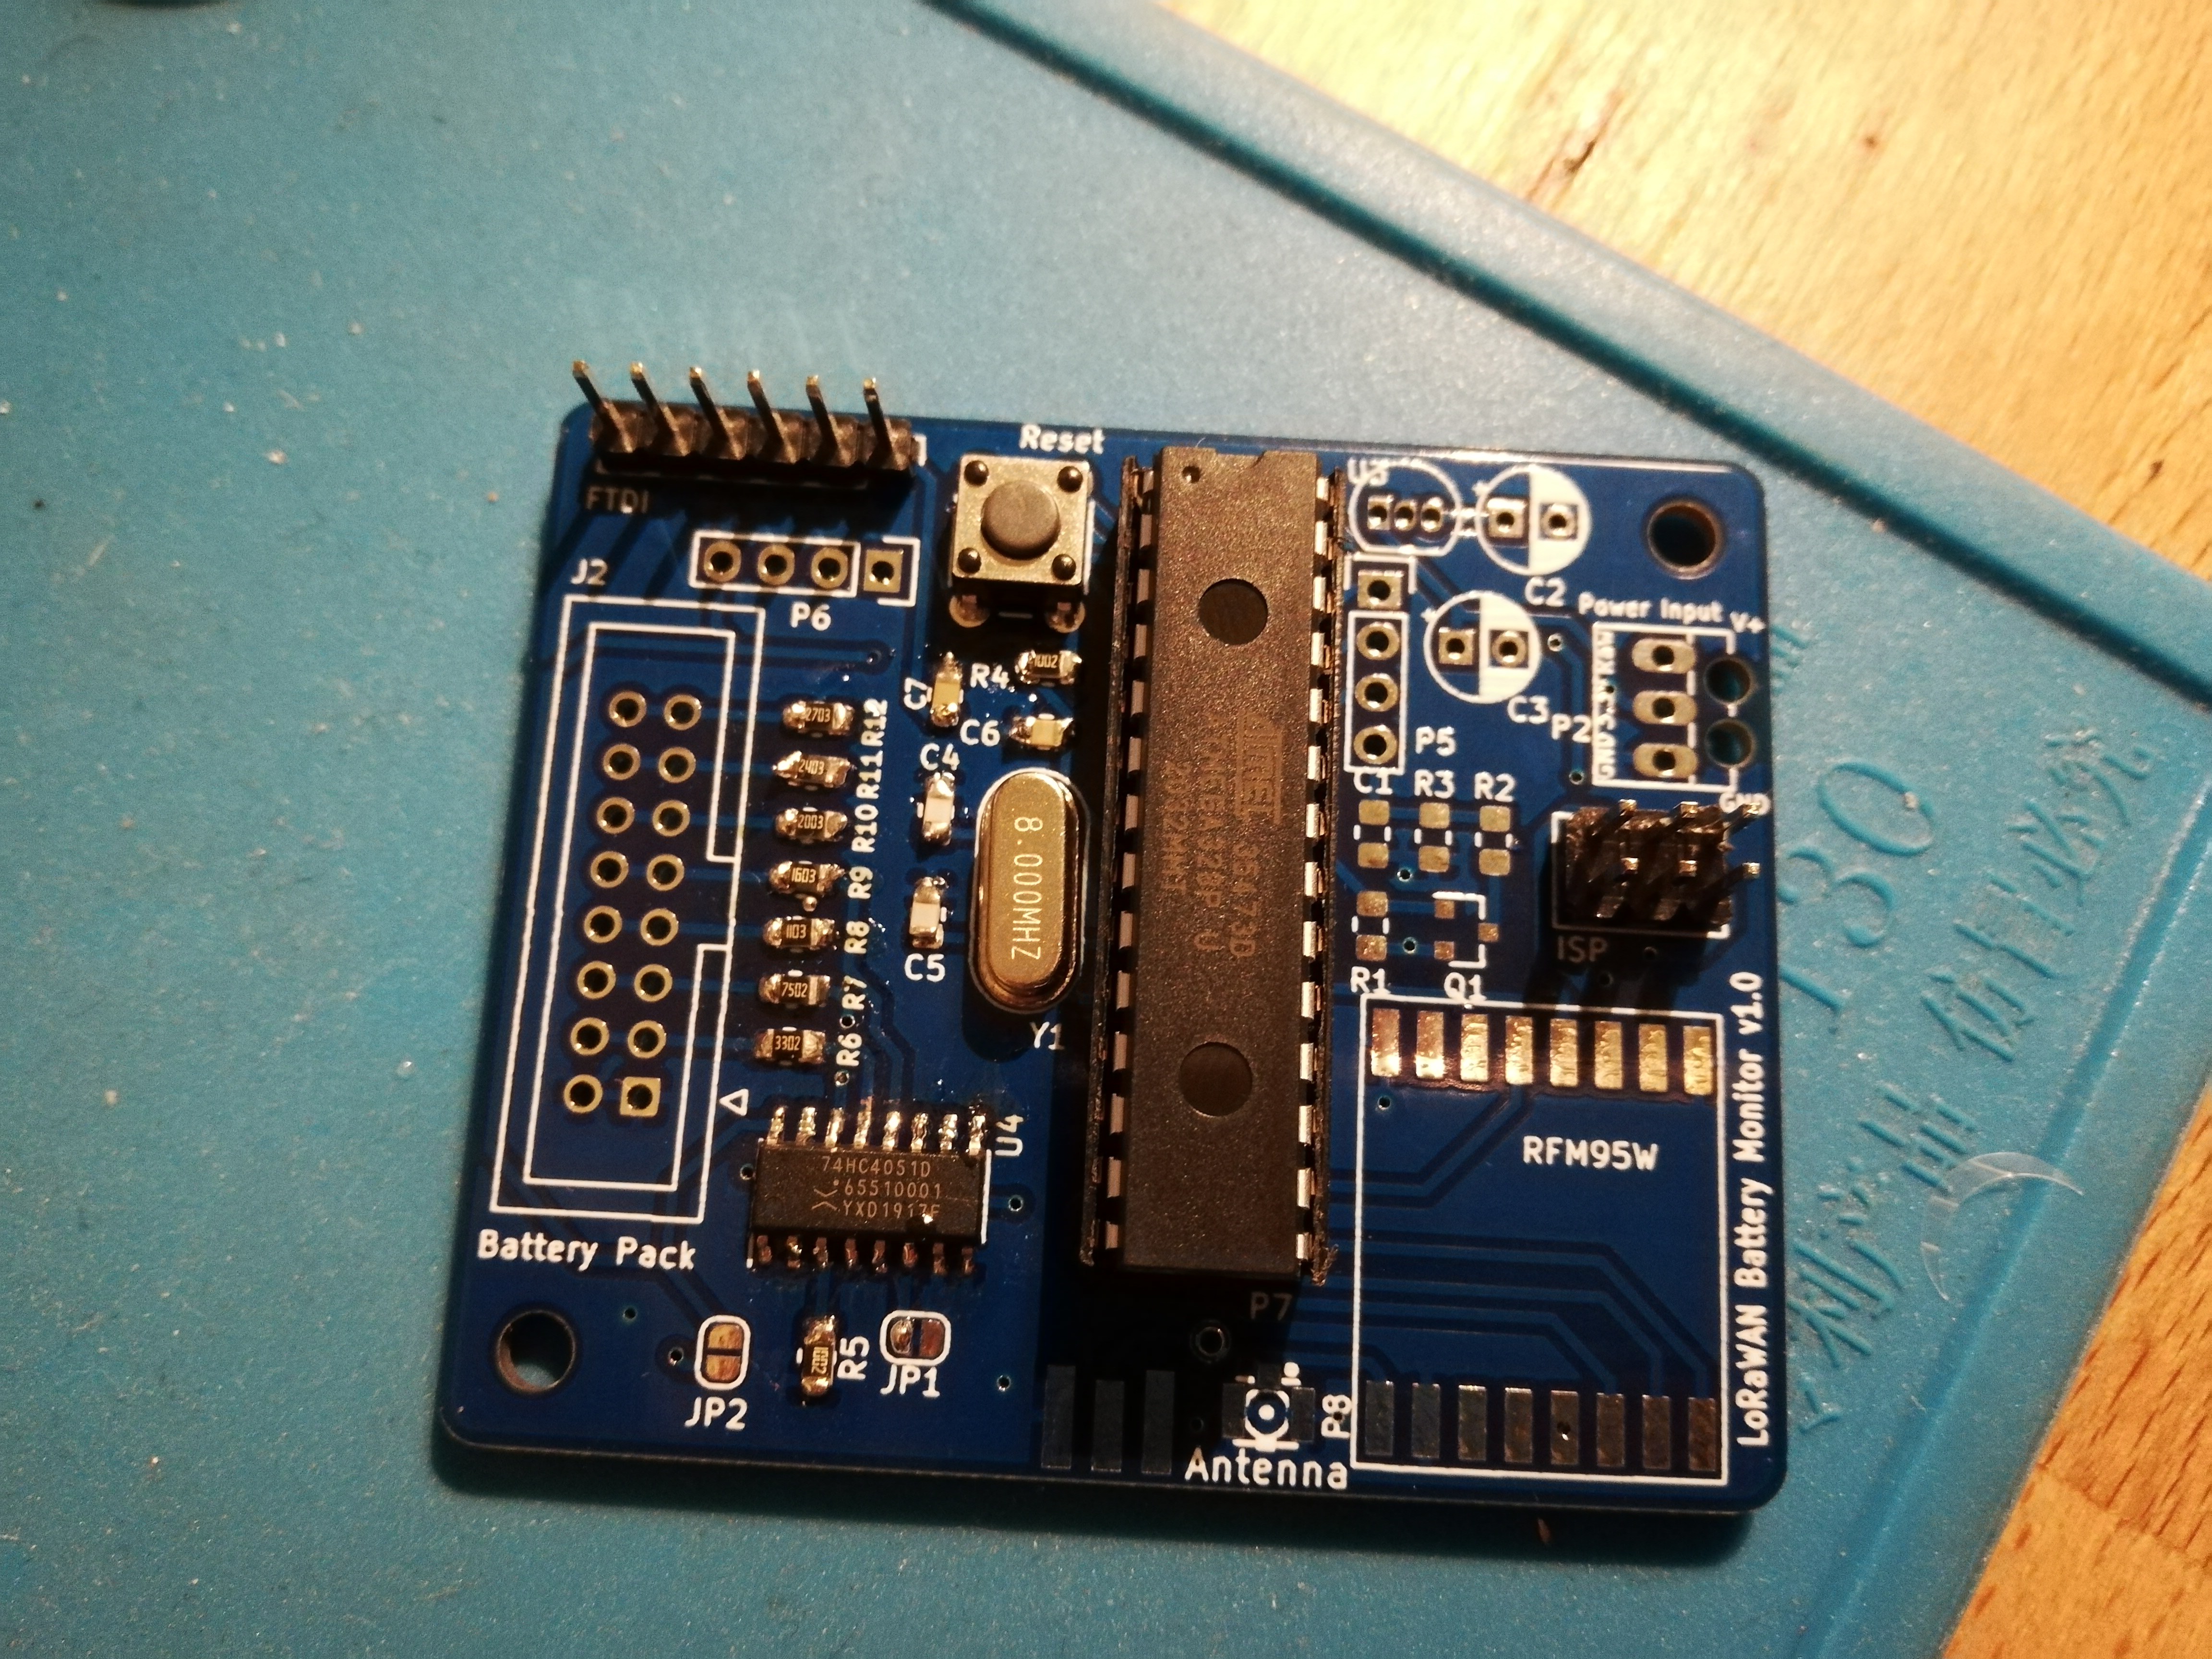
The LoRaWAN Battery Monitor is a LoRaWAN connected device based on the ATMega328 LoRaWAN Node to automatically measure the individual cell voltages of a Lithium Ion battery pack (up to 7S).

  • 1 × ATMega328 Microcontroller
  • 1 × RFM95W LoRaWAN modem
  • 1 × 4051 Multiplexer to switch between cells

  • Measurement failures

    tiefpunkt01/25/2021 at 21:14 0 comments

    I did a bit of a hack in the circuit. I need to use voltage dividers to measure the voltages on the individual cells, but instead of building 7 separate voltage dividers for all 7 cells, I split the divider, and added a multiplexer in the middle to switch between the different cells. In addition to making for a fairly simple circuit, it would've also allowed me to "switch off" the voltage dividers completely, so there wouldn't be any drain on the batteries. It seemed like a good idea, but the results were questionable.

    The voltage divider and multiplexer part or the schematic

    Measurements with only a single cell connected
    Turns out that doesn't work. Why? Well, the multiplexer doesn't just switch between channels, there are also some diodes and other protection stuff, and that does some weird things at times.

    What's the short term fix? Having 7 "full blown" voltage dividers. I wanted to try it on this PCB, so I did some funny air circuit fun.

    Image

    ed things. For now at least. However, now, it actually uses power all the time, from the batteries. As it's a prototype, it's not that bad, and I can also scale up the resistances quite a bit, to reduce the power drain. That's a quite simple fix hopefully, and then we have a working node.

    Longterm, I could use a different method of measuring, but that's for the future

  • Building the first prototype

    tiefpunkt01/25/2021 at 20:56 0 comments

    I've been working on this for a while, but waited forever to get the PCBs made. Finally did, and also got the parts, and started soldering

    There are a few SMD components which I put on first. Really have to get a new soldering iron, and practice my SMD soldering skills more.

    All parts necessary for some initial testing in place. But turns out I couldn't flash it using the ISP connector, because the ground planes weren't connected properly.

    Image
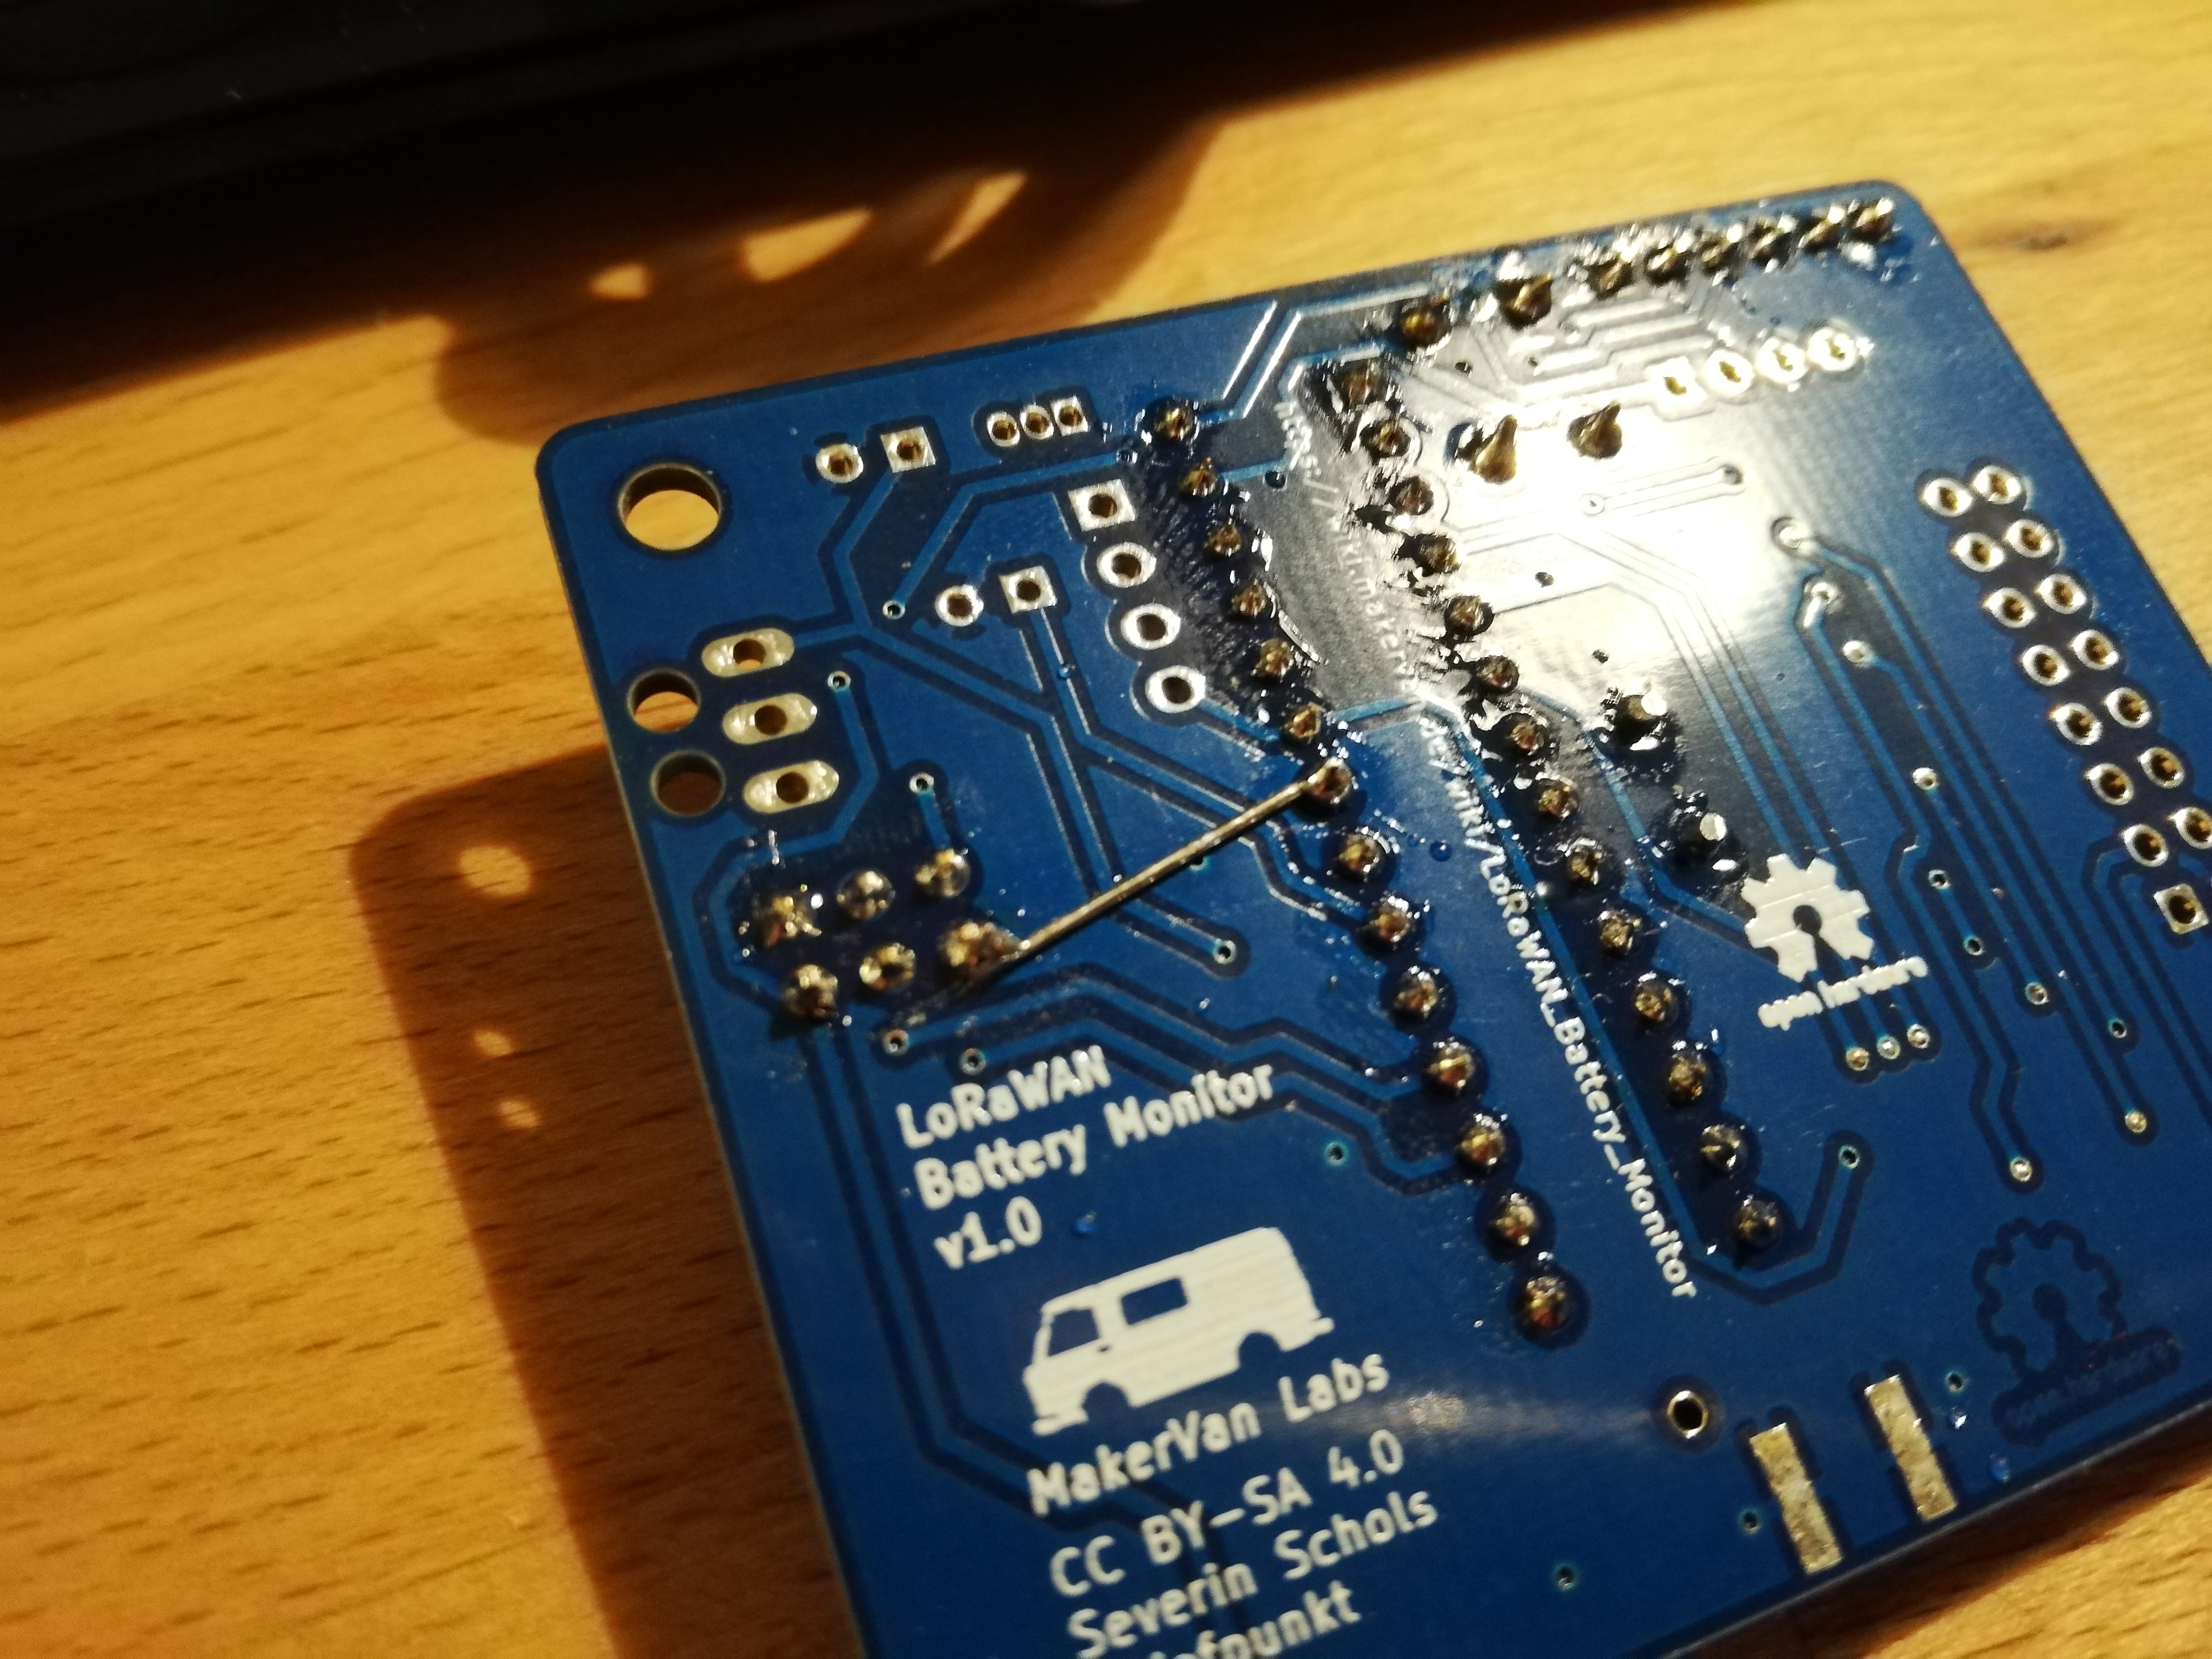
    The problem and the fix. Quite simple to fix in the next revision, but I should've totally seen that. And all the sudden, the ISP works as well.

View all 2 project logs

Enjoy this project?

Share

Discussions

Similar Projects

Does this project spark your interest?

Become a member to follow this project and never miss any updates