 John Opsahl
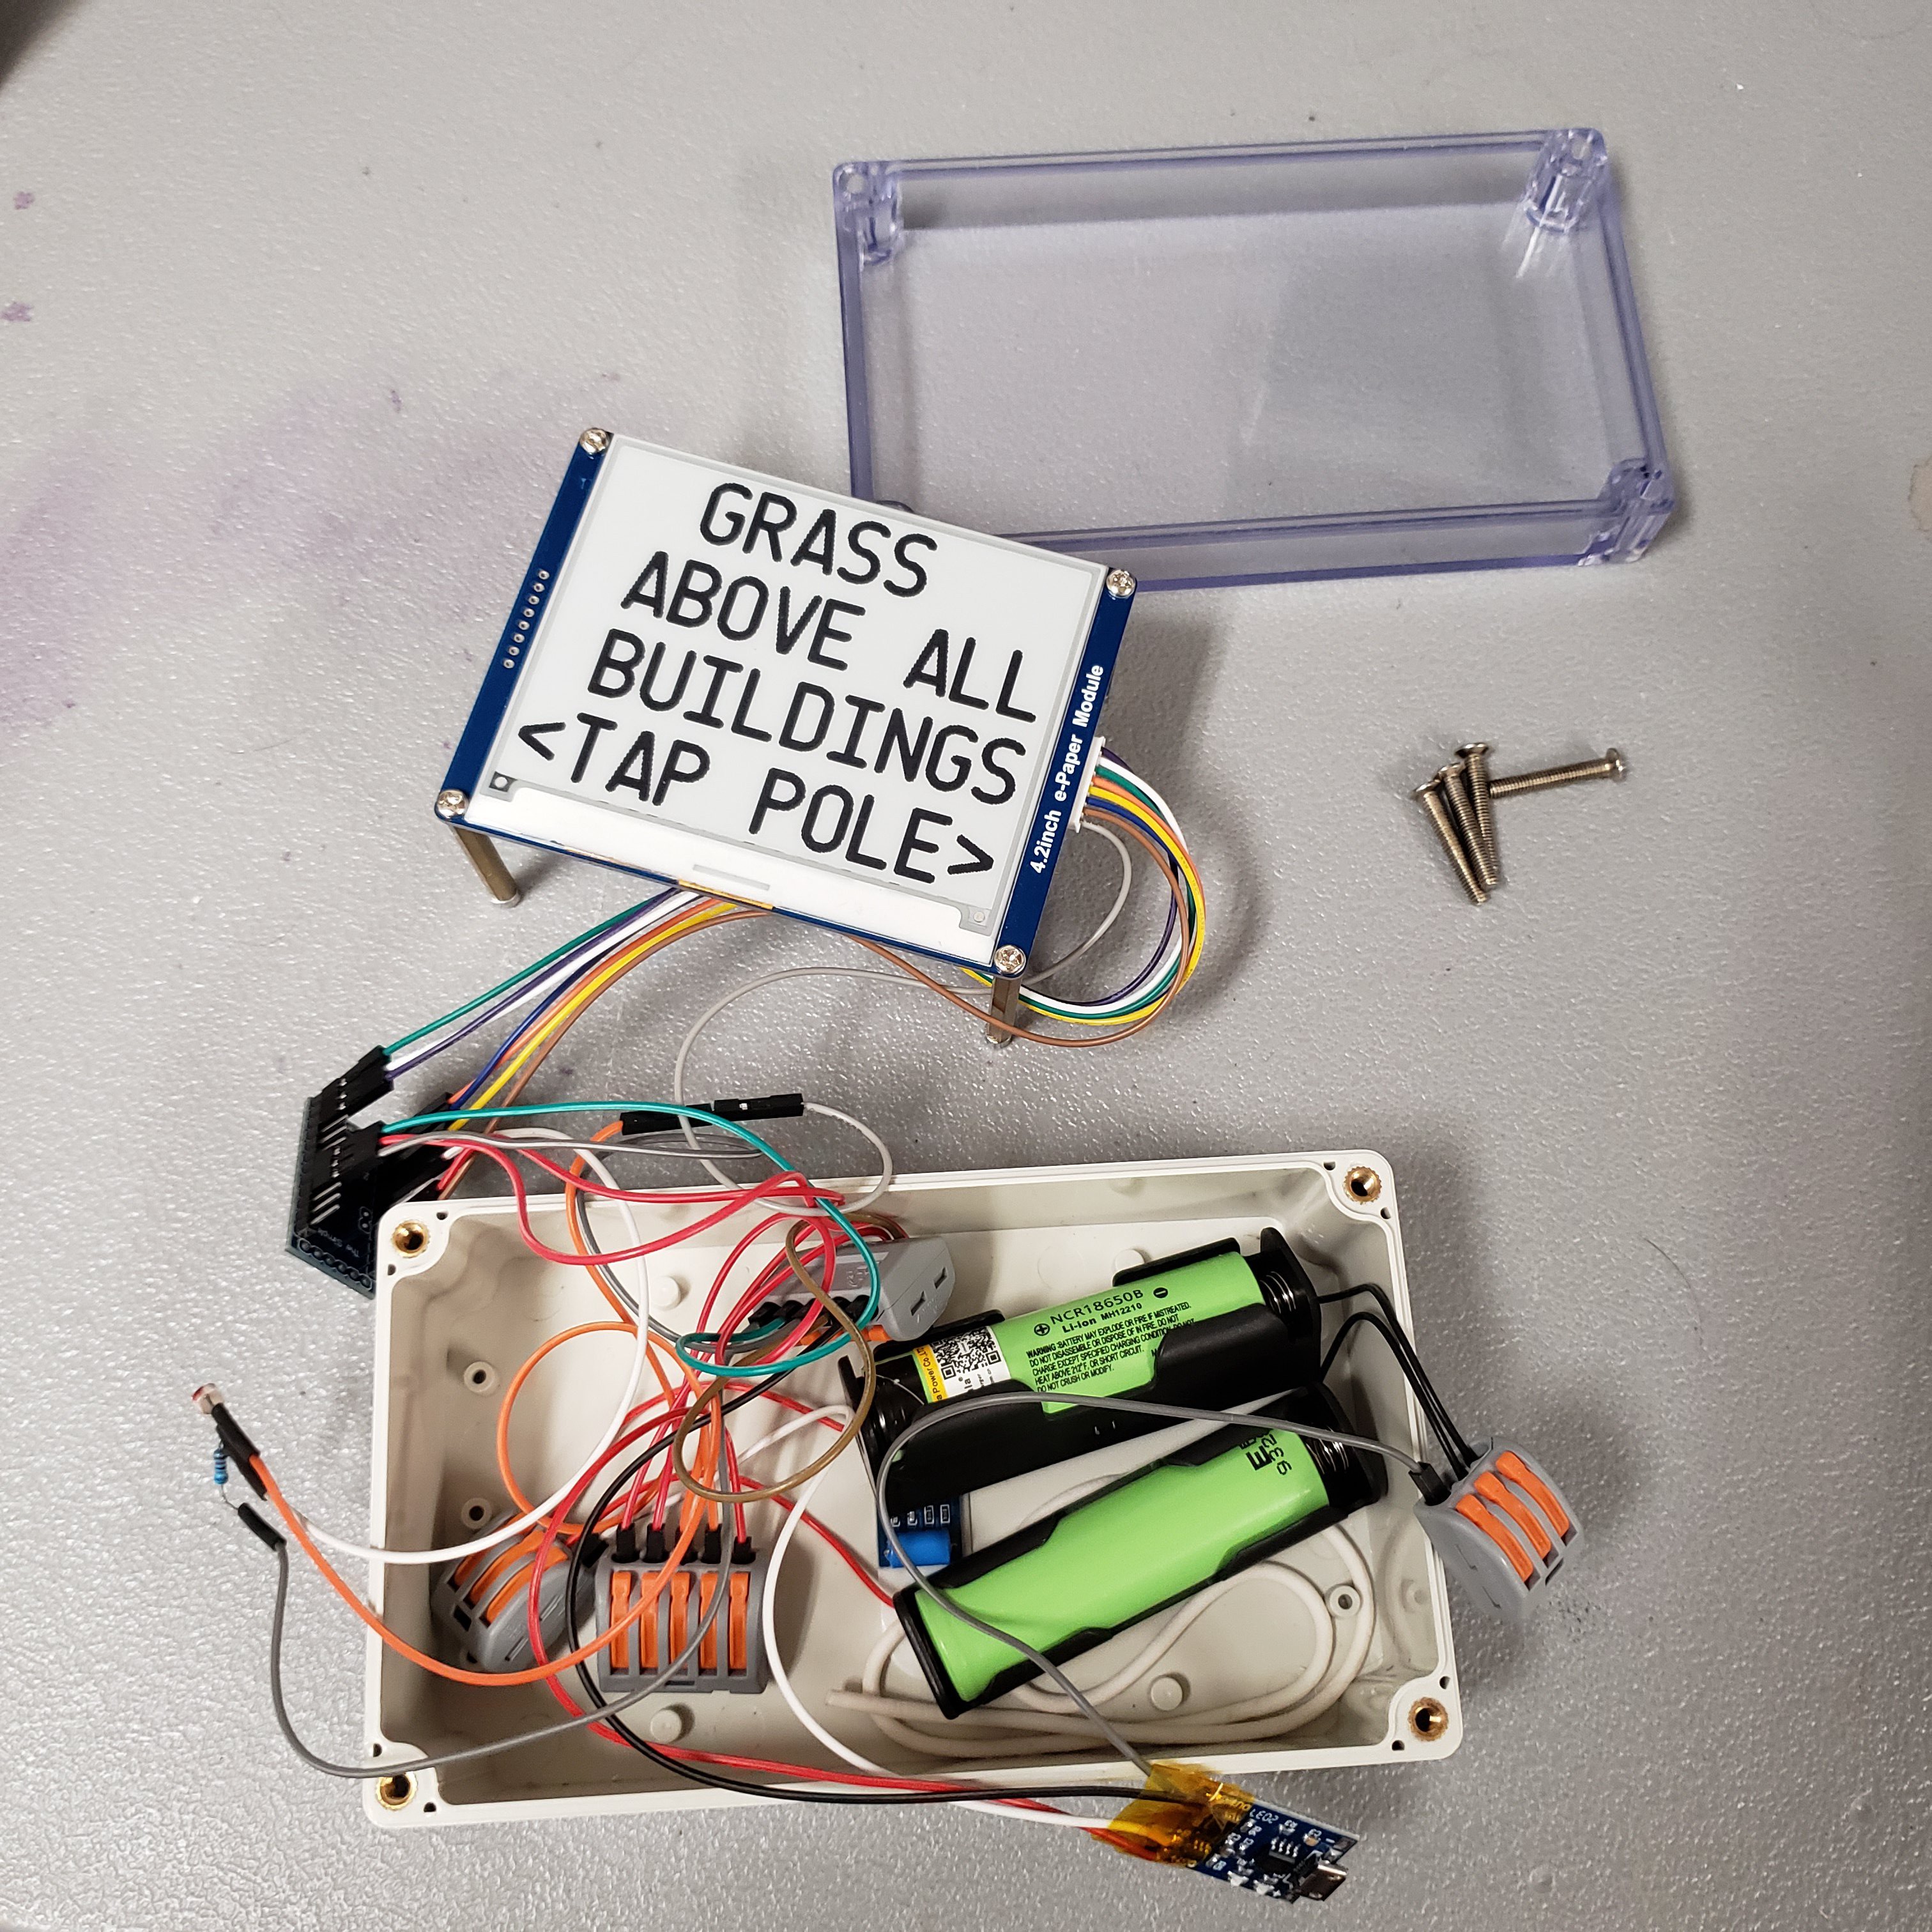
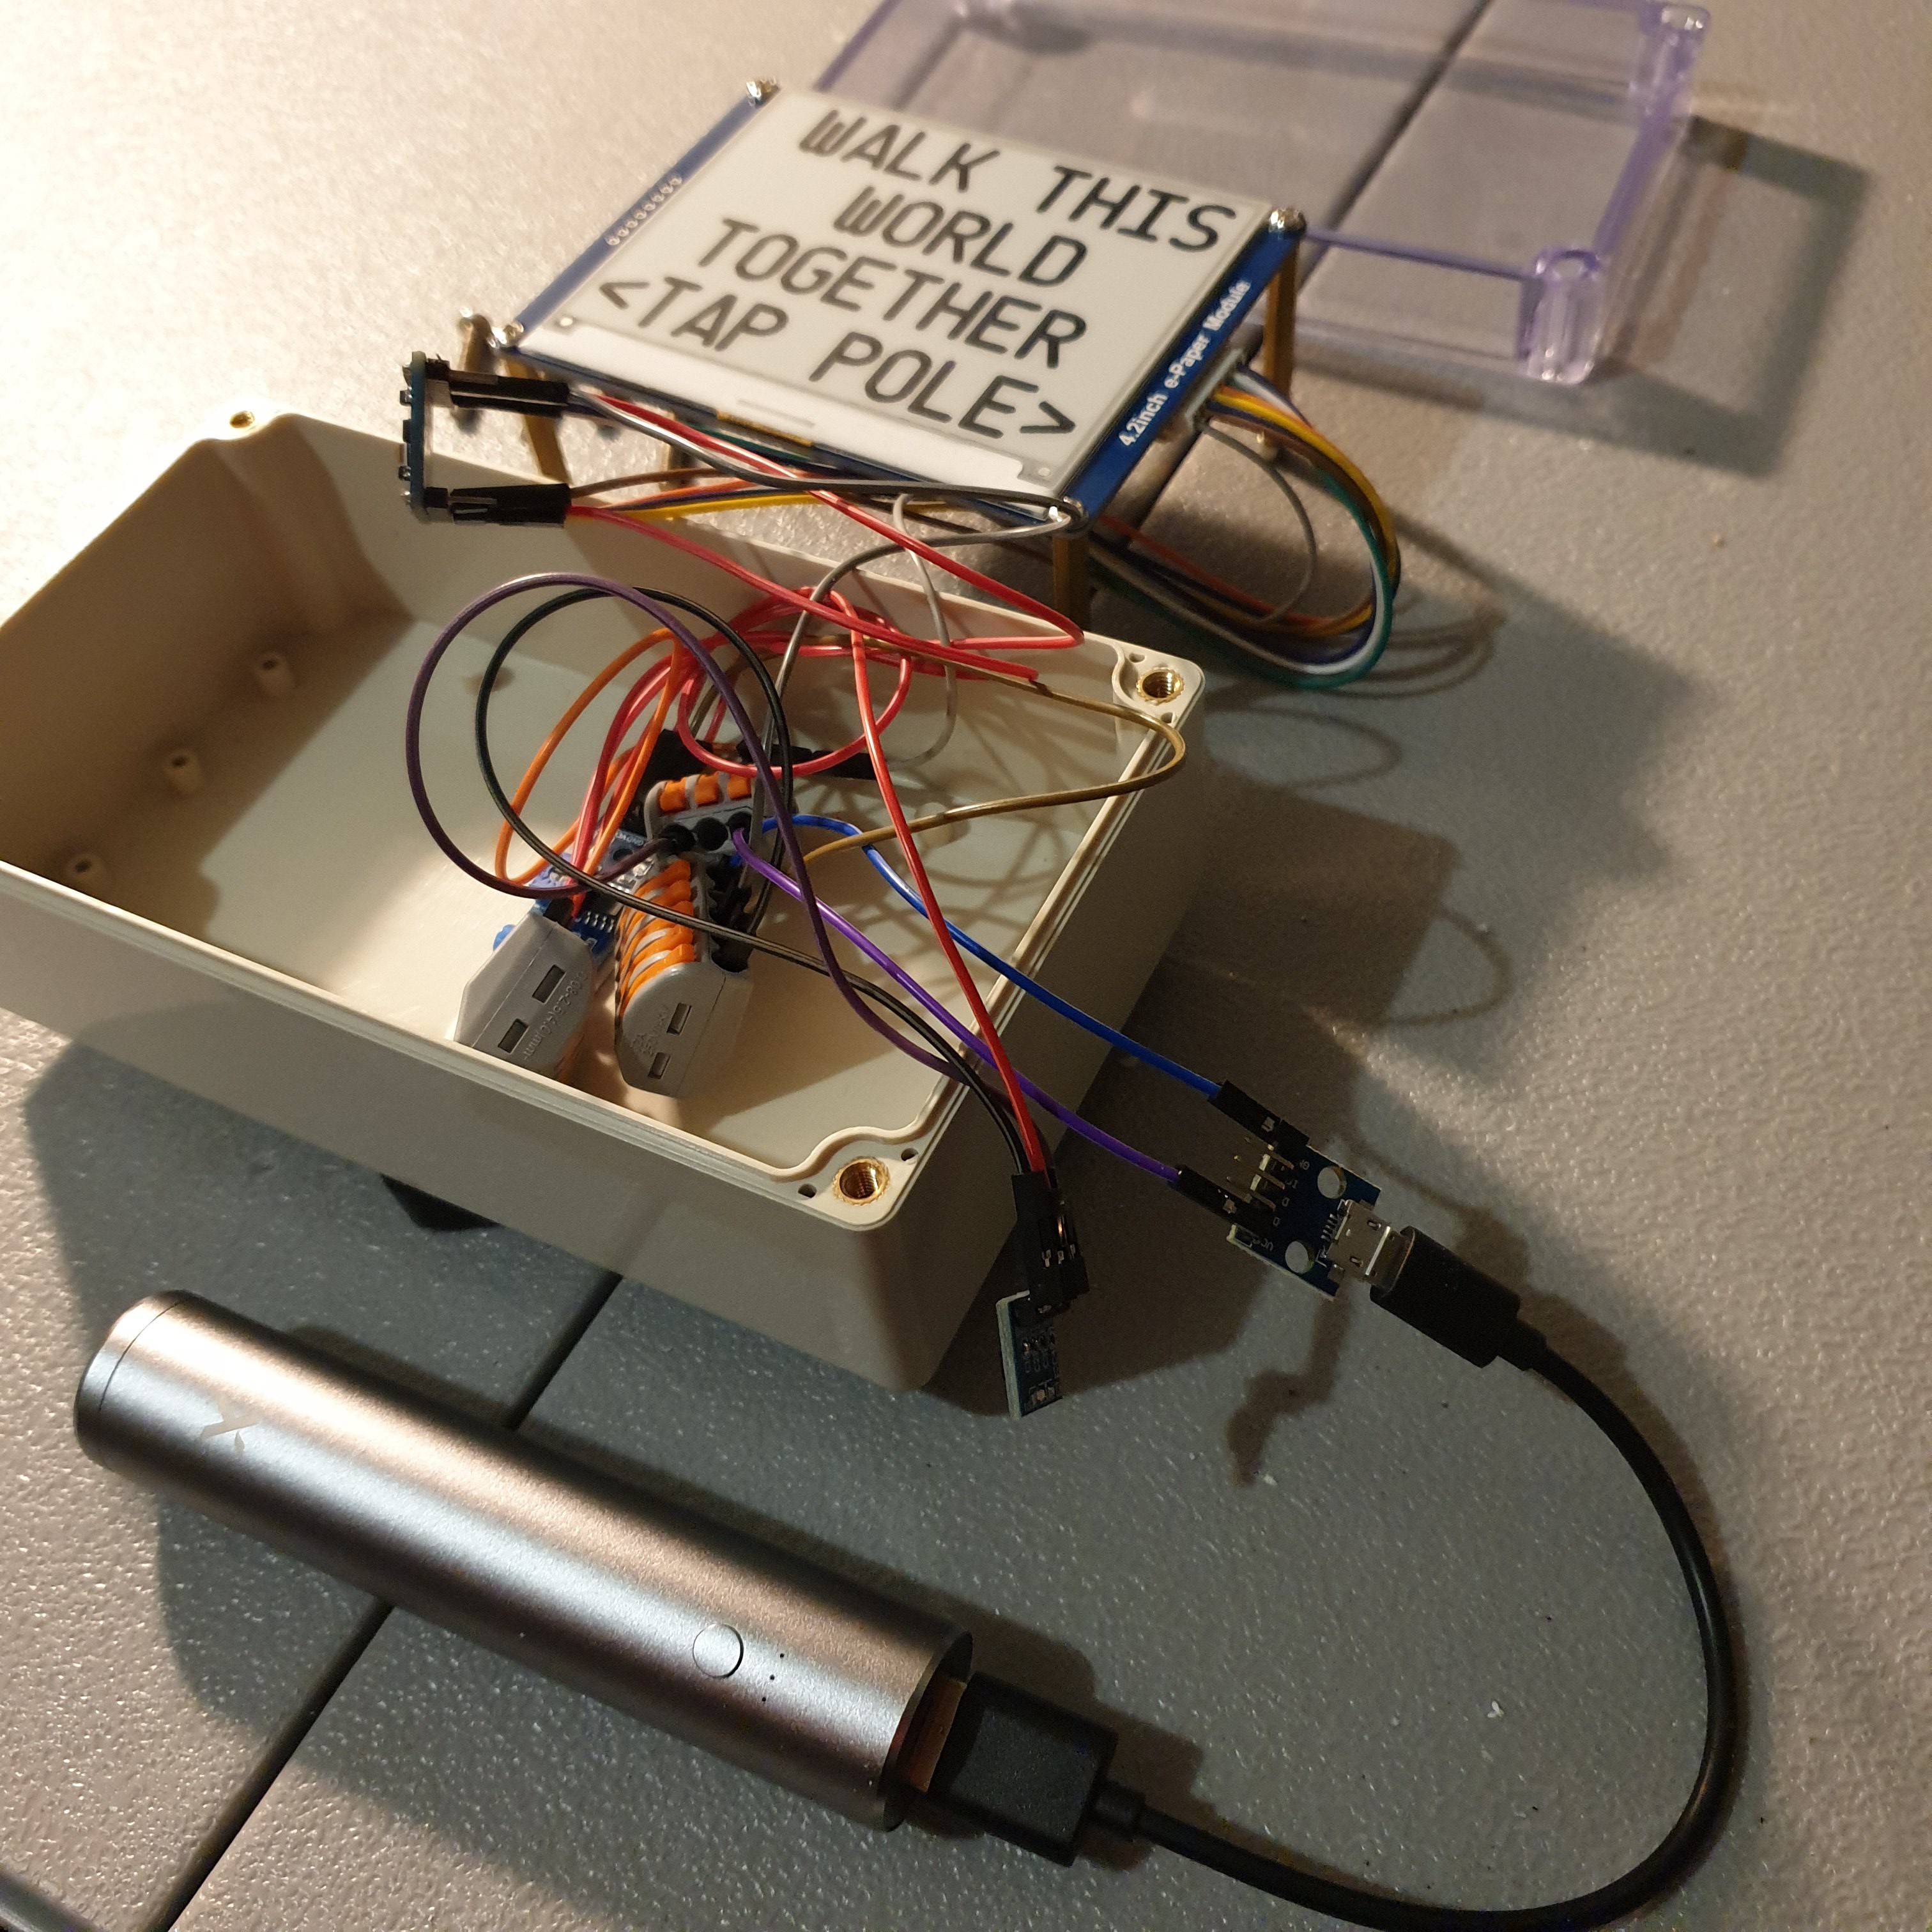
The two biggest challenges of this build:
1. Arduino Pro Mini 3.3V 8Mhz microcontroller does not have much memory to store images and update the display.
2. Waveshare e-ink display font library did not have a font size large enough to be seen from a distance.
Since the Arduino Pro Mini has so little memory to store image data, the only good way to achieve a large number of unique images is to use an alphabet. The alphabet strategy uses common letter image data to construct each text/phrase image. In other words, a single large image is constructed using multiple smaller images.
The Arduino Pro Mini also does not have enough SRAM to build and load an image that is the full resolution of the e-ink display. Instead, it builds and loads eight segments to the e-ink display to build one full image frame.
The largest font size available with the Waveshare Arduino example is only 24 pixels tall. A larger font size was needed so this device could be placed far out of reach of the user (so it can't be tampered with) and still allow the user to read it. I ended up copying Waveshares font library template and building a custom 64 font size using images of CQ monospace font. It was easiest to use a monospaced font where all letters occupy the same horizontal spacing.
 Curt White
 mircemk
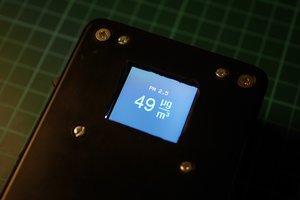
 Insight Machines Lab
 Matias N.