 Merijntje Tak
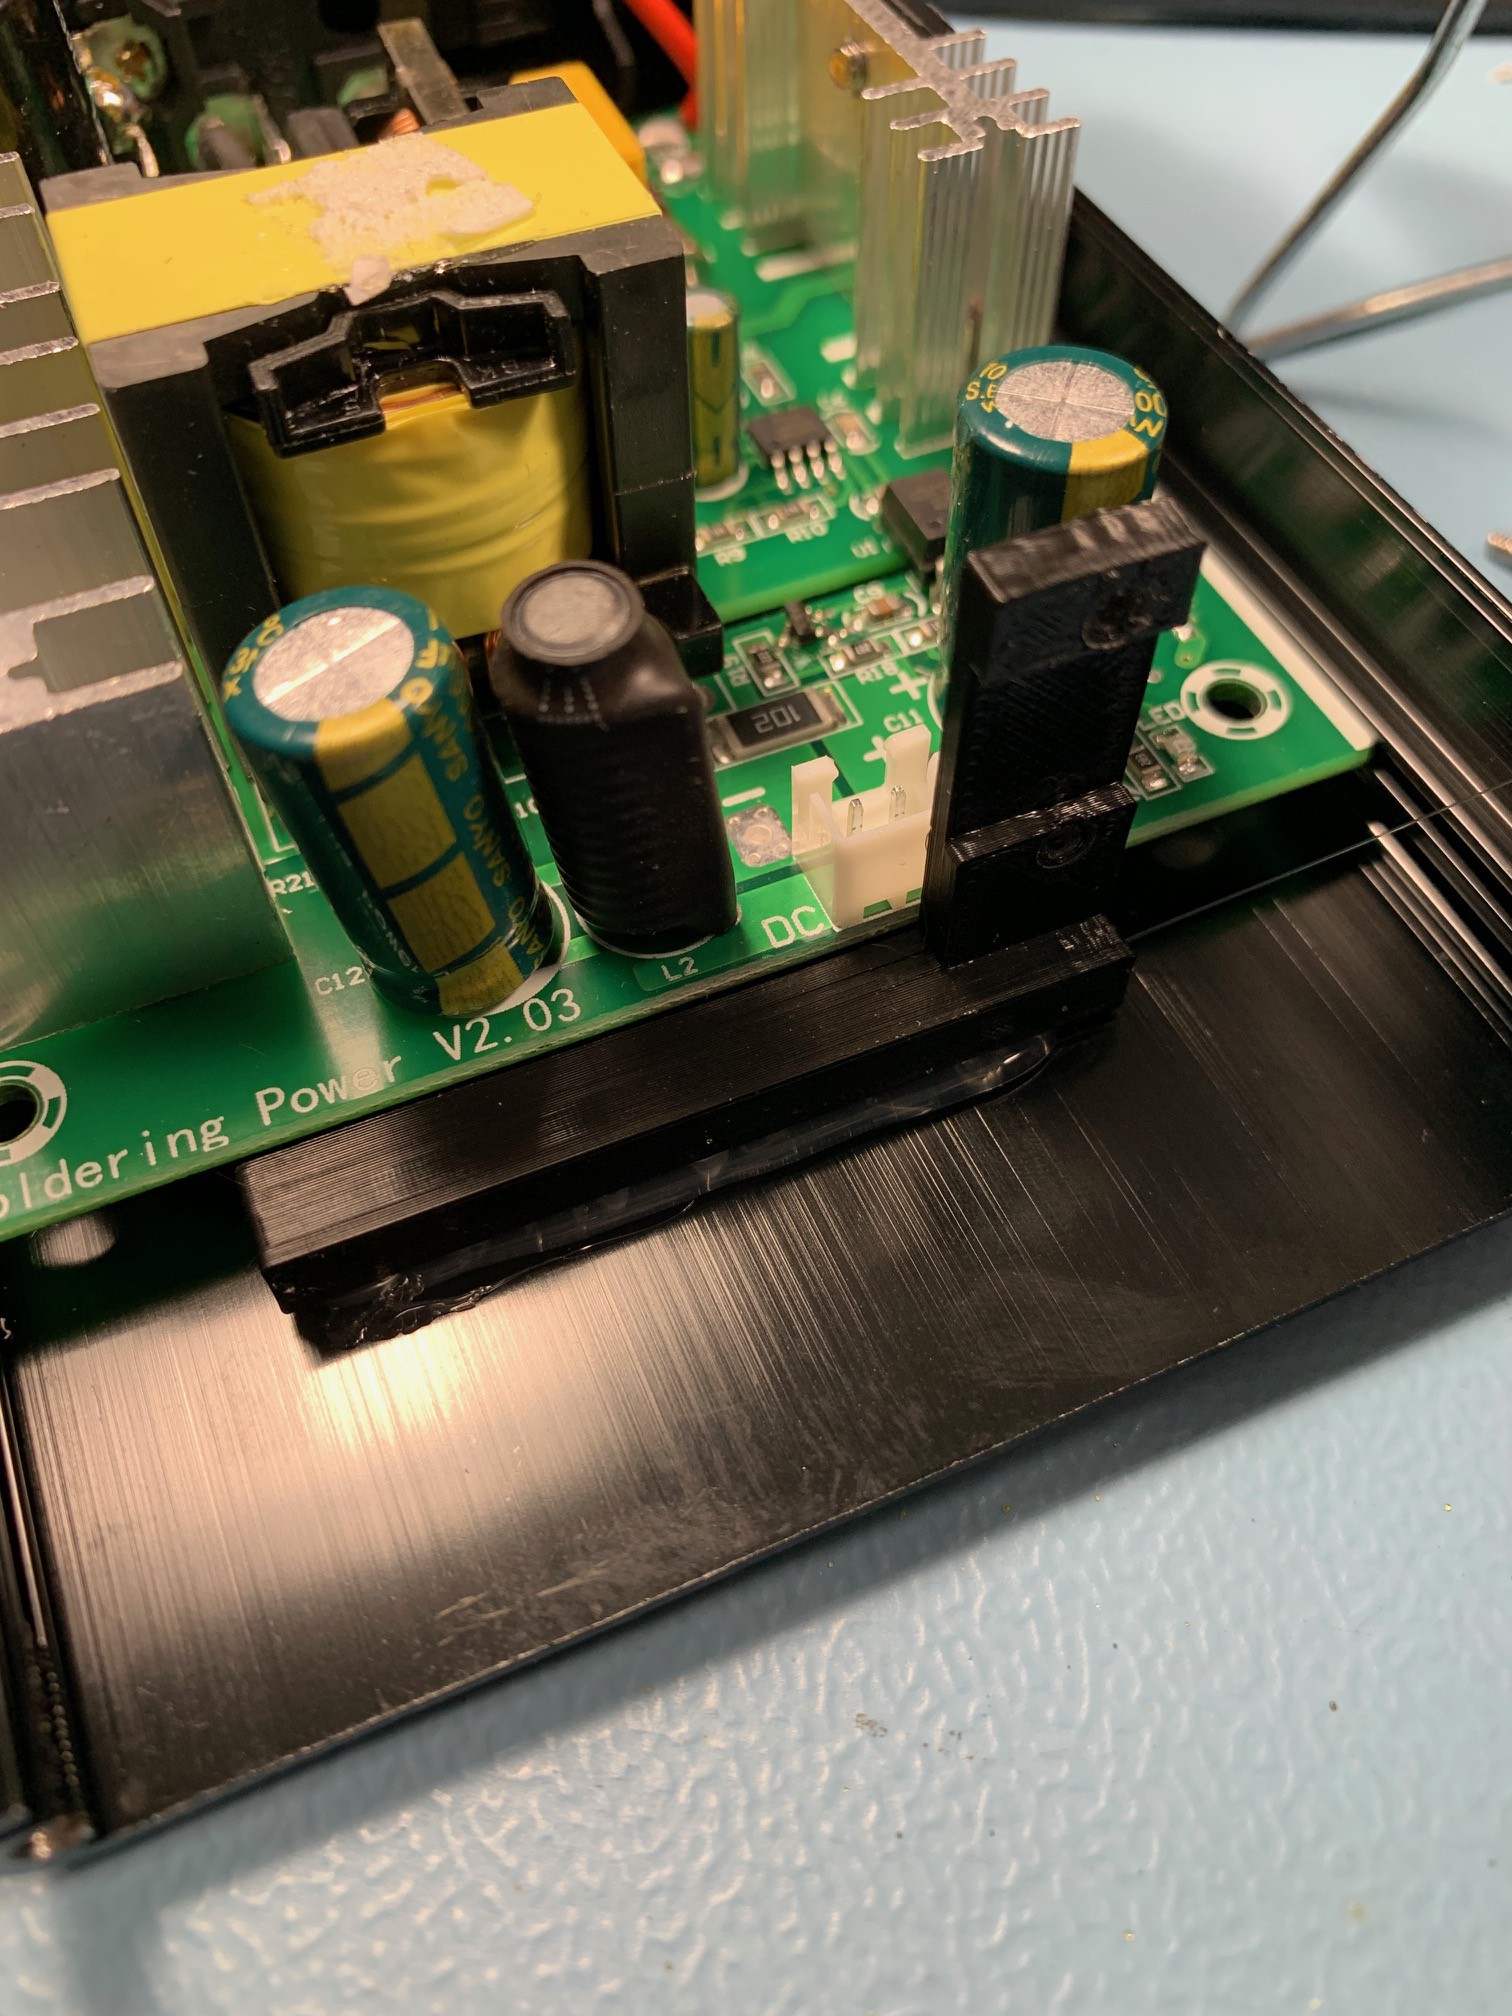
The project works by using a foot controller to trigger an Arduino Nano, built into the case of the soldering station. As I haven't found a way to easily provide input to the microcontroller, this project uses an Arduino Nano to fake rotations of the rotary encoder. As you might know, rotating the button clockwise several clicks activates the boost function on KSGER soldering stations. When clicked again, the Nano will send a fake 'counter-clockwise' signal to disable the boost function again.
0%
0%
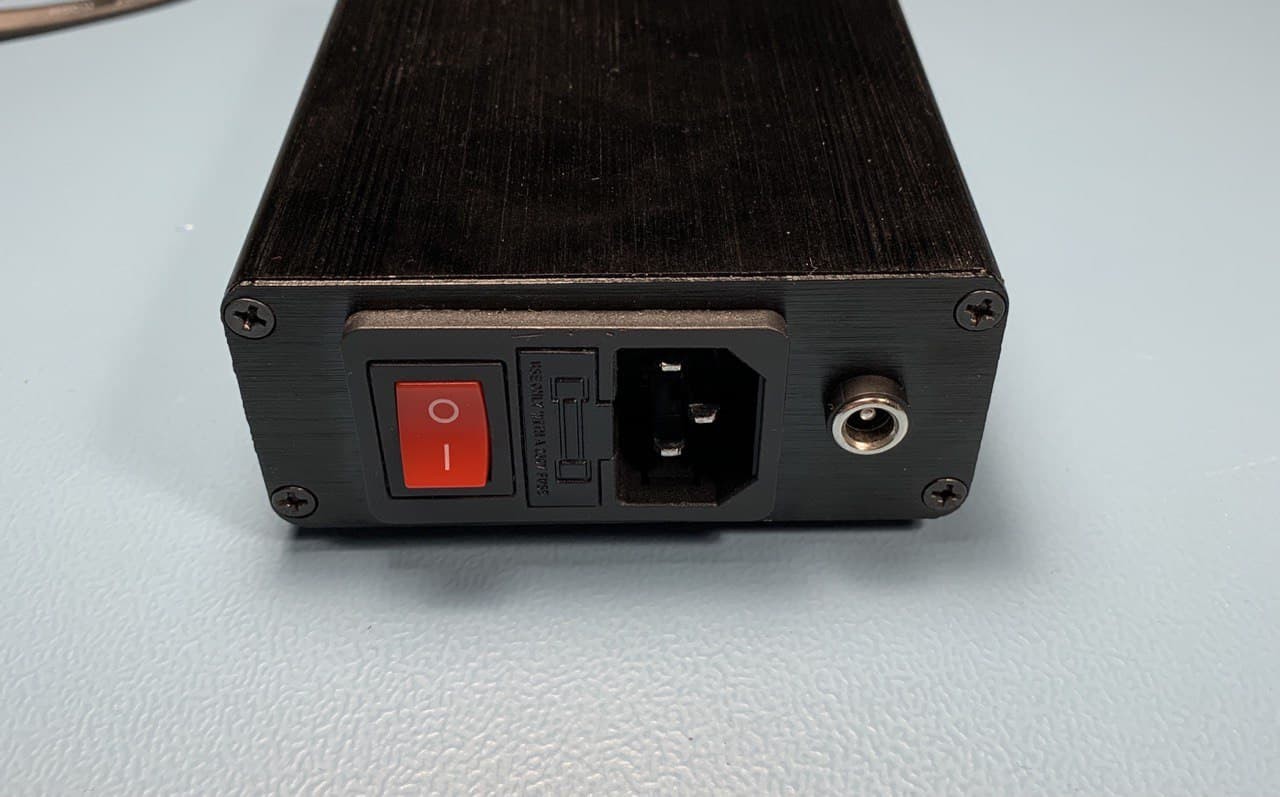
KSGER T12 Foot Pedal
A foot pedal mod for the popular KSGER T12 soldering stations to control the boost function for temporary power.
Become a Hackaday.io member
Already have an account? Log in.
Just one more thing
To make the experience fit your profile, pick a username and tell us what interests you.
Pick an awesome username
hackaday.io/
Your profile's URL: hackaday.io/username. Max 25 alphanumeric characters.
Pick a few interests
Projects that share your interests
People that share your interests
 mircemk
 Albin Joseph C.R
 ronald
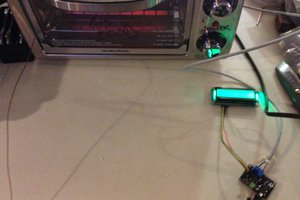
 Nick Sayer