Lyon
Lyon
Preperations
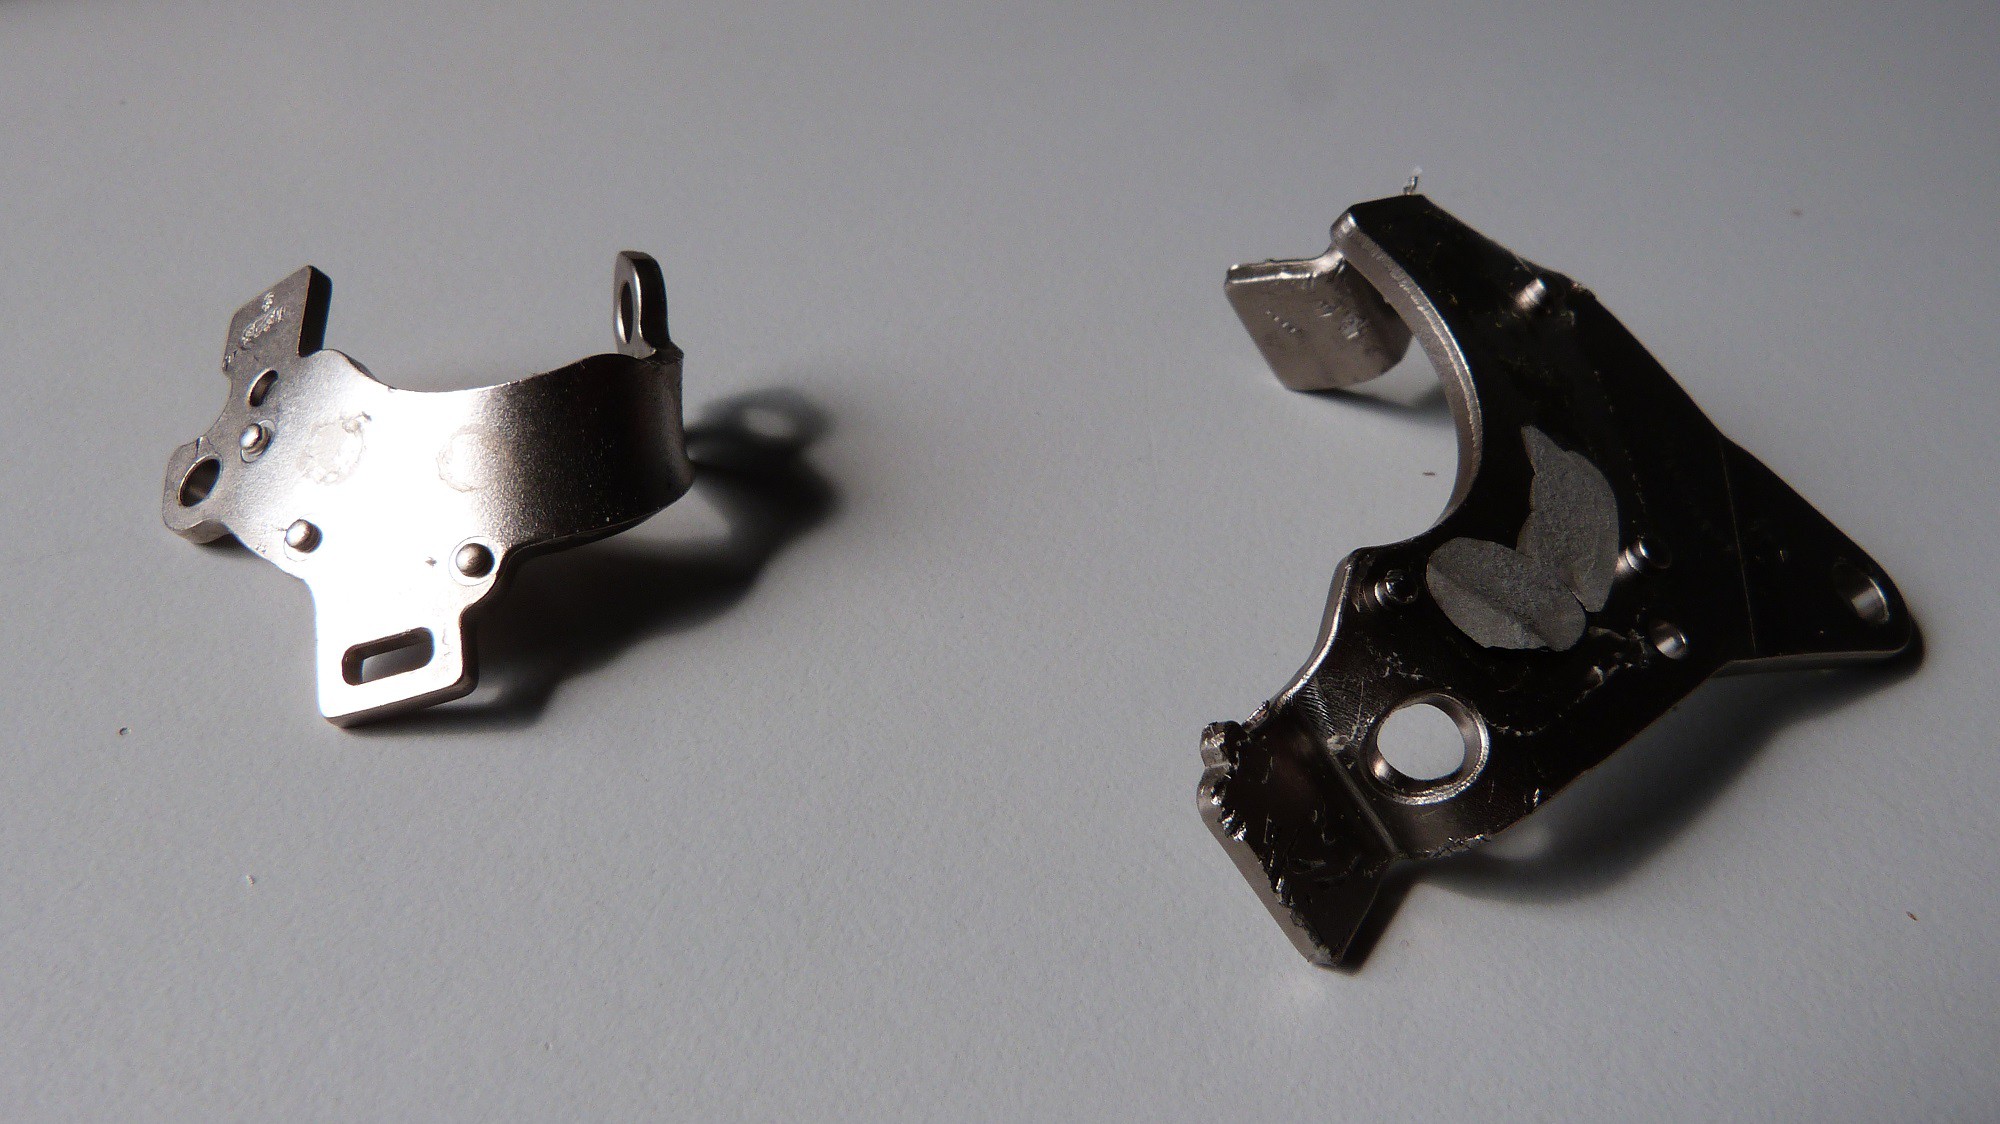
At first you will need an old 3.5” hard disc drive (HDD) with as many gigabytes as you can find. Old HDDs with high capacity for their time will have huge magnets from my experience. These HDDs often have multiple discs. Open the case with a Torx 8 screwdriver. Under the large sticker on the cover you will find additional screws that you have to remove. After opening the coverage you see two thick iron plates at the end of the read head. These two plates hold your magnets. In most cases you can remove the first magnet-plate with a lever. The force between the two magnets can be quite strong. For the second magnet-plate you have to remove the read head with a screwdriver. Sometimes this plate is also fixed by some screws on the other side of the HDD.
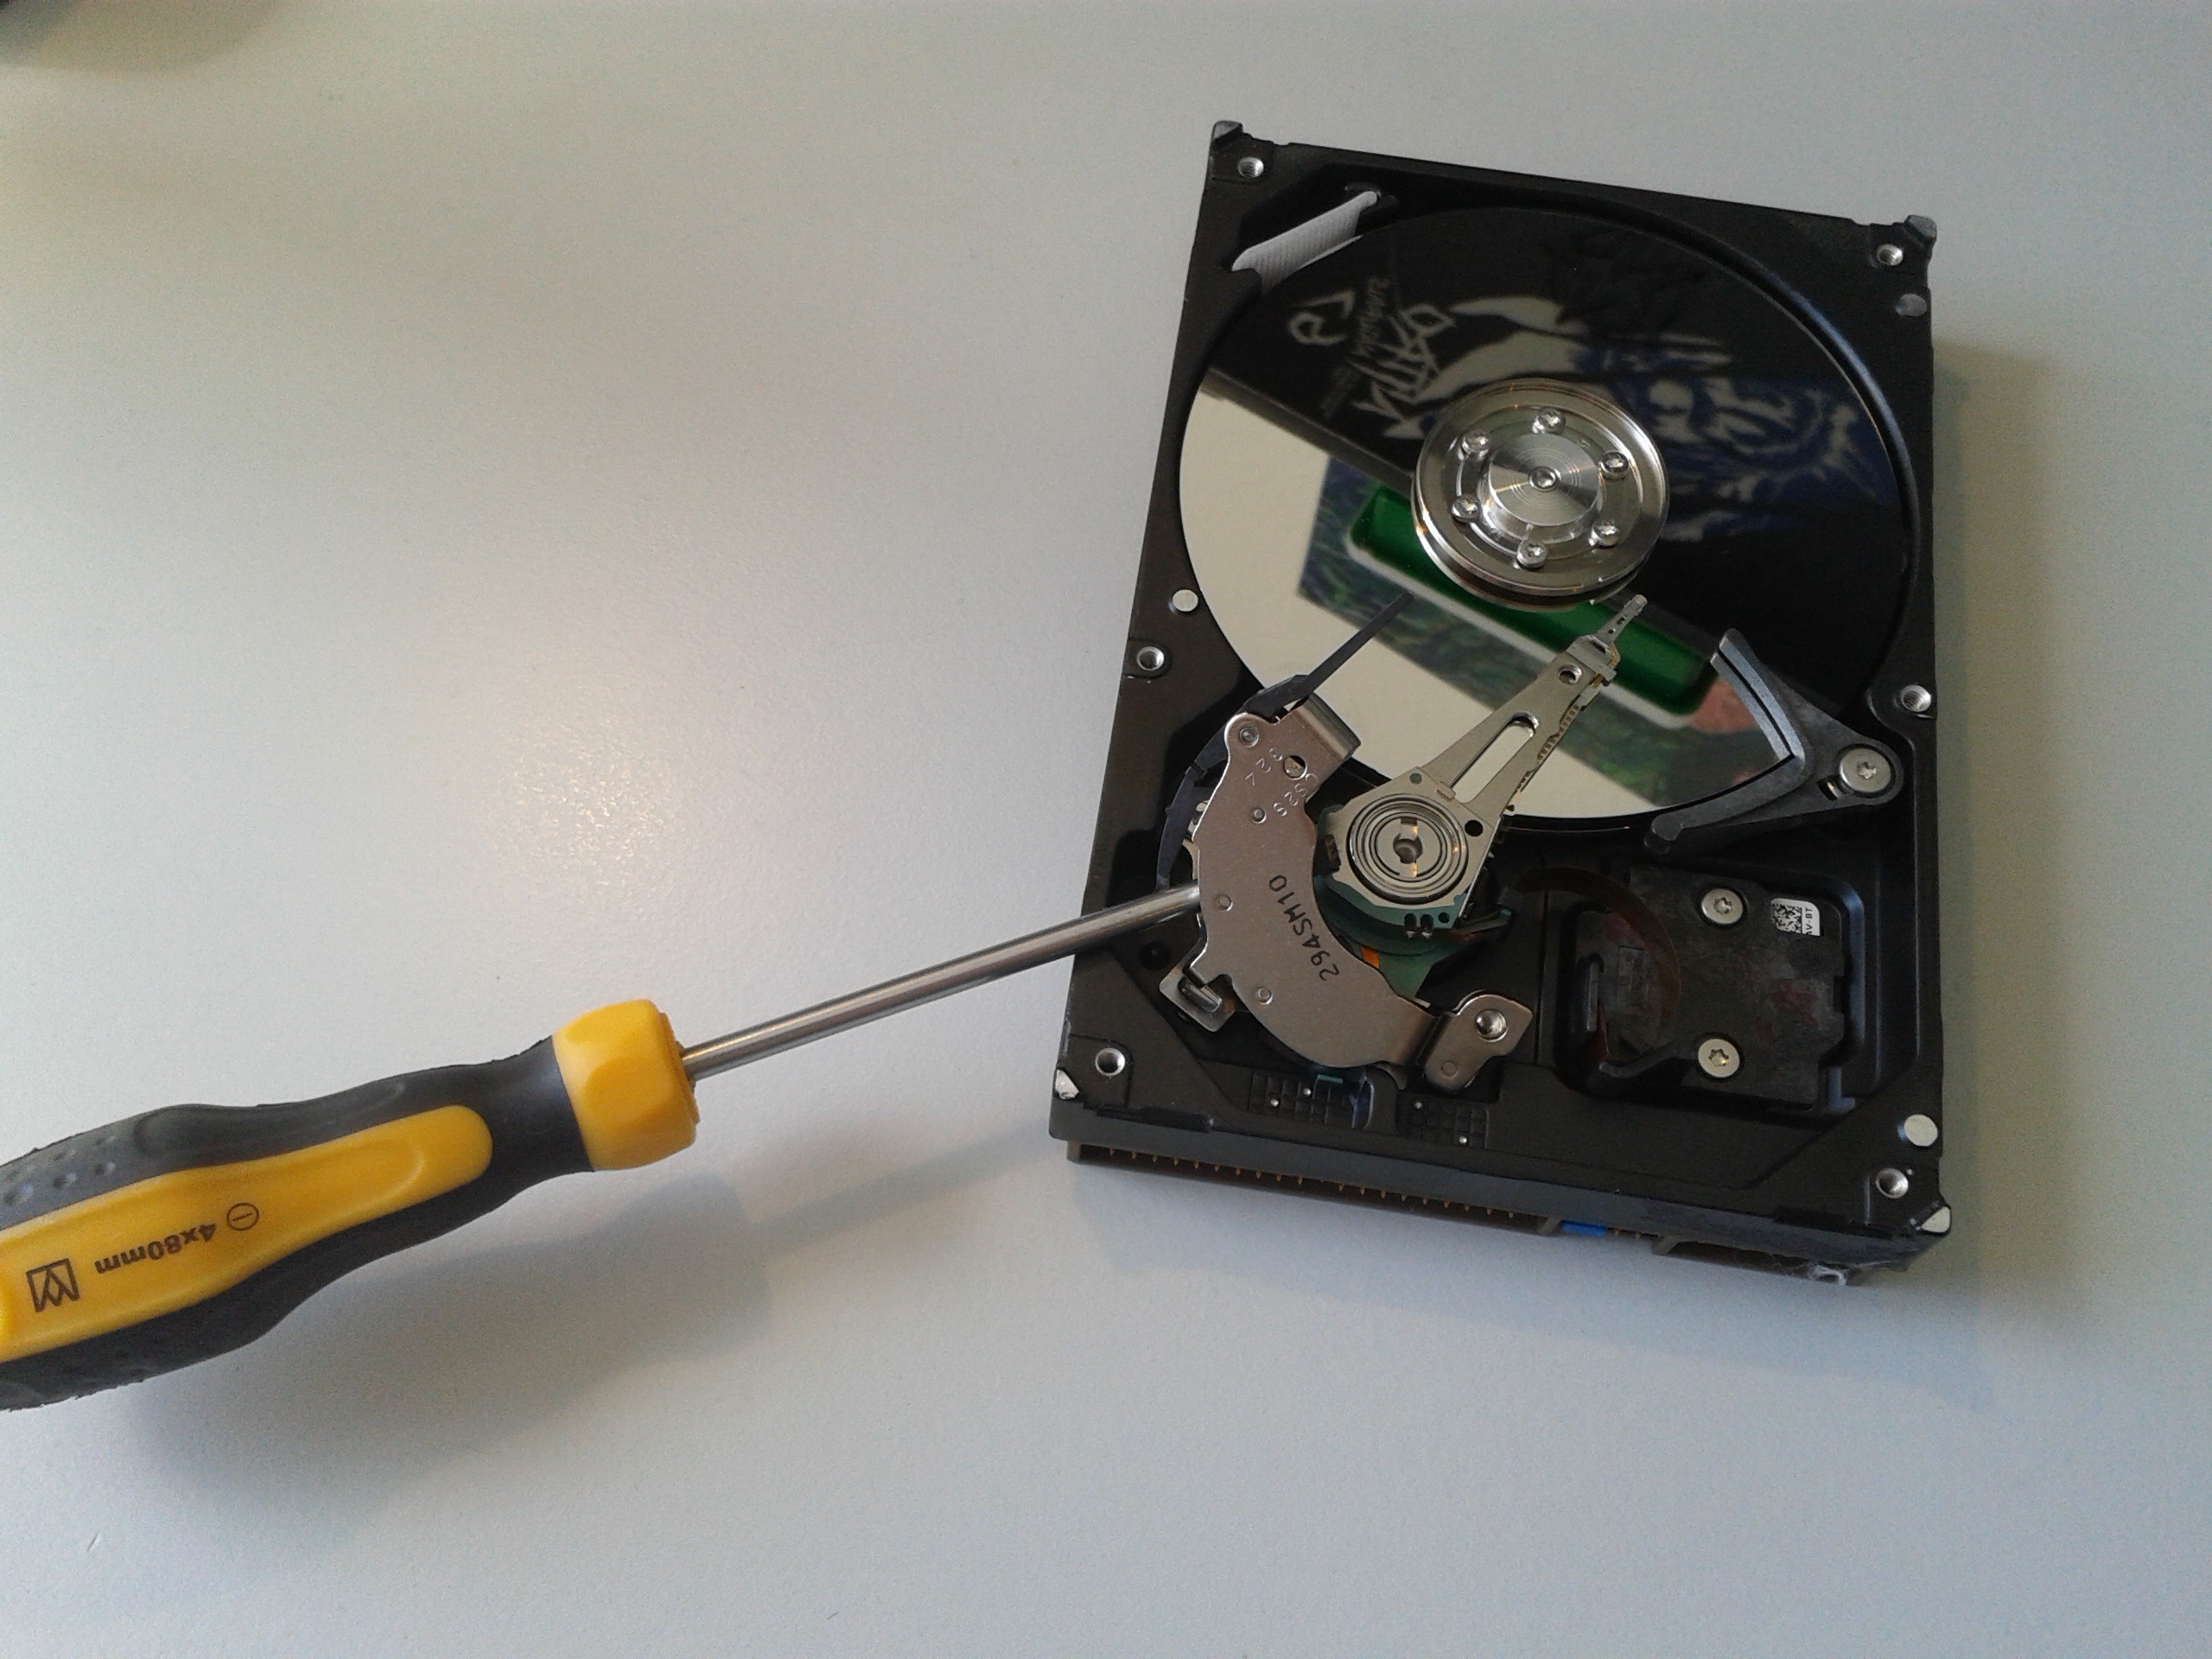
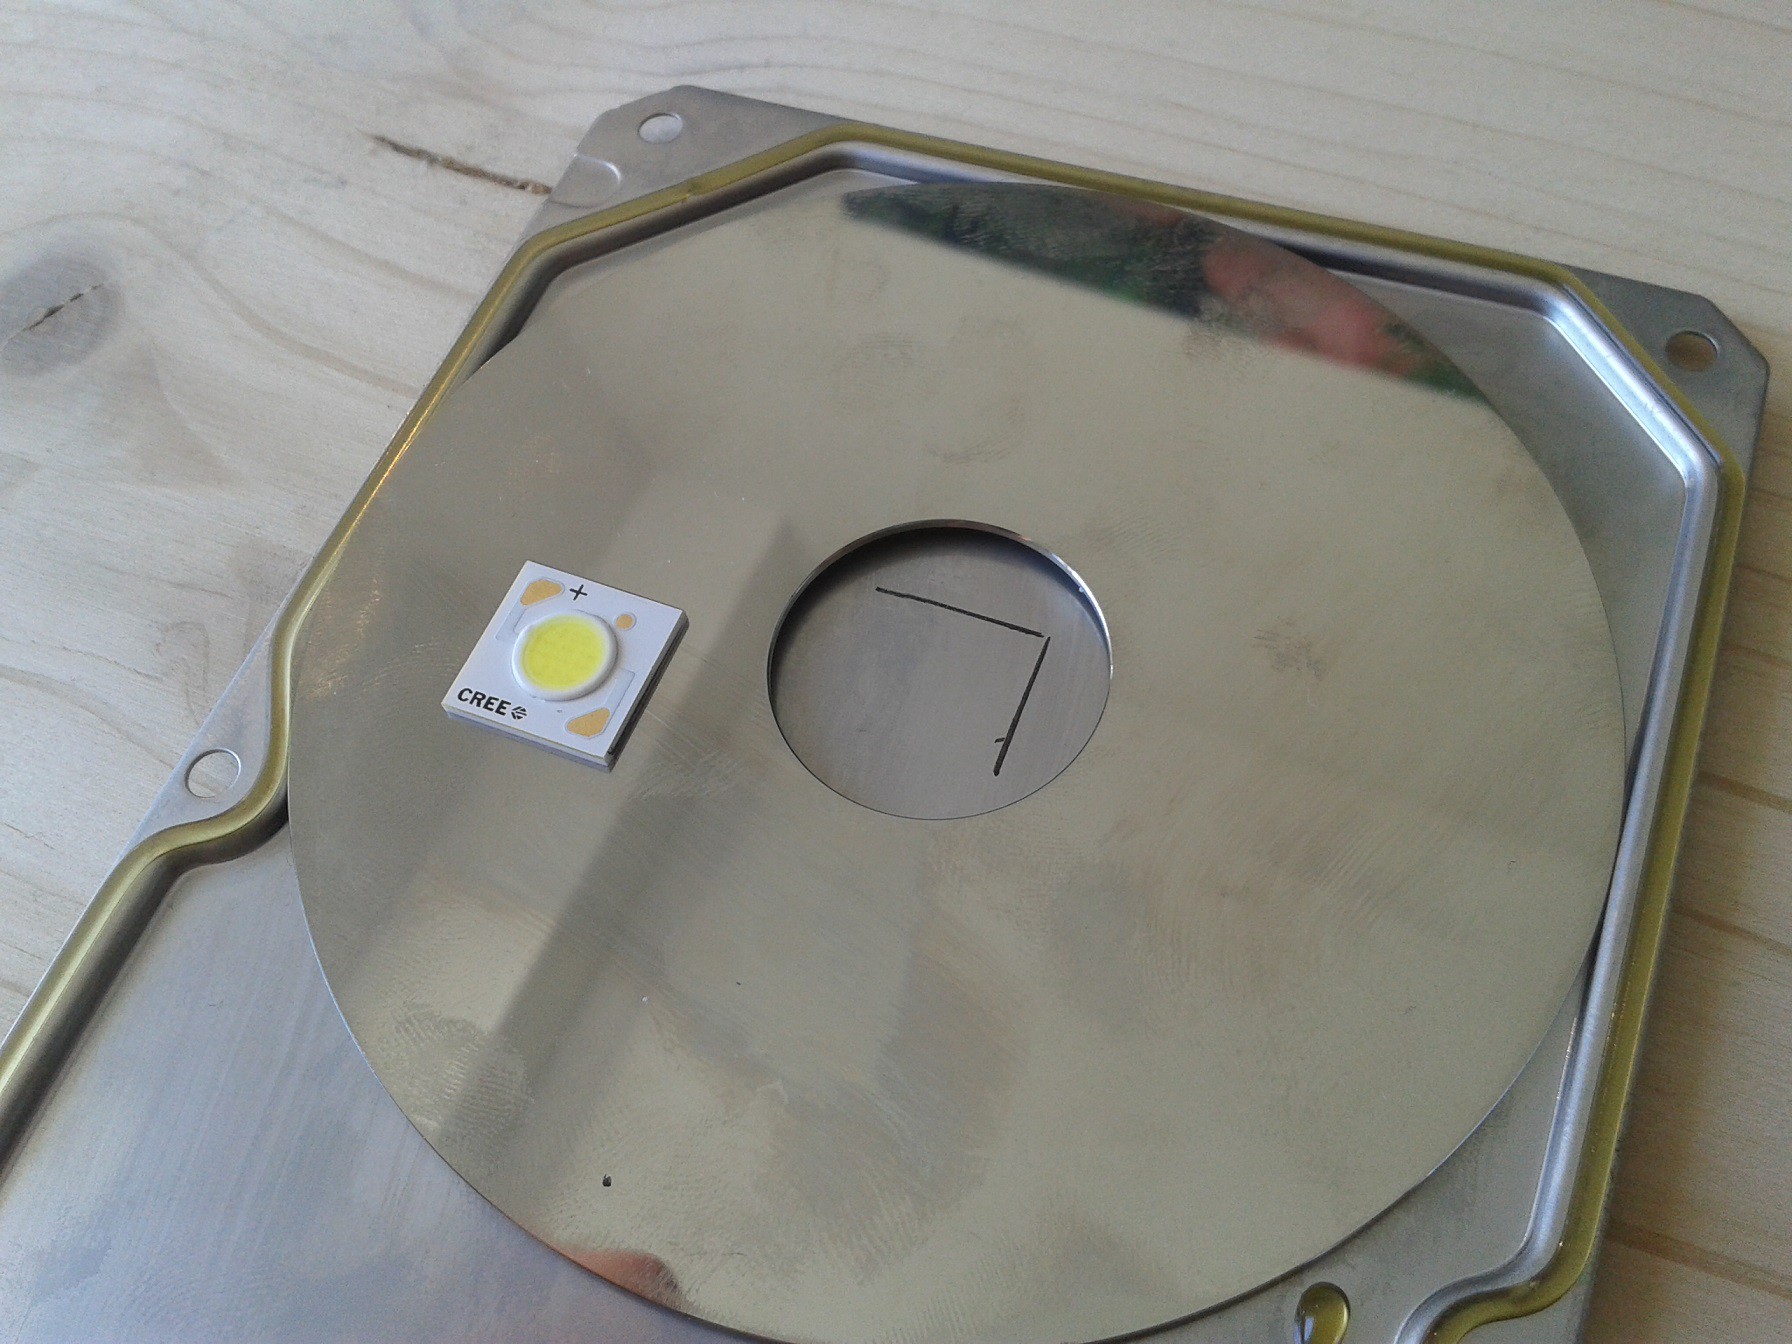
The Beamboarder is based on these two plates. Handle them with caution. When they snap together uncontrolled your finger or the magnets can get damaged. The LED must fit on the iron plate without overlapping. Look at the LED datasheet for the dimensions. A large plate will decrease the temperature of your LED what causes a higher efficiency and longer lifetime. With a small plate the LED is getting to hot and the lifetime will decrease. If you cannot touch the metal anymore do not use it in this way. Try to find HDDs with large plates and stronger magnets.
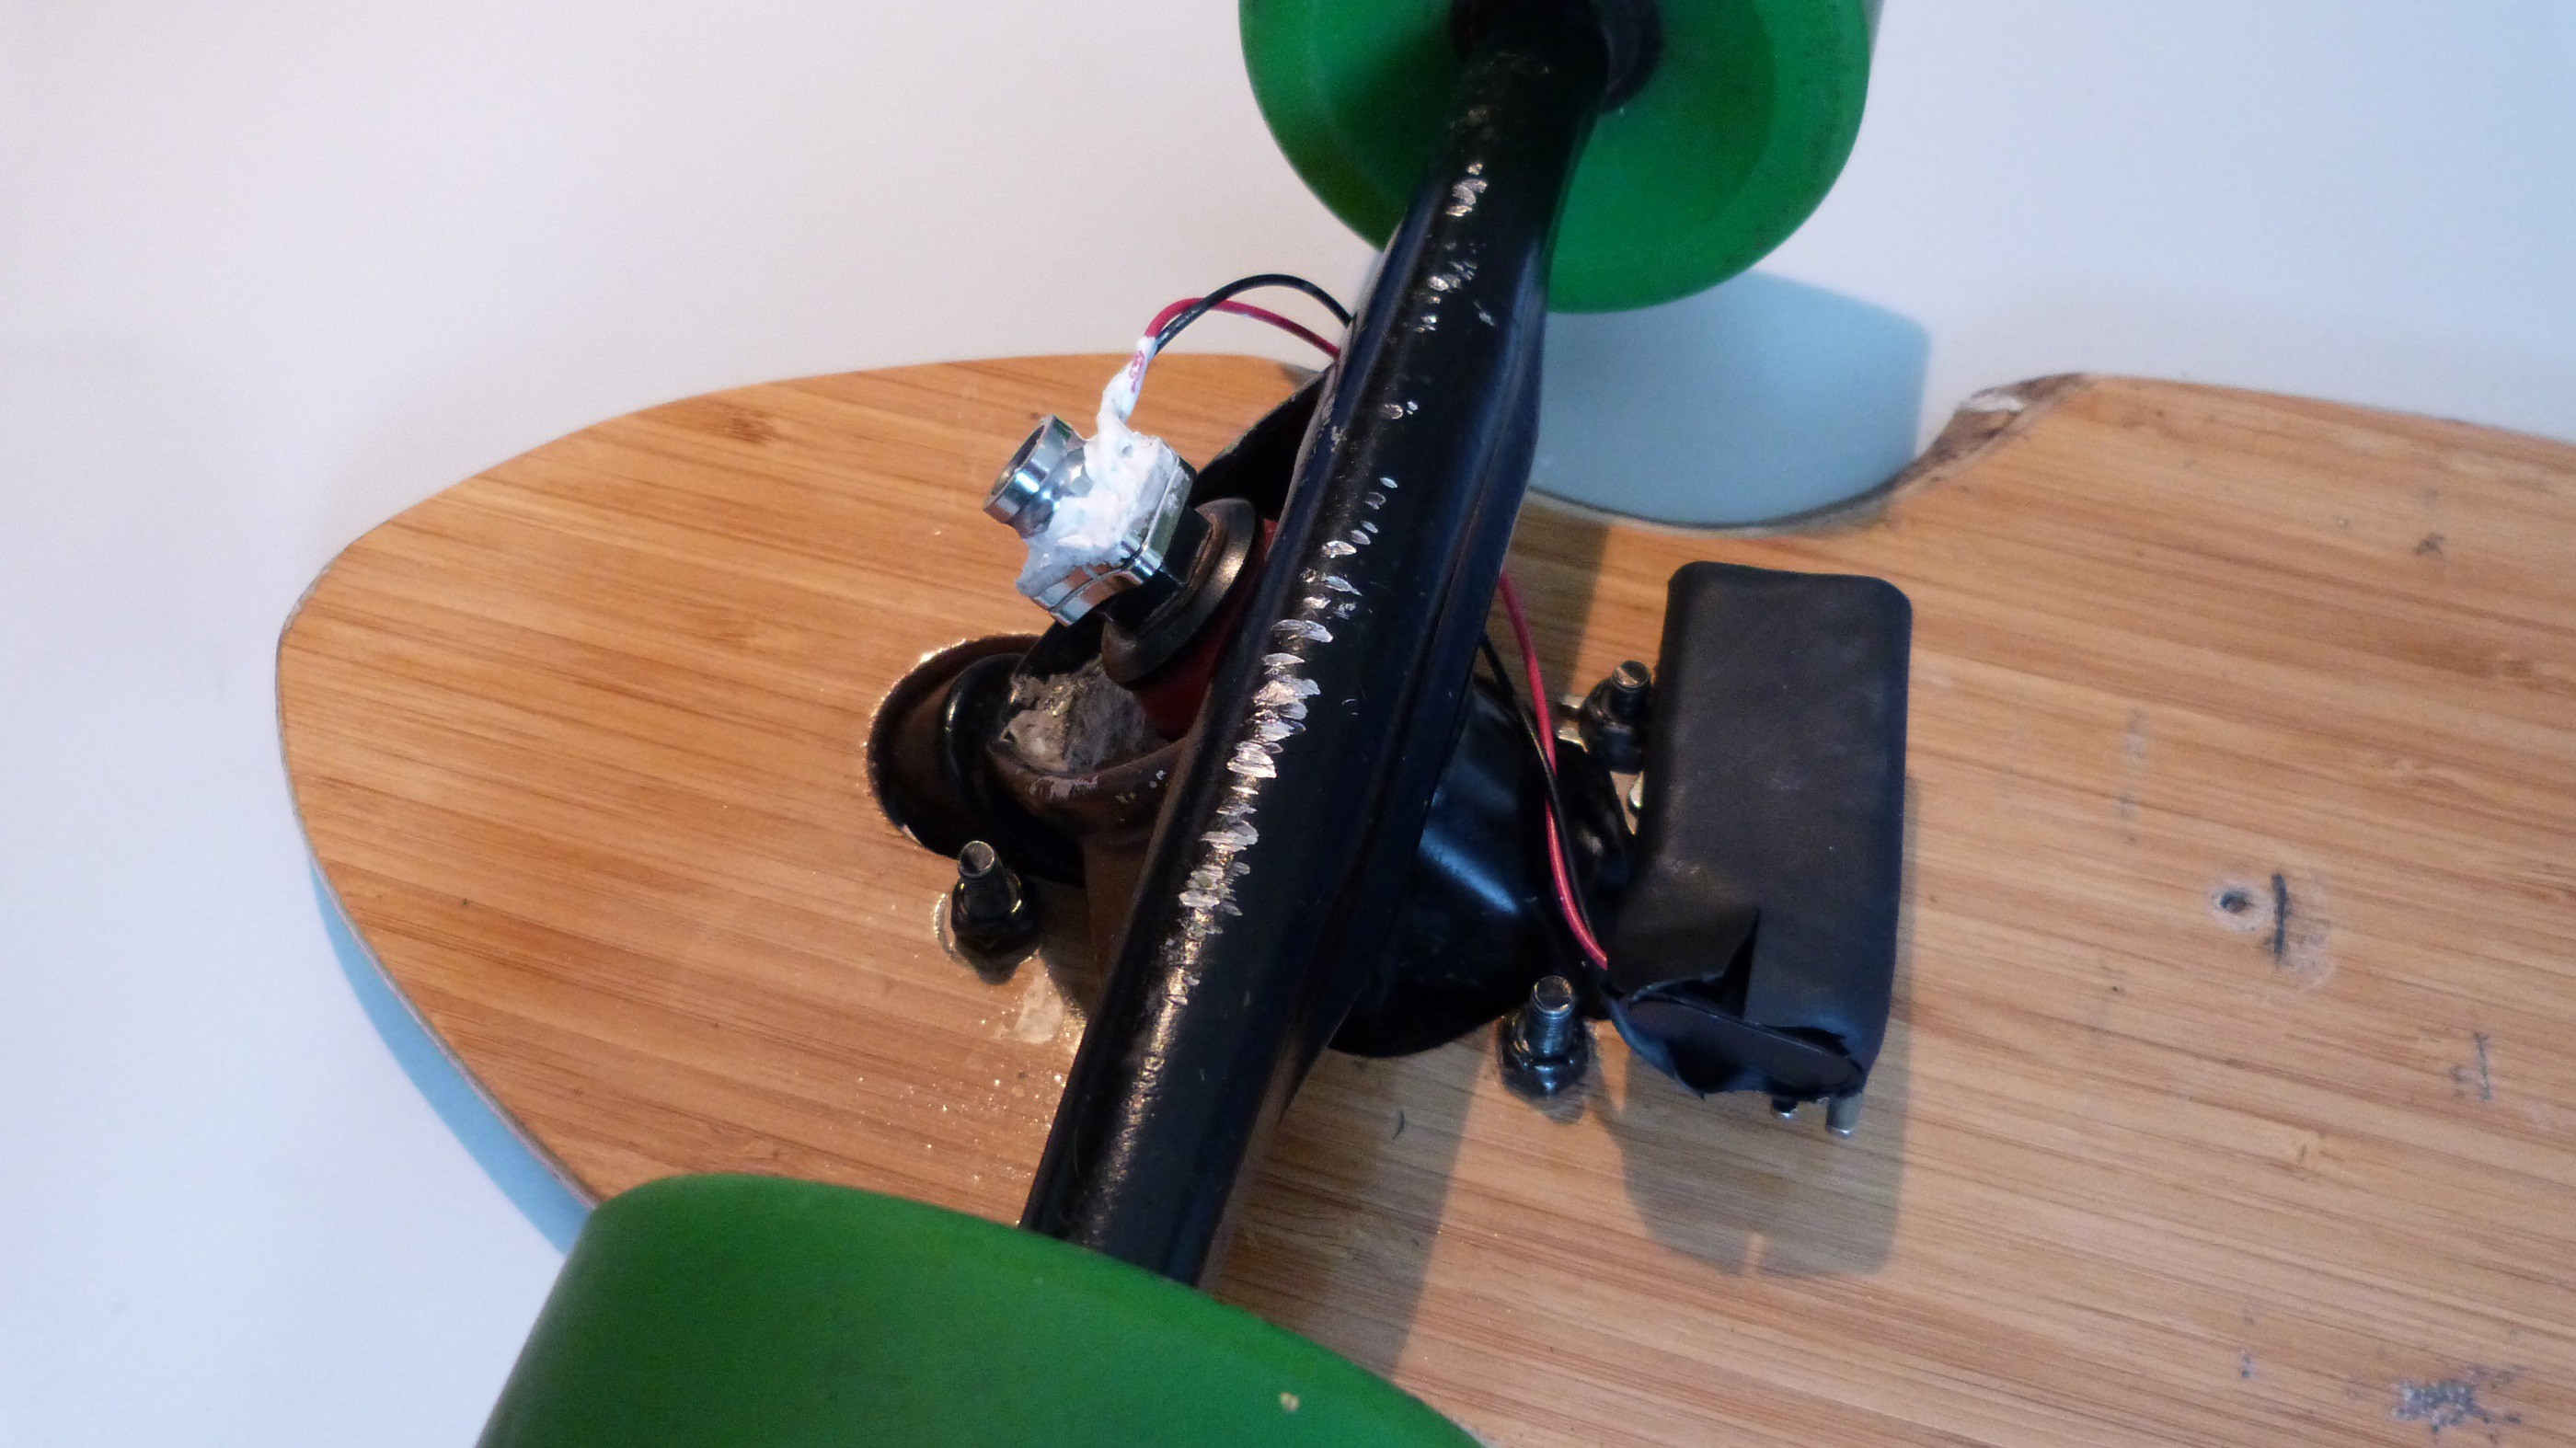
Now look for a place at the trucks where the magnet will hold. The kingpin is the only ferromagnetic part of most trucks. If your magnetic force is not strong enough you will need another HDD with bigger/stronger magnets or other trucks. Paris trucks have the ideal design and will safely hold your lamp. For downhill and freestyle skating I recommend to stick the LED directly to the truck without the magnet. But keep in mind that you will need a chisel for removing the led when you stick it directly to your trucks.
So check your skate equipment with the magnets before you order the rest of the material. Some trucks are not capable to hold the Beamboarder safely. You should also think about possible beam angles at this point and if you are gone blind other people on the road.
Beamboarder Construction
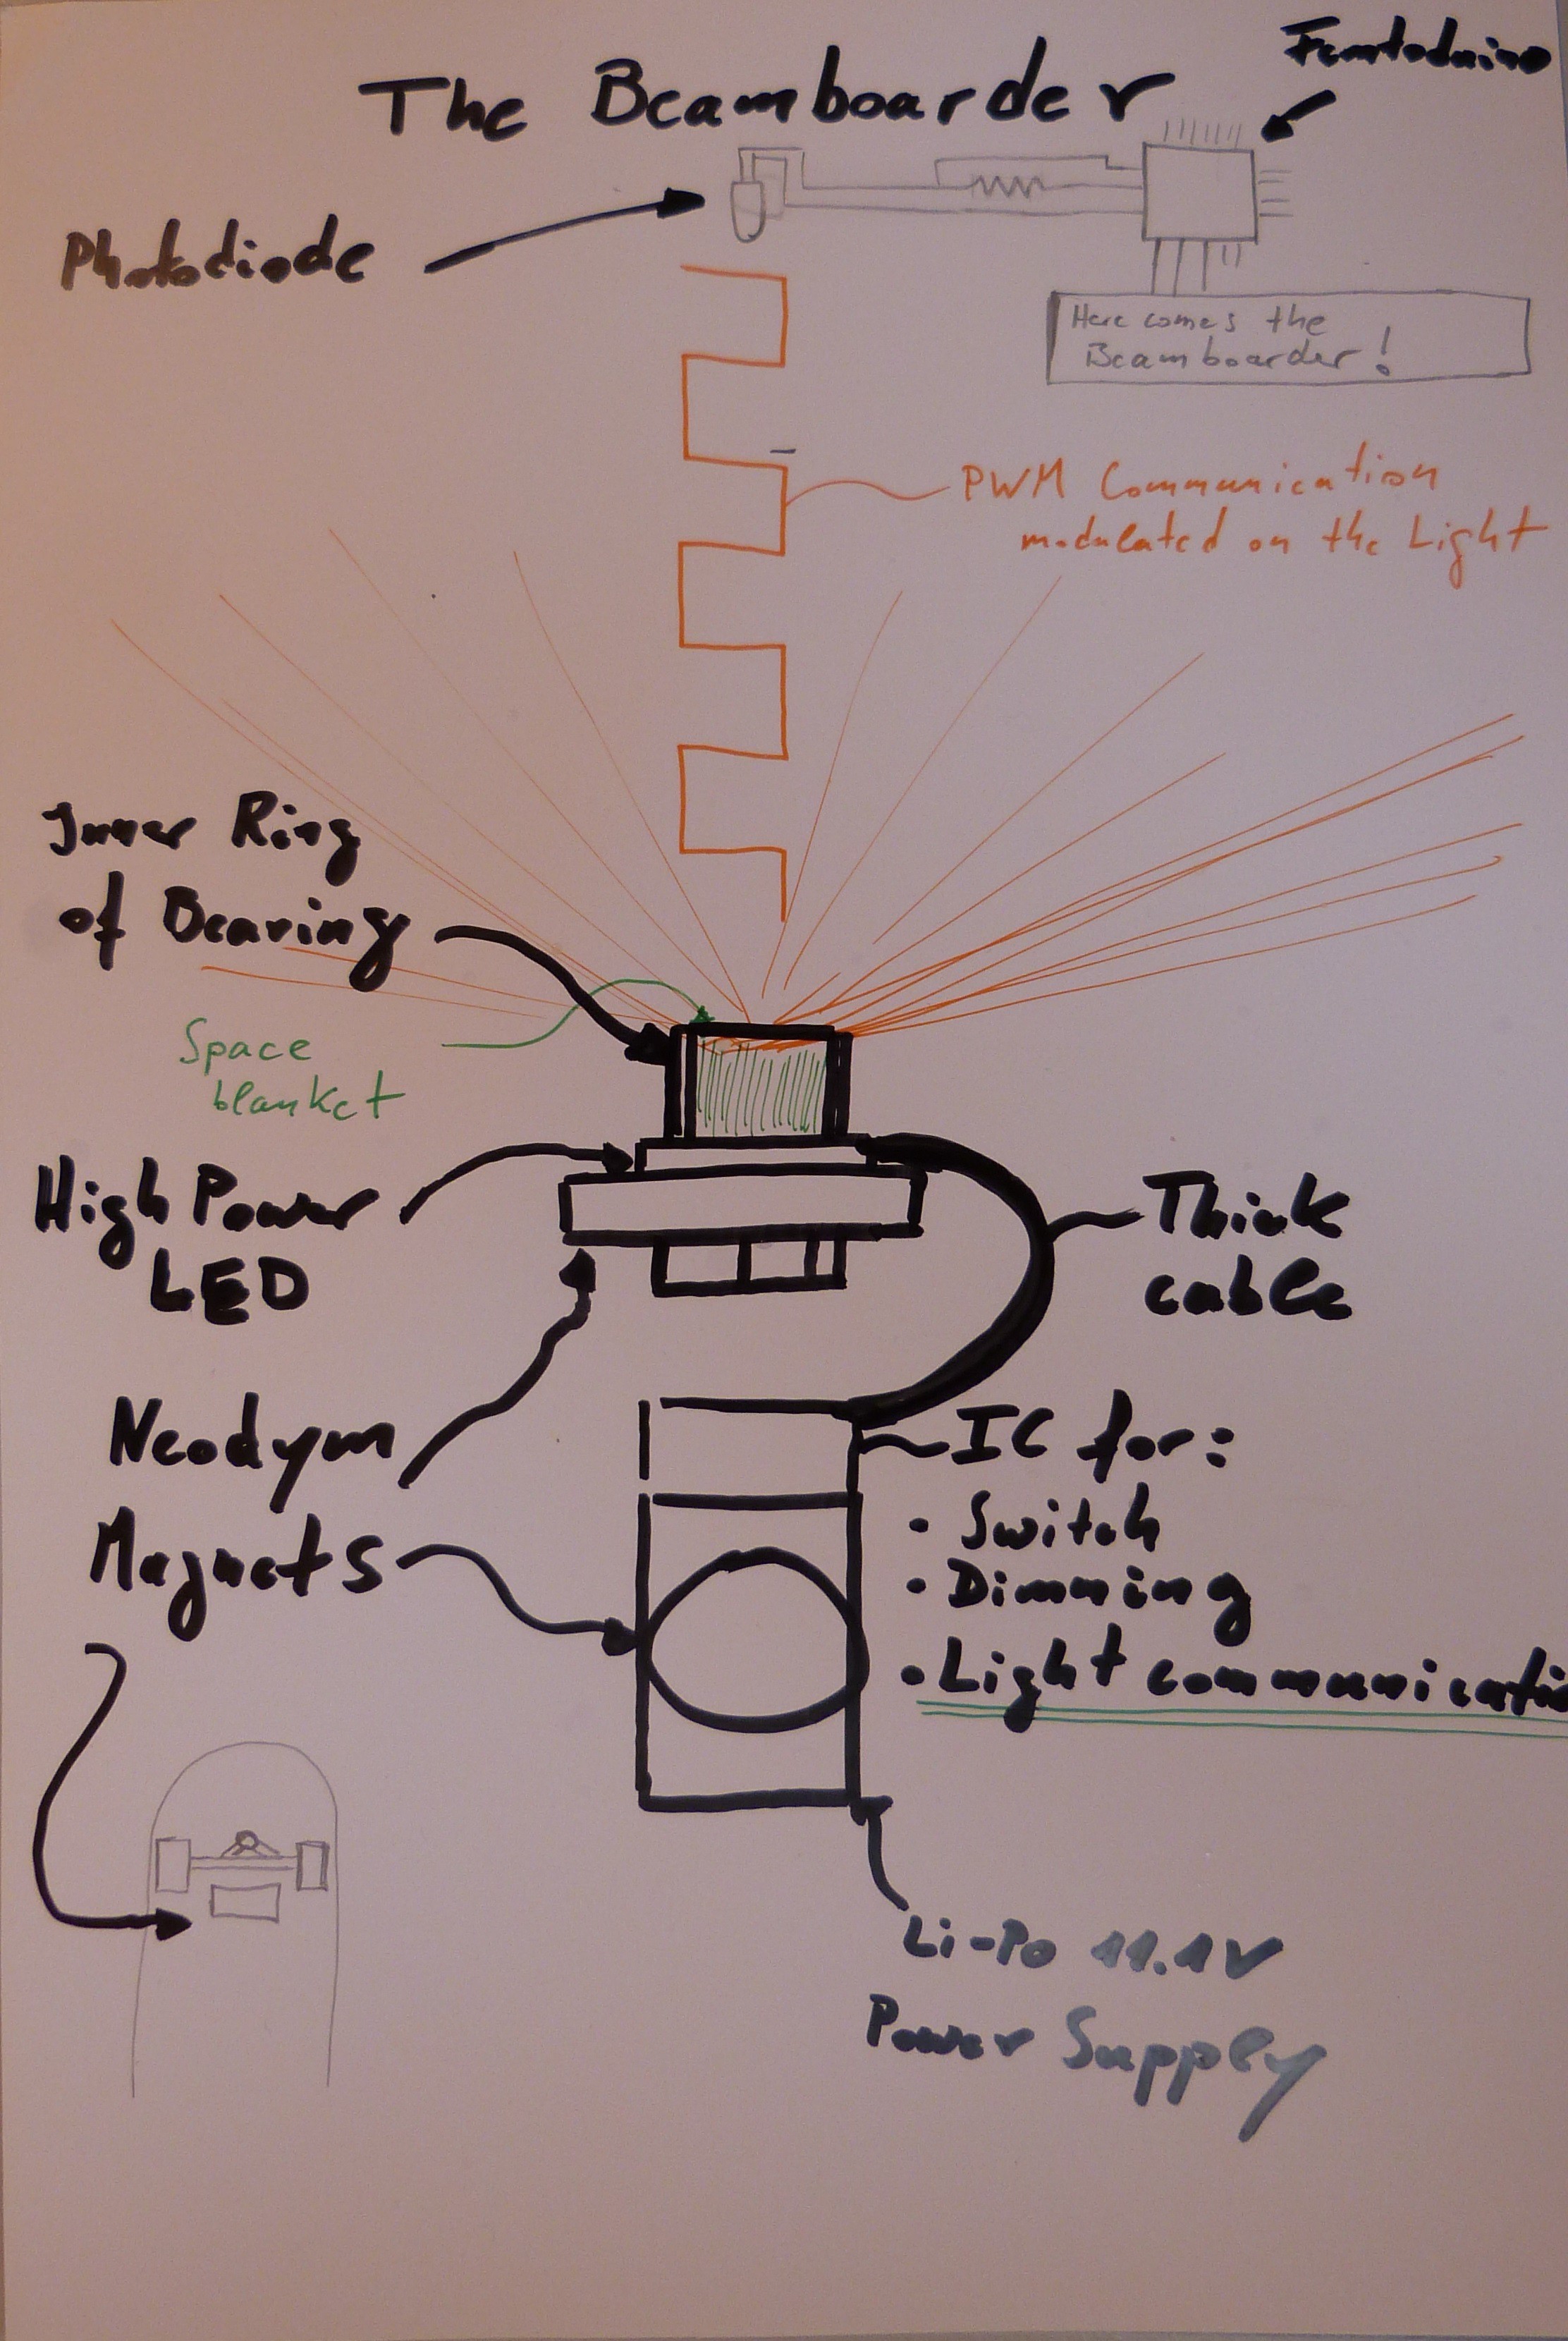
The components I have listed are a result of many experiments. First I tried to use 9V Li-ion battery in the 9V Block size with 680 mAh. Soon I had to learn that these batteries actually have only 8.4 V fully charged. This voltage is much too low for the Cree XLamp CXA1304. The LED will only glow a little bit. Use the 9.6V Ni-Mh 270 mAh batteries and the LED will glare like a star. A fully charged battery will have a voltage up to 10V. This will cause a very bright light of about 600 Lumen. The brightness of your LED will follow the discharge voltage of your battery. The following figure shows the voltage process over the charge that’s remains in one cell:
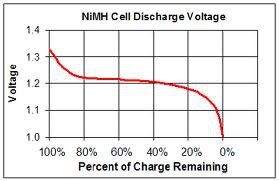
You can use a resistor to dim the light, but be aware that this will decrease the efficiency and increase the complexity of your setup. Other batteries like an 11.1V Li-Po will destroy this version of LED arrays.
For maximizing the lumen per watt use the LED version with the highest ANSI White value you can get. The cold white LEDs will be much brighter at the same energy consumption. The LED works also as a safety circuit for the battery. Under a voltage of about 7V the LED turns out and preserves depth discharge. The reason for that is the threshold voltage of multiple LEDs in series inside the Cree CXA1304.
Crafting this LED lamp can be a mess but also a lot of fun. Try to stay clear with the components and remove all dirt with some tissue from the metal surface you want to put on the LED. Have your tissues ready. Combine a small amount of Arctic Alumina Thermal Adhesive 1 to 1 in the middle of the plate and mix is up with a small stick. Place the LED on the Adhesive and press it gently on the plate. A little amount of adhesive should come out on every side of the ceramic body. The drying will last several hours. Do not turn the LED on before the adhesive got solid.


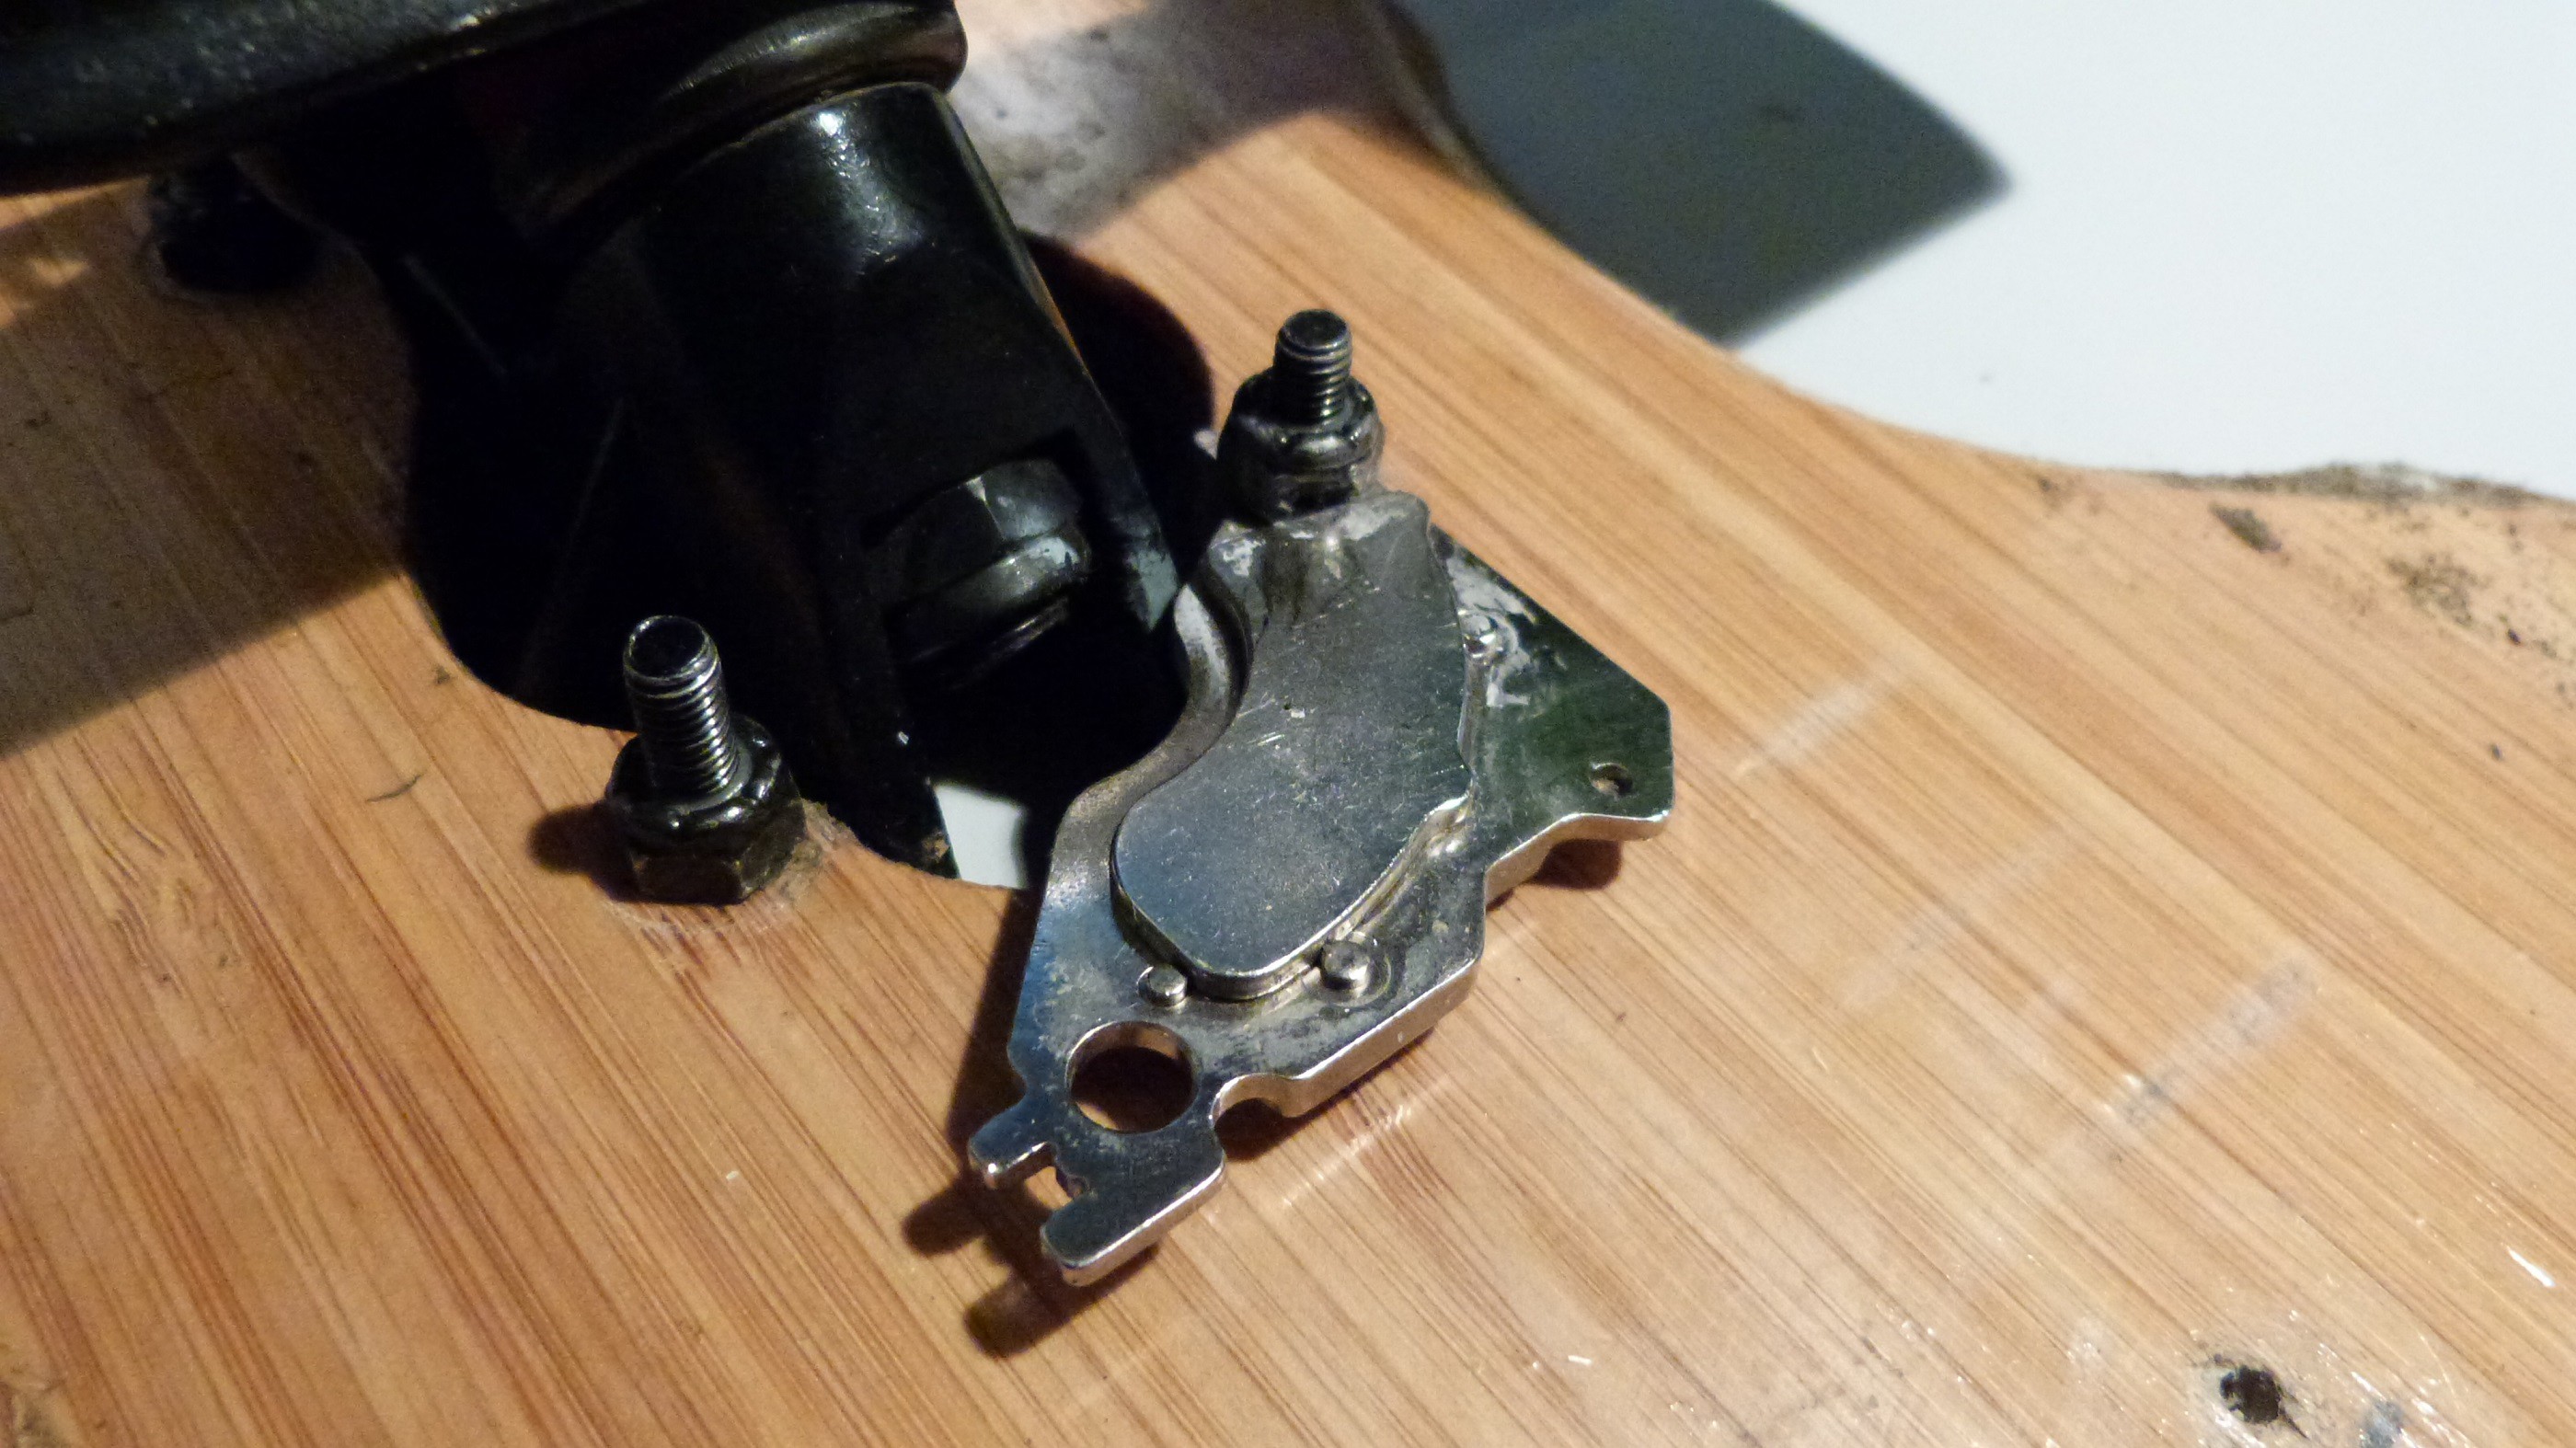
Meanwhile you can prepare the battery holder. Check the diameter of the screws at your longboard. Sometimes they already fit to your flat plate. If this is not the case you have to increase the diameter with a metal drill.
Mount the flat plat between the nut and your truck. An additional hole allows you to fix the plat to a second point if you want to. The magnets should also be as large as possible. Unfortunately the pure magnetic force between the battery and the magnet will not be strong enough for skating around. That’s why you have to put an additional iron plate or magnet on the battery. Bend the plate gently in a bench vice for removing the pure magnet.
A thick heat shrink tube can hold everything together, protect the battery and avoid short circuits with plus and minus. Put some strong tape around the magnet so the sharp edges will not cut into the heat shrink. The tube can be shrinked with a lighter but try to spare the battery. The tube must suit at all side to keep the water out. Cut a slot in the overlapping part of the tube for the cable and one for water that can drip out at the open side.
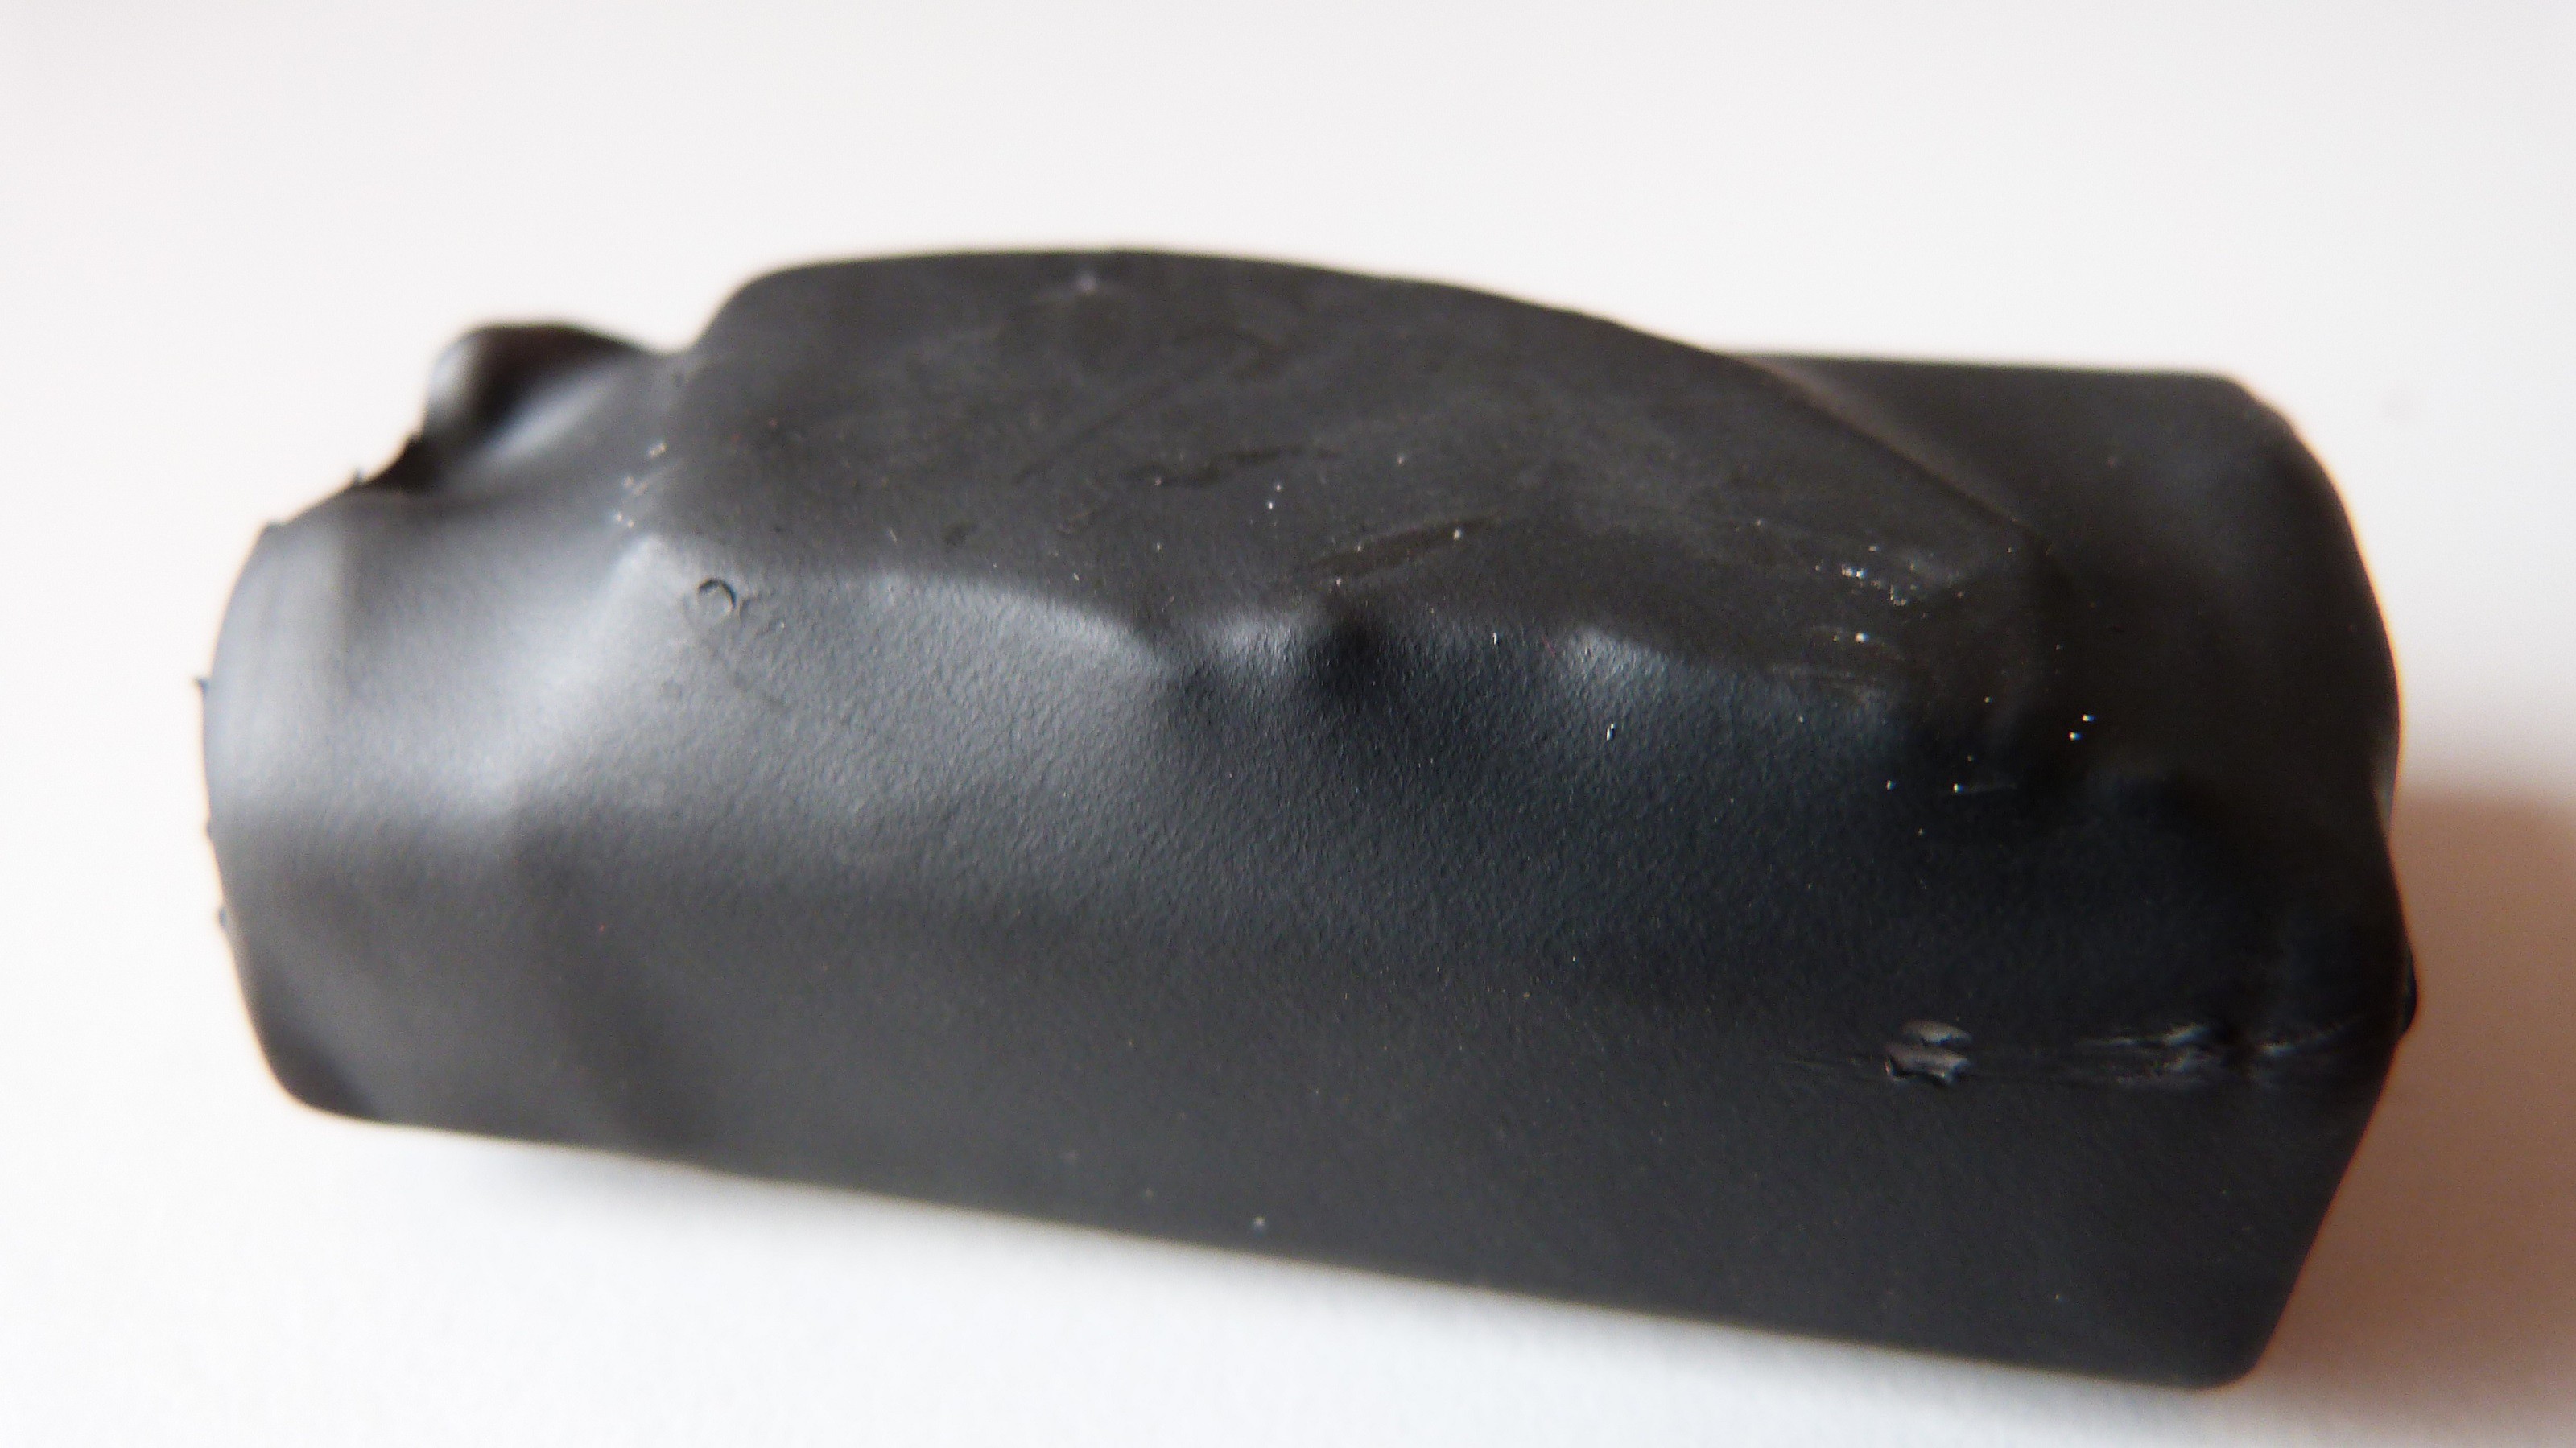
You should only be capable to remove the battery by pushing it hard to the sides when it sticks to your board. For maximum skate actions use an extra binder to hold this package properly on the magnet at your board.
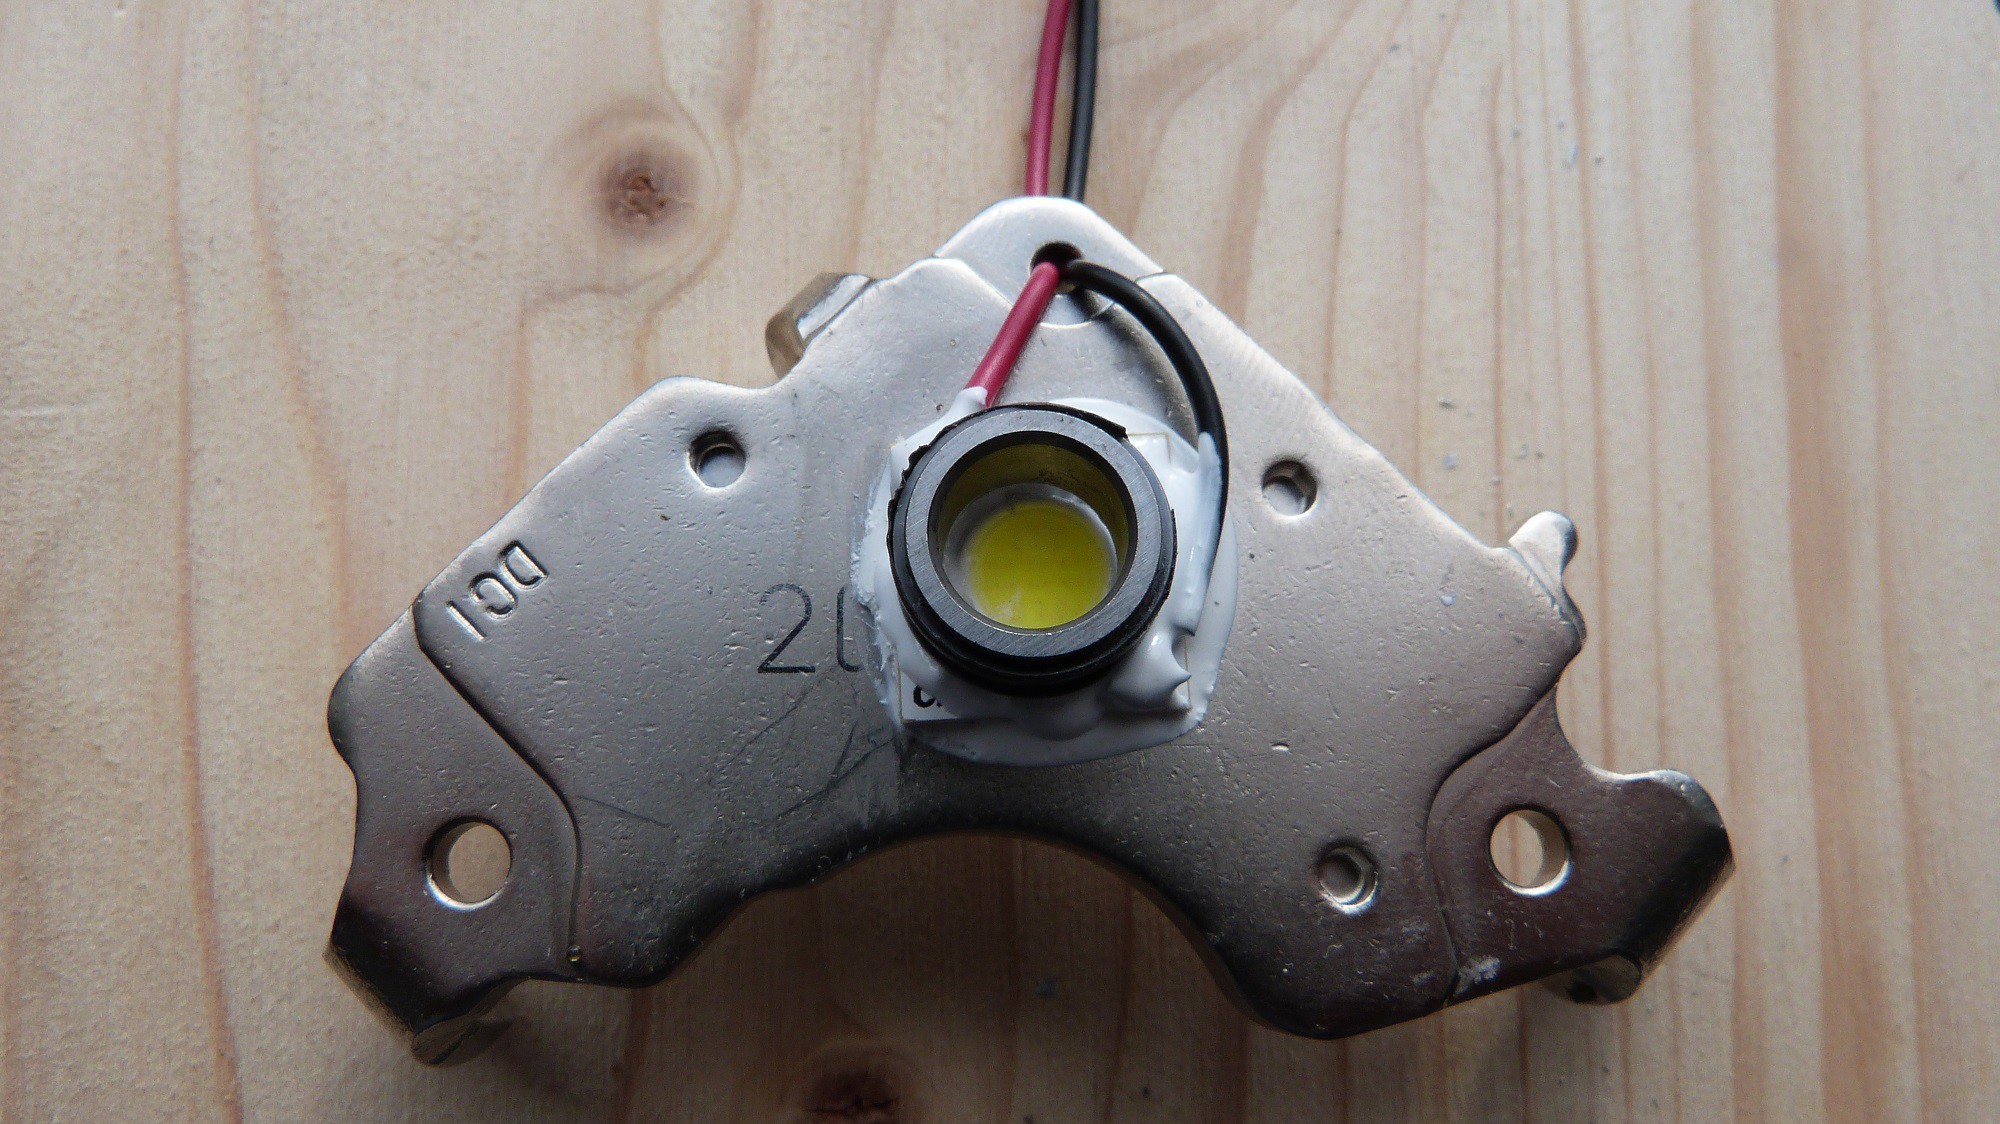
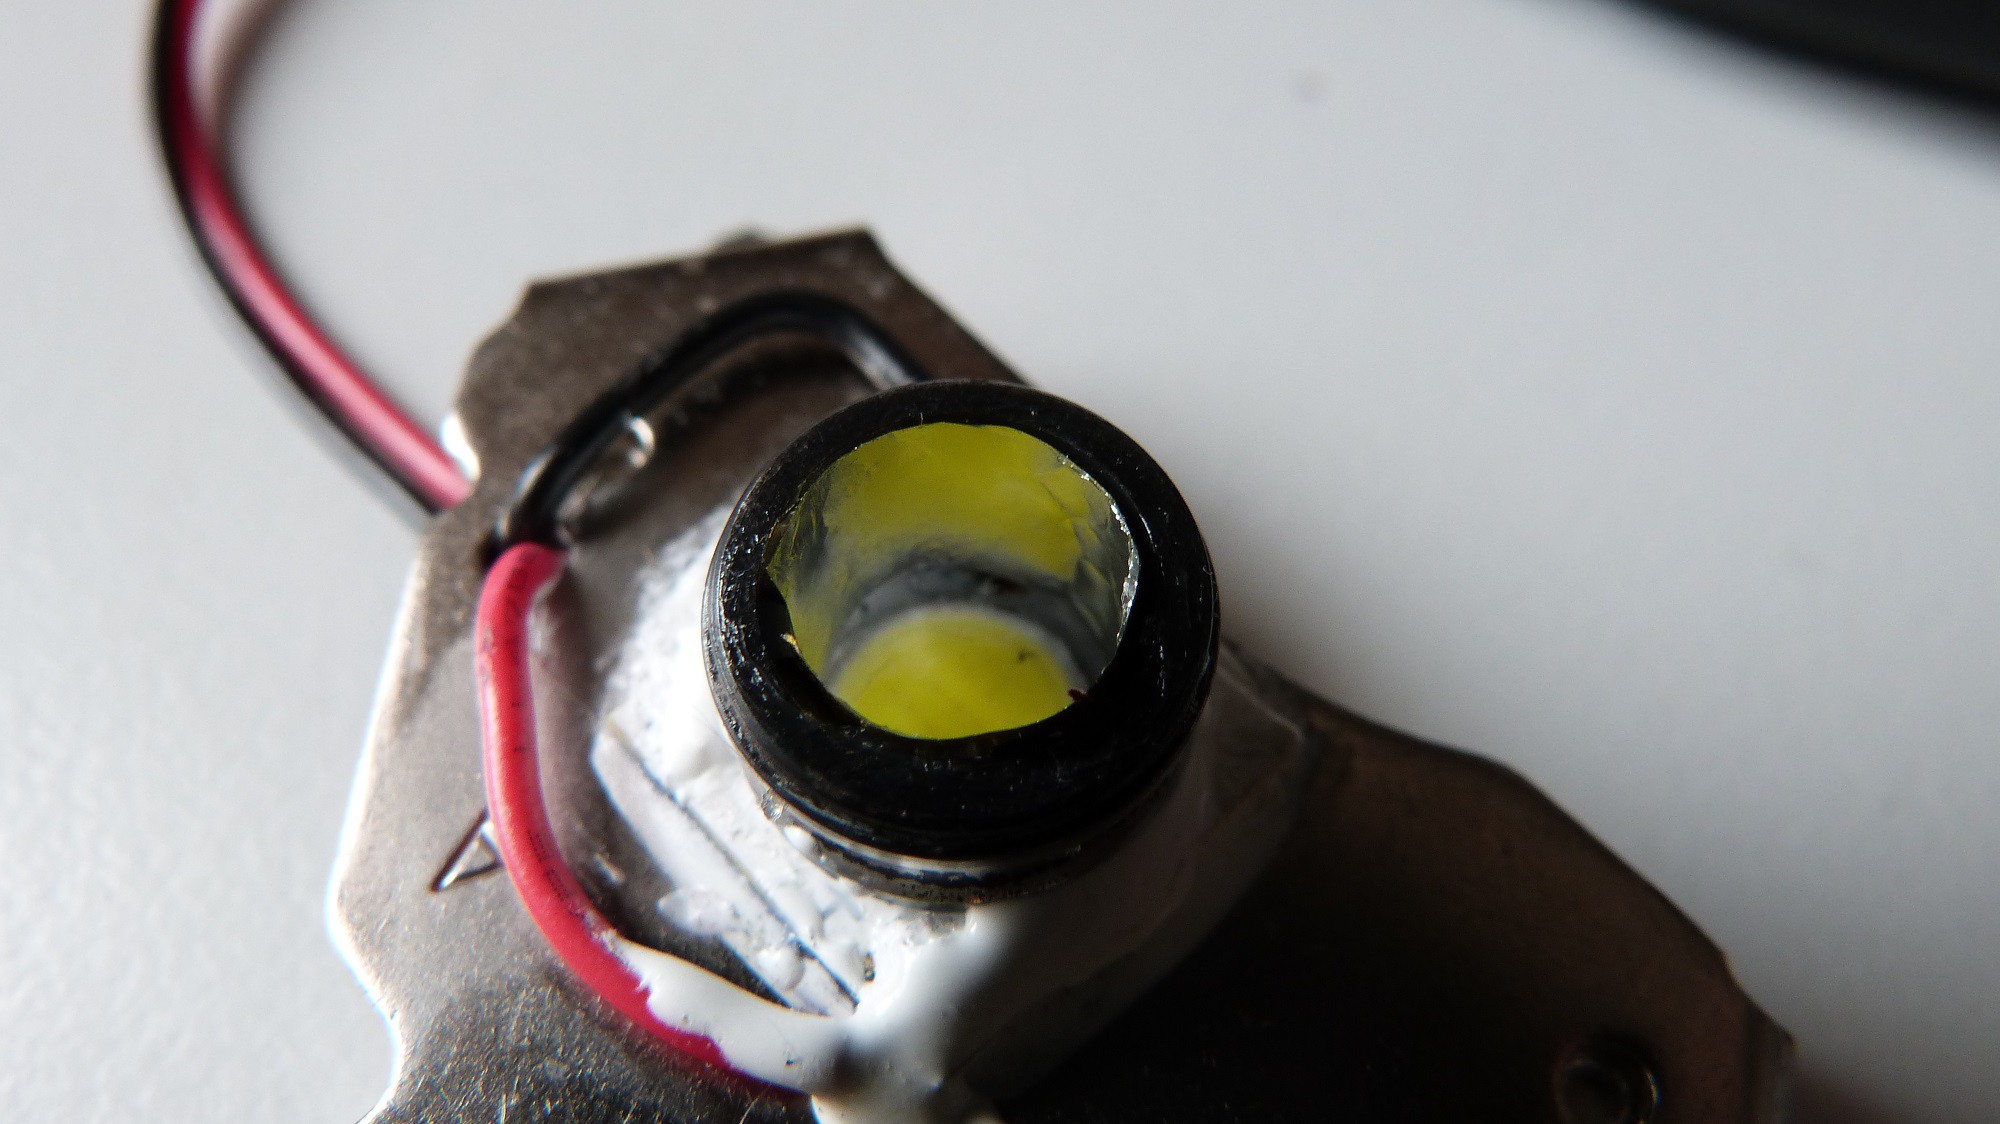
It’s time to move on with the LED. Try to find an optimal way to fixture the wires at some place at the plate. One of the many holes can help you with this or you can use a binder to fixture the wires to the plate. A small piece of heat shrink can be used to increase the diameter of the cables and get them stuck inside of one of the holes. You will find the ideal length of the wires by placing battery and LED at your longboard. Solder the leads to your LED and keep away from the yellow round light source with the solder iron (!). Now check the temperature of your setup with a fully charged battery and wait for one minute. If you can’t touch the LEDs heat sink for some seconds it will not least for a long time and be less efficient.
The Optic
This part is the most complicated one and not really finished yet. You will need an optic for this high power light source. For some simple test it will work without it. Unfortunately the LED can easily be damaged and you will probably blind other road user and yourself without it. My first attempts I made with 3M bumpons. They have the perfect size and protect the LED. You can use clear silicone for sticking the bumpon on the LED. Certainly this “lens” is sill much too bright. That’s why I decided to use a ring with the same diameter as the round LED light source. The size of an old skate bearing will match in most cases. Remove the protecting seal of the bearings and push all balls to one side with a screw driver. You can now easily remove the middle ring by pusing it in axial direction. Clean it with some alcohol and fix it to the LED. The yellow part in the middle should keep clear from all impact at all conditions. Use the adhesive to seal the contact of the wires and give additional hold to your cables. Be aware that the ring can short cut the contacts. Use the adhesive and some tape for the isolation of the plus and minus contacts. When the optic is mounted, use the battery for a very short time to check the circuit. The intersection between the ring and the LED should be closed with lots of adhesive to prevent heating up. Now the light will be focused and a direct look into the LED is prevented when mounted on your truck. Wait some hours until everything is solid. Both optics are not perfect for skating around. The bumpon is still much too bright and the ring will swallow lots of light.
The reflection of the inner ring will not really be satisfying as you will notice. Use a small strip of space blanket and attach the golden side to the inner ring with silicone and cotton swap. Buffing of the metal could also increase the reflection of the light. If this is all too complicated for you just buy an optic for this LED but this will take much of the trash feeling :D.
The Mass Lighter Construction
We are gone totally recycle the HDD with the Mass Lighter. Hopefully you have still kept all the screws. Remove all stickers from the disk with some alcohol and good finger nails or leave them. Now look inside the HDD if you have only one disc or multiples inside. If you see only one layer you will need another disc for your lamp. Remove the screws from the engine and keep them. Take the first disc and reassemble the screws. Now find the longest screws from the HDD you can find and use them for opening the cover. The other side you can close with the original screws. Check the length of your 9V power supply cable. A small knot in the wire inside the case holds the cable and you can tie it to the read head. Sometimes it will be difficult to find a proper hole for the cable and you have to drill one. Now place your LED and its gluing time again. Take your Arctic Alumina Thermal Adhesive in a small 1:1 mixture and mount the LED to the middle of inner cover.
Now solder the cables to the contacts. The disc can easily be attached around the LED with silicone. Wait some hours and let everything get solid. Now clean the discs with some alcohol and remove any dust and dirt. Finally place the cover back onto the HDD. Use one screw from the lower side of the cover and one from the upper side. This is a simple way for positioning the cover by gently twisting the cover. Use a main switch for turning the Lamp on and off.

The Lichtbohne Construction
This is an alternative minimalized version of the Beamboarder in very early prototype status. This lamp will definitely get some circuit in the future that will monitor the LED Temperature
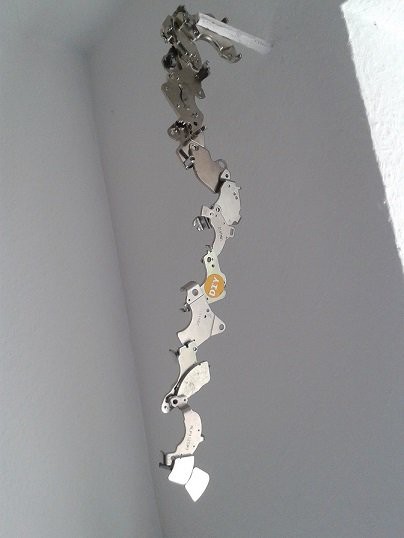
From only the magnets you can create a much smaller lamp than the original Beamboarder. It can stick on any ferromagnetic metal like the kingpin of your trucks. For this setup you will need thick magnets. By bending the plate in a bench vice the magnets will pop off . In some cases you will find two separated magnets on one plate. Otherwise you have to break one in the middle or use the whole body. Stick the two layers together with some adhesives. The area should be a little bit bigger than the LED itself. Working with the two magnets and adhesives can be pretty funny. Try to spare the LED. Solder the wires onto the LED before (!) you stick it to the magnets or you will have lots of fun with your soldering iron in combination with the magnet ^^. Try also to find the ideal position for the optic now. Later it will be difficult to resolder the wires because of the magnet.
The Magnets from the other plate can be placed at the battery with a heat shrink tube. Connect both and you will have an ultra-small high power LED Lamp you can stick to every ferromagnetic surface. But you have to consider that you will need a certain contact to keep sufficient conduction of the heat. I had to smooth the head of my kingpin with a metal rasp. Using this lamp without a certain metal mass will destroy the LED over time. A small electronic control circuit that adapts the light output of the LED to the temperature is an important next step. The lamp will change the dimming with the surface it holds to. One big advantage of the Lichtbohne is that it holds very strong to the kingpin with huge magnets.