 Michael Gardi
The original incentive for this project was to have a cool looking front end to Oscarv's (https://hackaday.io/obsolescence) wonderful PiDP-8/I (https://hackaday.io/project/4434-pidp-8i) kit. This was accomplished by using the VT100 reproduction as a simple monitor and connecting it to the Raspberry Pi running the PiDP-8/I via HDMI. For fun I then added a Raspberry Pi to the reproduction and created arcade and desktop versions. What I didn't do is configure the VT100 as a terminal, which of course is it's original purpose. Well I'm going to fix that now.
The key to making this work is an RS-232 hat for the Pi.

I purchase this and when it arrived realized that the Raspberry Pi I had been using was an older model with the 28 pin GPIO connector. So I ordered a Raspberry Pi 4 which has the added benefit of being able to run a much wider range of RetroPie games, and is a more capable desktop machine.
So when I put it all together the hardware looks like this:
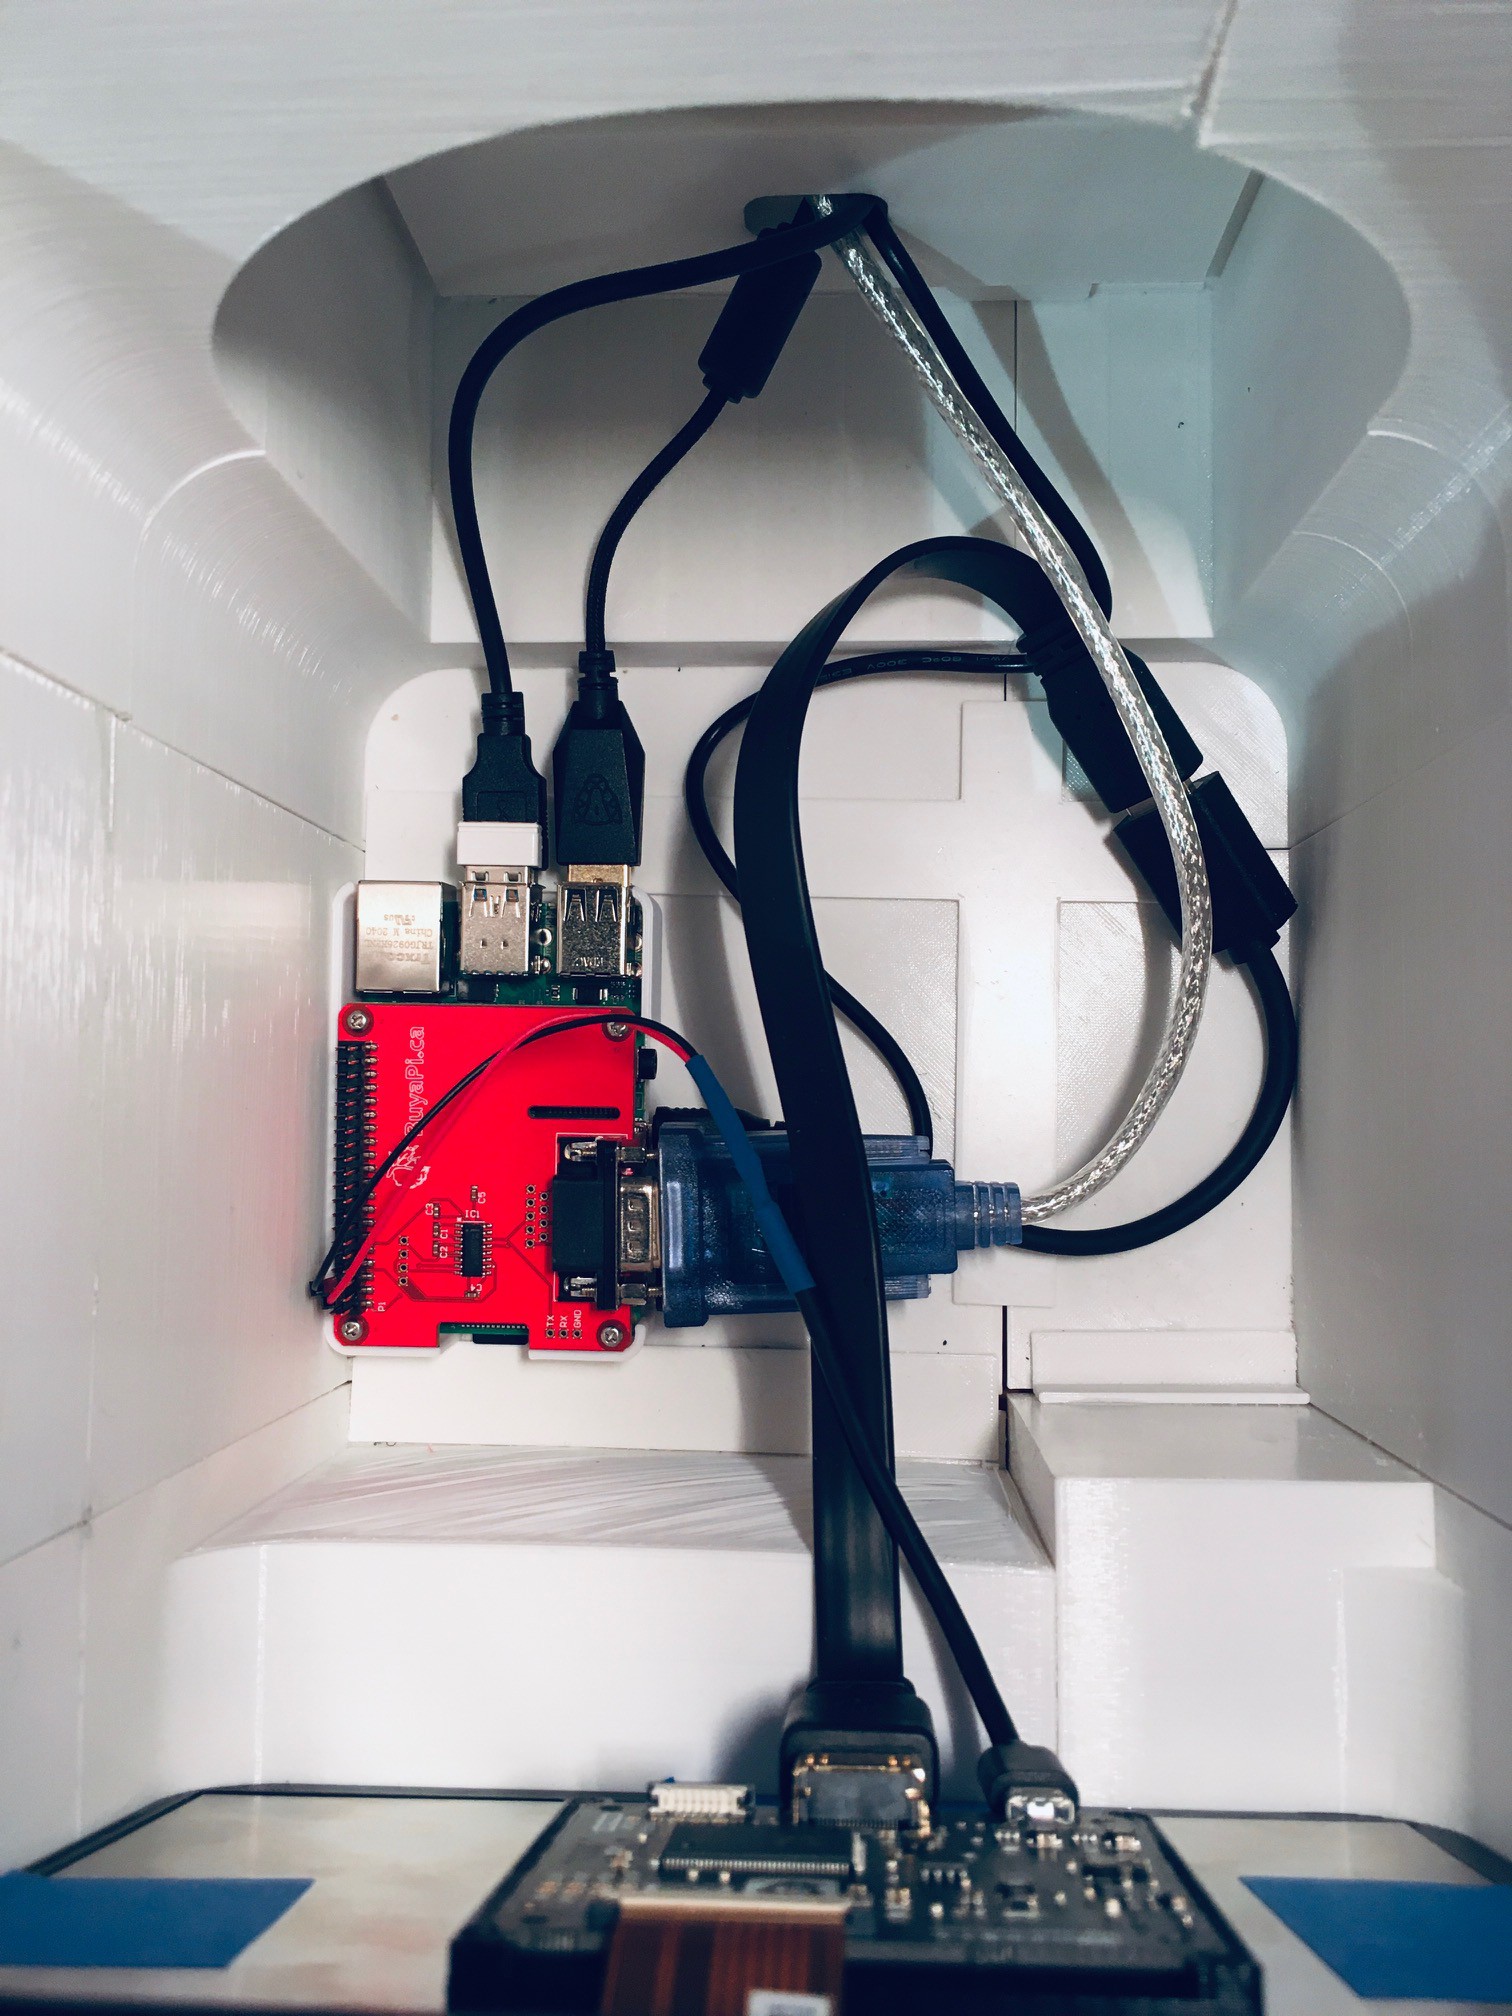
So here's what's going on:
- It's a little hard to see but I printed a "caddy" for the Pi (with hat) and glued it to the bottom of reproduction. I then secured the Pi into this holder with double sided tape.
- I chopped a short micro USB cable and added wires with female headers for the power and ground line. I plugged the micro USB connecter into the display's power jack and attached the wires to +5V and GND on the Raspberry Pi GPIO pins.
- Similarly the HDMI from the display is connected to one of the micro HDMI connectors on the Pi.
- The rightmost black cable coming in is the USB C power cable attached to the Pi.
- The silver cable with the blue plug is the RS-232 cable. More on this in a bit.
- The white USB dongle is for the wireless mouse. Of course a wired mouse would be OK too.
- And finally the remaining two USB cables are for the keyboard and arcade controls.
So not only does this add RS-232 capability to the build but consolidates and improves the other features as well.
Software
As I did what I described in previous sections, I first setup my new Pi 4 with the latest RetroPie image. There is great documentation on how to do this at RetroPie Docs.
To install the Pixel desktop, go to the RetroPie configuration page and select 'RetroPie Setup'. Then select 'Configuration/Tools' from the setup menu. From the displayed options menu select 'Raspbian related tools', then select 'Install Pixel Desktop environment'. Once done you should be able to switch to the desktop by selecting Ports/DESKTOP from the RetroPie menus.
Before we can get the RS-232 working we have to tweak the Raspbian image a bit. Switch to the Pixel desktop and open a terminal window. If you'd like to communicate with a serial device then we need to edit the boot cmdline.txt file. Before we edit this file its a good idea to take a backup of it:
sudo cp /boot/cmdline.txt /boot/cmdline.txt.backup
Now we can edit the original:
sudo nano /boot/cmdline.txt
You then need to remove the following text:
console=serial0,115200
Save the changed file. Before this change will take effect you will have to reboot the system.
Now that we have stopped the Pi from using the serial to output its console data, we can use the serial port with our own software. I tested the serial port with minicom. From a command window install minicom.
sudo apt-get install minicom
Then to run minicom enter the command:
minicom -b 9600 -D /dev/serial0
You can of course change the baud rate to whatever is appropriate.
Testing
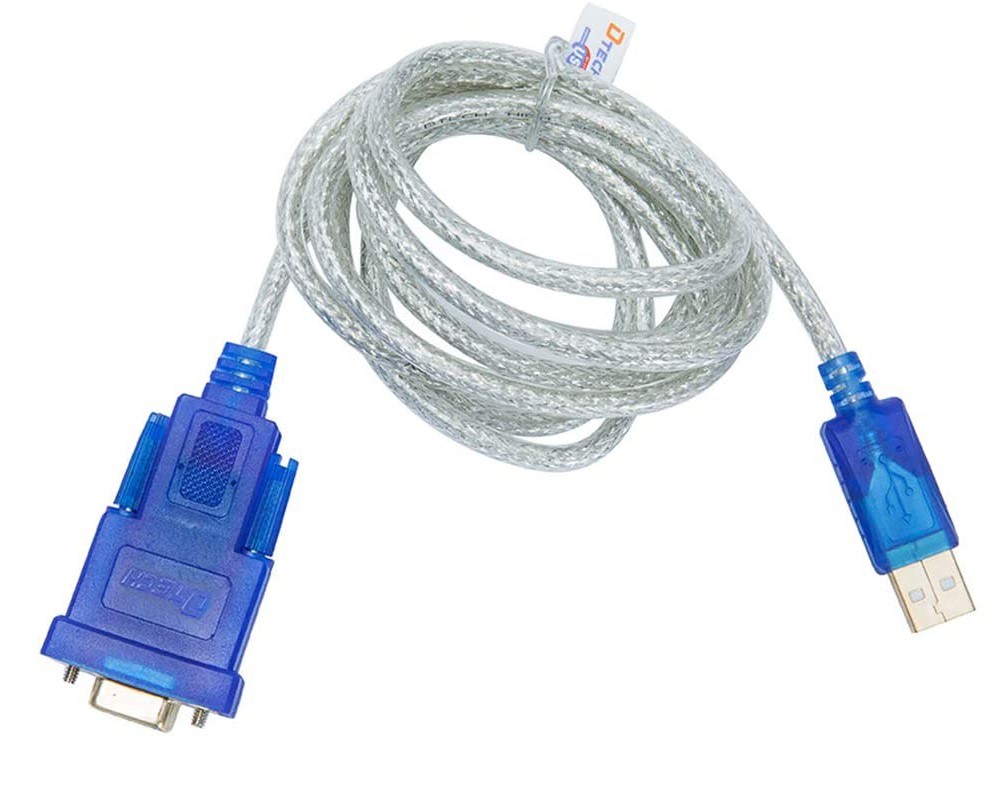
So how can you make sure that the RS-232 serial port is working correctly? Well you have to attach it to something. Now I don't have another device with an RS-232 port, and none of my computers have one. But I do have a lot of available USB ports so the simplest thing to do is invest in a USB to RS-232 adapter cable. Here is the one that I purchased on Amazon (DTECH 6 Feet USB 2.0 to RS232 DB9 Female Serial Adapter Cable).
I attached the DB9 connector to my RS-232 hat and the other end to a free USB port on my laptop. Make a note of the COM port that the cable attaches to. Then I needed to run a terminal program on my laptop. Fortunately I have Putty which supports serial.
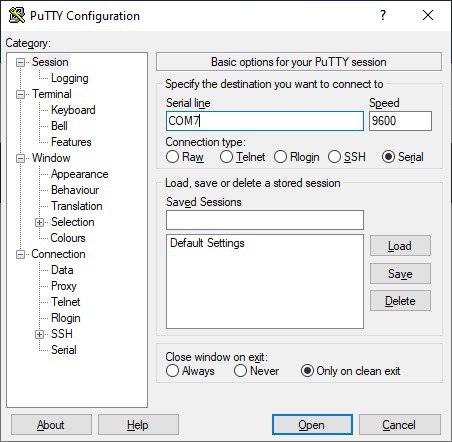
Here I selected the Serial radio button and entered the COM7 port the cable was using and the baud rate to use. When I clicked open I was able to type into the terminal window and see the characters appear on the VT100, and likewise type into minicom and see the characters appear in Putty. Serial working!
Connecting to the PiDP-8/I
I'm kind of coming full circle here. I now want to establish a serial connection to the PiDP-8/I. My first thought was to get another RS-232 hat for the Pi running the PiDP-8/I. Unfortunately the PiDP-8/I software uses practically all of GPIO pins including the ones used for serial connection. Oscar's suggestion in the PiDP-8/I documentation is for: "a real VT-100, VT-220 or similar serial terminal. Use a USB-RS-232 adapter cable. They cost $5 or so (search on Aliexpress and similar sites)." Just like the one I purchased. How fortunate ;-)
Before you can use the cable as Oscar puts it " Some Linux-foo is required to set up the [PiDP-8/I] Pi so that it has a console port assigned to the USB-Serial port.". Here is what to do (reproduced from this link for your convenience).
1. Copy the file 'serial-getty@.service' from '/lib/systemd/system' to
- '/etc/systemd/system' (for standard Raspbian)
- '/etc/systemd/system/xyz' - where xyz is a 'wants' subdirectory whose exact name I forgot, but it'll be obvious.
This file is a generic template for setting up a serial terminal with a log-in prompt.
2. The file must be renamed, so that it points to your serial terminal which will be ttyUSB0. The filename becomes:
'serial-getty@ttyUSB0.service'
3. The file may need to be edited with the parameters of your serial terminal, or the default setting may work. In my case I changed the first line in the [Service] section to read:
ExecStart=-/sbin/agetty ttyUSB0 9600 vt100
4. Now, enable the service with:
'sudo systemctl enable serial-getty@ttyUSB0.service'
You should get a 'Creating sim link ....' message. The service will now start up at every boot.
Once done, connect the cable to the USB port on the PiDP-8/I and the RS-232 DB9 port on the VT100. From the minicom terminal on the VT100 you should now be able to press Enter and see a login prompt for the PiDP-8/I.
One other thing I did on the VT100's Raspberry Pi was to change the font for terminal window to be something more appropriate for the era (and save eyestrain). This involves editing a system file called “console-setup”. You just need to load it into your preferred text editor and tweak a few lines :
sudo nano /etc/default/console-setup
Change the FONTFACE and FONTSIZE lines to :
FONTFACE="Terminus"
FONTSIZE="14x28"
Save this file and reboot. This will set the terminal window on the VT100 to be 72 characters x 25 lines which looks really good IMHO.
Running the Applications
When you power up the VT100 reproduction it will boot into RetroPie for your arcade pleasure.
If you want to use the Pixel desktop you can use the RetroPie menus to select Ports then DESKTOP. To get back to RetroPie select the Shutdown... menu item then select Exit to command line.
To connect to the PiDP-8/I bring up the RetroPie Main Menu and select QUIT then select QUIT EMULATIONSTATION. This will bring you to a full screen command prompt. From here fire up minicom:
minicom -b 9600 -D /dev/serial0
then login to the PiDP-8/I and follow the Obsolescence Guaranteed instructions to get to the OS/8 prompt. If you exit minicom you will be able to get back to RetroPie by running the emulationstation command.
Wrapping Up Again
I feel better now with my VT100 reproduction fully supporting RS-232. The terminal, arcade, and desktop functions are now much more integrated. It's just a tidier more polished project now. Well worth the effort.
Discussions
Become a Hackaday.io Member
Create an account to leave a comment. Already have an account? Log In.