Close
0%
0%

NextNet Wireless Antenna Breakdown

I break down an old wifi rooftop mounted antenna

Public Chat
Similar projects worth following
254 views
0 followers
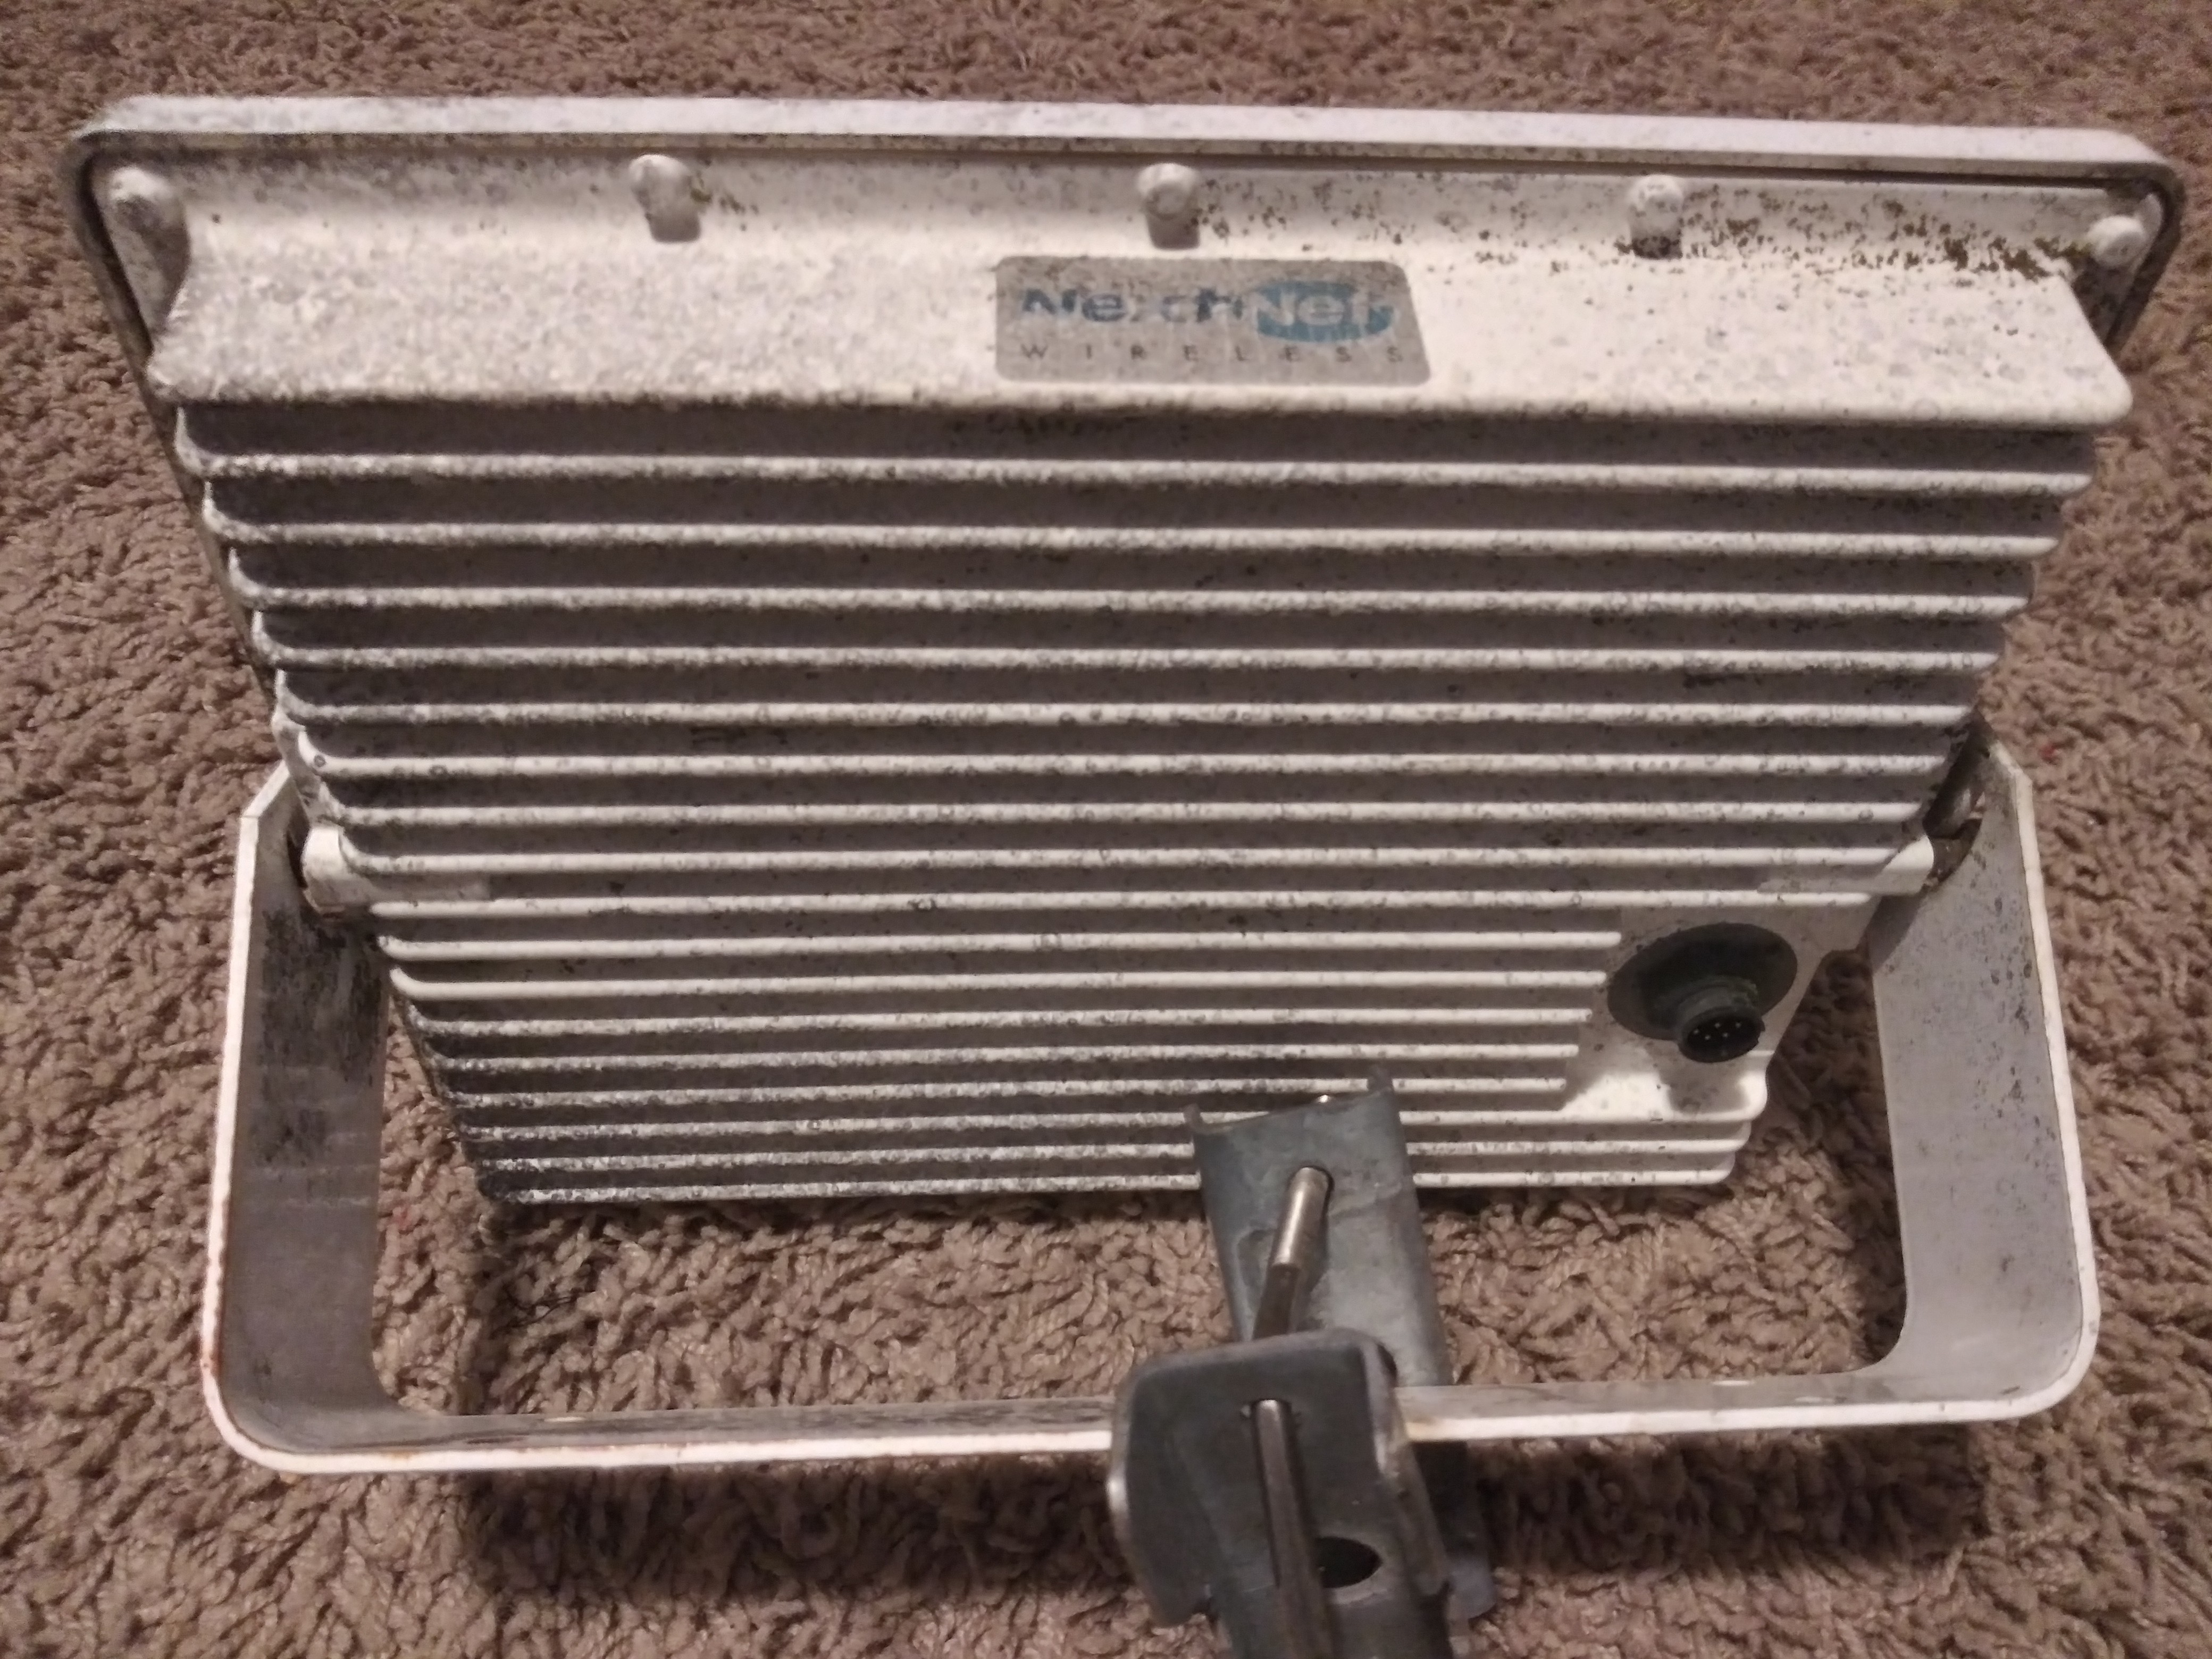
I found a old NextNet Wifi Antenna unit: OSU-2510-AV and , like always, the first thing I asked was, Whats inside? Only this time, I decided to document it for once, so forgive me if this isn't a good documentation, but we all start somewhere right?

This is a wifi antenna I found on a roof.  It looks like a NextNet wifi antenna.  I did a little research and skimmed a bit.  I didn't find much but I will update these details as I do.

  • The Guts and good stuff

    jperez20802/17/2021 at 05:16 0 comments

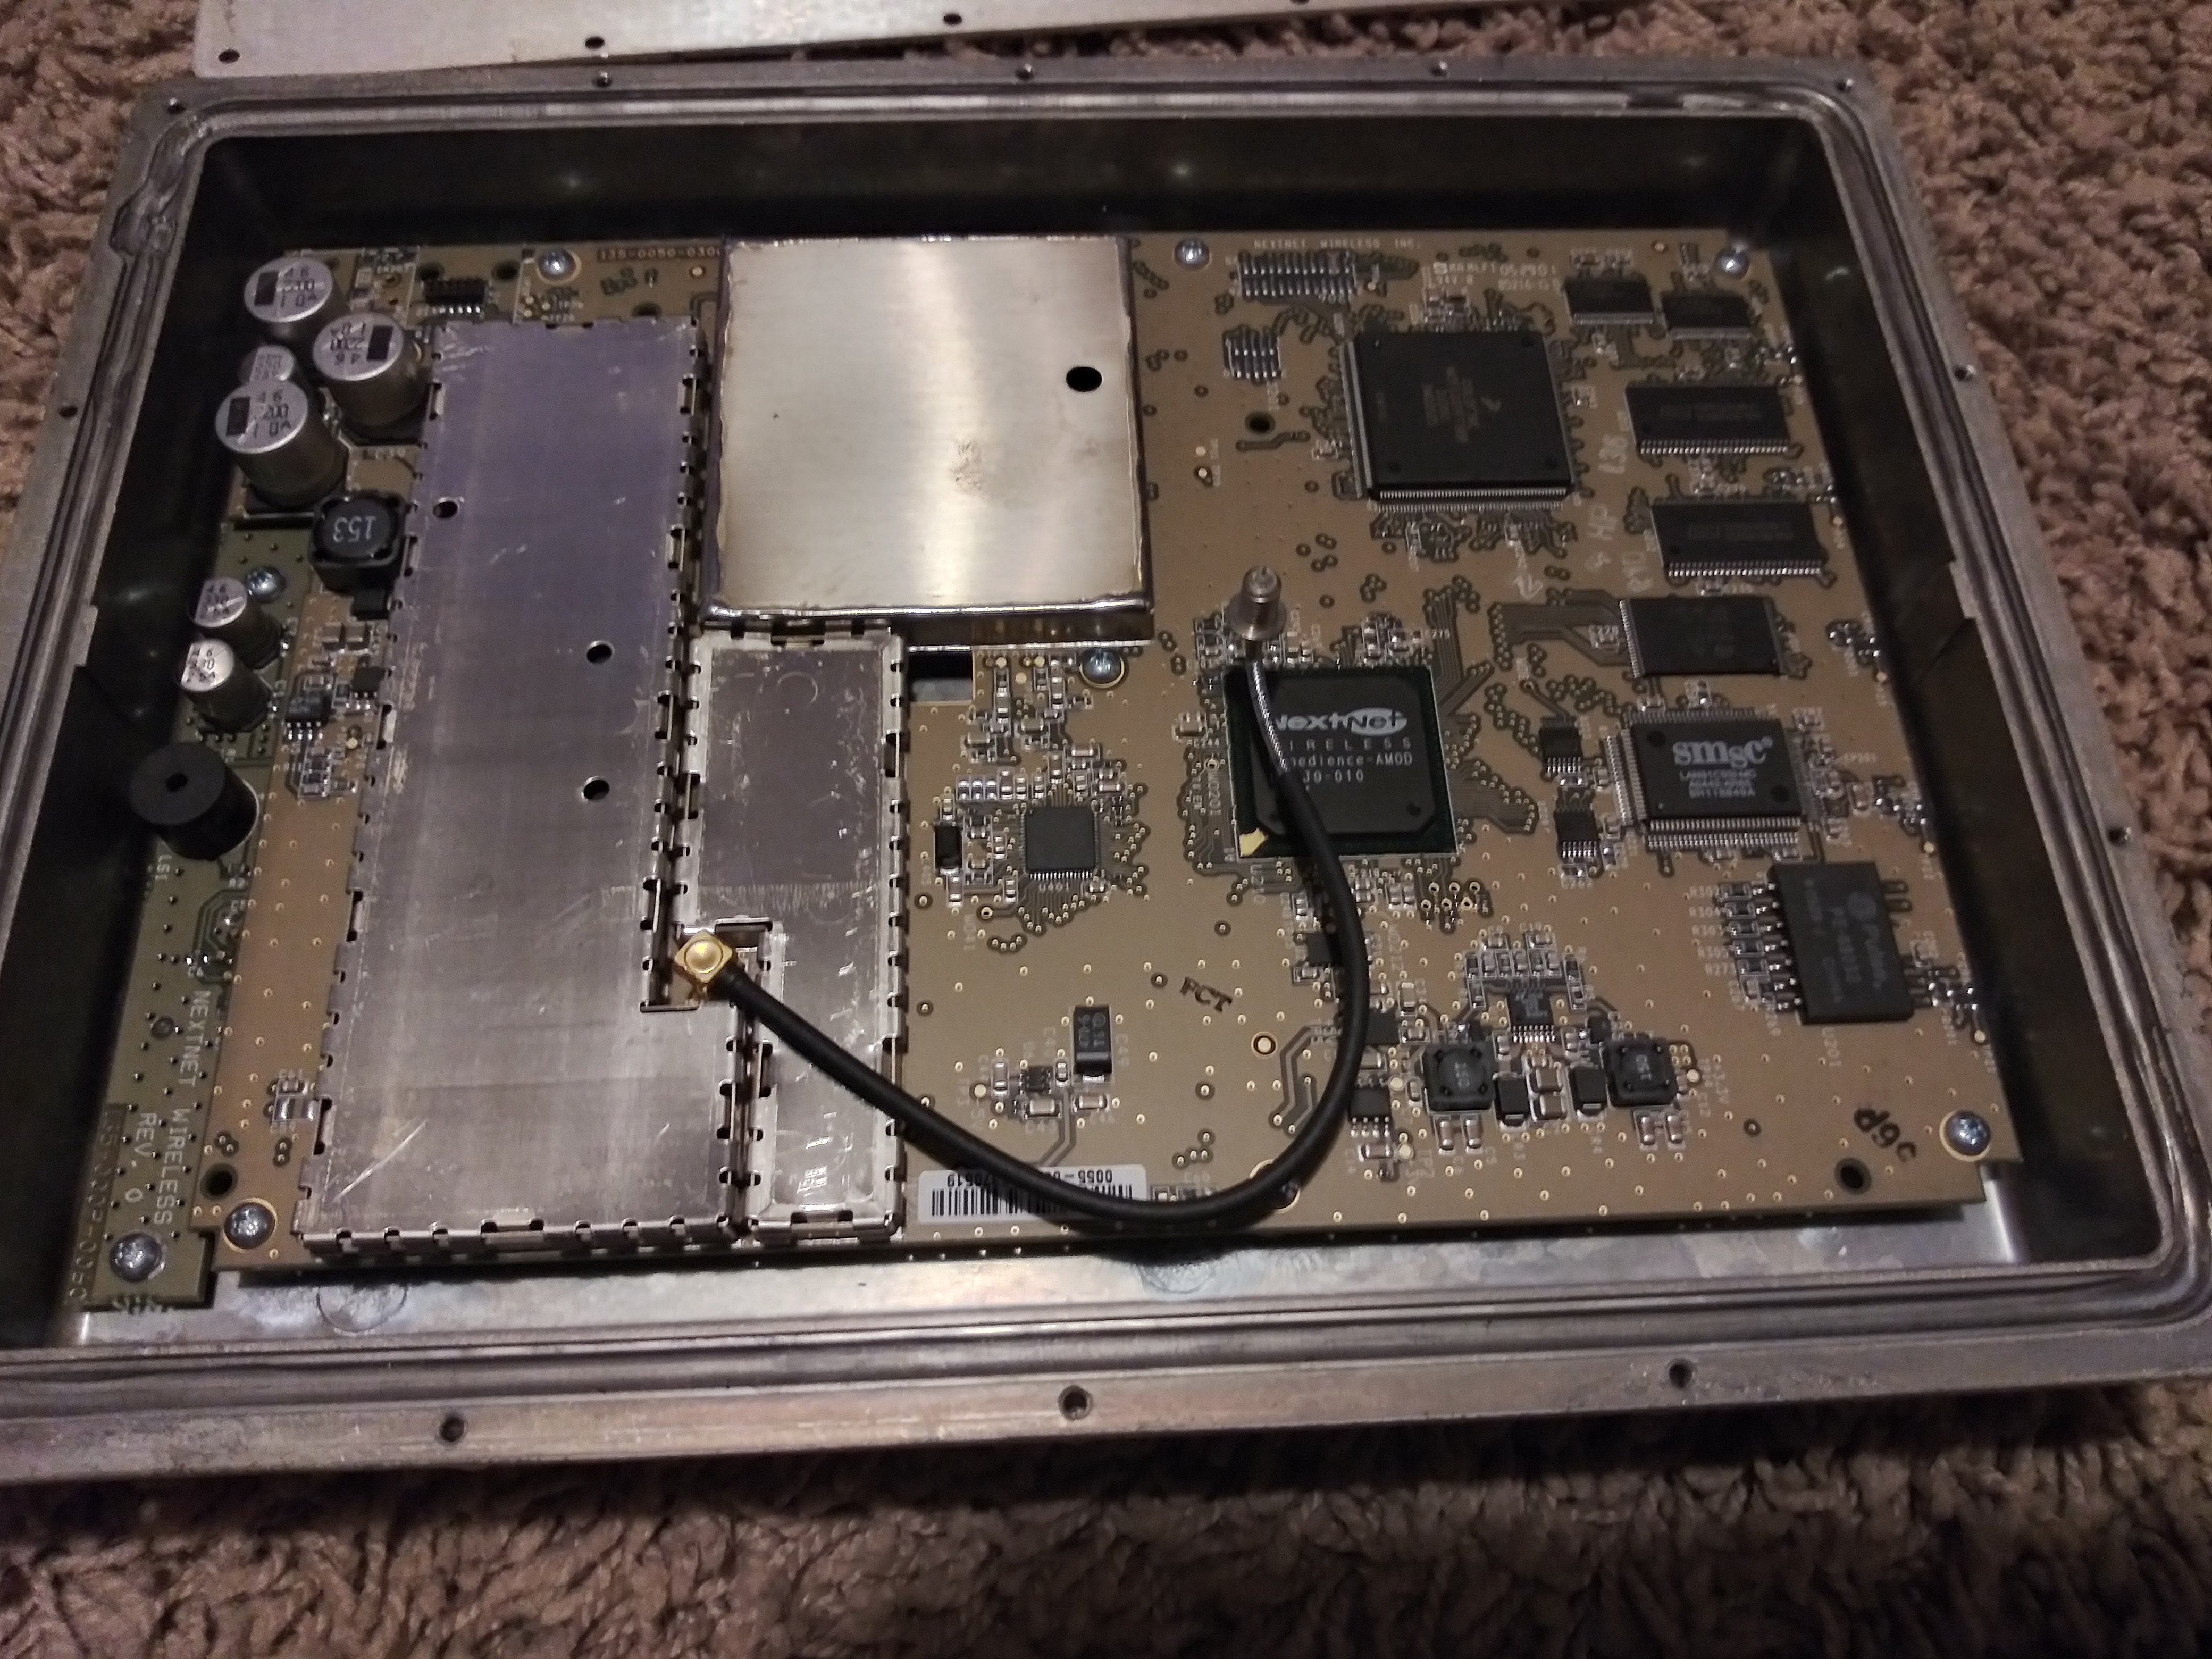
    Ok so now that I've gotten to the good stuff, I first started looking at the IC's.  The first one I notice was one labelled NextNet wireless expedience-AMOD D1GJ9-010.  This one was a bit hard to find any kind of information on at first so I skipped it for a moment and moved onto the next one that looked interesting, COLDFIRE MCF5307, which was alot easier to find a data sheet for.  The data sheet is nearly 500 pages long, but the short answer is its the main processor made by Freescale Semiconductor.  I'll see if i can summarize the stats at some other point in time.  The next interesting chip was what looked like the ethernet, SMSC LAN91C93l.  A non-PCI single chip Full Duplex Ethernet Controller.  The datasheet isnt quite as long as the processor, but I will condense it the best i can at some other point.  Now we get to the smaller IC's.  The next one I decided to look up was PULSE PE-68032, A ethernet interface controller.  2 ISSI IS42S16400B  DRAM CHIPS seem to be providing the memory needs. Another set of 74LCX16244 chips provide some line driving and a lone M29W160ET for some flash memory are also present.  Theres a handful of really small IC's but I can read the numbers so I will dig out my magnifying glass to get a read on those.  Theres also some shielding that I would like to get off an examine underneath.  I'm assuming any radio parts will be underneath there.  Next I am planning on removing the whole board and getting a good look underneath.  I did find a pdf of the original installation and operating manual that I took a good look at.  It had installation instructions for Windows 95.  Once I do get this board flipped around I would like to see the main connector and see about rigging up a cord to it.  At first I thought it was a plain CAT-5 cable and, I could probably still use one, but I want to know what im connecting what to were first.  Im still not sure what i can do with it as a unit, but Im sure something will come up. 

  • Getting to the good stuff

    jperez20802/10/2021 at 06:58 0 comments

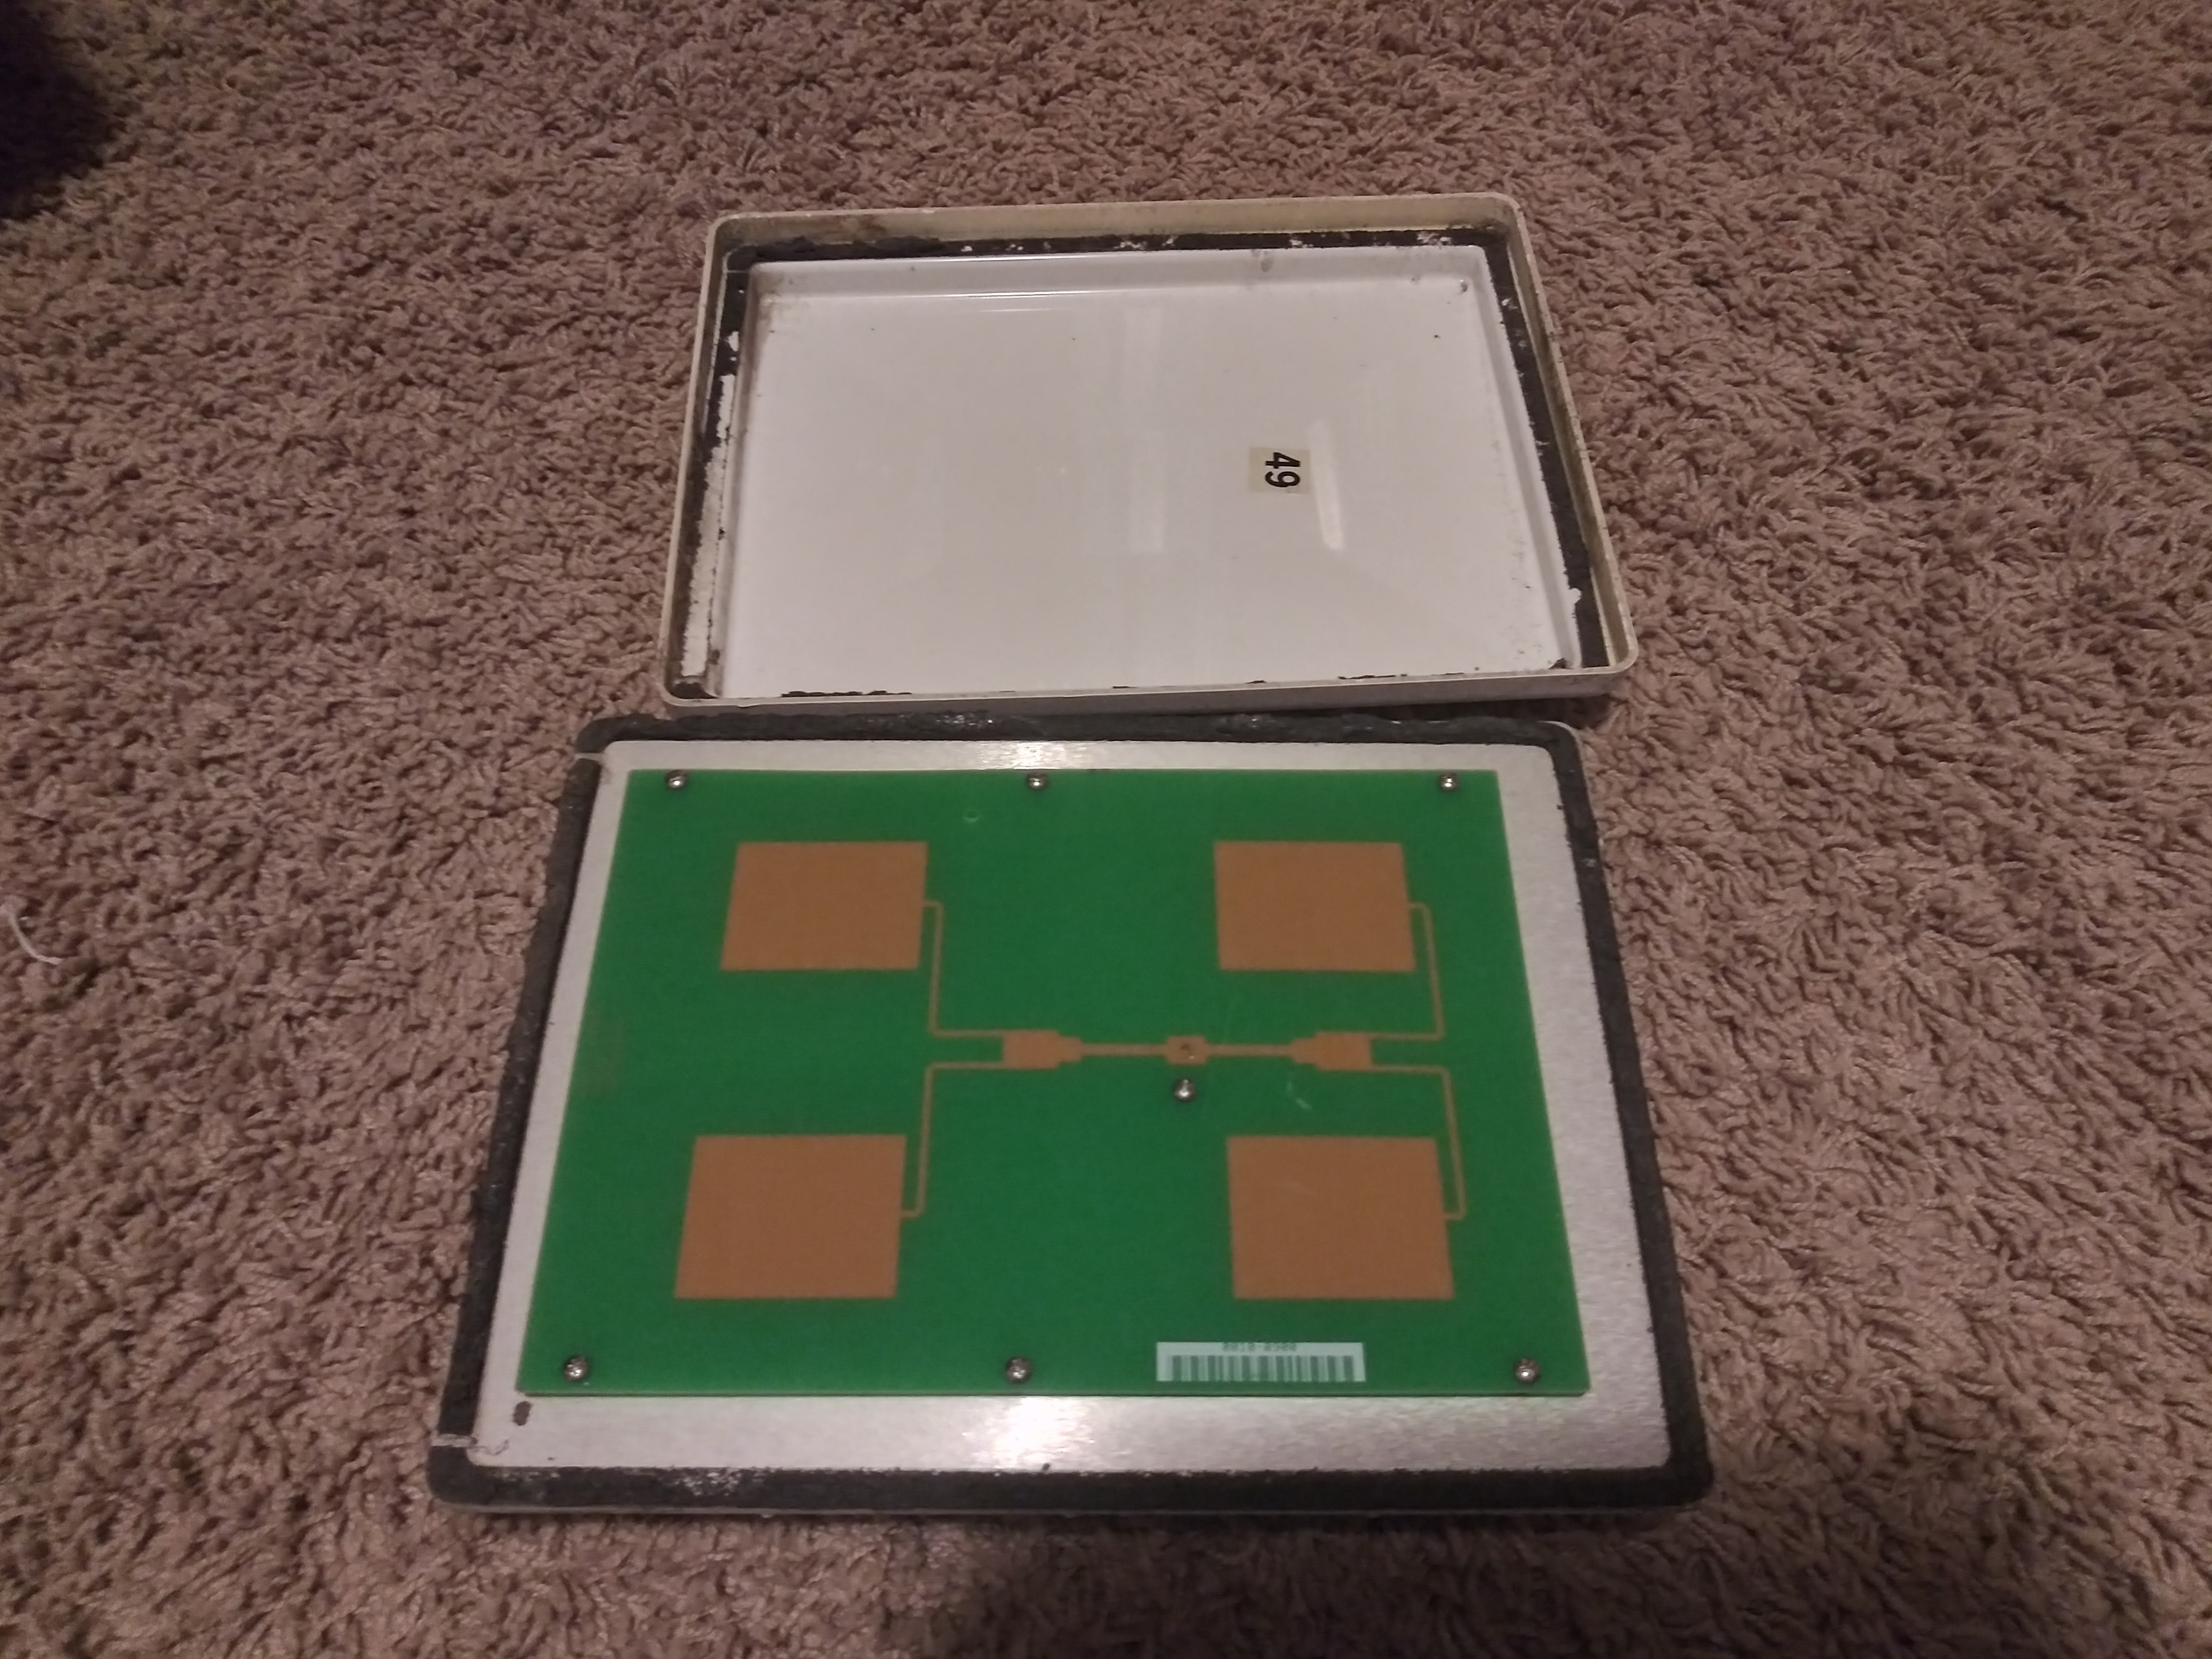
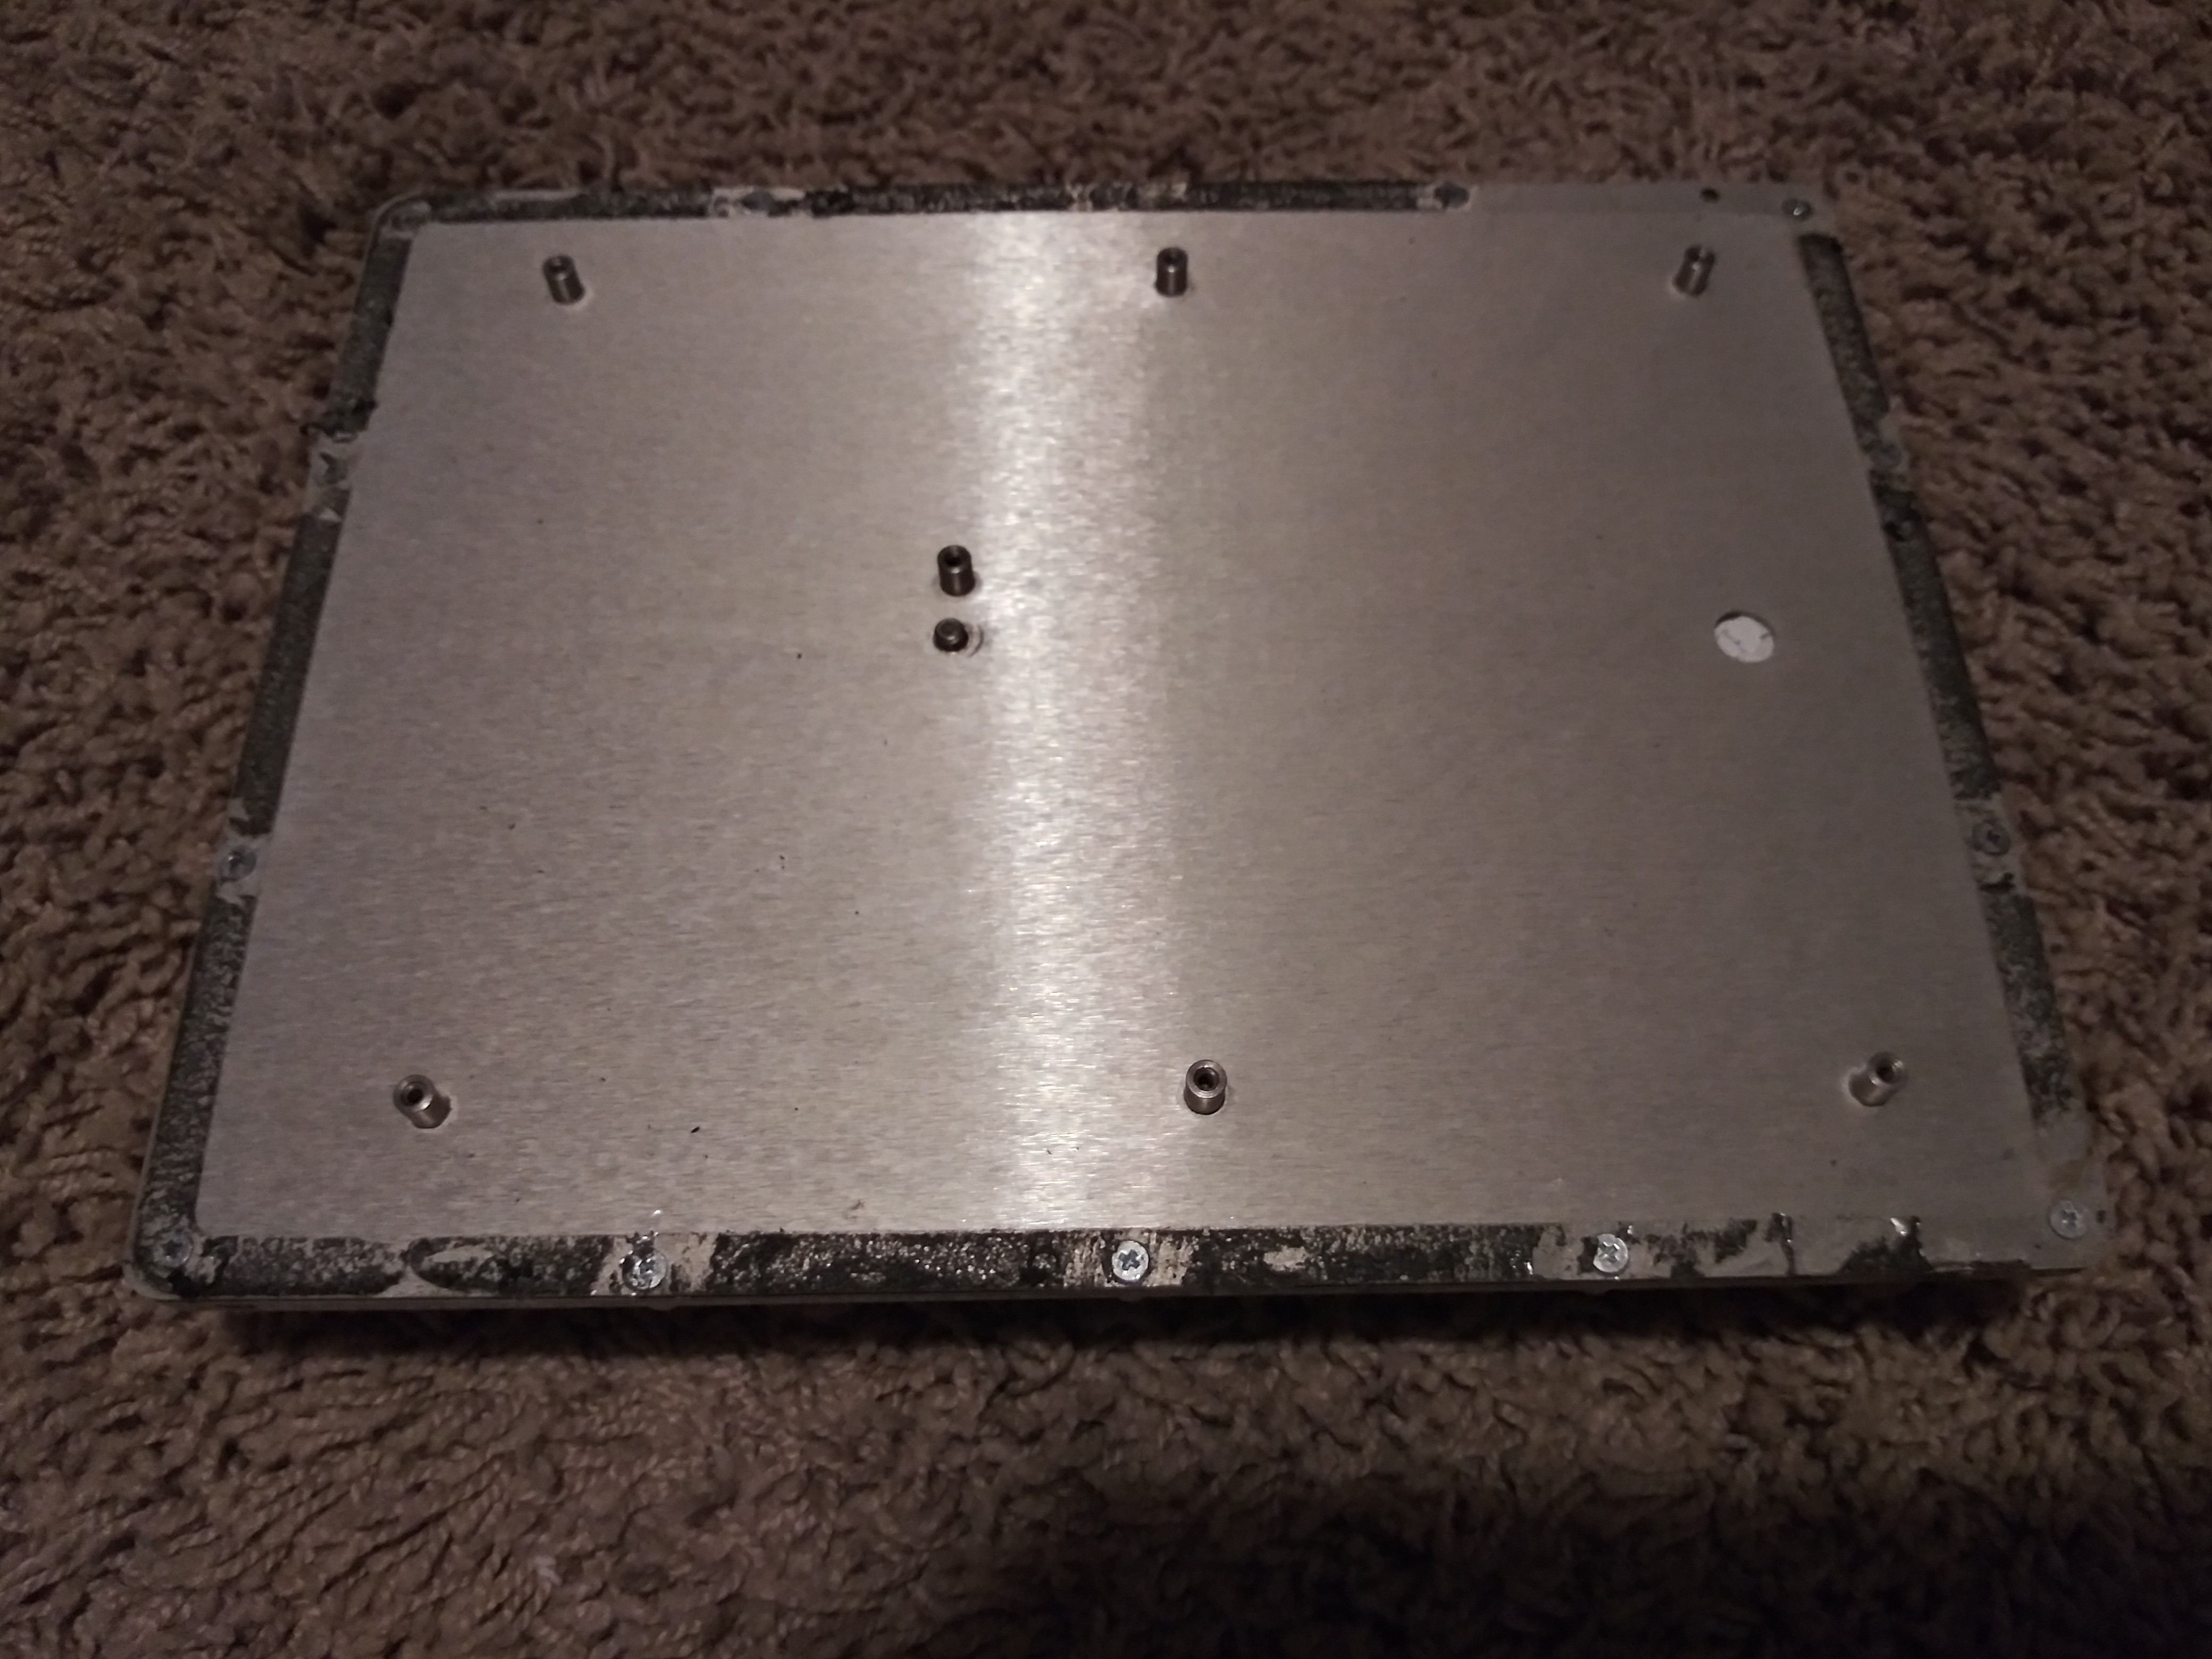
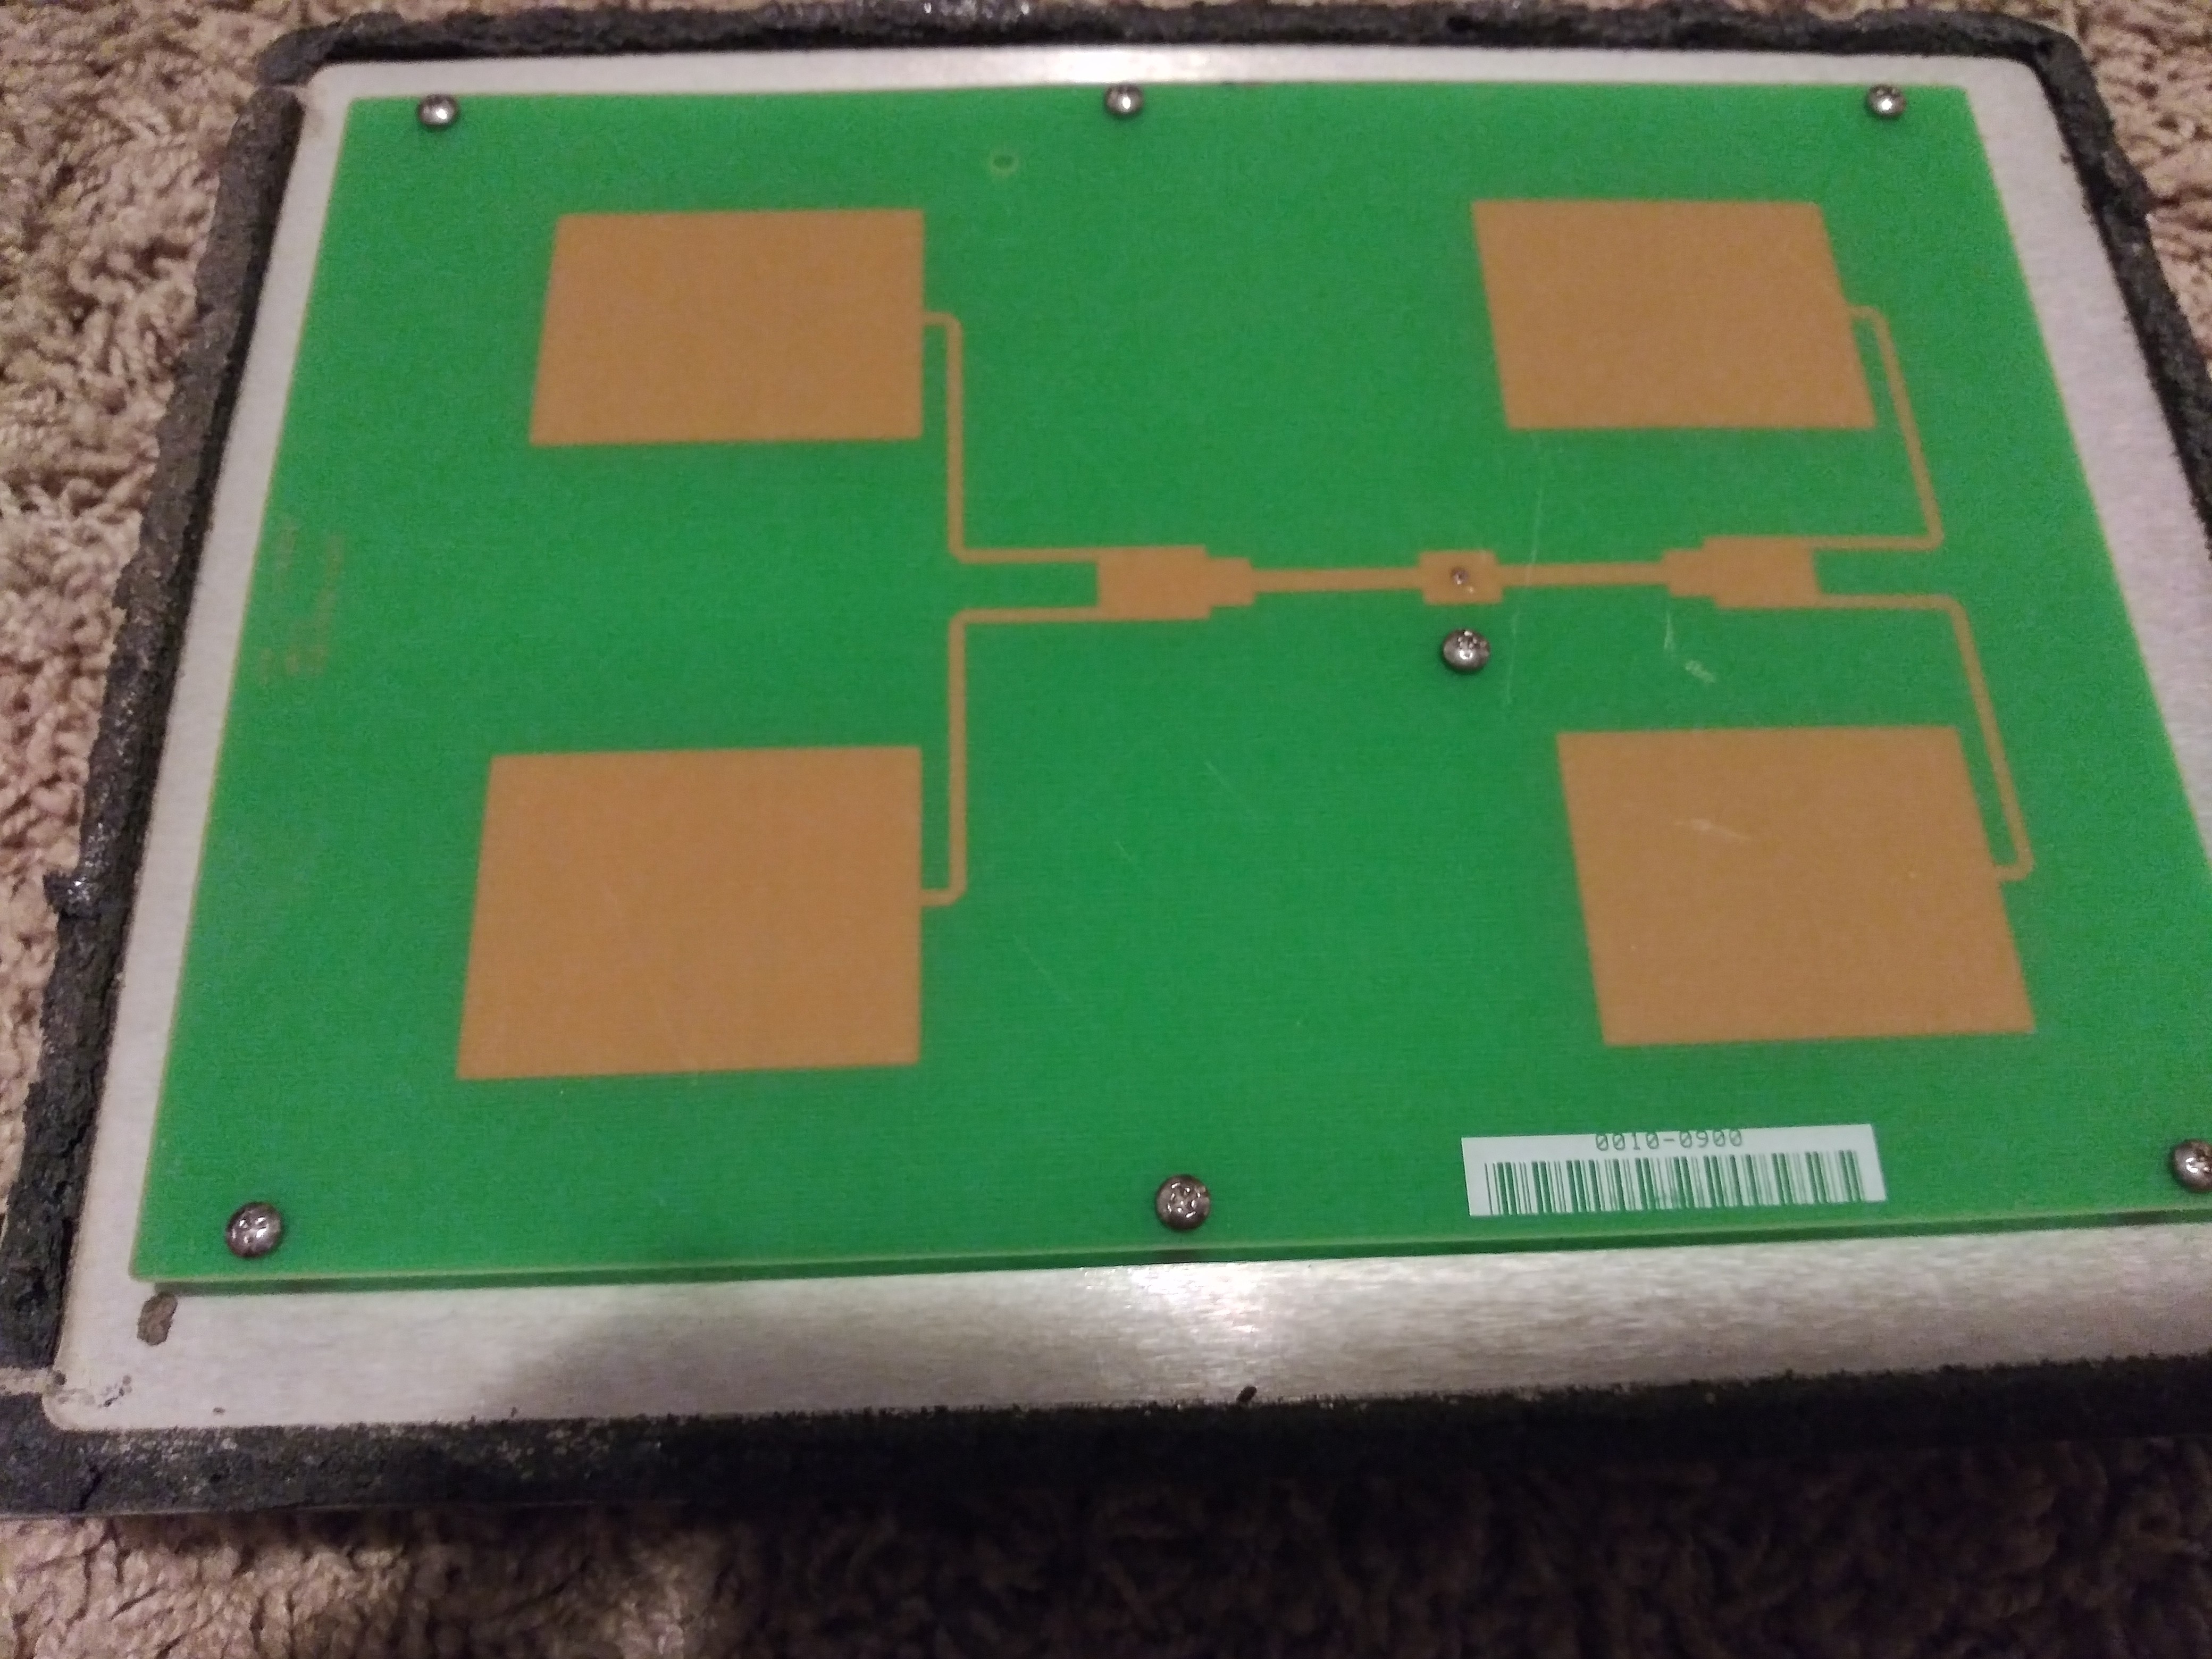
    After I got the lid off, the antenna was in full display.  There was about 7 screws holding the antenna to the aluminum base.  I still couldn't pull the whole unit out to see the electronics, but i knew they were there.  I unscrewed the antenna but it had a soldered connection in the middle.  I hooked up my soldering iron and unsoldered that.  The antenna came off and there was a nut on the bottom where the antenna feed through to the electronics.  I tried tied to pull it apart once more after undoing the nut but still no luck.  I took a knife and scrapped off some of residual foam and found the screws holding the shield (my guess anyway) to the casing.  I undid the screws and shield came apart.  I finally got to the electronics.  I decided to take a break at this point and pack it up for the evening.  Next time I will do some exploring into how this thing works and what i can do with it, if anything

  • Opening the case

    jperez20802/10/2021 at 06:31 0 comments

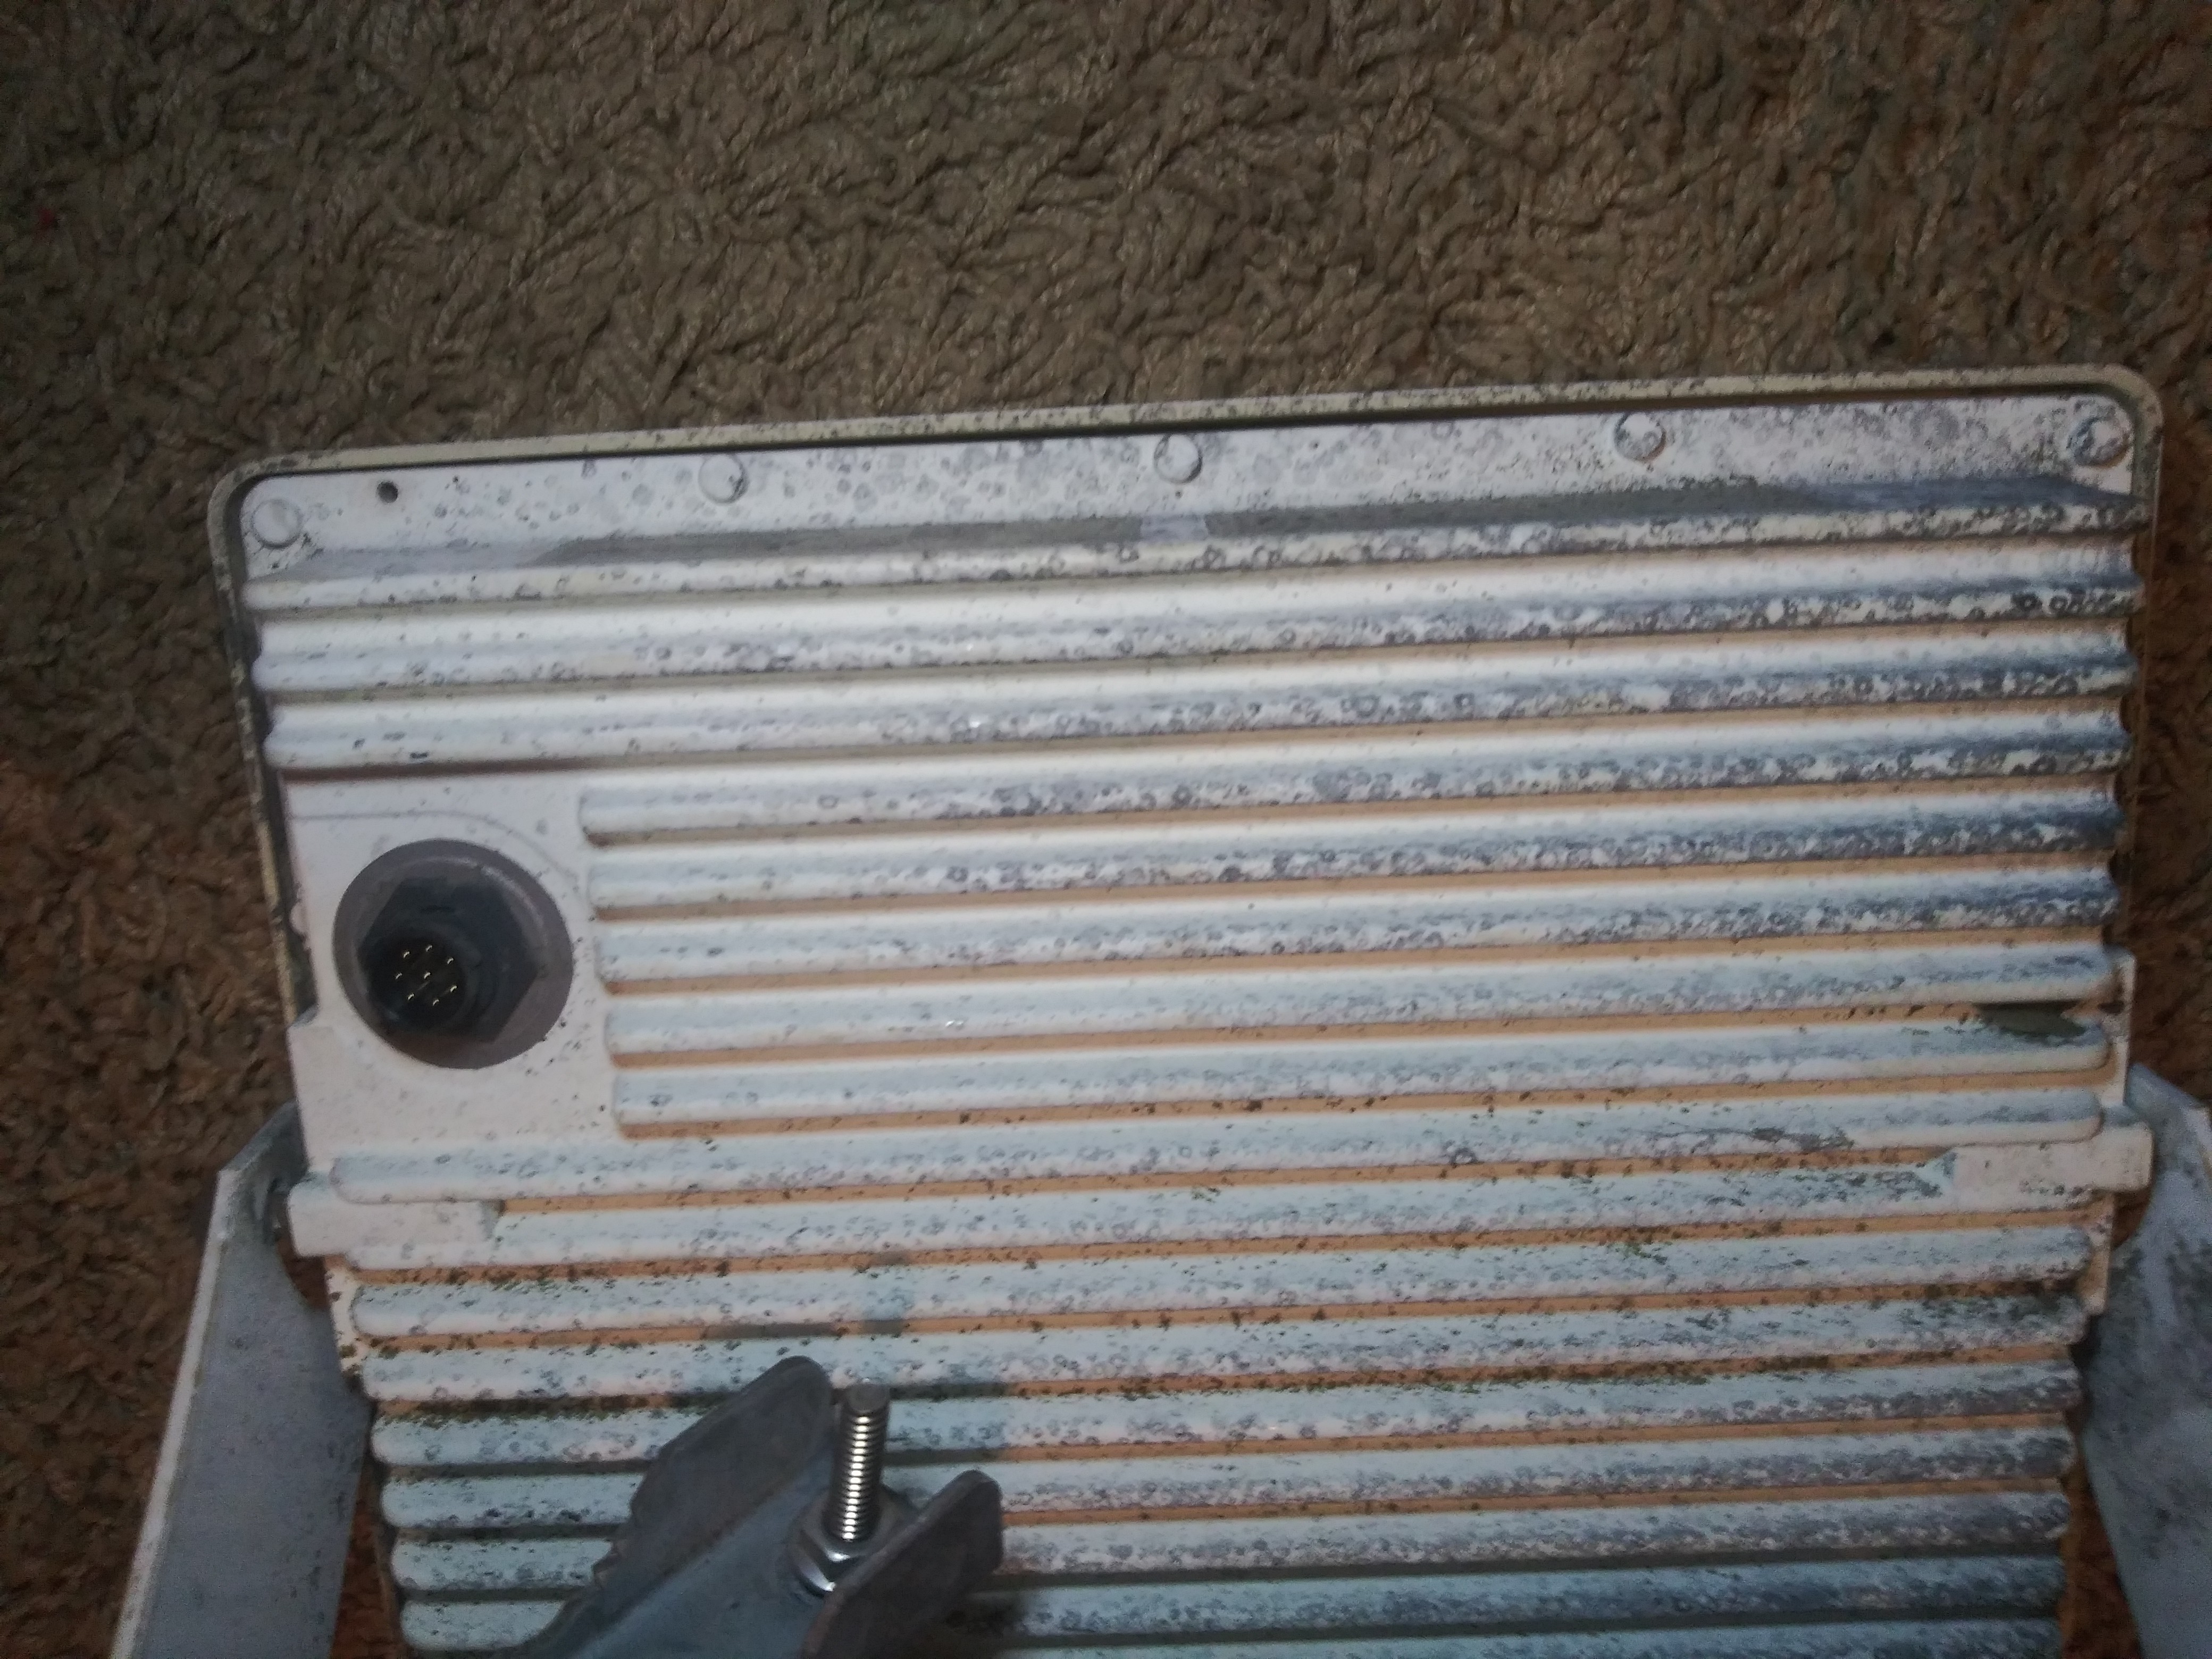
    I wiped the outer case off with a rag to get rid of some of the built up dust.  It didn't all come off, but enough did.  Next I checked to see if there was any apparent screws or clips I could undo.  I didnt see much other than a plastic screw around the connection terminal.  I undid that and tried to separate the top, just in case it was that easy.  It wasn't.  Next i took a screwdriver and pried carefully around the lip to see if it was clipped together.  No luck.  The lid was plastic and the main housing is aluminum.  At one point early on in life, I would have just broke the plastic, but I have since learned to avoid that if at all possible.  So next I just kept gently working the screwdriver around the perimeter until it started to separate just a little bit.  Once I got one corner loosened, I could see a foam liner.  It was glued together and split easily once I got the first split going. 

  • First Inspection

    jperez20802/10/2021 at 06:01 0 comments

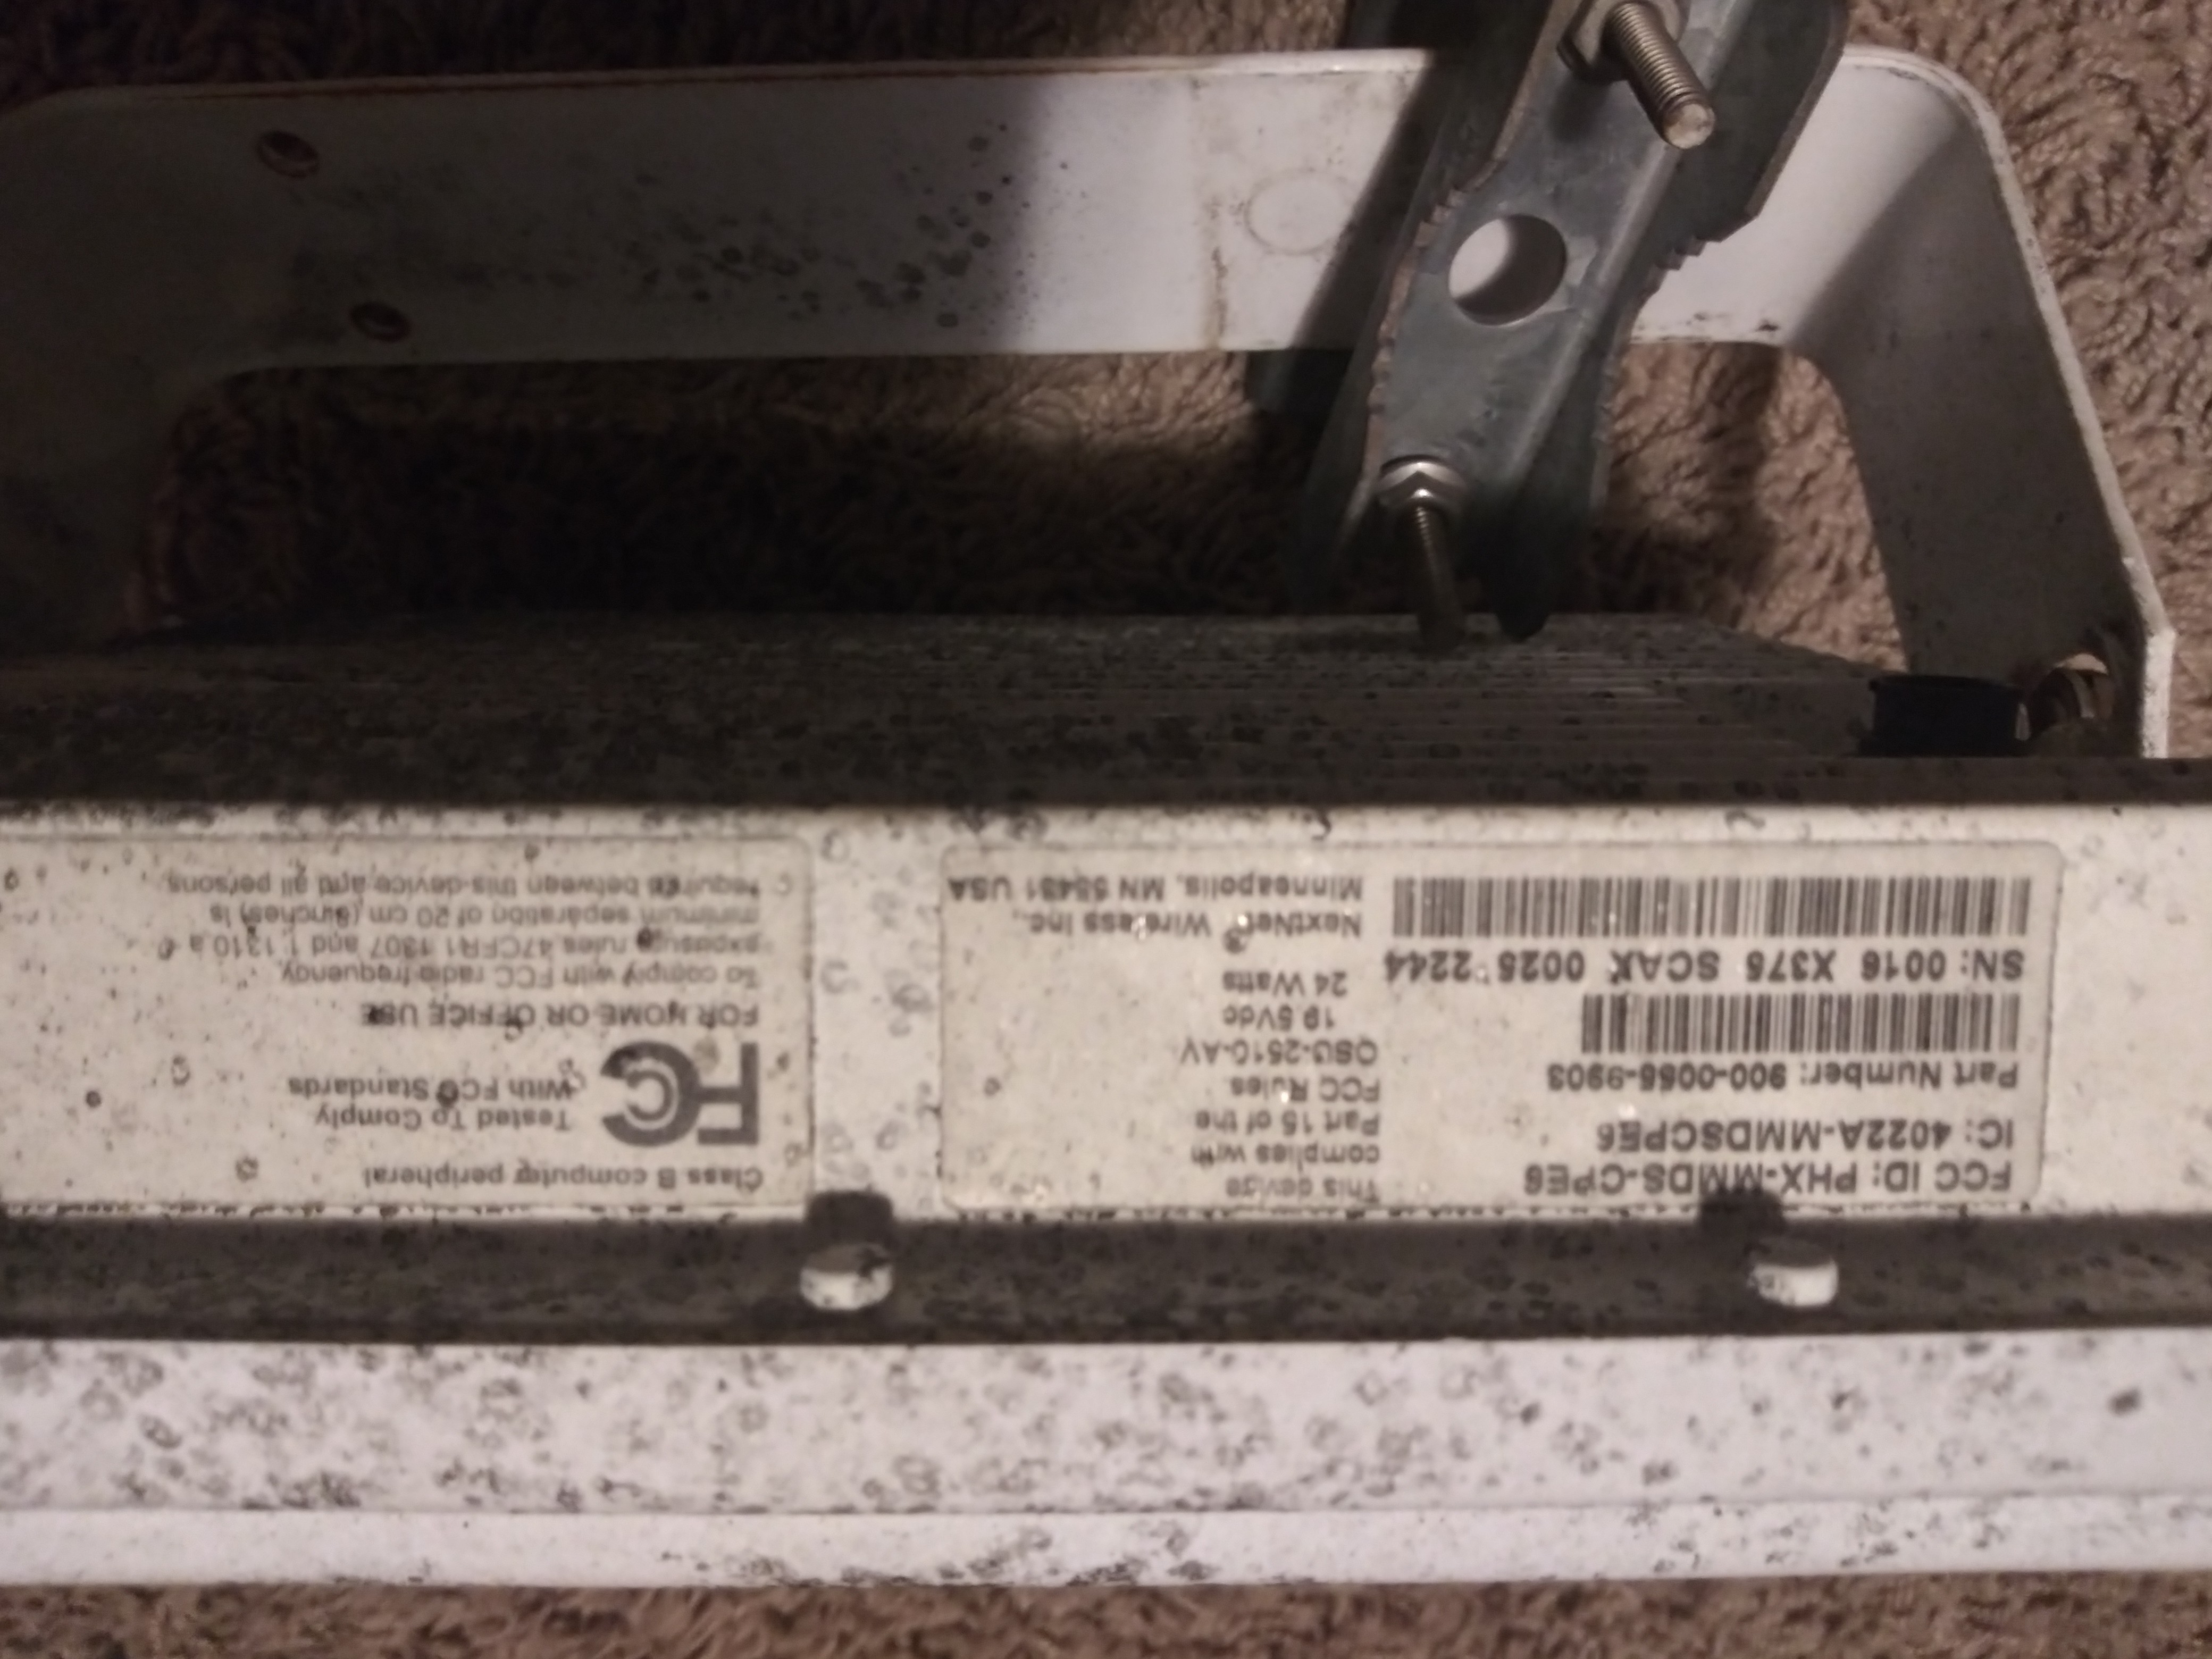
    First thing I did was inspect the unit and look for any indications of make brand and model.  The two things I found was the FCC labels and the brand NextNet, which I personally haven't heard of.  I did some quick researching and didnt find to much other than some information pertaining to the FCC ID.  I downloaded and skimmed for a bit but then got the itch to open it up. 

View all 4 project logs

Enjoy this project?

Share

Discussions

Similar Projects

Does this project spark your interest?

Become a member to follow this project and never miss any updates