-
1Cartridge Assembly
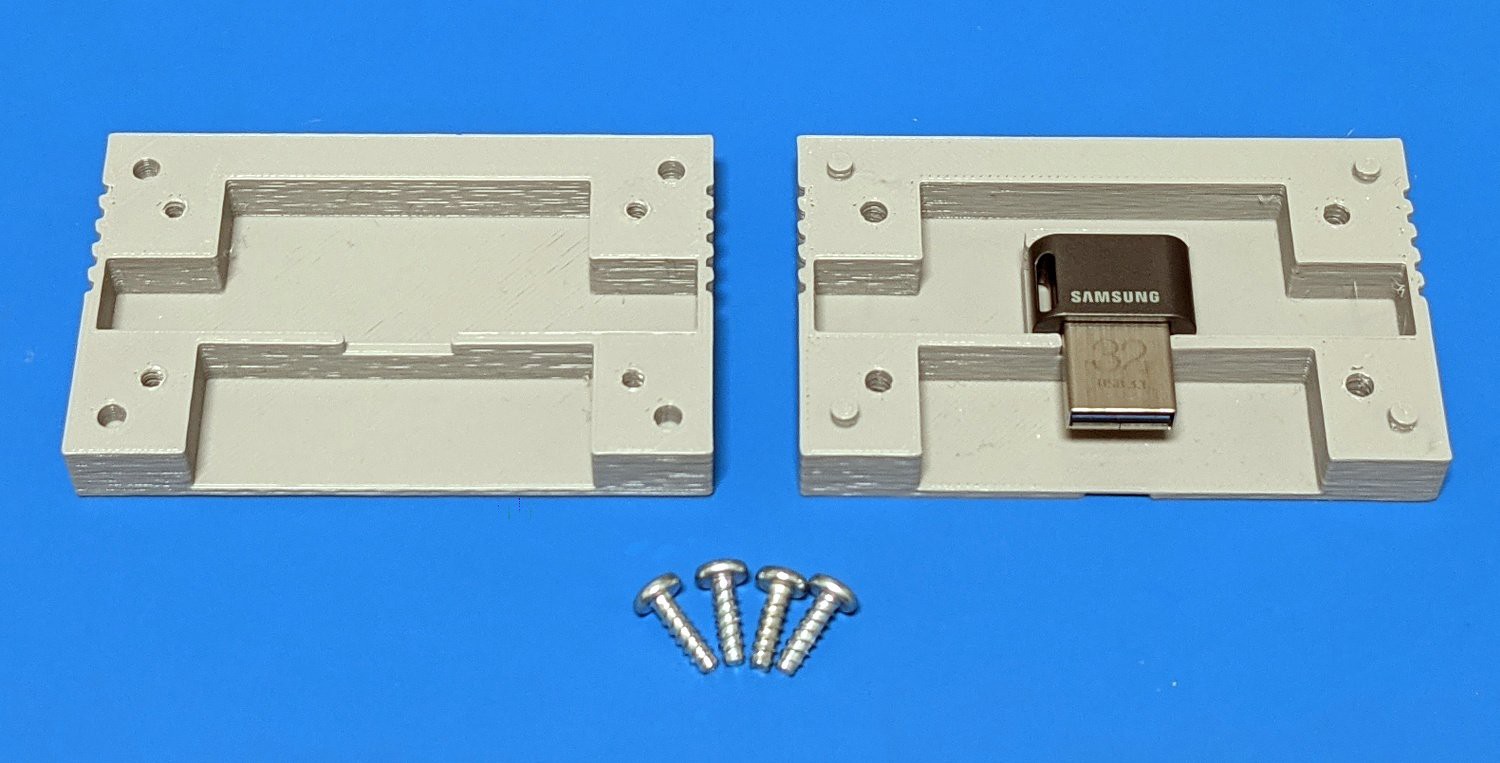
For most cartridges, you simply need to stick your USB device into the case and screw it together. Some, like the Wemos D1 Mini cart, require a bit more work as you'll need a small micro USB extension cable and a few zip ties.
![]()
Ideally you would use #6 Plastite screws to hold the cartridges together, but in a pinch, you can use M3 cap head screws. Just be careful not to strip out the holes.
-
2Slot Assembly
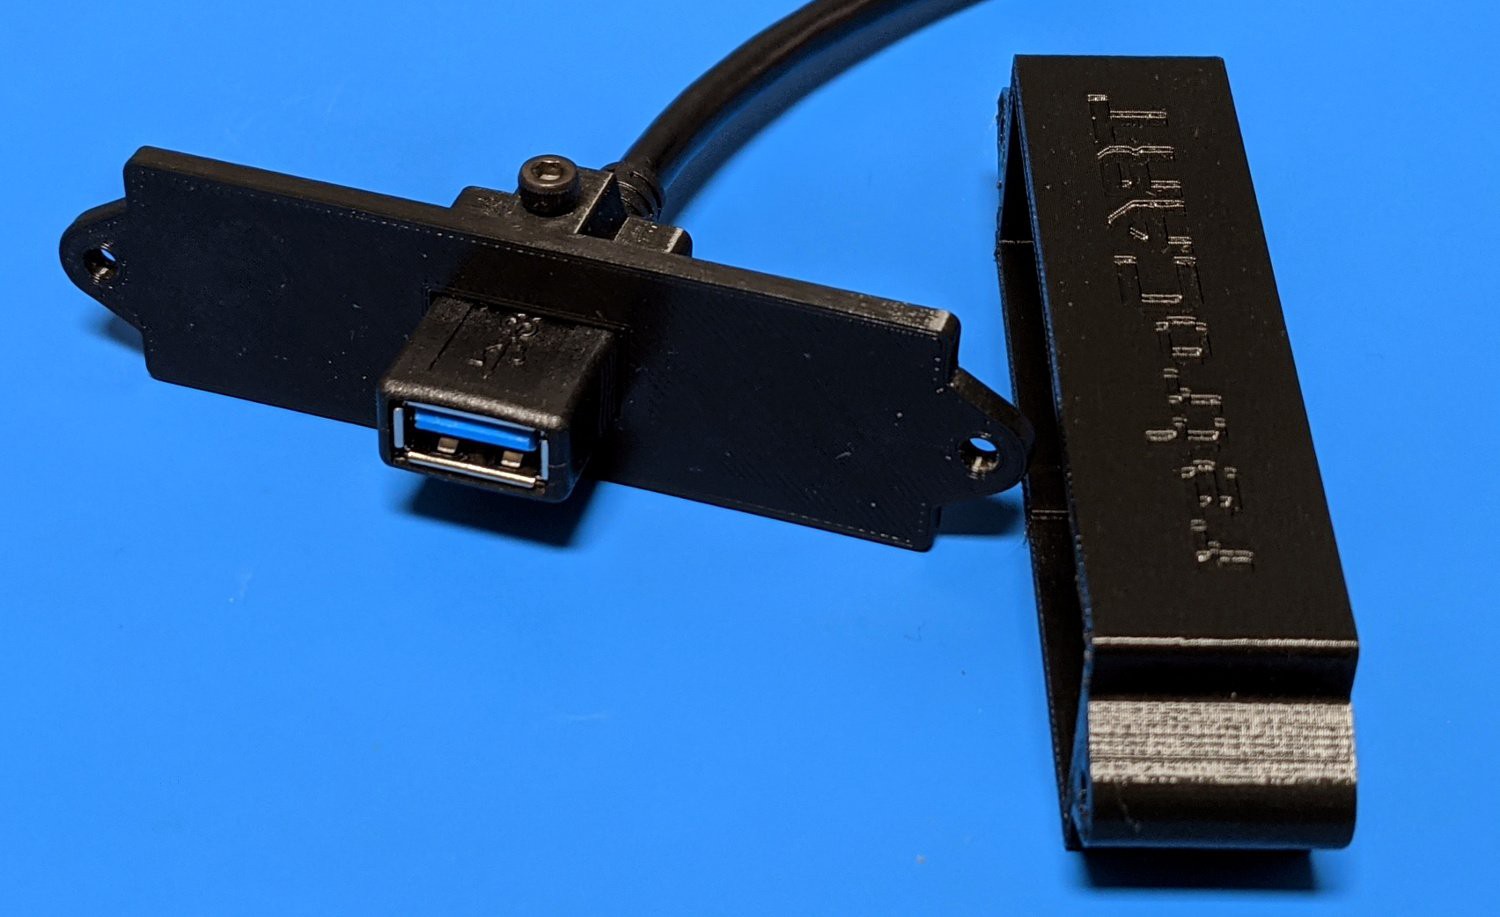
The design for the cartridge slot is in two pieces, allowing you to not only print it without supports, but experiment around a bit with the slot depth without reprinting the entire thing. The screw holes go through the entire body, so you can use whatever length M3 cap head screws you have on hand for both assembly and final mounting.
![]()
One of the key elements of this design is the integrated clamp that holds the USB extension. This is made up of a M3 nut inserted into a pocket in the 3D printed part, and an M3 screw installed through the opposite side. Torquing down this screw will pin the extension in place, and in my experience, puts enough pressure on it to easily puncture the molded end (try not to short anything out).
![]()
The key here is to mount the slot to whatever you're working on, insert a cartridge, and then tighten down the clamp. This will lock the USB extension into the proper position for ideal operation. Oh, and try not to put it in upside-down; I've done that enough times for both of us by now.
retroCART USB Cartridge System
Is it really a computer if there's no cartridge slot?
 Tom Nardi


Discussions
Become a Hackaday.io Member
Create an account to leave a comment. Already have an account? Log In.