1BarConnection
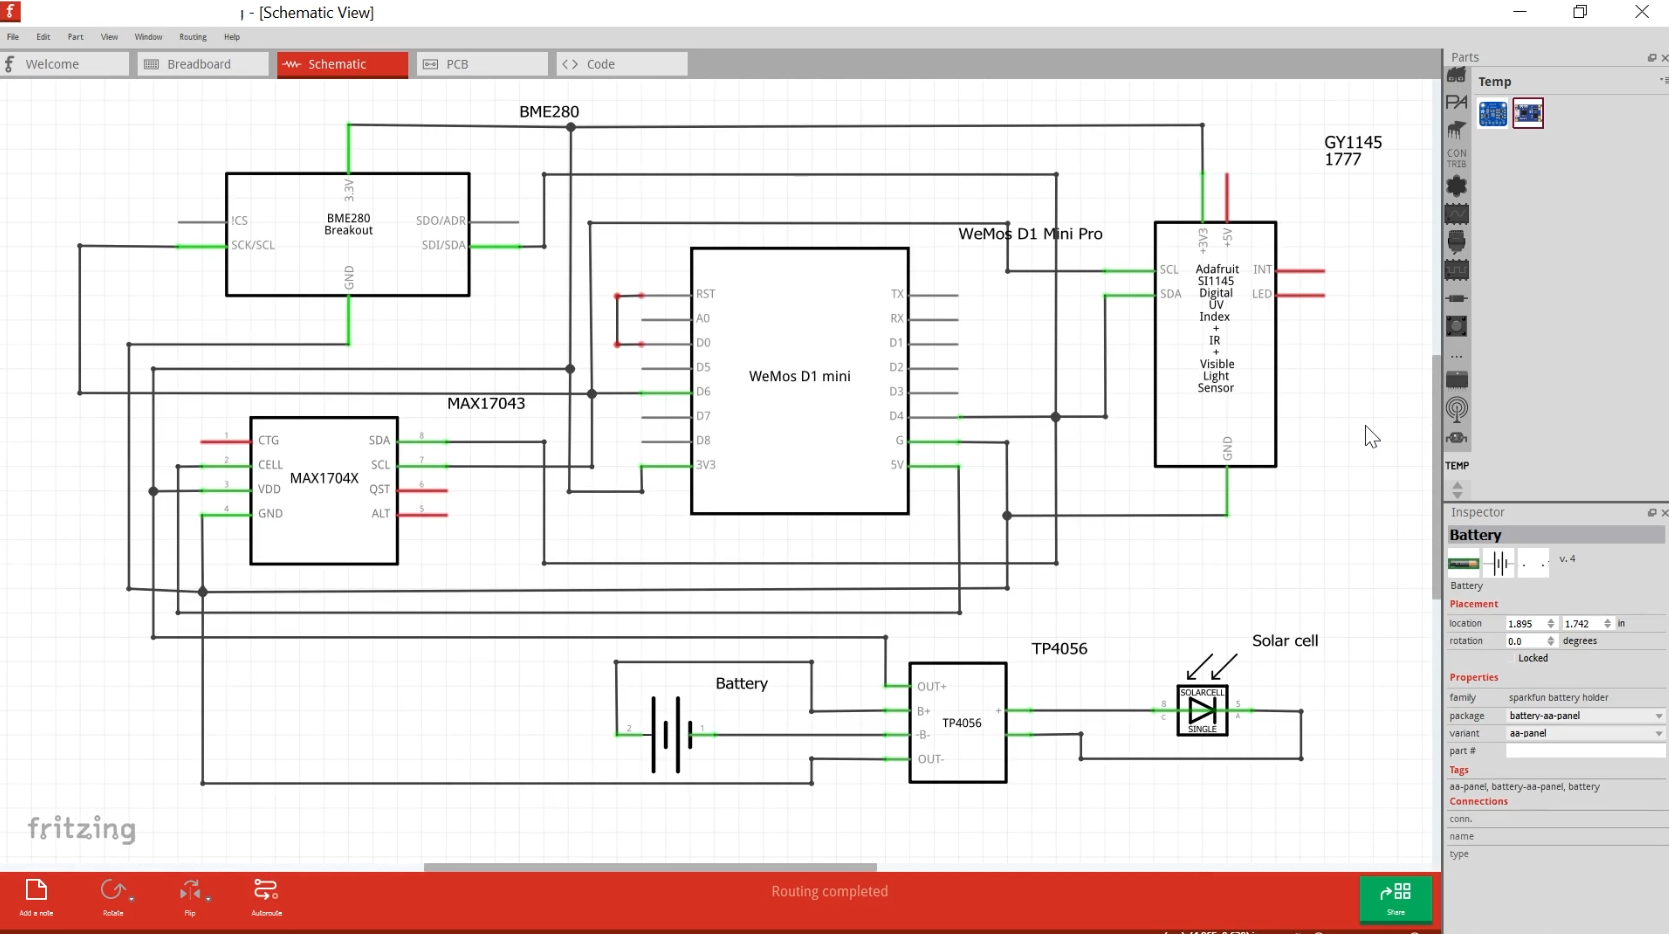
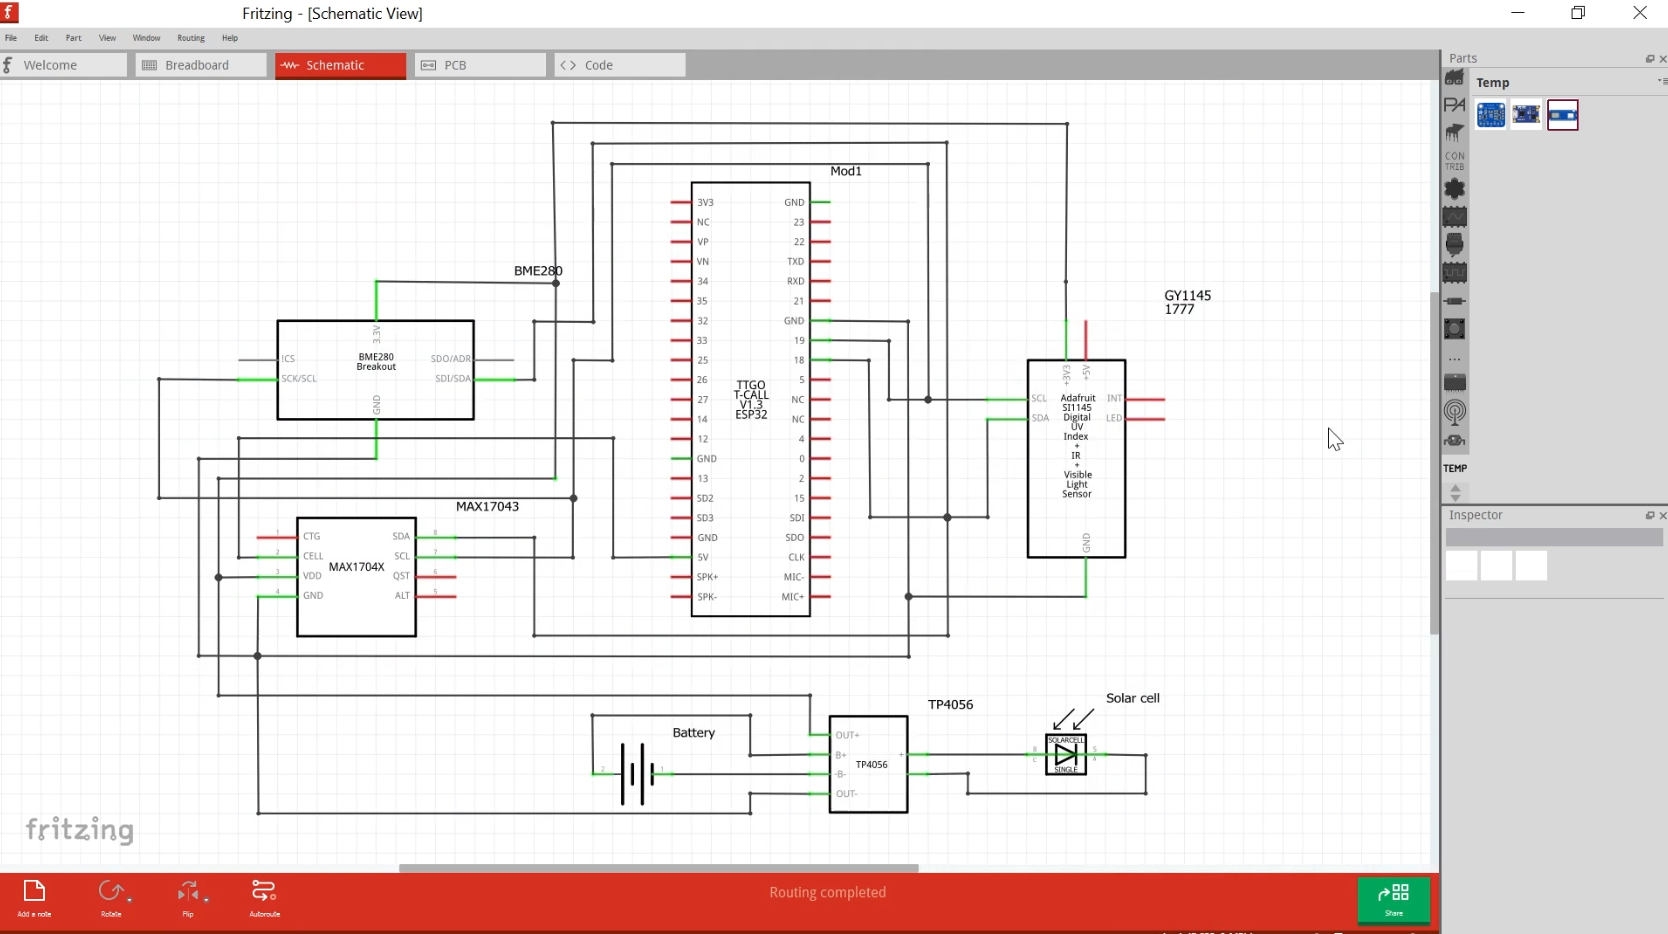
I wanted to make as much as possible mobile and autonomous weather station. To realize that I will need constant power, anywhere I place and leave that weather station, so I decided to go with Lithium-Ion (3.7V, 2100 mAh, 18650) rechargable battery, small (6V, 1W, 166 mA) polycrystal solar panel and TP4056 module for battery charging and protection.
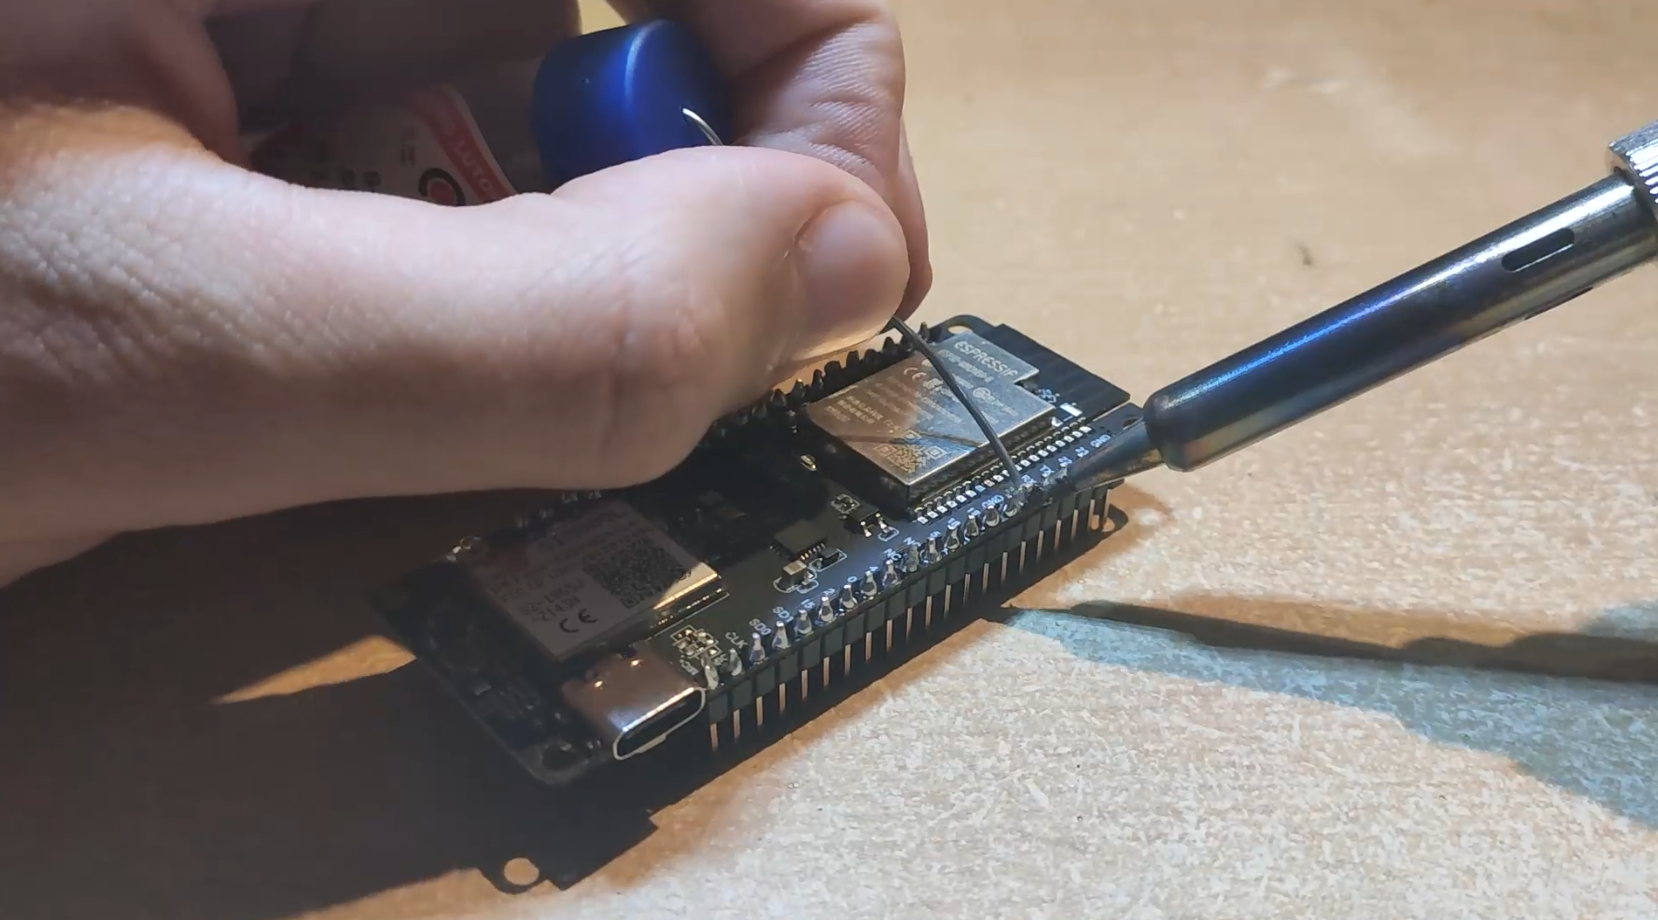
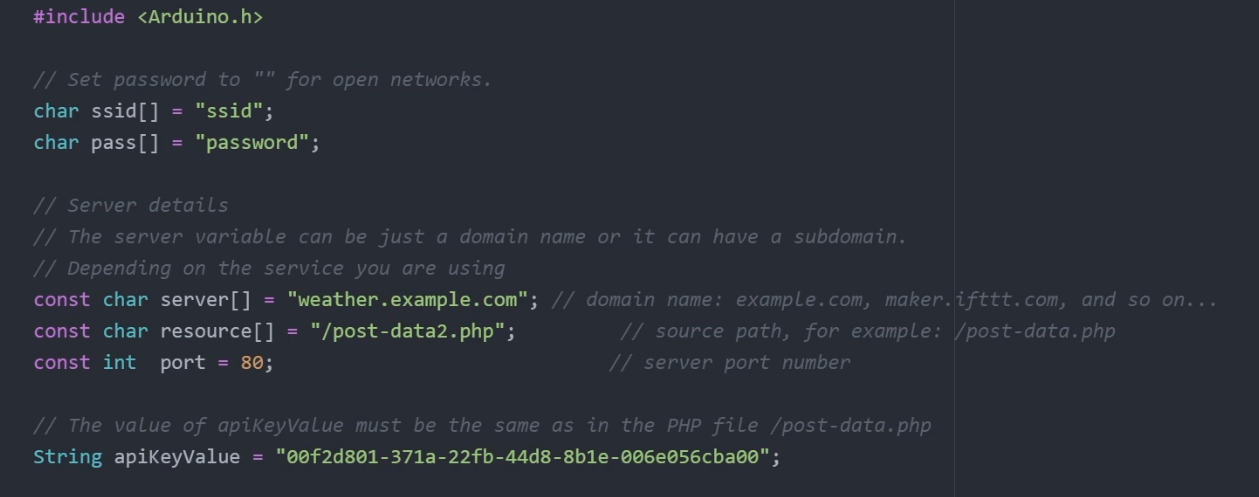
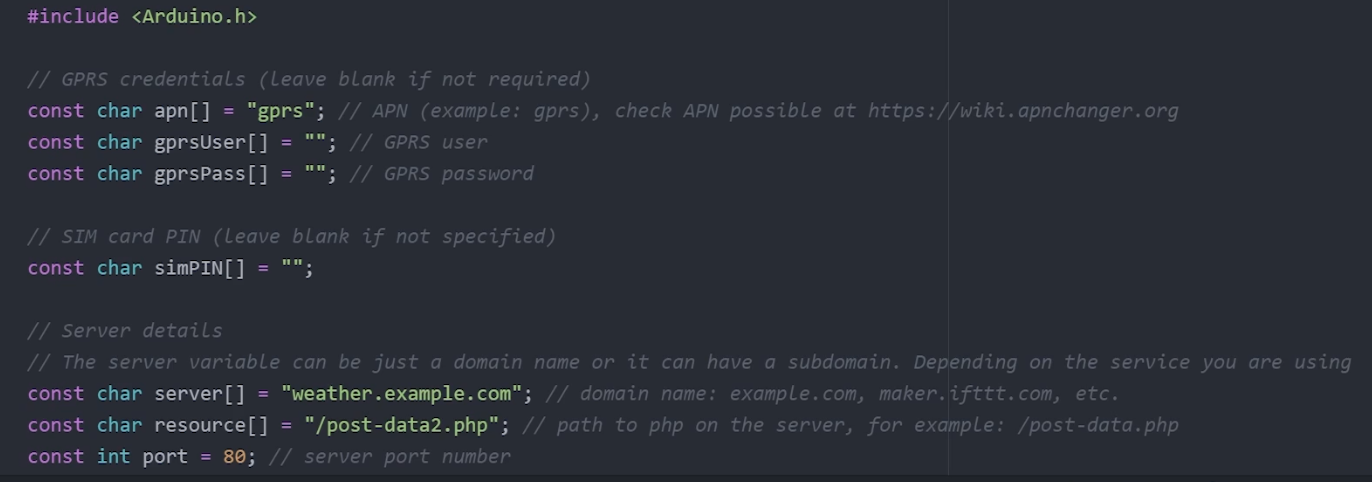
OK, power is solved. But what will be the brain of this operation? To satisfy my desire to have portable weather station I've decided to go with LILYGO T-Call version 1.3, later on version 1.4 module with ESP32 and SIM800L module. LILYGO module comes with antenna and wires for power. Espressif ESP32 will be the brain which will contain program code. In SIM800L communication module I'll add SIM card that will connect to GPRS mobile station with APN information and send collected data to a web server. Big note, if you are planning to use SIM800L module check that your mobile operators in your country are still supporting 2G, GSM, GPRS networks. This will not work with 3G and higher generations if GSM is not supported. I'll buy cheapest mobile data package for SIM because sending of weather data will need very little internet data. In one week this weather station should not create traffic more than 100MB if sending data in period of 15 to 30 minutes.
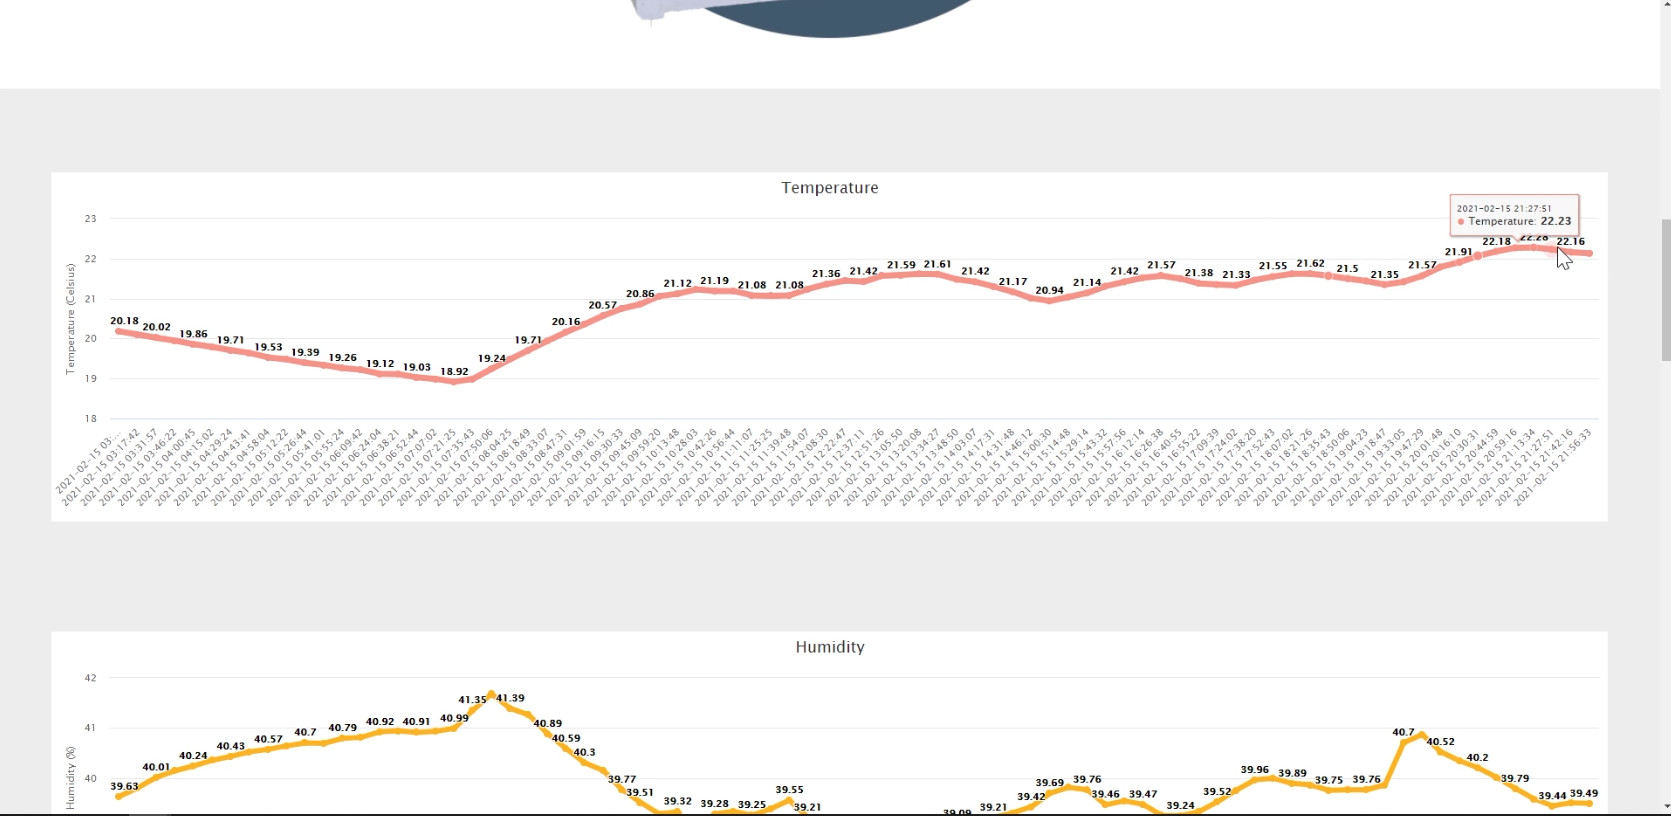
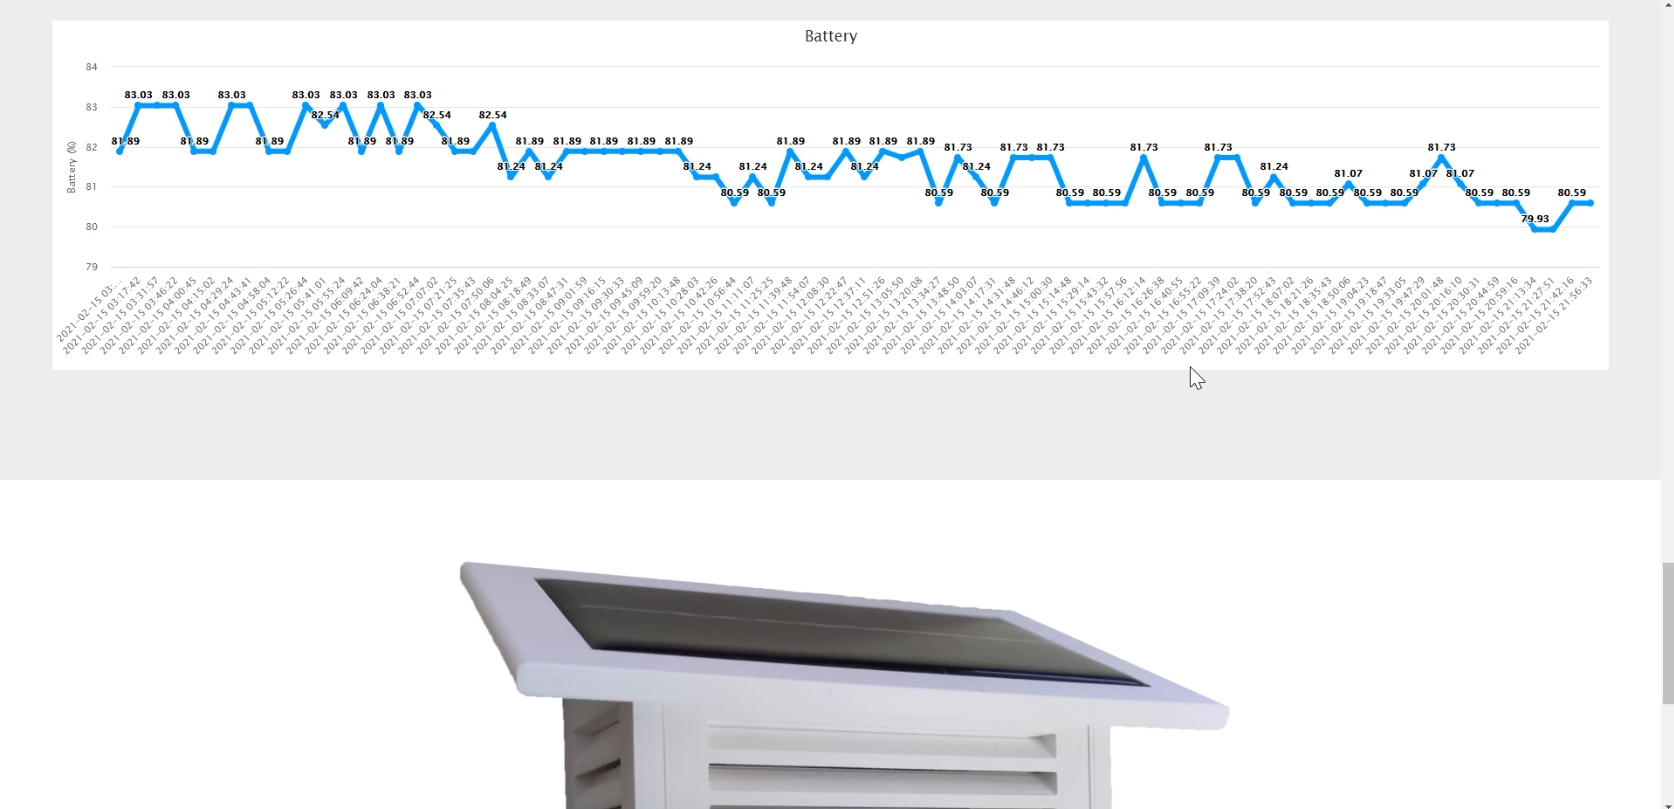
Which data will be collected? I decided to get the basic data for weather, like temperature, humidity and pressure. To collect that data BME280 sensor will be used and then get altitude value out of temperature and pressure data. I will also try to get UV index with SI1145 sensor. Later on I've also decided to add MAX17043 sensor to get battery percentage. All sensors should use I2C to send data to ESP32.
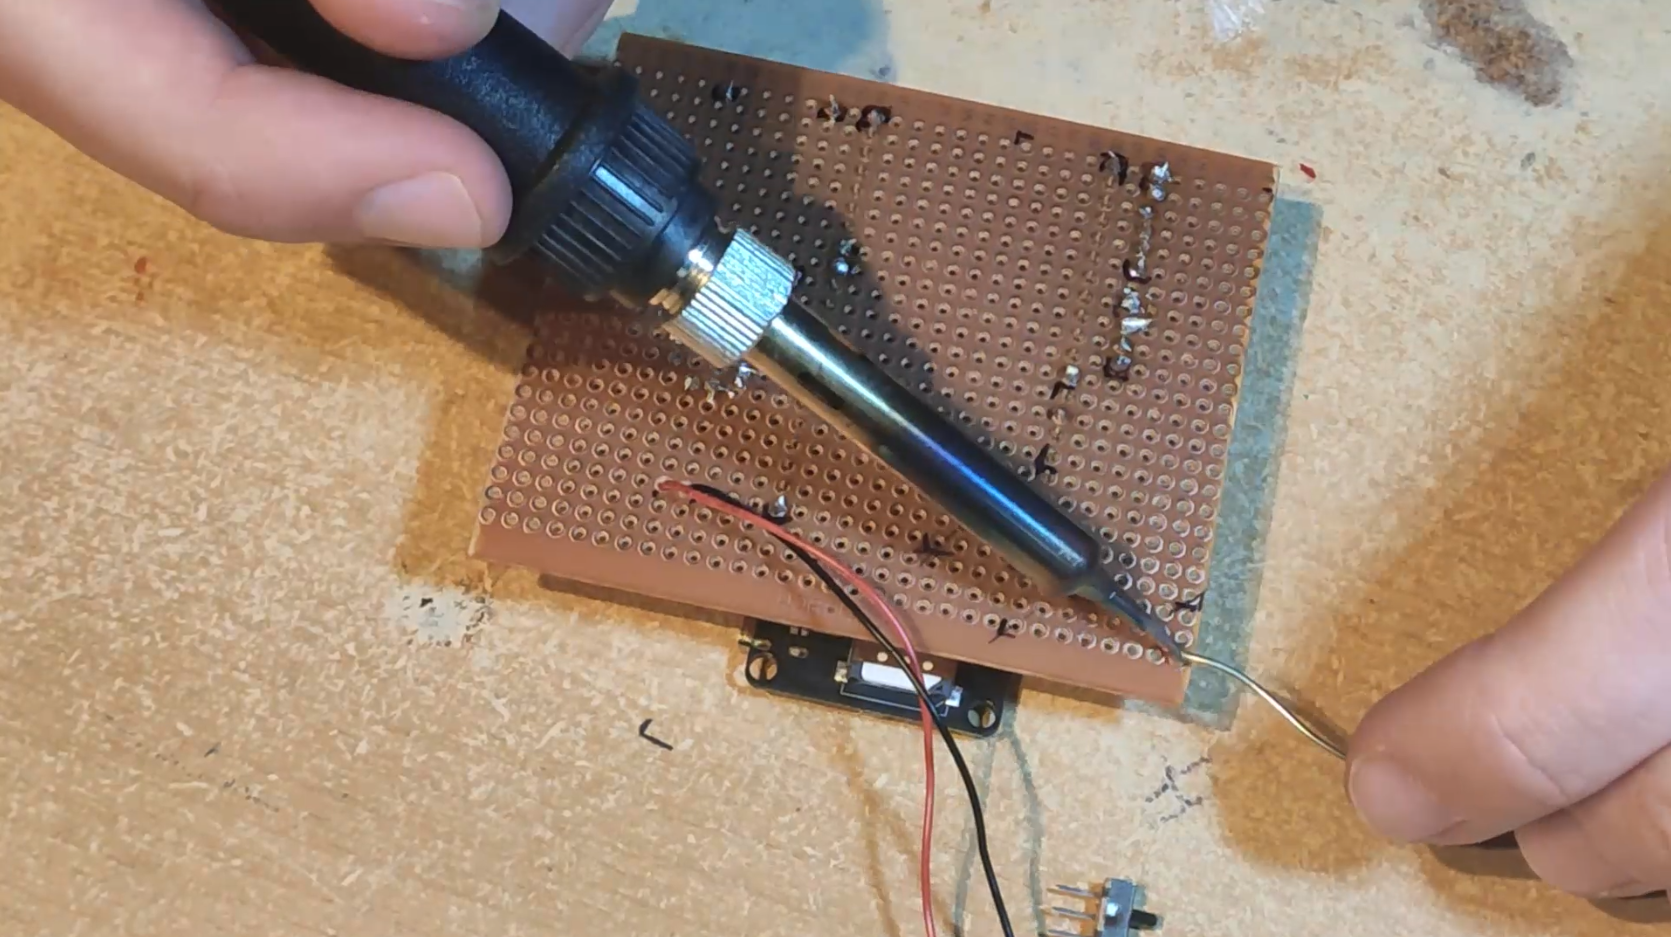
To connect all that components I'll need few more parts. And those are, some wires, breadboard, prototyping board, screw terminals, switch and battery holder.
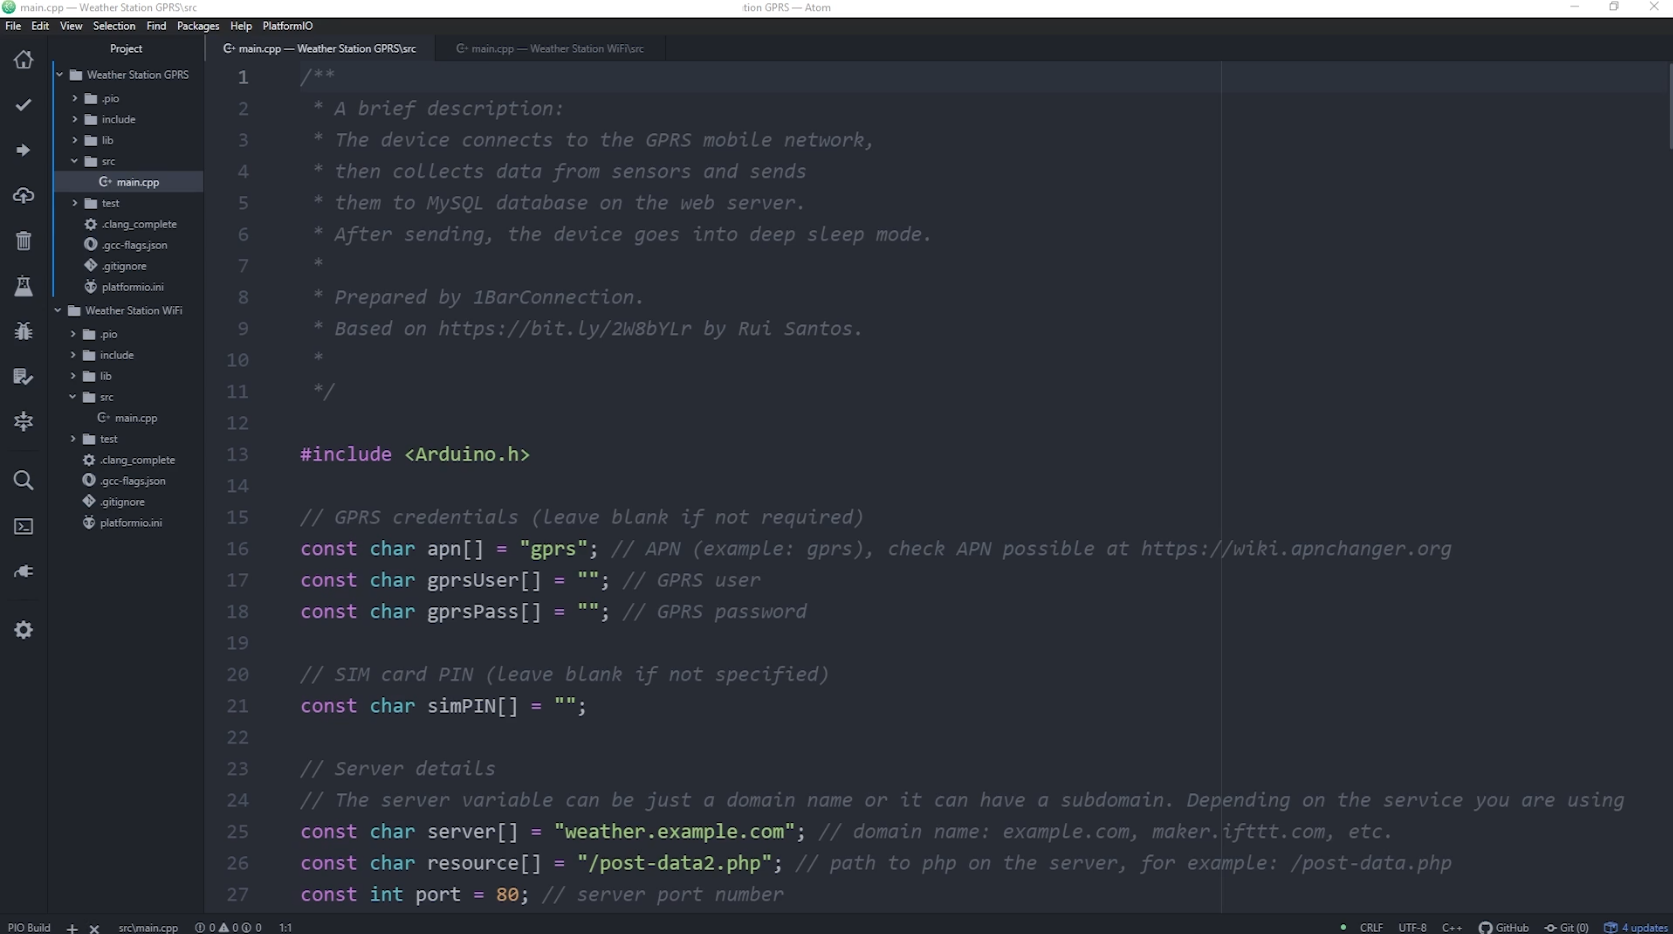
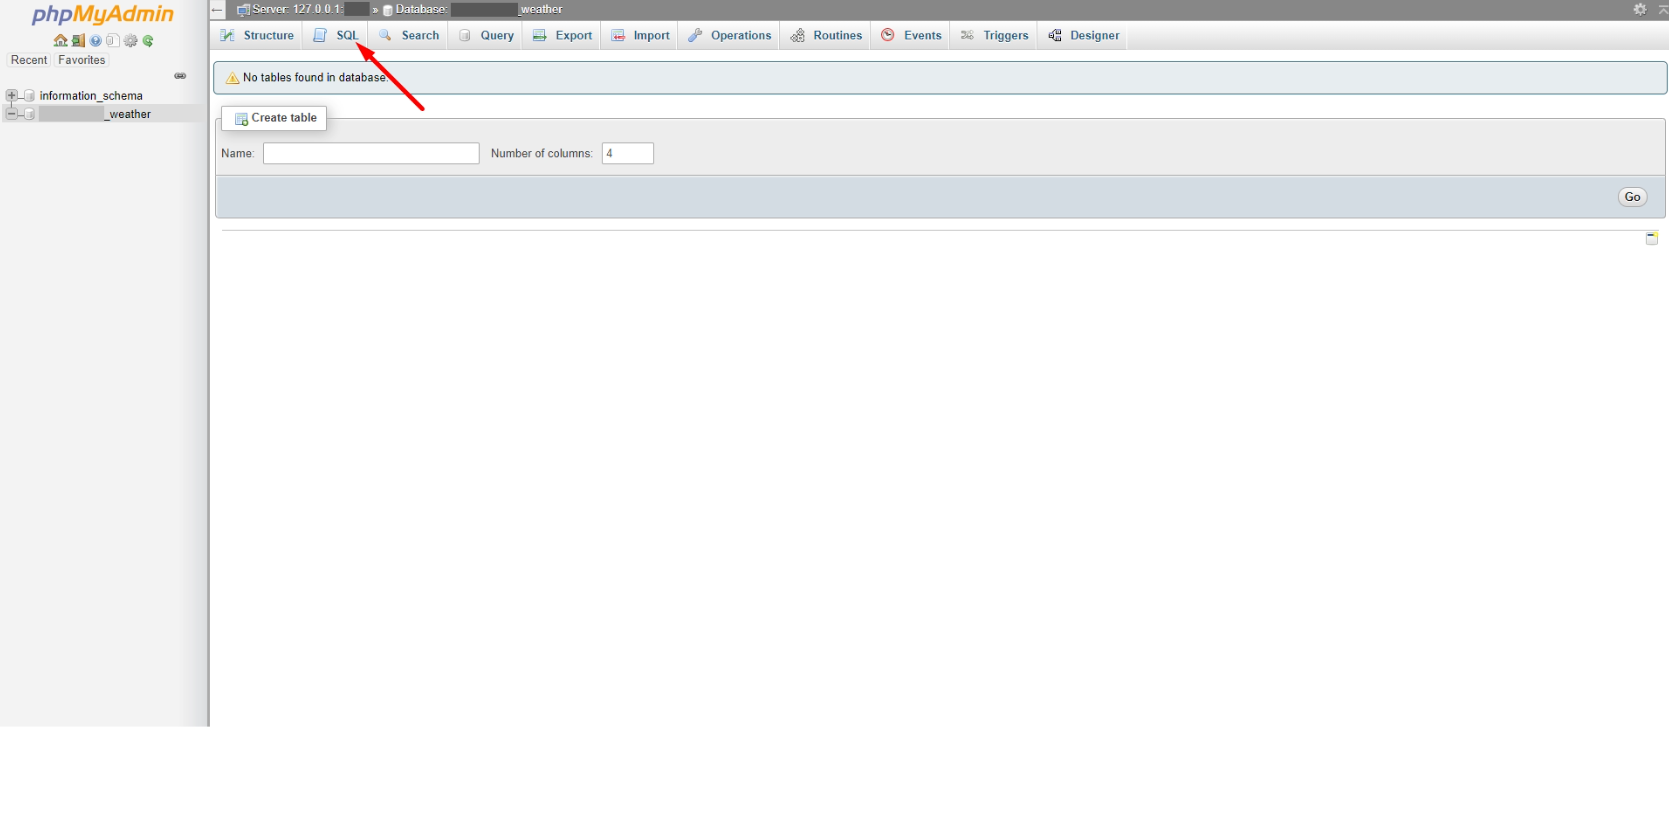
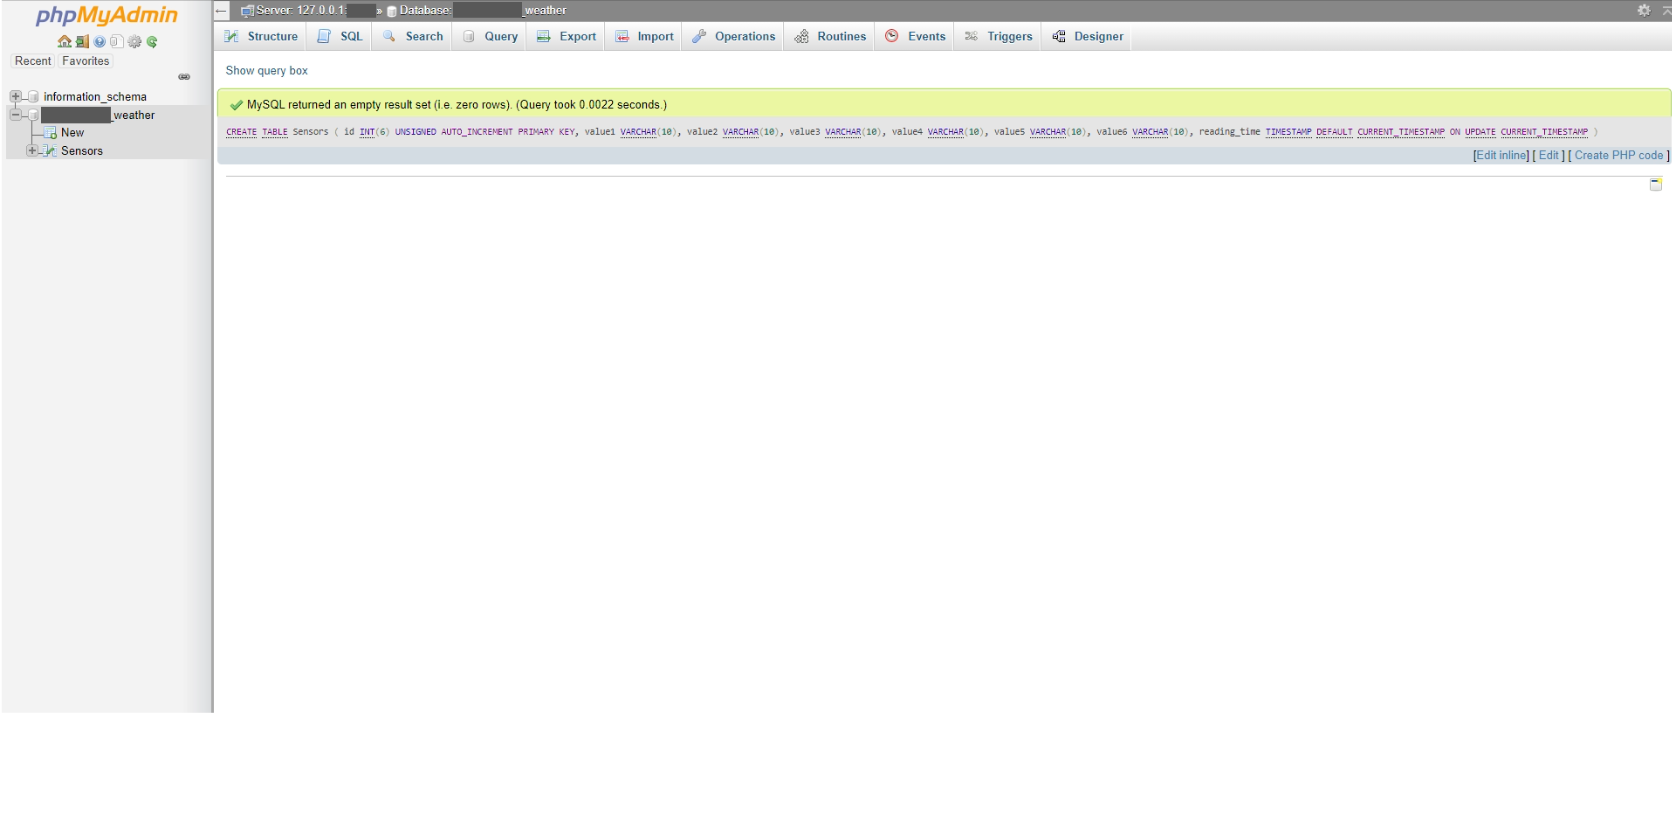
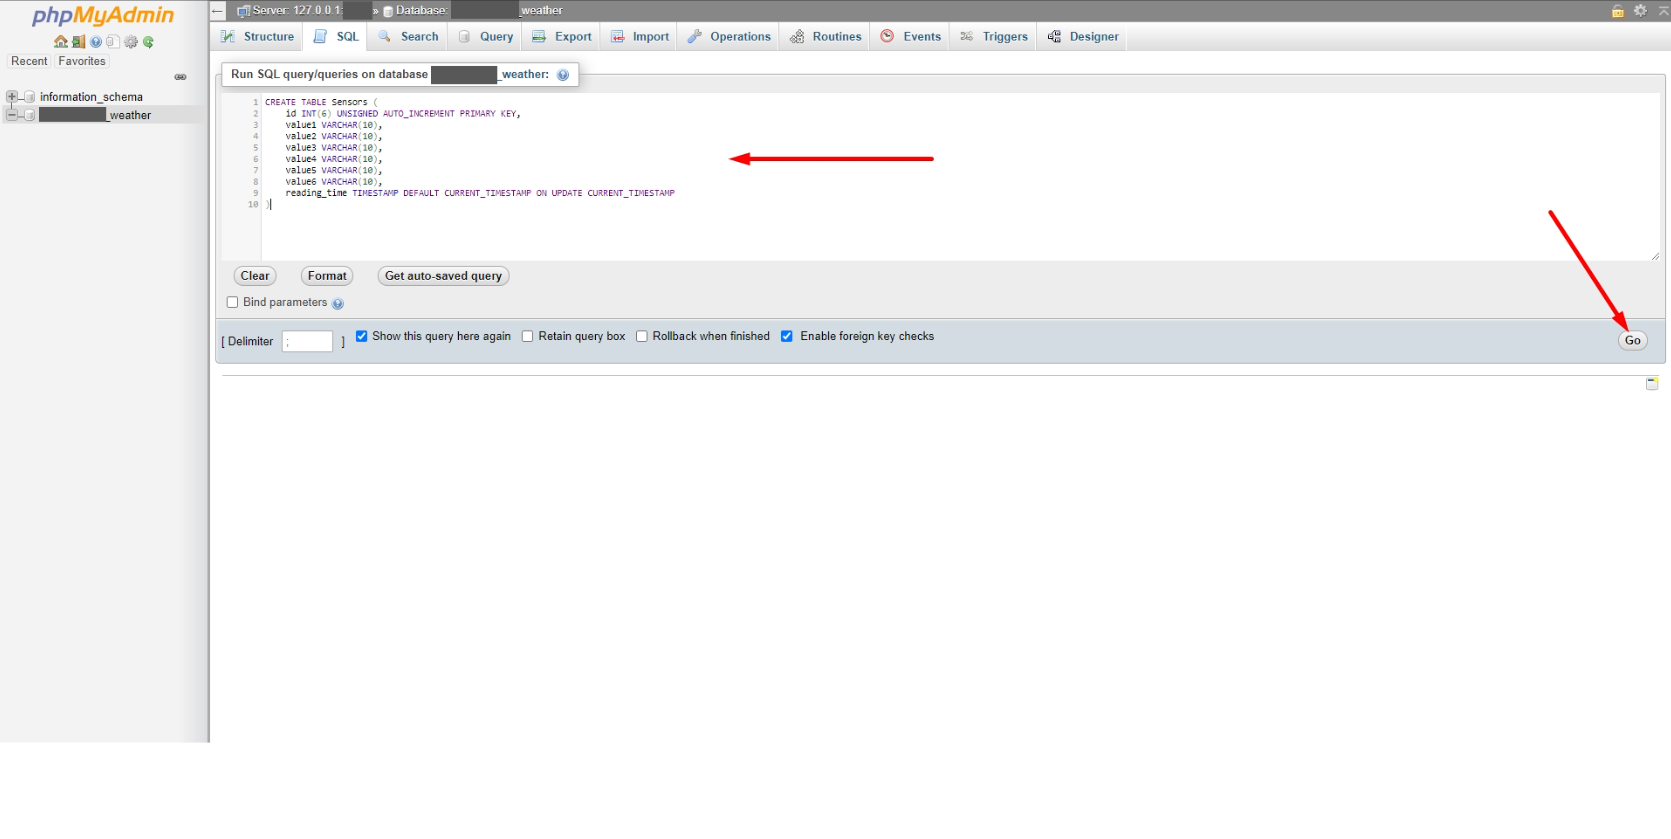
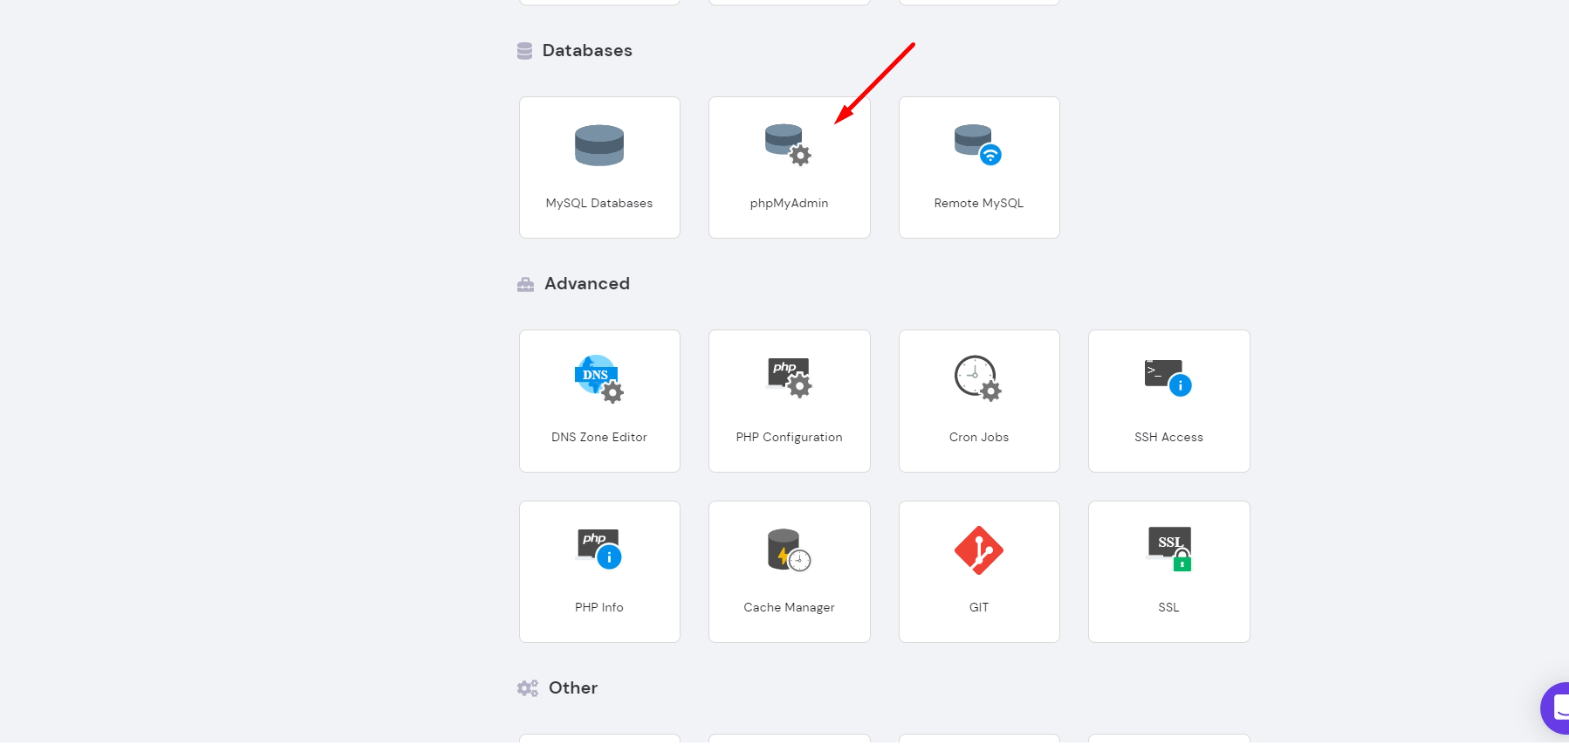
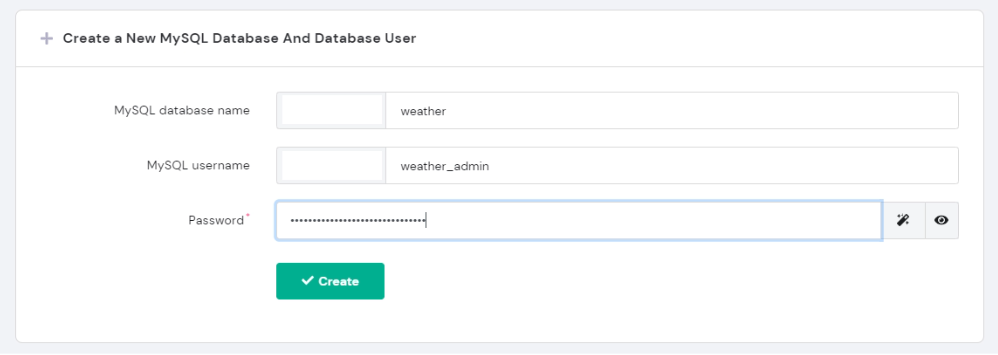
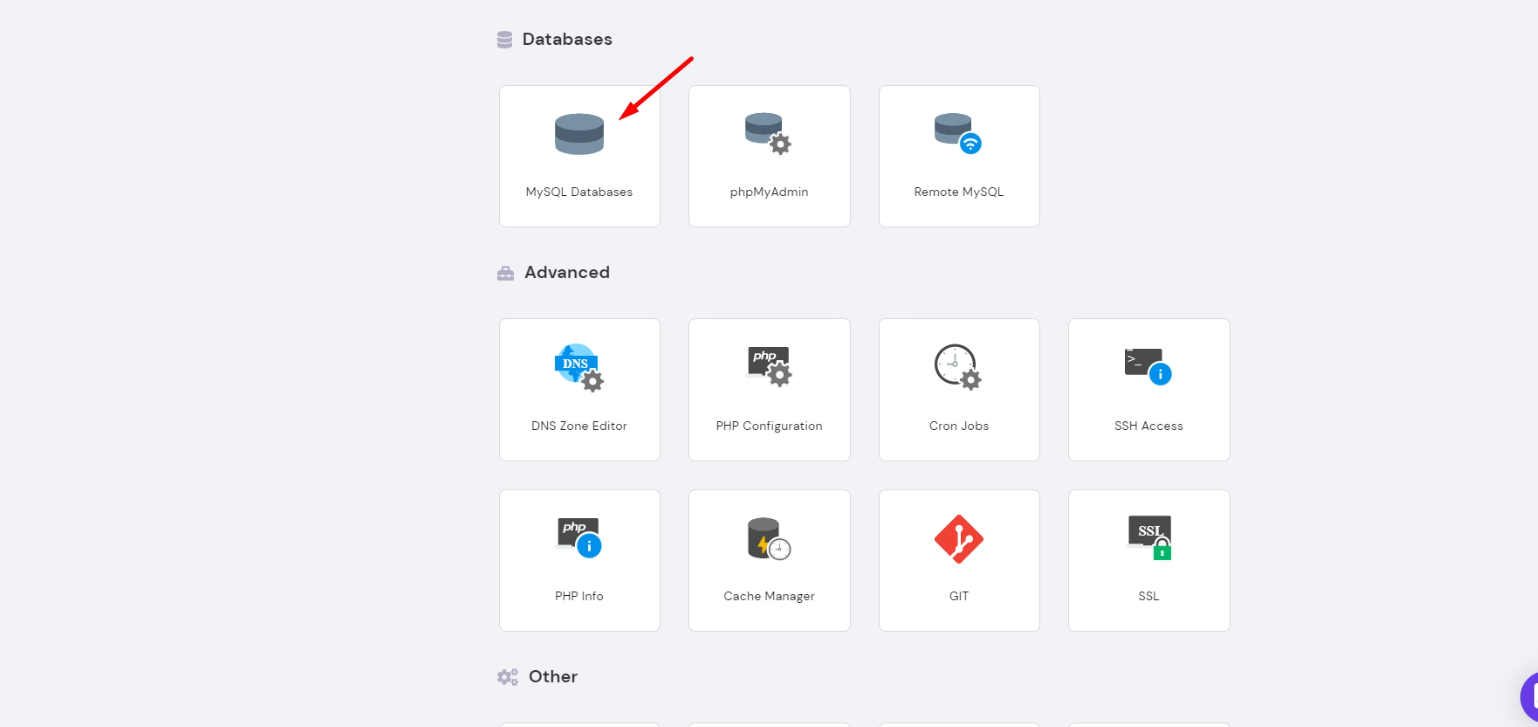
I'm going to use my private website to store and pull data with PHP in MySQL database and then visualize that data with HTML, CSS and JavaScript.
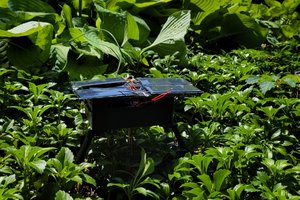
On the end we are going to put all the electronics in nicely 3D printed case.
OK Let's start with the project.

 Trey Labak
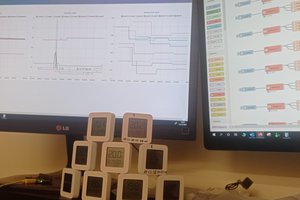
 Javier
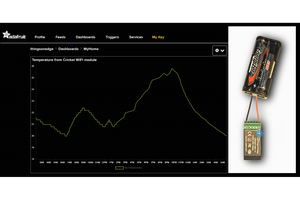
 Sylwester