 Jung Hoon Lee
- 3D Designing
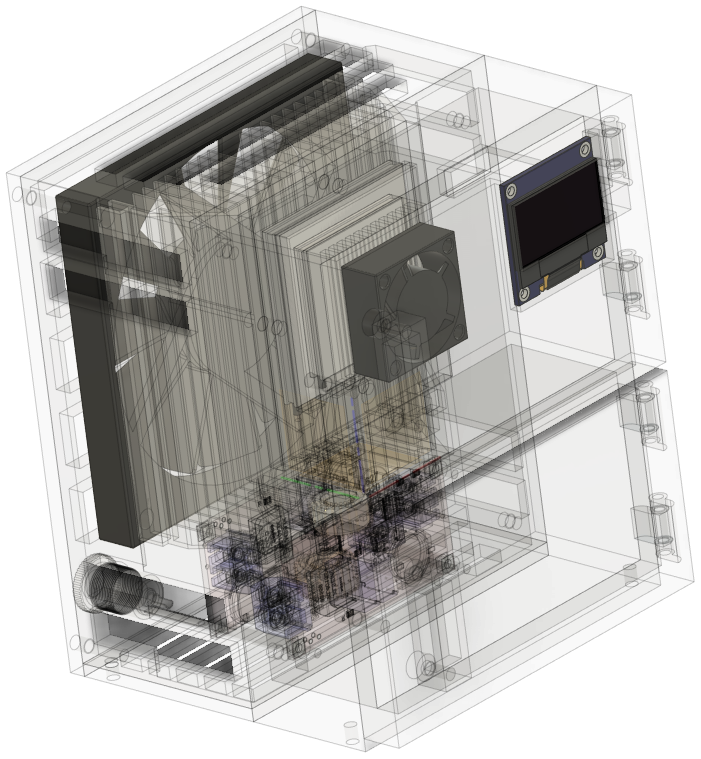
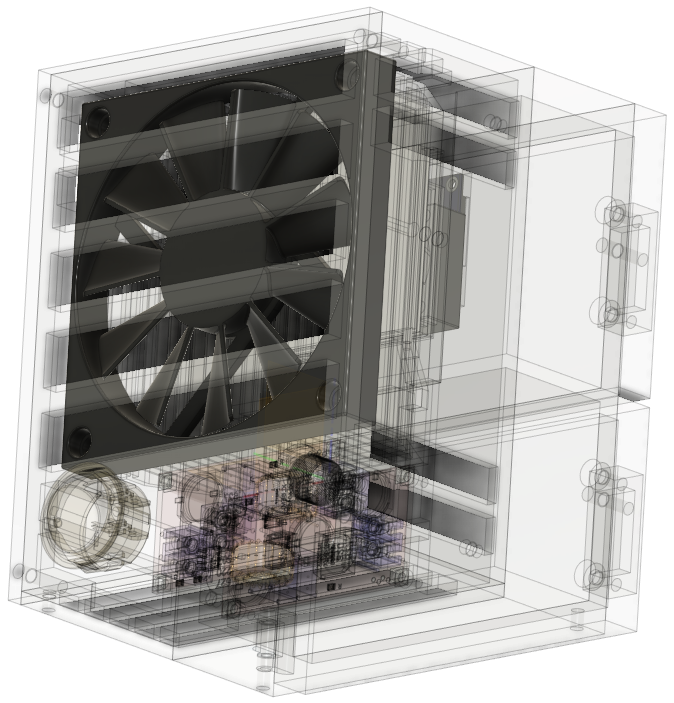
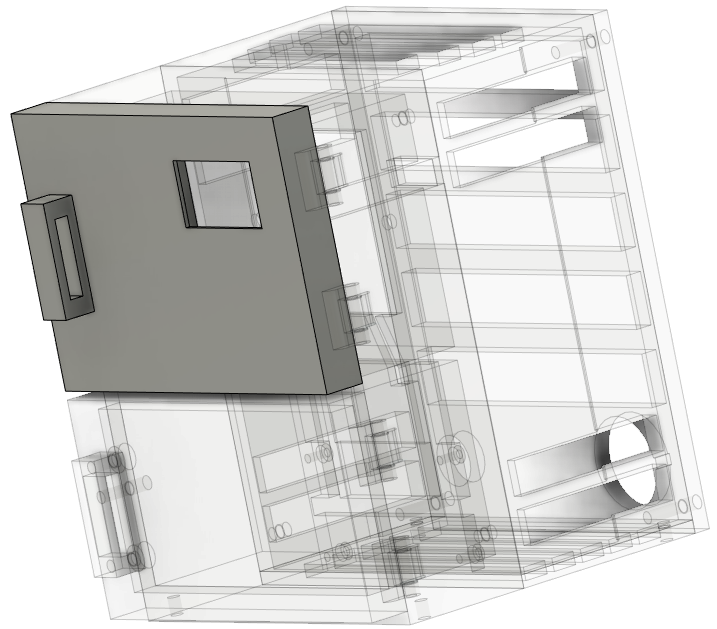
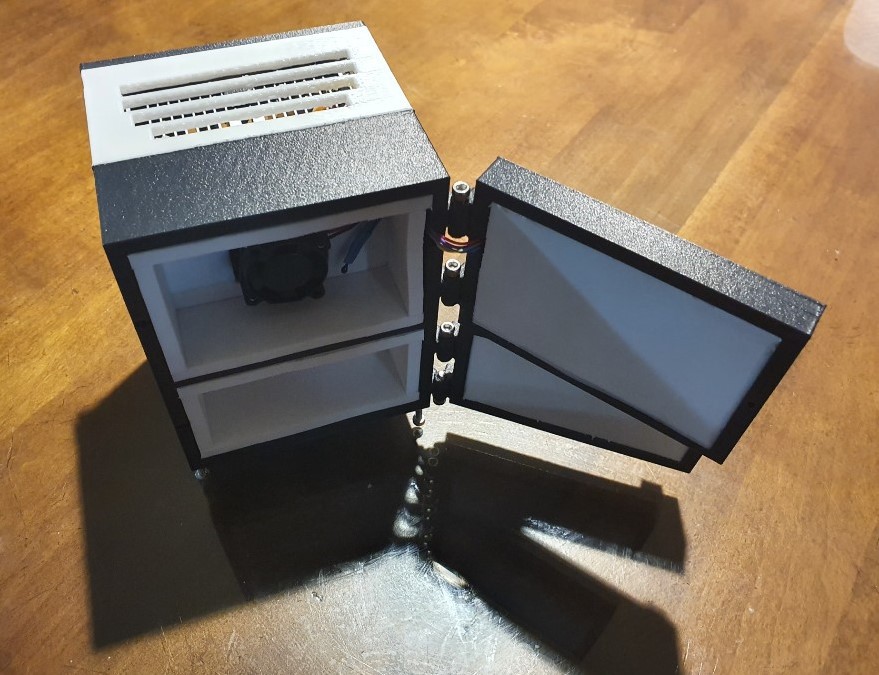
I started designing the heat sink, followed by other components. The design process took a while because I needed it to be very small, had to be a 3D printable, modular enough to be assembled with ease, and the most importantly had to designed for maximum performance, which in my case was minimizing any temperature rise In the cold chamber.
- Electronics
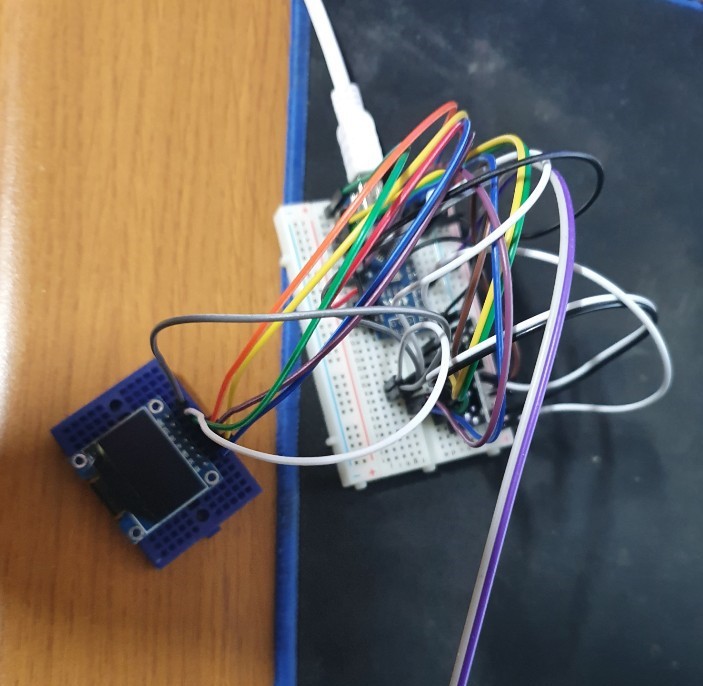
I wanted a display to monitor the system information and temperature. A 0.96 inch OLED display and Arduino Nano was used. For my project, “the smaller the better” I had two sensors to choose from, which were AHT10 (digital) and KY013 (analog) sensors. I wired the AHT10 to an Arduino Nano via I2C, printing values to the serial monitor to see if I could get correct measurements. It was a perfect choice, until I realized that the AHT10 breakout module had SMD components that could mal-functioning under freezing temperature. Moreover, AHT10 was design to measure space/chamber temperature, not to measure surface temperature. The only sensor left on my list was the KY013 analog sensor. Same as before, I connected the KY013 sensor to an Arduino Nano. Using serial print, I was able to get reliable temperature reading. This temperature sensor is a NTC thermistor, which is changing its resistance value when applied different temperatures. According to the specifications of the thermistor, it has a temperature range of -55C to 125C, which is well above my temperature range. After making sure the sensor is working properly, I needed two sensors for the cold chamber and the hot side of the heat sink. At the same time the cold sensor should display the real time values using the OLED display. I’ve wired the two sensors, OLED and an Arduino Nano. After uploading the finished code to the Nano, I had a problem that the two temperature values displayed on the OLED was off by a lot. After few days of troubleshooting, I finally found out that the I2C connection with the OLED and the Arduino Nano A4 and A5 pins was causing the problem. I switched to the SPI version of the OLED, by which I could solve the problem. I wasn’t sure why the I2C connection was causing the problem, but I assumed it was due to the I2C bus on the analog pins interfering with the analog read or it could be a library issue. I later added a “warning” prompt when the hot side heat sink temperature rises above 50C.
- TEC control
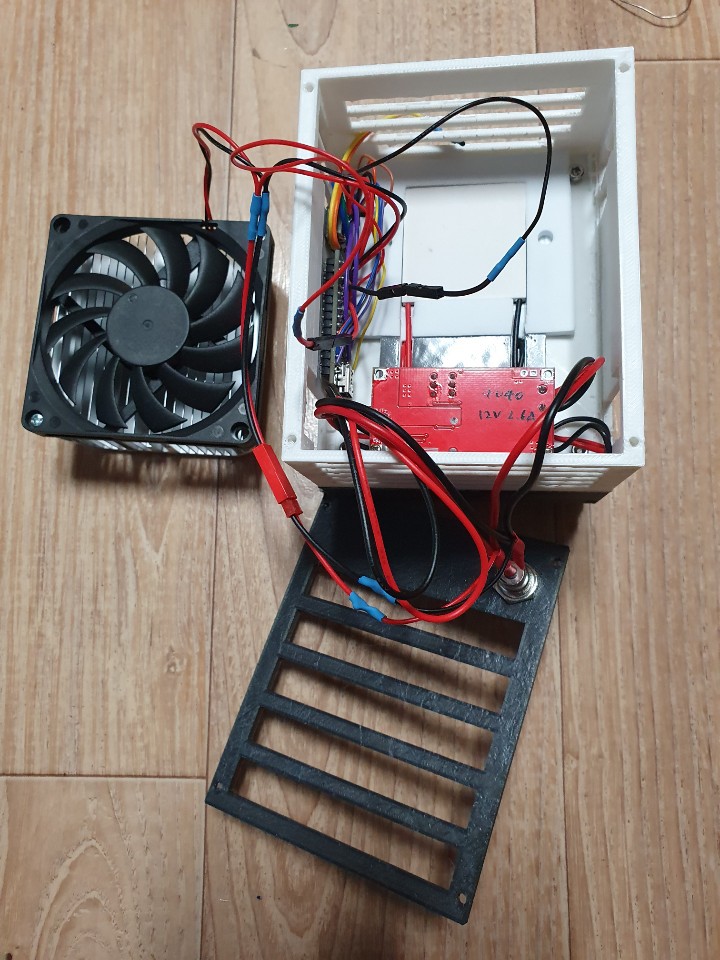
I needed a different voltage and current to drive the two TEC modules. PWM control would be the easiest to drive the TECs but, after some searching on the web, I found out that TECs operate its max efficiency, when given constant voltage and constant current. However, I wasn’t able to find a controller that could keep output constant V, A. I could find some controllers that are specialized in controlling TECs, but the price was couple of hundred dollars. I instead thought about using an adjustable voltage and current buck converter with MCP4725 DACs to convert digital signal from an Arduino to analog voltage and feed it to the pins where the adjustable potentiometer for adjusting V, A are connected. But soon realized that I was going too far with the electronics, it just made things more complex. I decided to reserve this for my second revision of this project. Using my DMM I set both voltage and current for the two TEC modules, 4040 at 12V 2.6A, 3030 at 6V 1A. After I checked everything working properly, I started to assemble the fridge. The wires for the electronics were a challenge to fit inside the case, but other than that everything came together, with minimum design changes. I used a 12V 5A power supply for the power. Powered on, after few minutes, the cold chamber went down to -6.6C at 24C ambient temperature. To make sure it’s a “real freezer”, I tested with some water inside the chamber and powered on the miniature fridge that I built. As expected the water had frozen within 15~20 minutes.
- Conclusion
This project took me around 30 days to build. Roughly 25 days for the experiment and design, 8 days for the electronics and assembly. The experiments took the longest from my perspective. I think it’s due to the delay in acquiring new parts to be shipped.
I’m very thankful to myself because this project was working as planned. In the course of this project, I’ve learned about cooling, 3D design, CFD (computational fluid dynamics), simulation, animation, and a lot more. There were some times I wanted to trash what I was working on. But I could overcome with hope and tenacity inside of me. So I’ve learned that if I put enough time and hold on to a problem until it be solved, I think it’s worth every second I invest what I’m working on.
3D design

Electronics

Discussions
Become a Hackaday.io Member
Create an account to leave a comment. Already have an account? Log In.