Paulson K Antony
Single Player PONG Game
- Player Paddle controlled by two buttons
- Computer Paddle controlled by an algorithm to chase the ball wherever it goes
- The ball changes X and Y direction when it collides with the top, bottom, or either of the paddles
- GAME OVER if the ball touches the left and right side
- Restart the program once GAME OVER
- No score system implemented

 dBSound Bracelet
 Saul
Saul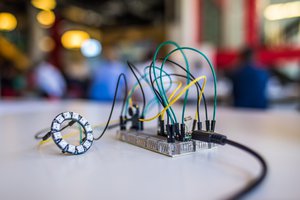
 Richard Hogben