 dmoisan
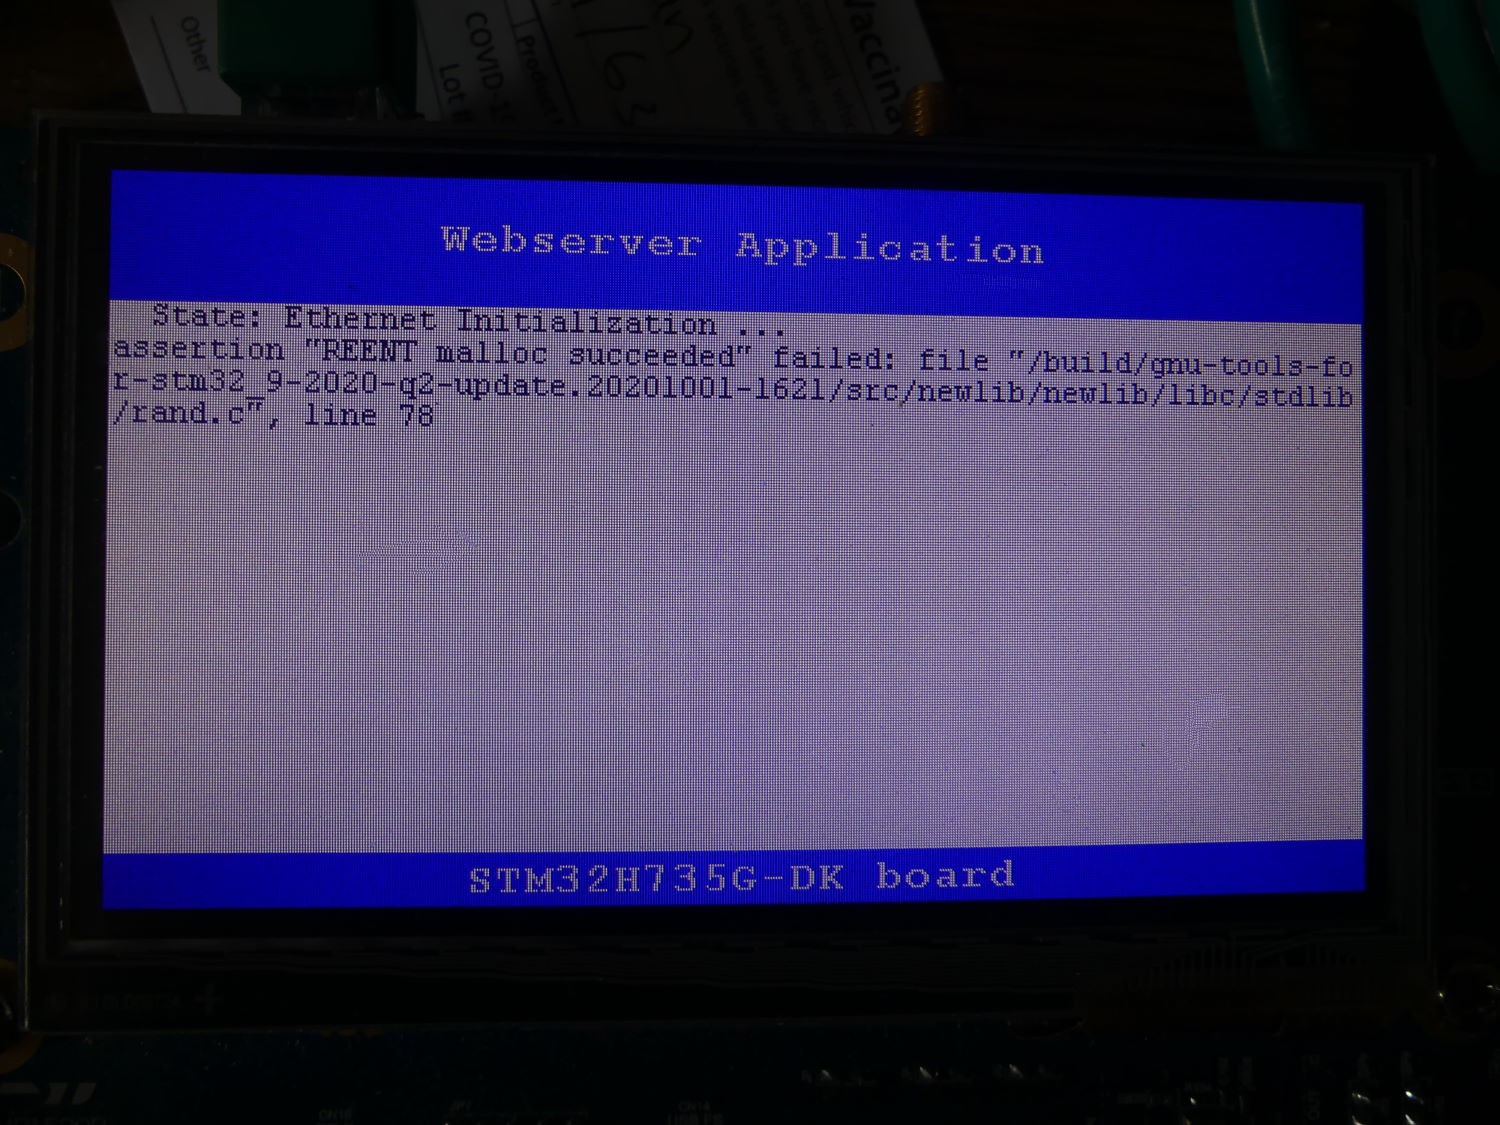
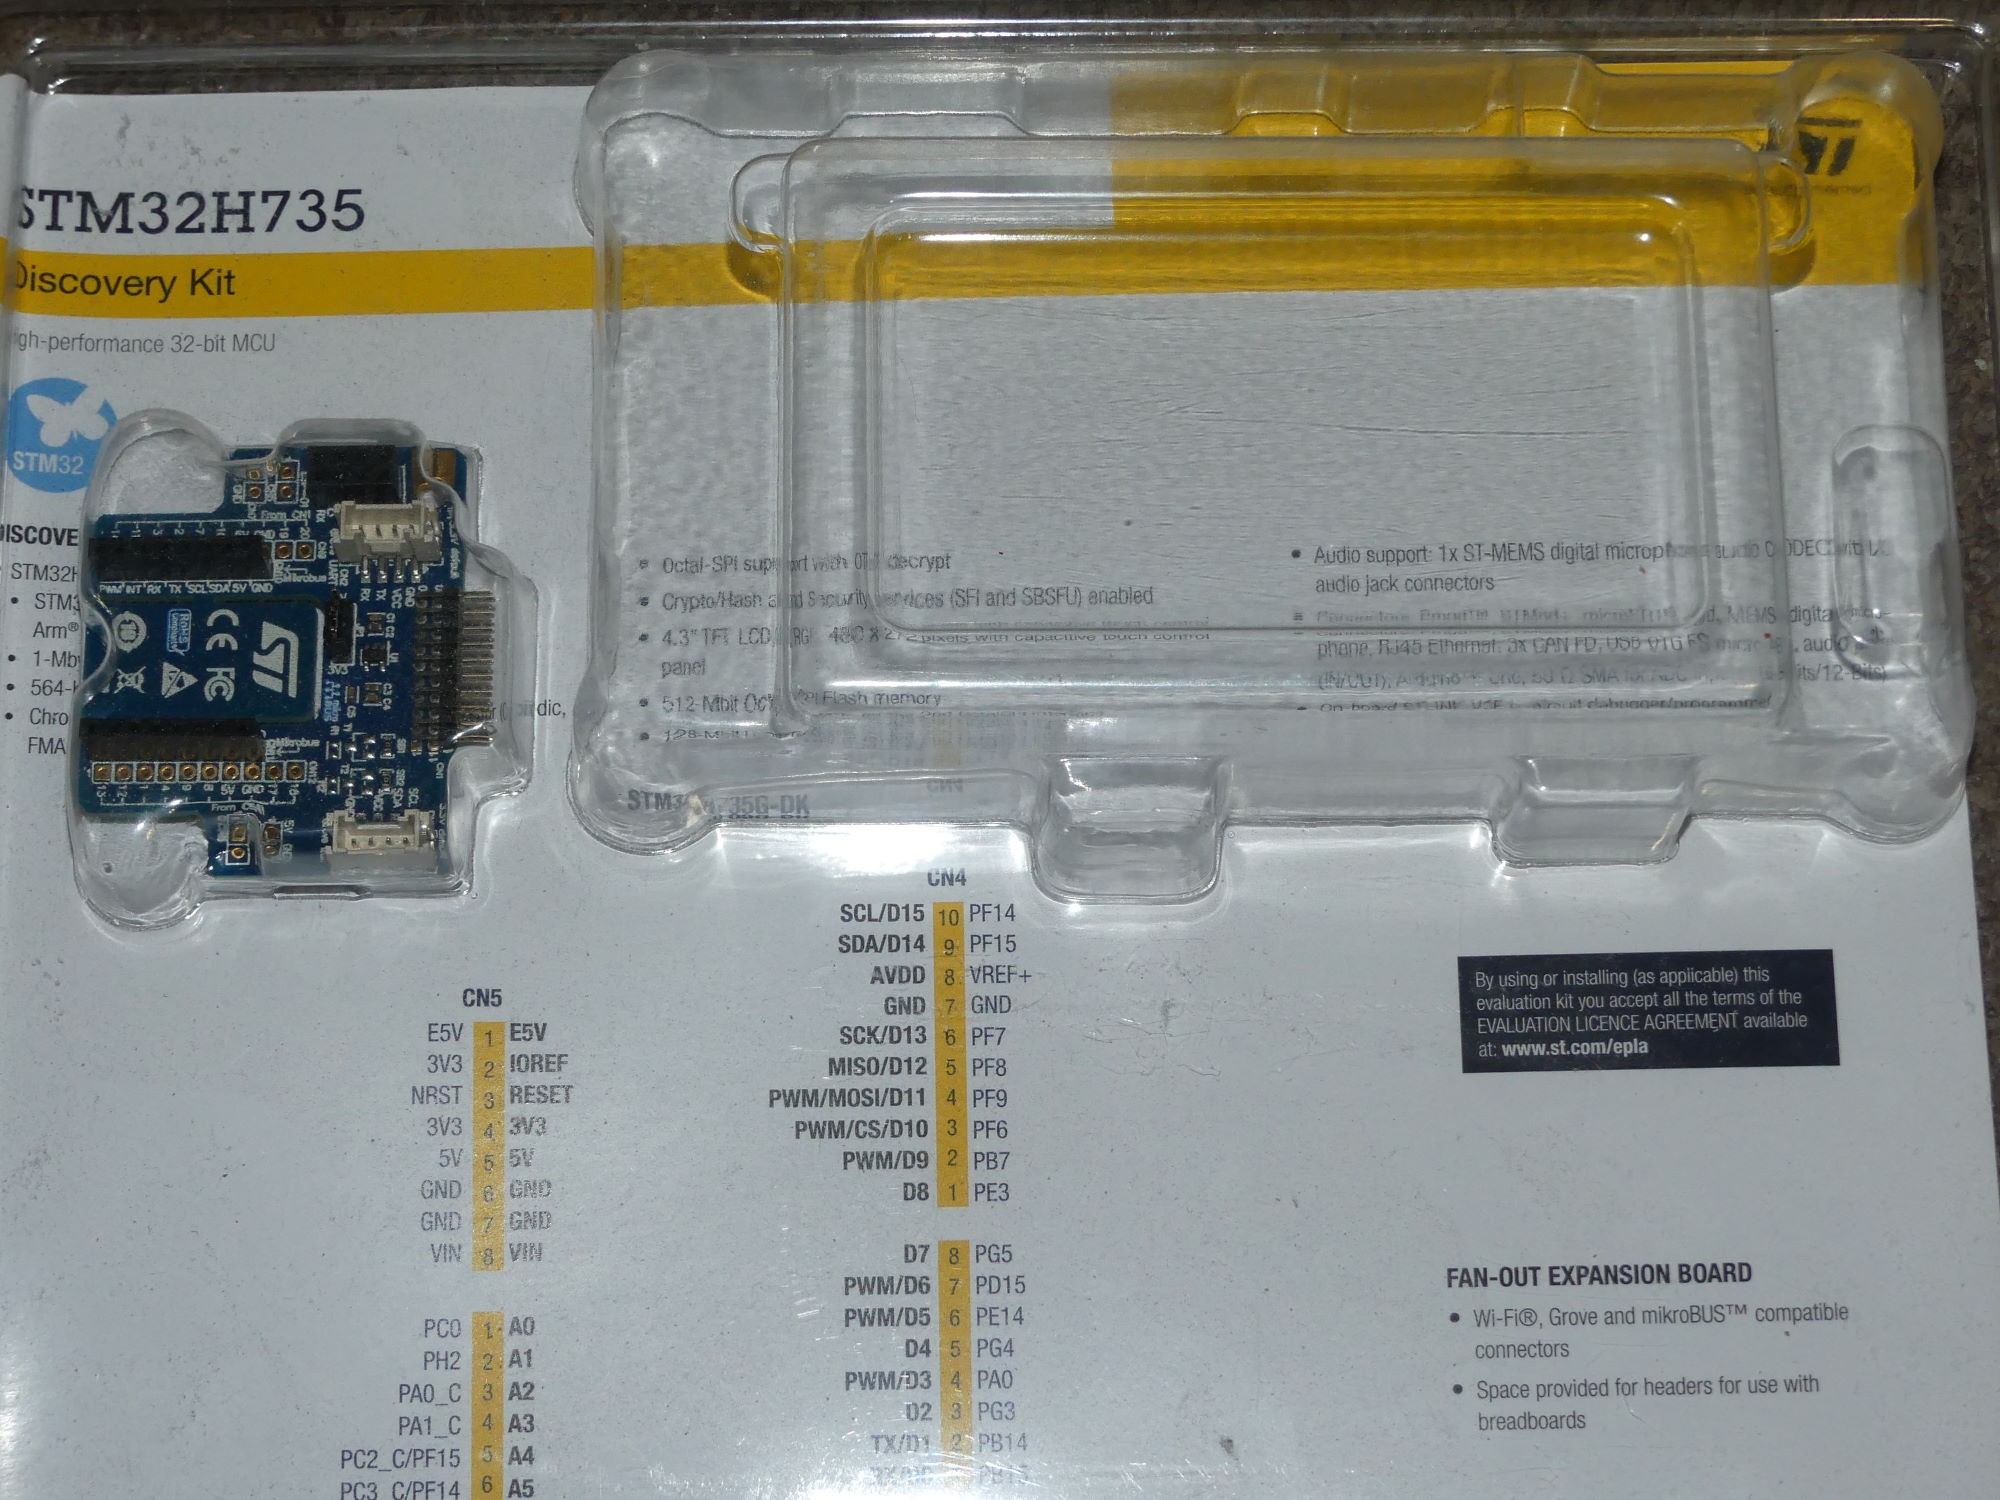
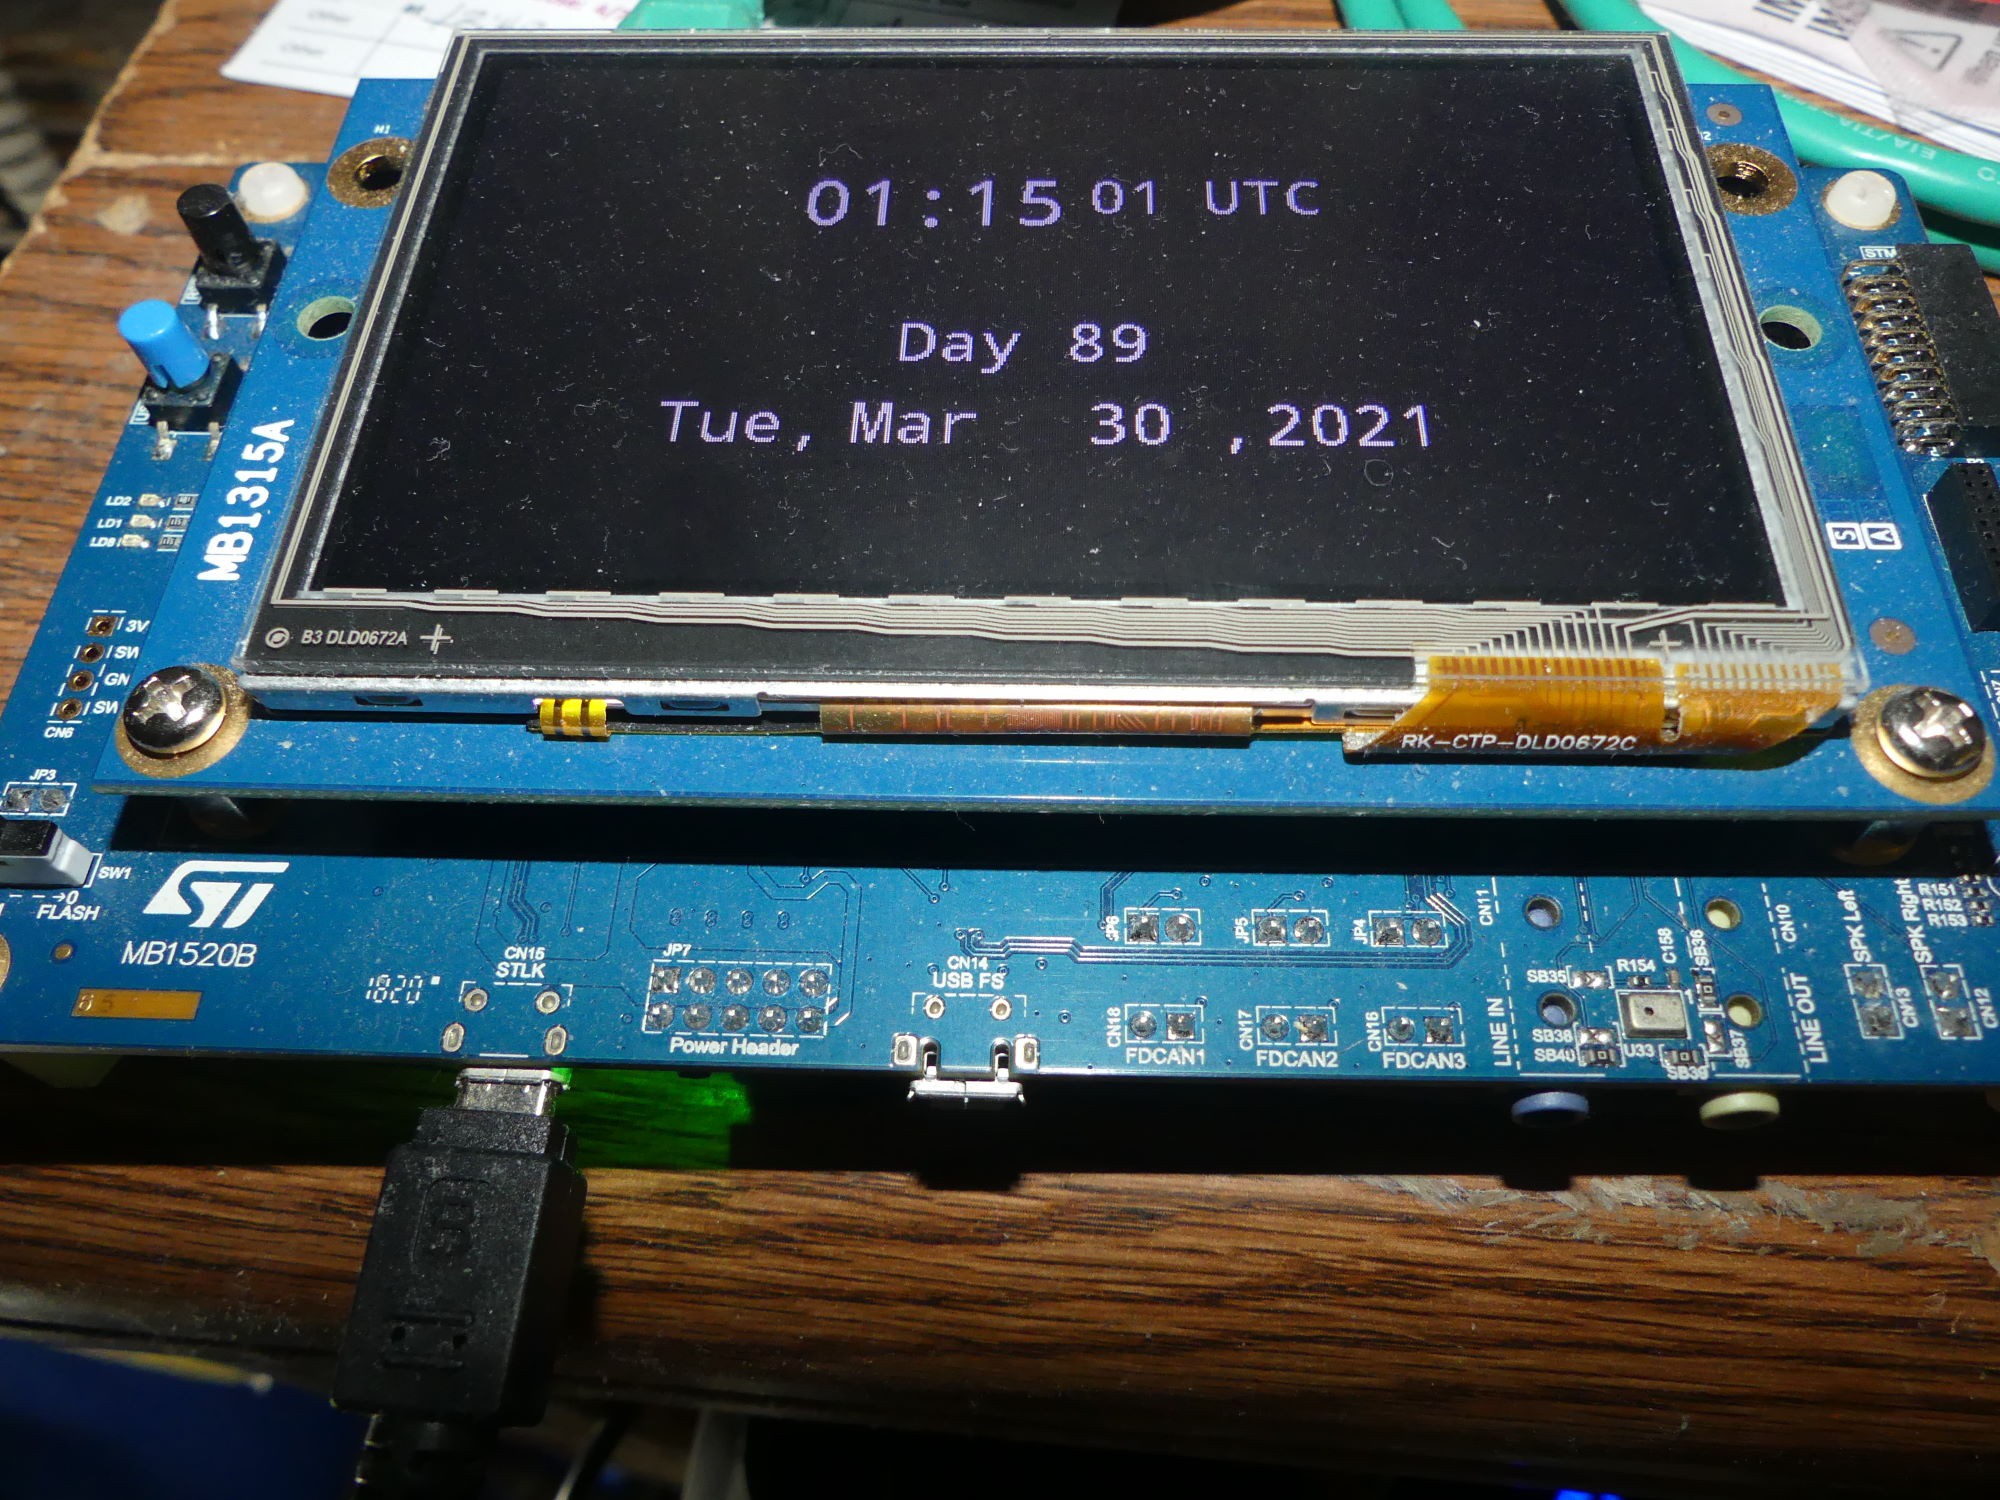
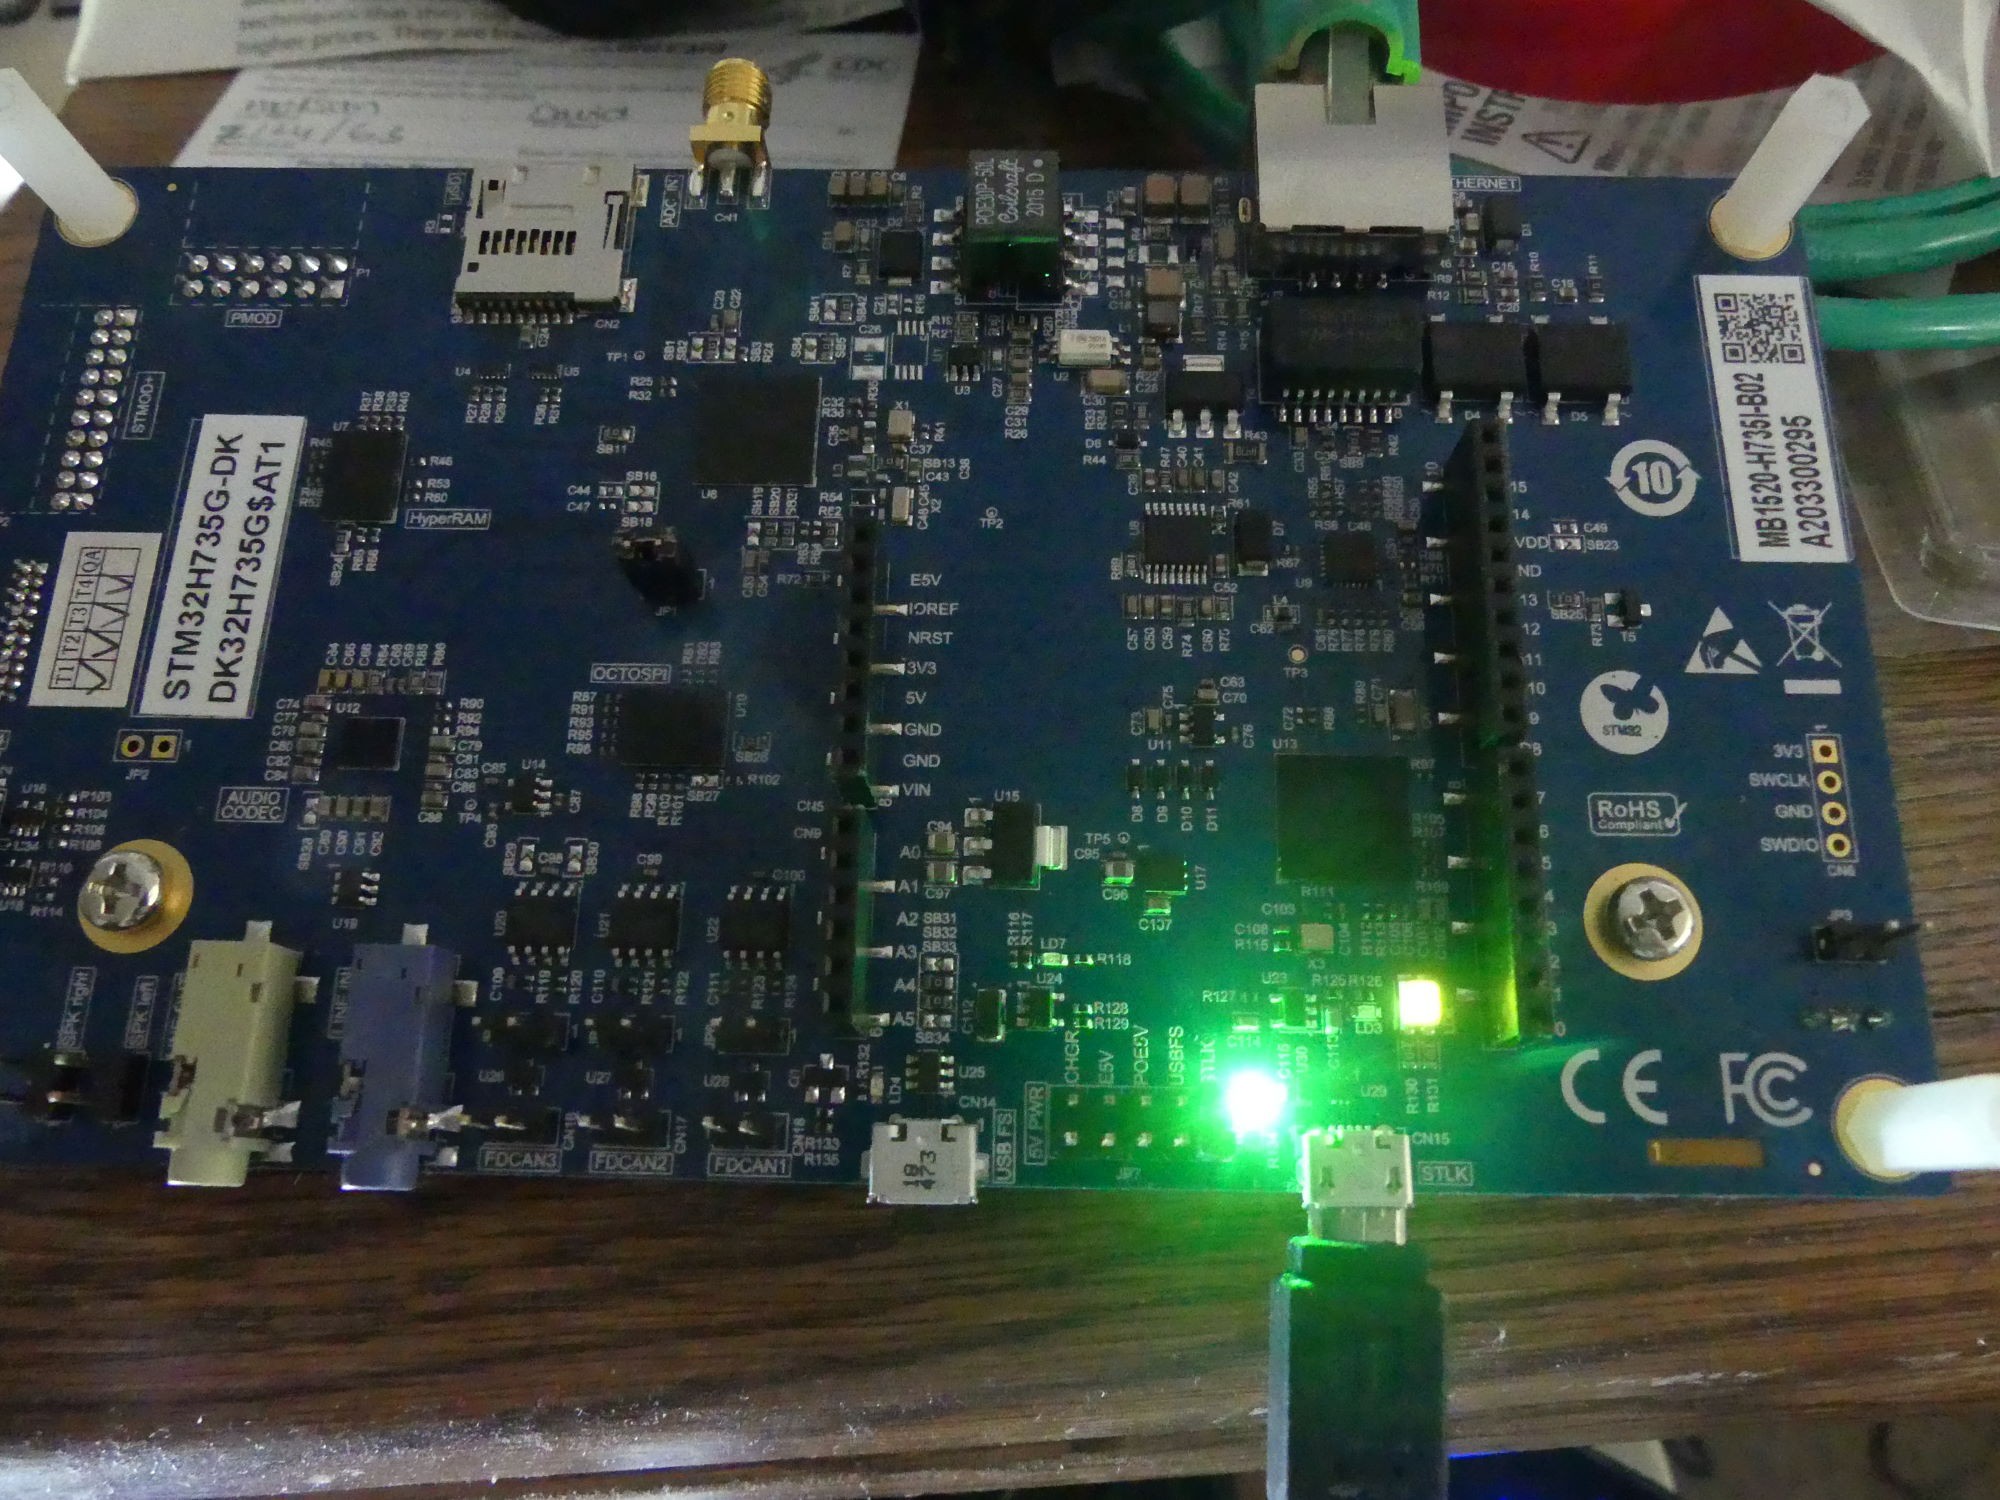
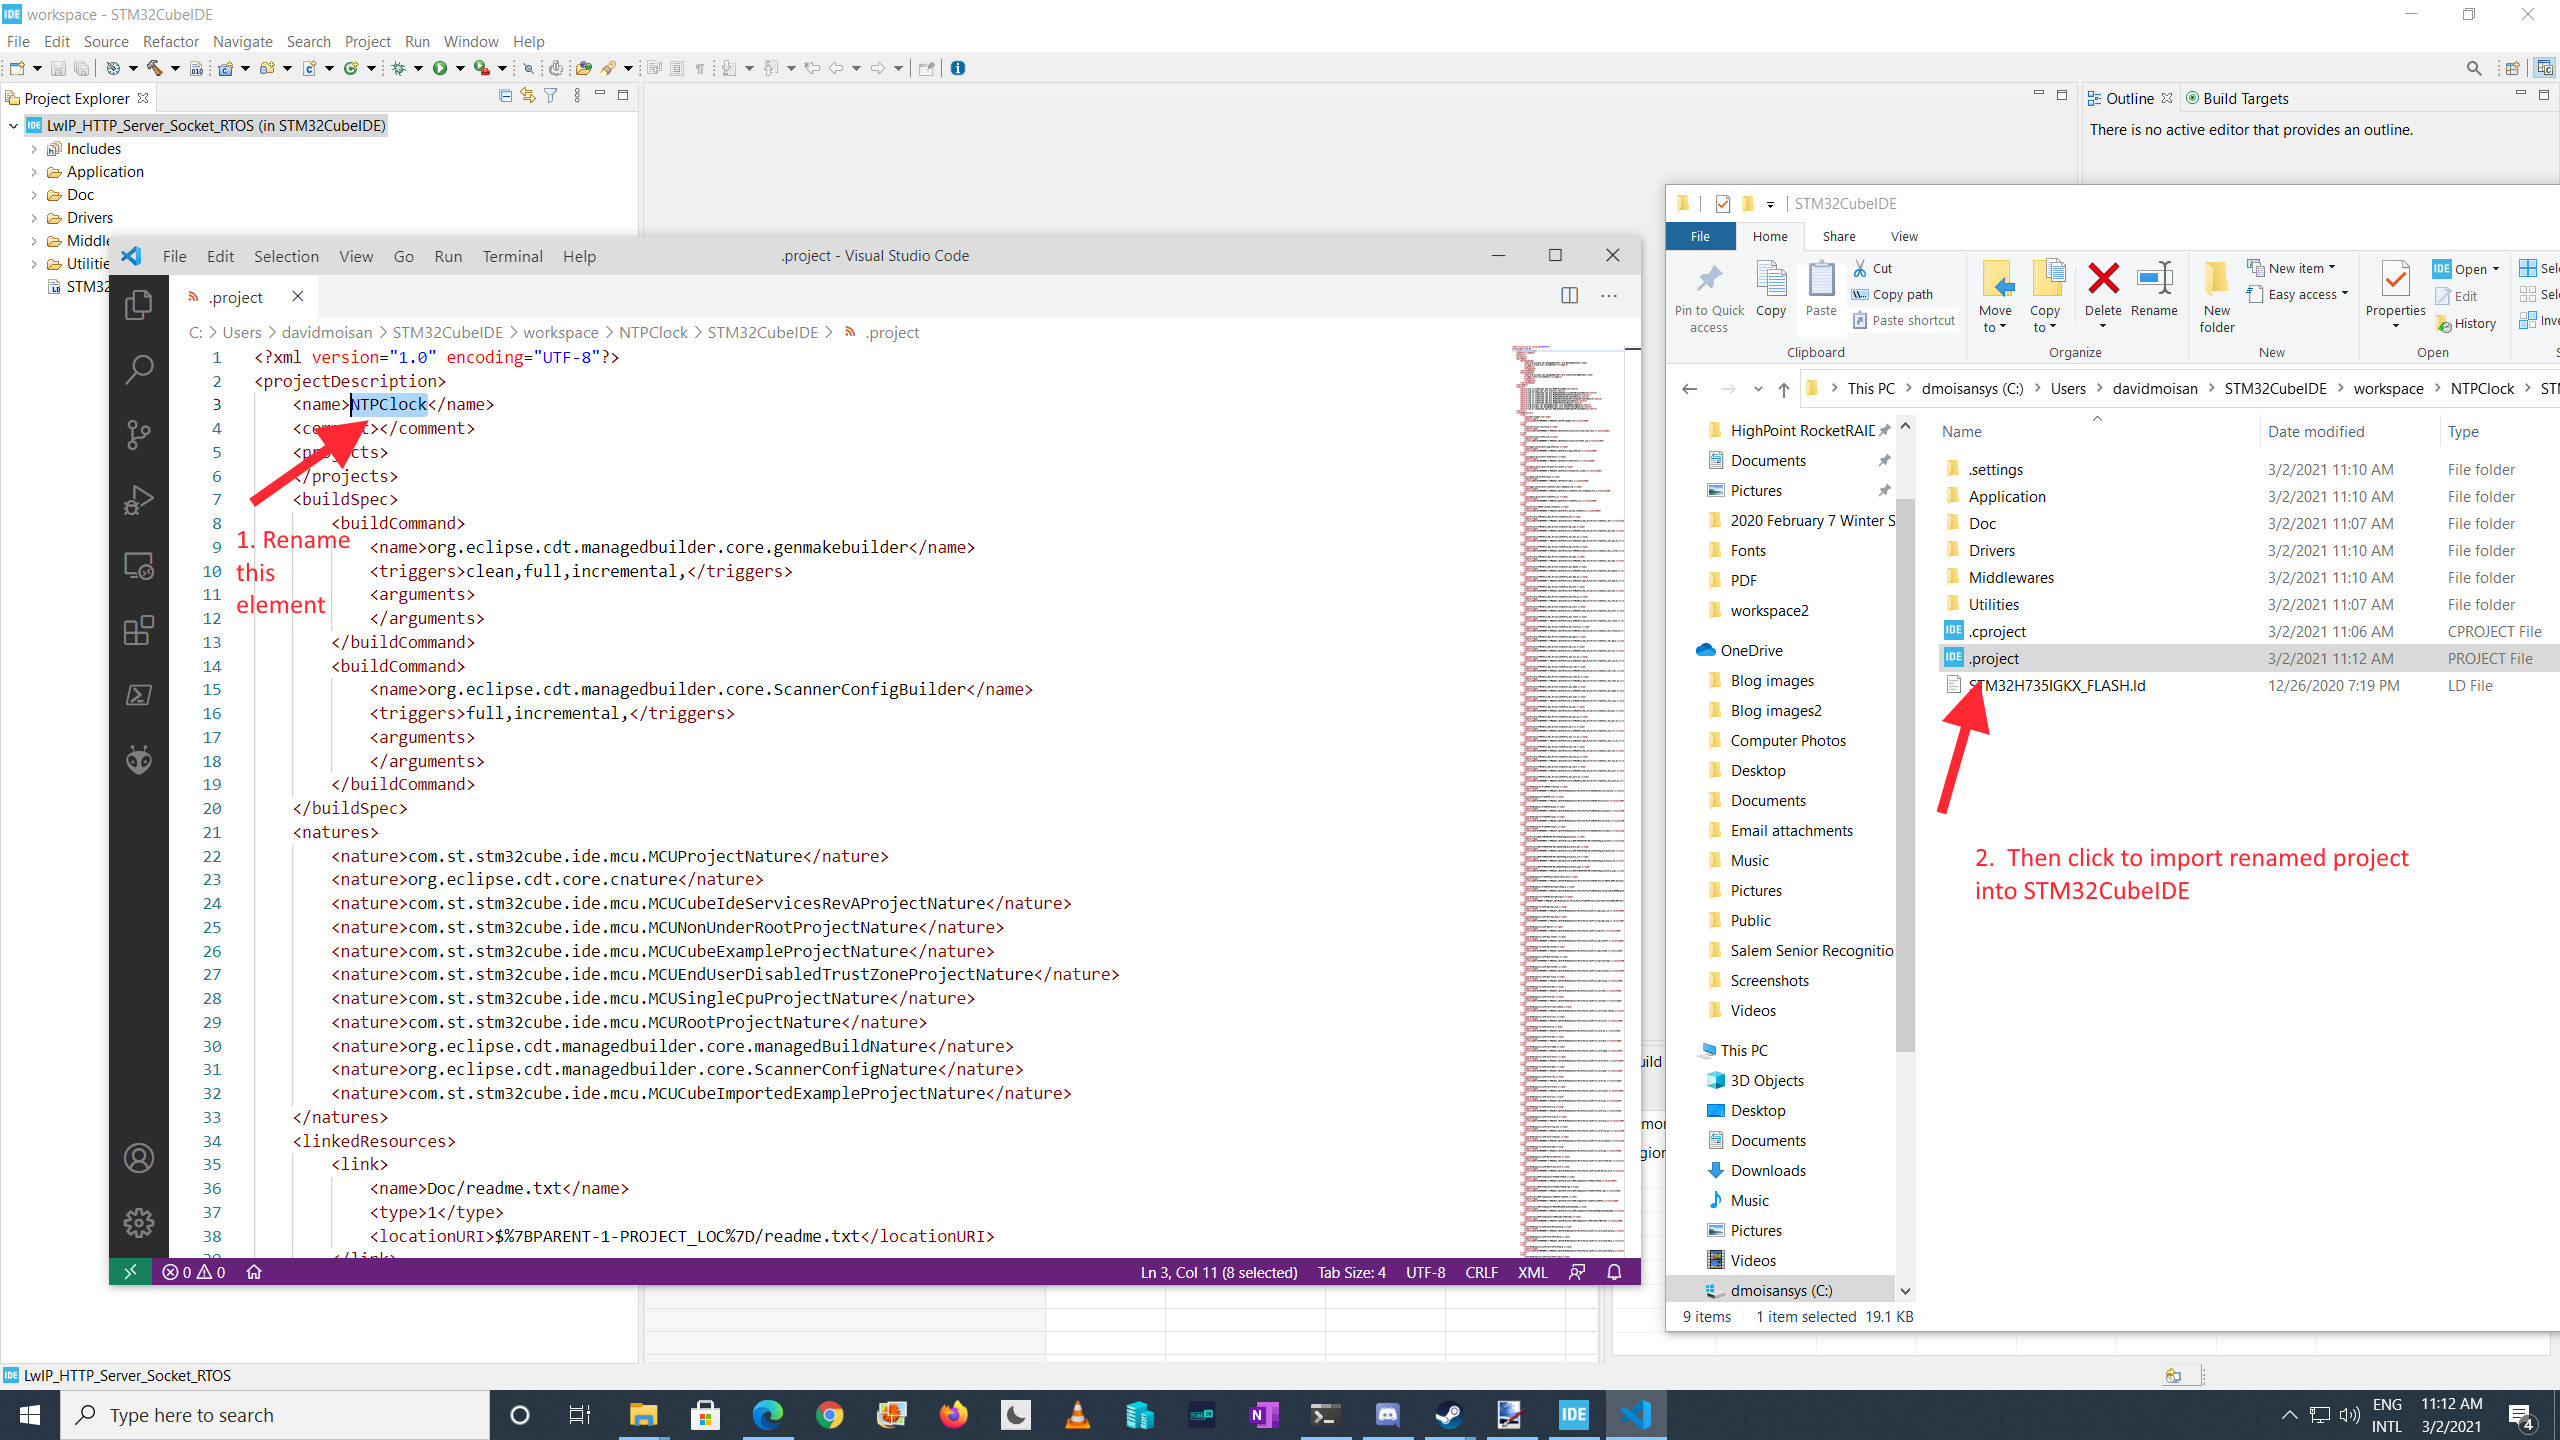
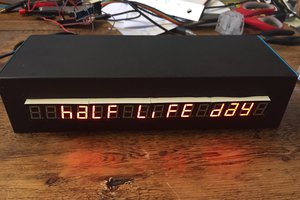
I'm building an SNTP display device based on the STM32H735 Discovery Kit, an $85 development board that includes Ethernet and a touch screen display. The software is written in C, and I'm using ST's IDE, the STM32Cube IDE, which is based on Eclipse. The purpose is to have a clock displaying the correct time in UTC, on my workbench. It's the second such clock I've designed; I built a clock on the old #Twatch platform built by Dangerous Prototypes.
0%
0%
NTP Clock Based on STM32H735 Discovery Kit
This is an SNTP clock based on the STM32H735 Discovery Kit.
Become a Hackaday.io member
Already have an account? Log in.
Just one more thing
To make the experience fit your profile, pick a username and tell us what interests you.
Pick an awesome username
hackaday.io/
Your profile's URL: hackaday.io/username. Max 25 alphanumeric characters.
Pick a few interests
Projects that share your interests
People that share your interests

 Mark VandeWettering
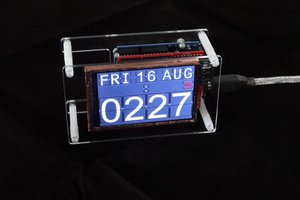
 Mark Wilson
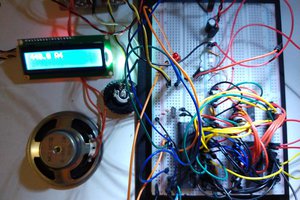
 Ken Yap
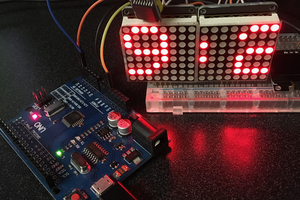
 Peter
Peter