 dmoisan
In my previous log entries, I forgot to describe the board I'm working on. This is a relatively new board, and not many people are developing for it.
I'll copypaste this from the ST website:
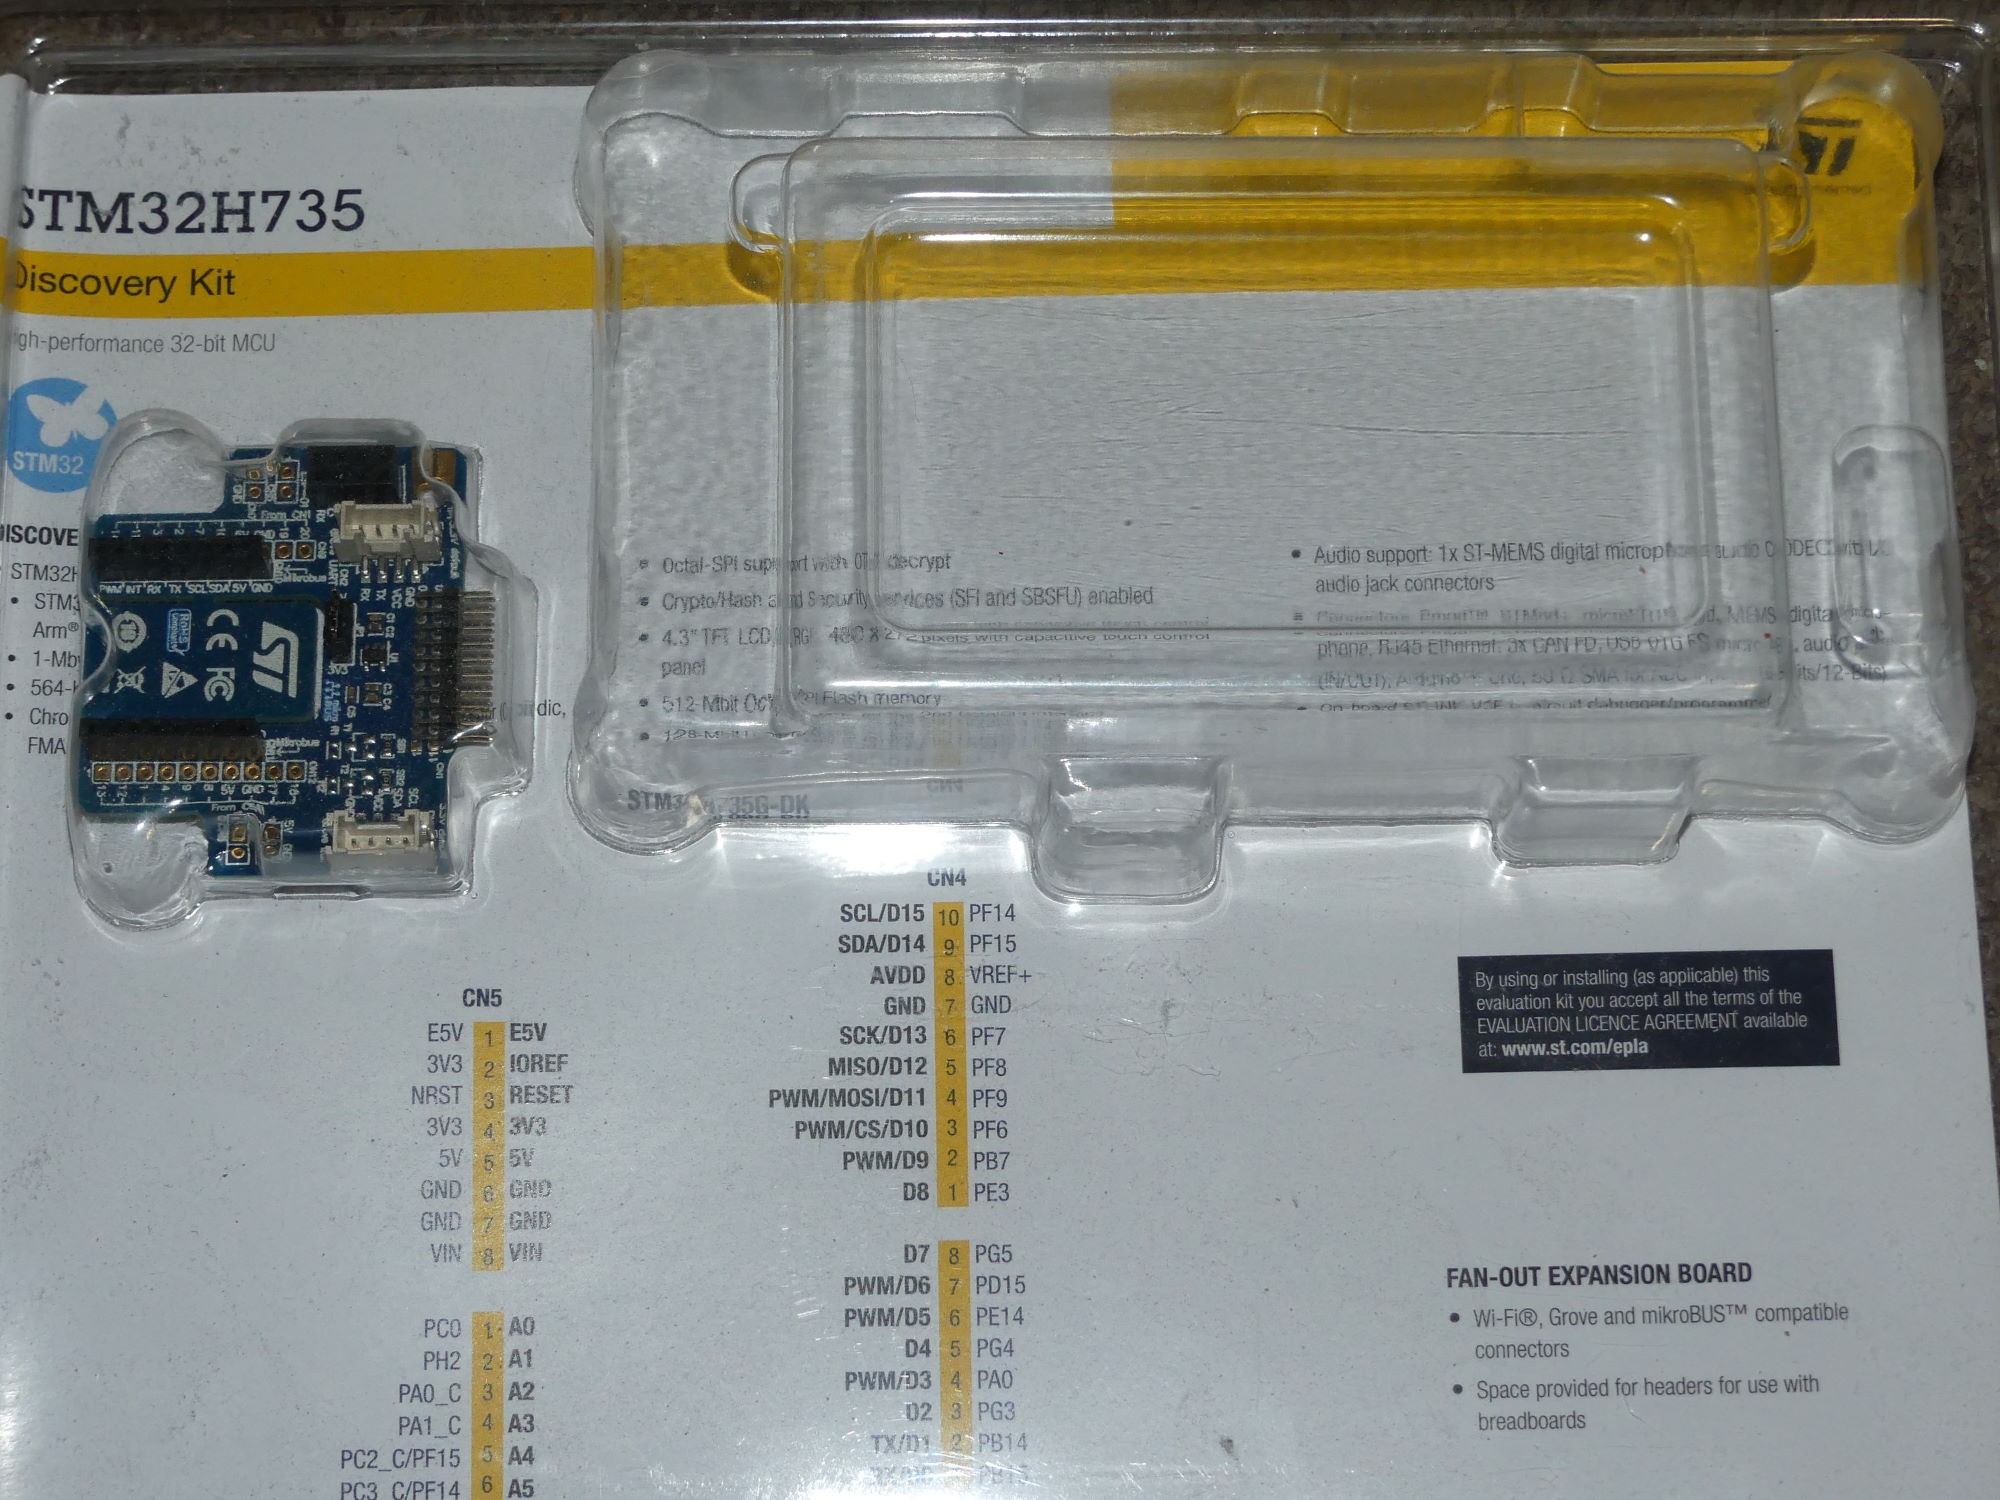
The STM32H735G-DK Discovery kit is a complete demonstration and development platform for Arm® Cortex®-M7 core-based STM32H735IGK6U microcontroller, with 1 Mbyte of Flash memory and 564 Kbytes of SRAM. STM32H735G-DK board photoThe STM32H735G-DK Discovery kit is used as a reference design for user application development before porting to the final product, thus simplifying the application development. The full range of hardware features available on the board helps users to enhance their application development by an evaluation of all the peripherals (such as USB OTG FS, Ethernet, microSD™ card, USART, CAN FD, SAI audio DAC stereo with audio jack input and output, MEMS digital microphone, HyperRAM™, Octo-SPI Flash memory, RGB interface LCD with capacitive touch panel, and others). ARDUINO® Uno V3, Pmod™ and STMod+ connectors provide easy connection to extension shields or daughterboards for specific applications. STLINK-V3E is integrated into the board, as the embedded in-circuit debugger and programmer for the STM32 MCU and USB Virtual COM port bridge. The STM32H735G-DK board comes with the STM32CubeH7 MCU Package, which provides an STM32 comprehensive software HAL library as well as various software examples.
The header of this project blog has a picture of the dev kit, but here are some more pictures.
The packaging:
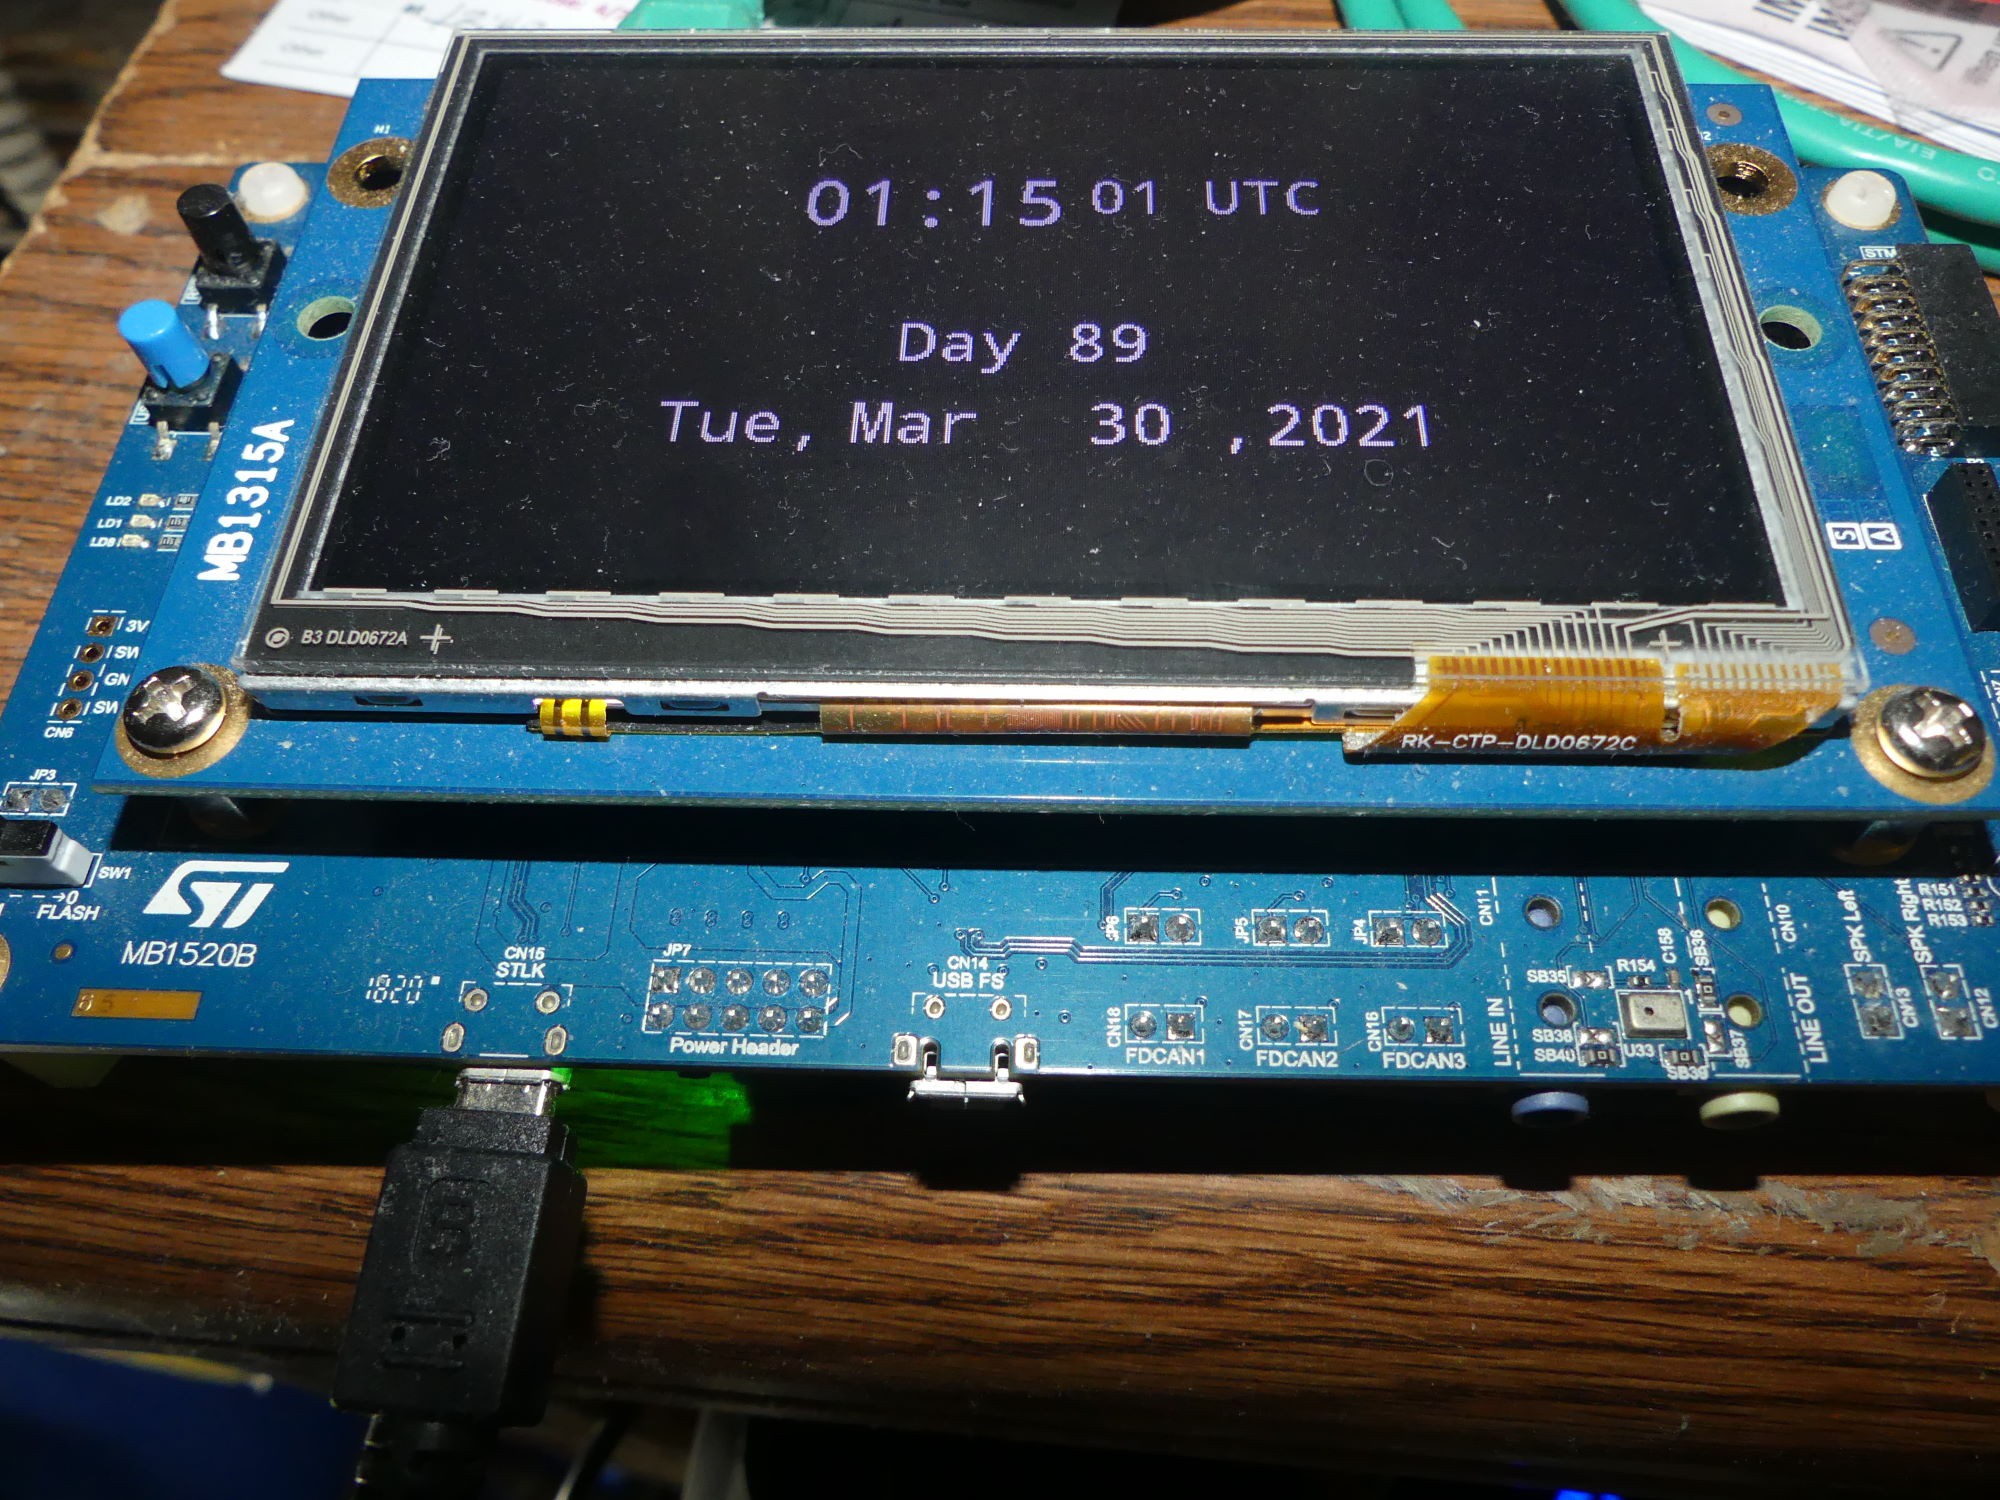
Another view of the front of the board:
The back of the board:
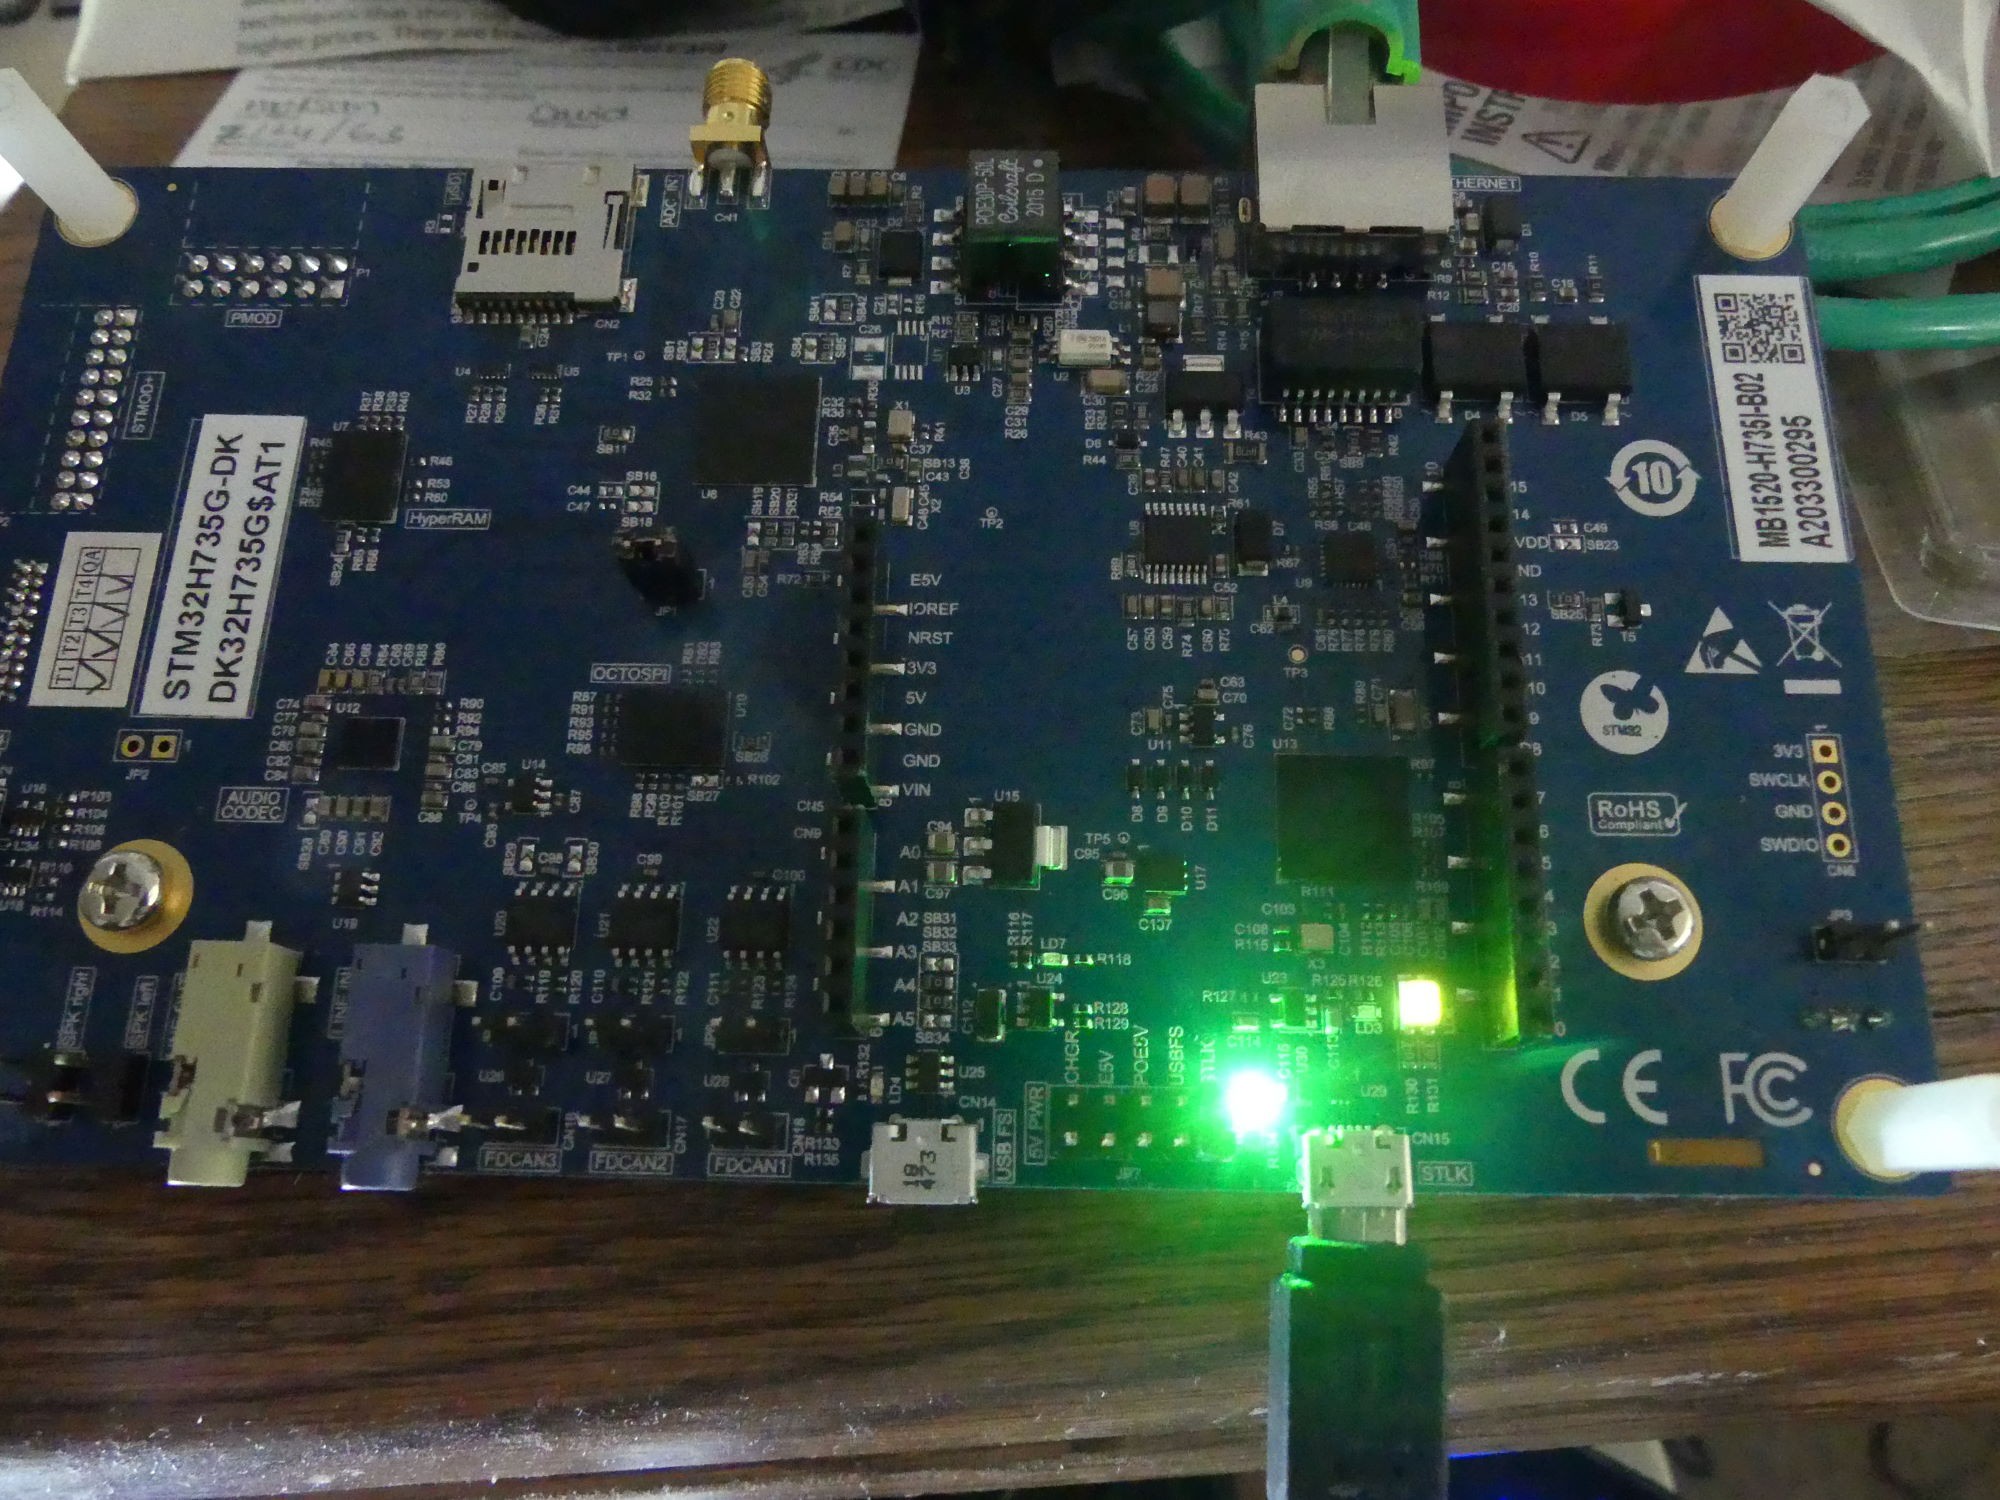
The bright green LED is the power LED. Next to it is a smaller, green LED. This is actually an RGB led and it is used to show the status of the ST-LINK, ST's debugging interface chipset which is helpfully included with the board.
By the way, the board will power up on a regular bare USB connection, but get the ST-LINK drivers.
The daughtercard that connects to the Arduino:
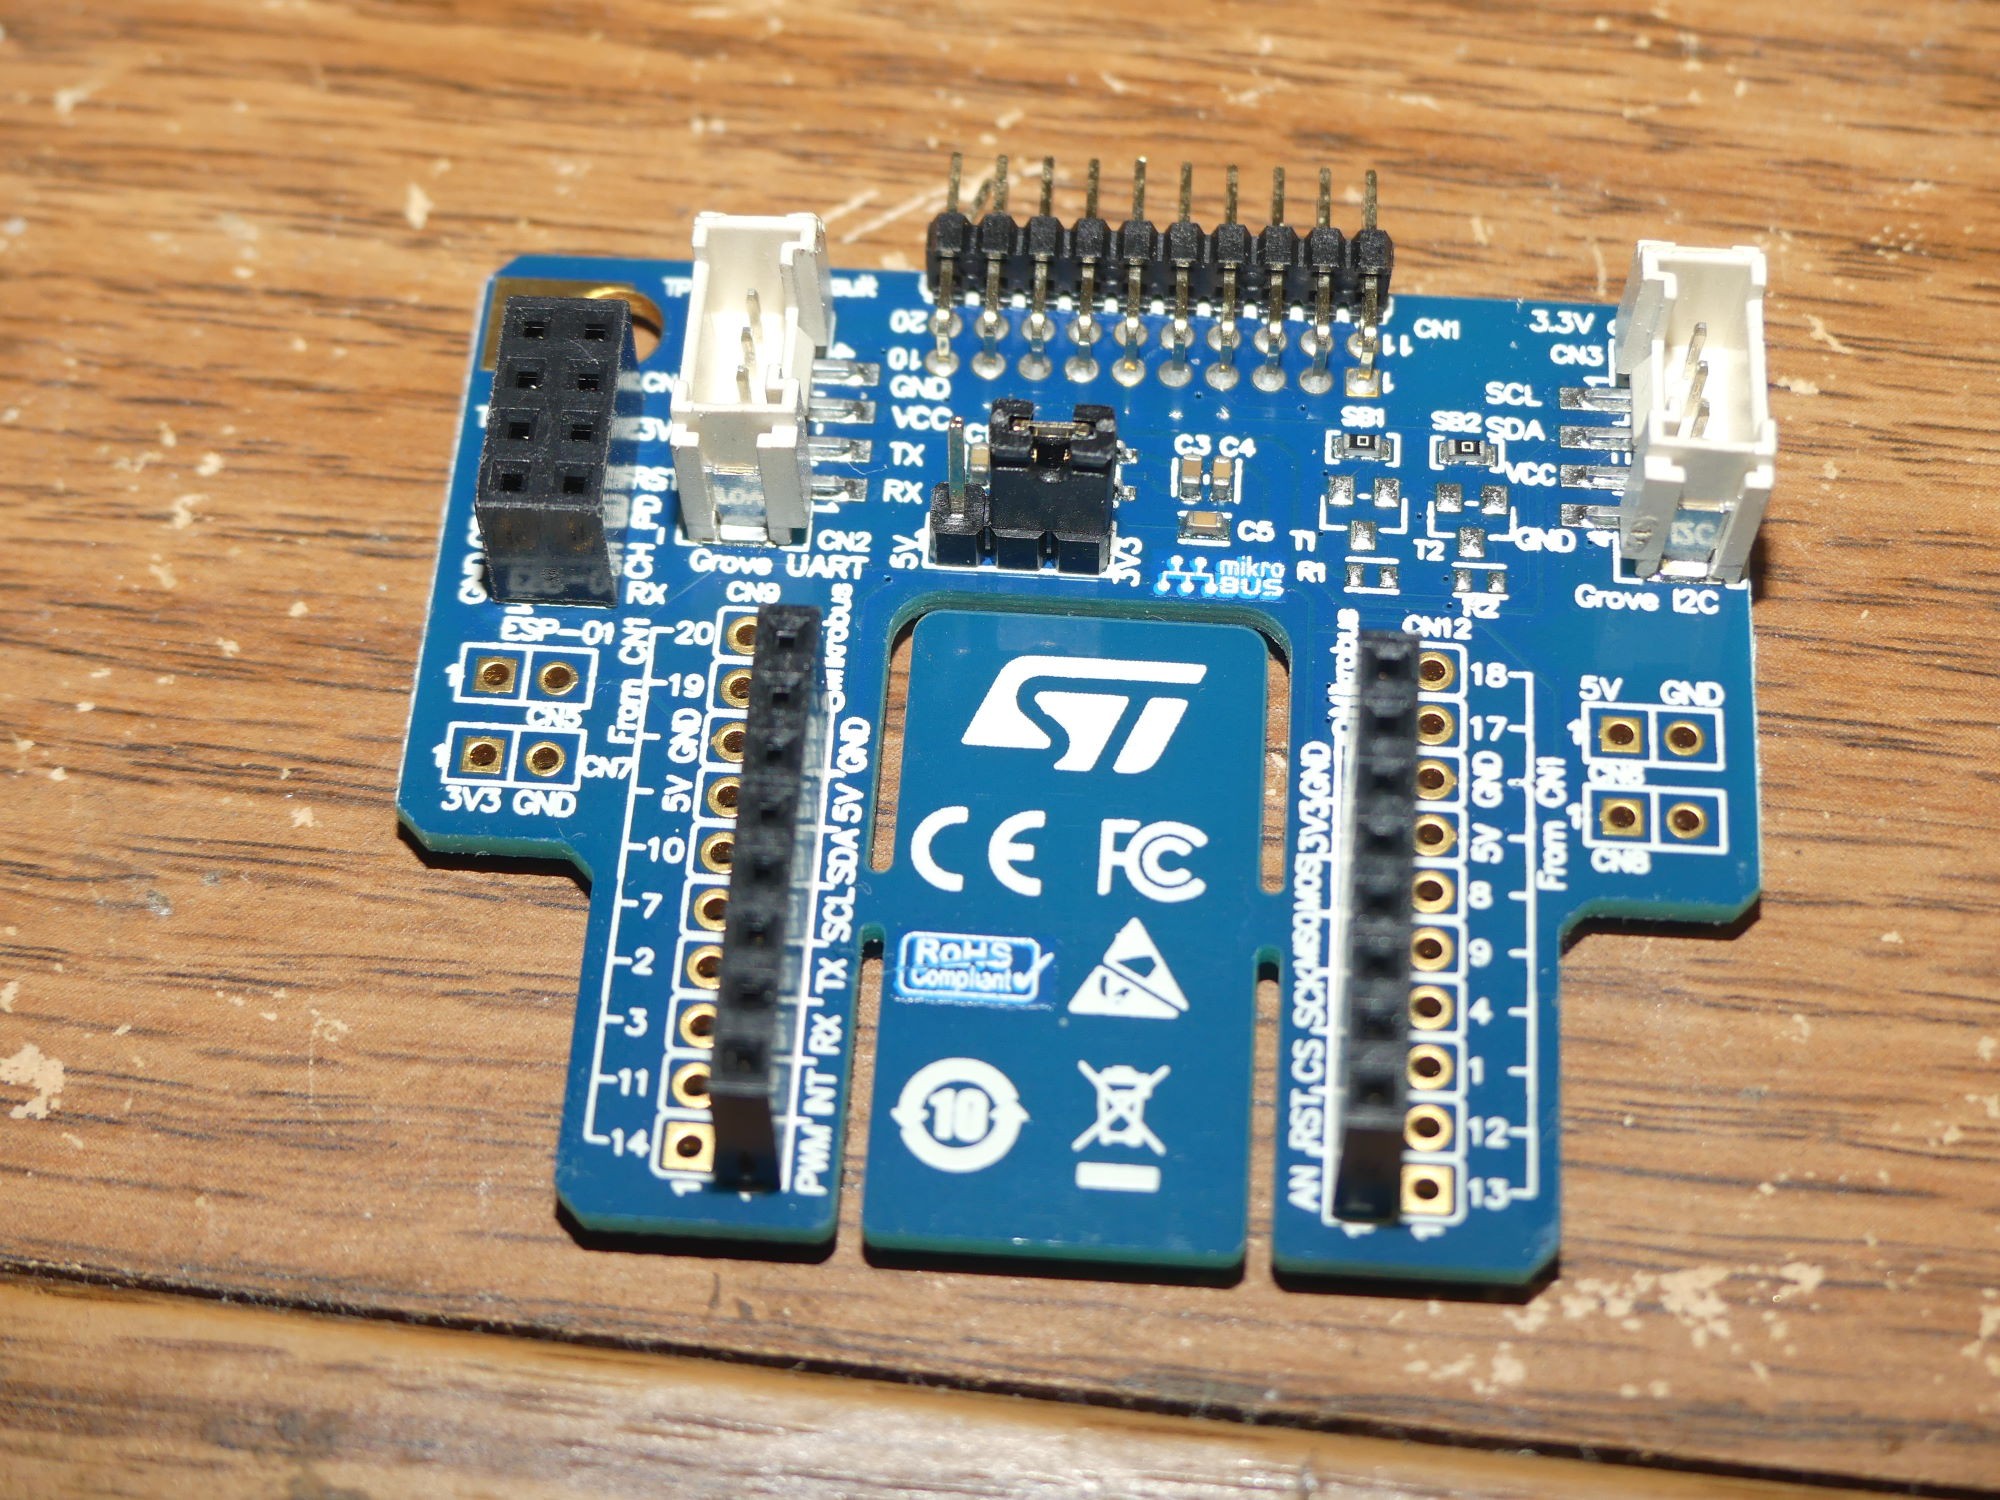
ST has a precompiled module for the MXCHIP AT3080 WiFi adapter, but I didn't use it for this project. I am using the built-in Ethernet interface, which the sample HTTP server uses. The touchscreen interface also has a binary "blob" driver. I haven't yet touched that. In all, in addition to the Ethernet interface, I'll be using the LCD display and the two LED's. I will probably use a cheap food storage container to hold the board, just as I do on my innumerable Raspberry Pi systems. I wanted to find a nice industrial enclosure, the half-clear ones used for smart meters. I used one of these for my first NTP clock, but I couldn't find anything I liked from the usual vendors I buy from.
If you're interested in buying this board, DigiKey sells them. It cost me (as an American) about $100 including the tariff that's been in effect for the past few years.
My next installment will be about code demolition, and a first look at FreeRTOS, which provides the beat that my clock relies on.
Discussions
Become a Hackaday.io Member
Create an account to leave a comment. Already have an account? Log In.