 selena1995
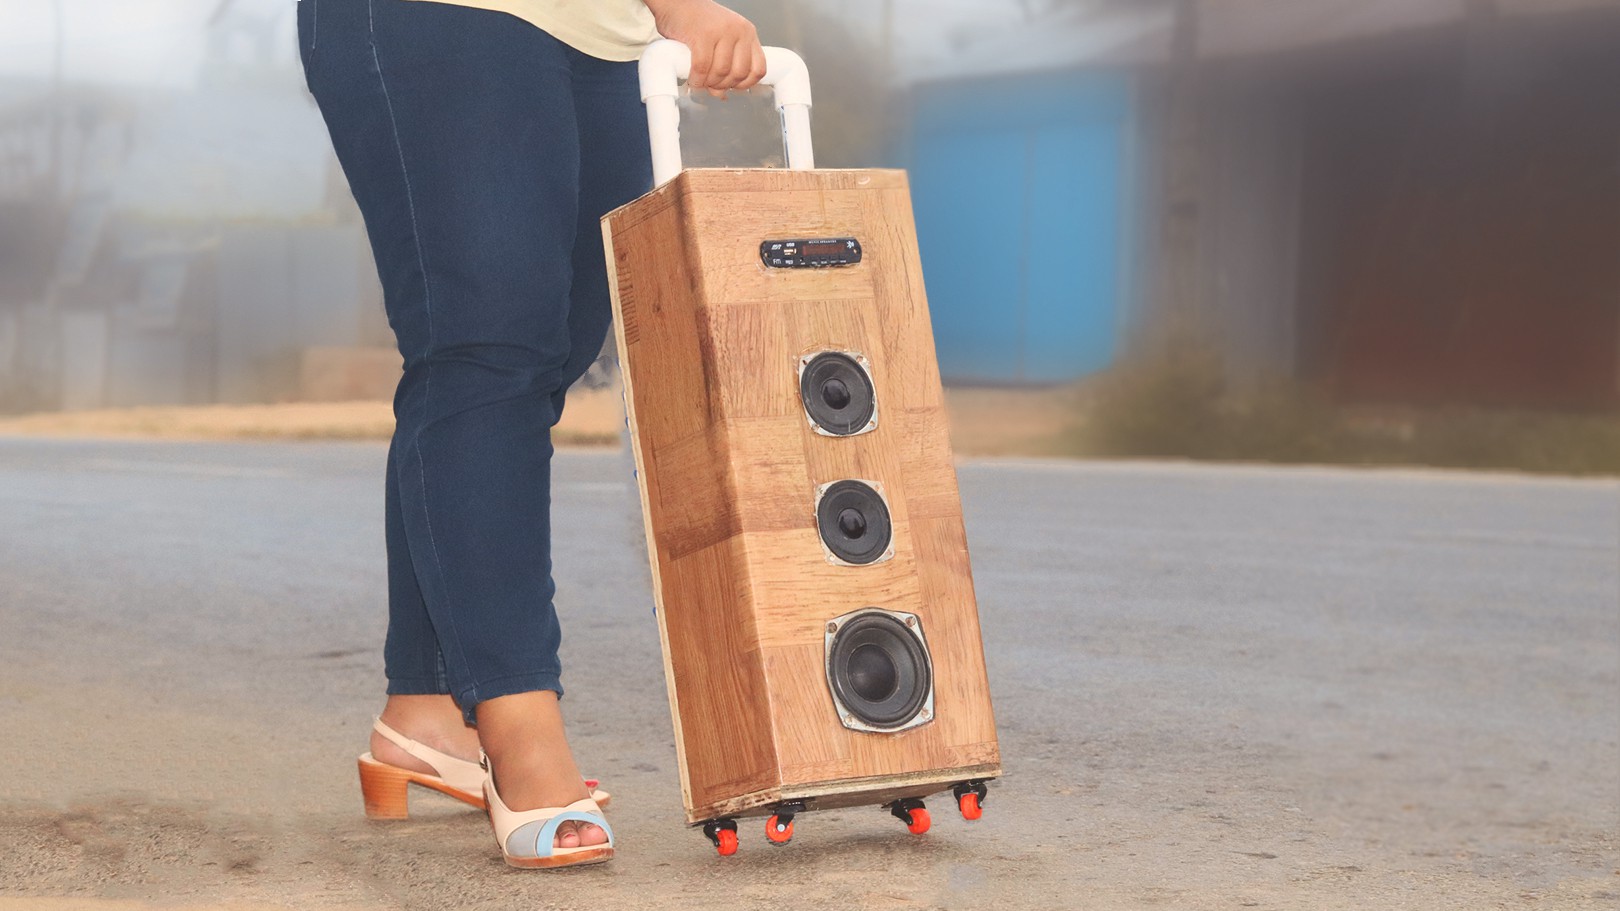
DIY BLUETOOTH 2.1 TROLLEY SOUND SYSTEM
A new tutorial! This time I chose to build a musical instrument, based on 2.1 home theatre boards.
Things used in this project
Hardware components
- 5pcs. 500 Ohm Resistance
- 2pcs. 220 Ohm Resistance
- 4pcs. 33K Resistance
- 3pcs. 8.2K Resistance
- 4pcs. 20K Resistance
- 3pcs. 3.3 Ohm1/2Watts Resistance
- 2pcs. 0.5 Ohm 1/2Watts Resistance
- 2pcs. 27K Resistance
- 1pcs. 22K Resistance
- 2pcs. 6.8K Resistance
- 2pcs. 10K Resistance
- 2pcs. 1.2K Resistance
- 1pcs. 100 Ohm 1/2Watts Resistance
- 2pcs. 682pf Capacitor
- 2pcs. 682pf Capacitor
- 9pcs. 100Kpf Capacitor
- 1pcs. 150Kpf Capacitor
- 3pcs. 220Kpf Capacitor
- 3pcs. 4007 Diode
- 4pcs. 5399 Diode
- 3pcs. 2.2uf50V Capacitor
- 2pcs. 100uf25V Capacitor
- 2pcs. 0.1uf Capacitor
- 1pcs. 47uf25V Capacitor
- 2pcs. 10uf50V Capacitor
- 1pcs. 4558D IC
- 1pcs. 470uf16V Capacitor
- 3pcs. 22uf50v Capacitor
- 2pcs. 2200uf25v Capacitor
- 1pcs. 3MM LED
- 3pcs. TDA2030 IC
- 1pcs. 7805 IC
- 2pcs. 4 ohm minimum 15 watts Speaker
- 1pcs. 8 ohm minimum 20 watts Subwoofer
- 1pcs 12-0-12 transformer
- 1pcs 5 volt speaker module
- 2pcs 47k potentiometer
- 1pcs PCB Board from JLCPCB
Software apps and online services
Hand tools
- Soldering iron
- Drill Machine
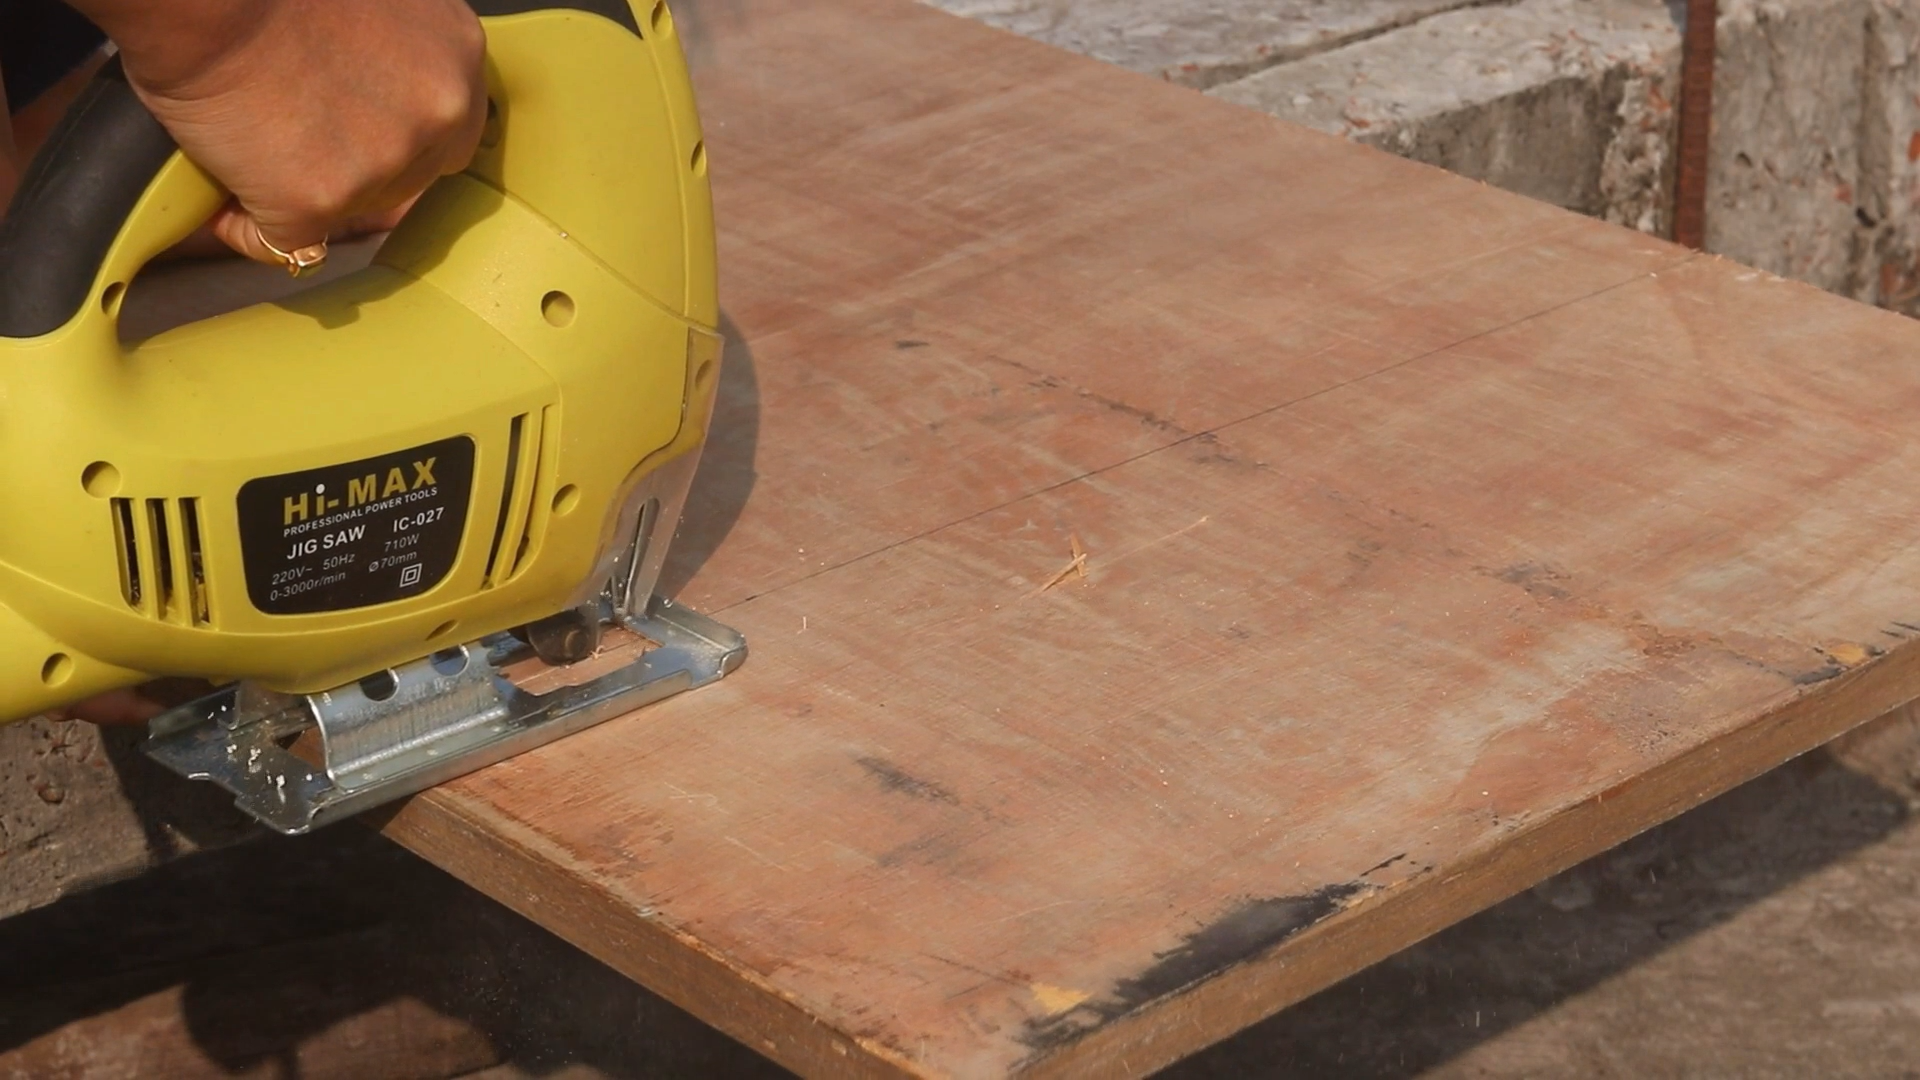
- 400W Variable Speed Jigsaw
Story
Hey guys! I hope you already enjoyed my previous projects and you are ready for a new one, as usual, I made this tutorial to guide you step by step while making this kind of super amazing low-cost electronic project which is the "Bluetooth Trolley Speaker". During the making of this project, we tried to make sure that this instructable will be the best guide for you in order to help you if you want to make your own Bluetooth Trolley Speaker, so we hope that this instructable contains the needed documents.
This project is so handy to make especially after getting the customized PCB that we’ve ordered from JLCPCB to improve the appearance of our machine and also there are enough documents and diagrams in this guide to allow you to create your Bluetooth Trolley Speaker easily.
We've made this project in just 7 days only, just three days to get all the needed parts, and the next 4 days to finish the hardware making and the assemble.
Before starting let’s see first
What you will learn from this instructable:
- Making the right hardware selection for your project depending on its functionalities.
- Prepare the circuit diagram to connect all the choose components.
- Assemble all the project parts (mechanical and electronic assembly).
- Finally designing your own Sound System.
Step 1: What are the advantages of Trolley Speaker?
Wireless: The wireless feature is one of the biggest advantages of trolley speakers. One does not have to engage with wires.

Easy to install: Because of the installation process, people avoid buying large-sized speakers. But trolley speakers are very easy to install.
Great for outdoors: The speakers are great for those who love enjoying music 24 x 7. Because of the easy-to-carry feature, you can take the speaker while going for picnics and parties.
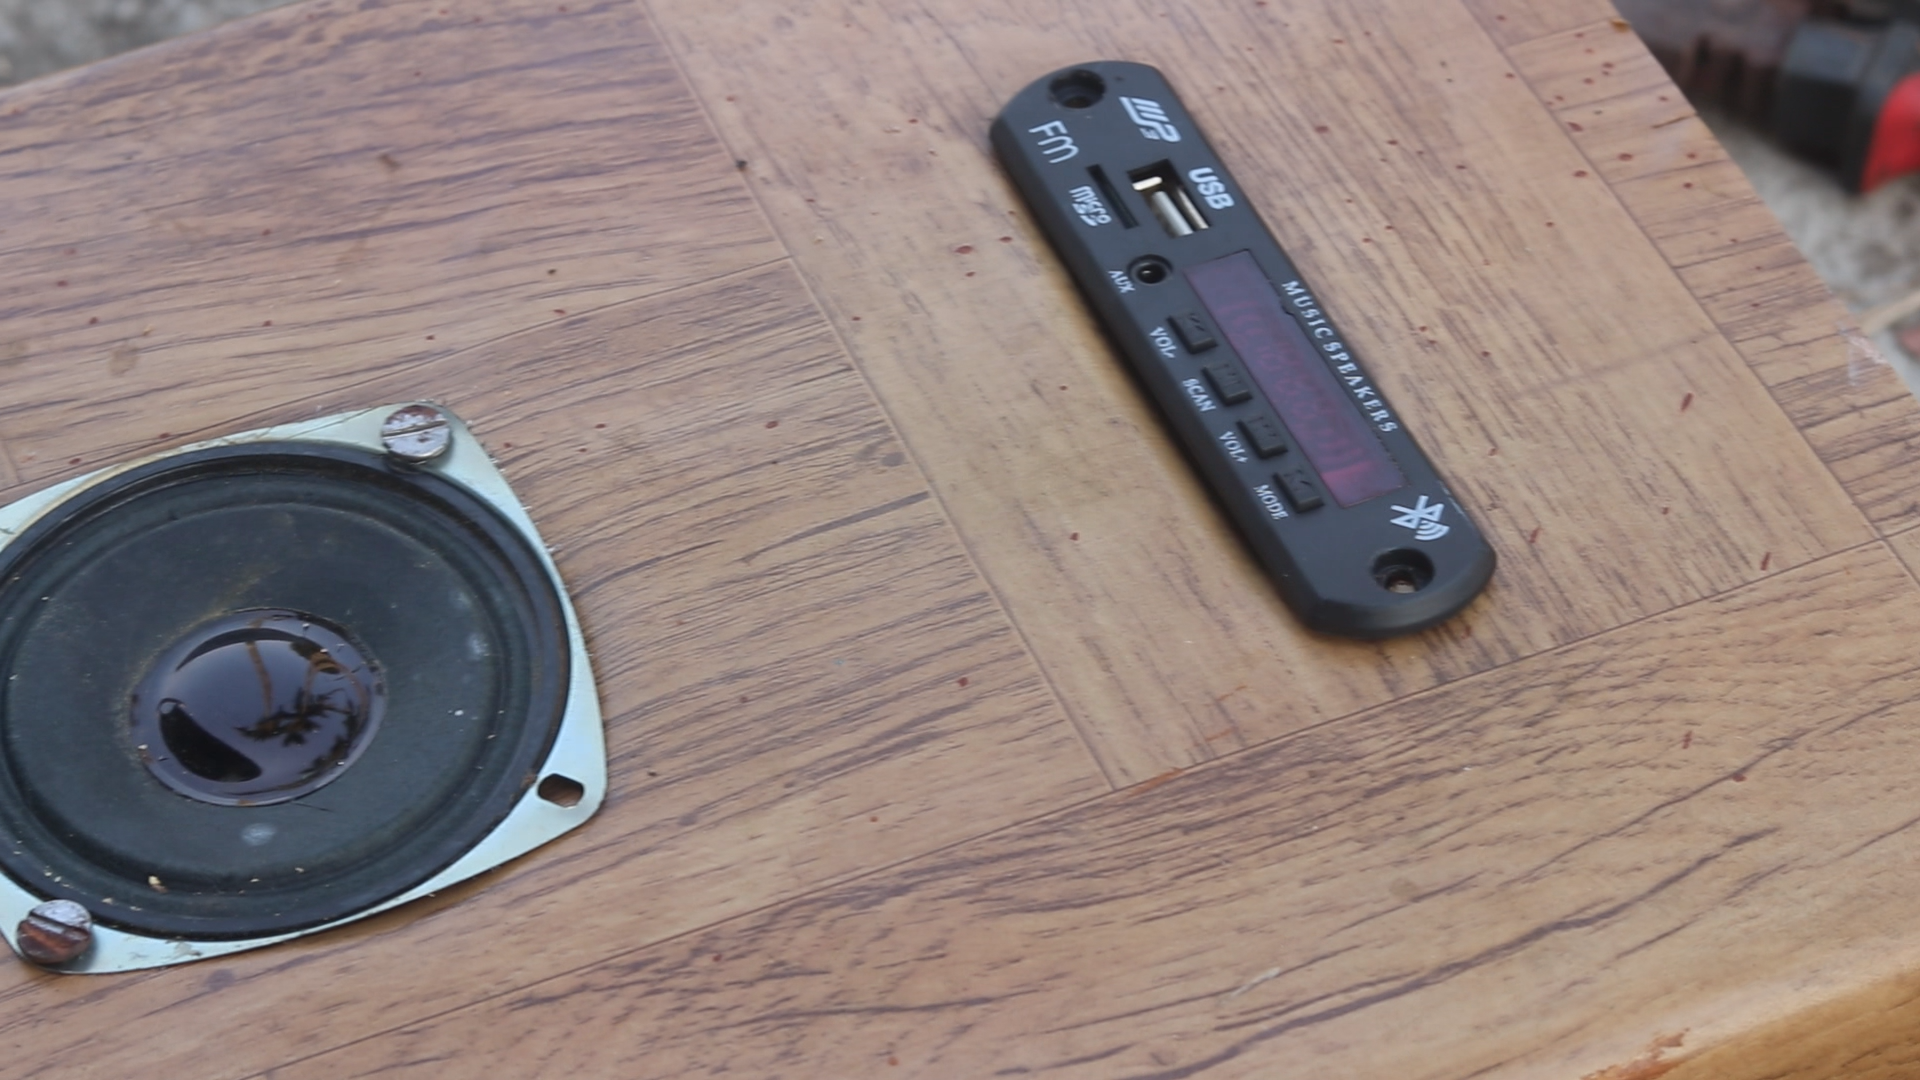
Step 2: The Hardware Part
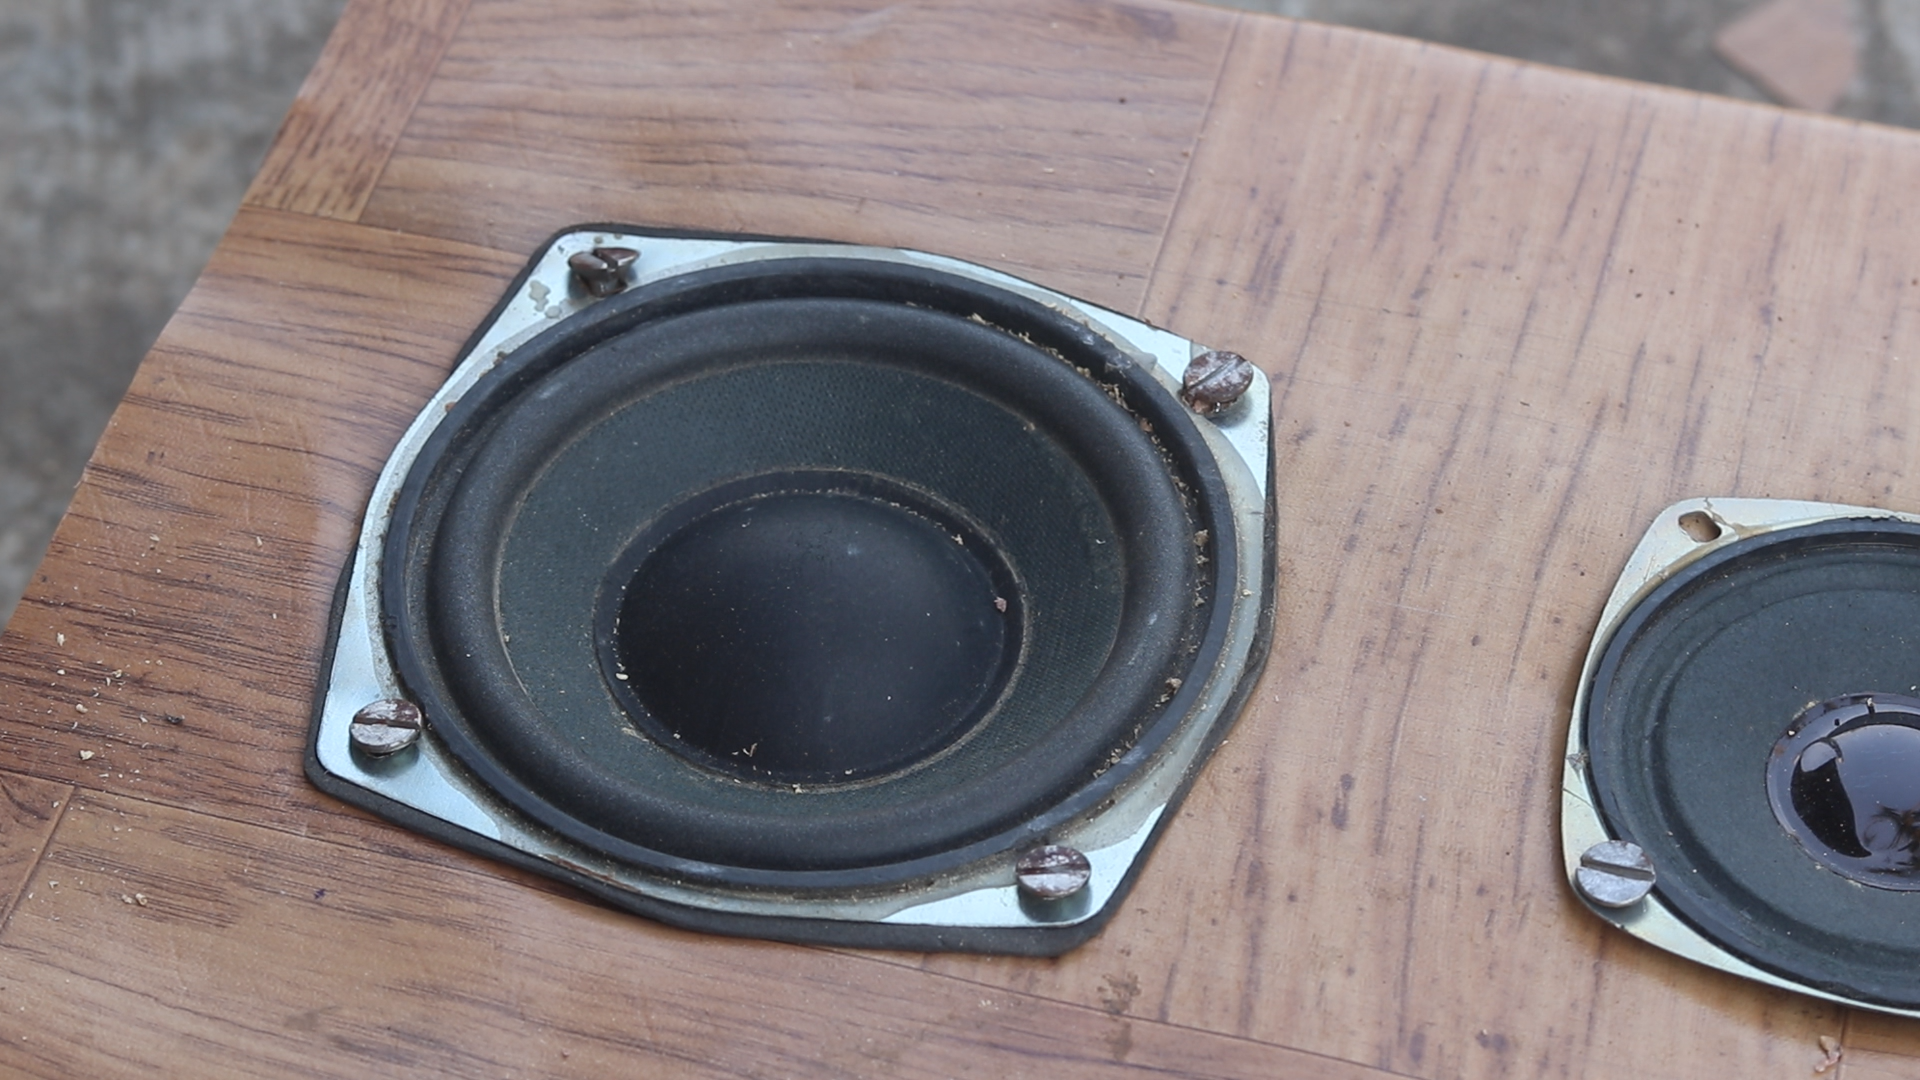
Besides all the small size electronic components, we'll take 2pcs 4 ohms minimum 15 watts speaker which will use as left and right speakers and one 8 ohms minimum 20 watts Subwoofer for high bass. We'll need a 12-0-12 transformer to power-up the system and for Bluetooth connectivity, we need a 5-volt speaker module. Here we have used a 2pcs 47k potentiometer to control the Bass and Treble.
DO YOU KNOW THE TECHNICAL DETAILS OF BASS AND TREBLE?
Bass and Treble is a two-band Equalizer. The Bass control is a low-shelf filter with a half gain frequency at 250 Hz. The Treble control is a high-shelf filter with the half gain frequency at 4000 Hz.
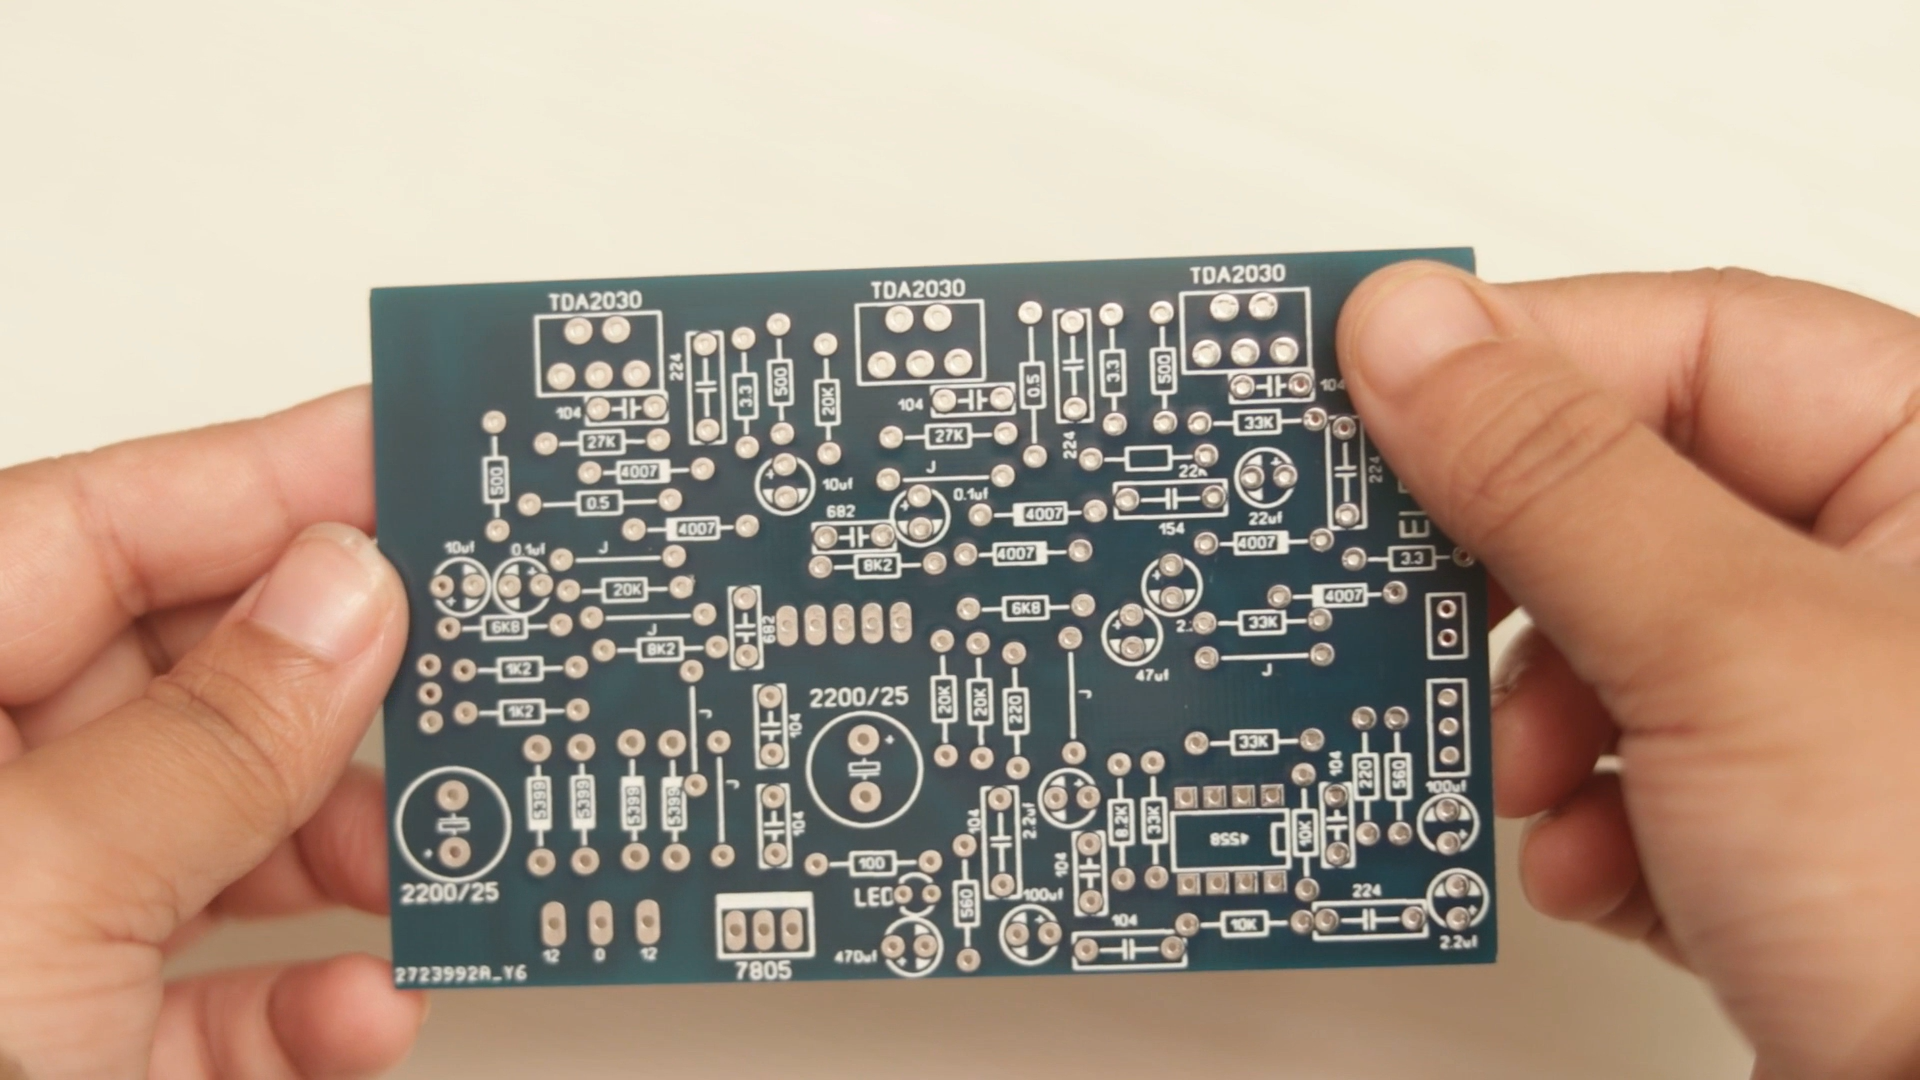
Step 3: PCB File
You can easily download the PCB file from here and upload it for making your own PCB. Here we have used 4558D ic. We make Low pass filter for the Subwoofer with 4558d IC. This system can make the sound very nice and clear. In a sound system Bass is important. For this cause, this system is so popular. In a small or higher sound, we can control the bass. If we need low bass we can make or If we need high bass we also can make the mega Bass.

How to use this Circuit?
We have to use it as a pre-amplifier circuit. We can use this circuit in any amplifier. No problem, here we have to use 12-0-12 voltage. We can see the 2 Inputs and output.
Because of normally, we make one subwoofer and two speakers Box. Left channel and Right Channel and one Bass box.
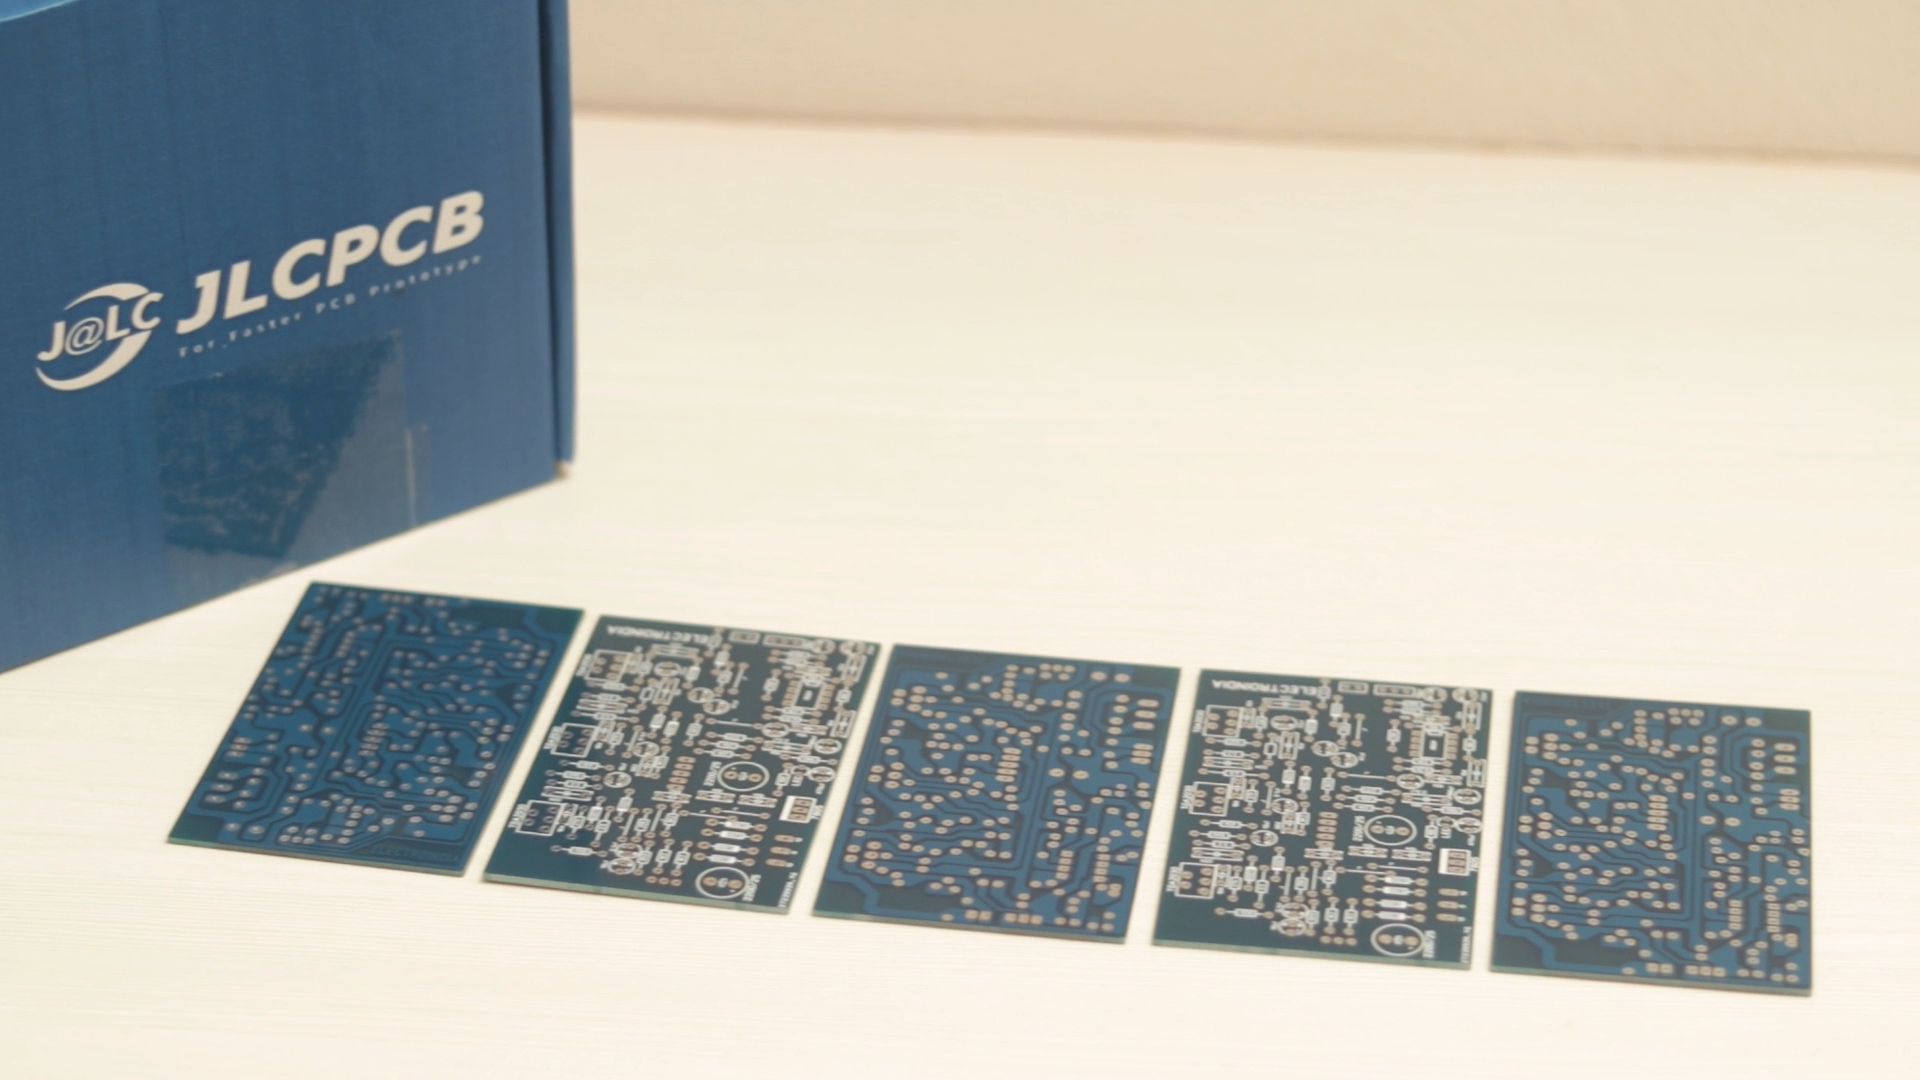
Step 4: The PCB Making
About JLCPCB
JLCPCB (Shenzhen JIALICHUANG Electronic Technology Development Co., Ltd.), is the largest PCB prototype enterprise in China and a high-tech manufacturer specializing in quick PCB prototype and small-batch PCB production. With over 10 years of experience in PCB manufacturing, JLCPCB has more than 200, 000 customers at home and abroad, with over 8, 000 online orders of PCB prototyping and small quantity PCB production per day. The annual production capacity is 200, 000 Sq.m. for various 1-layer, 2-layer, or multi-layer PCBs. JLC is a professional PCB manufacturer featured of large scale, well equipment, strict management, and superior quality.
Talking Electronics
After making the circuit diagram I transformed it into a PCB design to produce it, in order to produce the PCB, I have chosen JLCPCB the best PCB supplier and the cheapest PCB provider to order my circuit. With them reliable platform all I need to do is some simple clicks to upload the Gerber file and set some parameters like the PCB thickness color and quantity, then I’ve paid just 2 Dollars to get my PCB after five days only, What I have noticed about JLCPCB this time is the "out of charge PCB color" it means you will pay only 2 USD for any PCB color you choose.
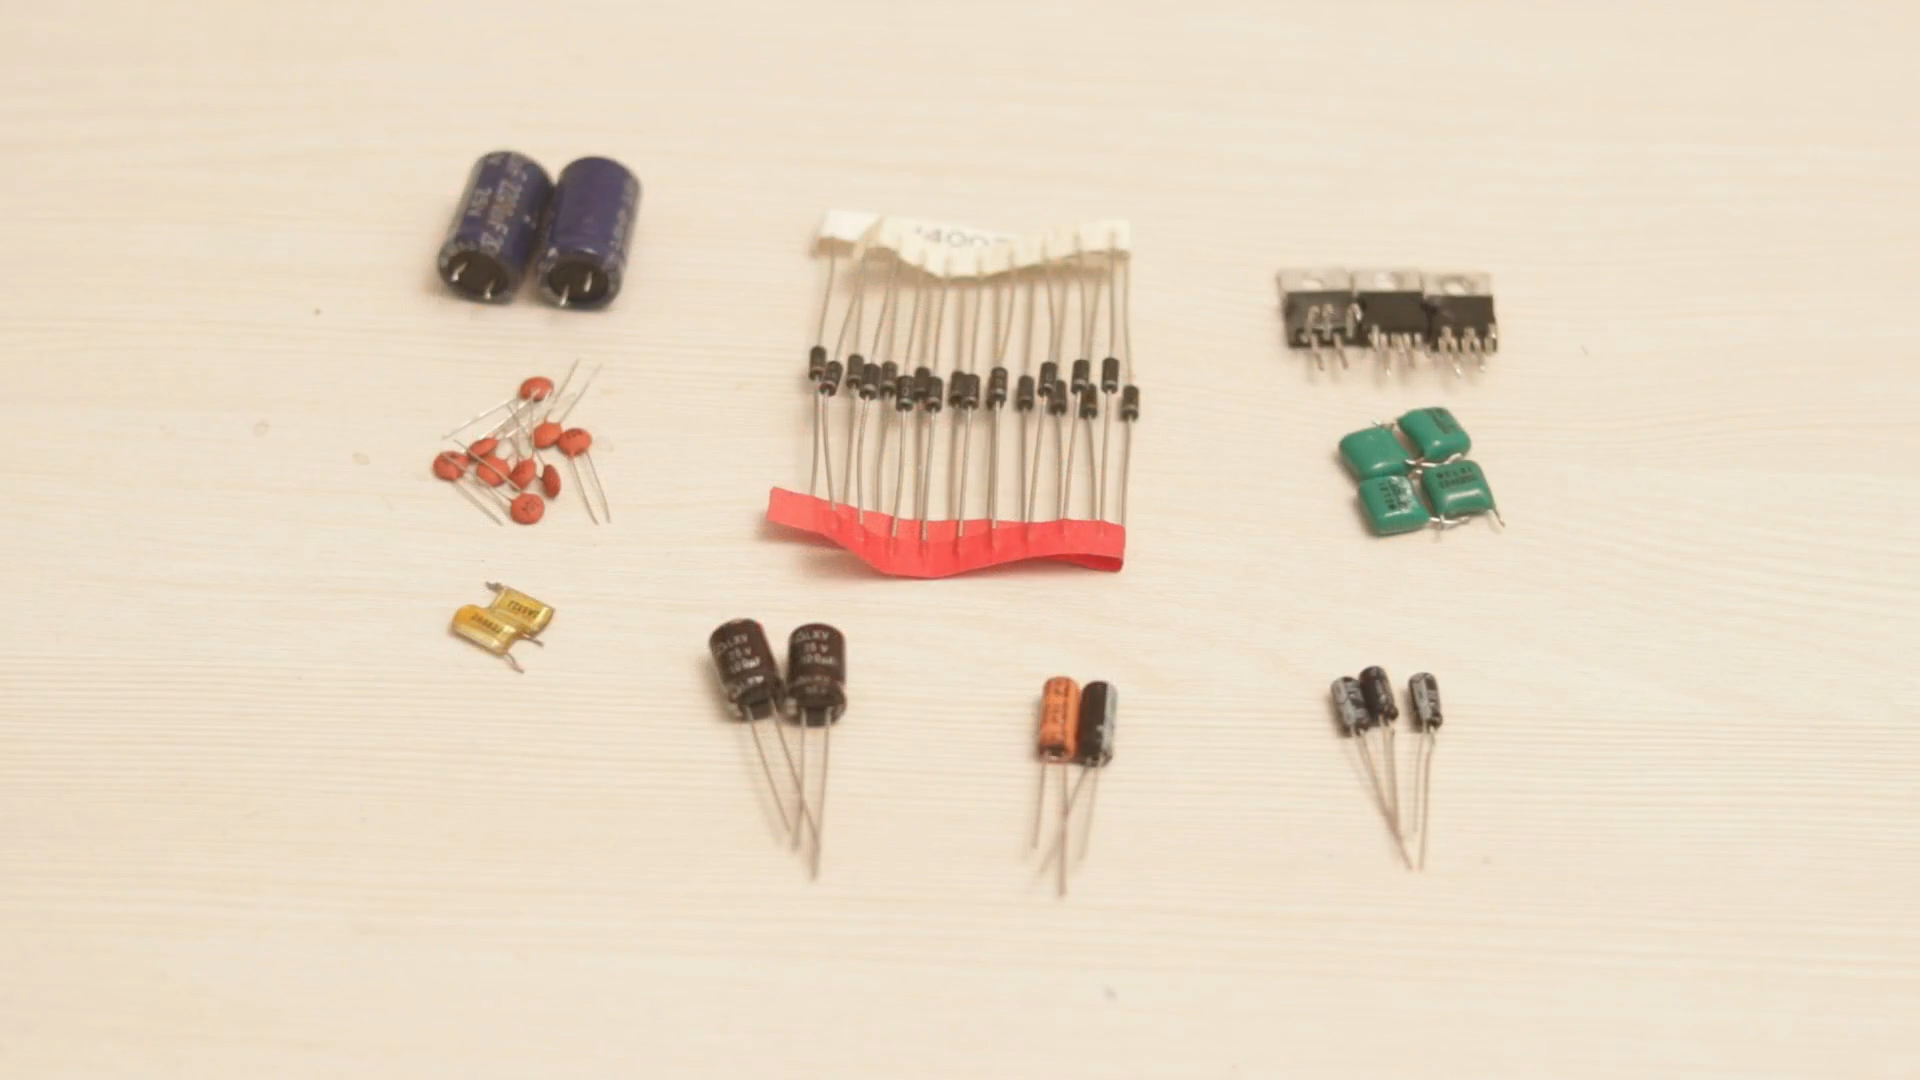
Step 5: Ingredients
Now let’s review the necessary components that we need for this project, I’m using a 4558d IC as mentioned above, it will be the heart of our Device. You will find below some recommended Amazon links for the appropriate items.
In order to create this kind of projects we will need:
★☆★ The necessary components ★☆★
- The PCB that we've ordered from JLCPCB
- 4558d IC
- 12-0-12 transformer
- 5 volt Bluetooth Module
- Left & Right Speakers
- Subwoofer
- Potentiometers
- Wires
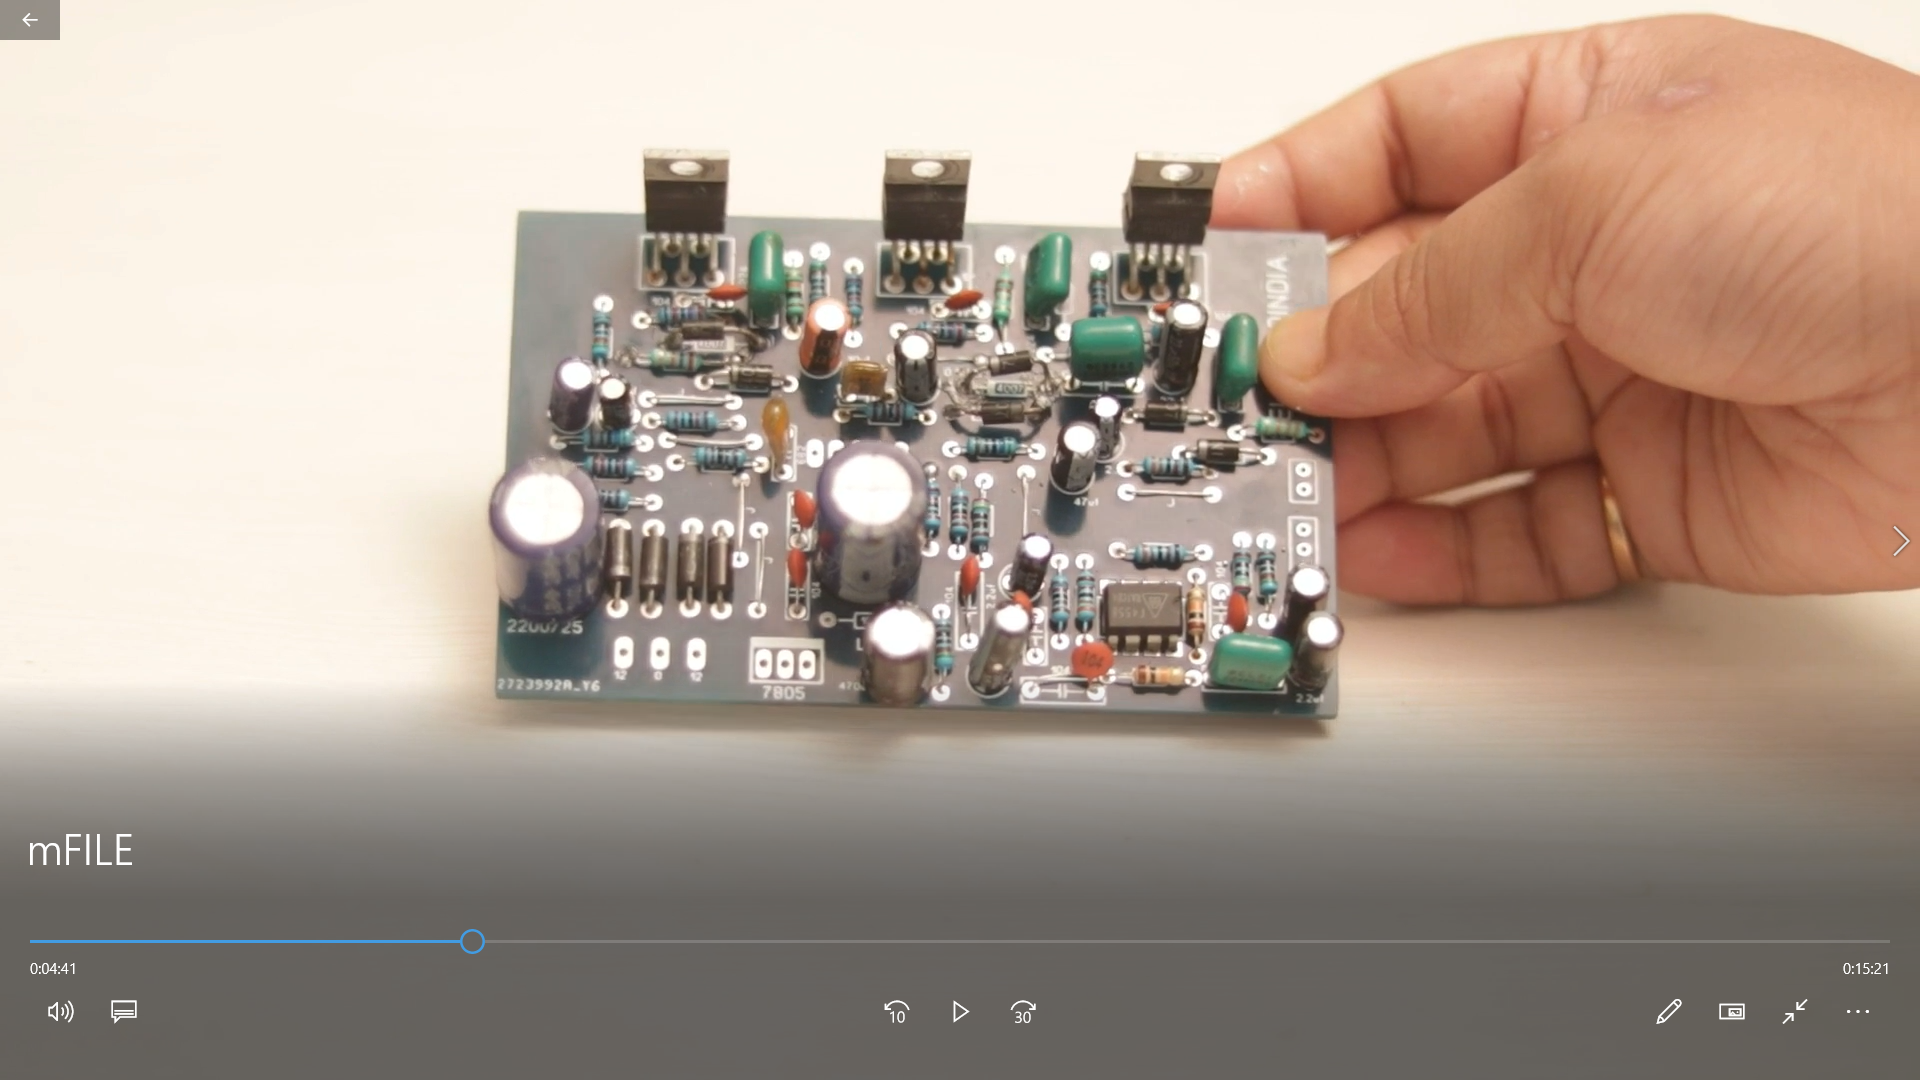
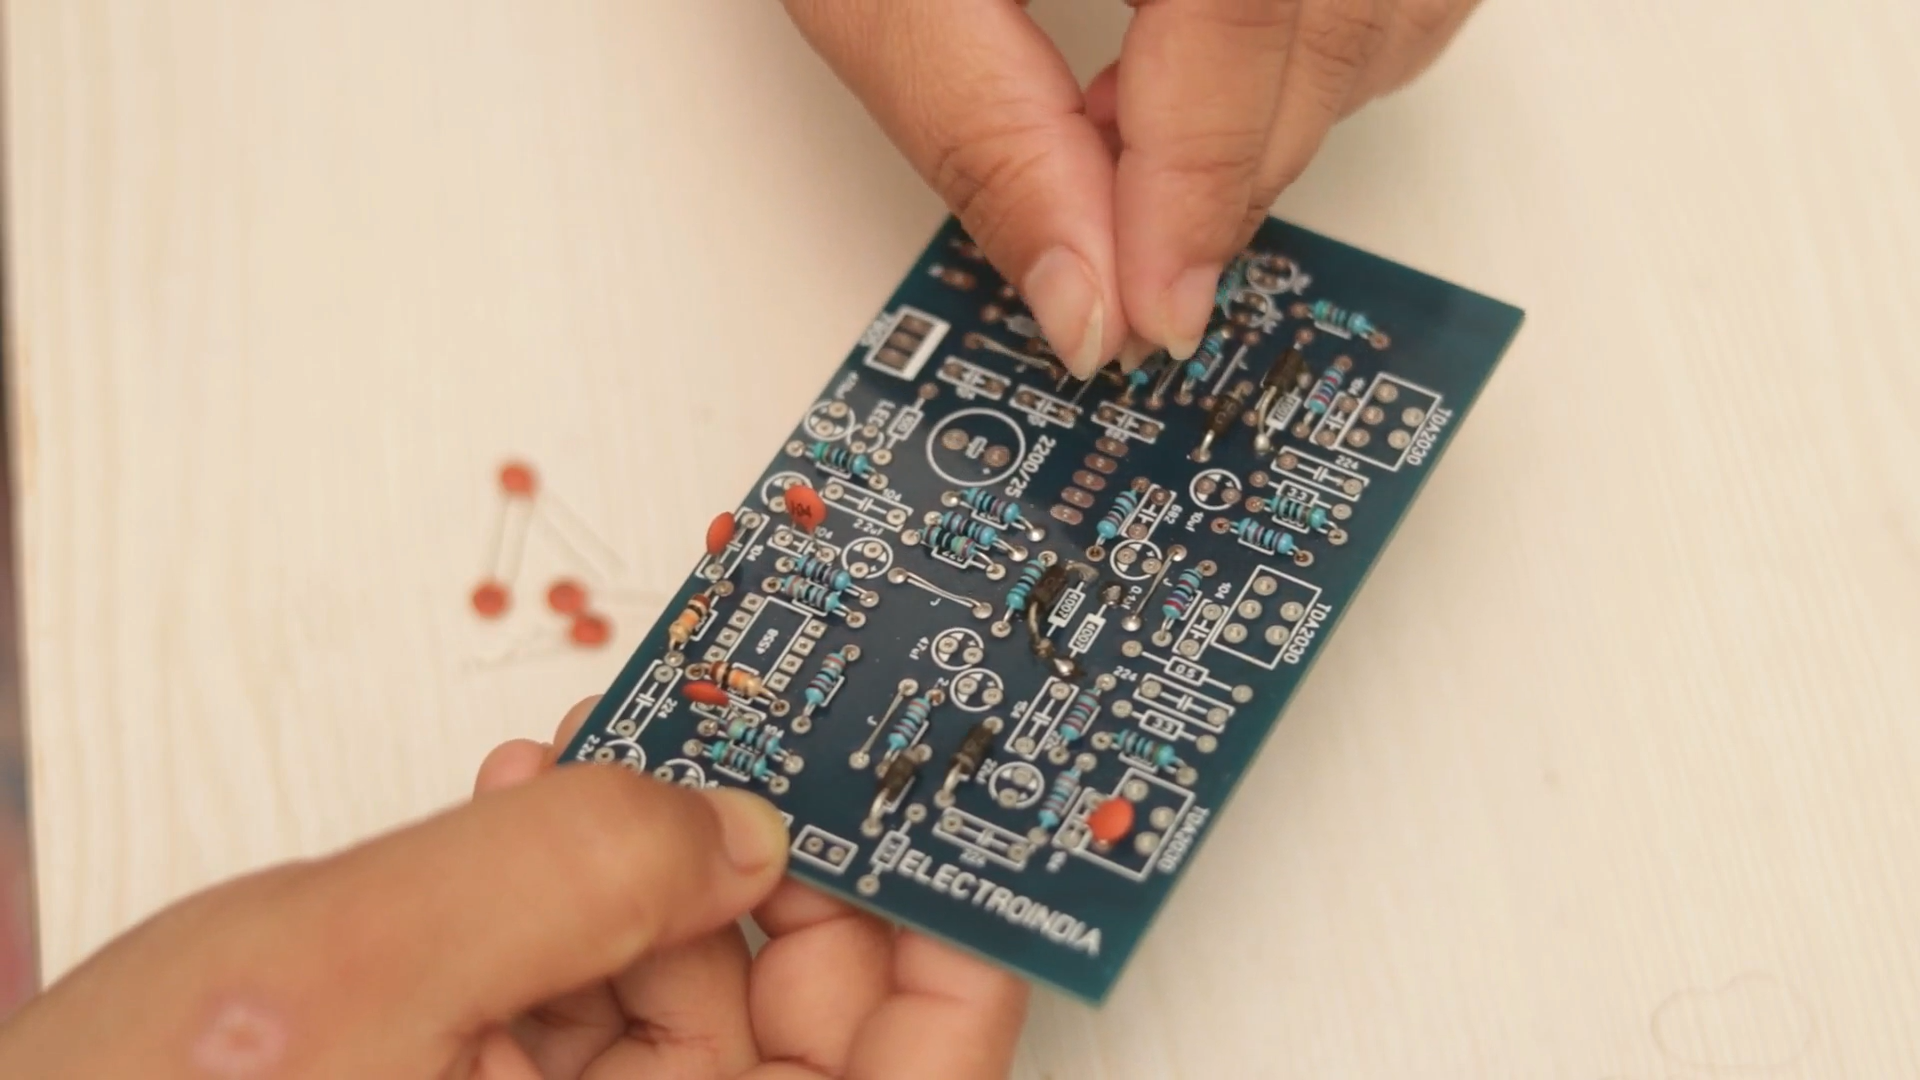
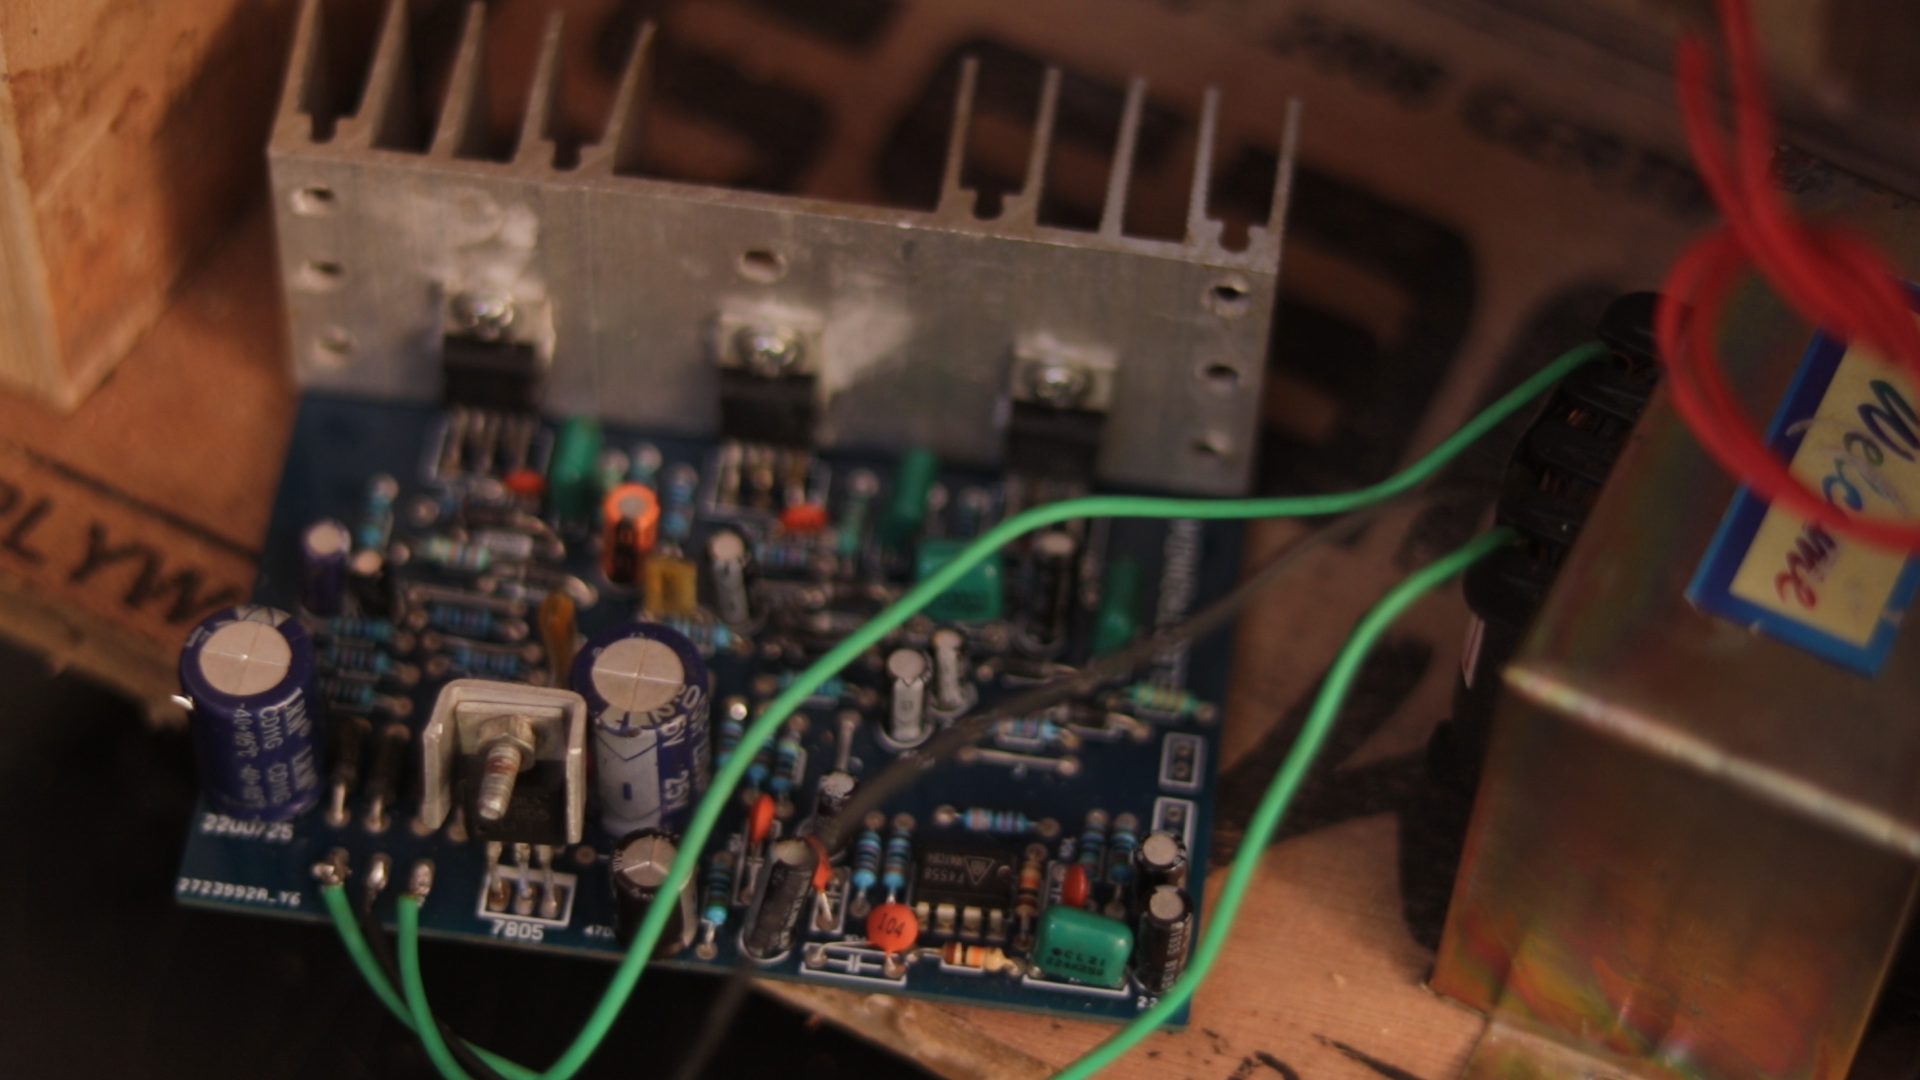
Step 6: Electronic Assembly
Now everything is ready so let’s start soldering our electronic components to the PCB and to do so we need a soldering iron and a solder core wire.
Safety First
Soldering Iron
- Never touch the element of the soldering iron....400°C!
- Hold wires to be heated with tweezers or clamps.
- Keep the cleaning sponge wet during use.
- Always return the soldering iron to its stand when not in use. Never put it down on the workbench.
- Turn the unit off and unplug when not in use.
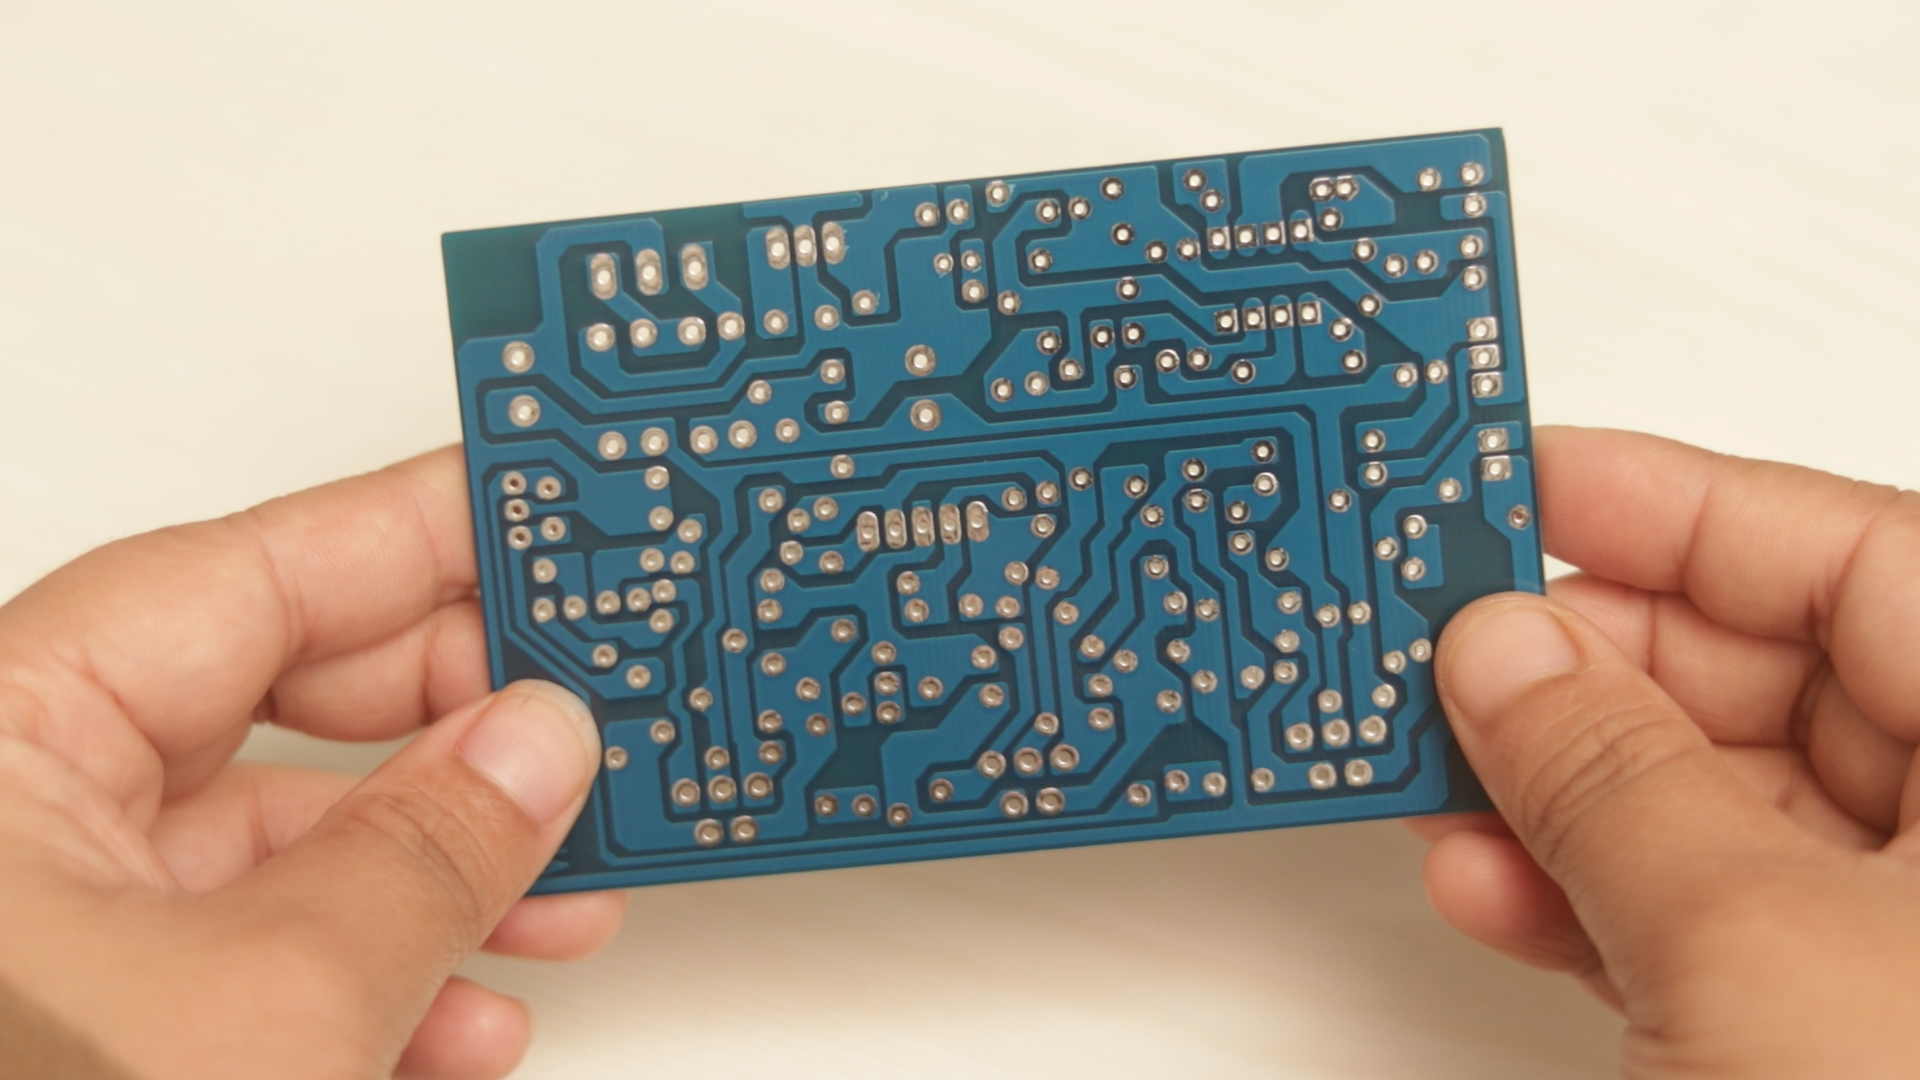
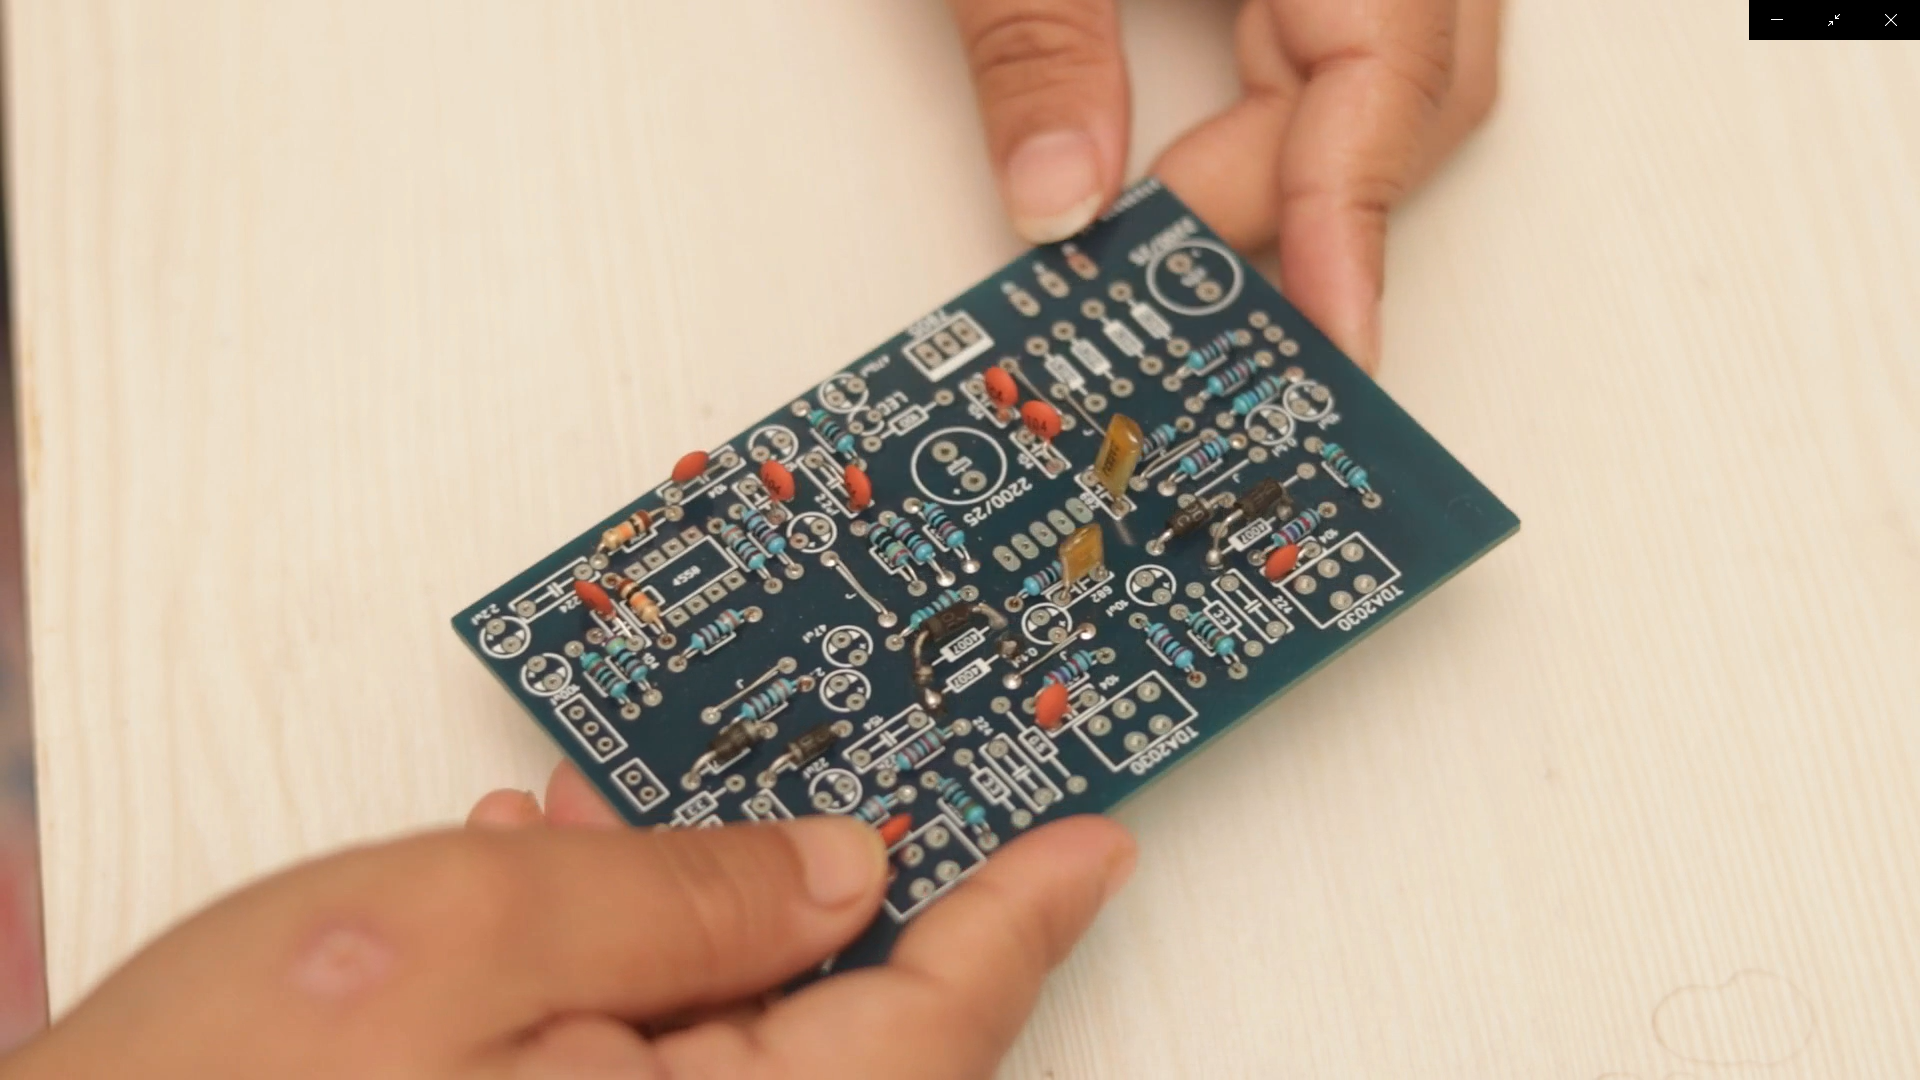
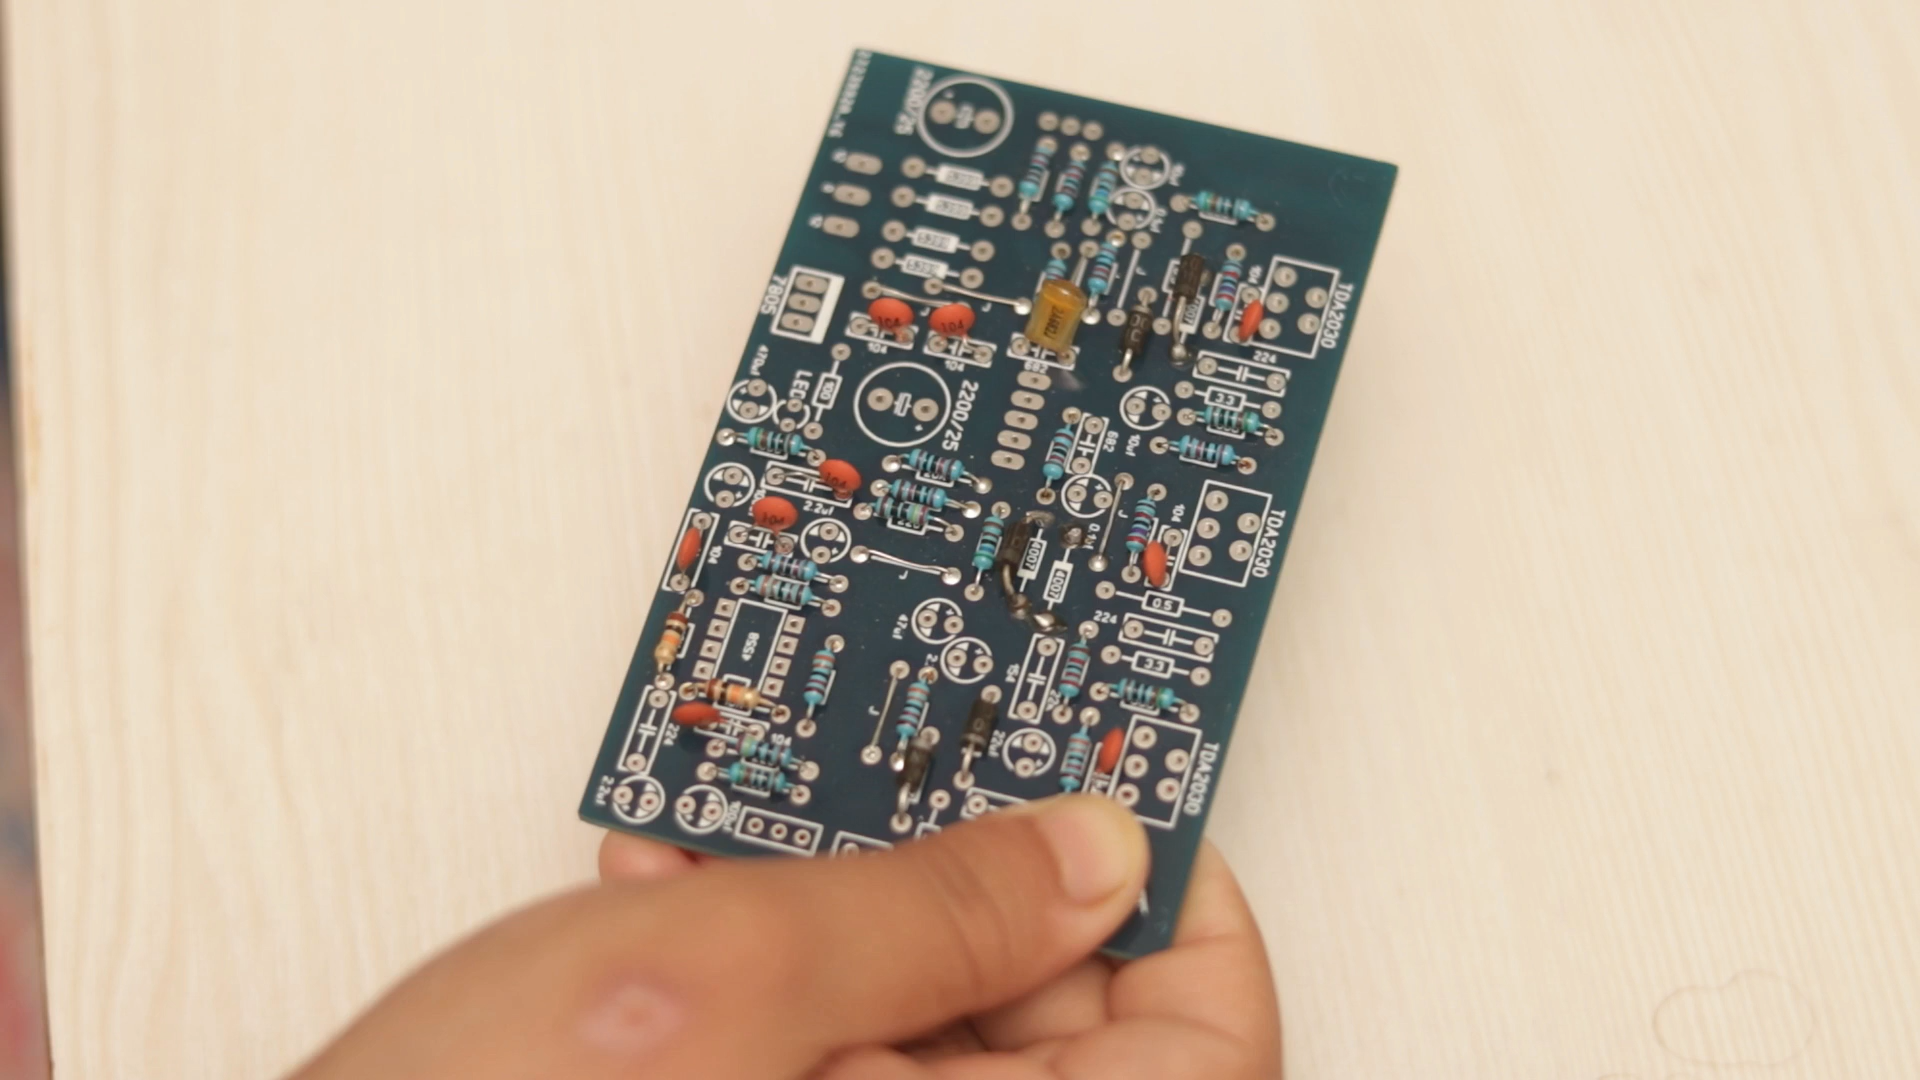
As you can see, using this PCB is so easy due to its very high-quality making and without forgetting the
labels that will guide you guys while soldering each component because you will find on the top silk layer a label of each component indicating its placement on the board and this way you will be 100% sure that you will not make any soldering mistakes. I’ve soldered each component to its placement and you can use both sides of the PCB to solder your electronic components.
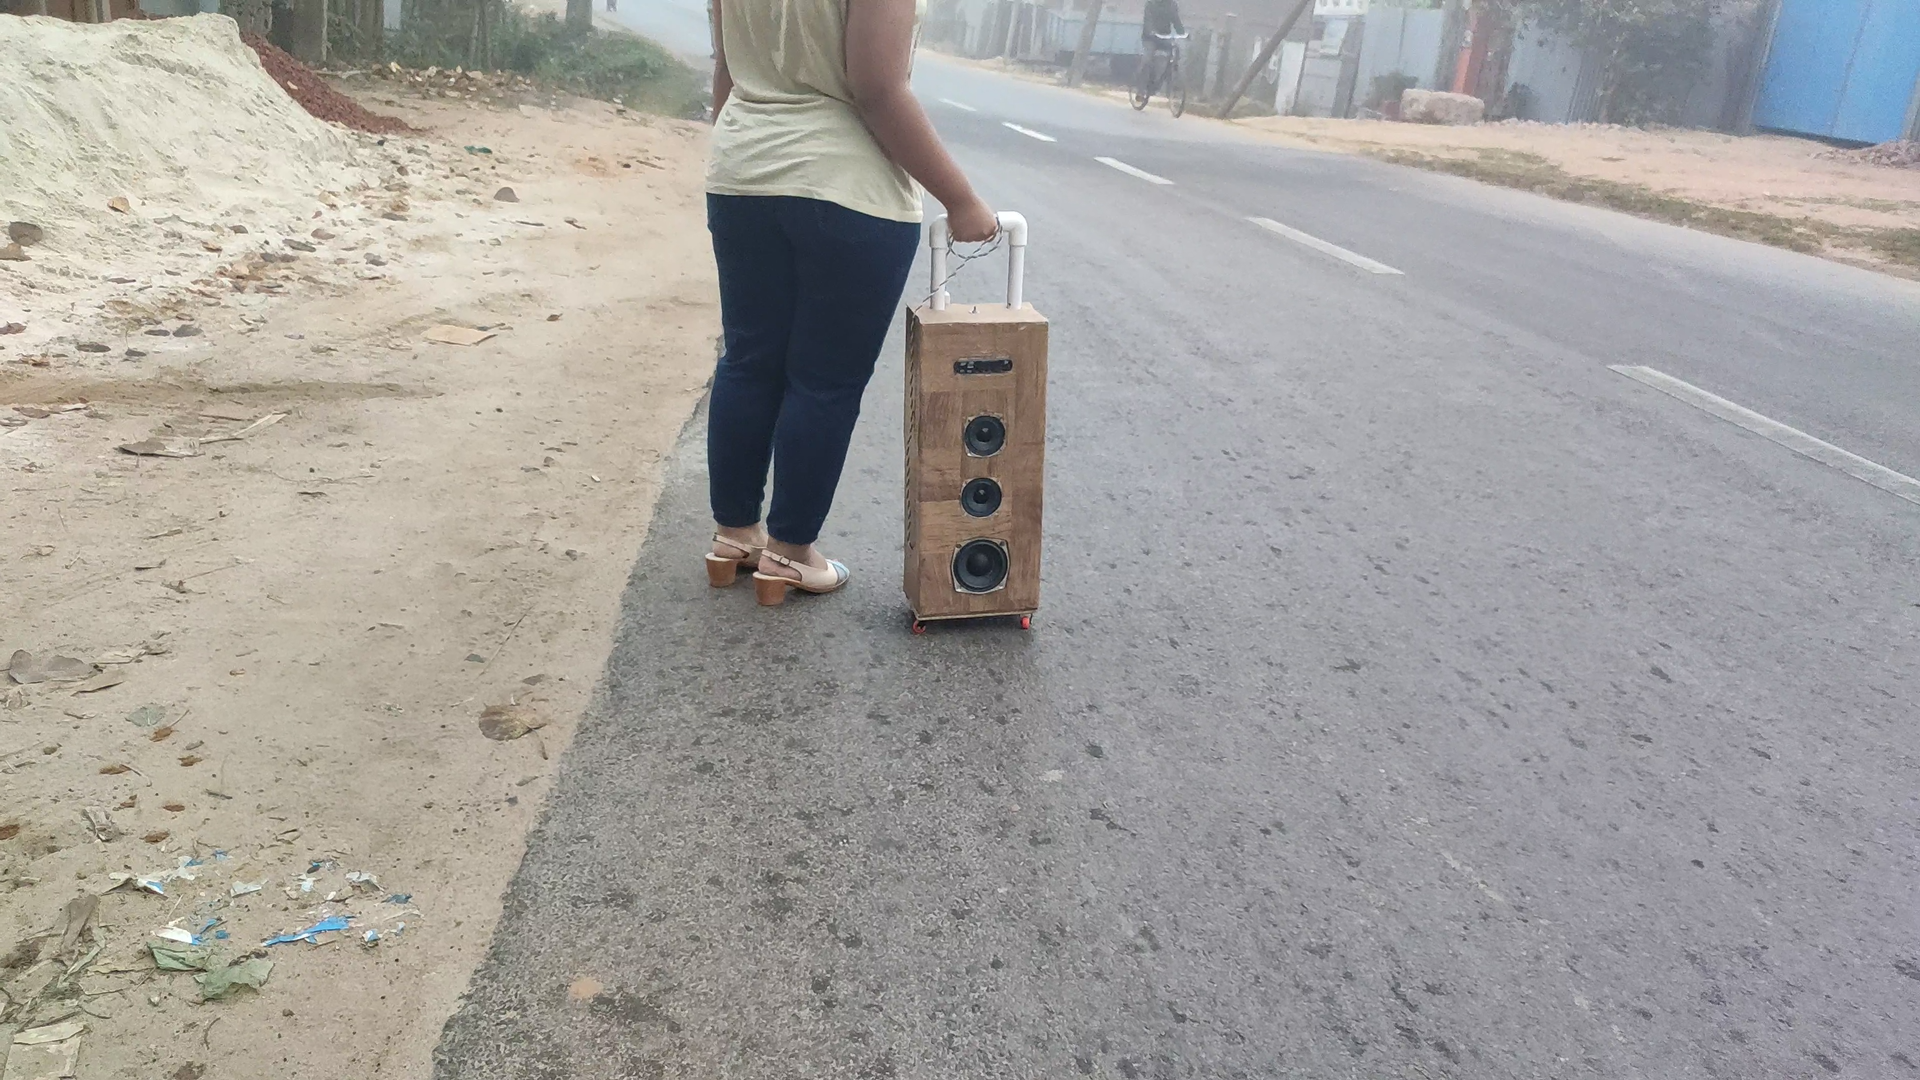
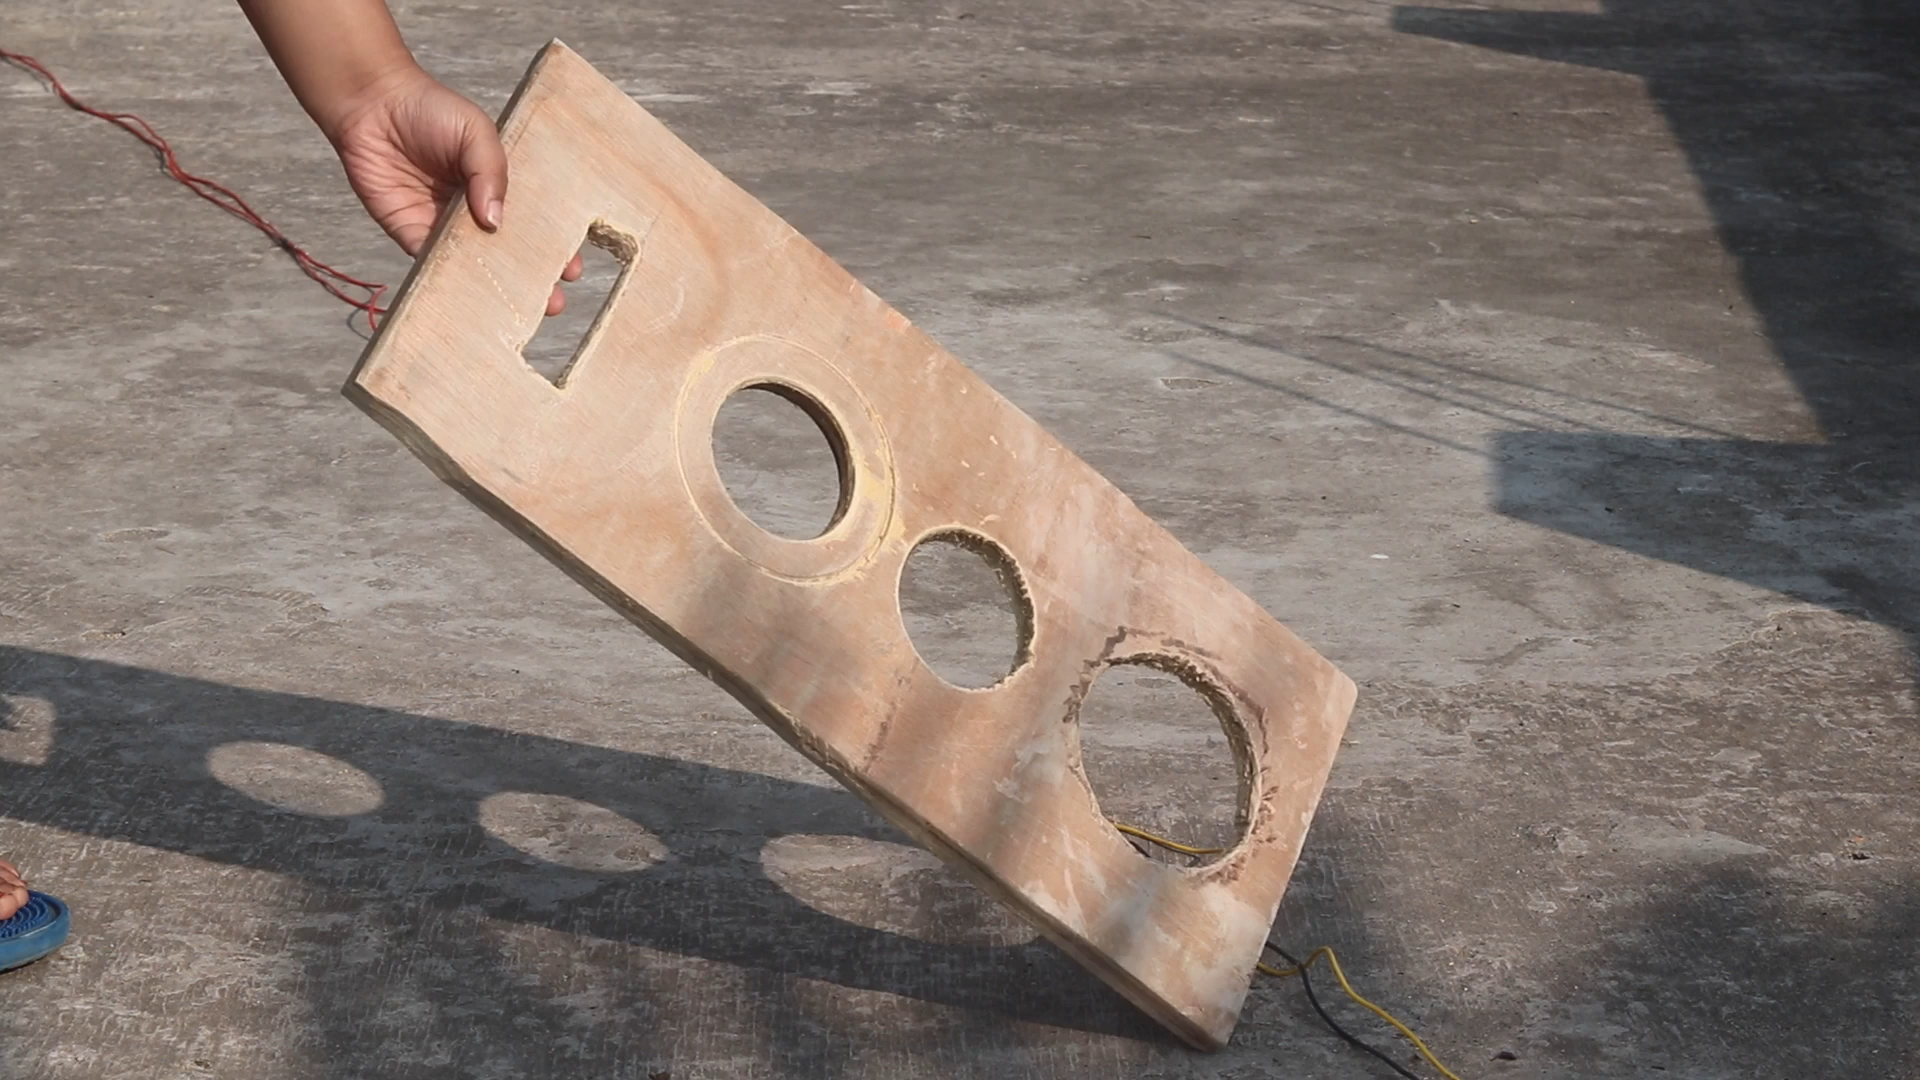
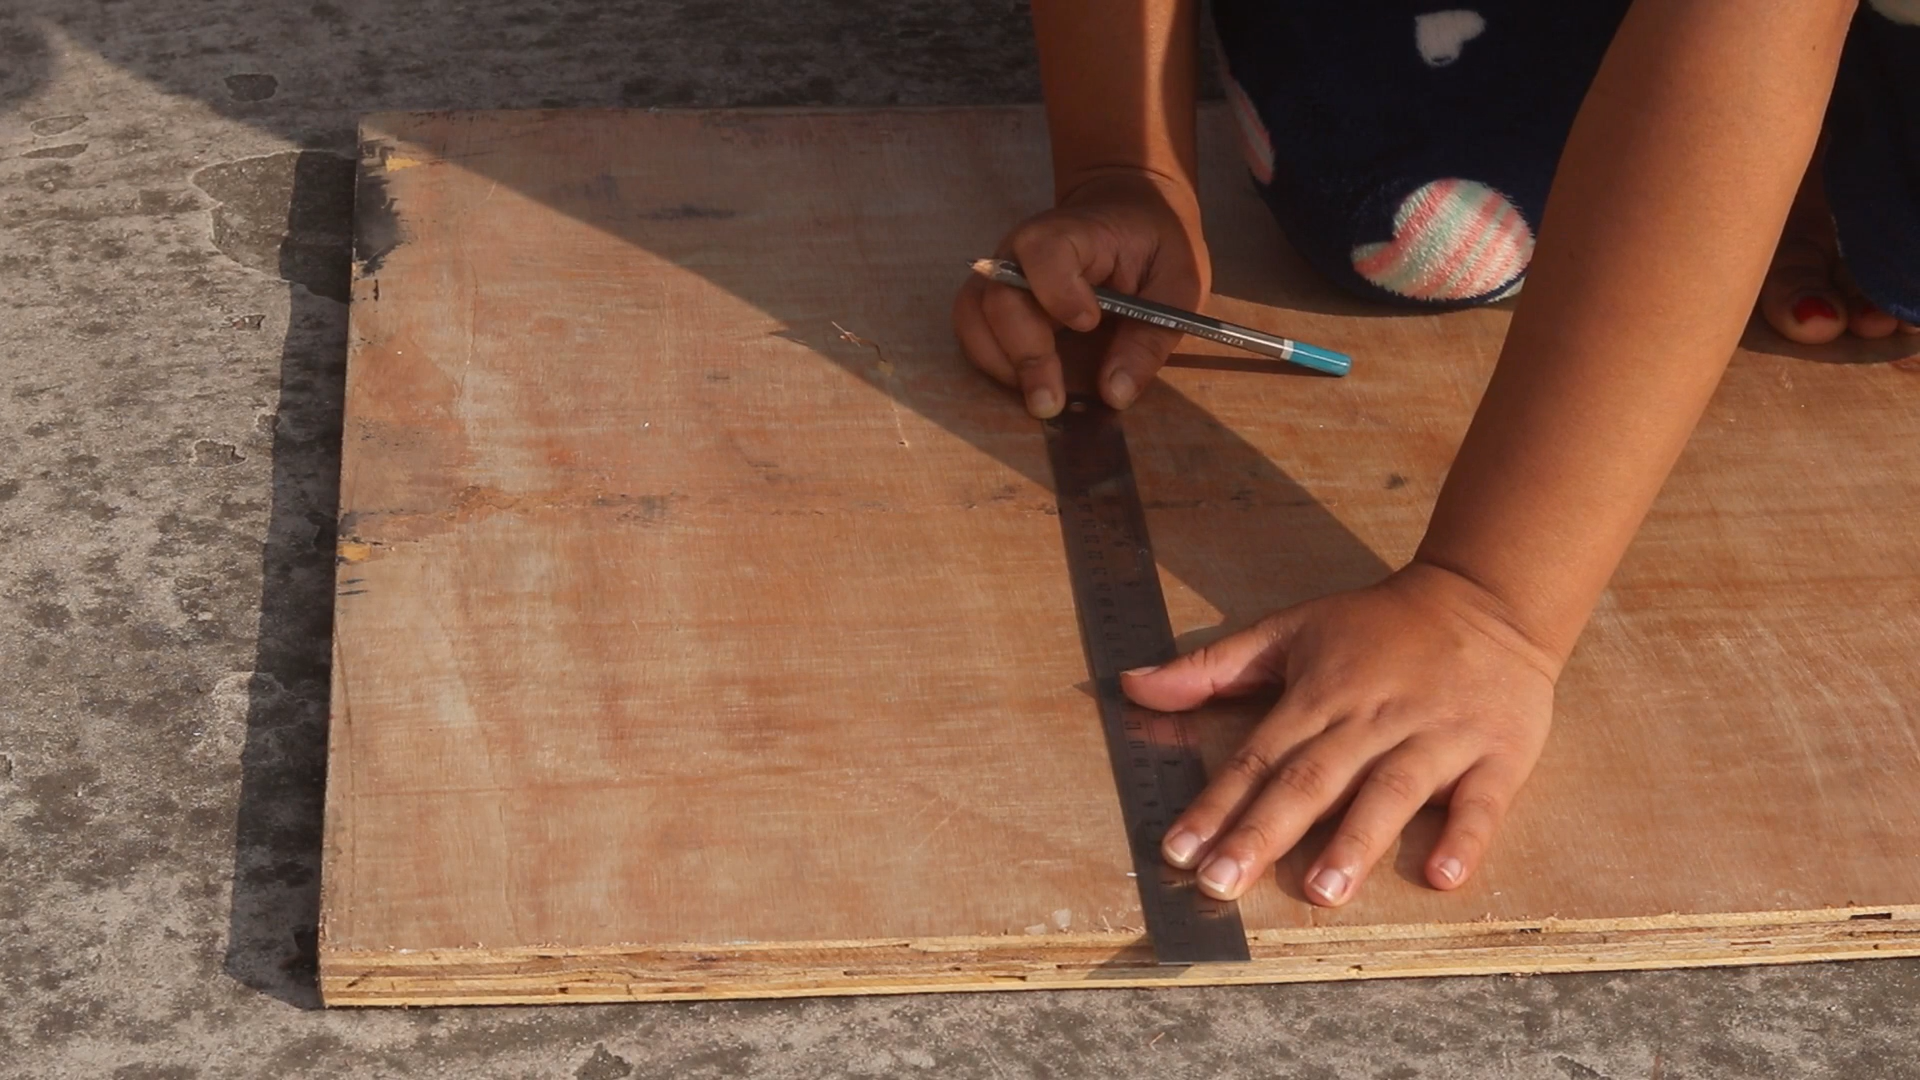
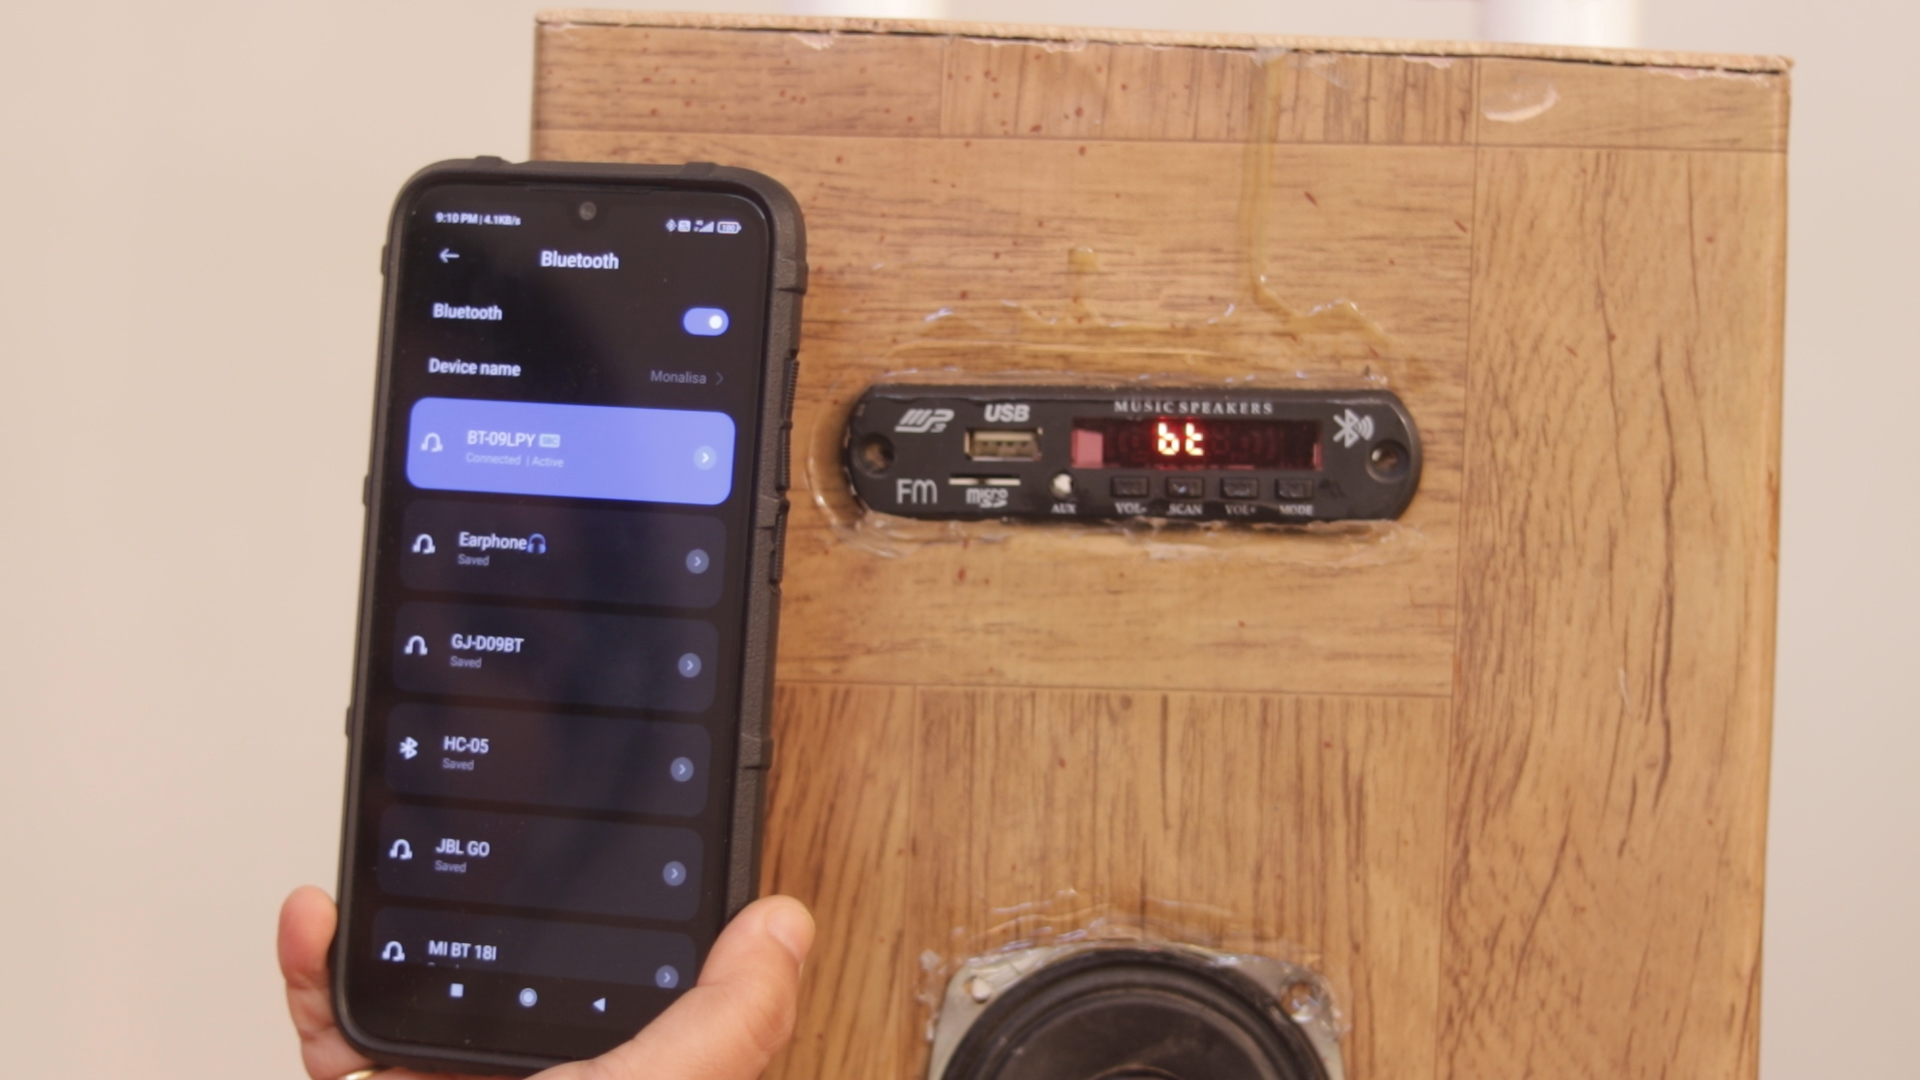
Step 7: Hardware Assembly
Now we have the PCB ready and all the components soldered very well, now we need to place the speakers in their particular place and connect them with the PCB Board using some wires. The 5V audio input module, which is for wireless or Bluetooth connectivity, needs to place and connect properly. After that, we screw the bass control potentiometers and the same for the treble control potentiometers too and do not forget to put the potentiometers cavers so using them will be easier for you. After that, we need to solder some wires in order to connect these controllers to the Board. In case you faced any difficulties while soldering these wires, just get back to the circuit diagram where it is clear how to place these wires, It is not that hard sure if you follow the same circuit diagram.
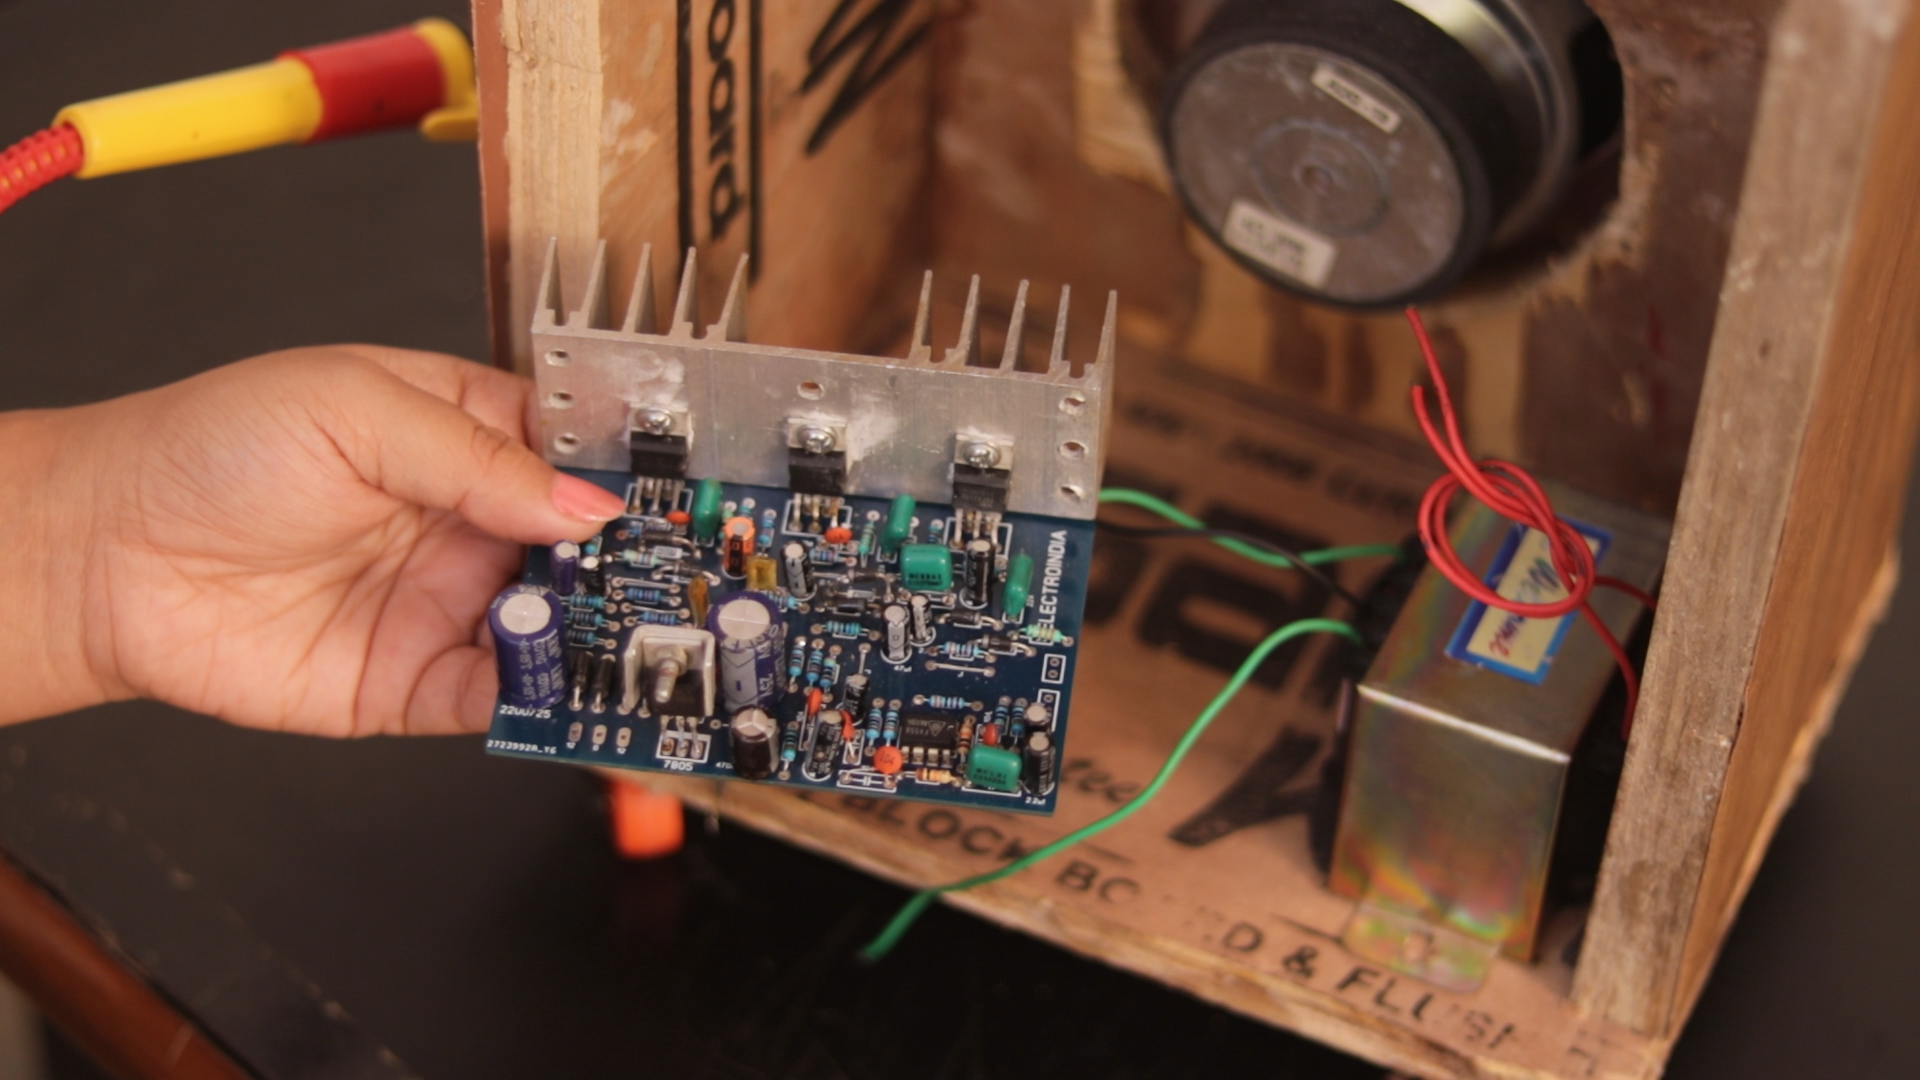
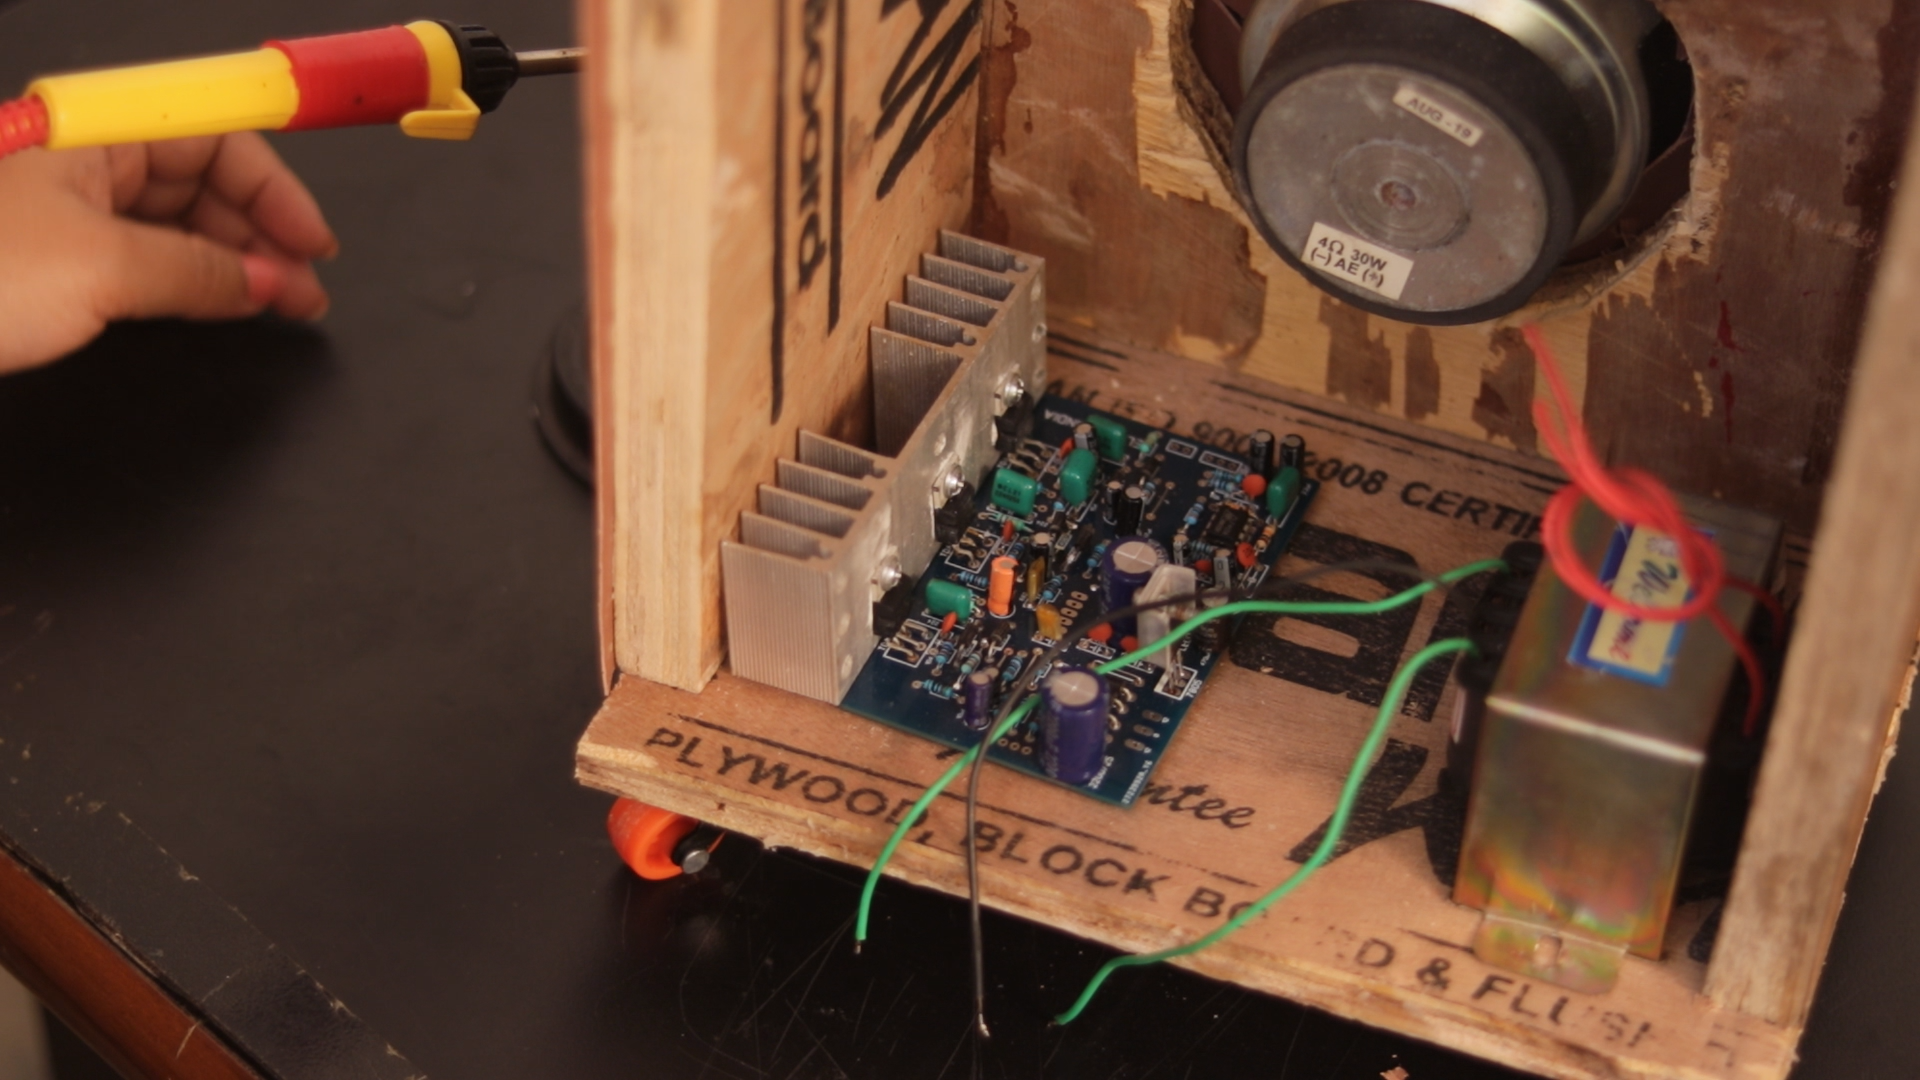
Last but not least we take the lower base of our box and we screw the PCB in it. So after placing the board in its placement all we need to do now is finishing the assembly of the box and finished the hardware part.
And once you finish that, you can start playing with your new Bluetooth Trolley Speaker.
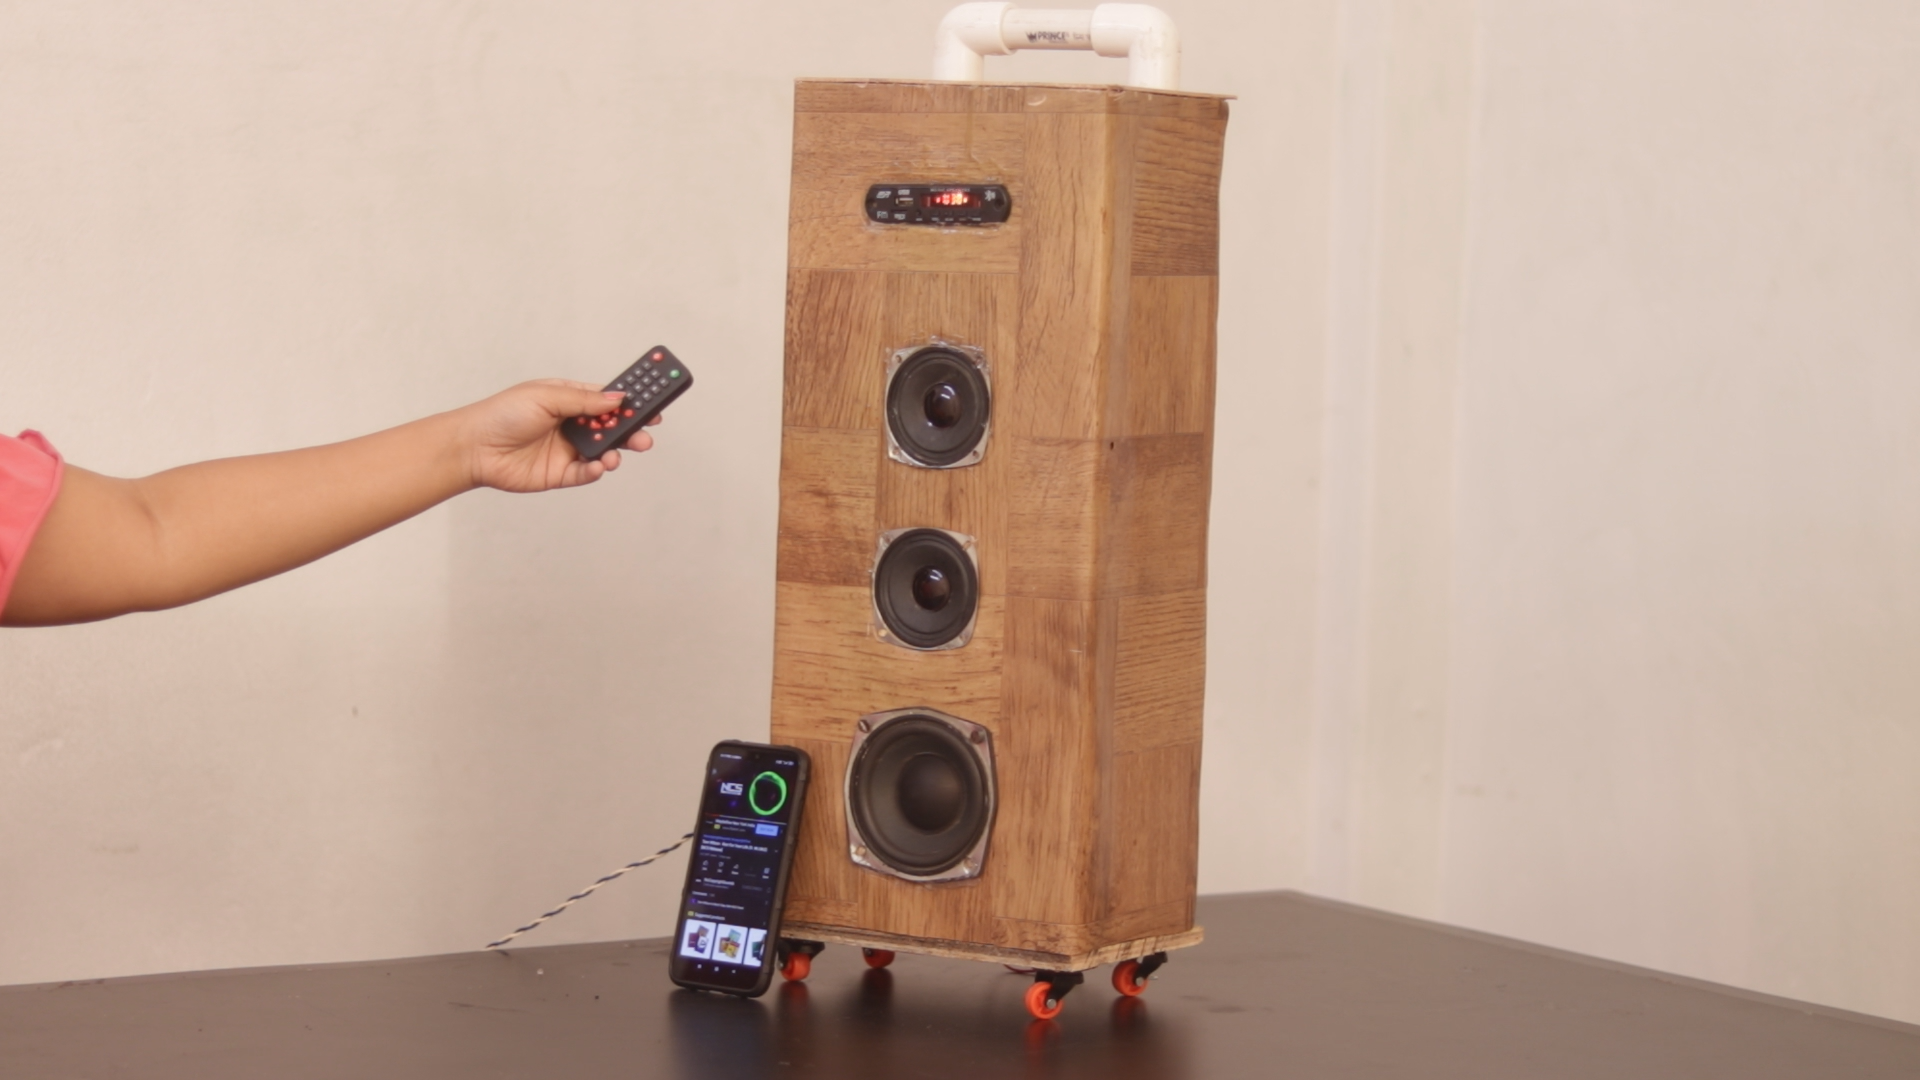
As you can see guys, this project is so easy to make and an amazing one but still some other improvements to perform in order to make it much more butter, that’s why I will be waiting for your suggestions to improve this Bluetooth Trolley Speaker.
Credit
Electro India