 techknight
So now comes the real hacking part.
We have the basic Architecture of the graphics card now, but we have Zero idea how this card works. or even how to speak with this card, or do anything with it yet.
At the time, I did not understand 68K ASM or C that well yet, so I needed to figure out an easier way to probe this card and be able to do things.
Enter Arduino (once again).
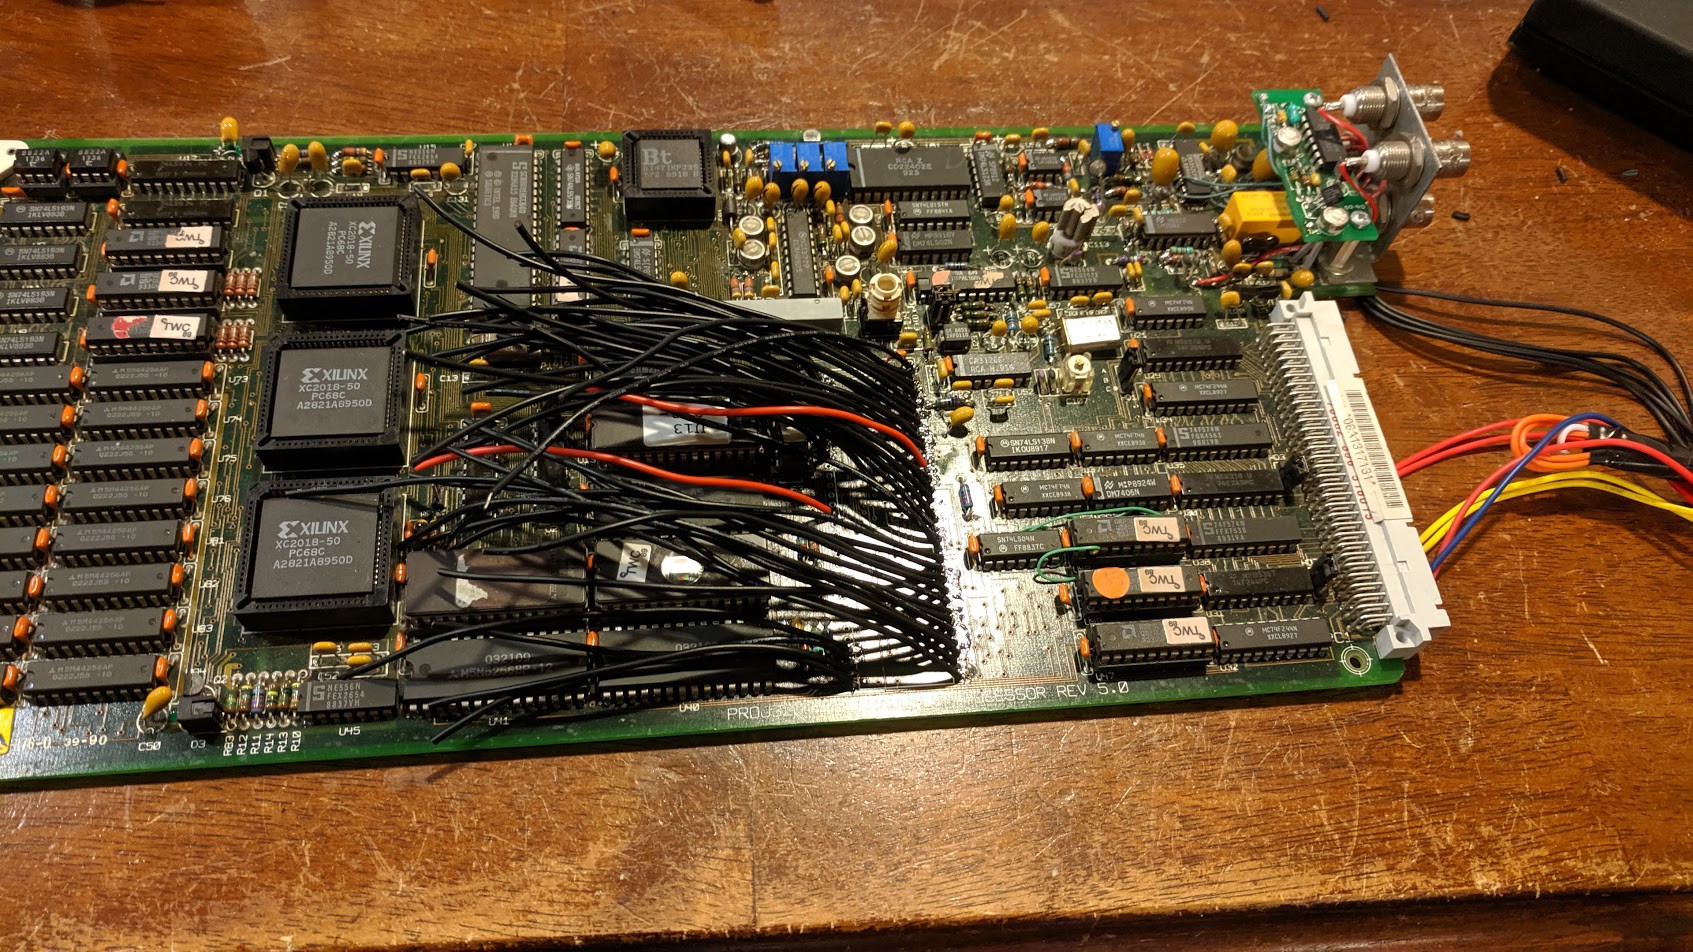
I decided to remove the MC68010 CPU, and then use an Arduino Mega in its place to "emulate" the 68K bus cycles, this would allow me to write a much higher level program on the PC side and communicate over USB to the Arduino and be able to send commands and access addresses on the card.
This should help me figure out how to control the framebuffer, how the framebuffer is laid out, etc...
Wiring up a PicoATX Power supply. (This helps me run this card separately from the unit)
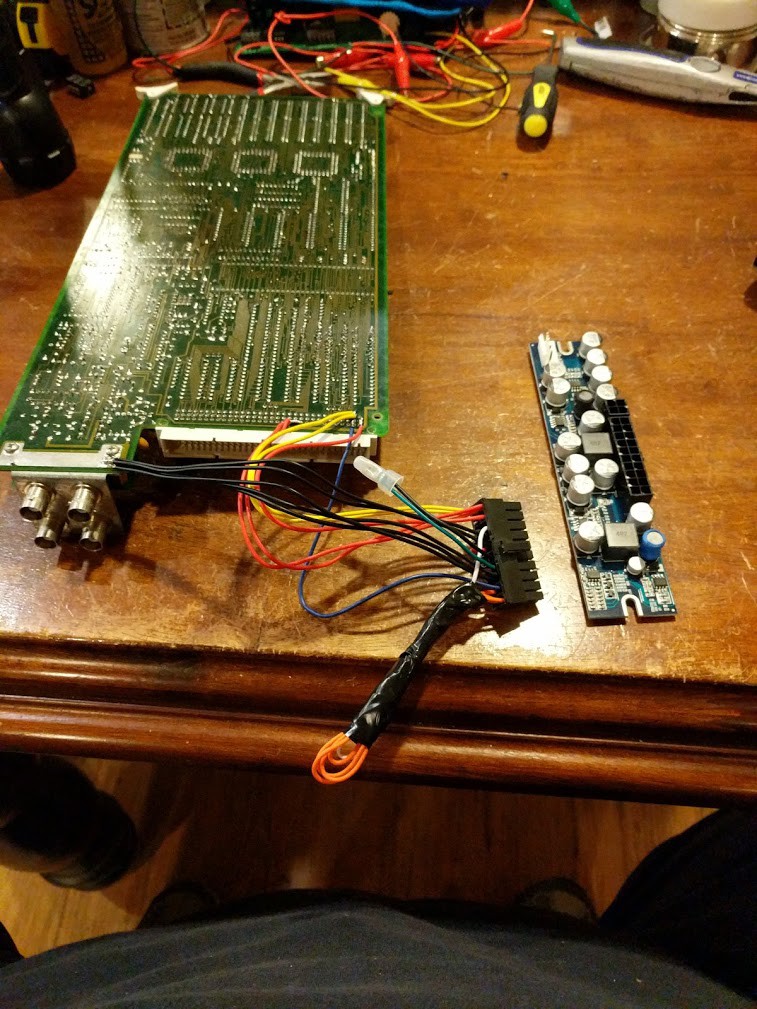
Powering it up on the bench to make sure things dont explode. Magic smoke test:
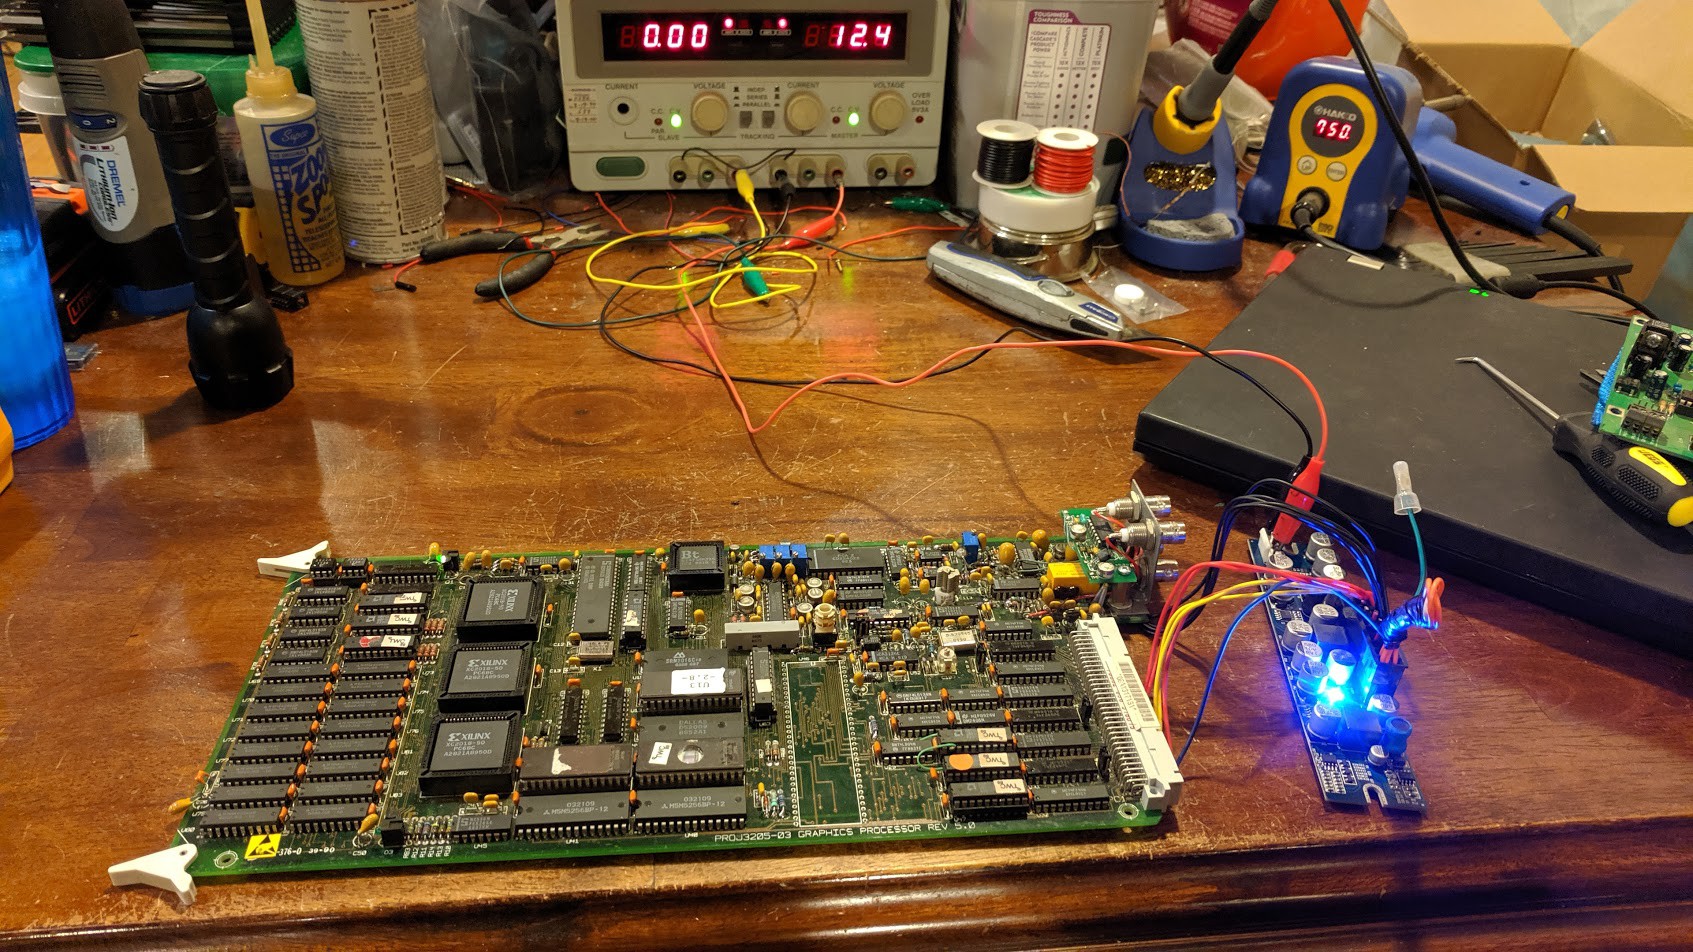
And... yeaahhhh.. :-/
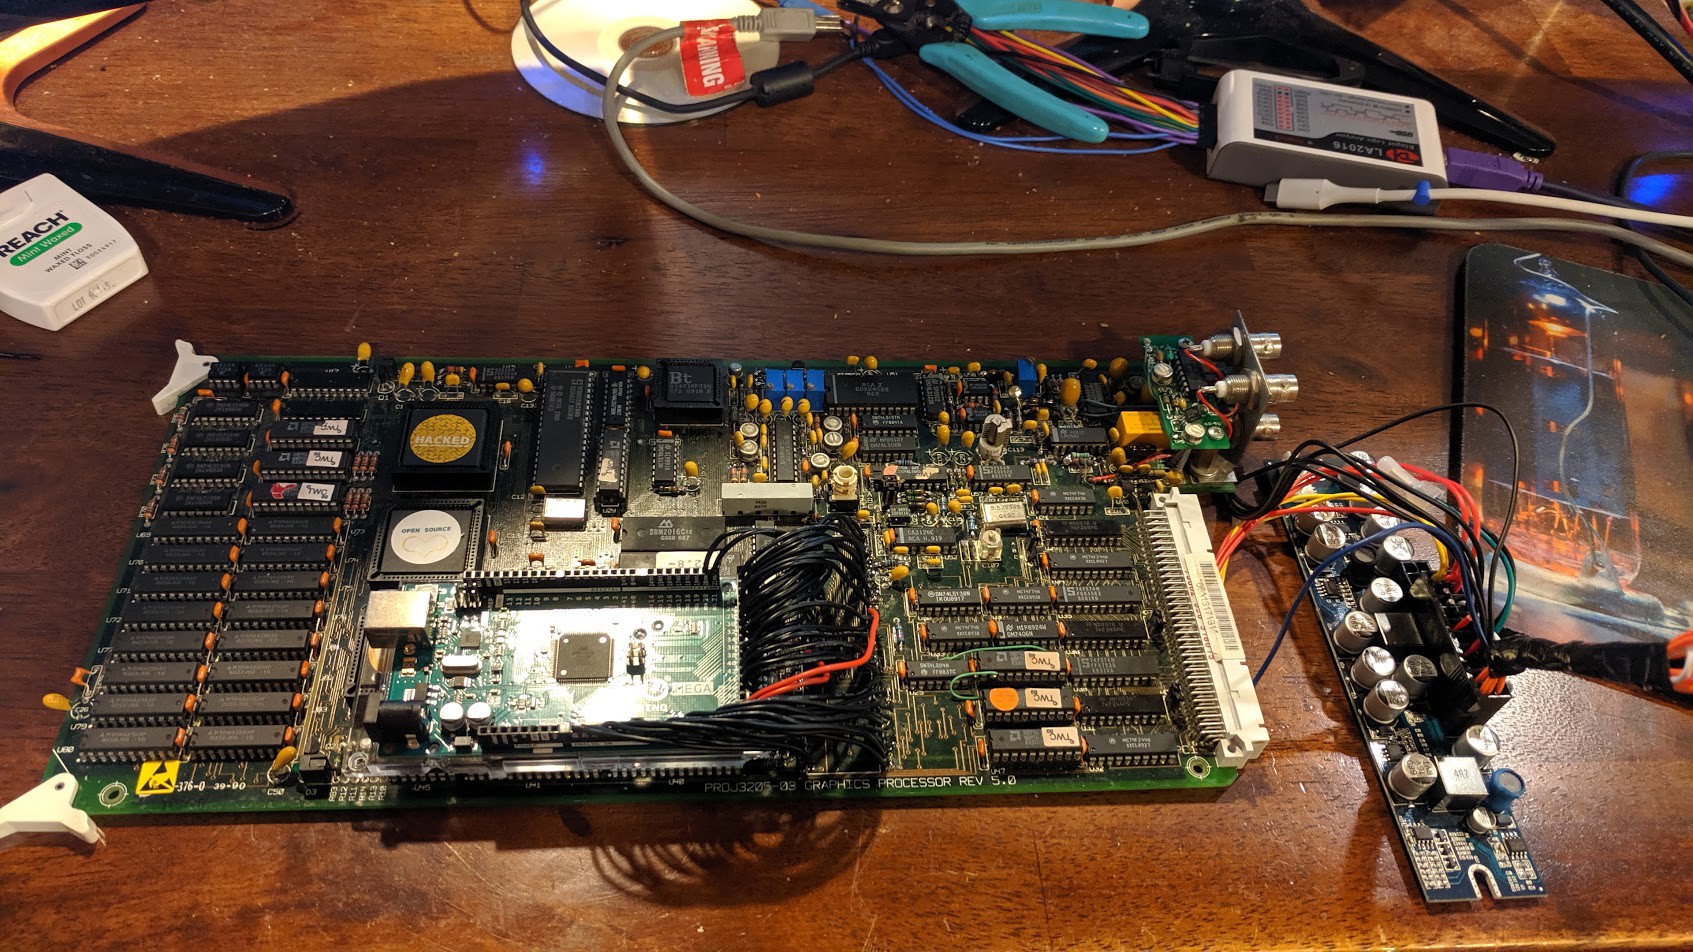
Arduino is all mounted up and ready to go.
Now, I still have to write a test program that runs on the Arduino to keep the watchdog reset on this graphics board. I know once I do that, my bus emulation program is working :-)
The green LEDs on this board are the "health" indicators. They will remain green as long as the watchdog is reset.
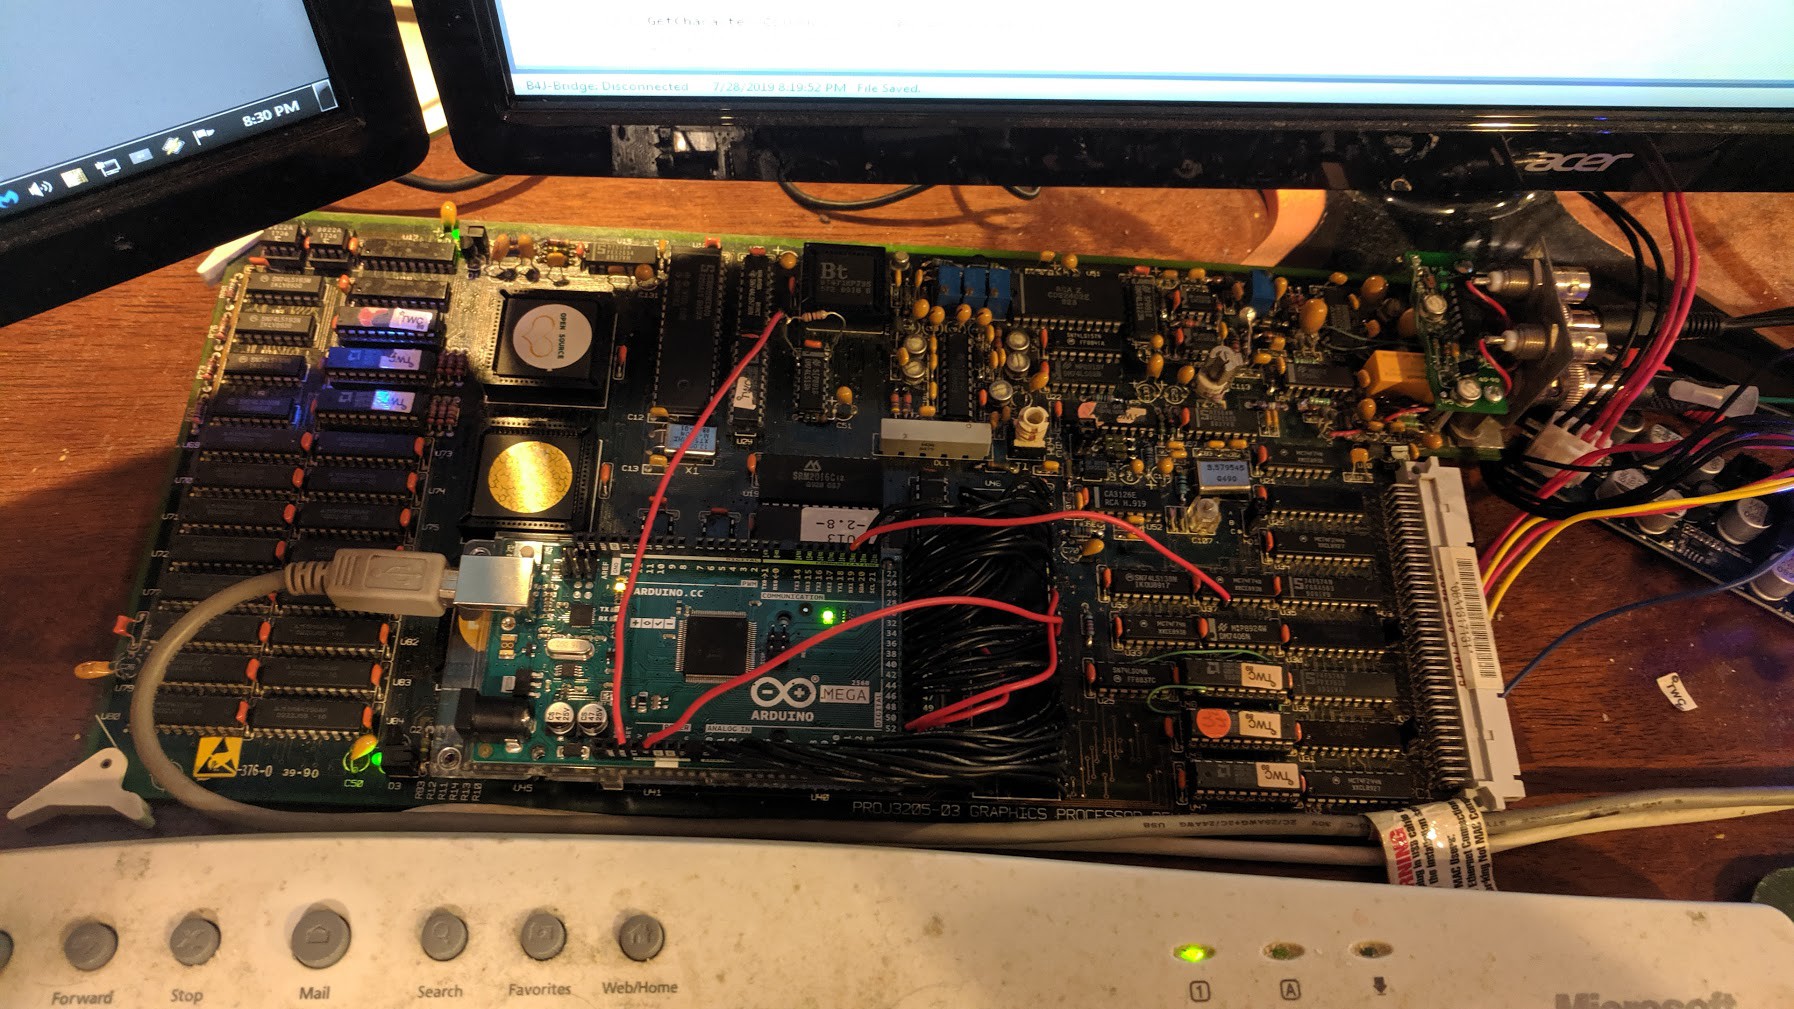
And Success! the 68K's health light is on, and my program is running.
Now I have a good setup for probing the graphics card to learn about how it works, and its operations.
Next thing we need to do is start writing things in the Framebuffer memory location and see what shows up on screen. Also, we need to study the 8051 ROM in order to grasp how the framebuffer works.
Turns out, it took experimenting with the commands plus studying the ROM to figure out how everything works.

Aaaaand there we go! I simply drew some stuff in the framebuffer memory, and displayed its initial contents. That "checkerboard" pattern is the initial state of DRAM when first powered on, and nothing being written yet. However it still doesn't look right. instead of a clean color, its a broken alternating line. Turned out, one of my wires was loose on the Arduino. Not surprising with that ratsnest.
Discussions
Become a Hackaday.io Member
Create an account to leave a comment. Already have an account? Log In.