 ClimbinElectronics
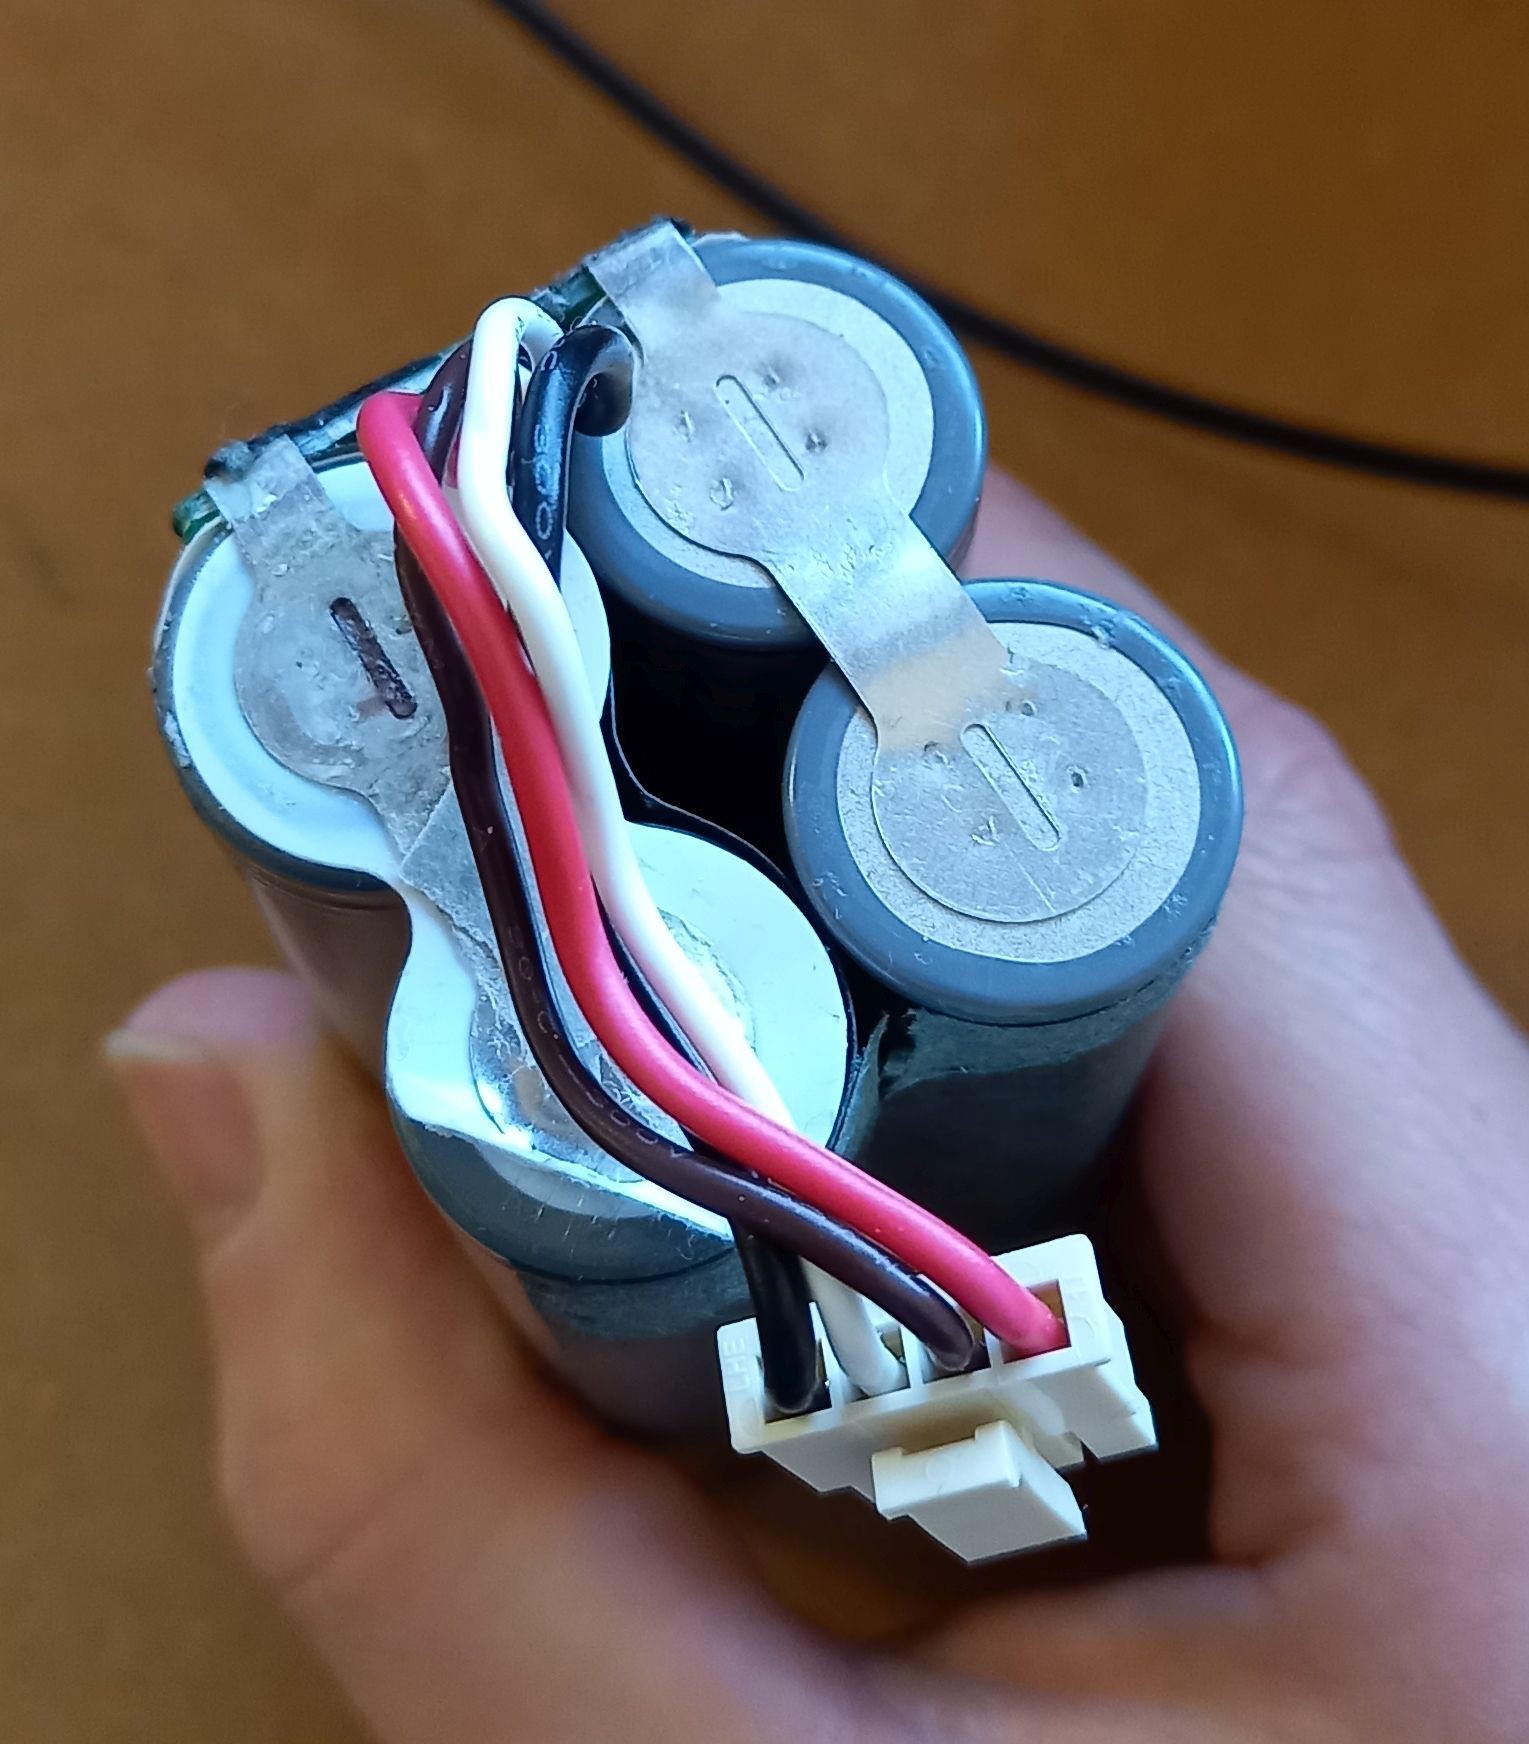
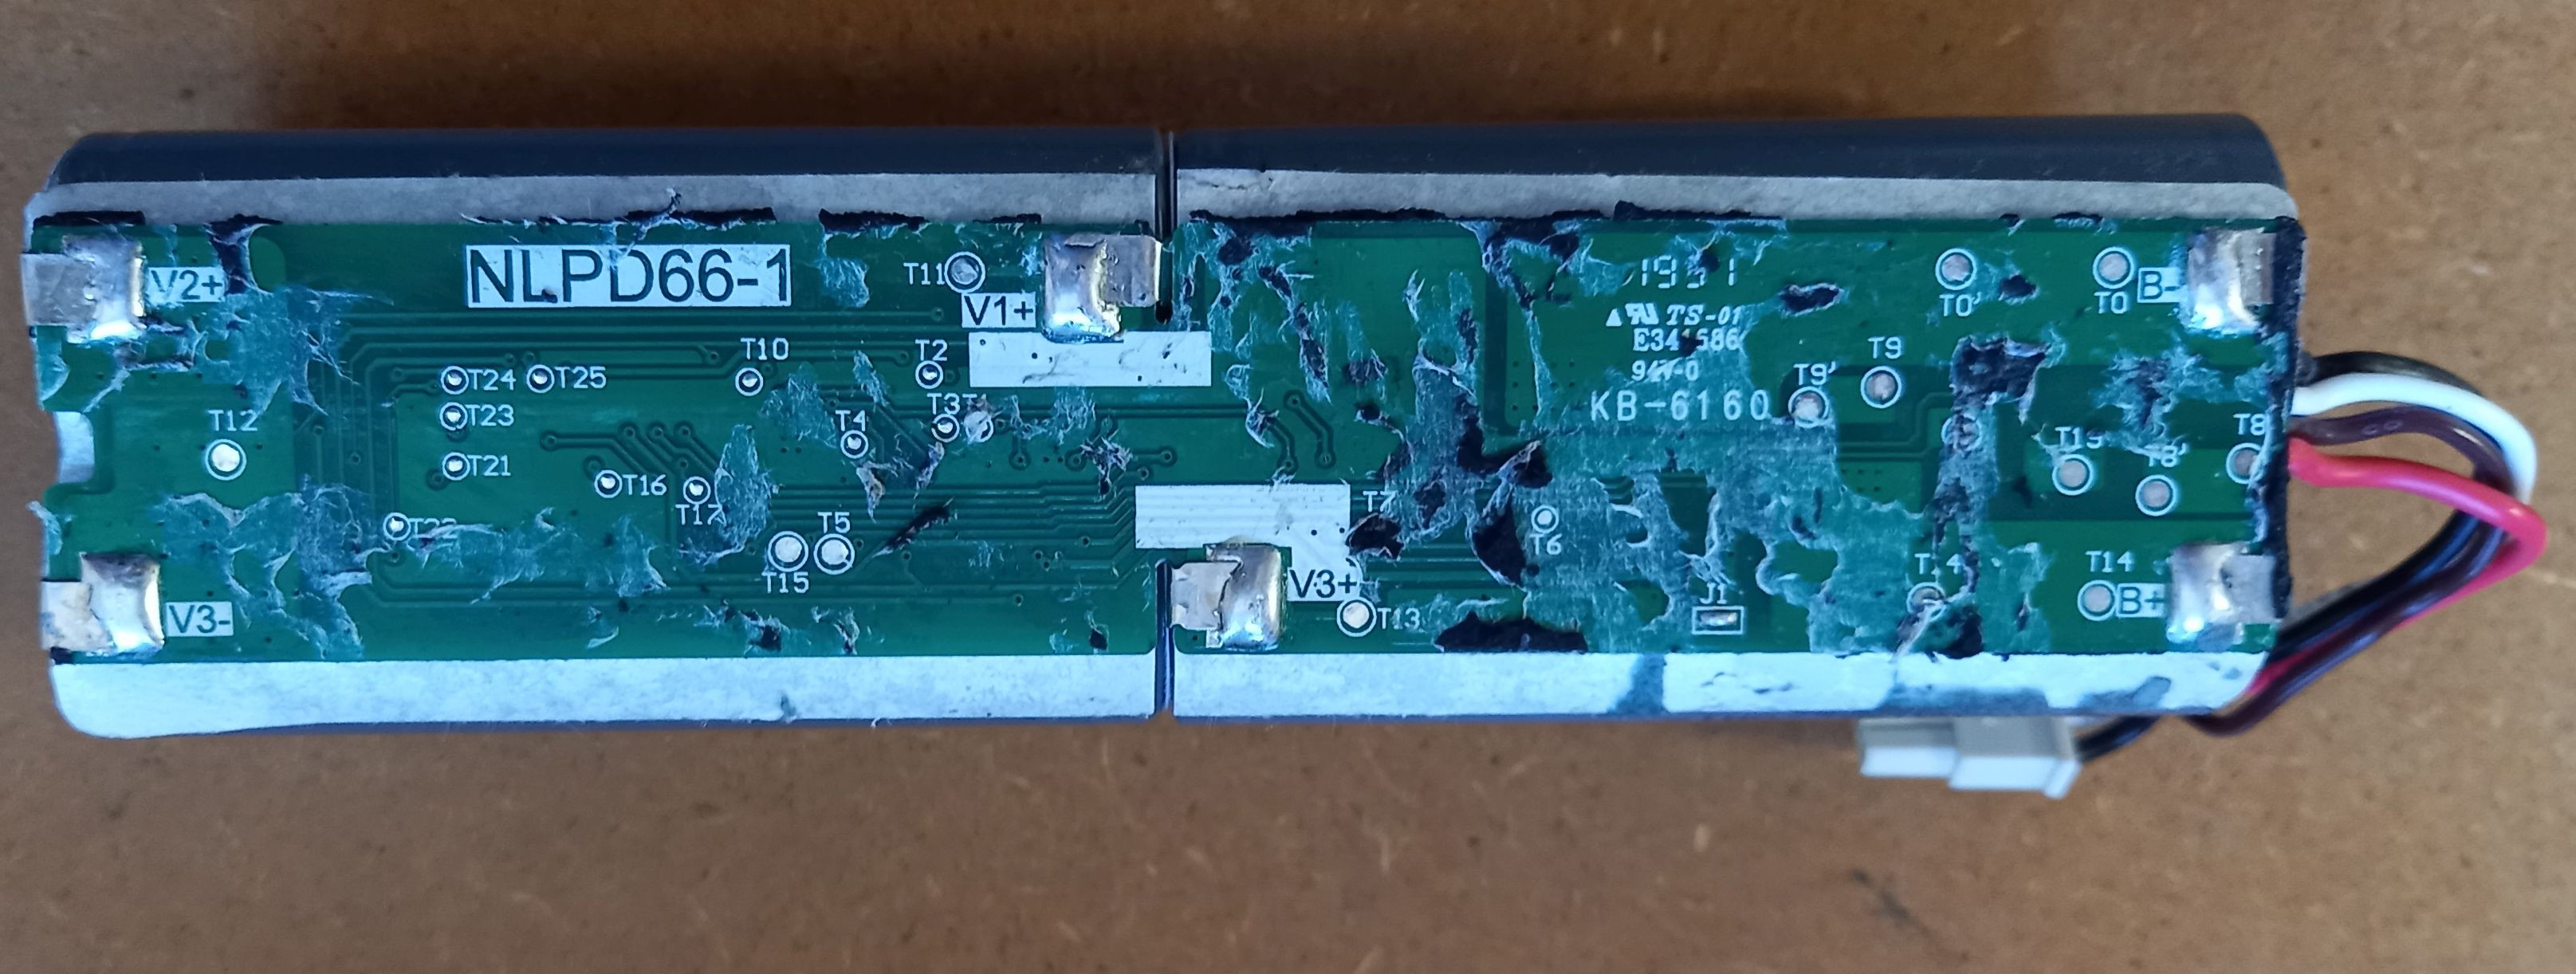
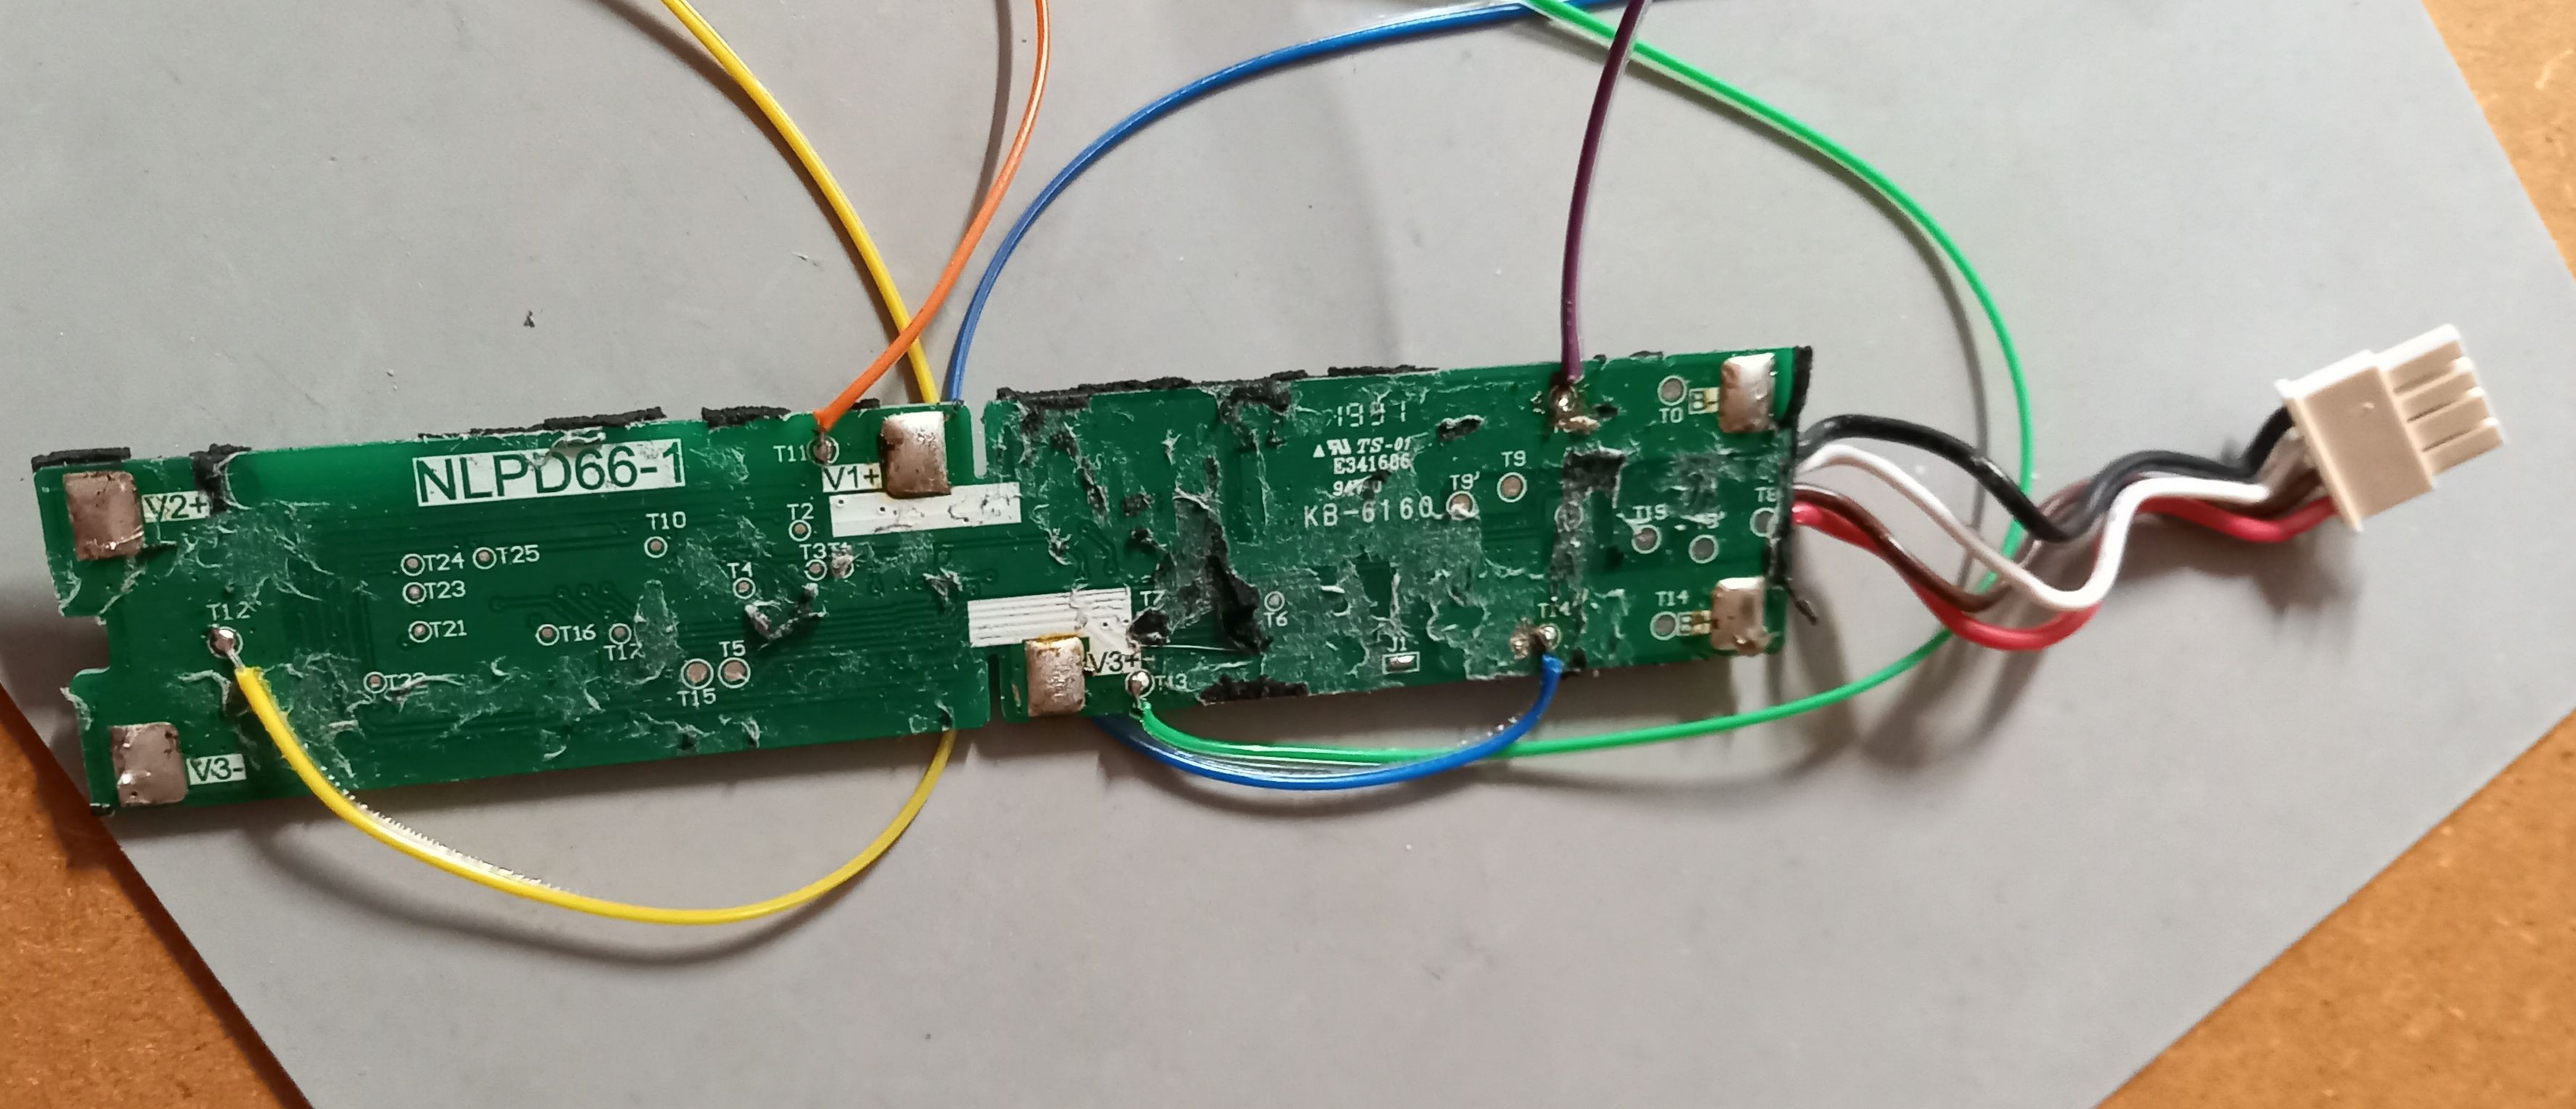
Beware the uneducated, Eufy Robovac L70 batteries are protected from tampering (for good reason), but it is possible to replace the Lithium Cells in them! Which is good, as you cannot buy replacement battery packs....
0%
0%
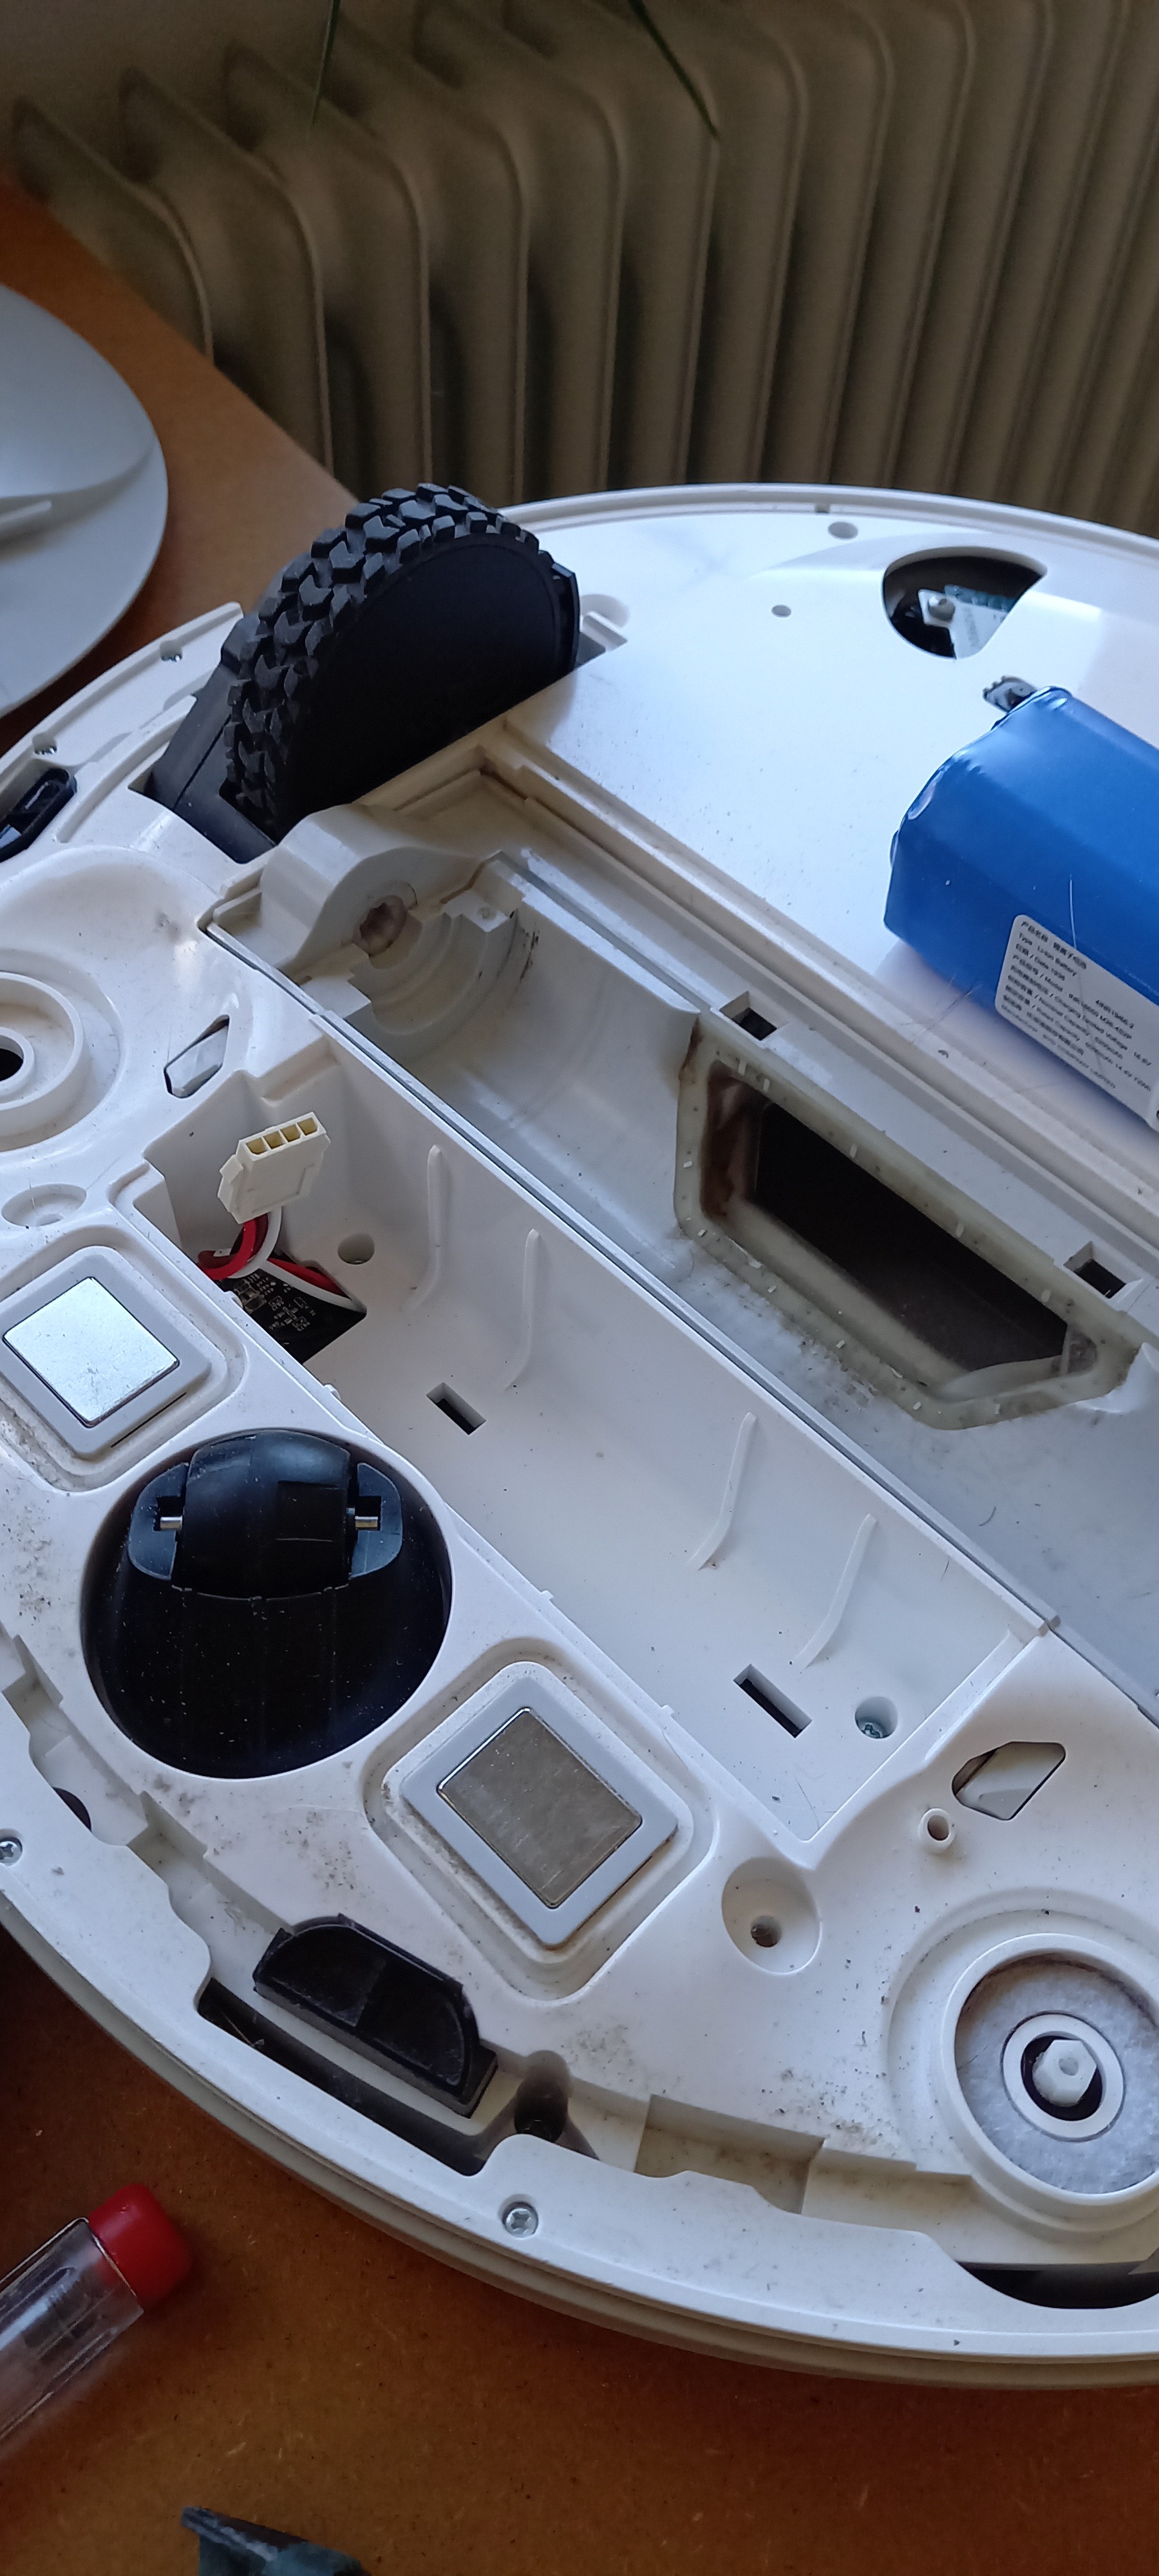
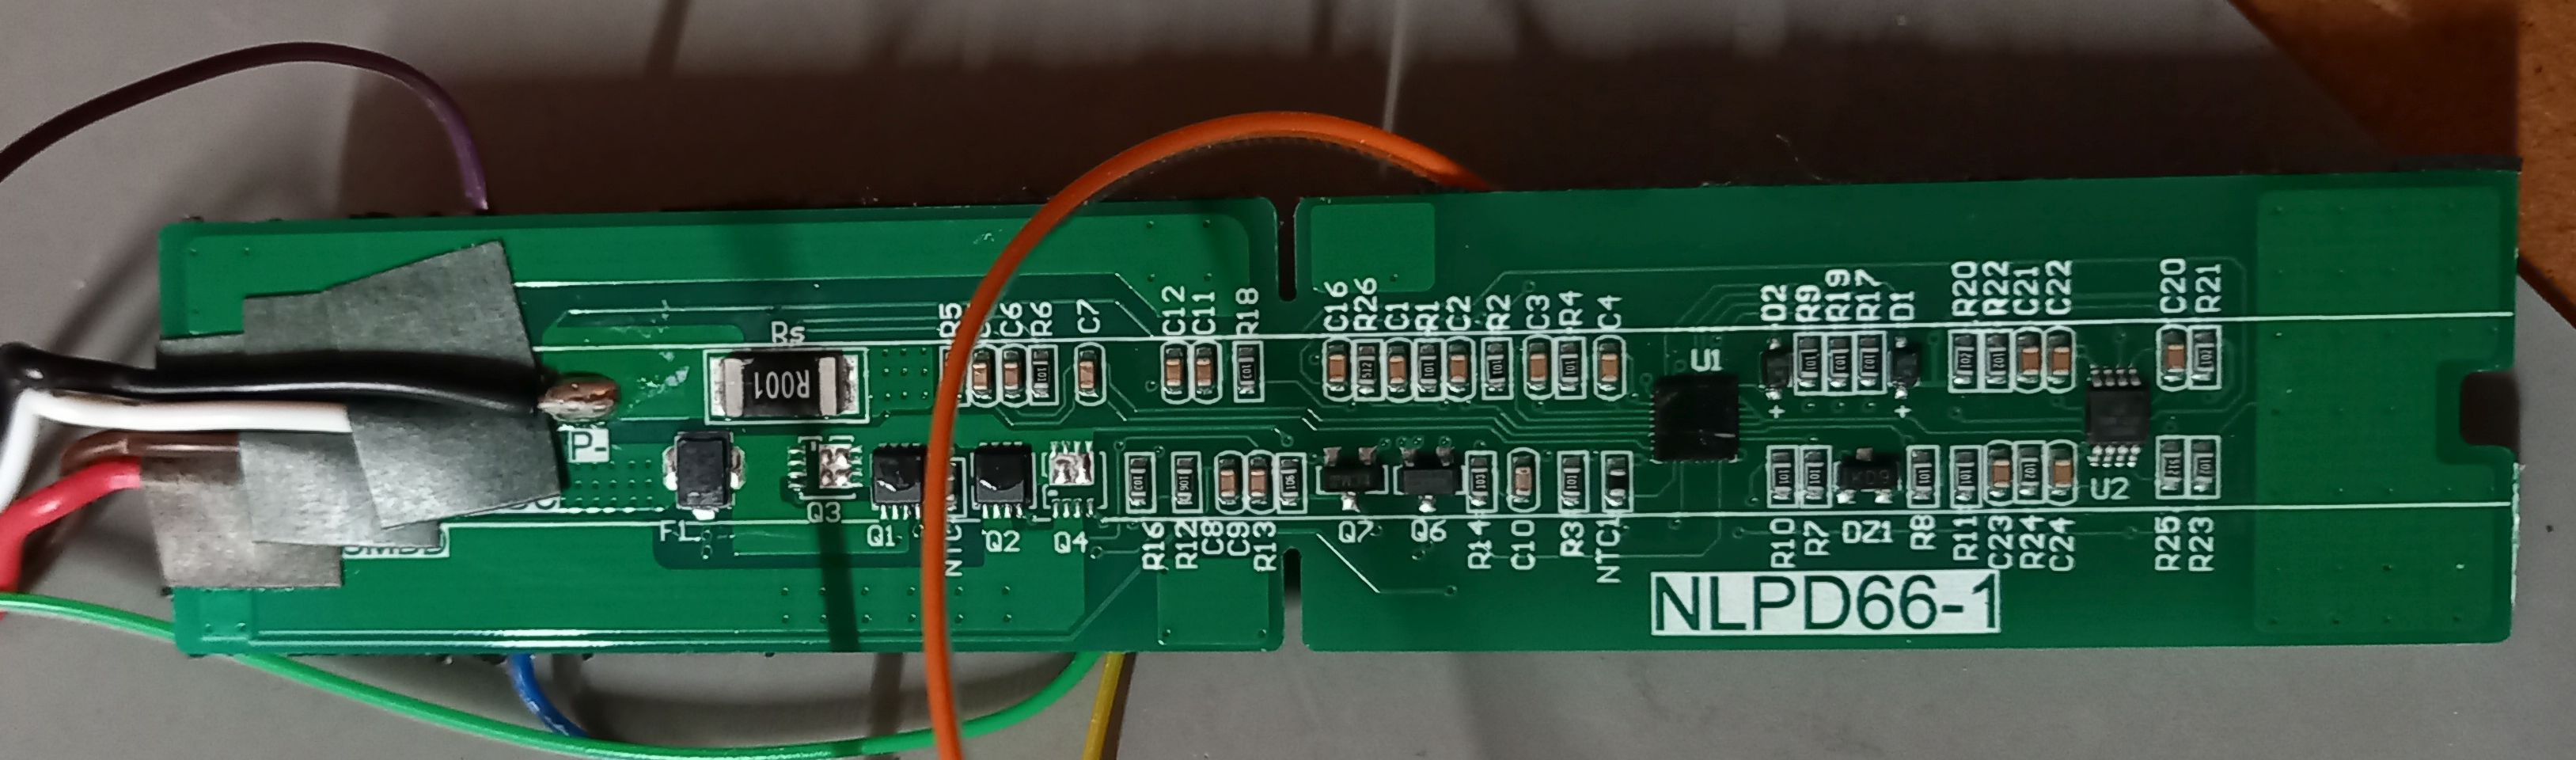
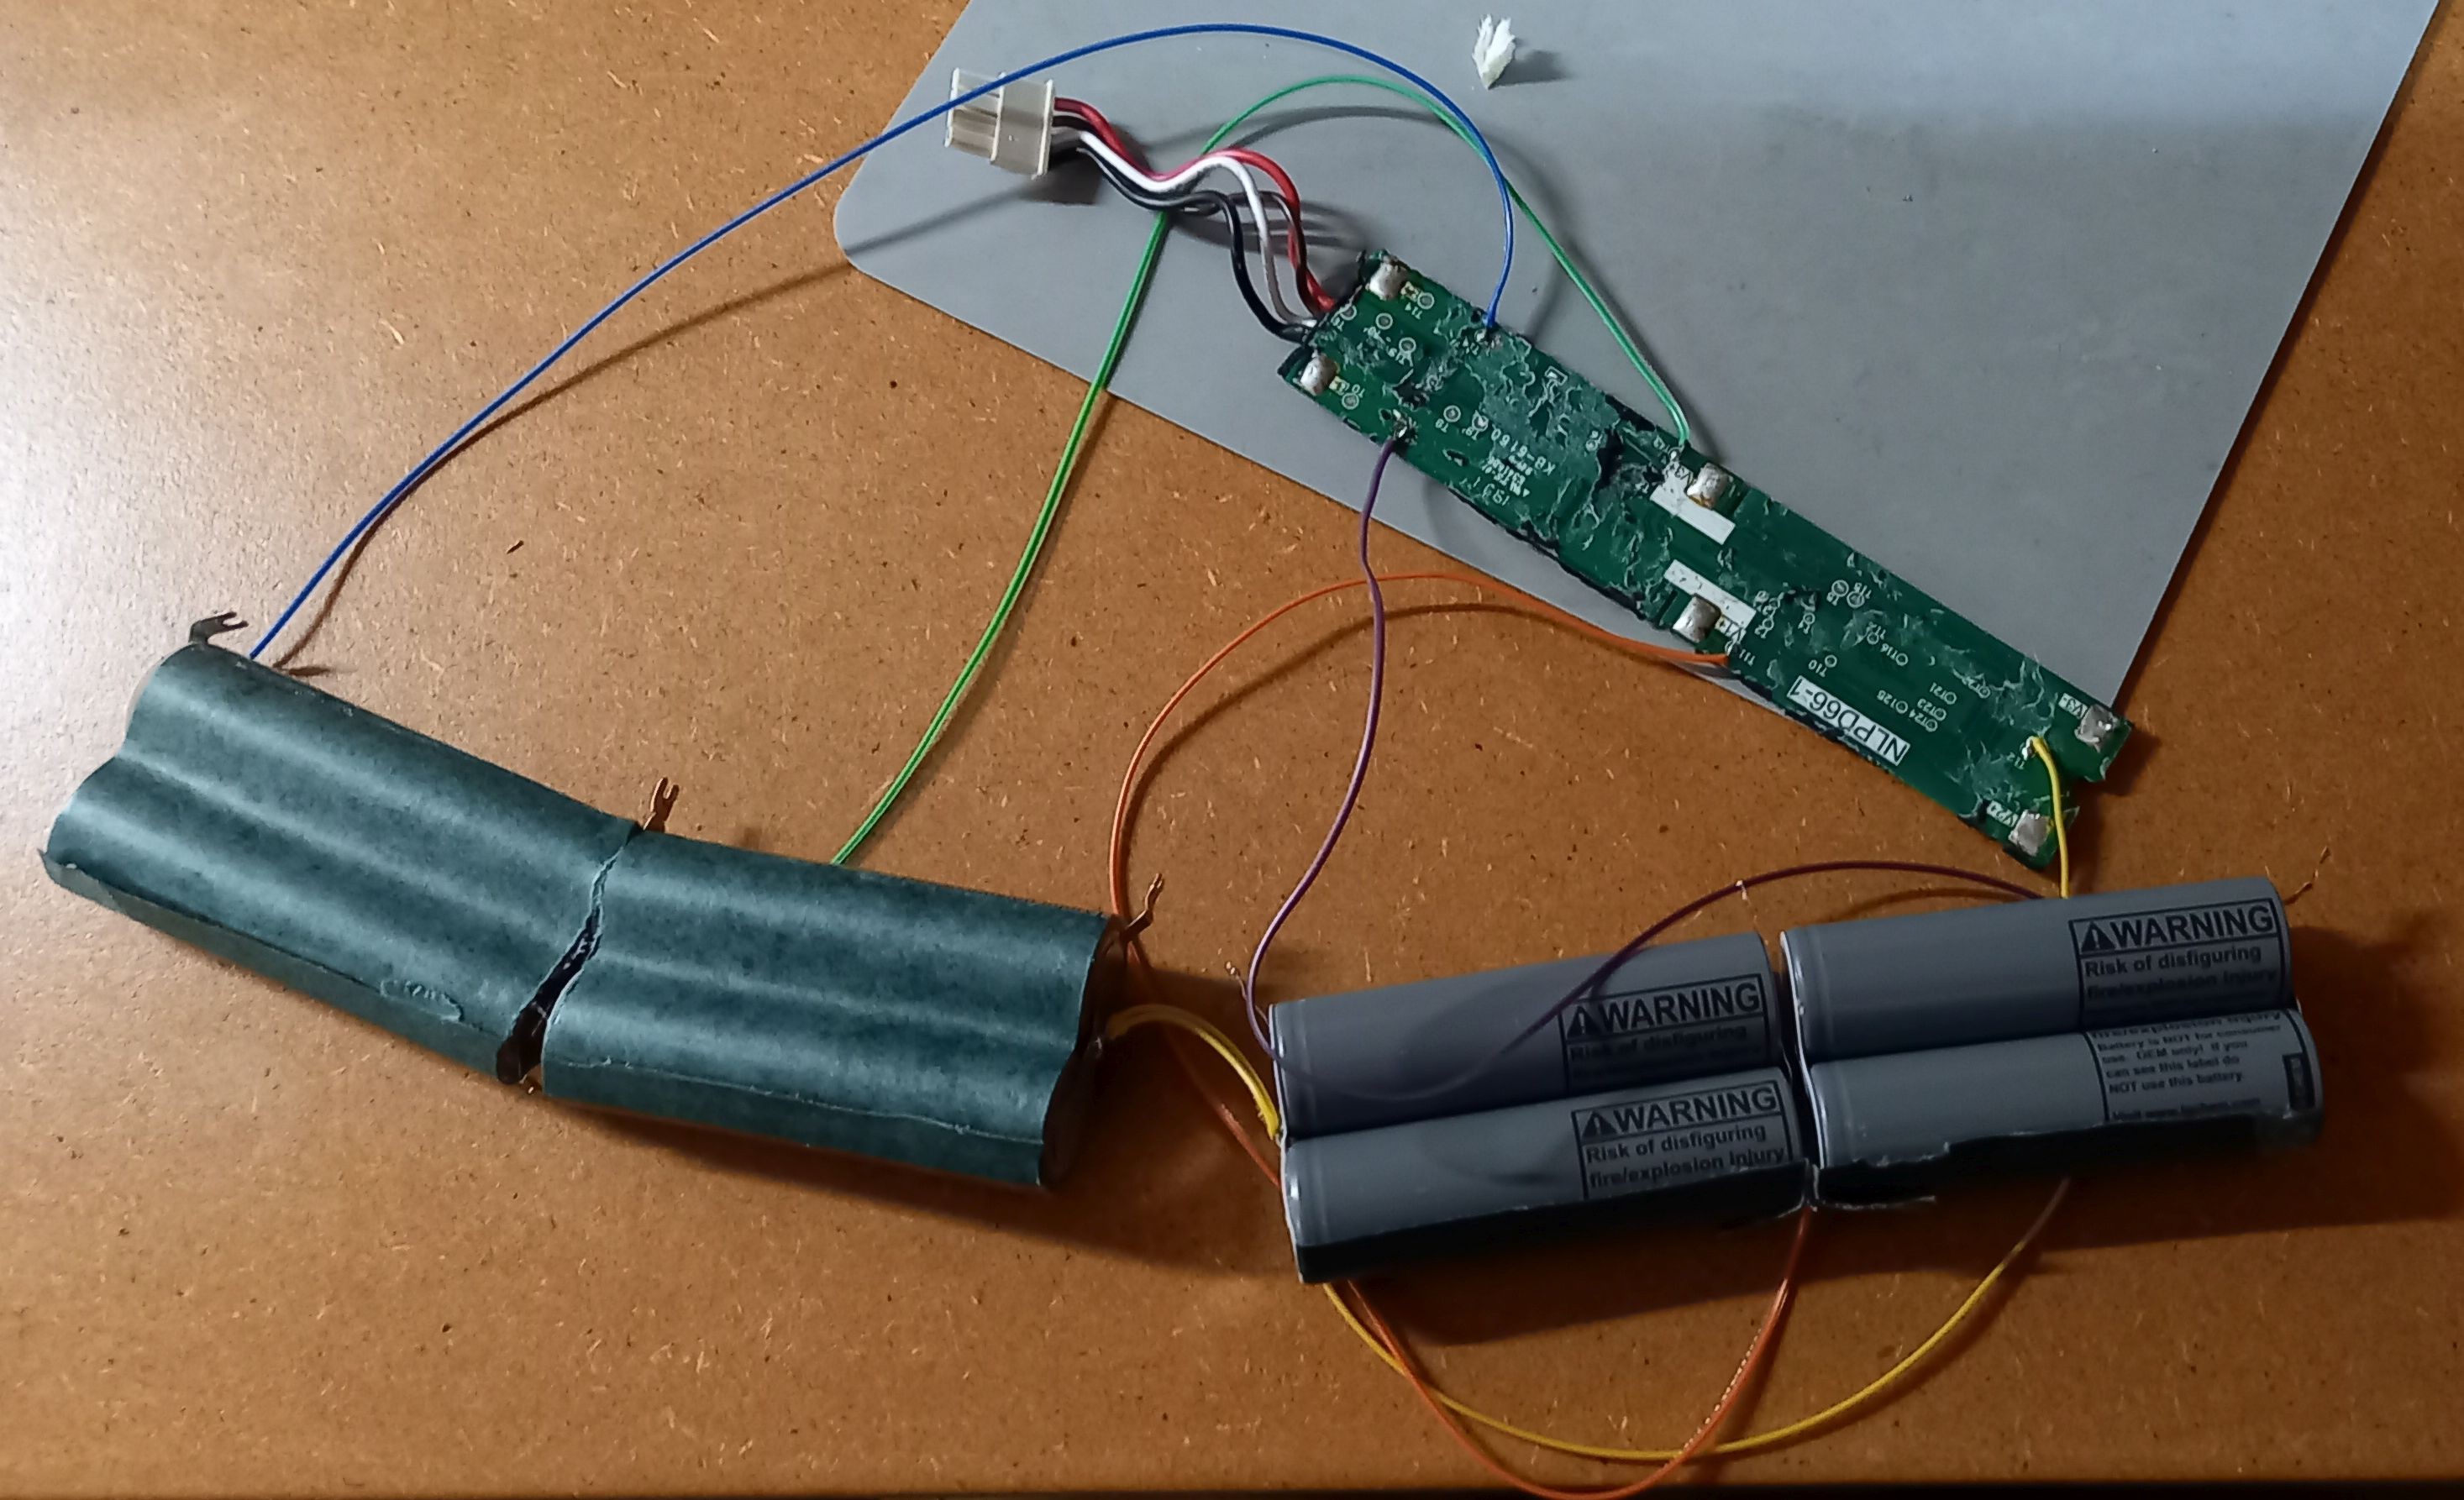
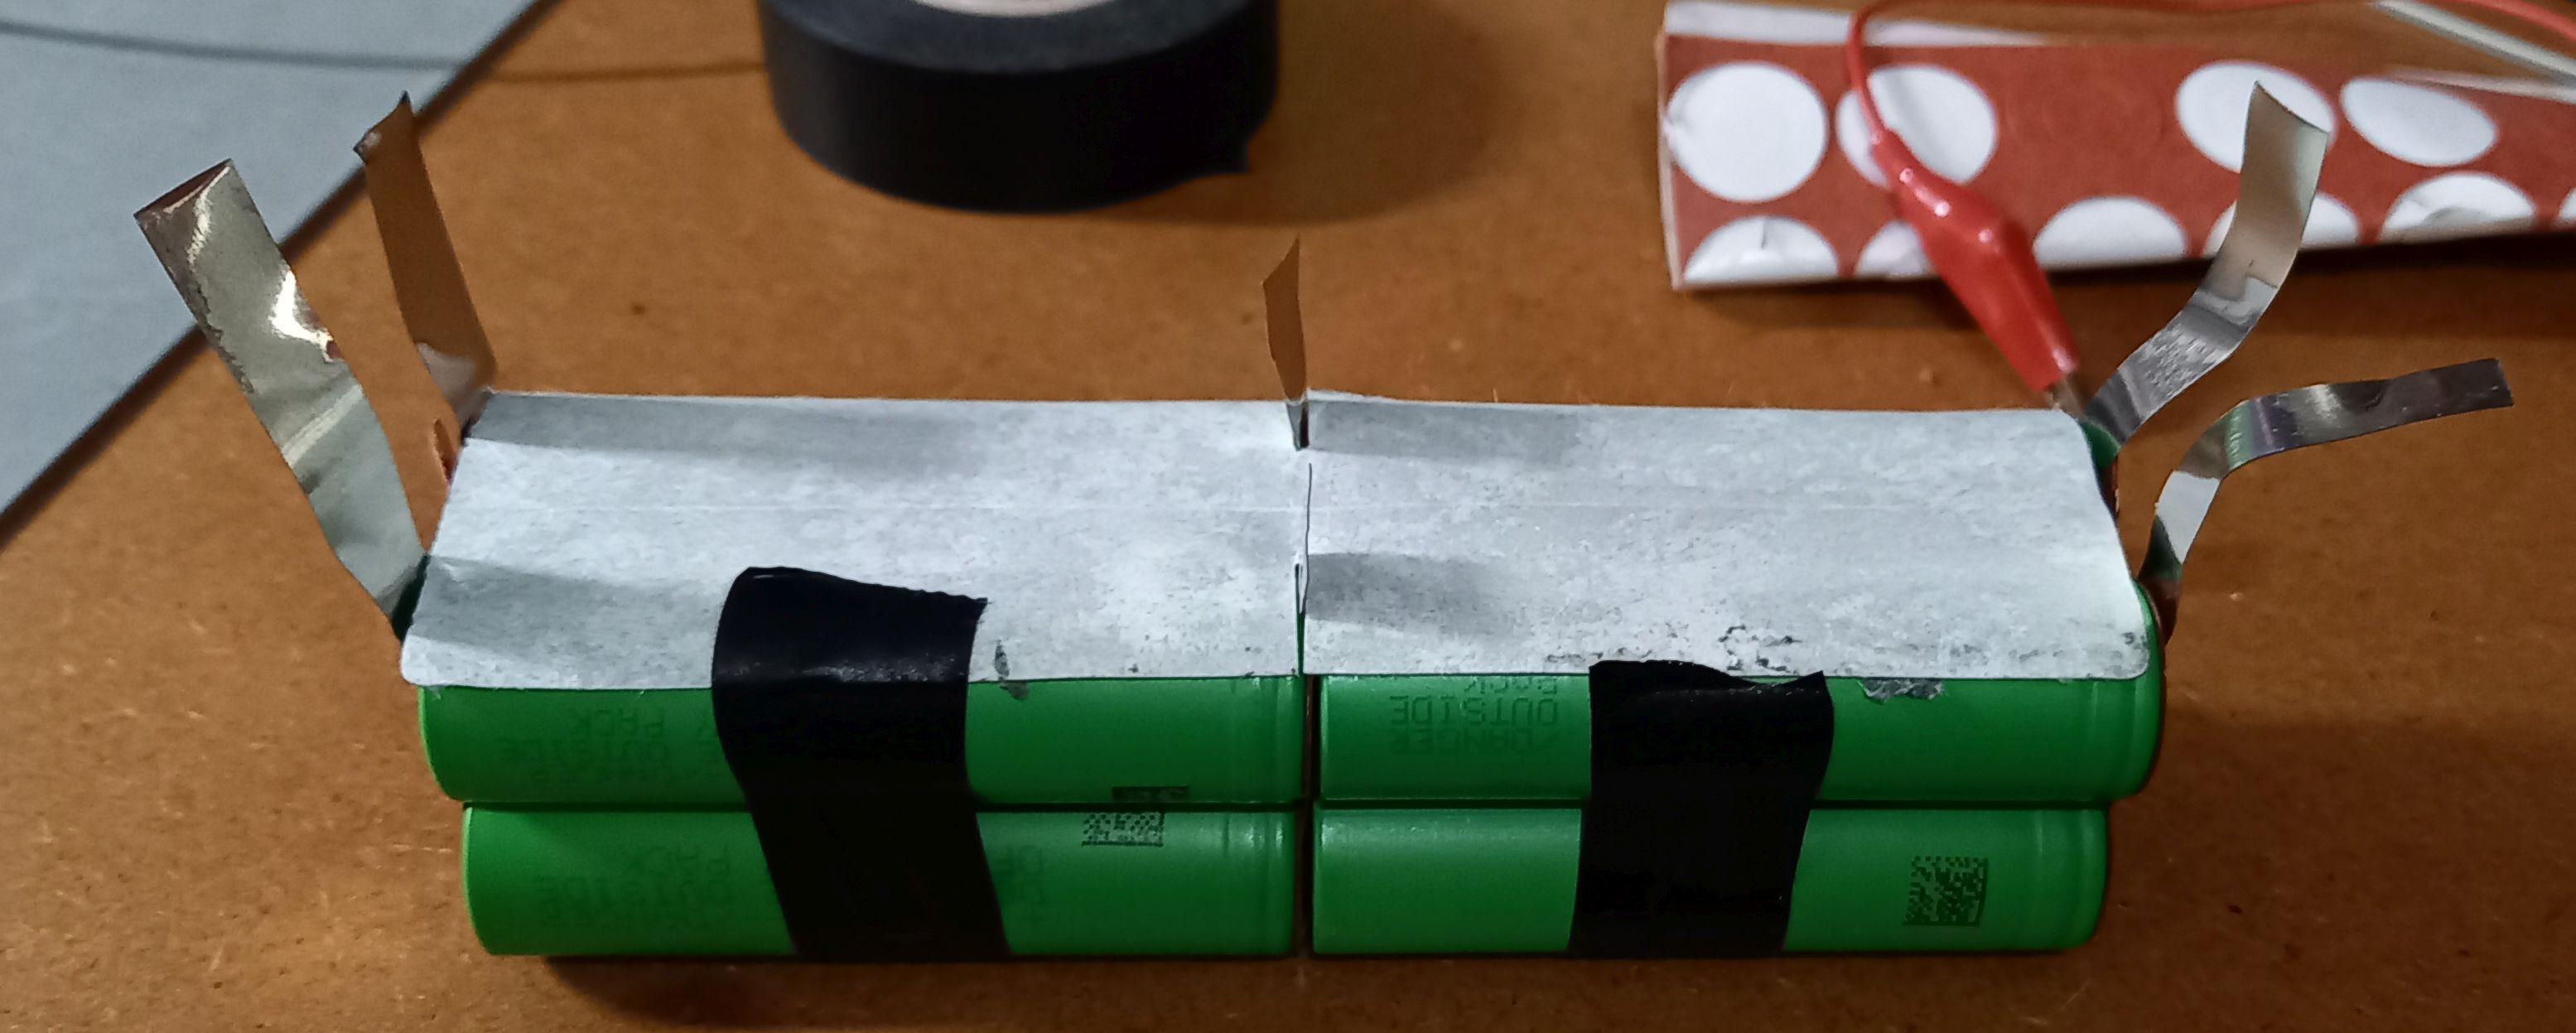
Refurbish an Eufy Robovac L70 battery
How to repair the battery of an Eufy Robovac L70 robot vacuum cleaner
Become a Hackaday.io member
Already have an account? Log in.
Just one more thing
To make the experience fit your profile, pick a username and tell us what interests you.
Pick an awesome username
hackaday.io/
Your profile's URL: hackaday.io/username. Max 25 alphanumeric characters.
Pick a few interests
Projects that share your interests
People that share your interests


 drbakker
 mosaicmerc
 Lucas Rangit MAGASWERAN
 Nathann
Bu bms nasıl reset atılır mutlaka bir yolu vardır nlpd66-1 çıkış vermiyor