 Julie Barrett
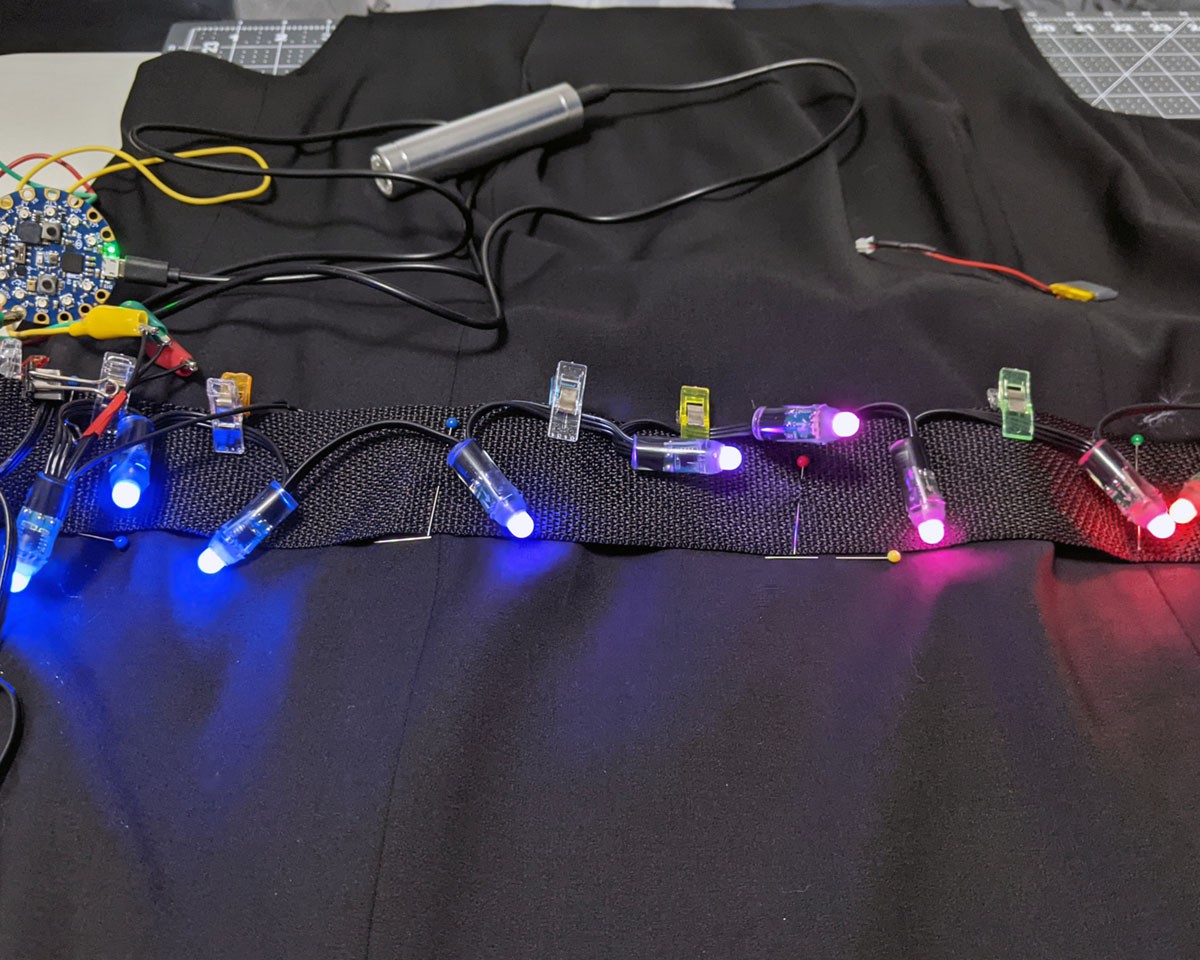
I've pinned the belt into position and placed the lights. It works!
Next, I tried it on (ouch! The pins!) just to make sure everything was where it ought to be. I have a dress form padded out to approximate my figure, but you know the old saying about measuring twice and cutting once? I tried it on once before the lights were in place, and once after, just to be sure.
The silver power bank you can sort of see at the top is the current (pardon the pun) power source. It's 2600 mAH, and so far in every test it has exceeded my expectations as far as the length of time it will provide power to the lights.
I spent yesterday working with the CircuitPython program that runs the lights. I'm far better at sewing than I am at programming. My husband is a software engineer, but I've been determined to go as far as I can with this on my own. This means I've borked the software several times (yes, I have backups!), but it's all a learning experience, right?
I do have one other method of mounting the lights that I want to test before I finally put everything in place. I've been waffling between the two methods, but I'm not sure the second will hold the weight. I guess I won't know for certain until I test it. (UPDATE: It didn't work out.)
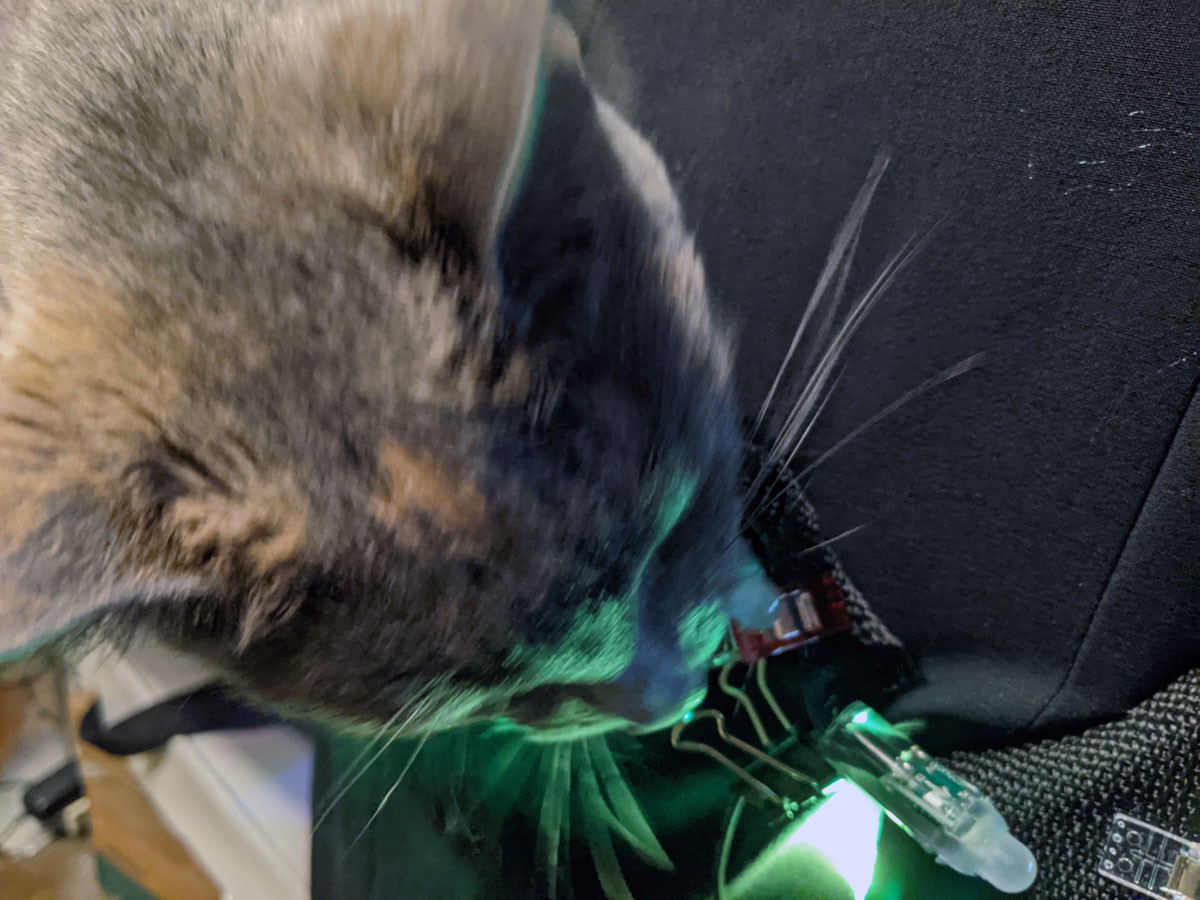
I leave you with a picture of The Boss performing quality control tests on the lighting. I can assure you that she has tested the fiber optic strands many times and found them wiggly and amusing.
Discussions
Become a Hackaday.io Member
Create an account to leave a comment. Already have an account? Log In.