 Ahron Wayne
Few days ago my first attempt ended all crusty. There was some metal inside, so sintering did happen, but it was all oxidized and full of holes. The protective layer of carbon was all used up on top, too. Hmm....
I printed a few more doohickeys including (part) of a coin that I had scanned with my LadyBug project:


As you can see, it failed part way through. So two main issues with this process --- the printing process, and the sintering process. Rather than filament these things should be like 3-5mm straight rods that get pushed down. But this is what we got right now, and I am frequently fighting with jams.
Once I had my parts I changed a few things about the sintering process. One is that I measured my carbon: About 50 ccs.
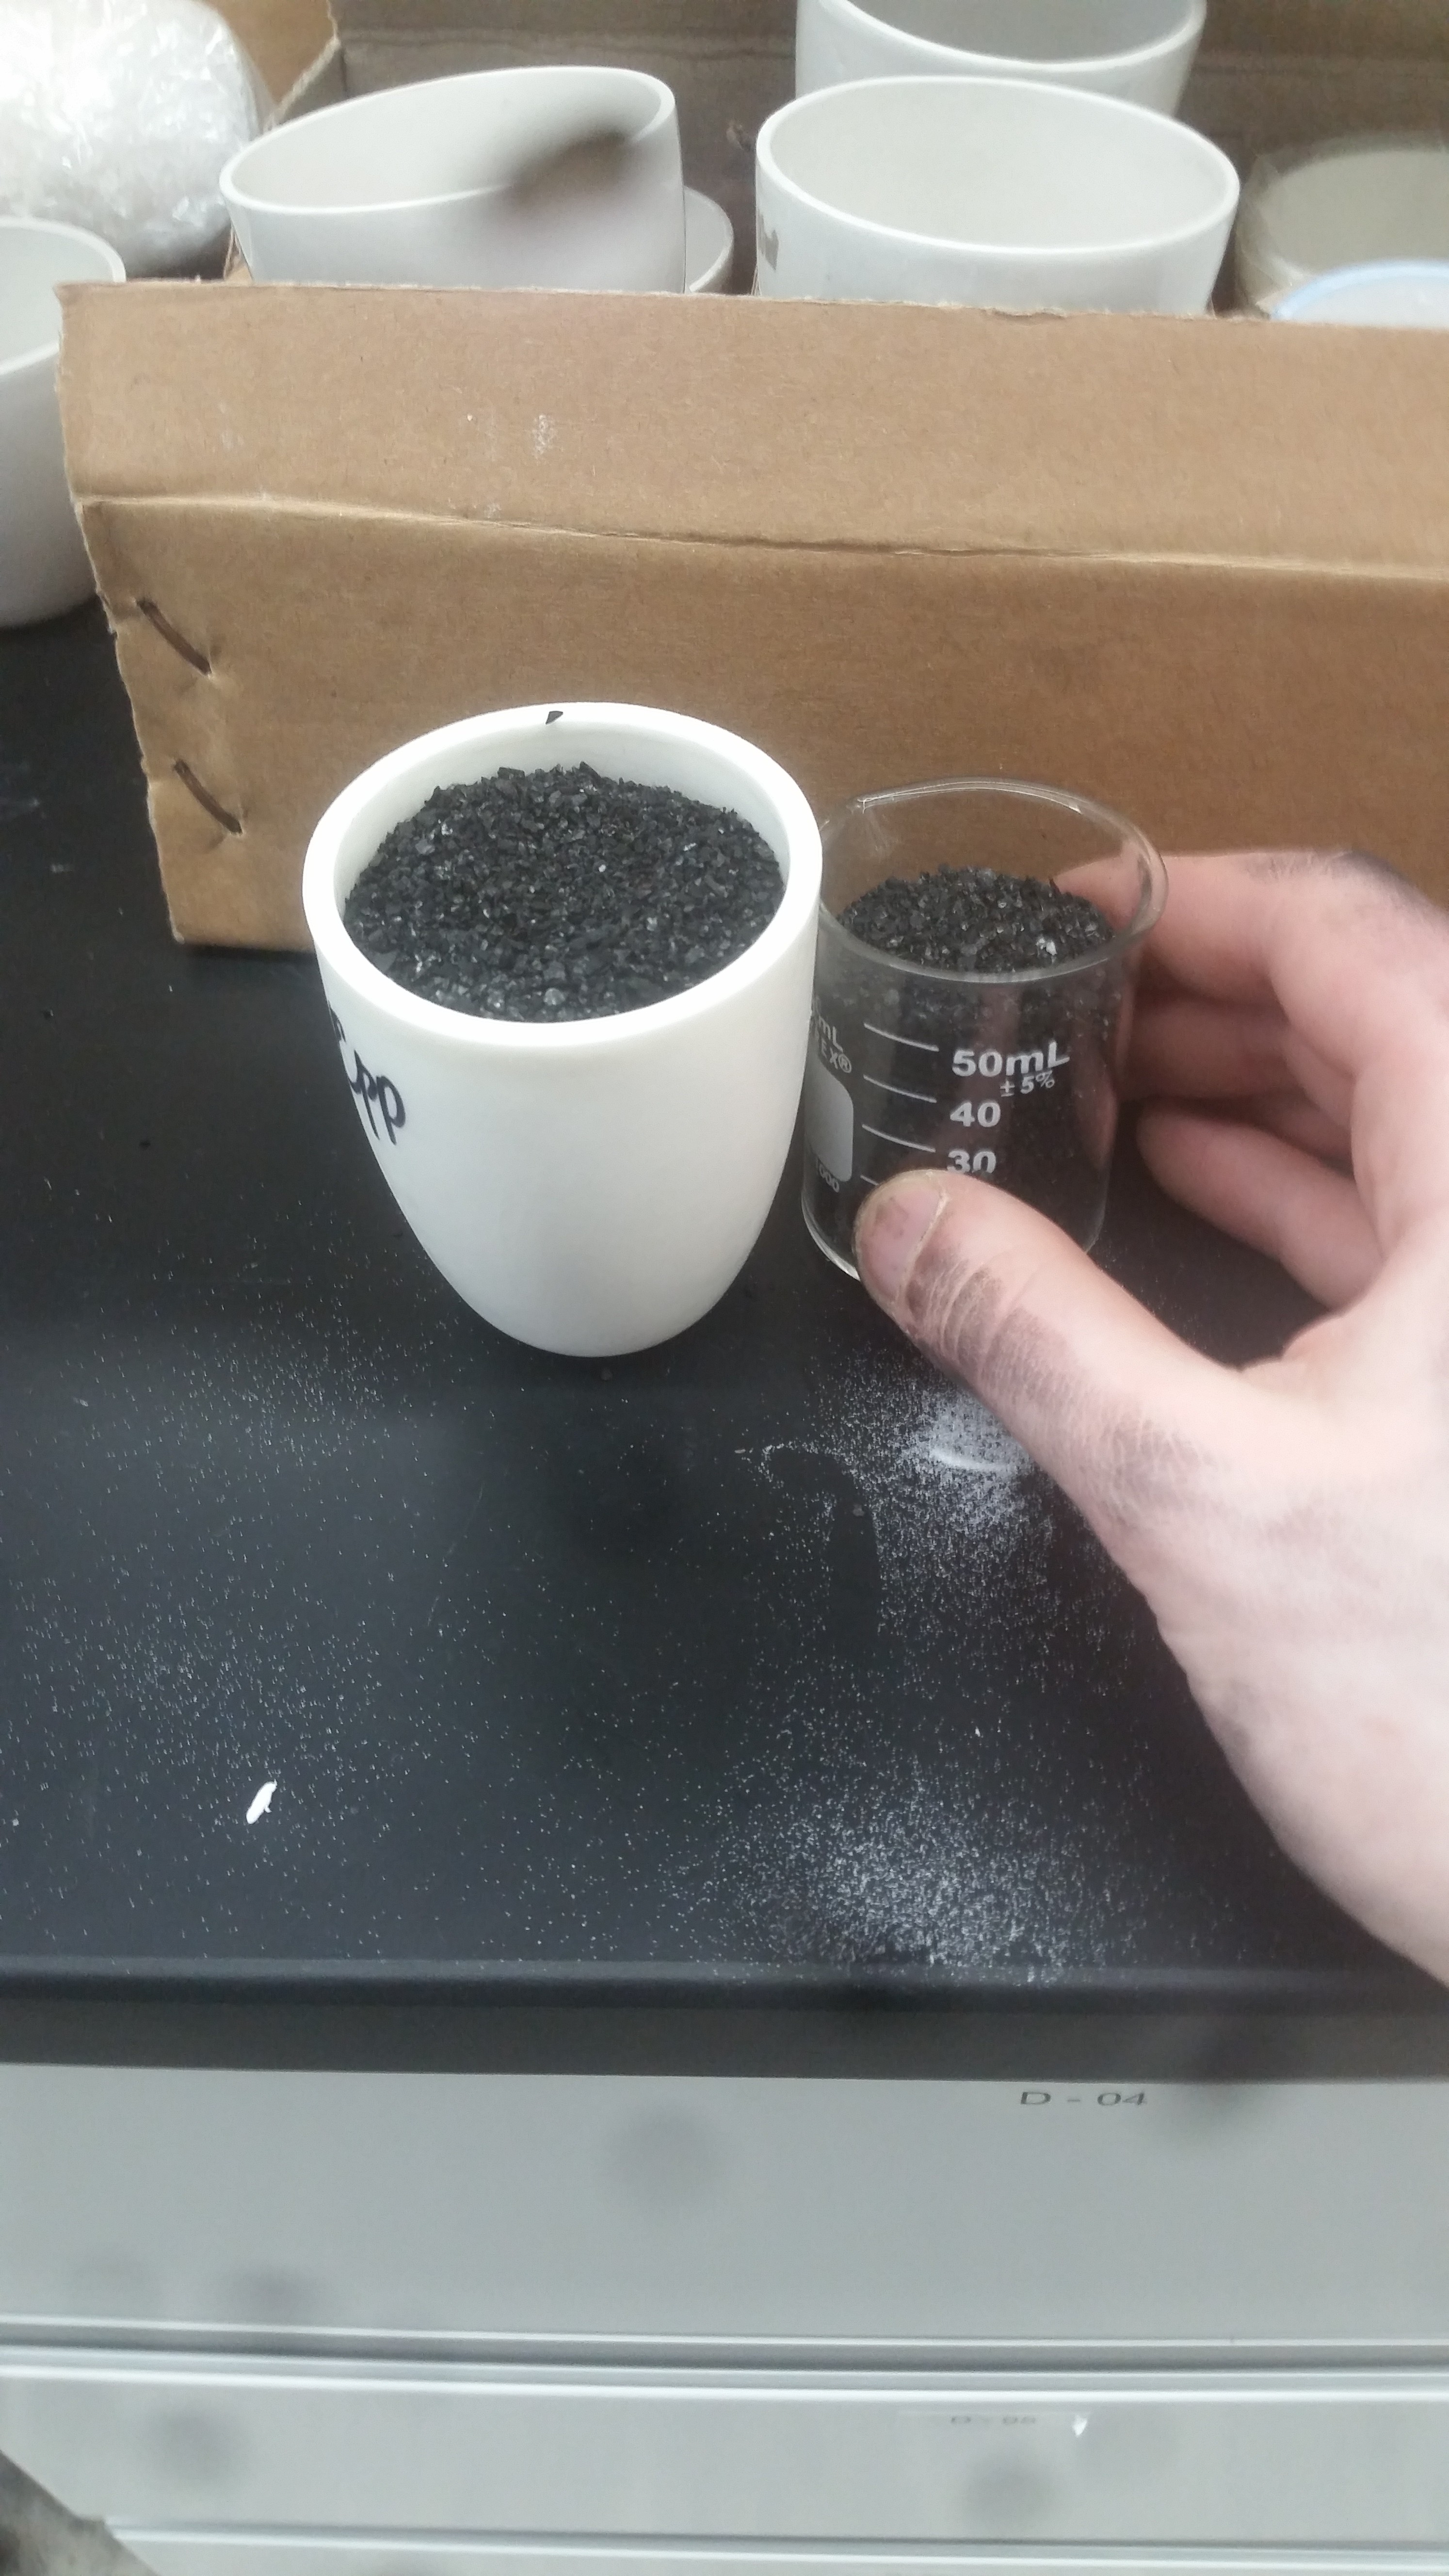
I'm also using a thicker /bigger flask to accommodate more carbon, which I didn't think would make a difference otherwise, but it turns out to be one of the important details,
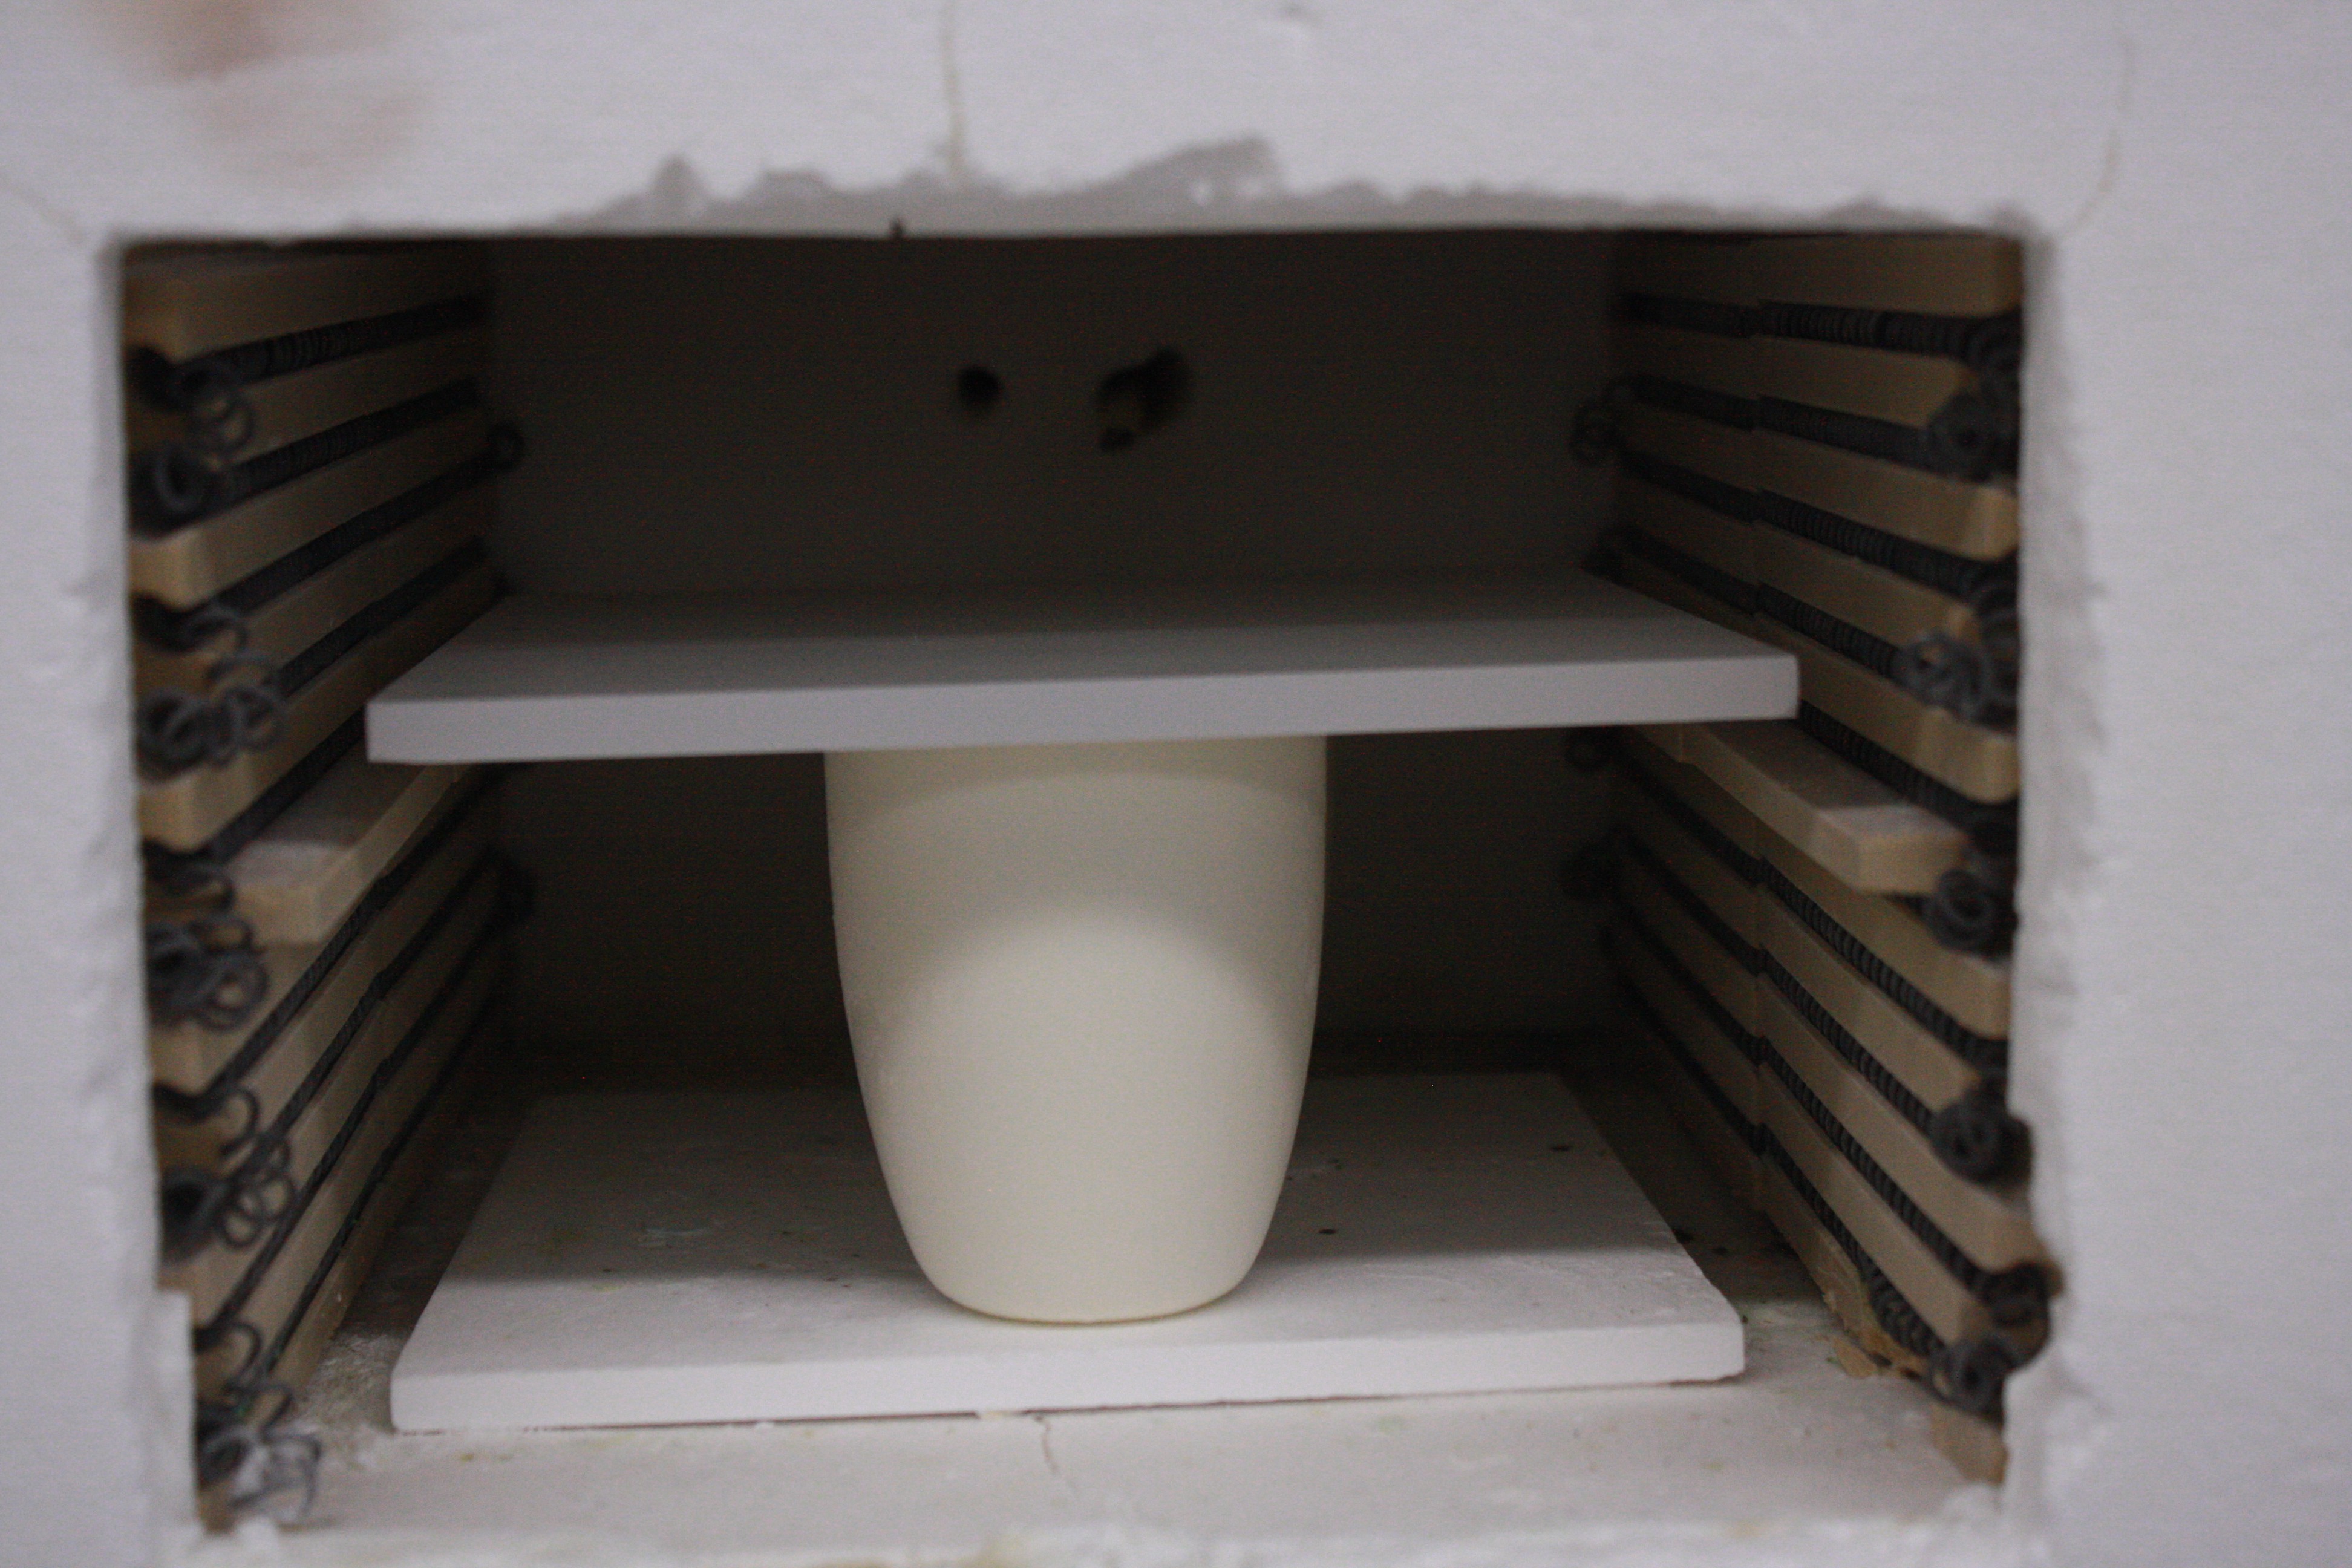
And I'm using this "refractory sheet" (fancy ceramic tile) that I found in the supplies to cover the crucible while it's in the oven. The goal of this was just to limit oxidation. Very, very simple idea, and one that turned out to be critical.
Finally, I changed the actual sintering settings. Instead of doing the debinding first and then sintering after everything cools, I'm just doing them both in one step. I also held the debinding and sintering temperatures for an extra hour, making the final settings:
Ramp to 204C over 30 minutes (changed from 10 minutes)
Hold at 204 for 2 hours.
Ramp to 482C over 2.5 hours.
Hold at 482 for 4 hours. (changed from 3 hours)
Ramp to 1018C over 5 hours.
Ramp to 1074C over 2 hours.
Hold at 1074C for 4 hours. (changed from 3 hours)
That's a long process! 20 hours. I came back the next day and found it not quite yet cooled. Rather than force it, I just waited an extra day.
When I came in, there was a very good sign: Unused black carbon.
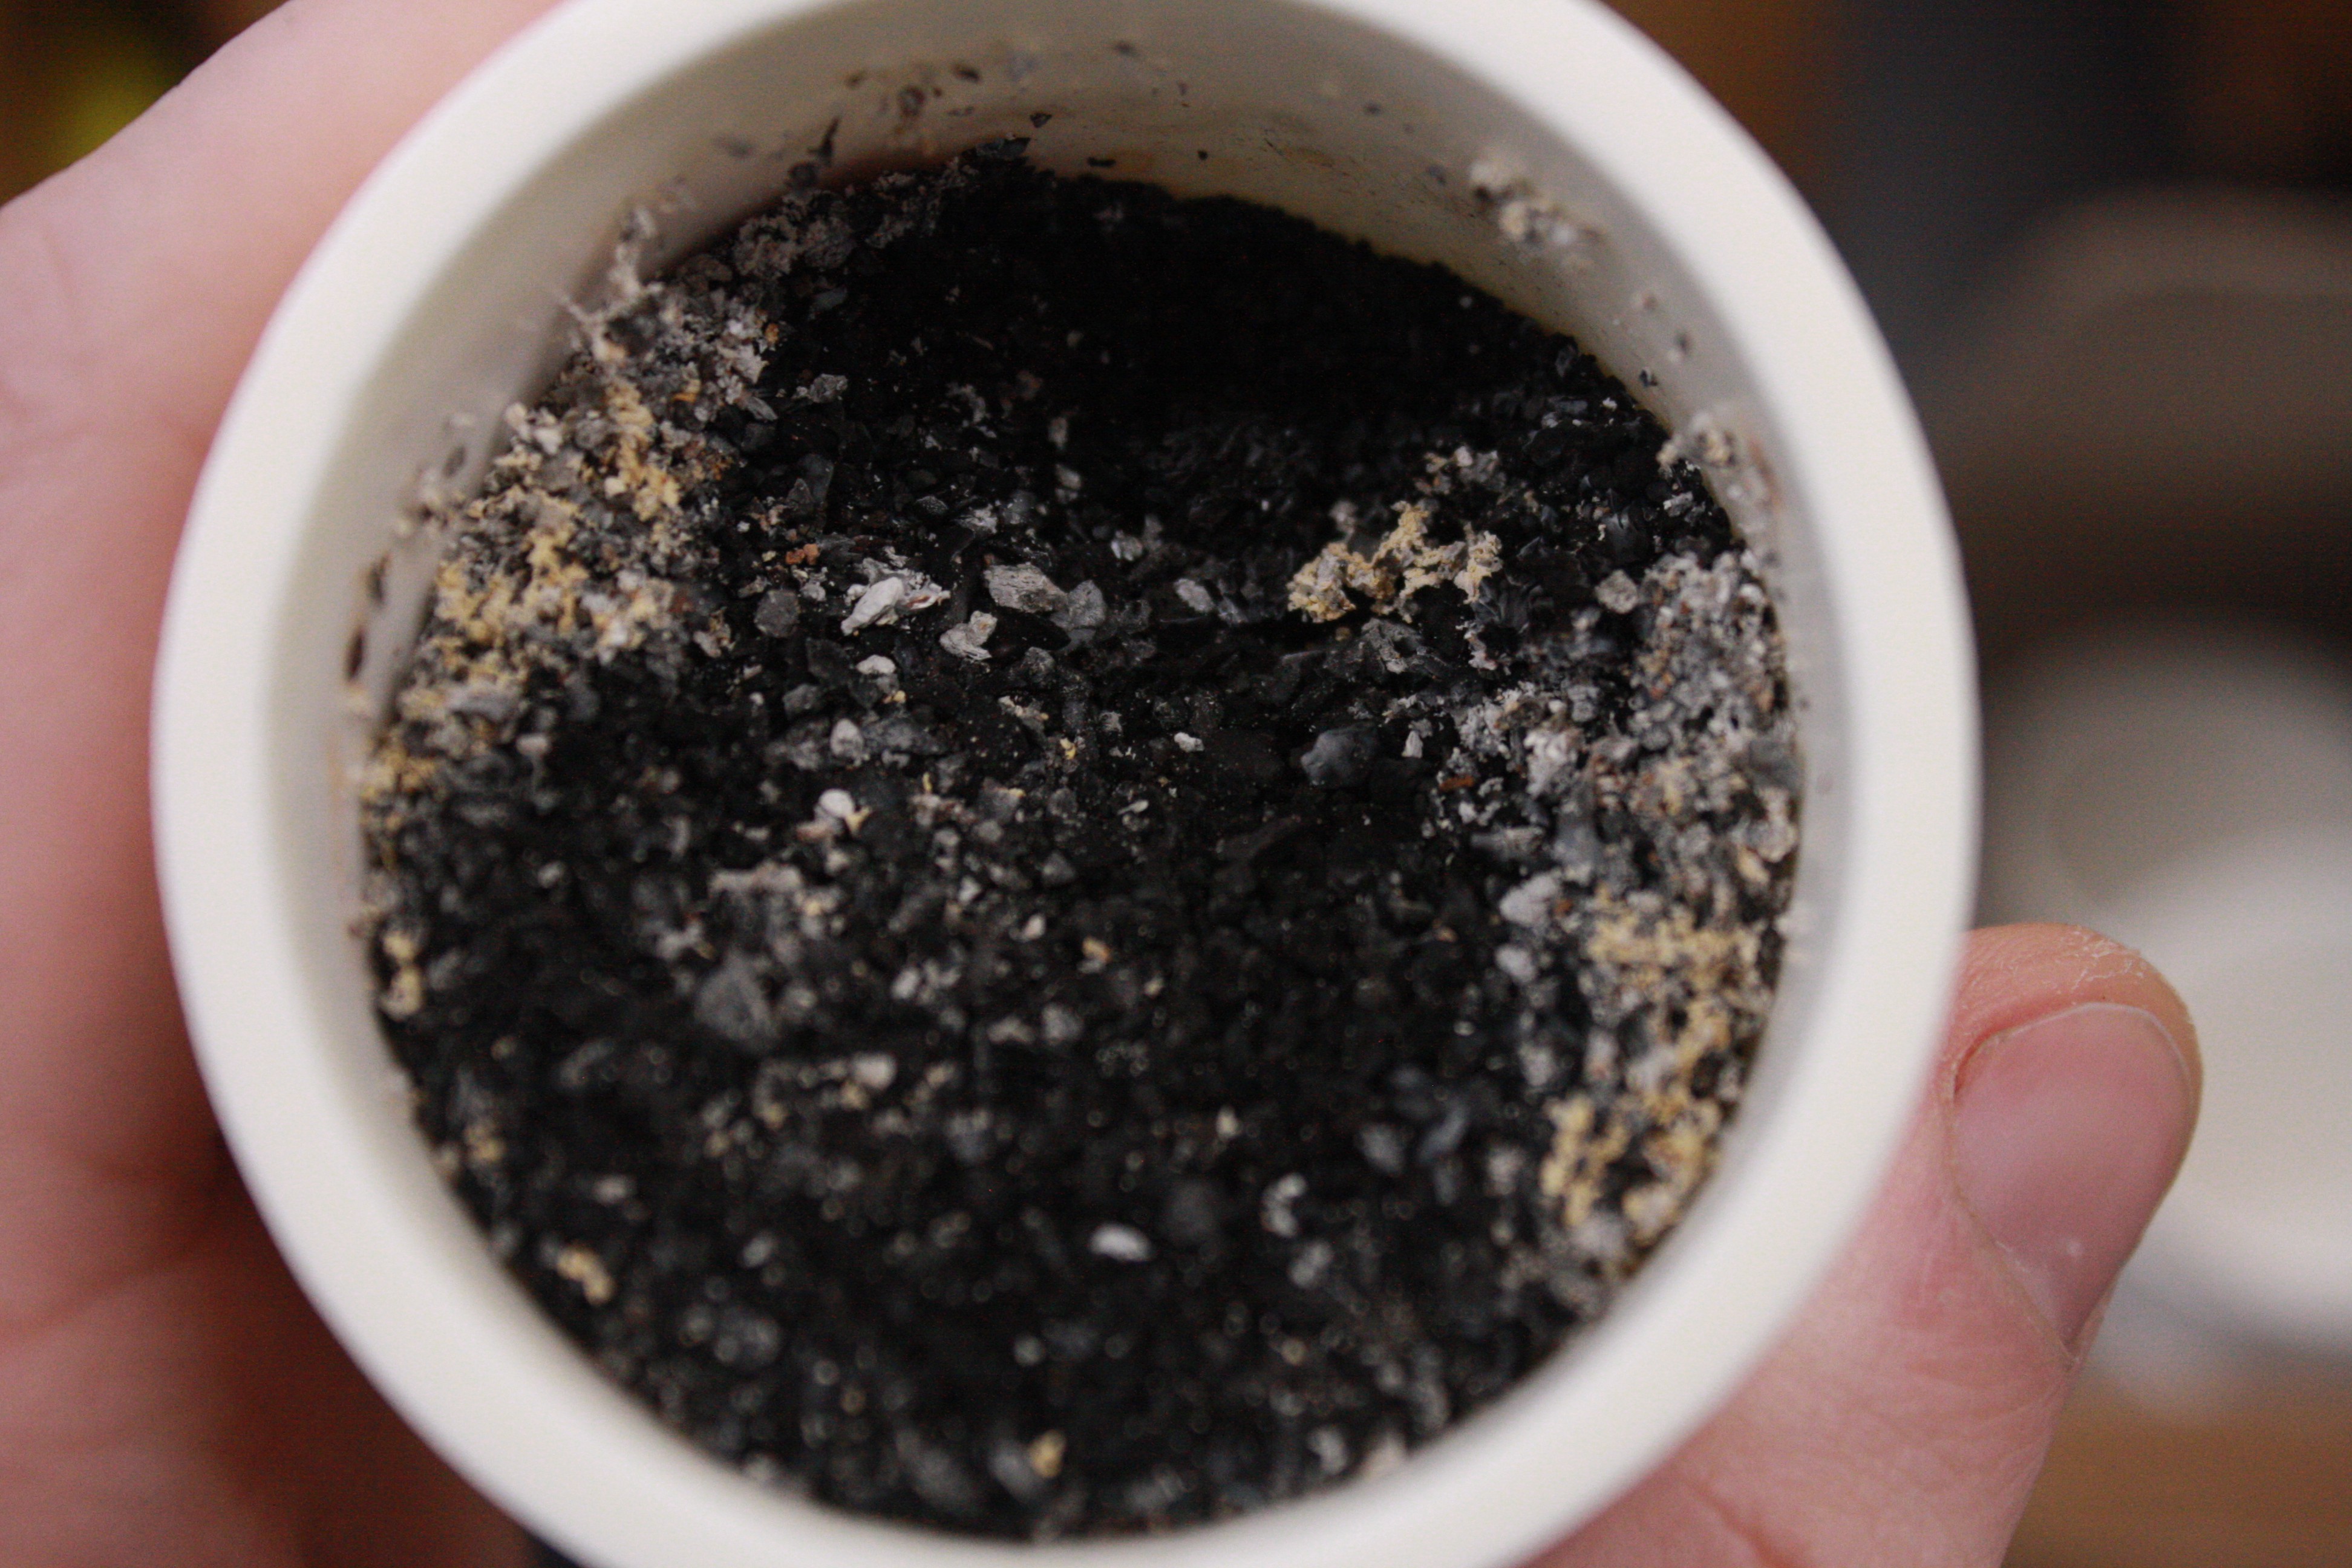
Actually, the flasks were full of it --- only the top few millimeters consumed. This despite the fact that I added the carbon before debinding this time and held at temperature longer. Conclusion: Covering the crucible makes a huge difference in terms of how much oxygen gets in there. Good to know!
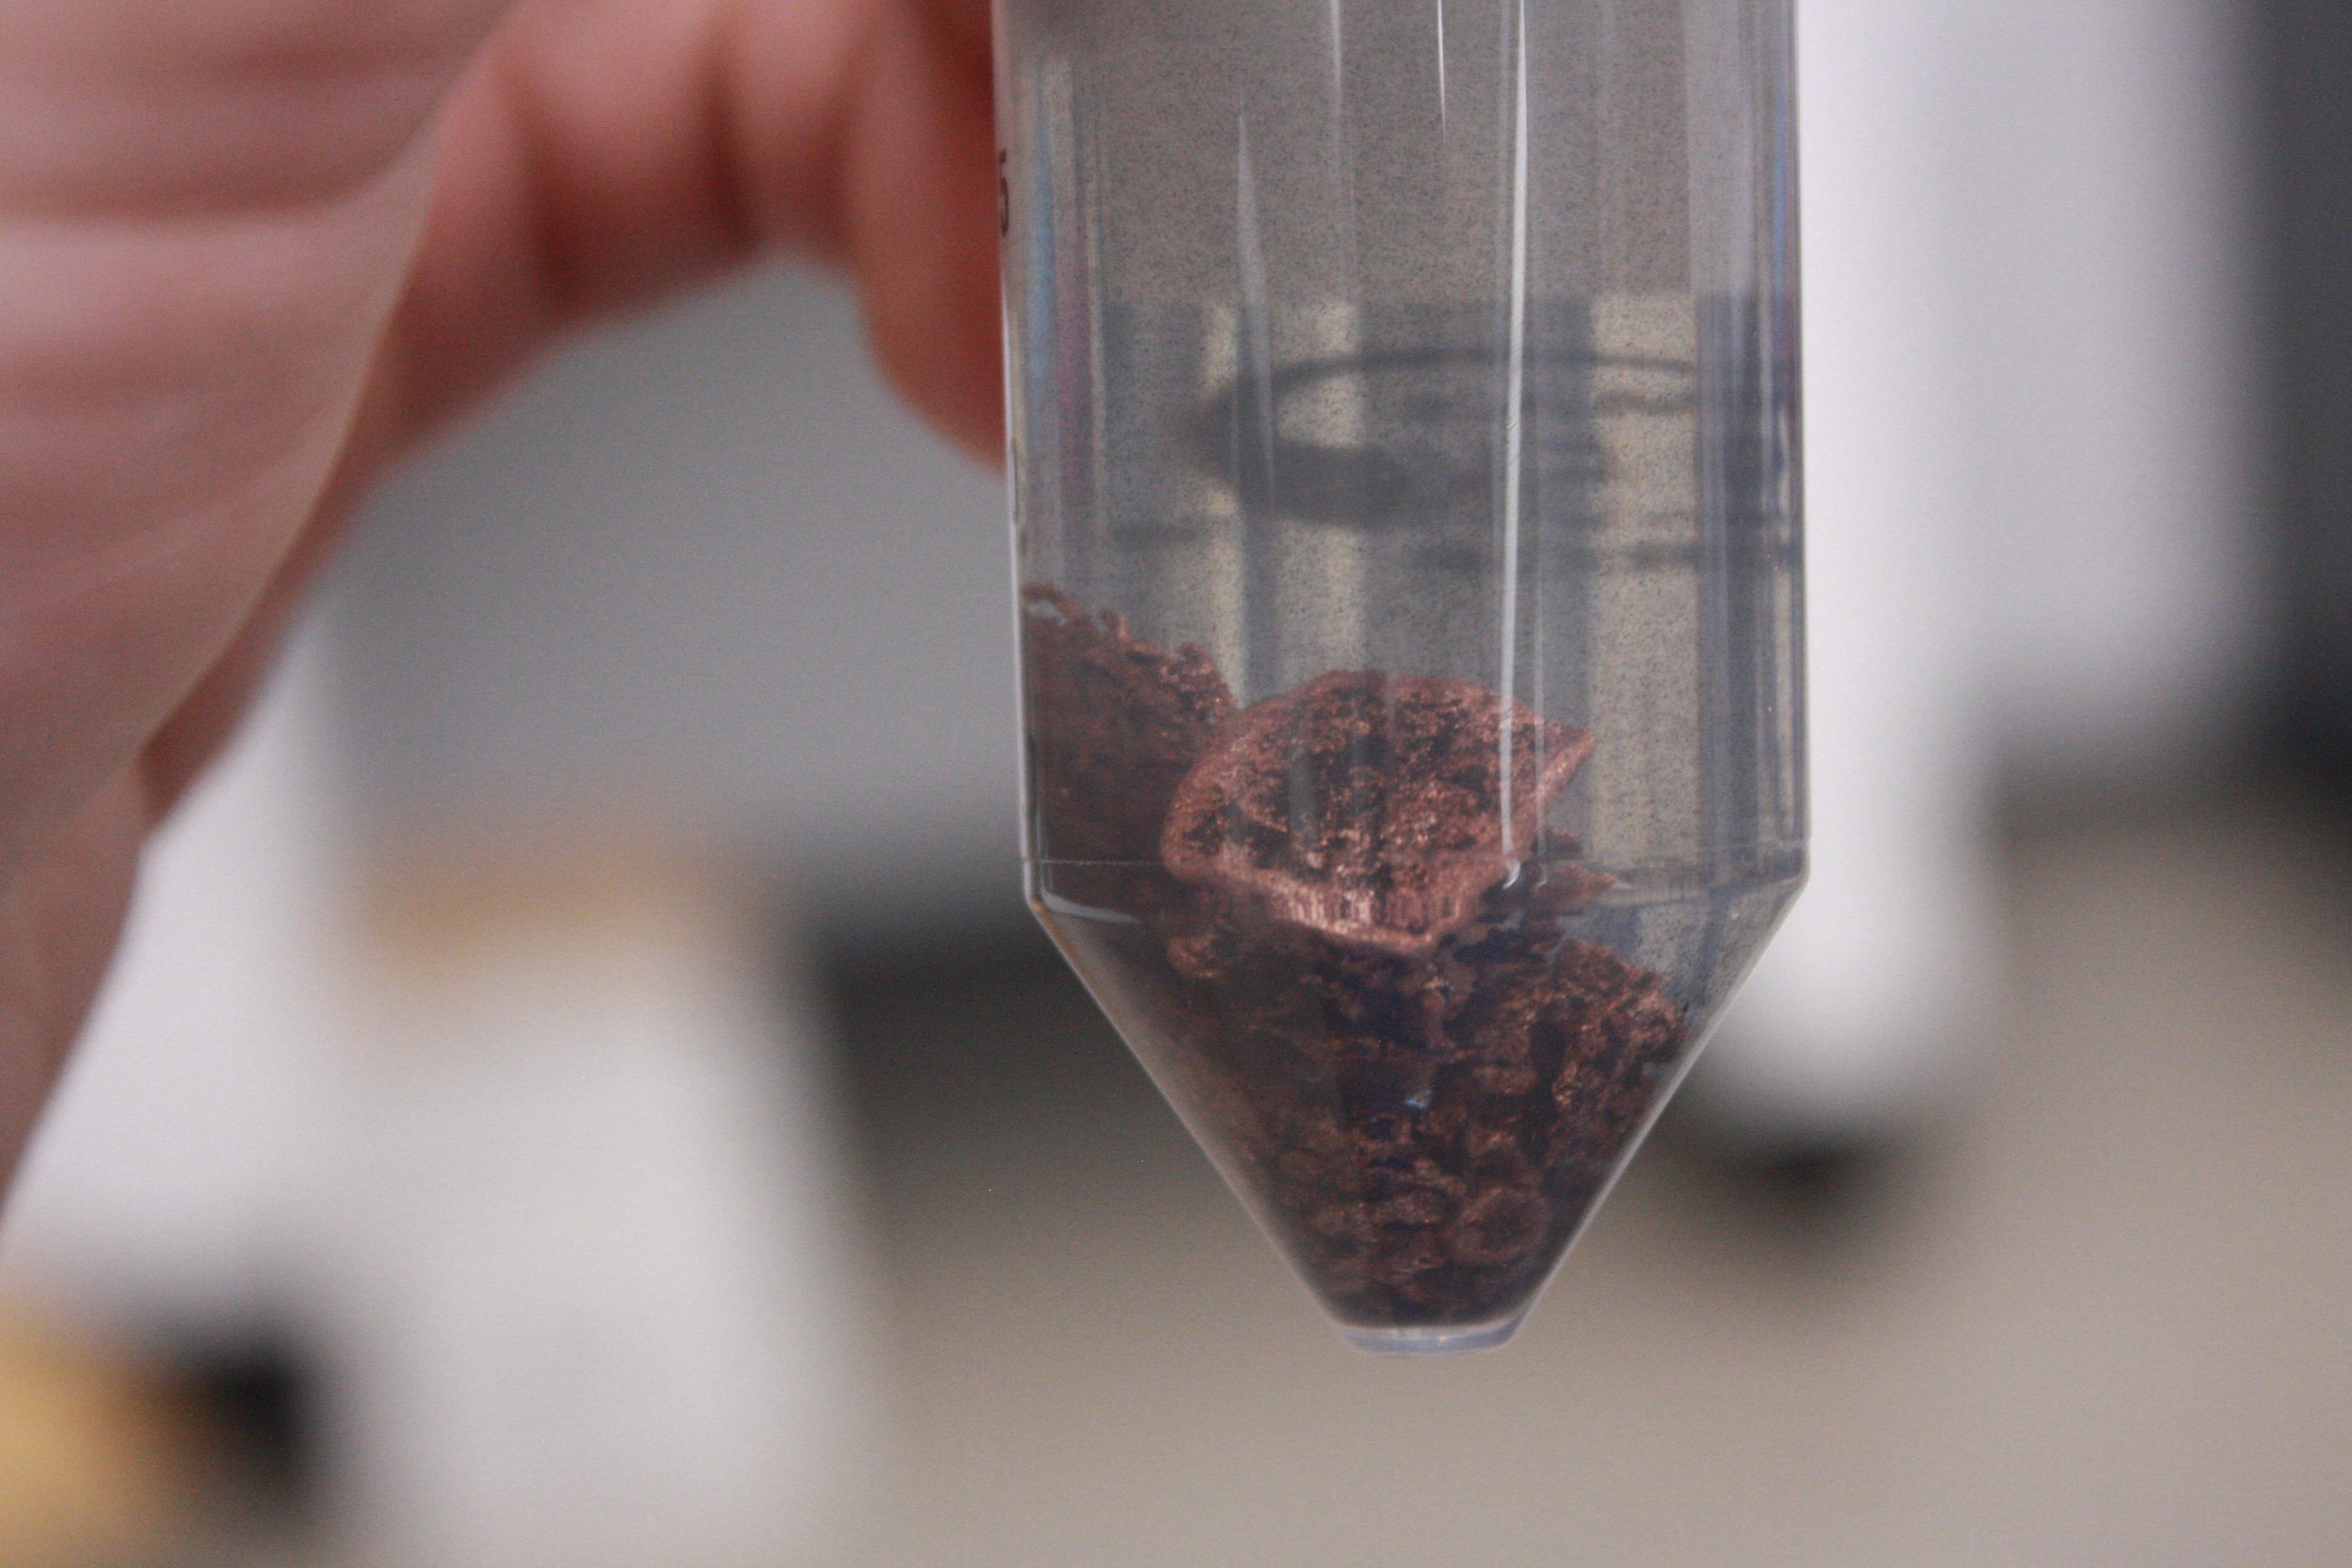
Digging out my parts, they looked quite different from last time.
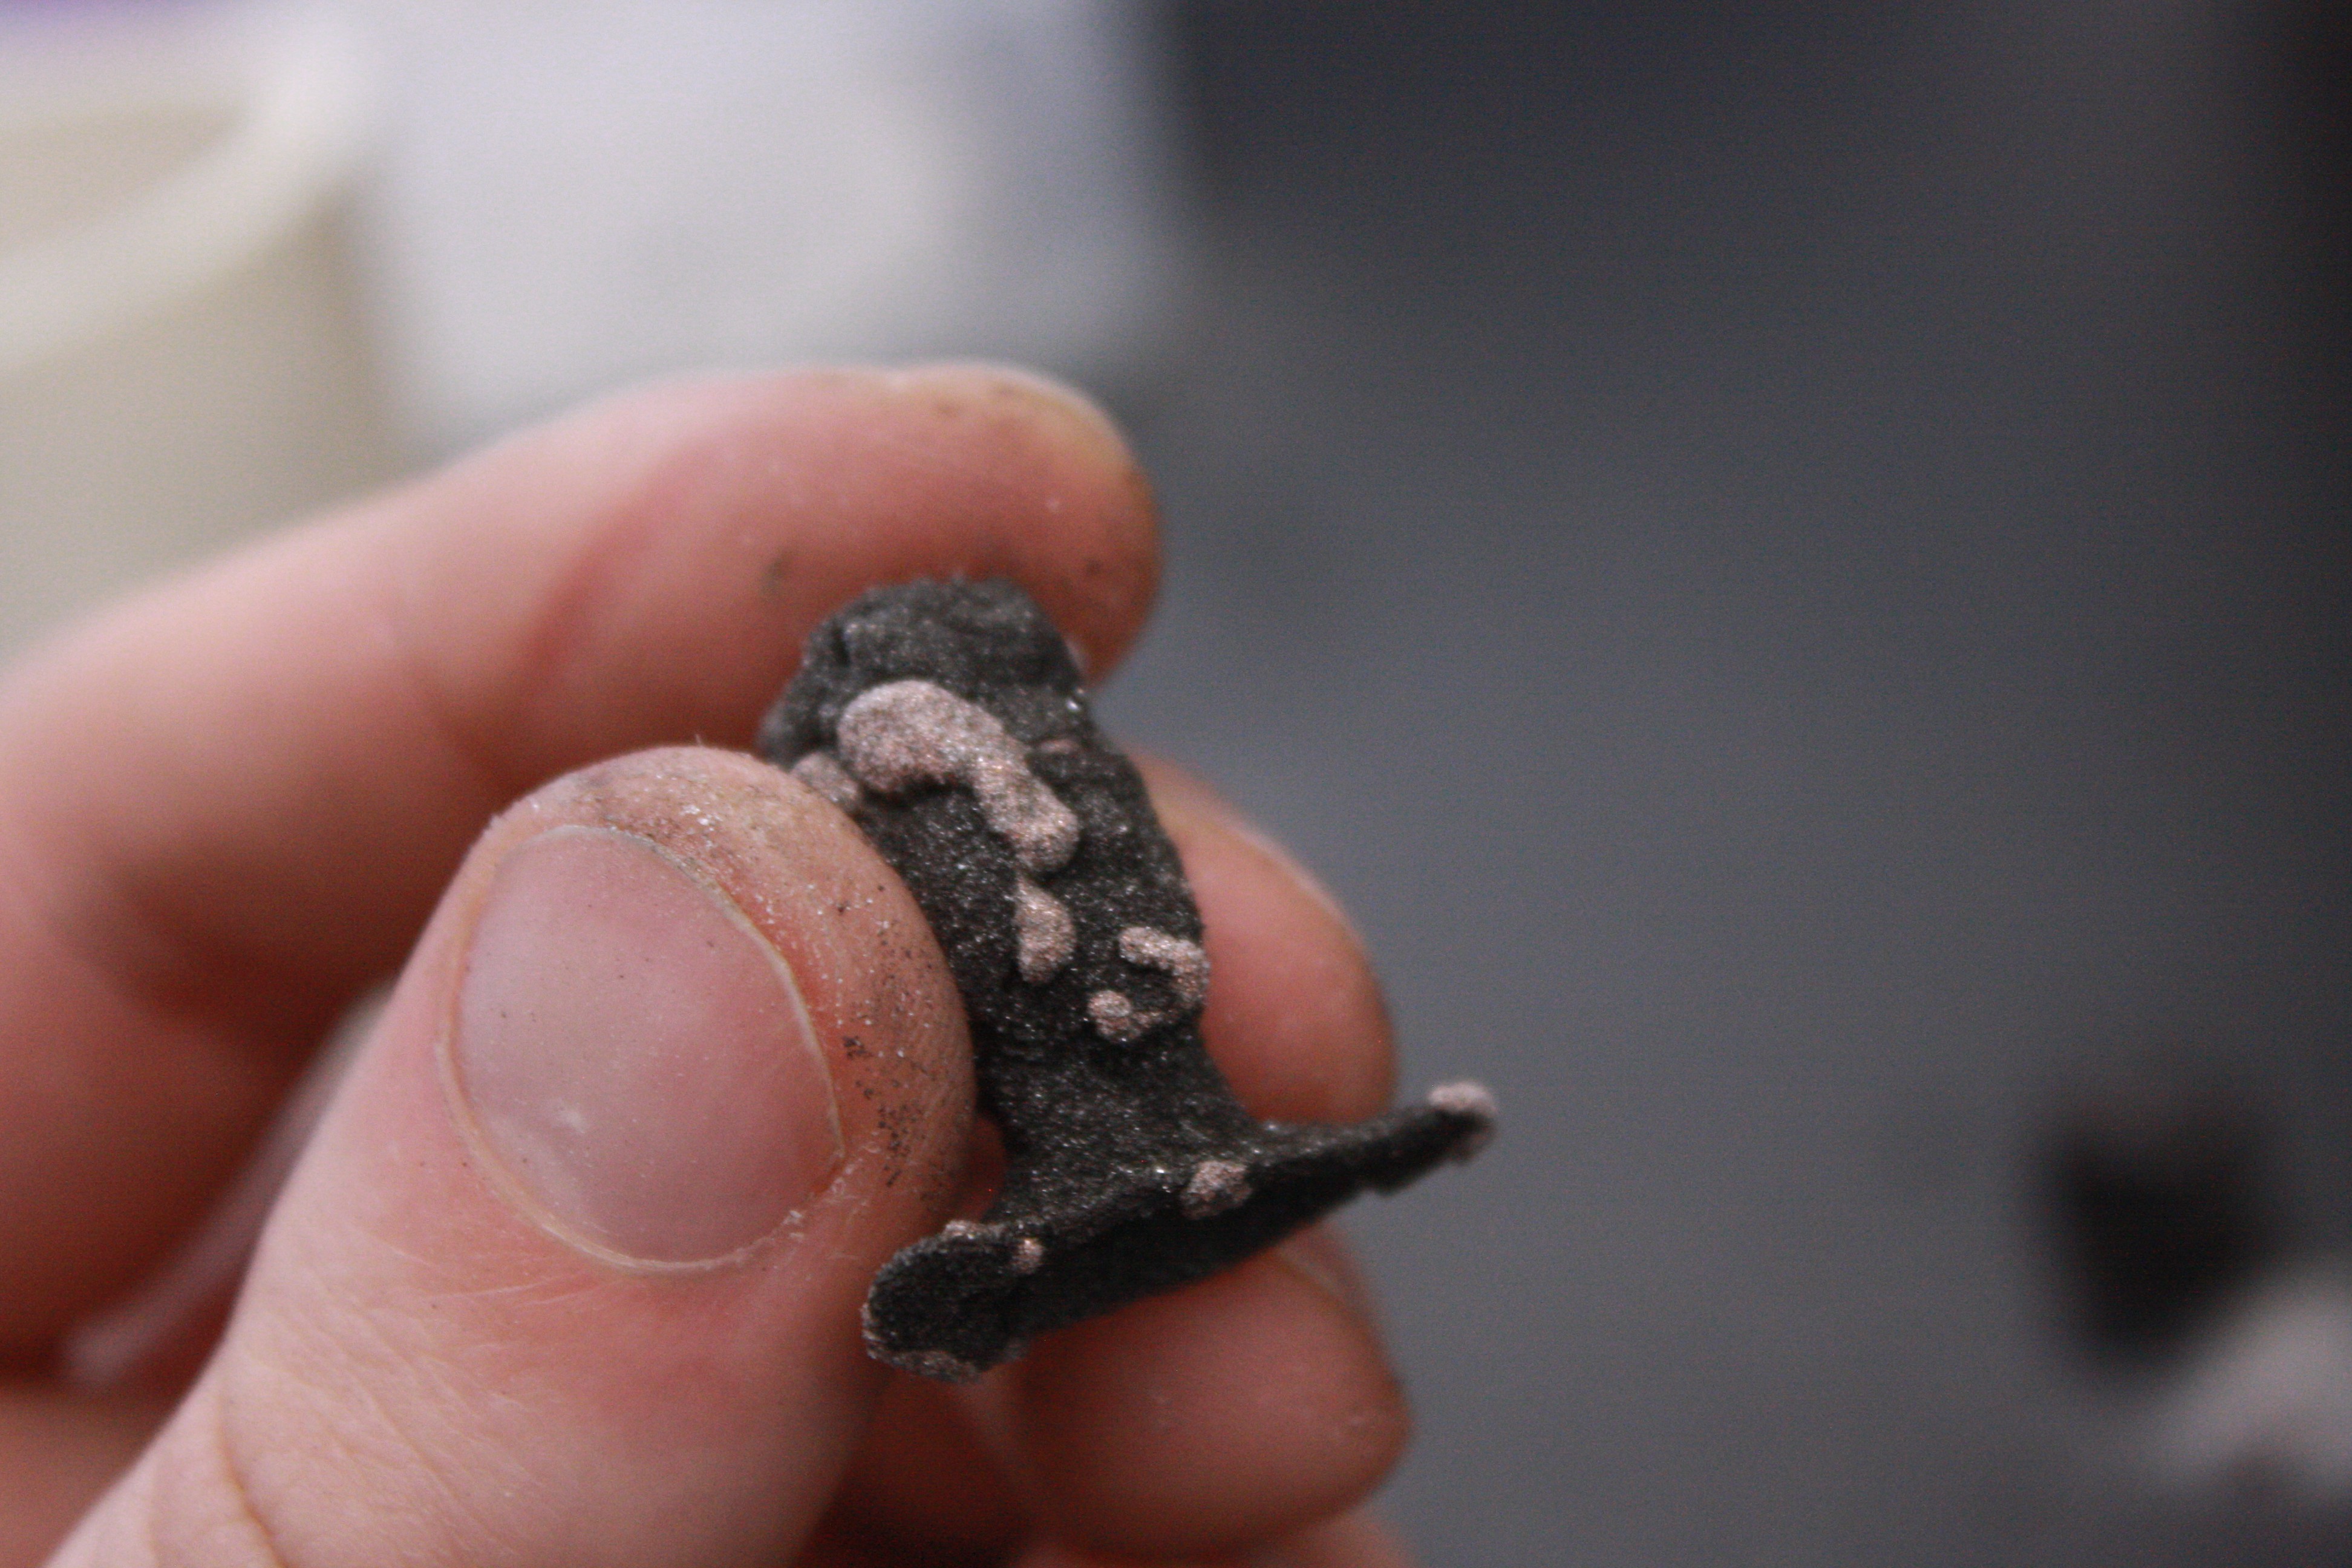
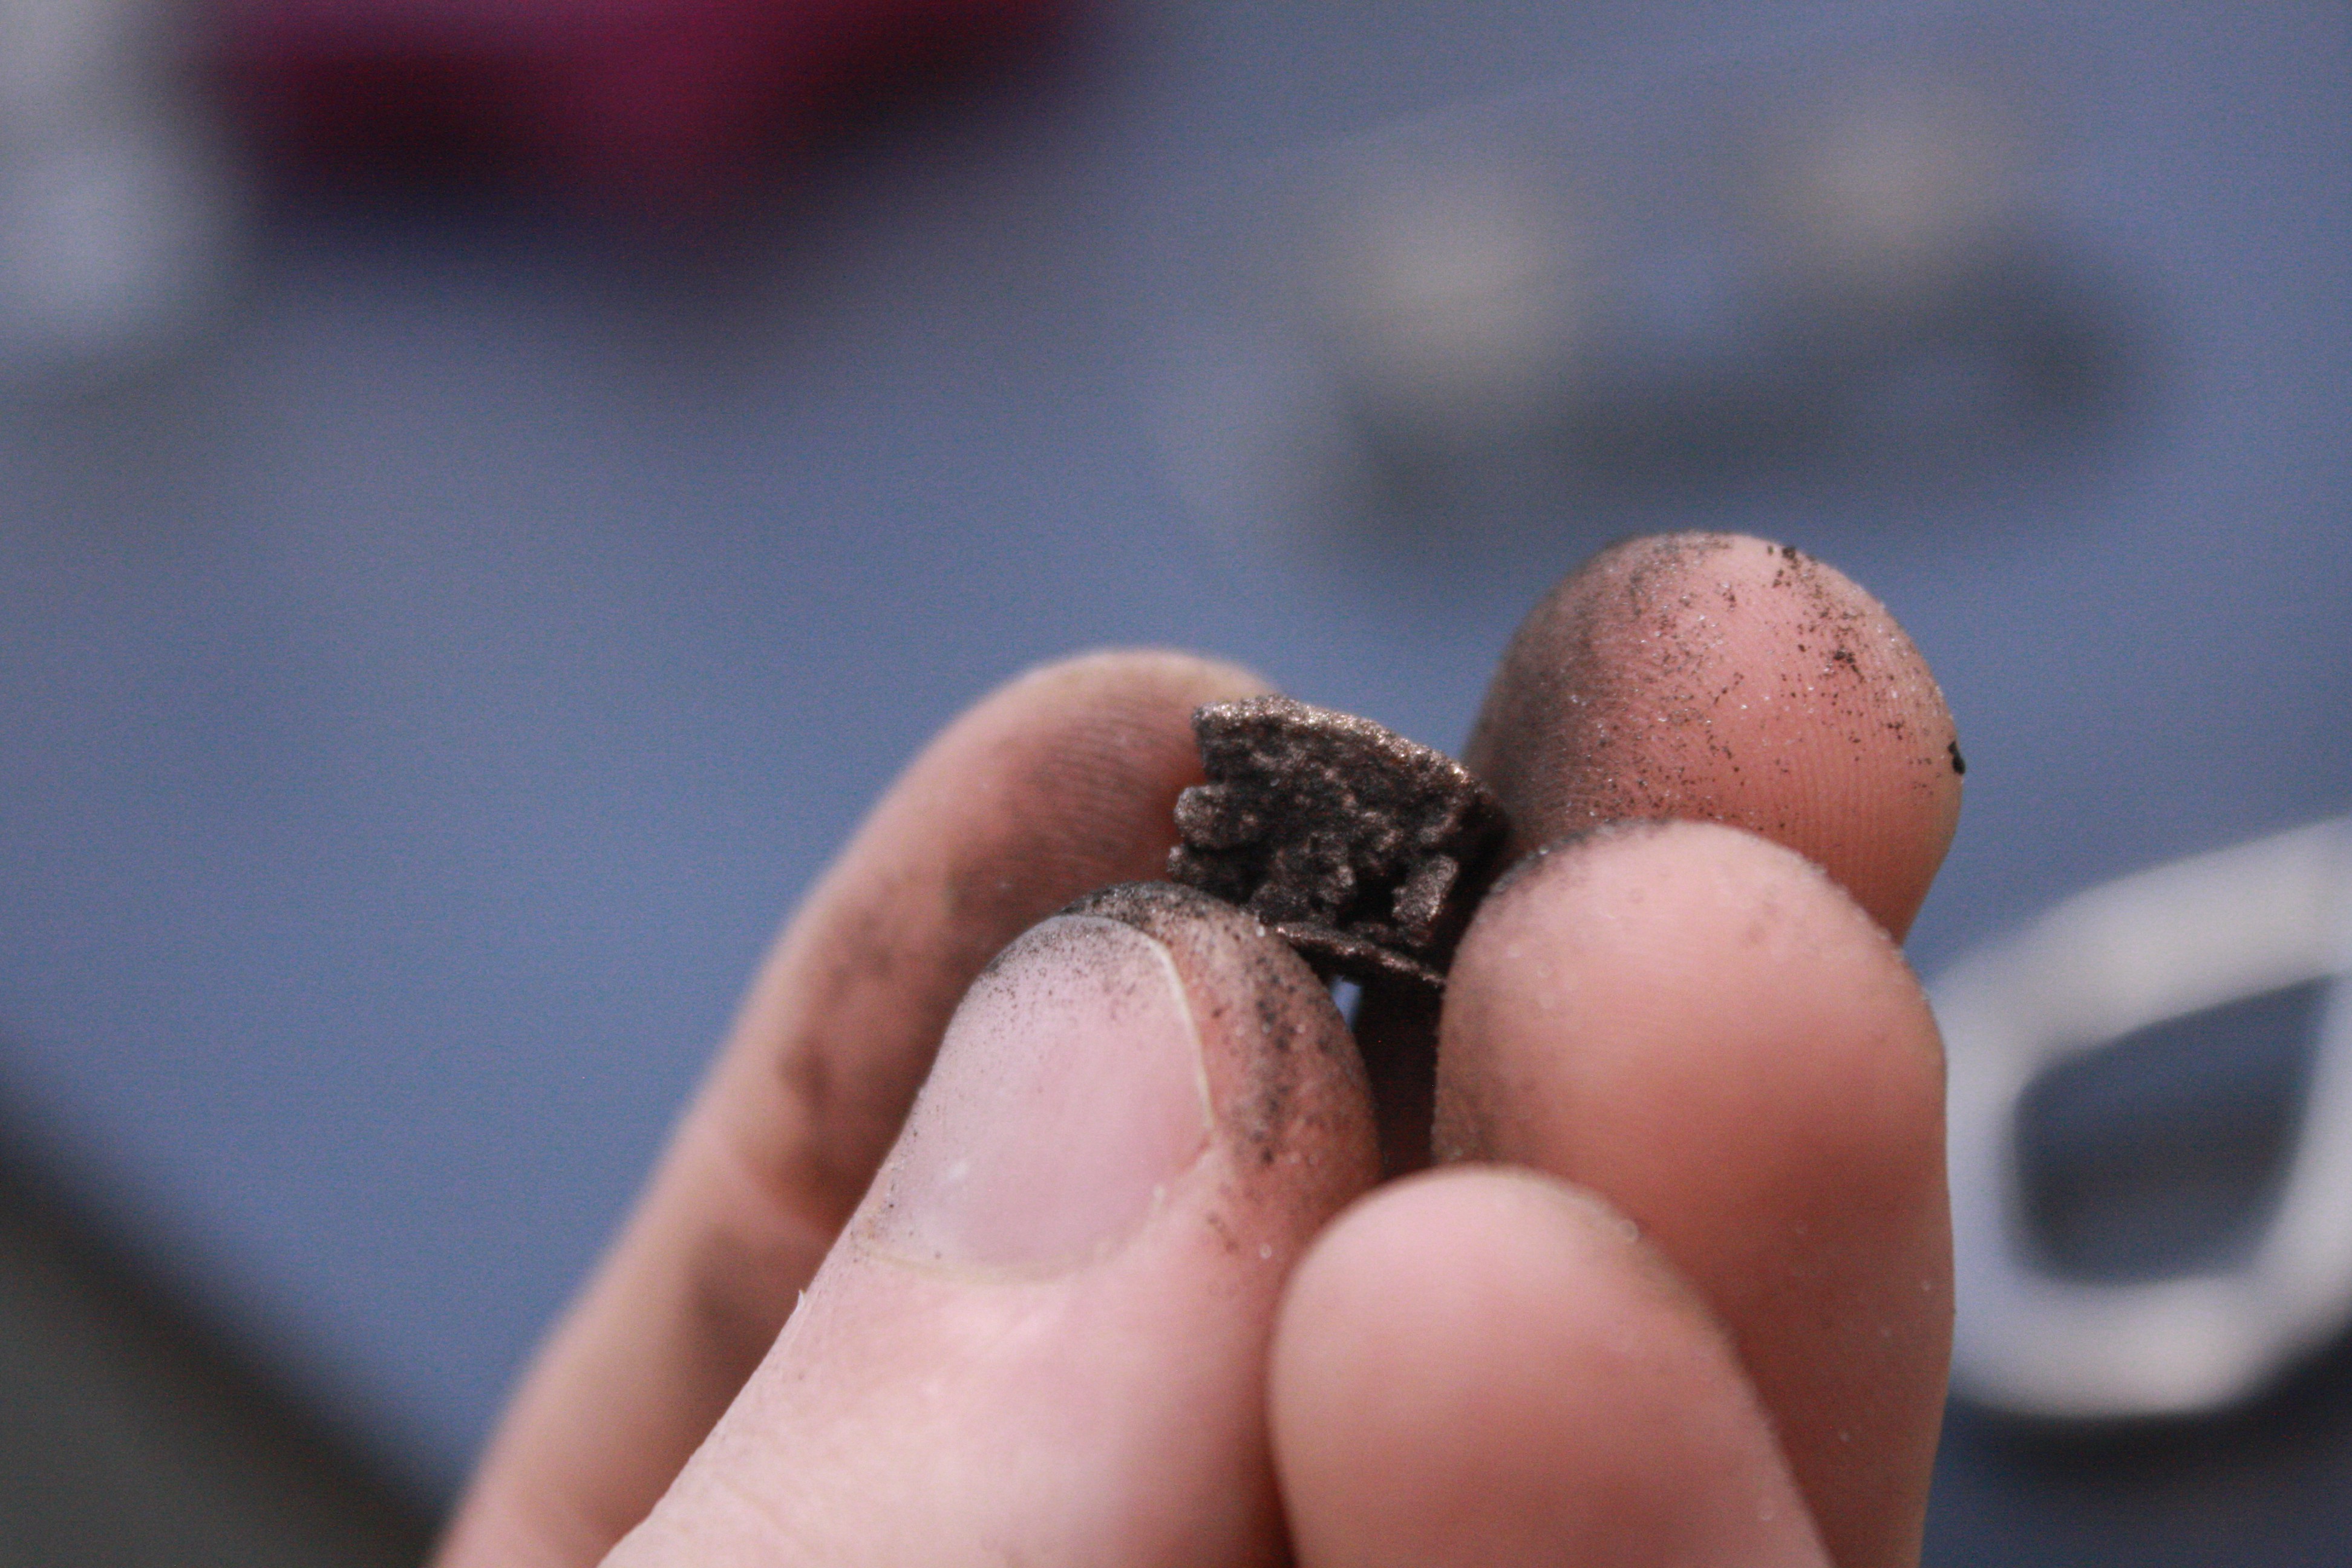
Roughly holding their shape, still pretty heavy, but black and with bright copper protrusions every so often.
Oh, and the non-copper bits behave like this.
Yeah, that's not supposed to happen. Every part easily crushed like this to some degree, though --- the cube still had some structure, but the LTU logos for instance turned to powder. And yet, sintering was happening, and the resulting copper was both brighter and not brittle at all.
Throwing all this into some hydrochloric acid again, I observed only a very small reaction (which would indicate the presence of oxidized copper dissolving). Again, just a quick comparison, here's my part after soaking in HCl last time:
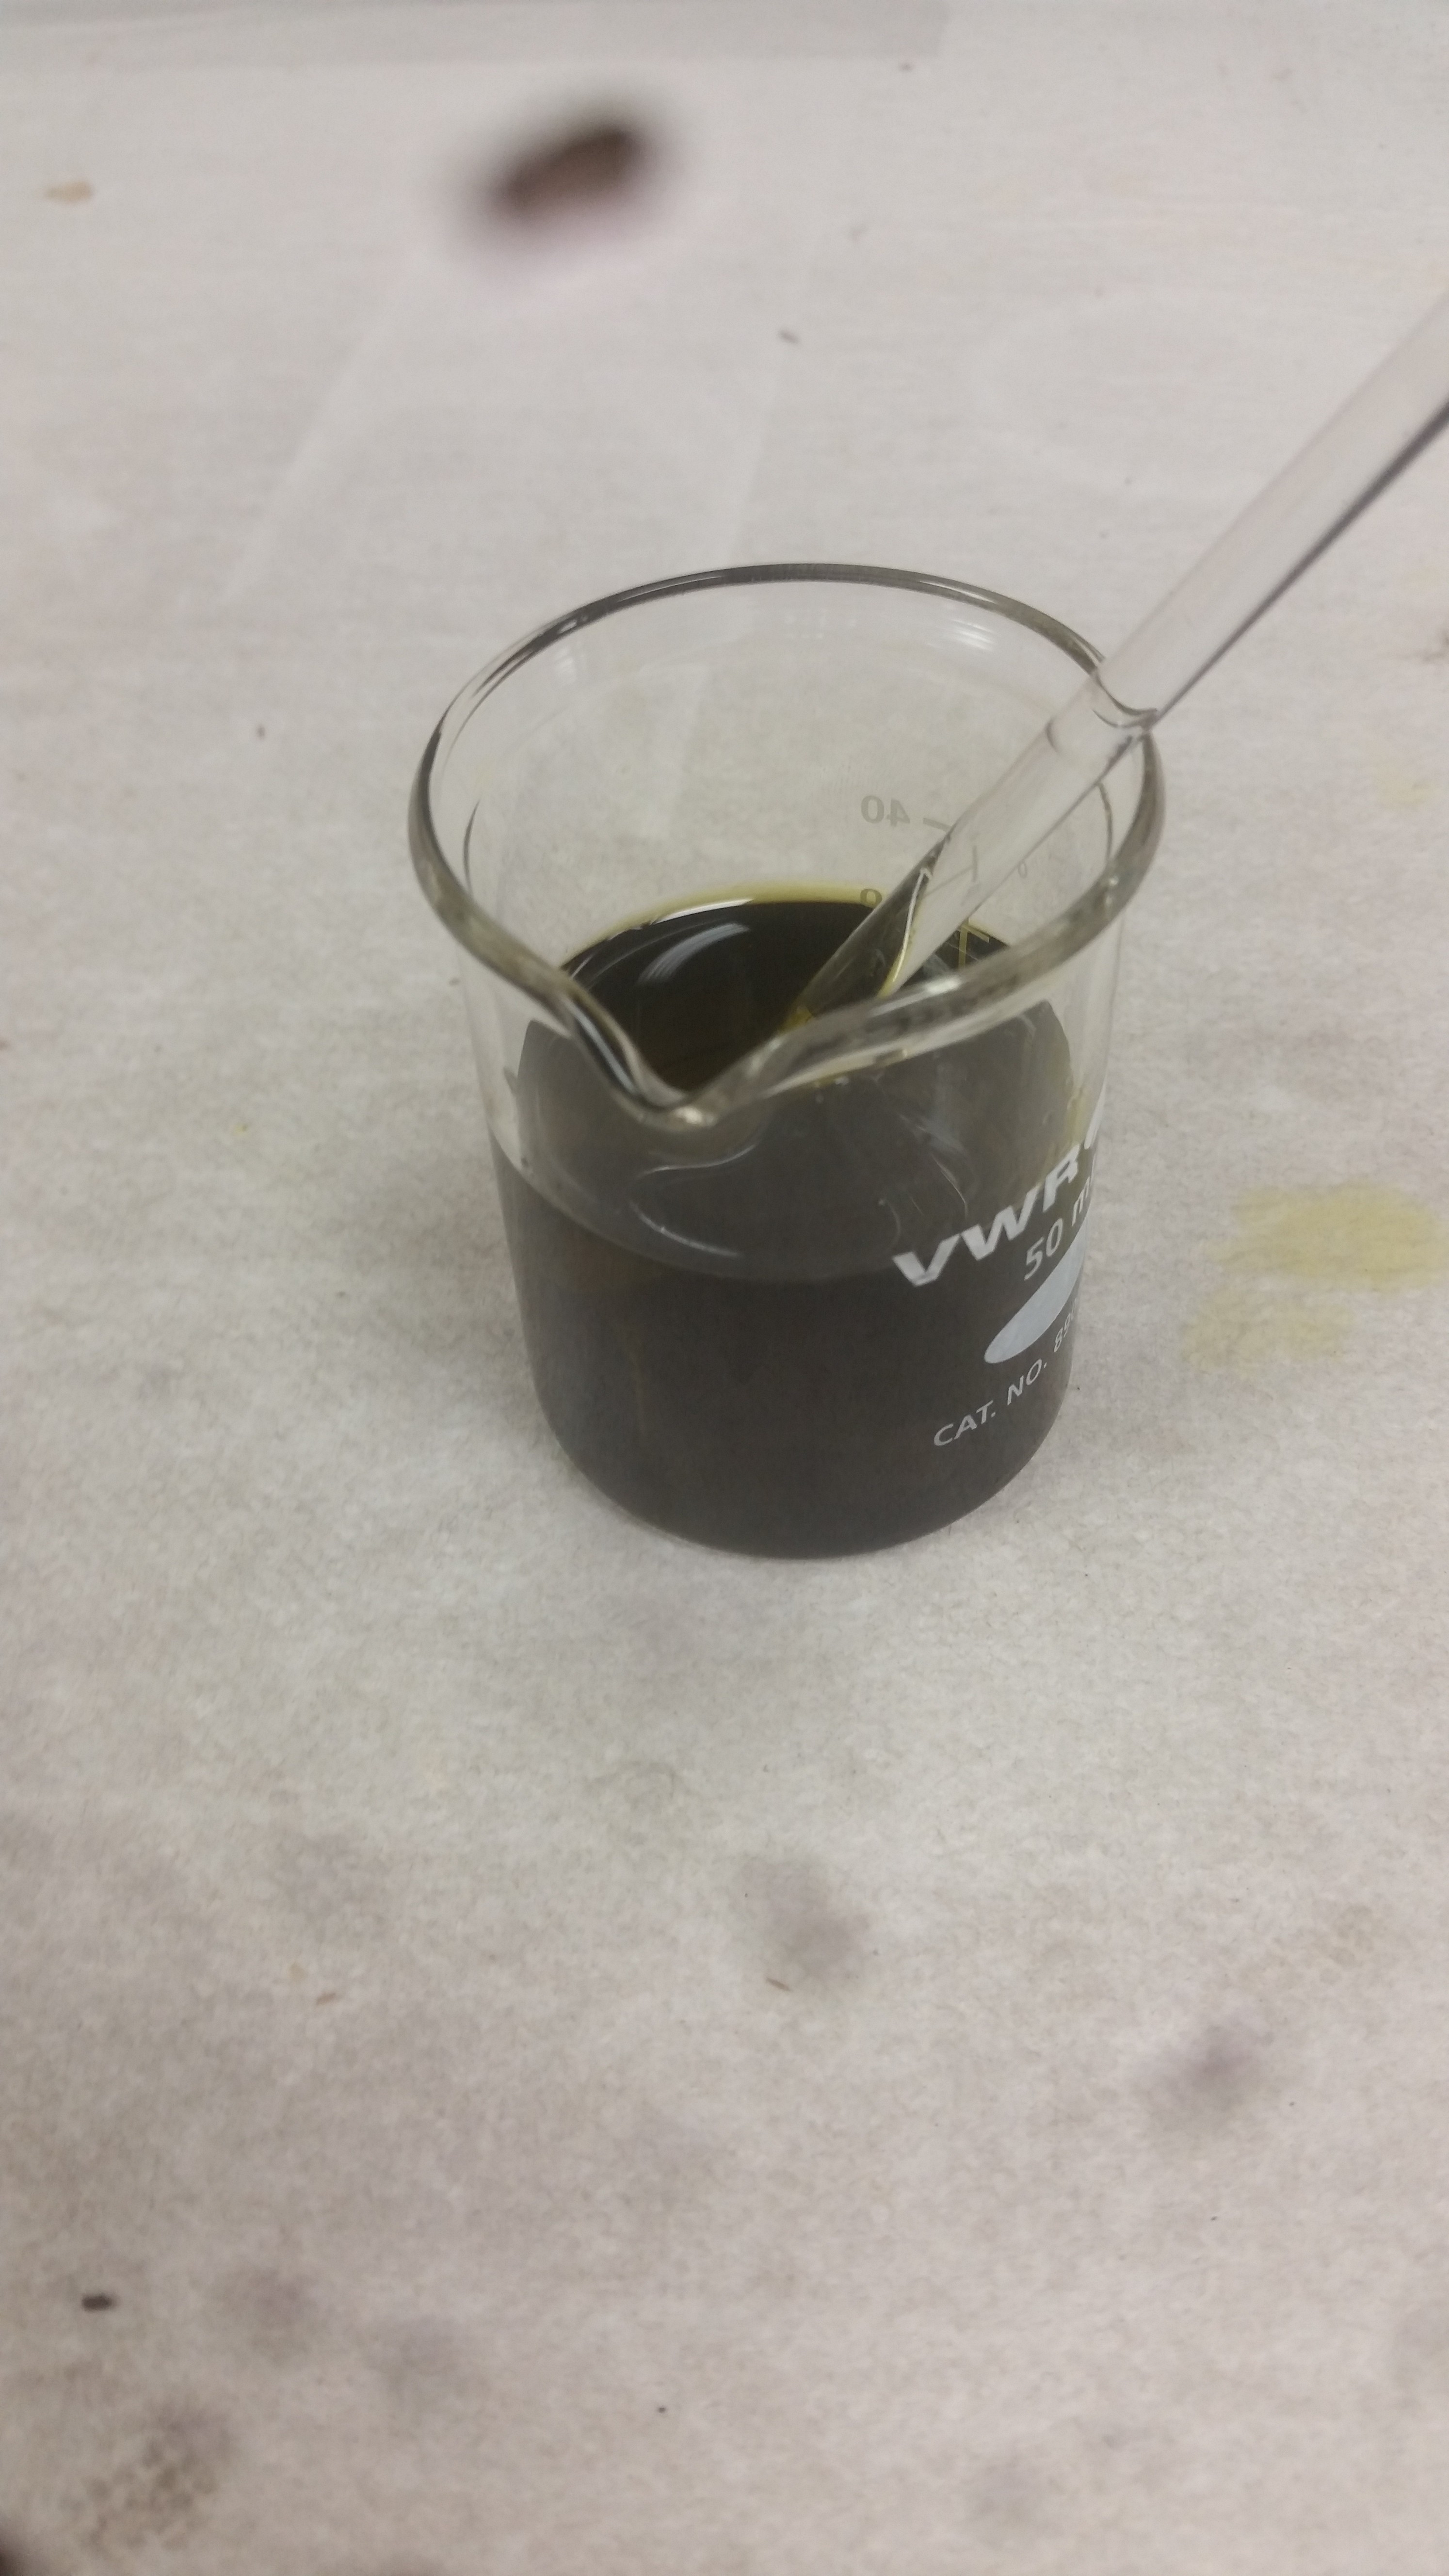
And this time:
What this means to me is that rather than being sintered and then oxidized (like last time), this time my parts are mostly still "brown": Binder removed, not yet sintered. This makes sense, because my thicker flask and refractory sheet are probably acting as good insulation --- the inside of the flask is not reaching the critical peak temperature!
And that critical temperature actually has to be very close to the melting point of copper --- the reference melting point is 1084 C and I was setting the oven to 1074. This is compared to the sintering temperature of cold compressed copper powder at 750-1000C. Rather than sintering, the industry might call this "liquid metal diffusion".
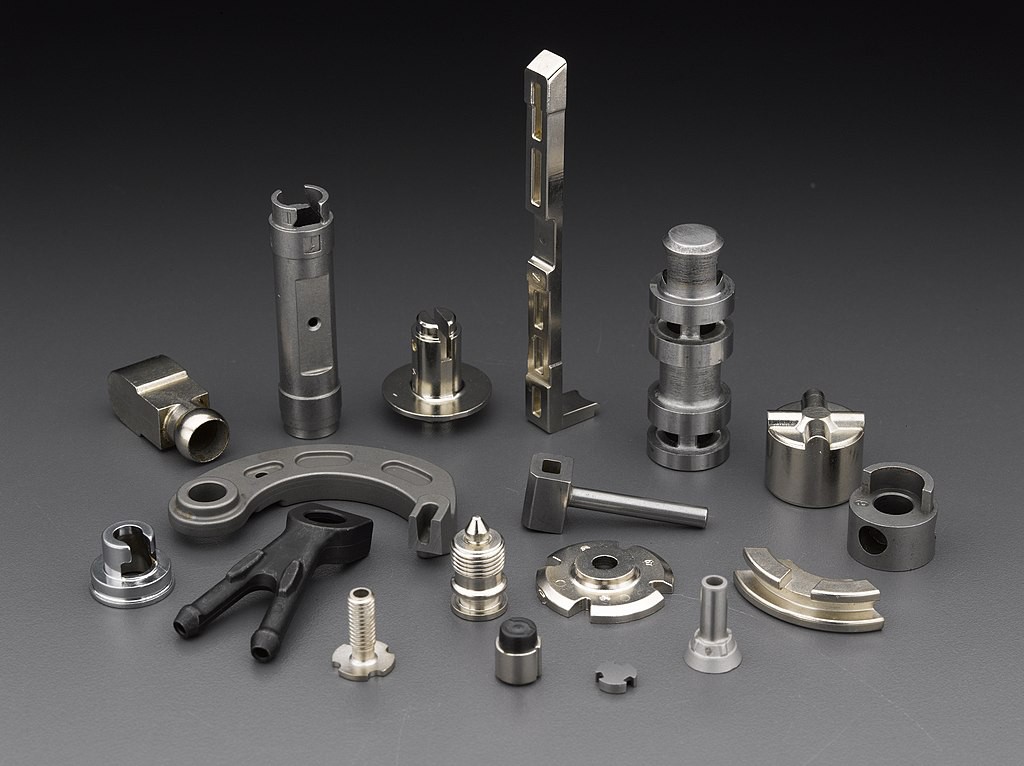
And, incidentally, the industry totally does this all the time in the form of "metal injection molding", which is super cool and actually the best way to make small, complicated metal parts. They just squirt the metal and organic binder into a preformed mold and then also toss it into an oven. This is very helpful for my research since the process is much more documented than "metal sintered 3D printing". And it gives me higher hopes for the final part quality, since it's used at scale for tons of purposes. Parts made in this method from wikipedia:
So, yeah. Trying again, this time with a bit higher temperature in the sintering step. Biting my nails figuring out how much higher. I figure since I've gotten some metal, it doesn't have to be that much more --- 20C? 30? 50?
Discussions
Become a Hackaday.io Member
Create an account to leave a comment. Already have an account? Log In.
Quick record: I just put new parts in and bumped up the held presintering temperature to 1030 (from 1018) and the sintering temperature to 1100 (from 1074).
Are you sure? yes | no