 Michael Gardi
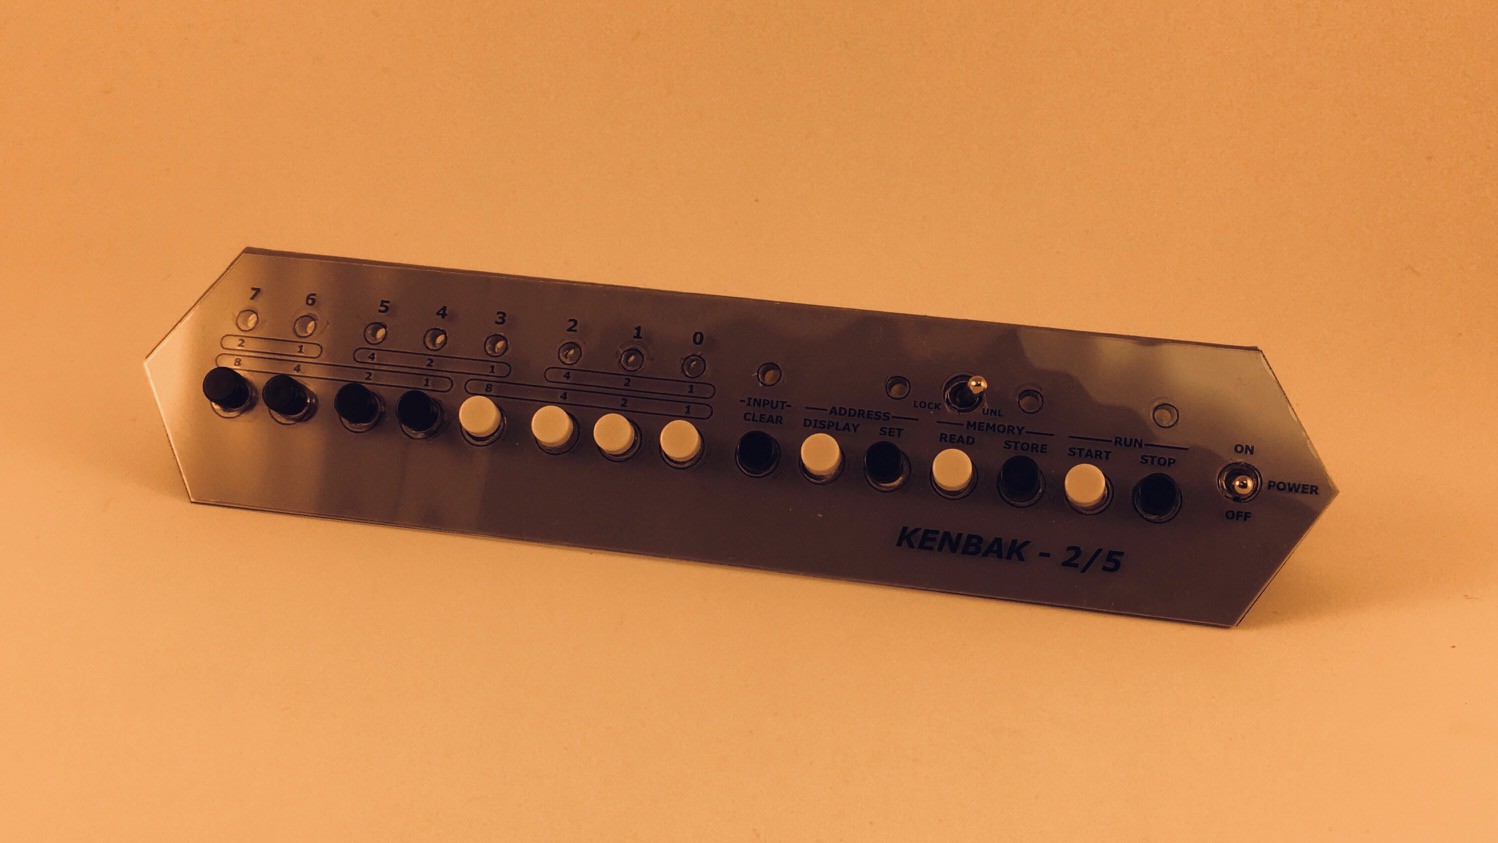
The KENBAL-2/5 console has a 3D printed frame and uses panel mount components. At 40% the size of the original a few compromises had to be made. For one, the great keyboard style push buttons on the front panel of John Blakenbaker's machine proved impossible to replicate. In fact the button positions had to be stretched out horizontally a bit on my reproduction to accommodate the small panel mount push buttons that I did find. Similarly no nice sockets for the panel lamps, just rear mounted 3 mm LEDs.
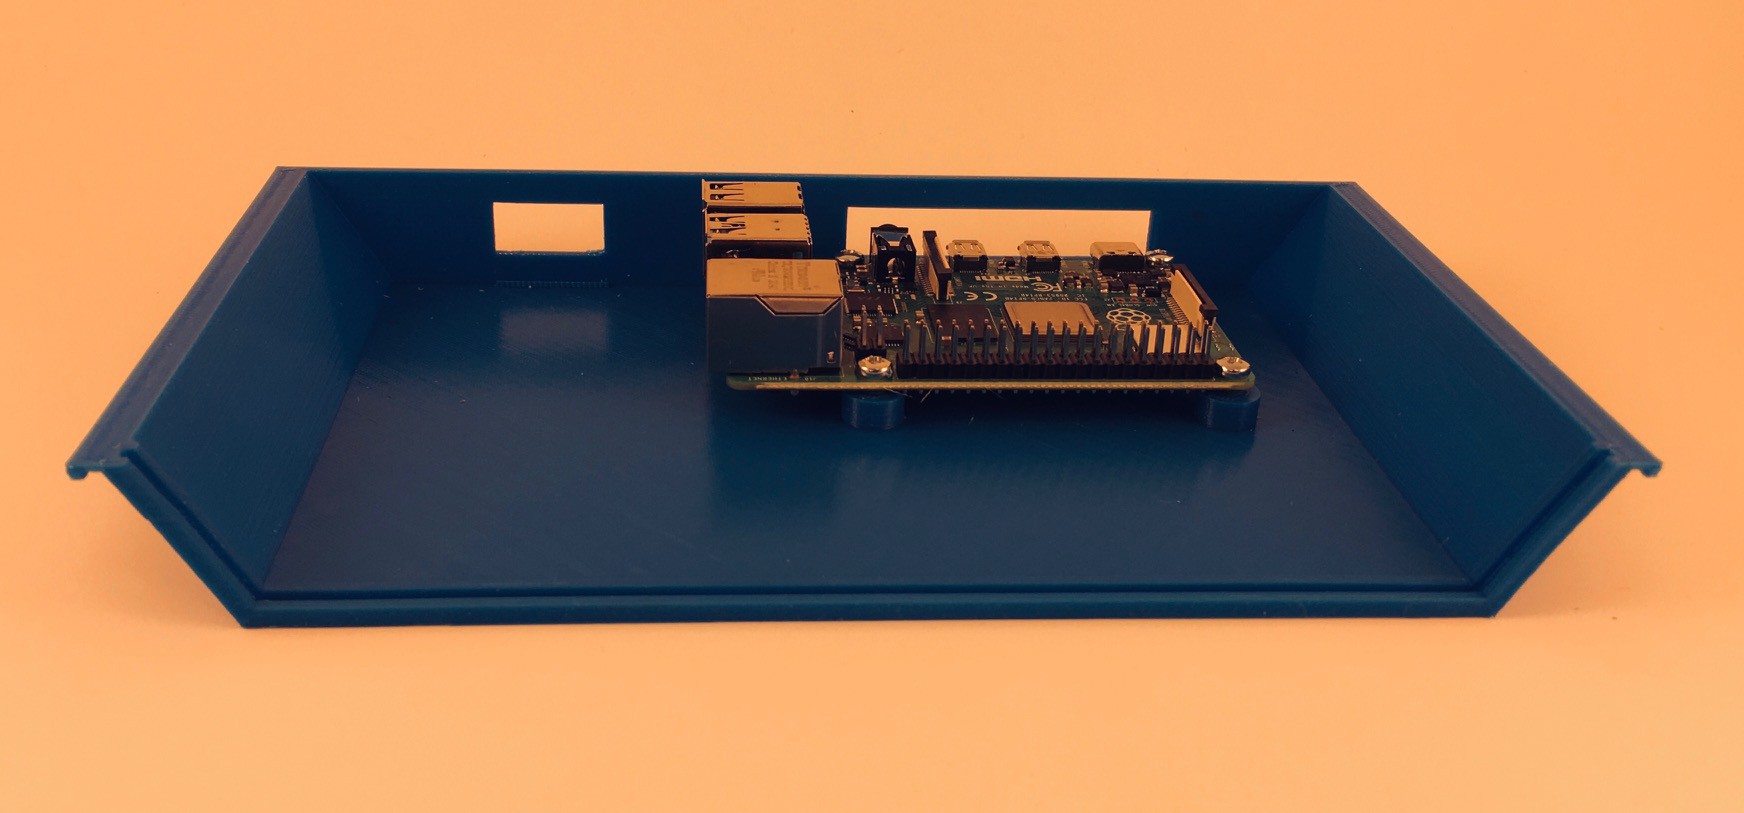
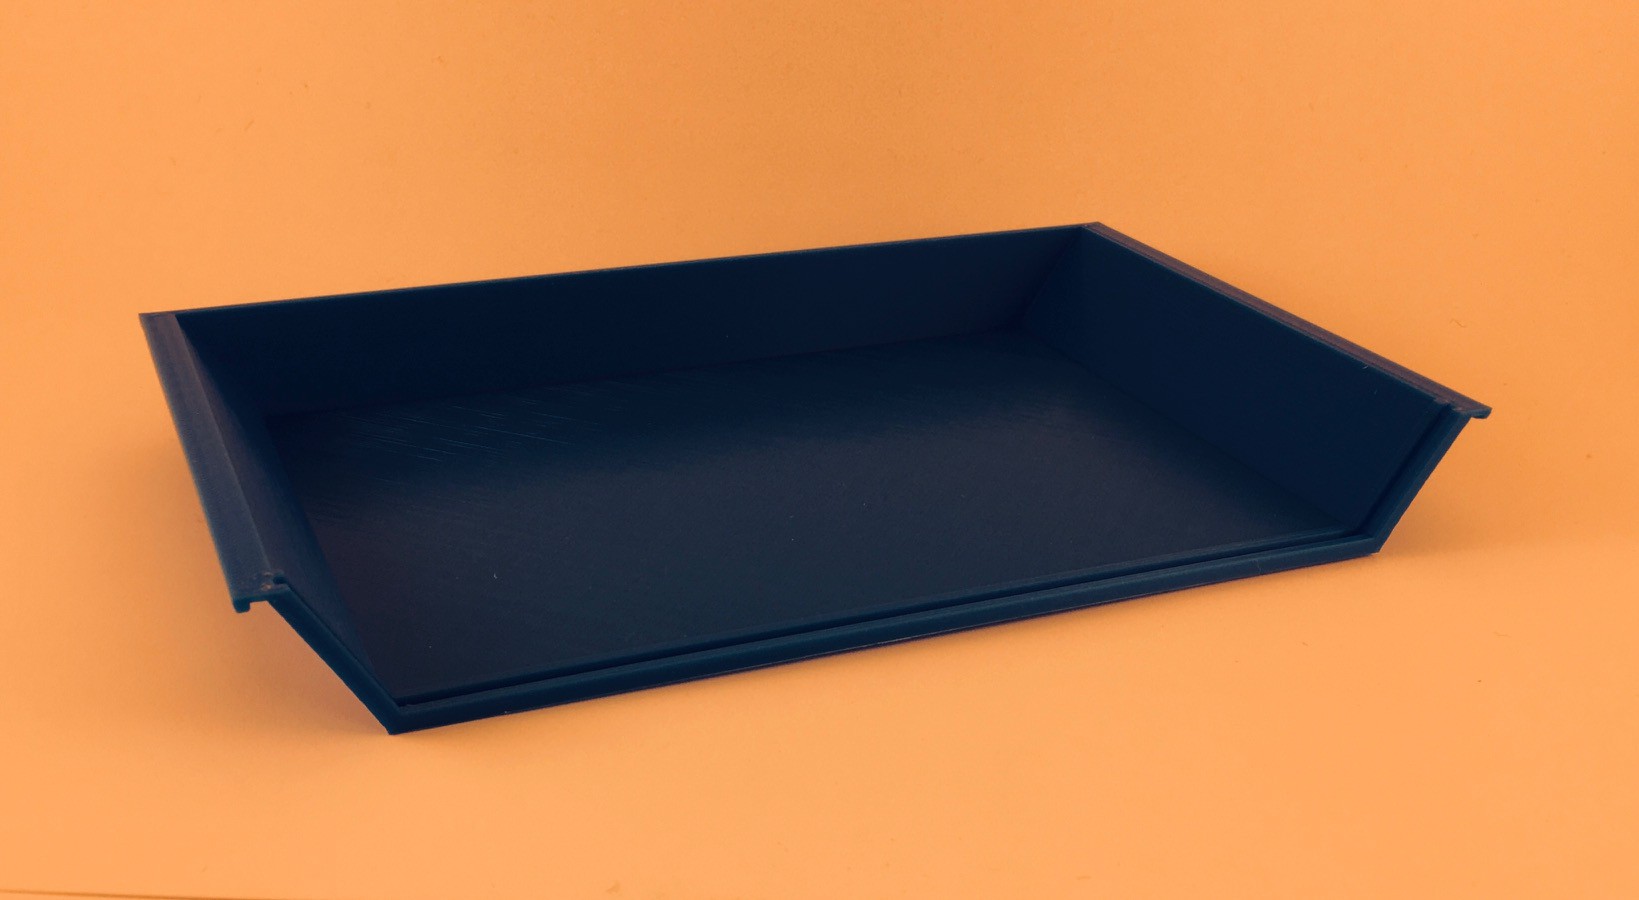
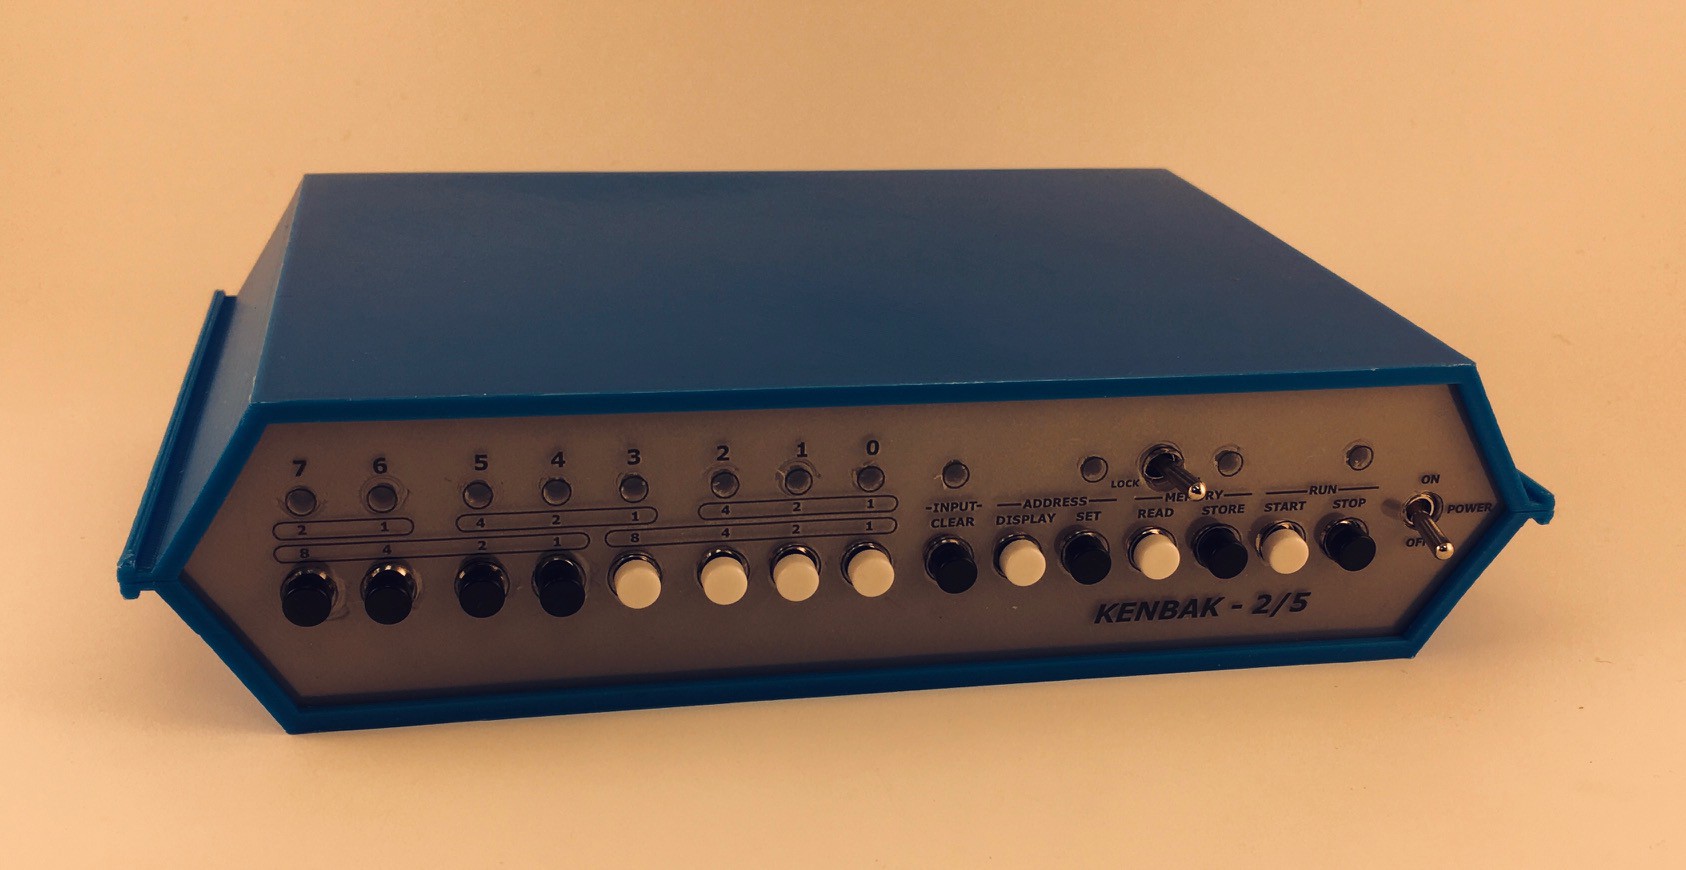
The advantage of the small size is that the pieces will fit on a fairly large selection of 3D printers out there. The shape of the case is a pretty close match to the original as far as I can tell. It is printed in five parts. The bottom has mounting pegs for this project's Raspberry Pi "engine" and cutouts for cabling.
Nothing special about top piece. Notice the groove in both the top and bottom pieces used to hold the front panel in place.
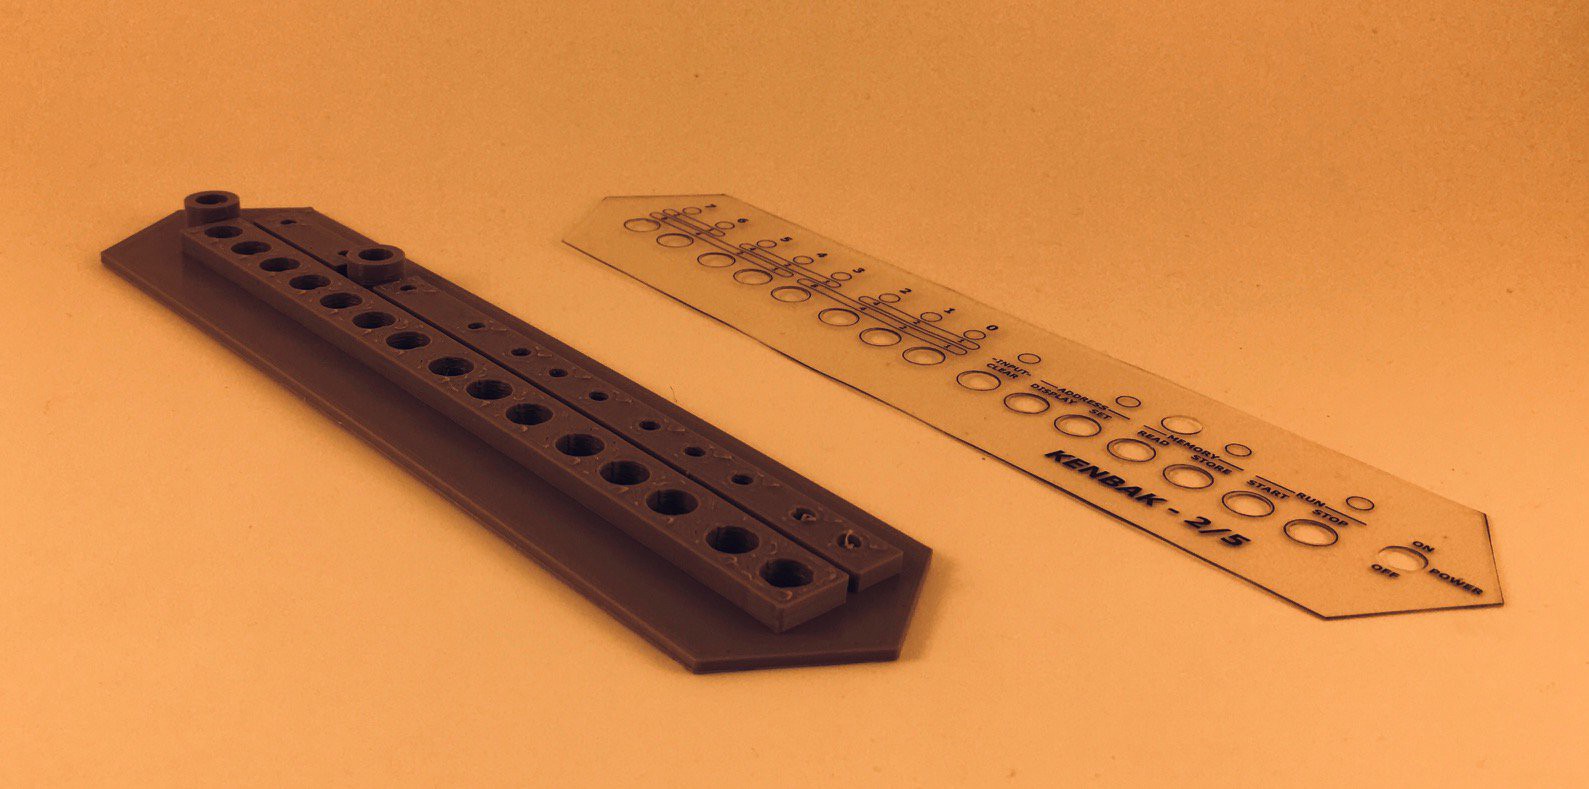
The front panel has holes to hold the buttons, switches, and lights. Because of the small size of the reproduction I was not able to just 3D print the labels directly on the panel as I have in the past with other projects. Instead I saved a DXF file with the panel outline and hole positions from my Fusion 360 model and brought that into Inkscape where I added the labels. I printed the resulting SVG file onto a clear overhead sheet which I laminated to protect the printing and add rigidity to the overlay. I cut the overlay out along the outline and punched the button and switch holes with a standard hand held 1/4" paper punch. The panel lights are recessed behind the overlay so do not require holes.
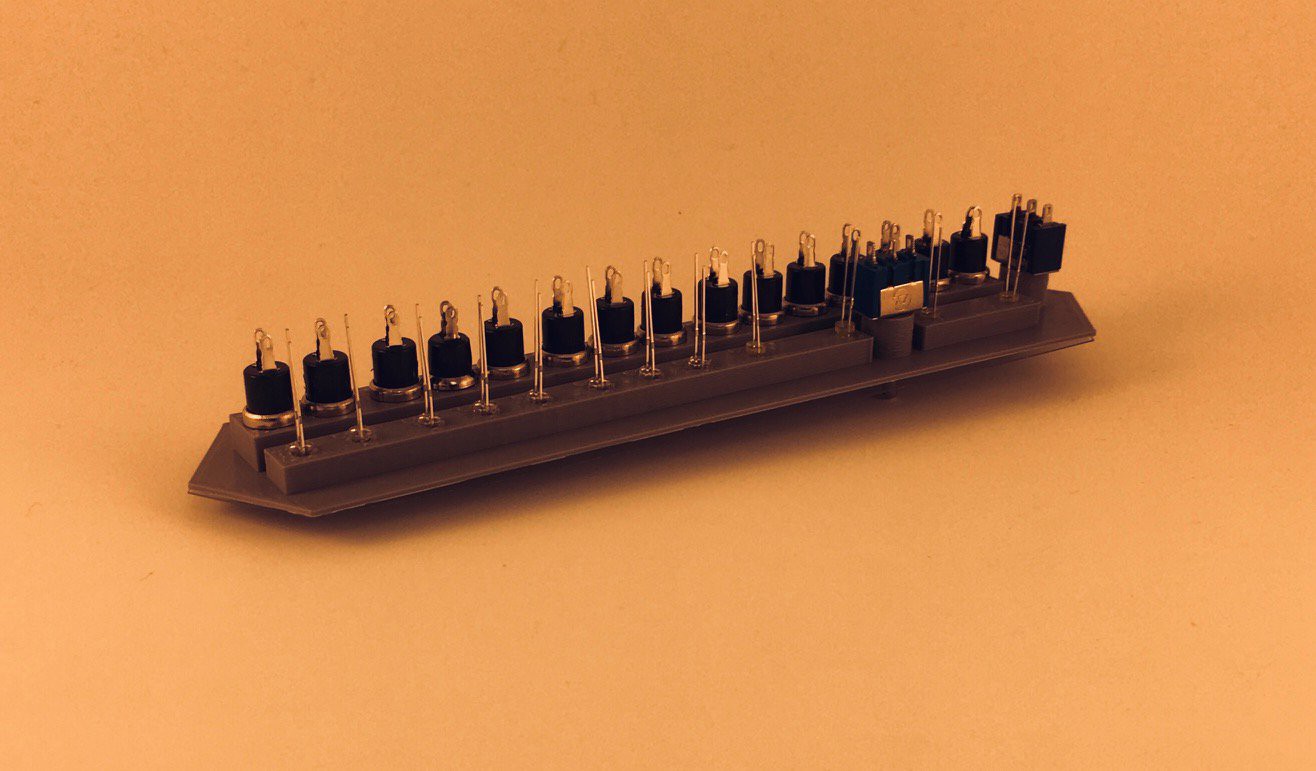
I could not use the nuts that came with the panel mount buttons and switches because they would not fit at this scale. Instead I sized the holes in the front panel so that the components could be screwed in from the back self threading as they did. The LEDs are just friction fit.
The overlay with the labels will just fit over the buttons and switches with a little finessing.
The front panel fits into the grooves cut into the top and bottom pieces.
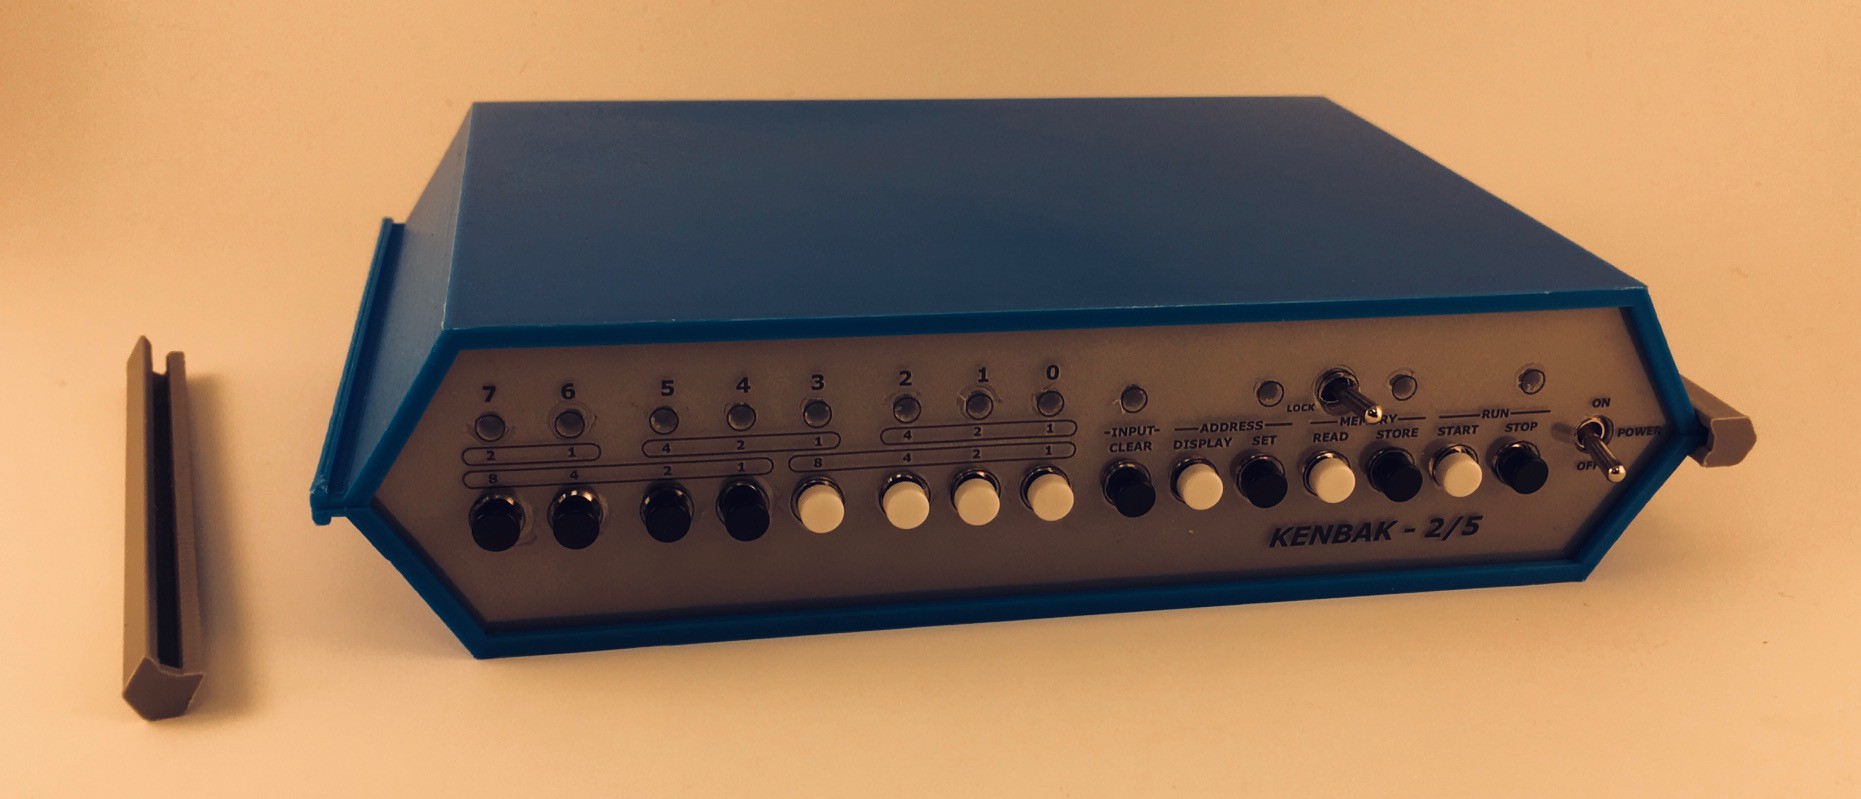
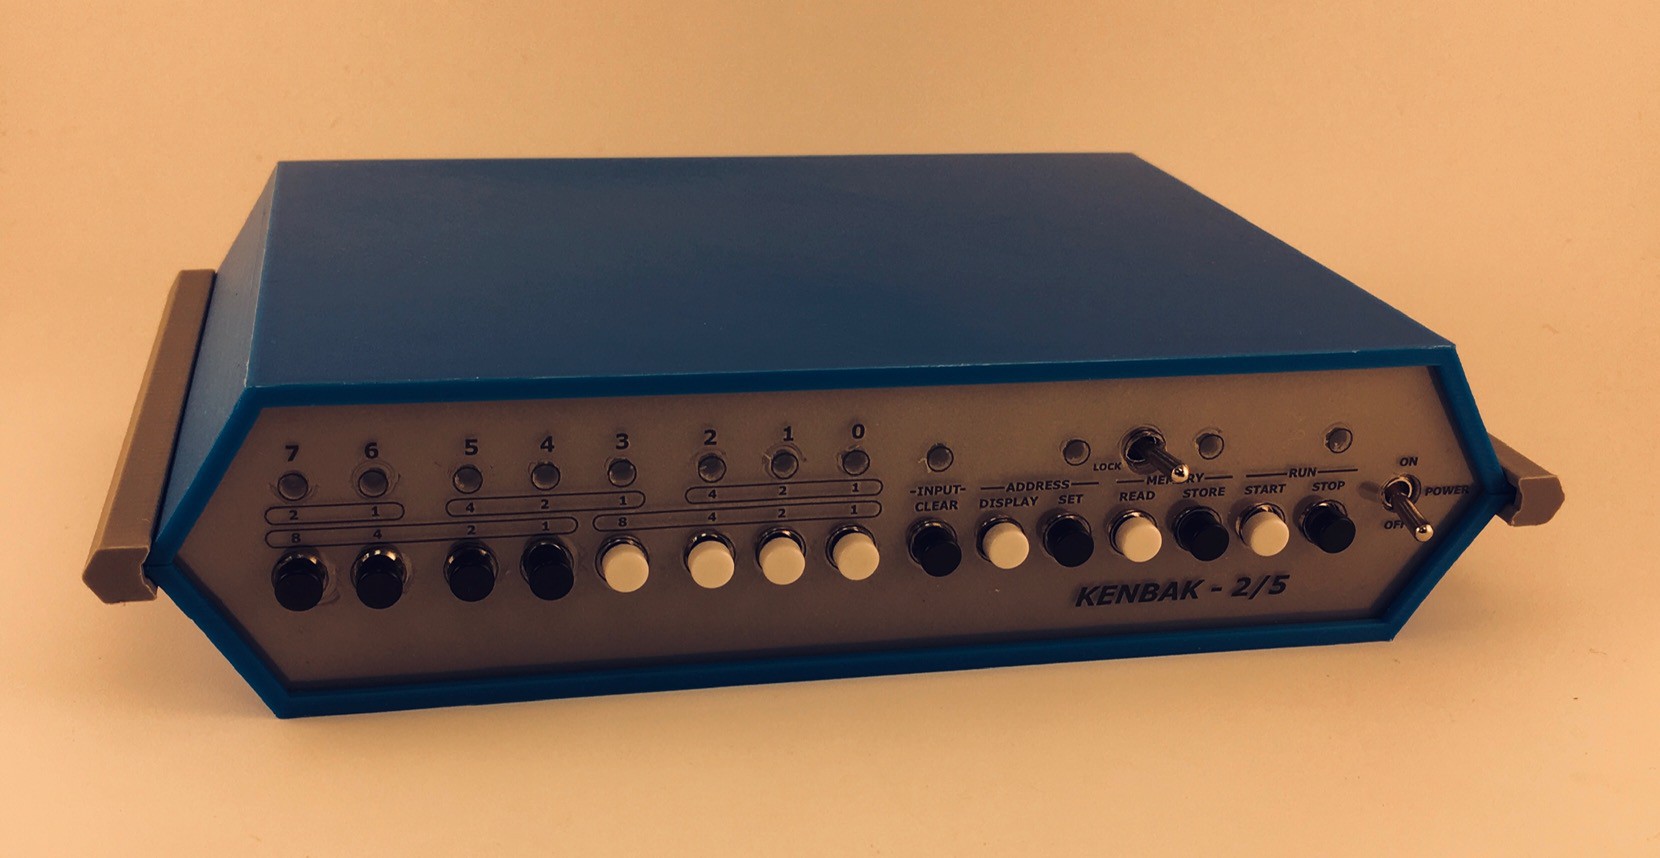
Join the top and bottom pieces with the slotted side pieces.
And that's it for the console.
I'm waiting for the port extender hat. When it arrives I'll be wiring the KENBAK-2/5 up. In the mean time I'll be working on the software side.
Discussions
Become a Hackaday.io Member
Create an account to leave a comment. Already have an account? Log In.