The Concept
The basic idea was to make an interactive MIDI jukebox that lets any non-musician play along with the song without effort. Press a button to trigger a sound; The pitch of the sound is dictated by the most recent note of the song melody. The interaction is sort of similar to that of games like Parappa the Rapper.
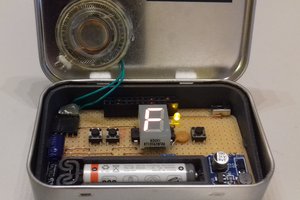
For user-triggered instruments I wanted to use animal noises from the SNES game Mario Paint. I find those cheesy samples to be very appealing for some reason. I managed to find a sample pack ripped from the game somewhere on the web. I selected pig, cat and duck noises respectively for the three yellow buttons.
The Code
The python script uses the pygame.mixer module for playback of samples and MIDI files. Pygame in turn uses FluidSynth for MIDI playback.
But I also needed the user-triggered instruments to play in tune with the song. Of course there's no facility for doing that sort of thing within in pygame. Instead I used the mido library for parsing the MIDI file note-on messages. The note data is saved in dictionaries with the dict key serving as timestamp for each note. Each instrument is assigned one or several tracks of the song whereas data from the other tracks are ignored.
The more robust solution would be to parse the MIDI file entirely and use the same playback loop for the MIDI synth and sampled instruments. But this way works well enough as long as FluidSynth doesn't suffer any buffer overruns. In that event everything gets out of sync.
I also added an auto-play option where the animals sings along without user interaction. In that mode the buttons are used for triggering some drum samples instead.
The Build
I've recently spent some time learning FreeCAD, which payed off when designing the jukebox case. It wouldn't have been any fun at all to draw this sort of thing in TinkerCAD.
The electric guts, including speakers and volume knob, gets mounted into the base part. I glued two plastic cups to the base as speaker enclosures.
The hood was designed to be printed with the front panel facing the buildplate. In that orientation all overhangs are 45 degrees and no supports are needed. That also allowed me to print the front panel in a different color. For aesthetic flair I used honeycomb infill for the panel and gyroid for the rest of the print.
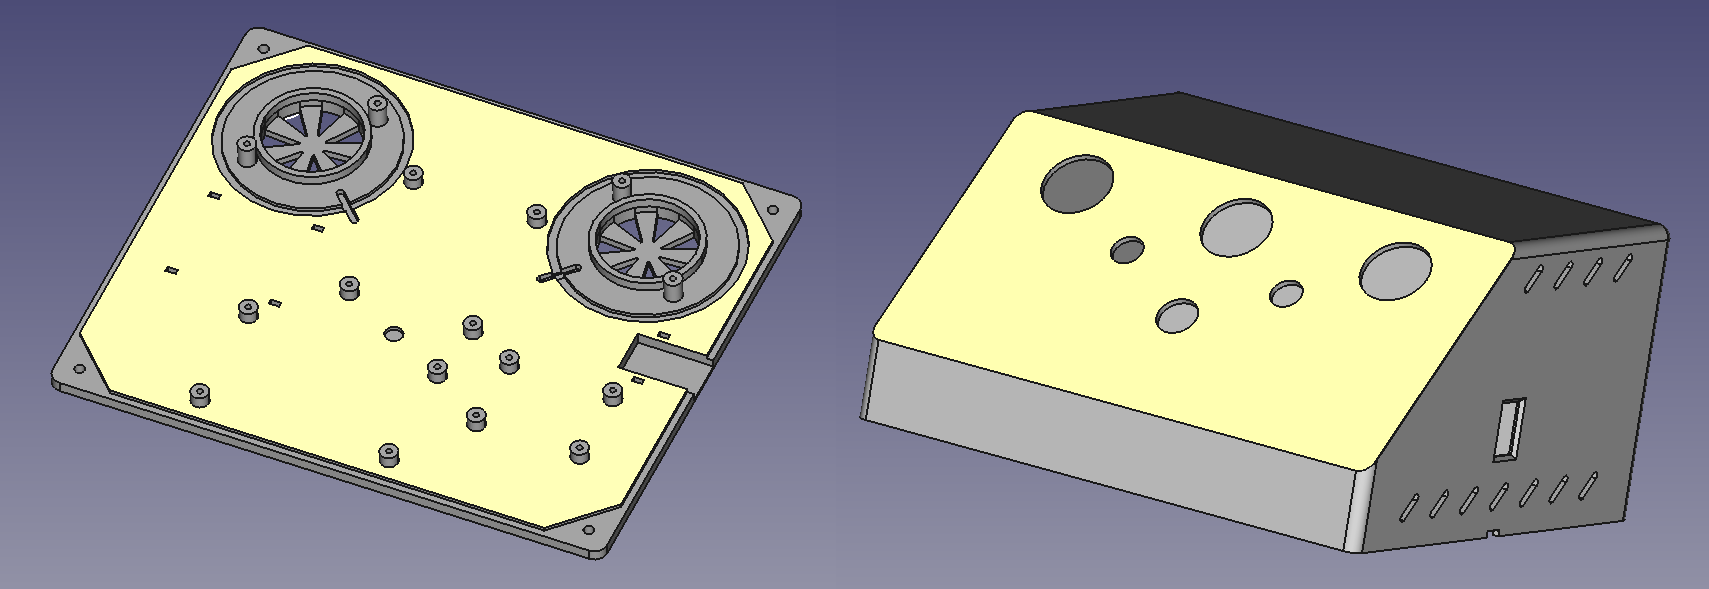
The hood came out of the printer with slightly warped walls. I think my mistake was that I had made the walls a bit too thin. But since I had designed the base with grooves along the sides for fitting the hood, it mostly bent back into shape once the parts were assembled, so I didn't have to redo the print.
When I had already printed the base and mounted everything on it I realized there needed to be some ventilation to let out heat. Ideally those holes should probably go through top and bottom of the case. But at least I added some slots along the sides of the hood before starting the print and those seem to do the job decently well.
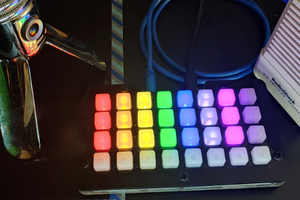
I printed the front panel in semi-transparent blue PETG as I wanted to illuminate it from within the case. Originally I went with red LEDs. But then I noticed that the high intensity blue LED on the battery charging module lit the panel in a really interesting way. So I switched to blue LEDs. The effect doesn't quite translate in camera, but in person it almost looks like the blue light comes from outside the box. Pretty weird, but looks nice.
 foamyguy
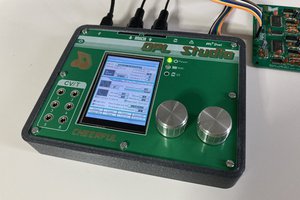
 Maarten Janssen
 Brad Wylie