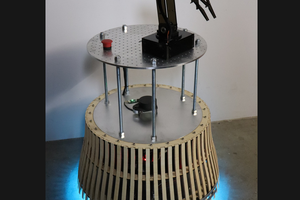
 MiKa
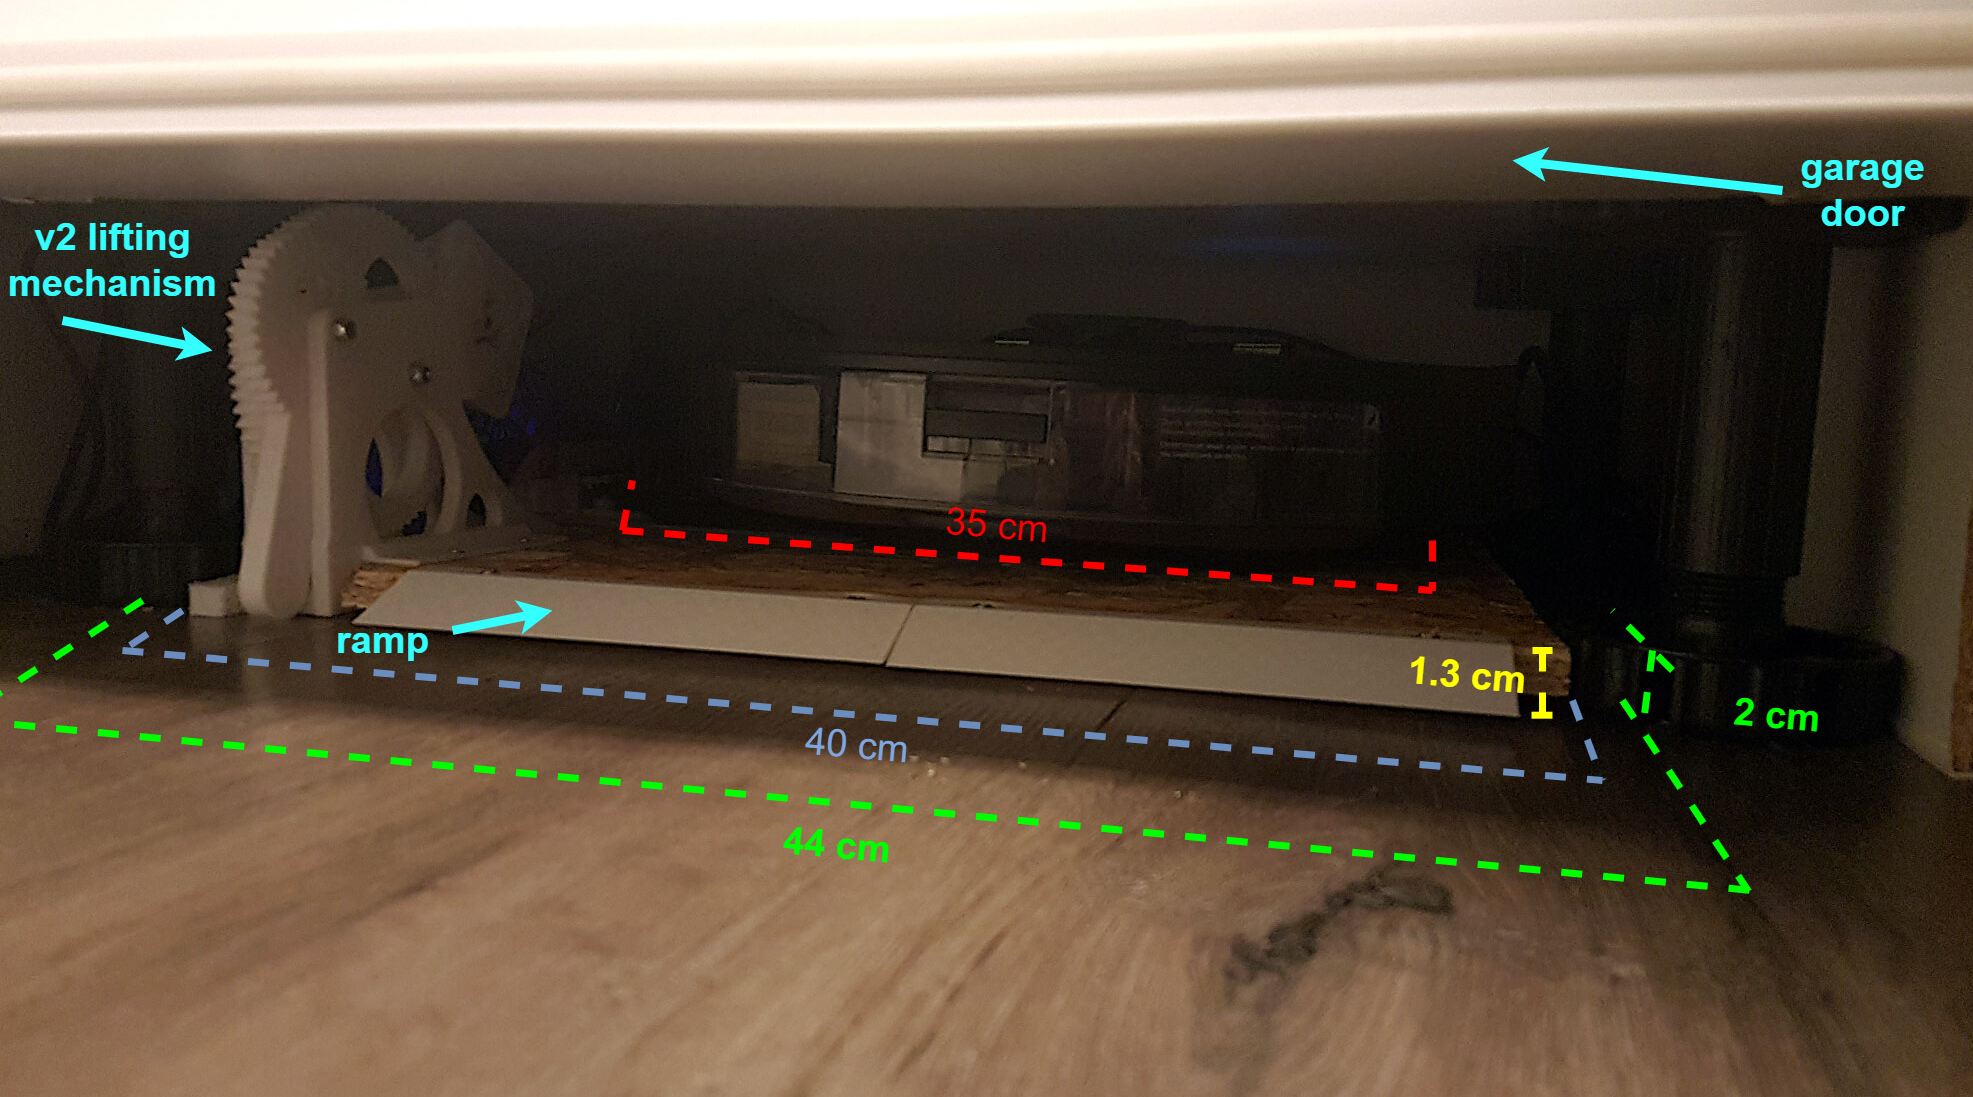
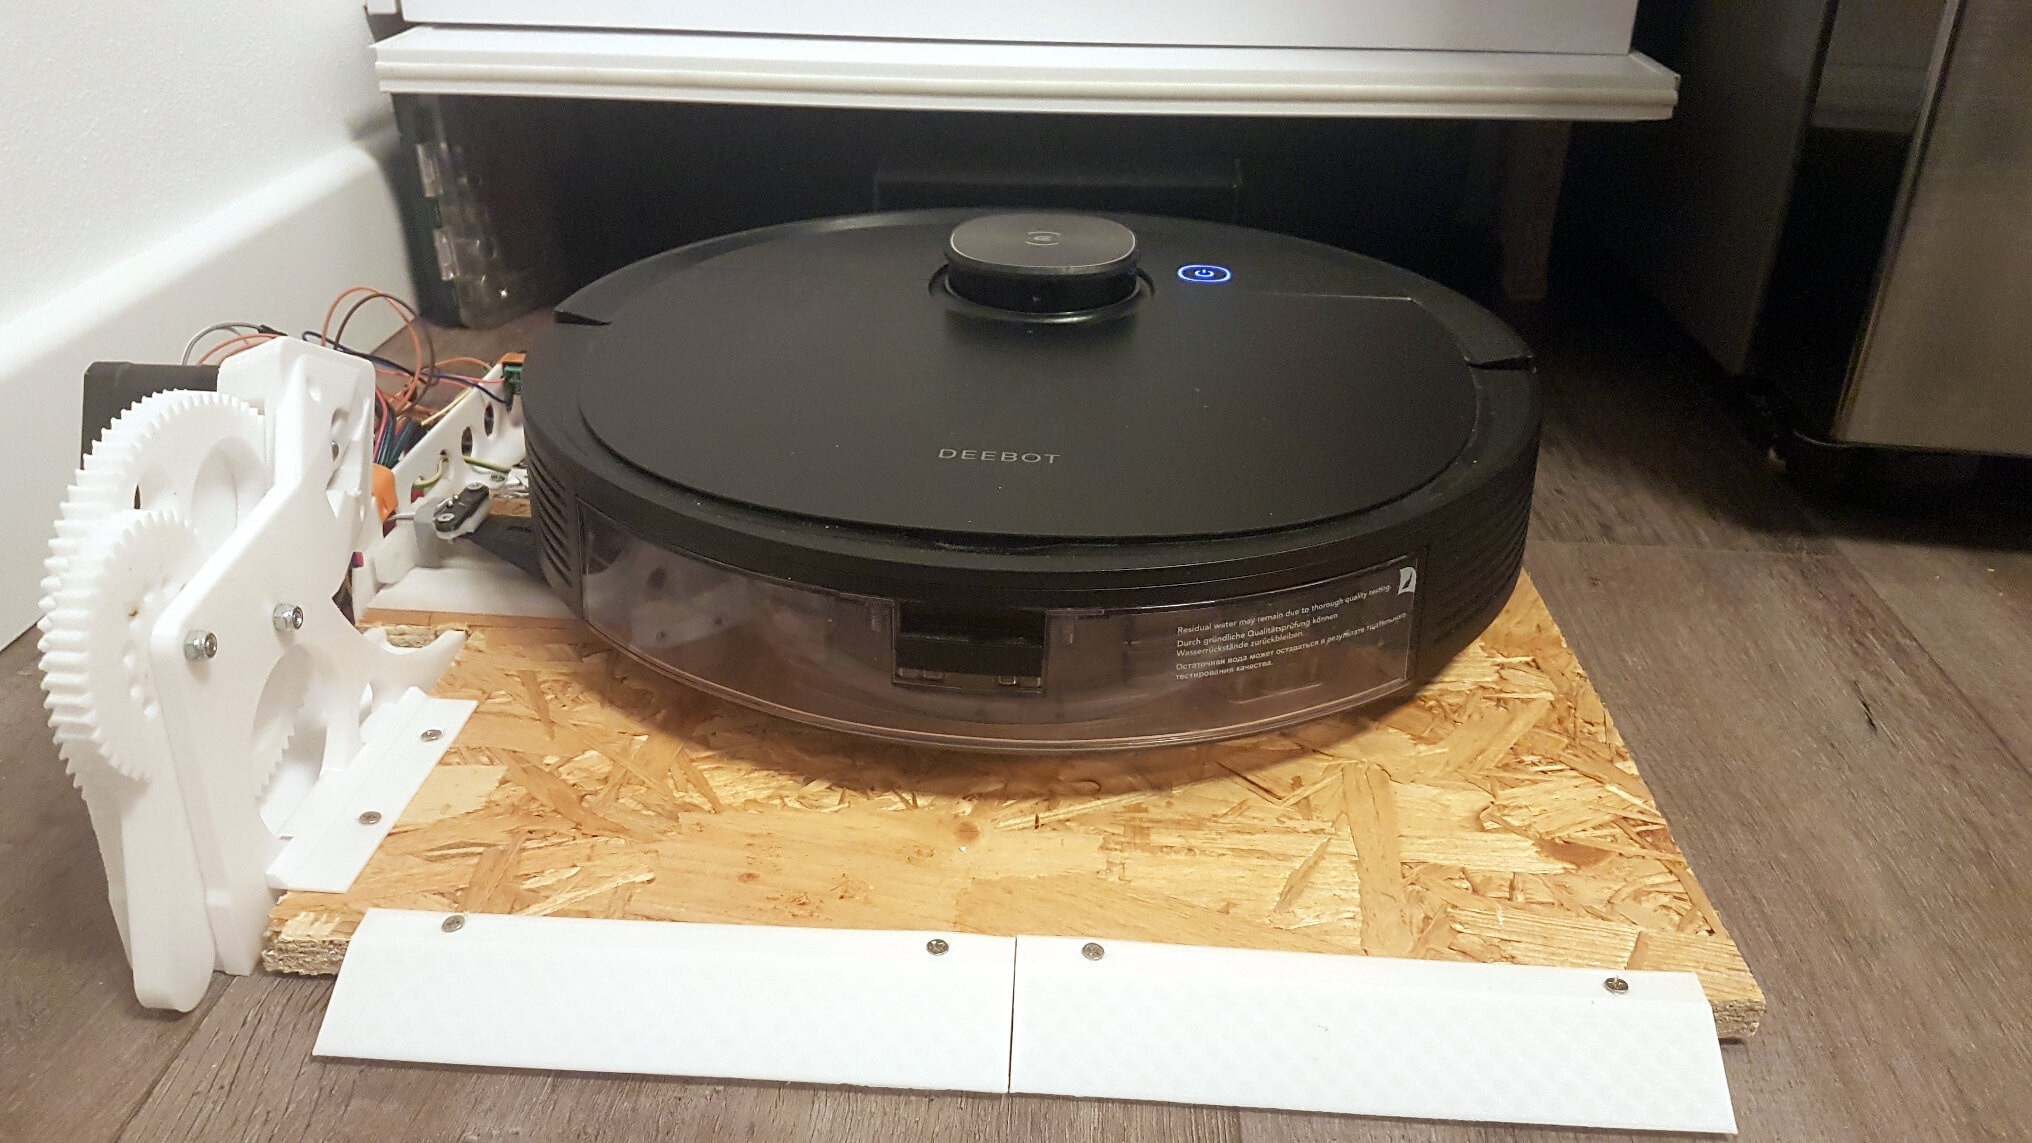
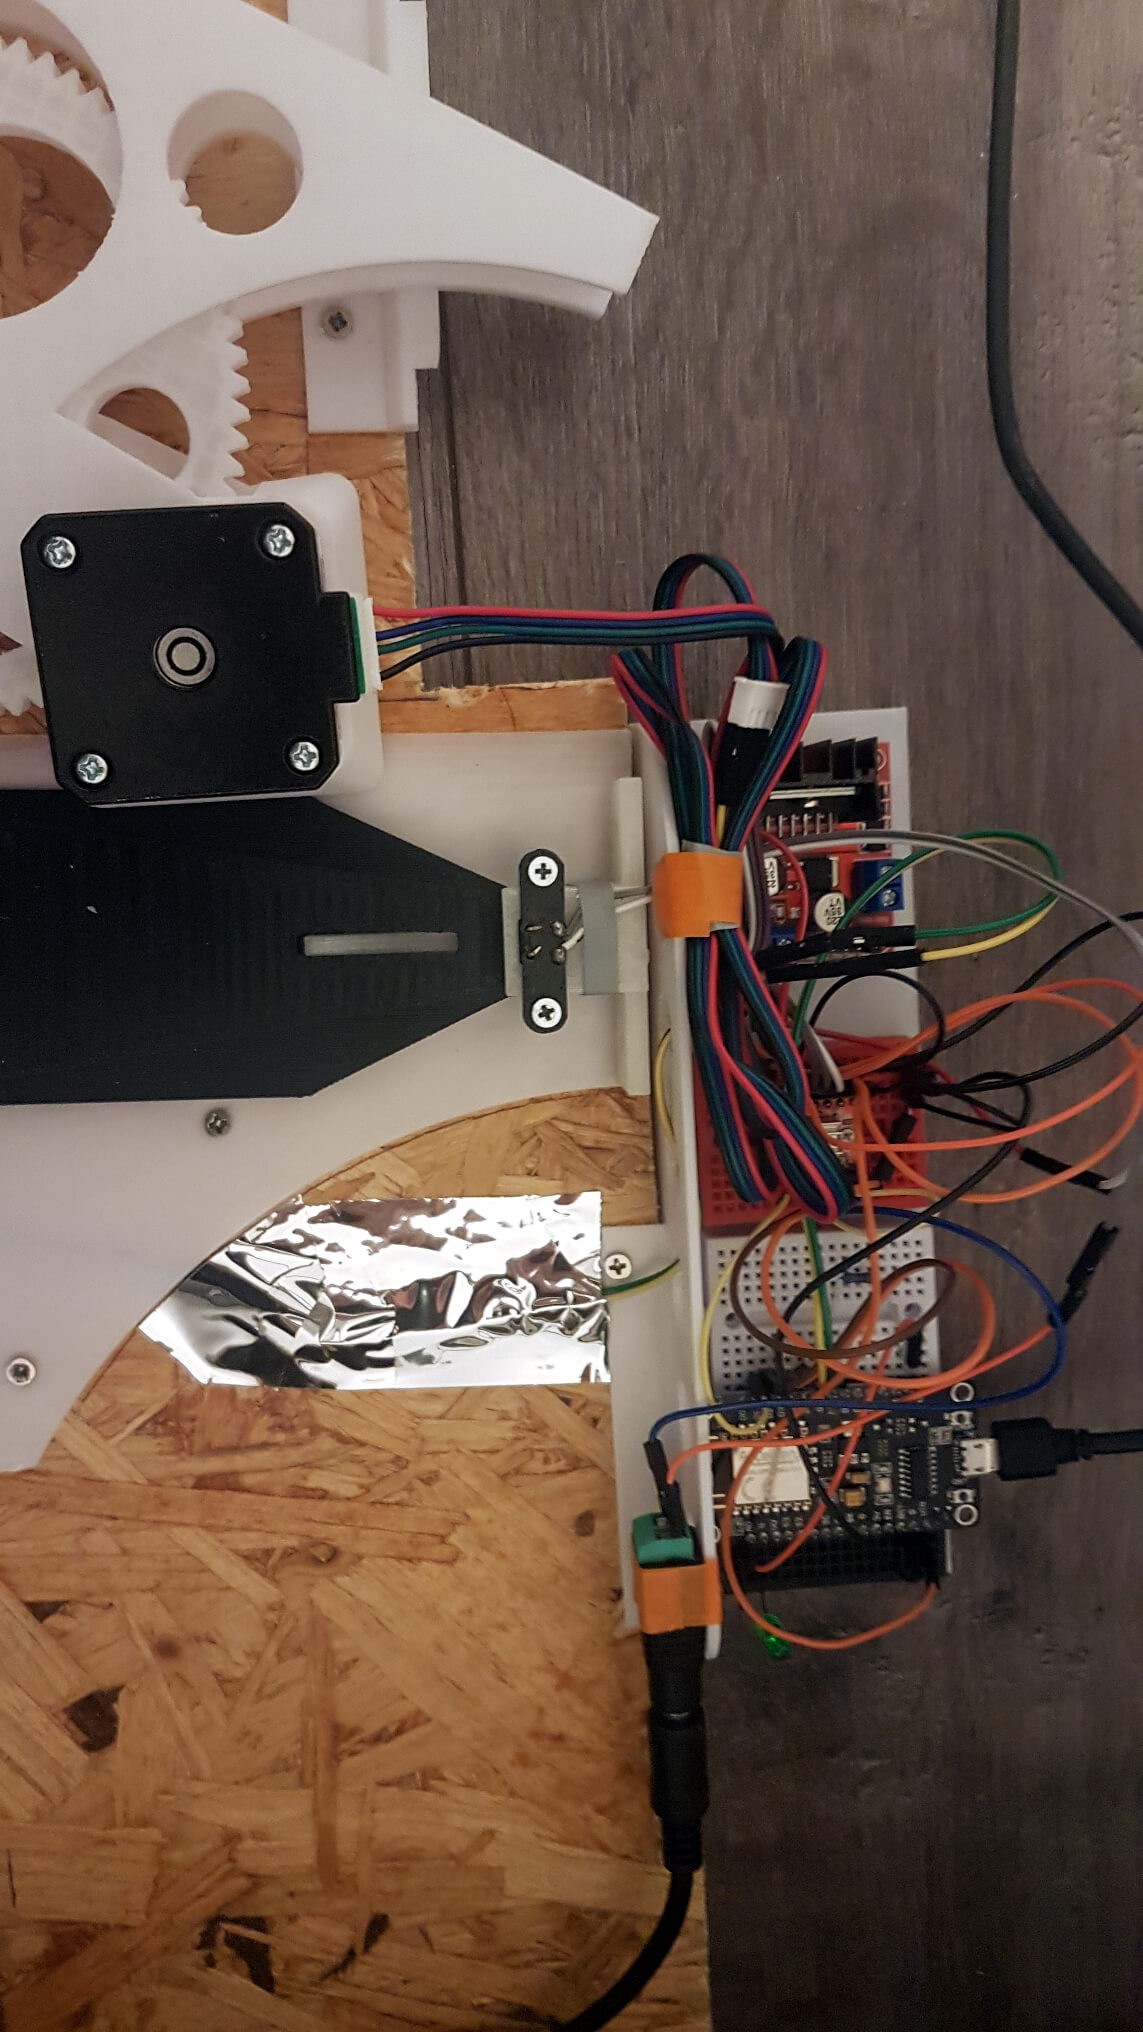
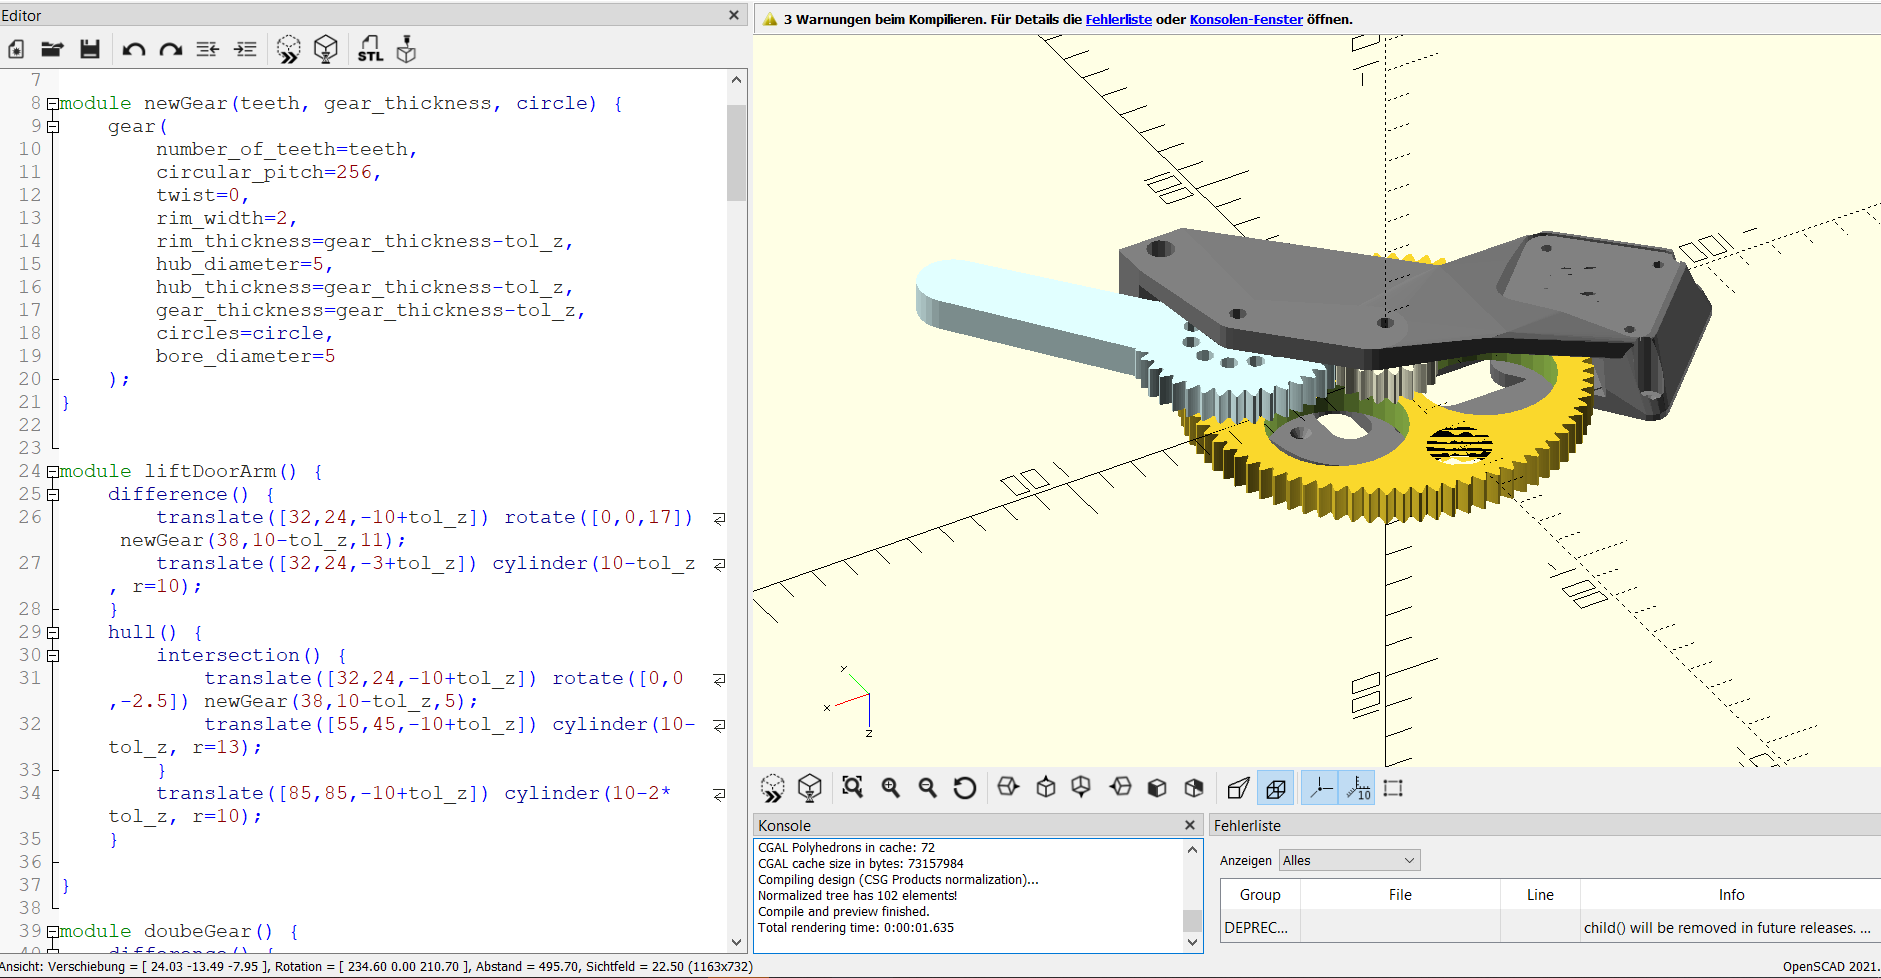
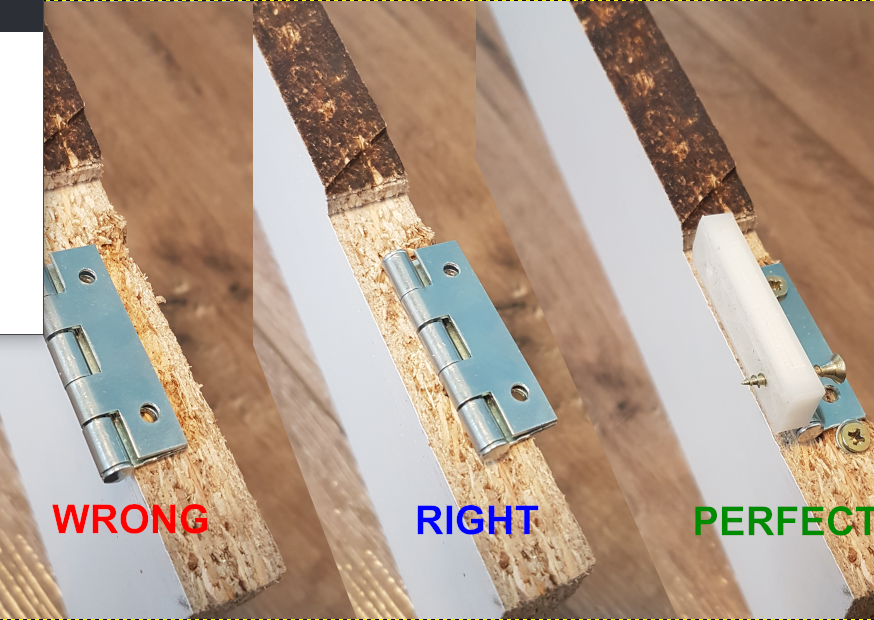
MiKaVersion 2 redesigned parts to stabilise the parking process
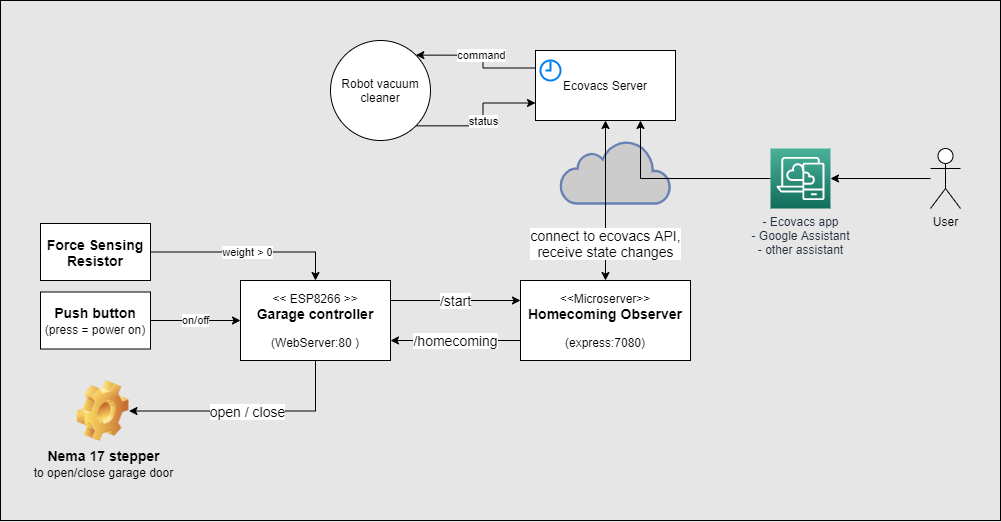
Robot vacuum cleaner leaves the docking station (version 1)
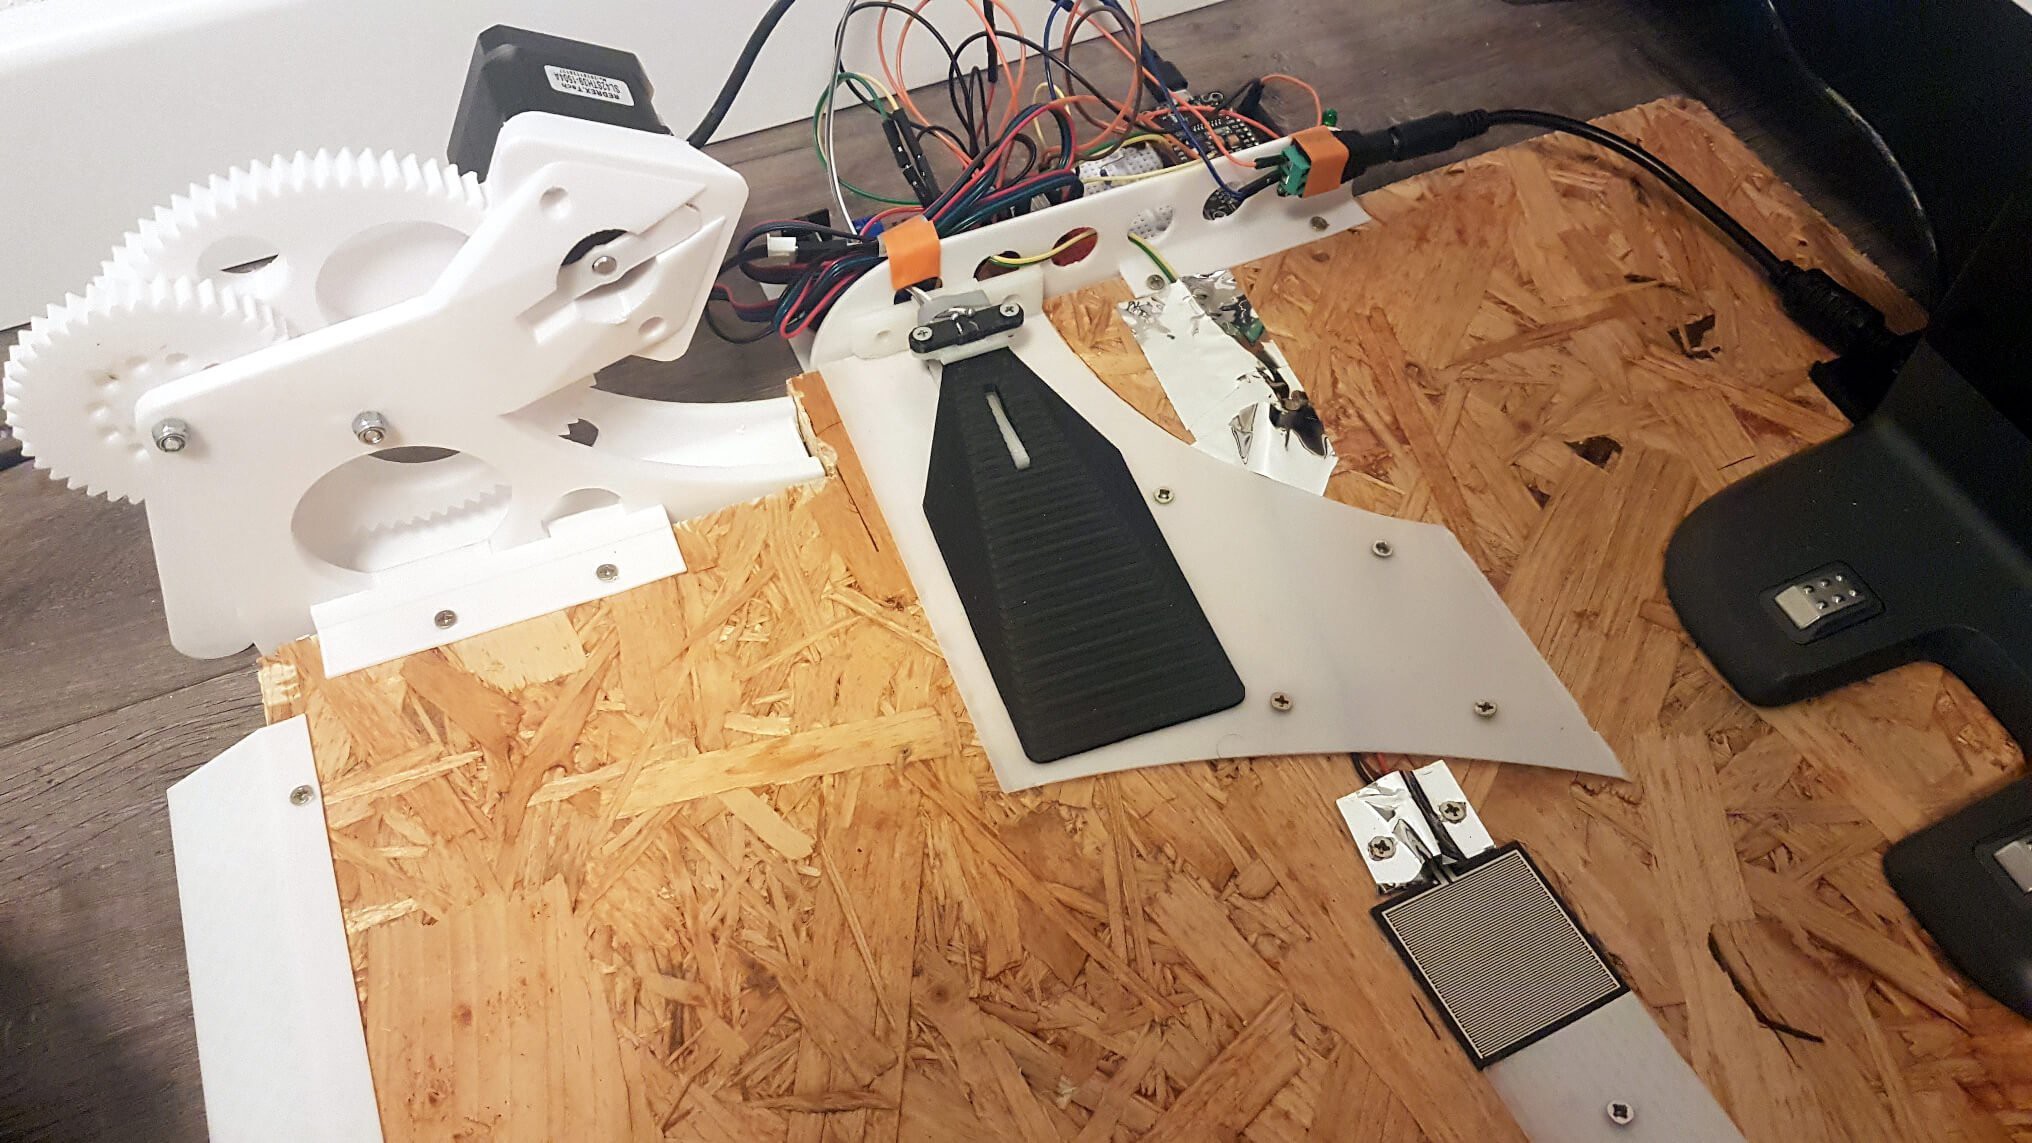
The robot returns to the charging station. The ESP received the homecoming event, opened the door and waits for the robot to run over the force resistance sensor.
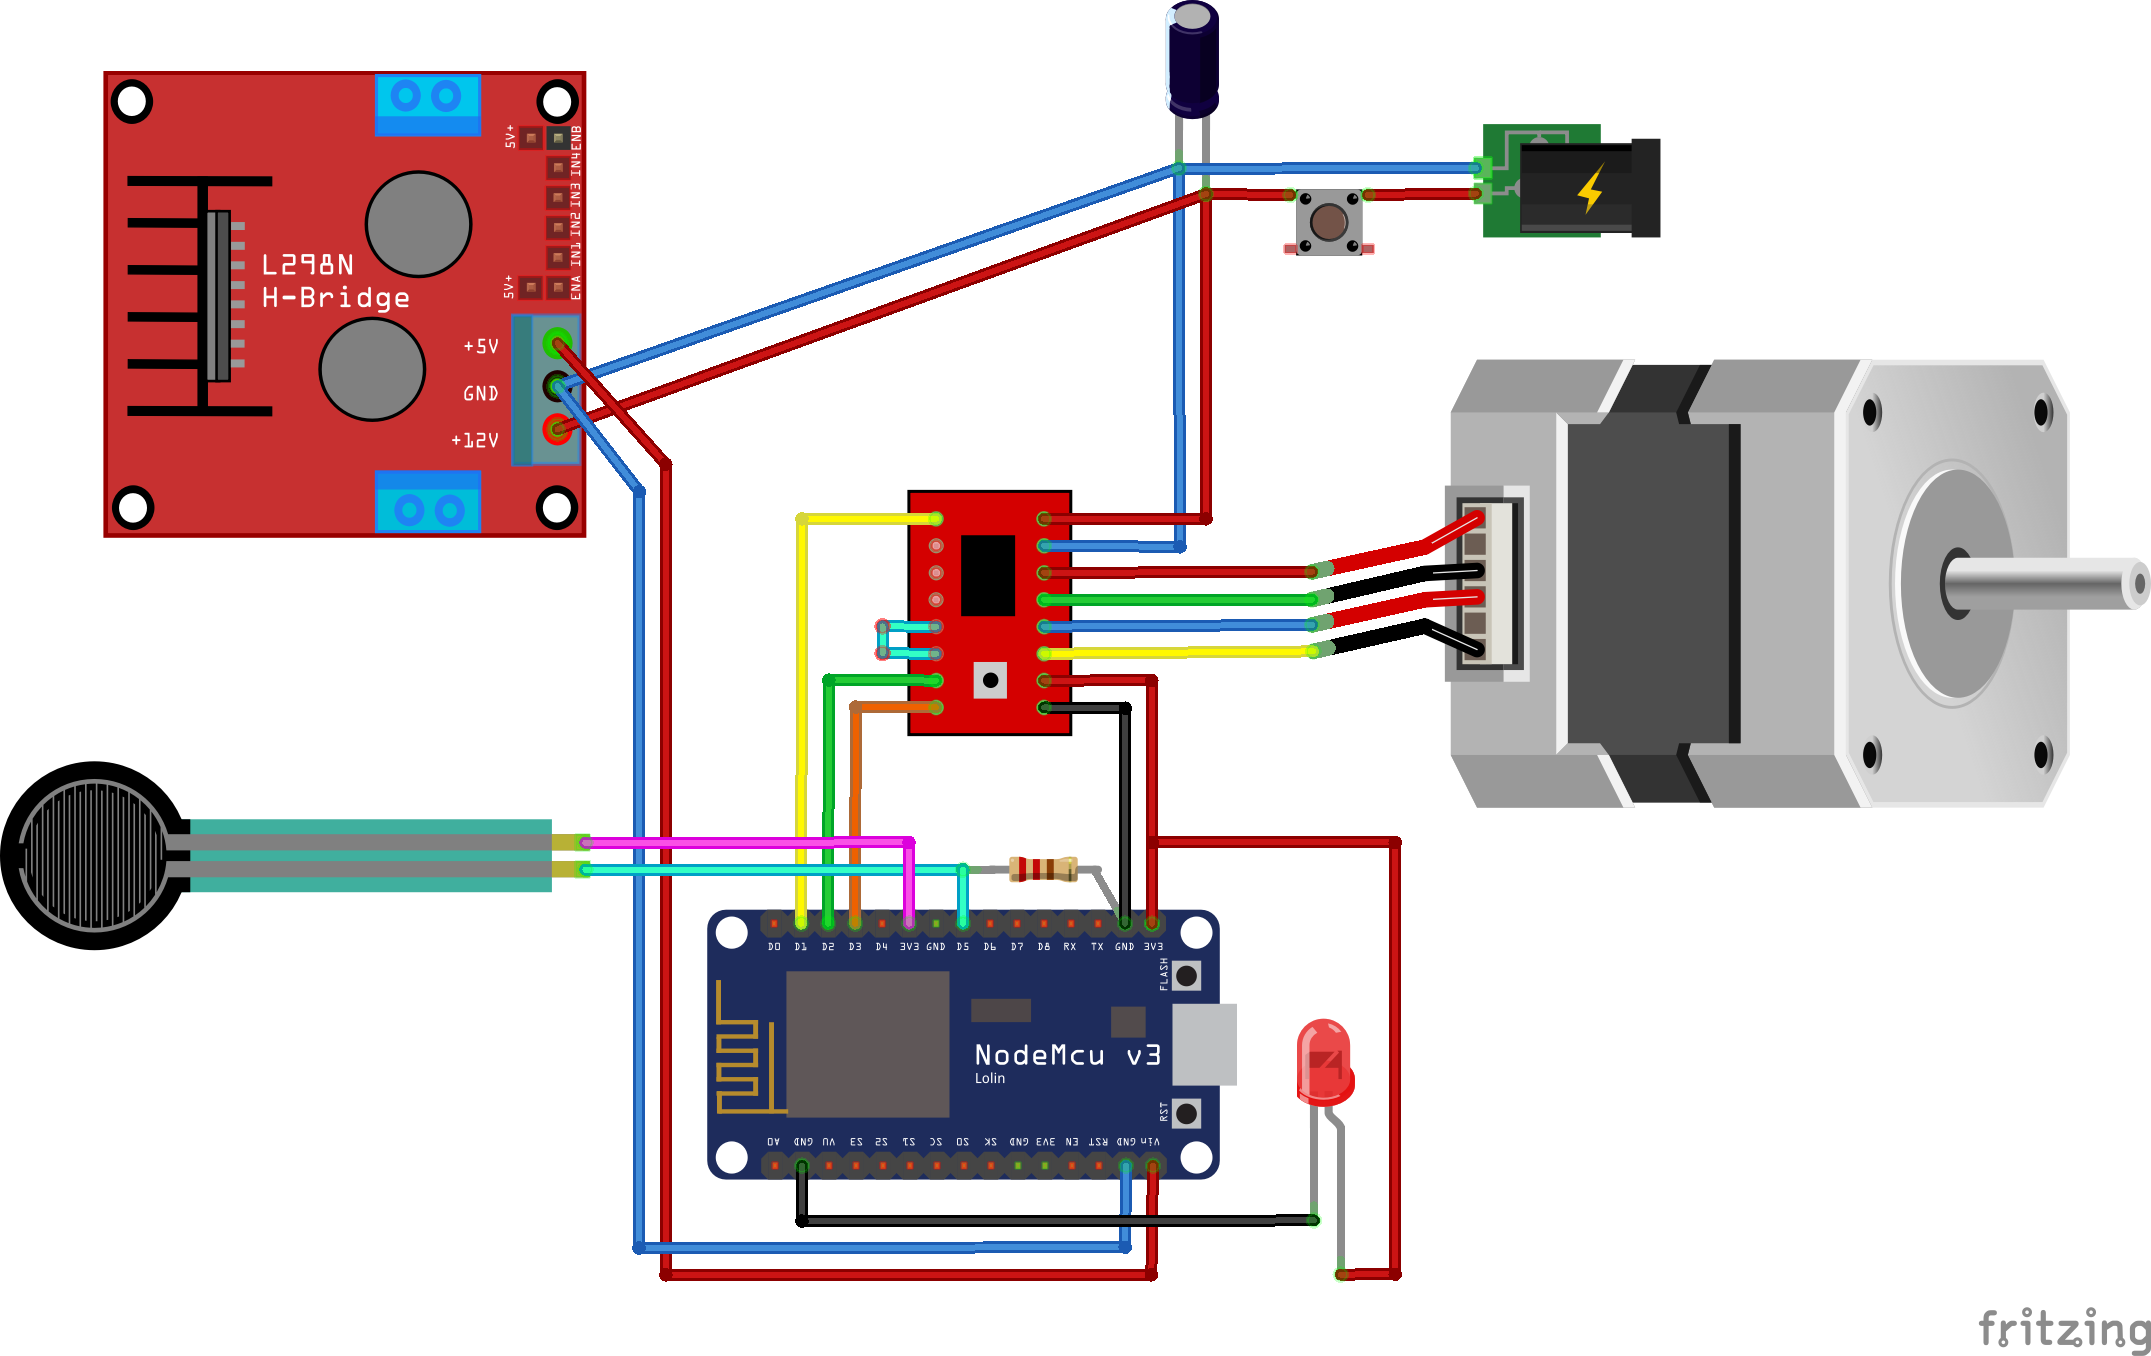
The kitchen skirting board is heavy, a regular nema 17 cannot lift or hold it. Thus it needs a gearing mechanism. Lucky you if you have a 3D printer at home. The video below show the old version 1 that I meanwhile replaced by a better version.


 Will Donaldson
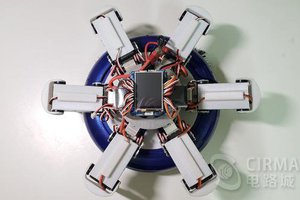
 Cirmall
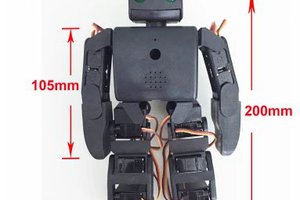
 Wei Wang
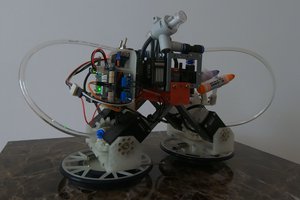
 Mykolas Juraitis
Love this project! Just ordered all the parts. I hope i can get this working, i'm not very good in coding...