 Andy Shinn
The motor is mounted! Big thanks to Matt for helping us out in his shop. We were able to cut out our aluminum panel for the controller mounting and weld up the motor brackets.
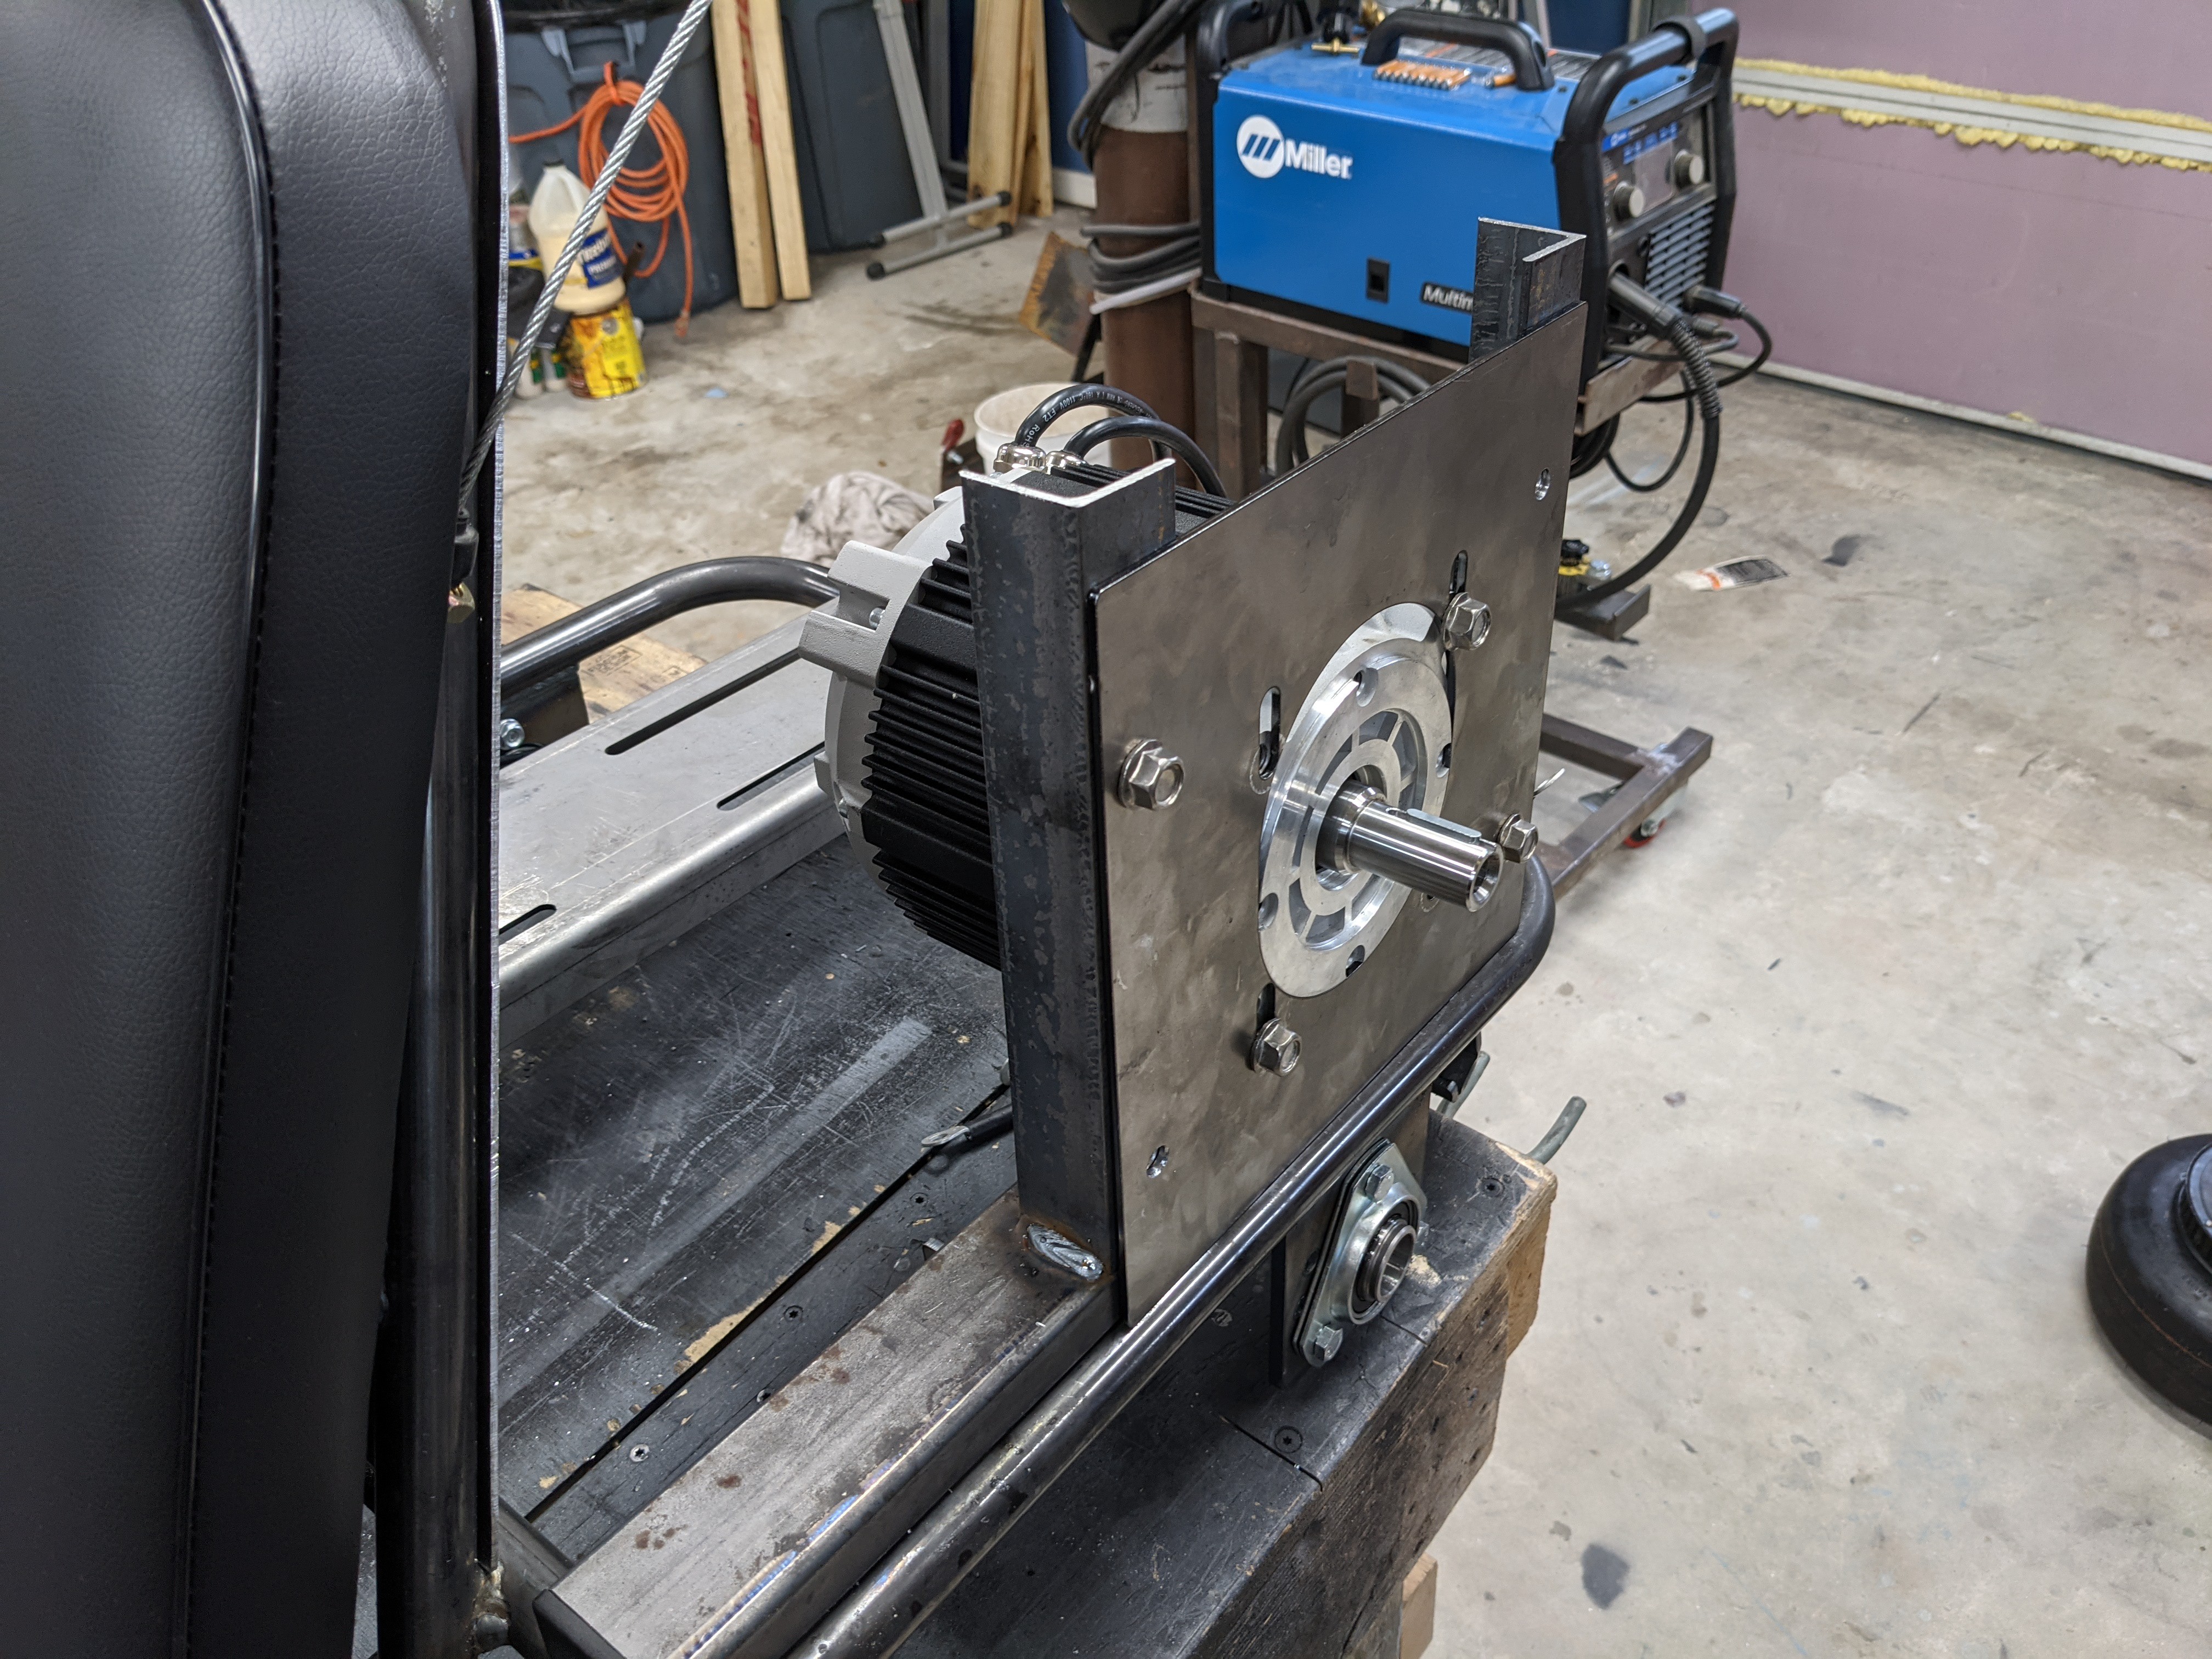
The mount is a piece of 2" x 1" rectangle tubing between the seat cross tube and end of the brake caliper bracket. There are two pieces of 1-1/2" angle perpendicular to the tube which we drilled holes to mount the motor plate. Everything feels very sturdy.
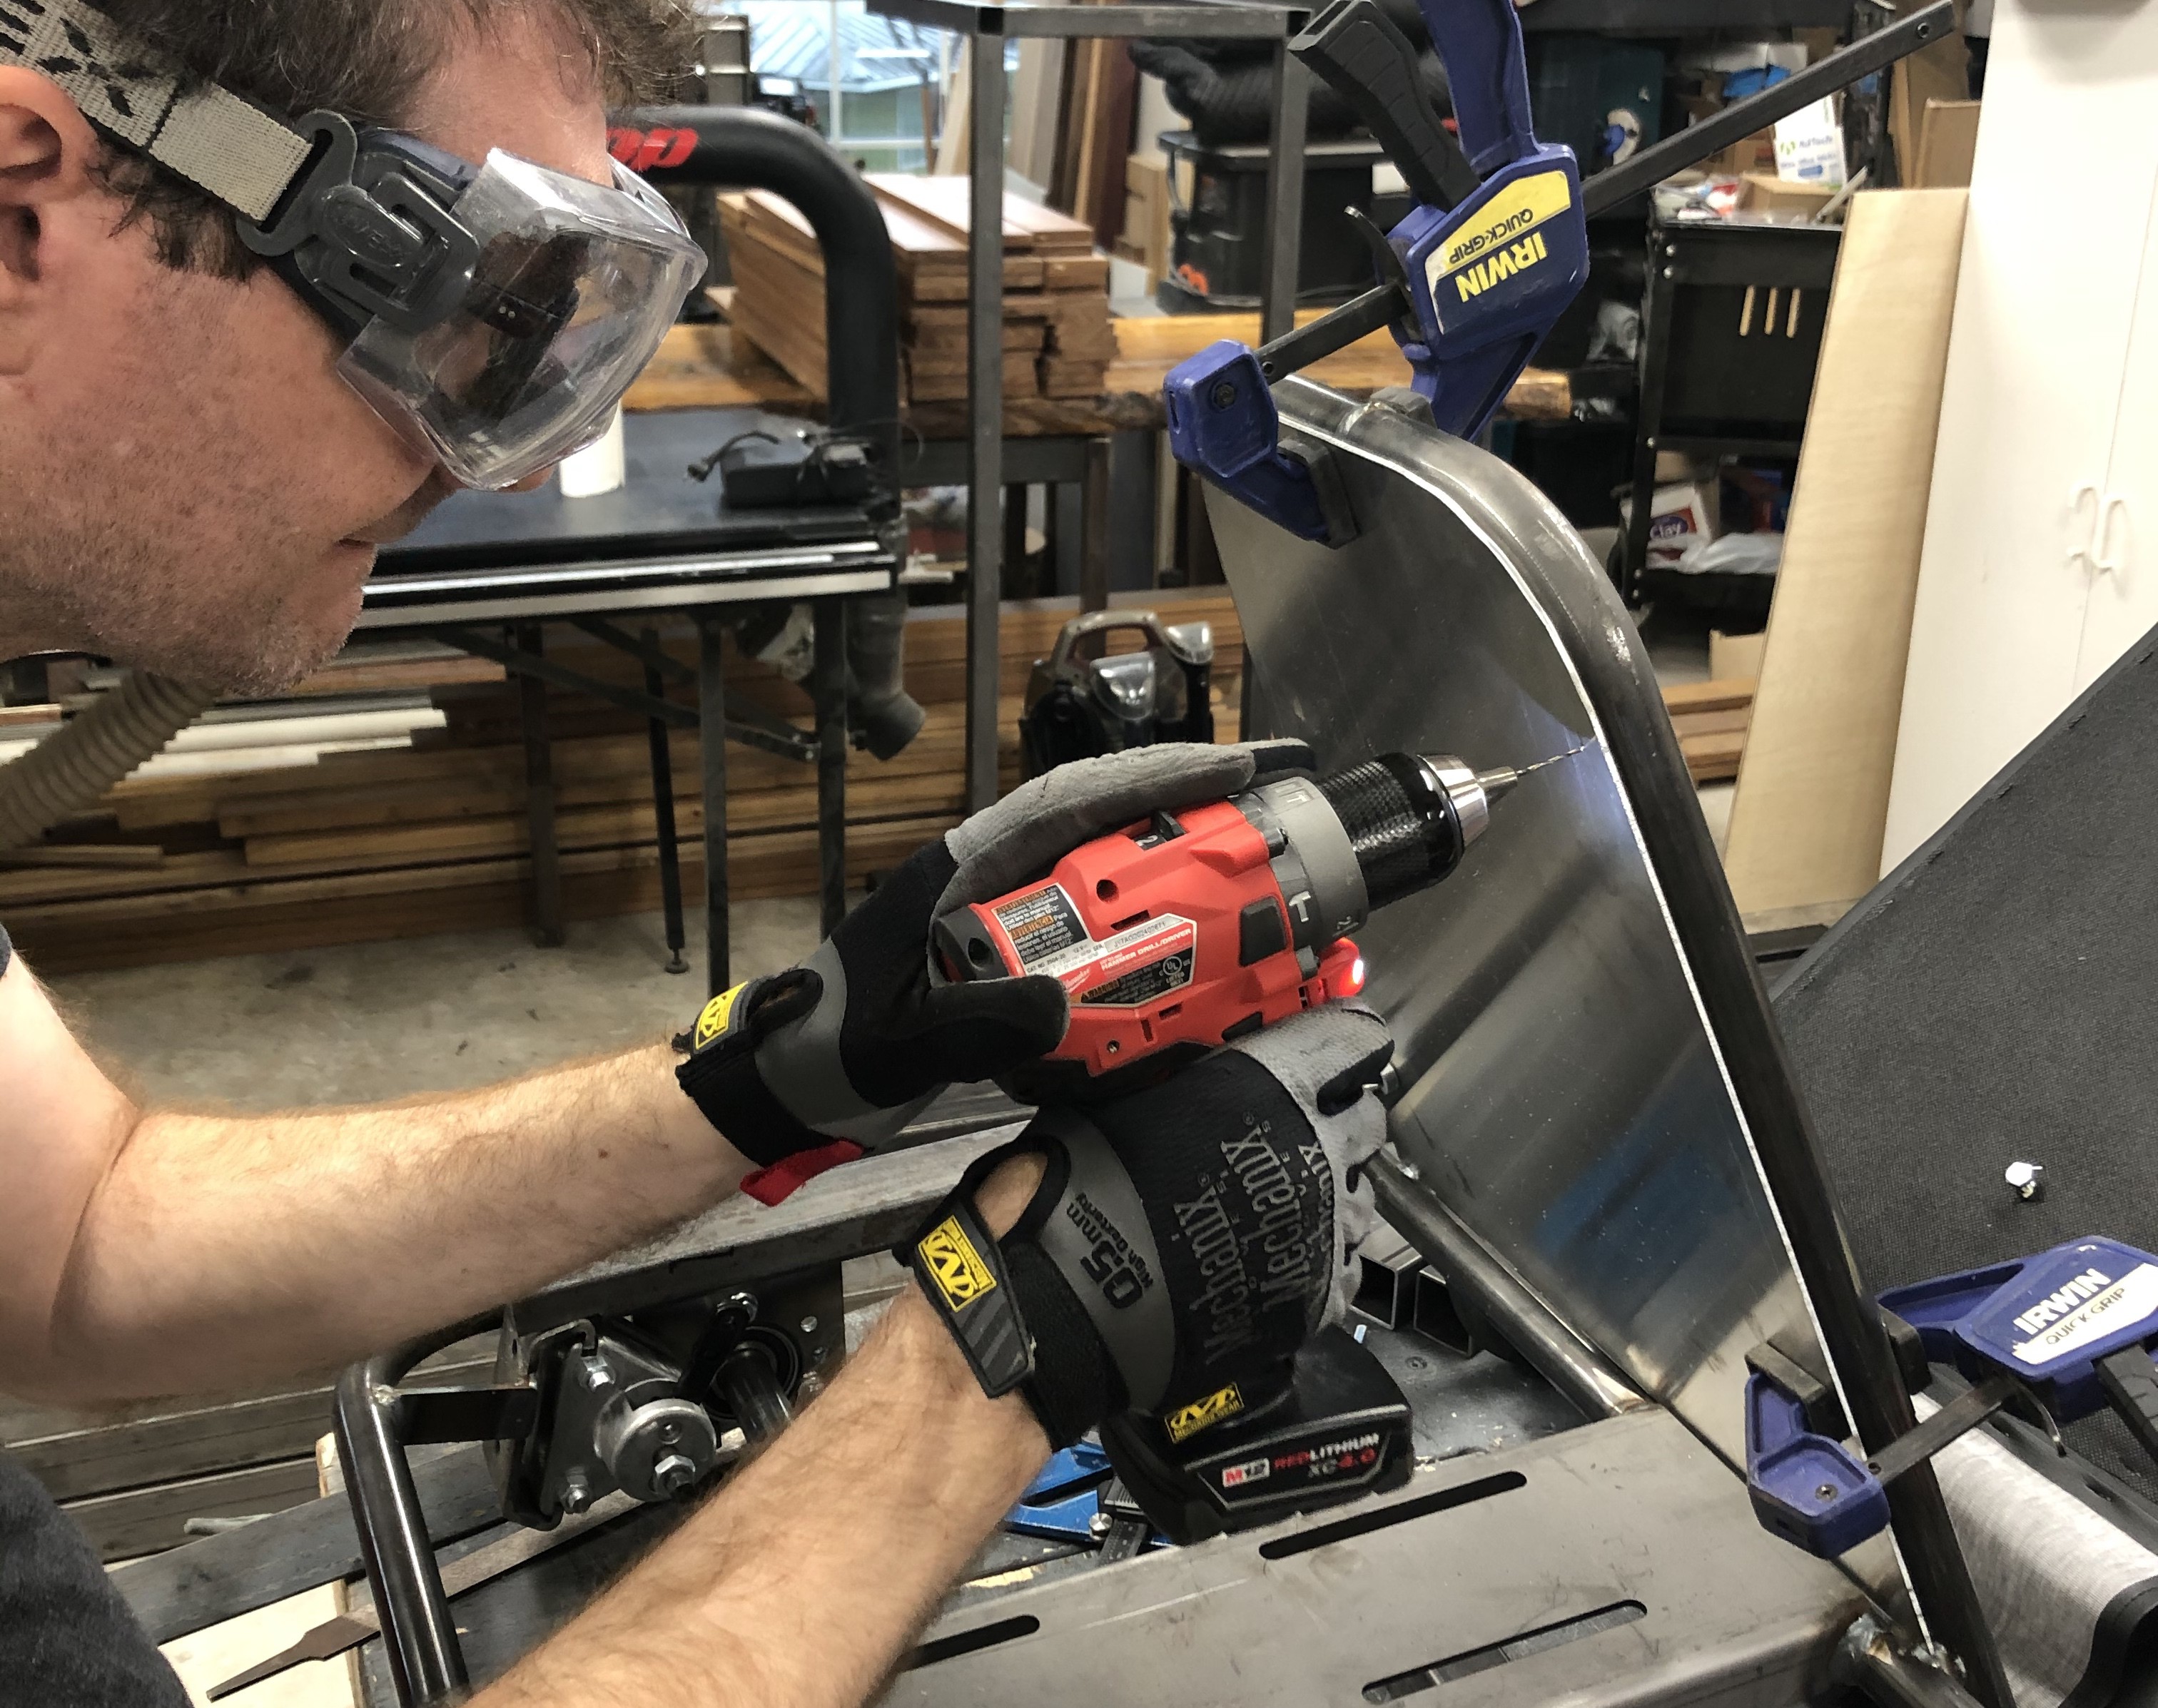
We also got the rear panel cut and mounted. Instead of the pipe clamps Matt suggested we use some self-tapping steel screws into the frame. This should work out nicely and I'll later add some rubber washers and trim to the panel to cut down on vibration.
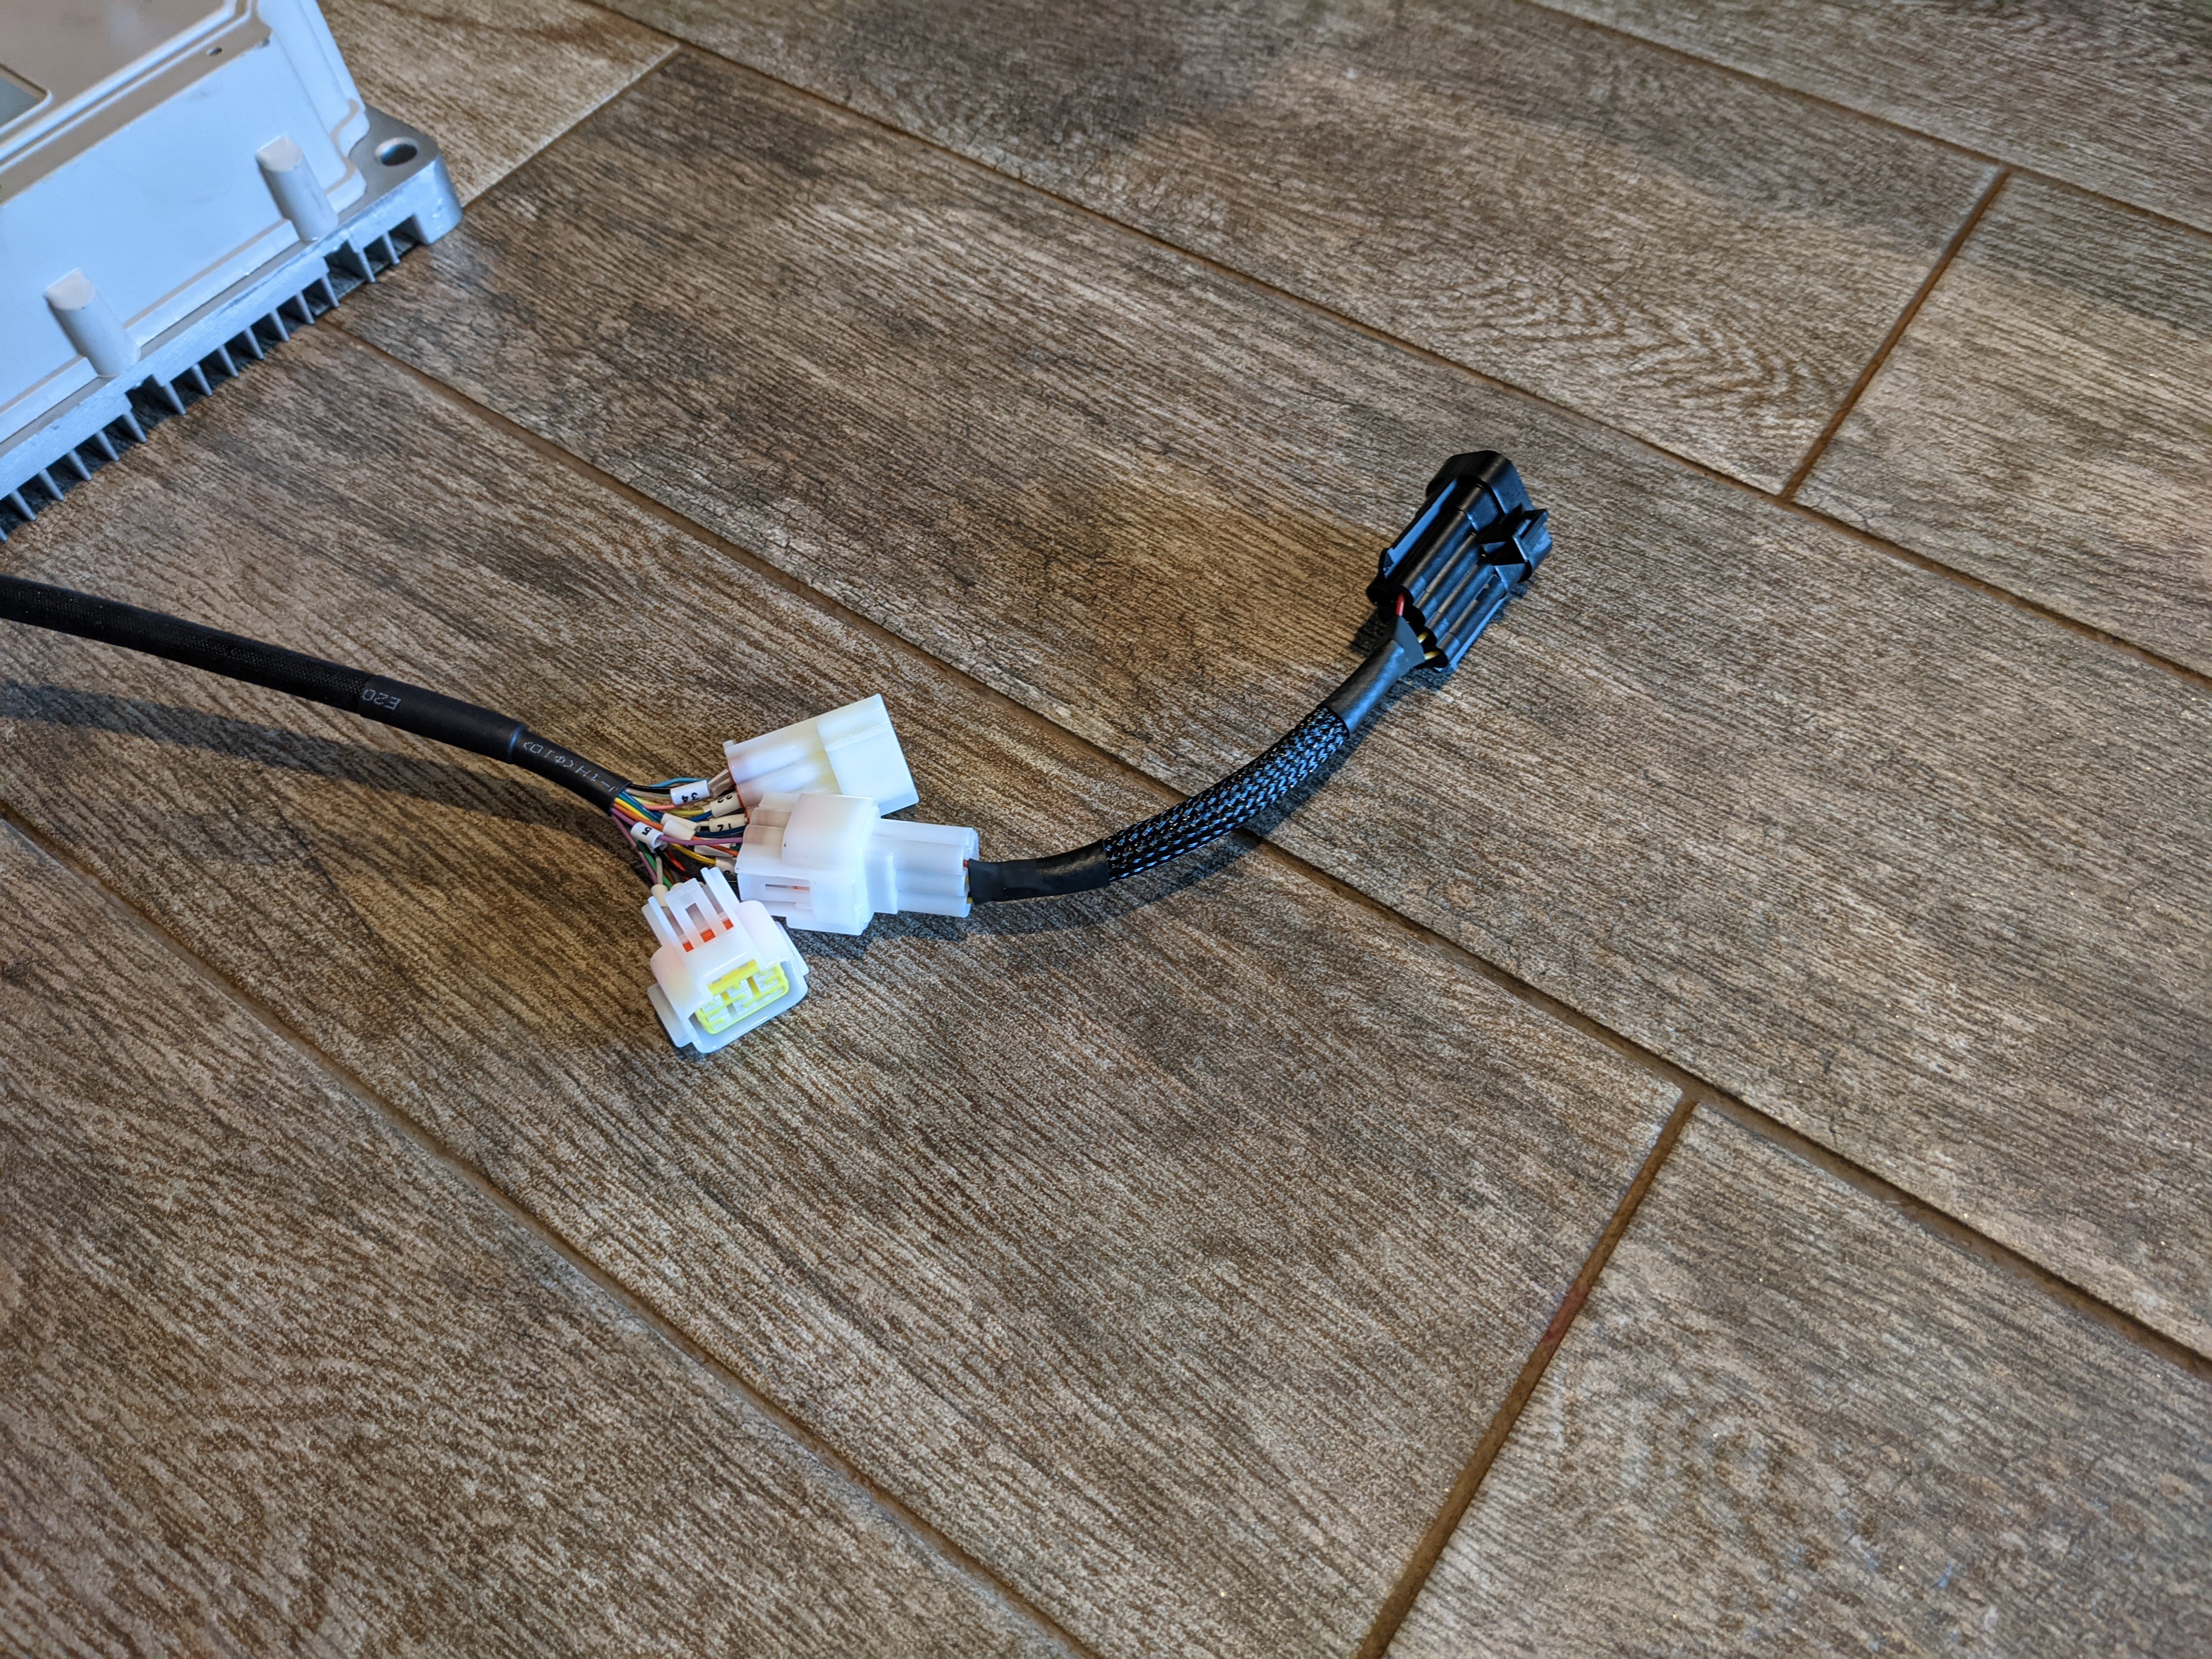
Less interesting but still relevant is a small adapter I made that connects up the motor signal wires (sine, cosine, temp) to the controller. This is a Metri-Pack 150 8-way male pin to DJ7061Y-2.3-21.
The frame mount changes have been added to the CAD drawings and I rearranged some parts for better fit. I'm now thinking that the contactor and BMS will go on the side of the battery box and the throttle POT will go where I originally had the BMS.
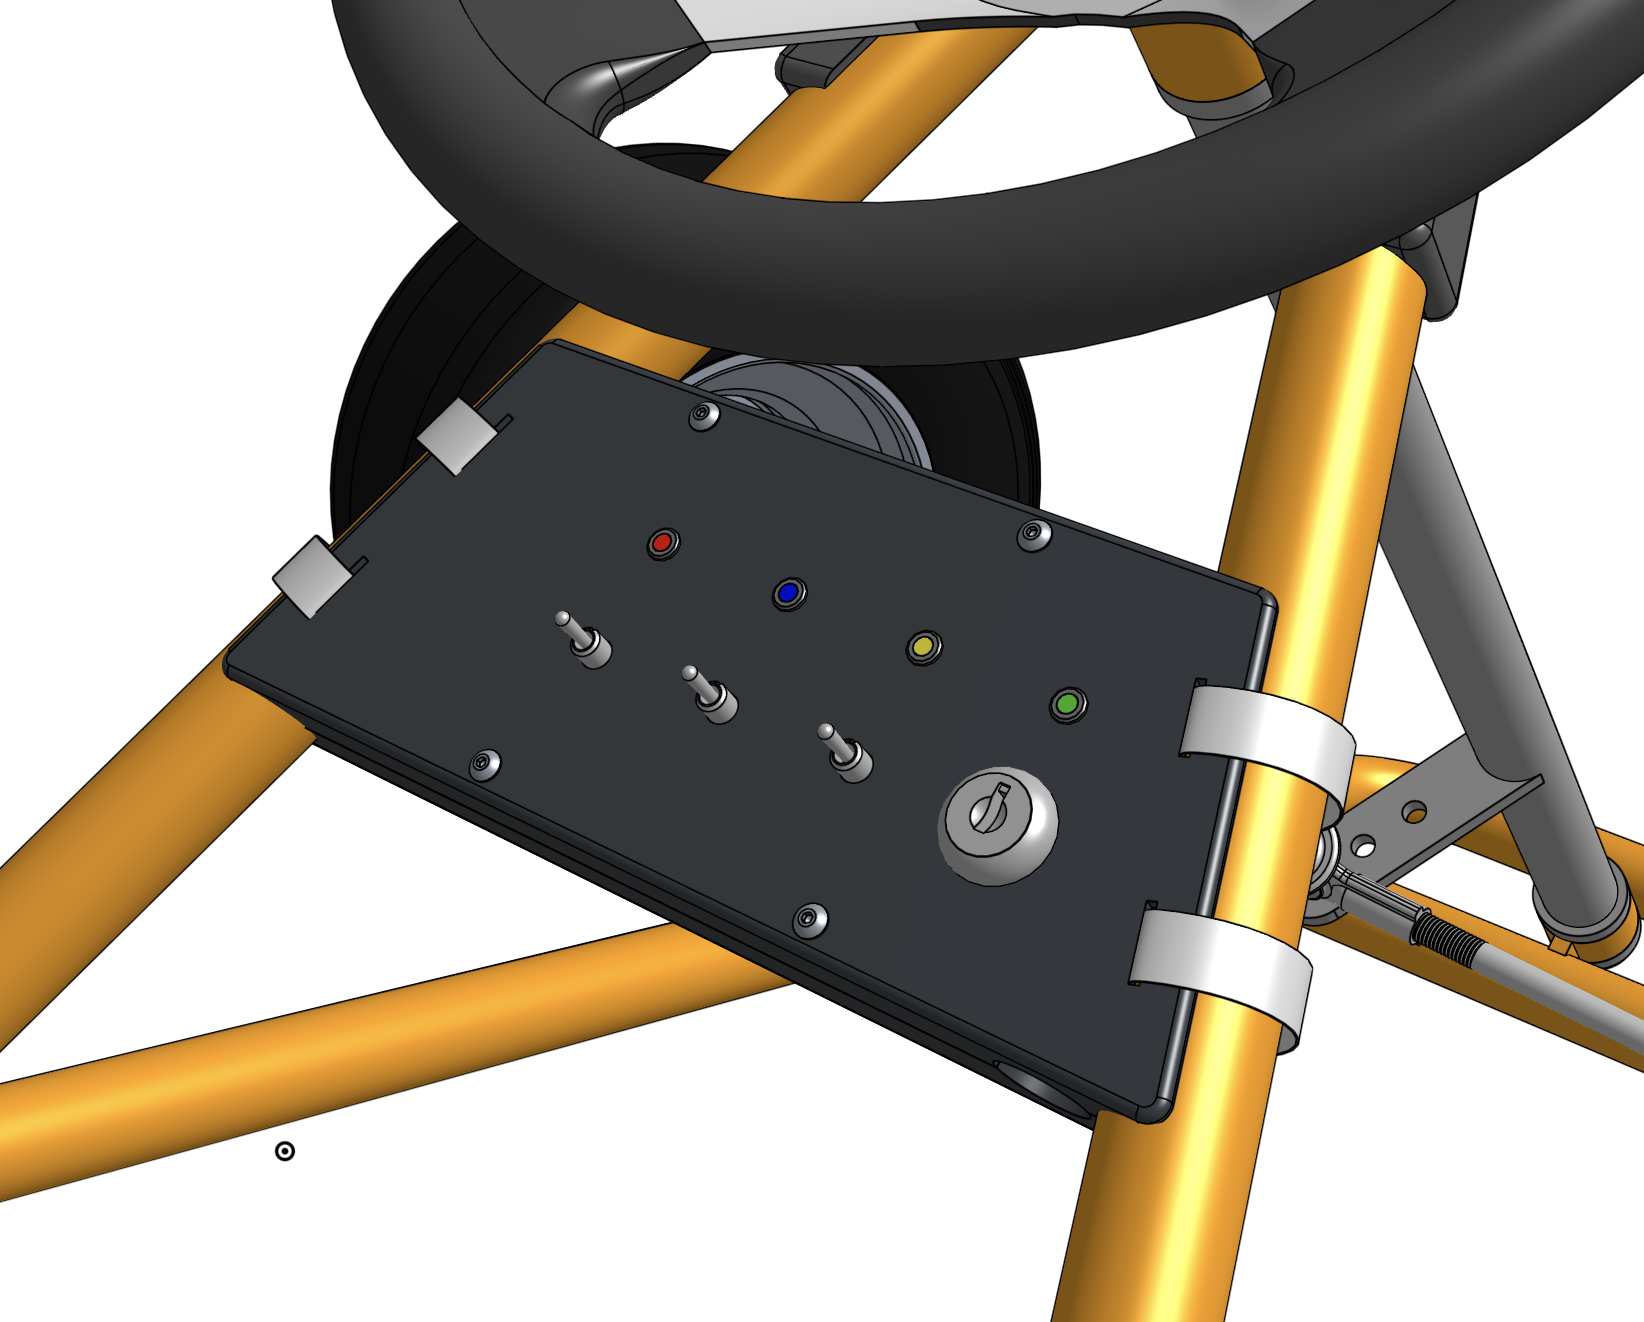
I've finalized most of the control panel and ordered parts to start wiring it. But hard to get length of harness without the battery box in place. Still waiting on the batteries!
That's all for now. Stay tuned for battery build and more electrical updates soon!
Discussions
Become a Hackaday.io Member
Create an account to leave a comment. Already have an account? Log In.
Brilliant video! I need to get my mates to start a build project like yours
Are you sure? yes | no