 Michael Perrone
I wanted to post a video of my printer actually printing tonight, but I ran into a couple unexpected bottlenecks. First off, my Y-axis belt clamps straight up melted off!
I guess I should have expected something like that now that I can heat the print bed up to 200C. No biggie: I can make new belt clamps out of laser cut wood and epoxy that will hold up to the forces and temperatures.
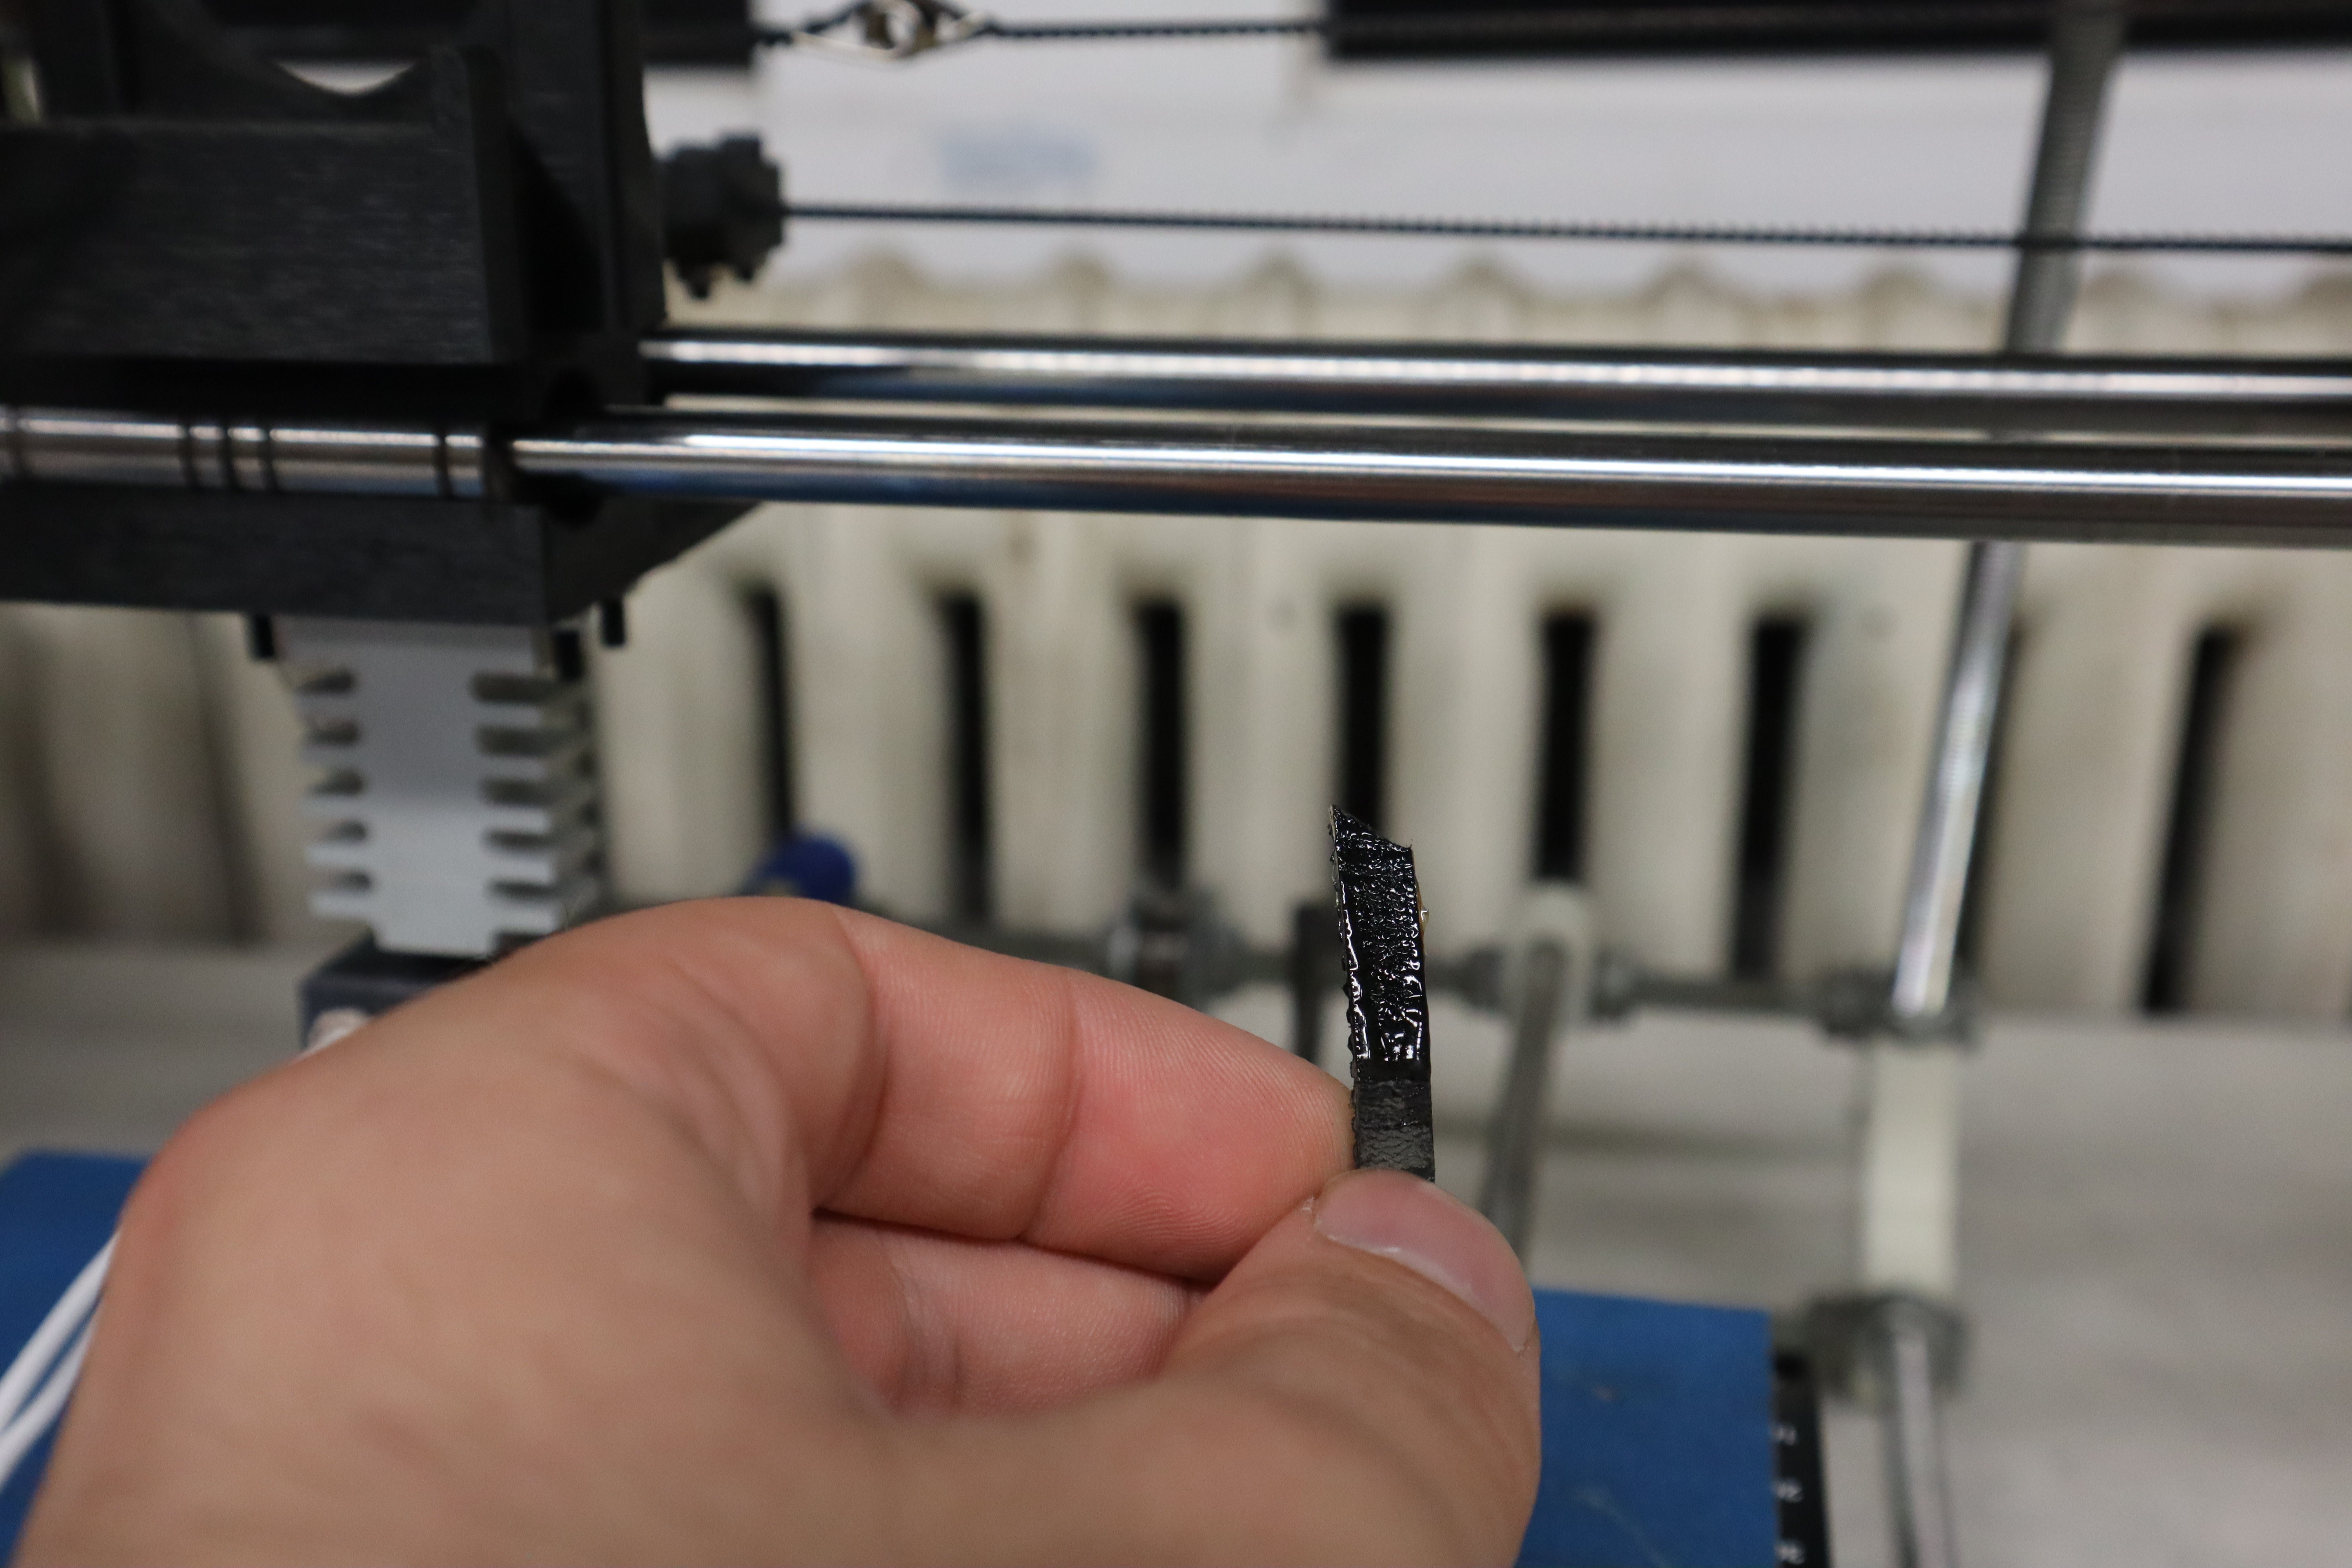
And secondly, there were 3 issues I need to fix with the extruder.
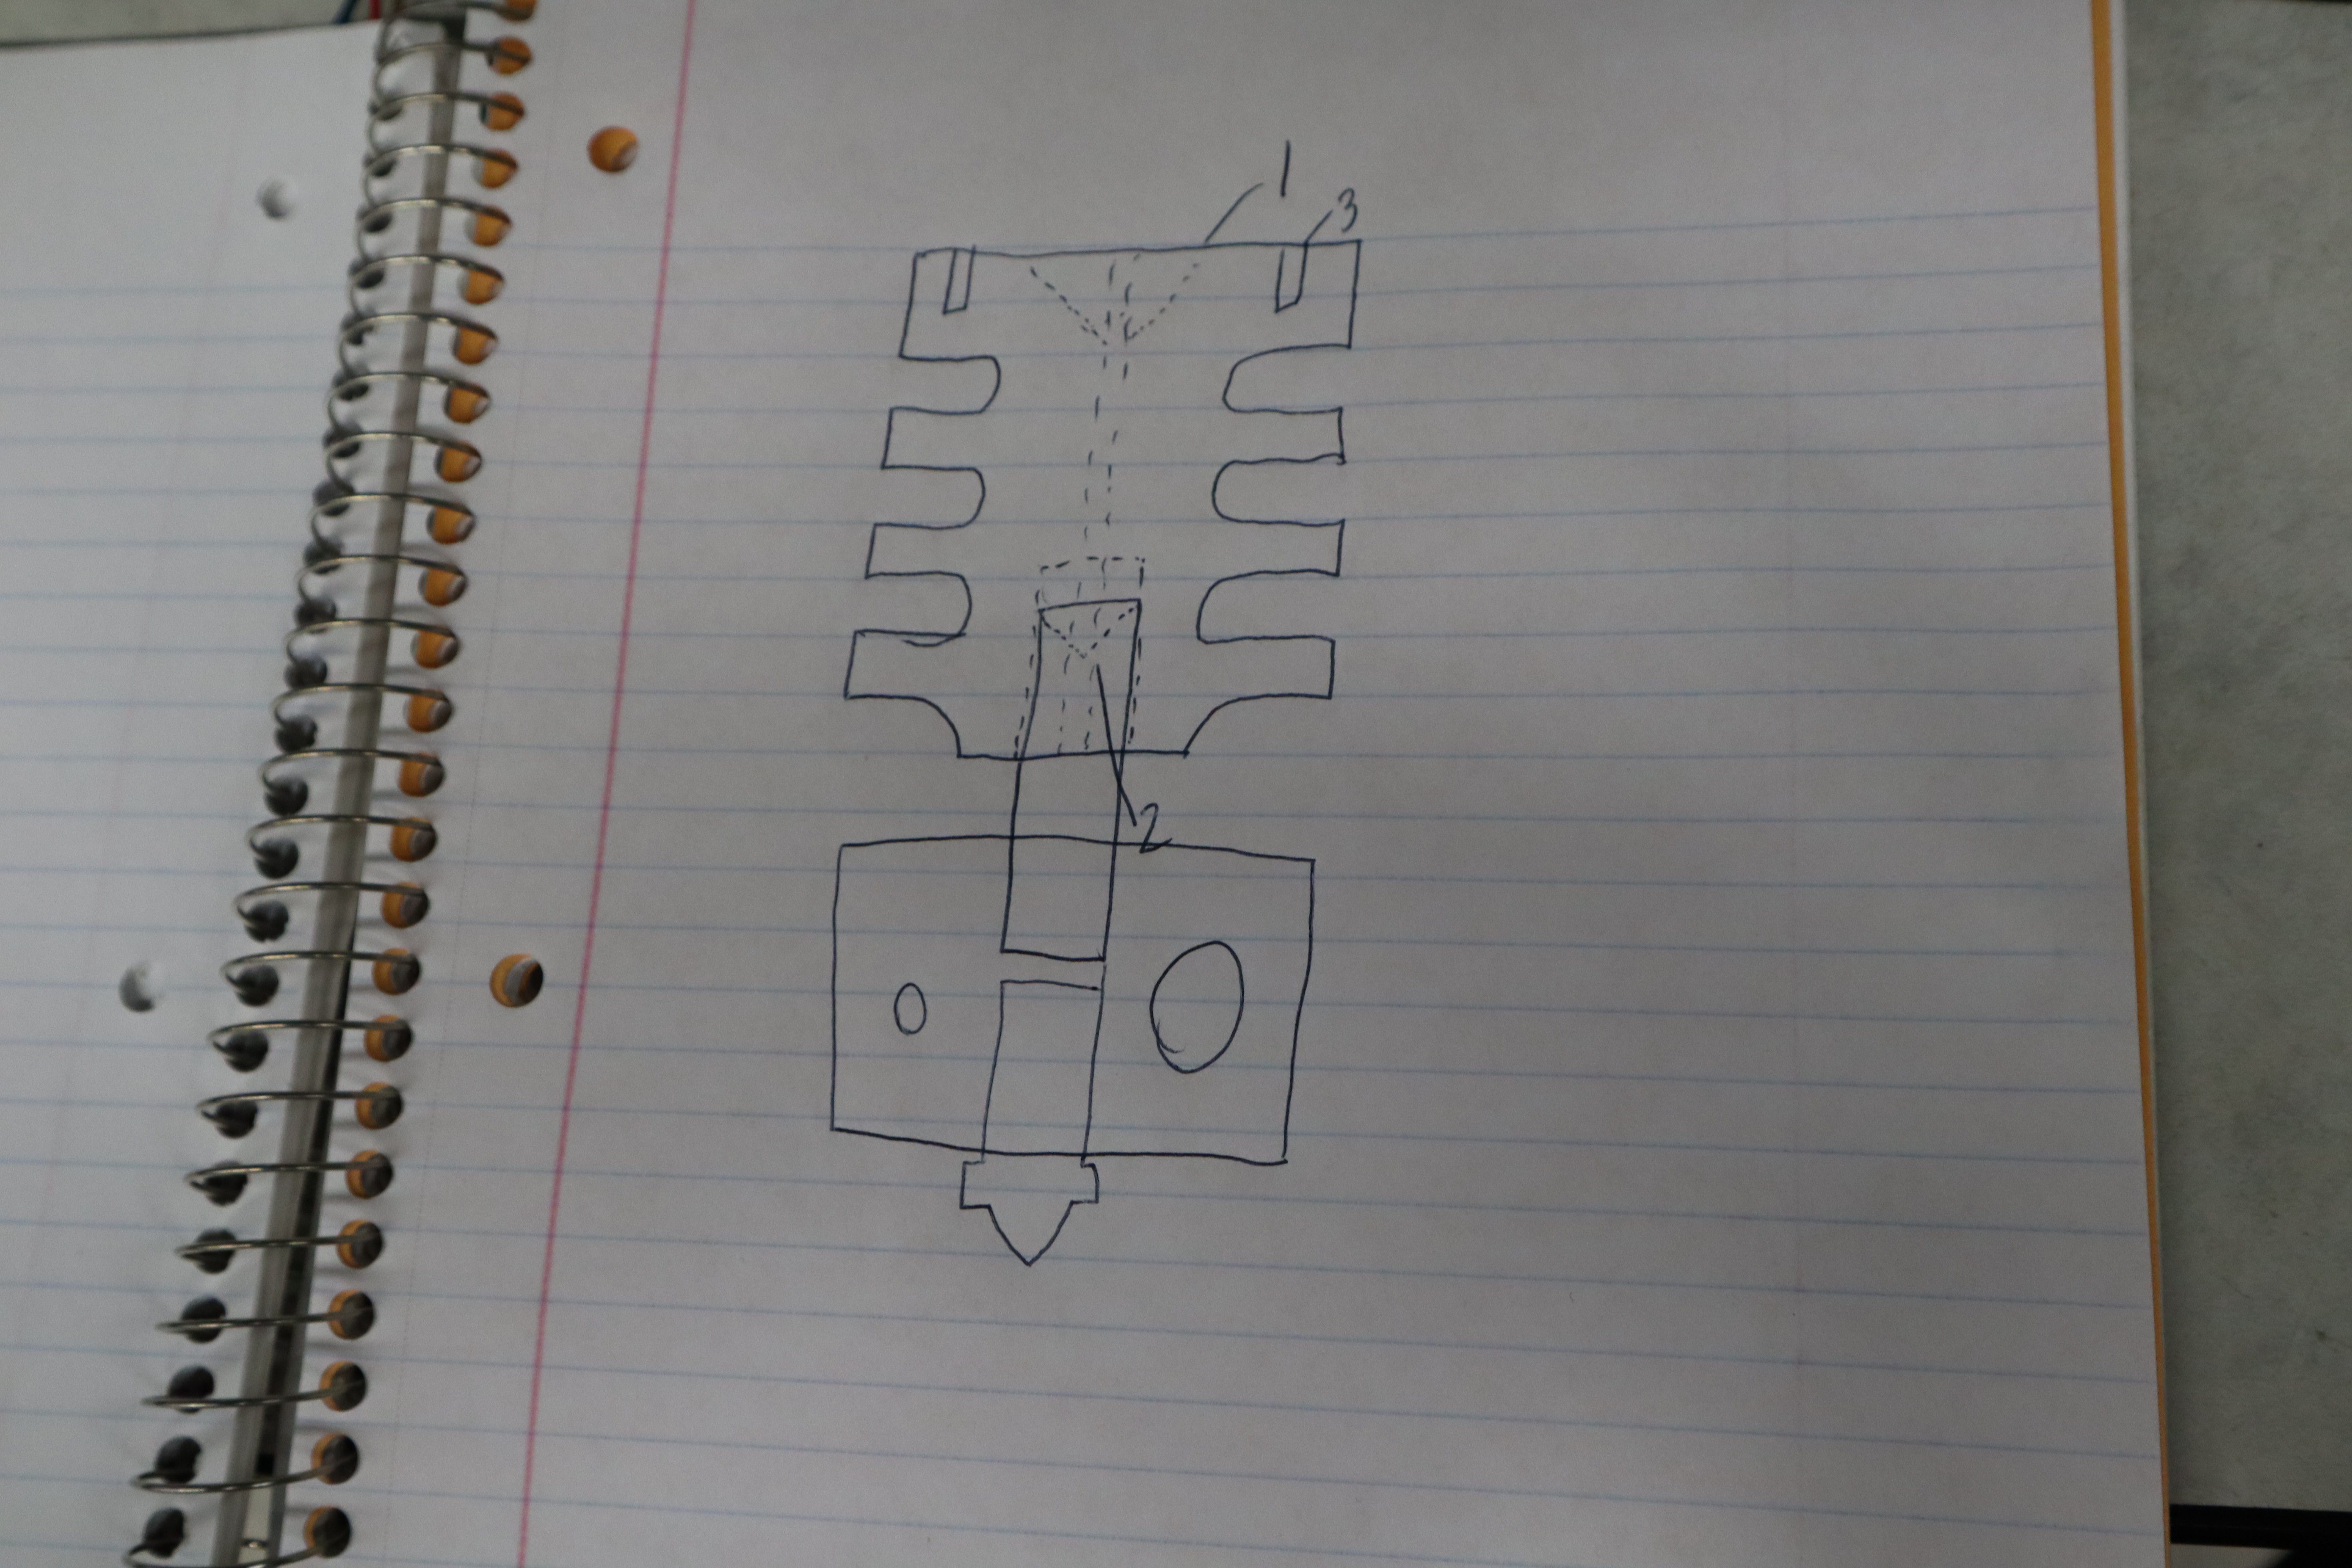
- There needs to be a liquid glass gasket reservoir on the top to enable easy application of the gasket material, and so that it will pour into the extruder after being applied. Otherwise it is quite difficult to actually apply the gasket material
- The heat break I used was filled in with molten solder to keep the inner wall wettable by the feedstock alloy, but the heatsink worked too well and cooled the upper end of the heat break until the solder there was always solid, all the way up to 300C measured in the heater block. Moreover the drill through-hole wasn't perfectly straight because the old drill press I used wasn't great, so the metal filament wasn't even hitting the hole in the heat break. This can be fixed by a bunch more dremeling, anodizing, black oxide coating and other processes I'll explain in more detail once I have pictures to show of them.
- The kinematic coupling to the extruder seemed loose when the extruder was heated up to temperature: this means that the plastic components were heating up too much. In the future I can fix this with a better heatsink geometry, but for now I can laser cut some wood parts to replace more of the plastic.
On the bright side, the design does not leak or form gas pockets, unlike old designs from the past. This means as long as the gasket forms a good seal, it will be capable of controllable extrusion. These problems may take a day or two to fix, but after that we'll be all set to print!
On an unrelated note, when reviewing my documentation I noticed I hadn't talked about my print bed modifications yet!
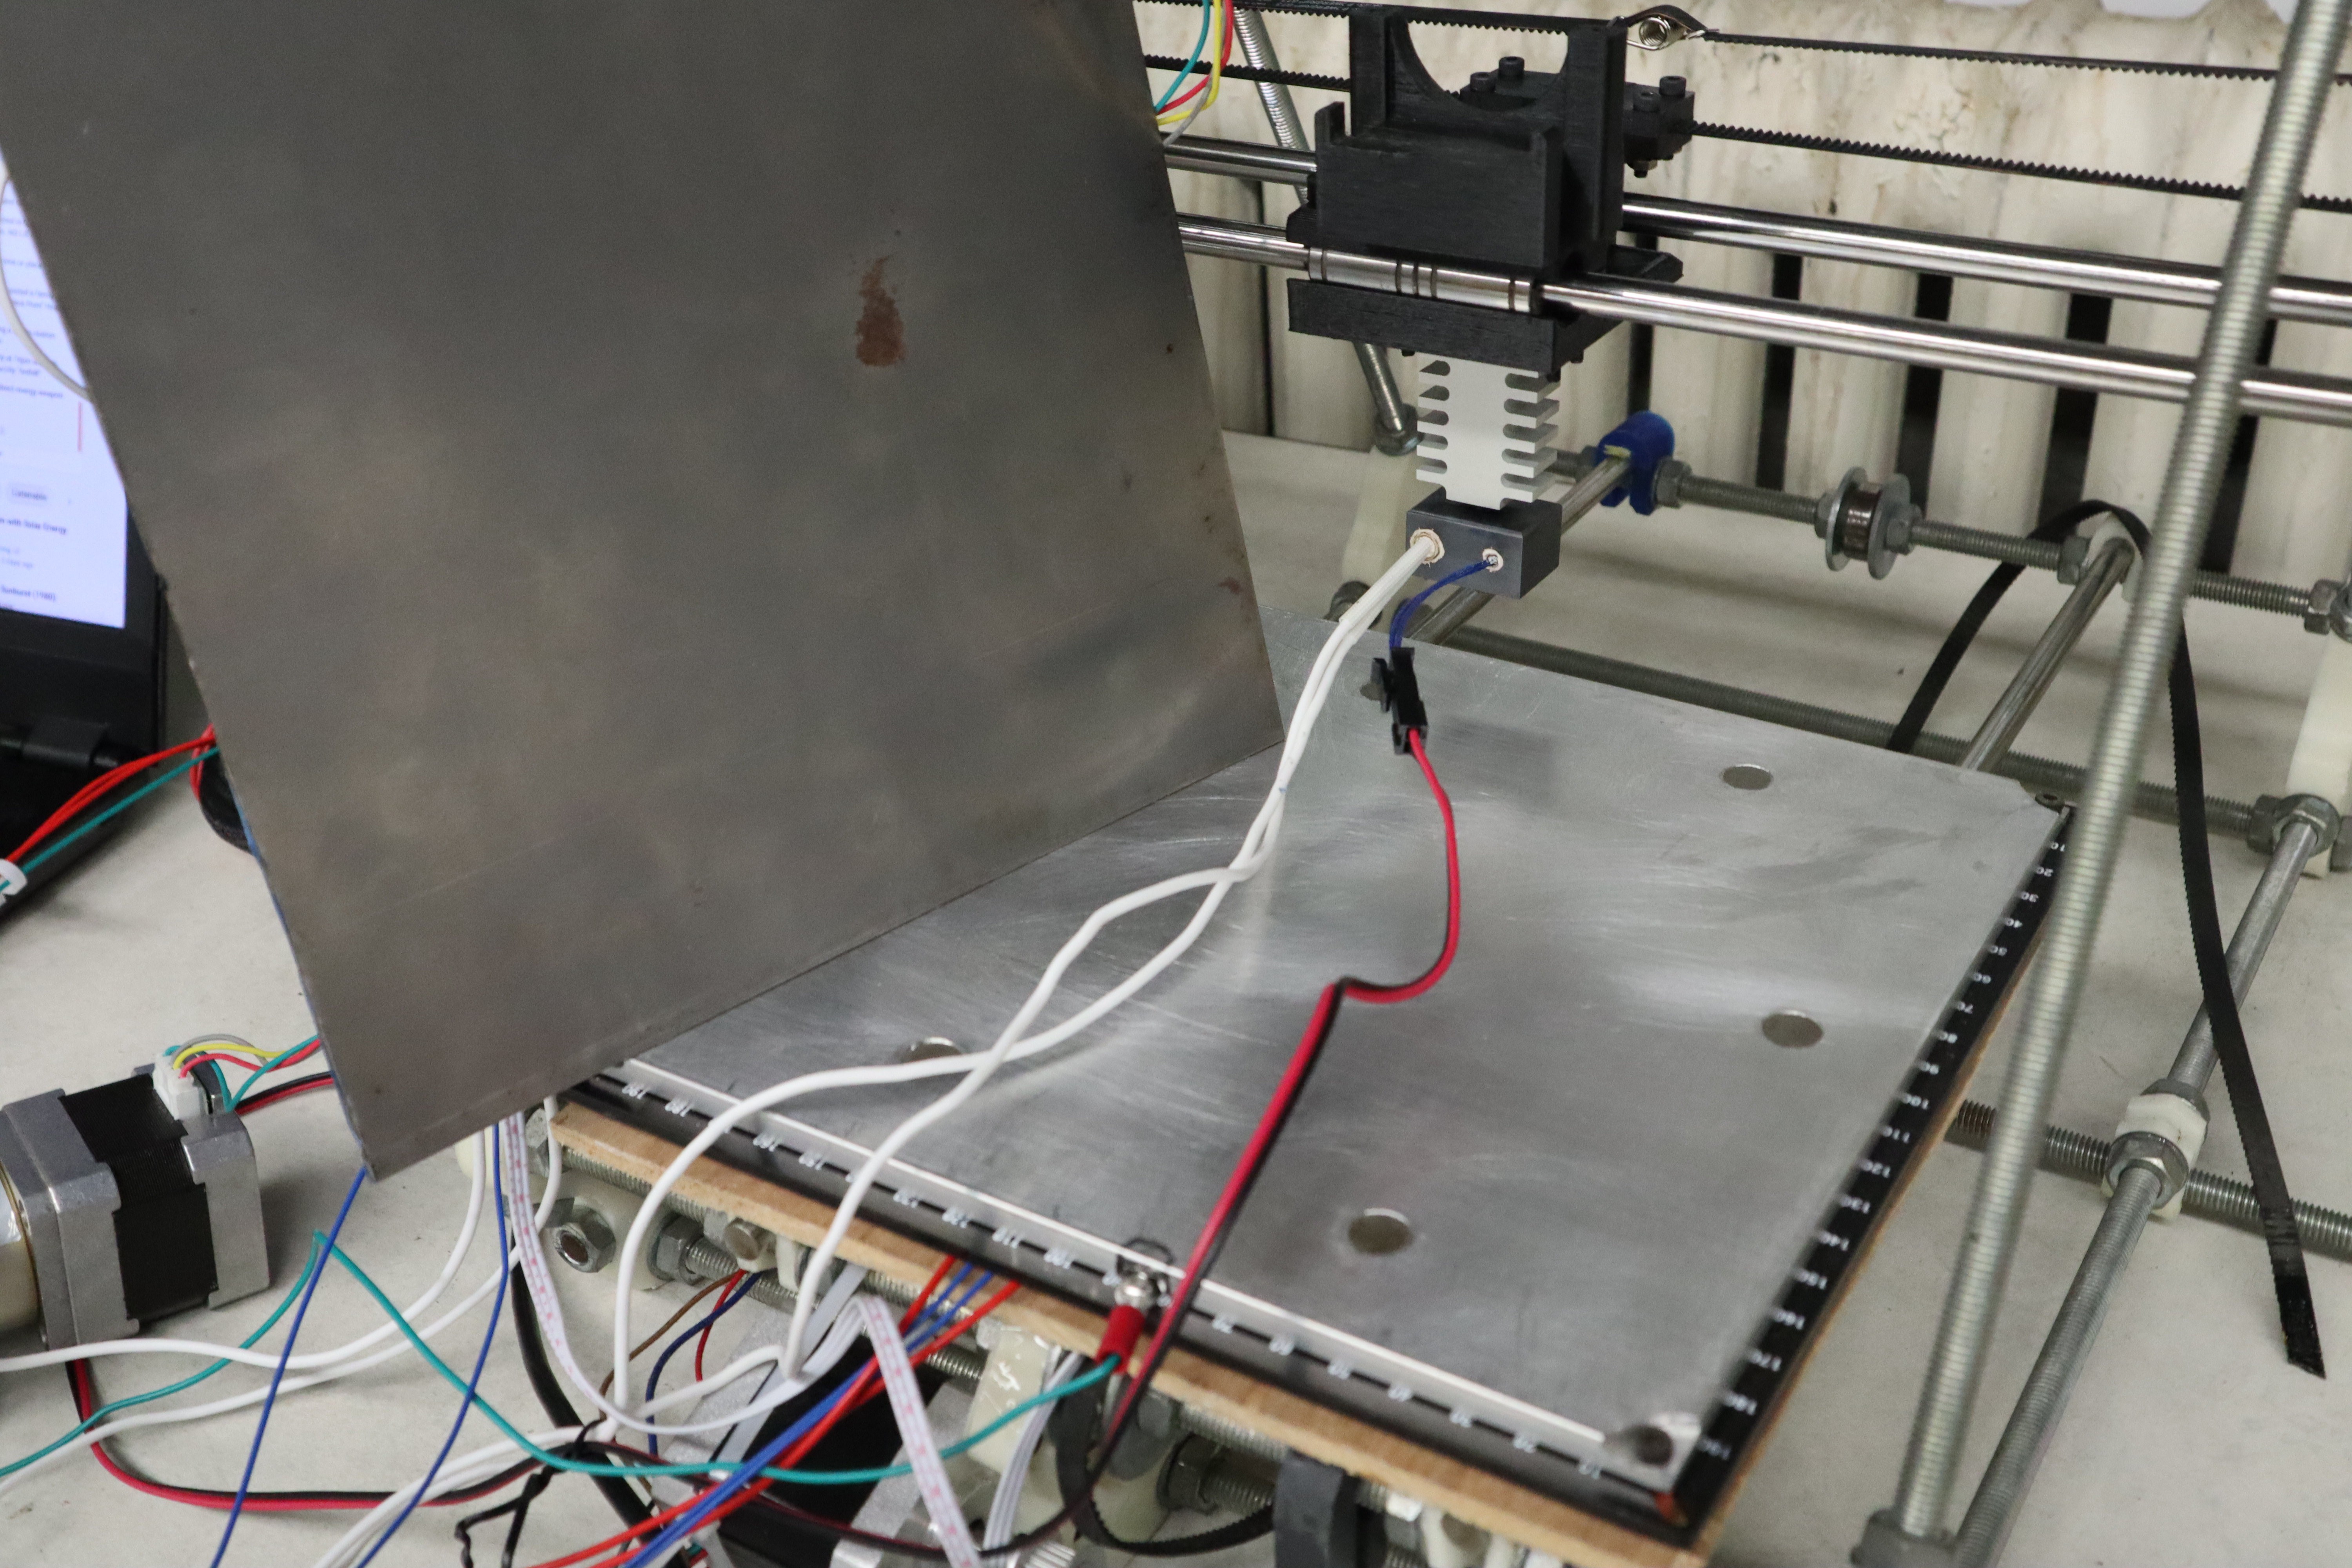
They're quite straightforward and I'm not entirely certain they are necessary to get Semisolid Metal Printing functionality, but they've been very helpful in prototyping things so far, and I'm sure they can help other people with other projects down the line I'll add 3D models at some point but mine are hand-machined because it was easy to do with a dremel and a drill press. It's just a 1/4 inch by 8 inch square 6061 aluminum plate, some drilled plywood, a 200X200mm E3D high temperature heat bed (requires a beefy solid state relay and some wire), some 0.2 inch by 3/8 inch SmCo magnets, a .042 X 8 X 12 inch spring steel sheet, and a little epoxy. I just drilled out holes slightly larger than the SmCo magnets and epoxied them in, then drilled holes as needed in the plywood (The Prusa Mendel I2 Mk2 documentation includes a printable drill guide/laser cutting DXF)) and drilled then dremeled the corners of the aluminum plate so that the bolts would fit sunk into the surface. I also added some thermal compound between the heated bed and the aluminum to help conduct the heat from the bed into the aluminum.
Discussions
Become a Hackaday.io Member
Create an account to leave a comment. Already have an account? Log In.