 Michael Perrone
It’s time for the
next project update! The past few updates, I encountered various
clogging issues, which was more or less to be expected with this
technology. First, nozzle clogging was due to X-Pando pipe sealant
that had gotten into the liquid metal, which was easily remedied by
applying the X-Pando to the male pipe threads instead of the female
ones. Then, clogging occurred in the heatbreak, where liquid metal
soldered to the stainless steel wall of the heatbreak and froze,
locking the wire in place. I know this because I accidentally broke a
heatbreak

and figured I’d get some pictures of the jammed surface and see how hard it was to remove.

It was clearly soldered to the surface in the heatbreak. This was mostly solved by using a titanium heatbreak instead of a stainles steel one. Finally now, I’ve encountered the granular jamming common to semisolid alloys, which my semisolid metal printing technology is developed to get around.
Granular jamming in
semisolid metal alloys is easy to identify: when jammed, the solid
phase can separate from the liquid phase, forming two different
masses of metal with different phase equilibria, compositions and
therefore melting points. When inspecting the nozzle, I found that
the material in it was indeed solid metal, but it barely melted even
with a soldering iron around 410C, the melting point of zinc metal.
This means the majority of the tin had been pushed out due to
granular jamming, increasing the melting point of the remaining
material and eventually clogging the nozzle. I was surprised to find
that this mass of zinc-concentrated material filled the entire nozzle
all the way to where it meets the heatbreak: evidently it took a few
layers of printing before the granular jamming got that severe. The
deposited alloy also notably had a narrower semisolid range than
expected, flowing readily and not keeping in place as it should. That
metric is less conclusive, but seeing both things happen together is
proof positive of this failure mode.

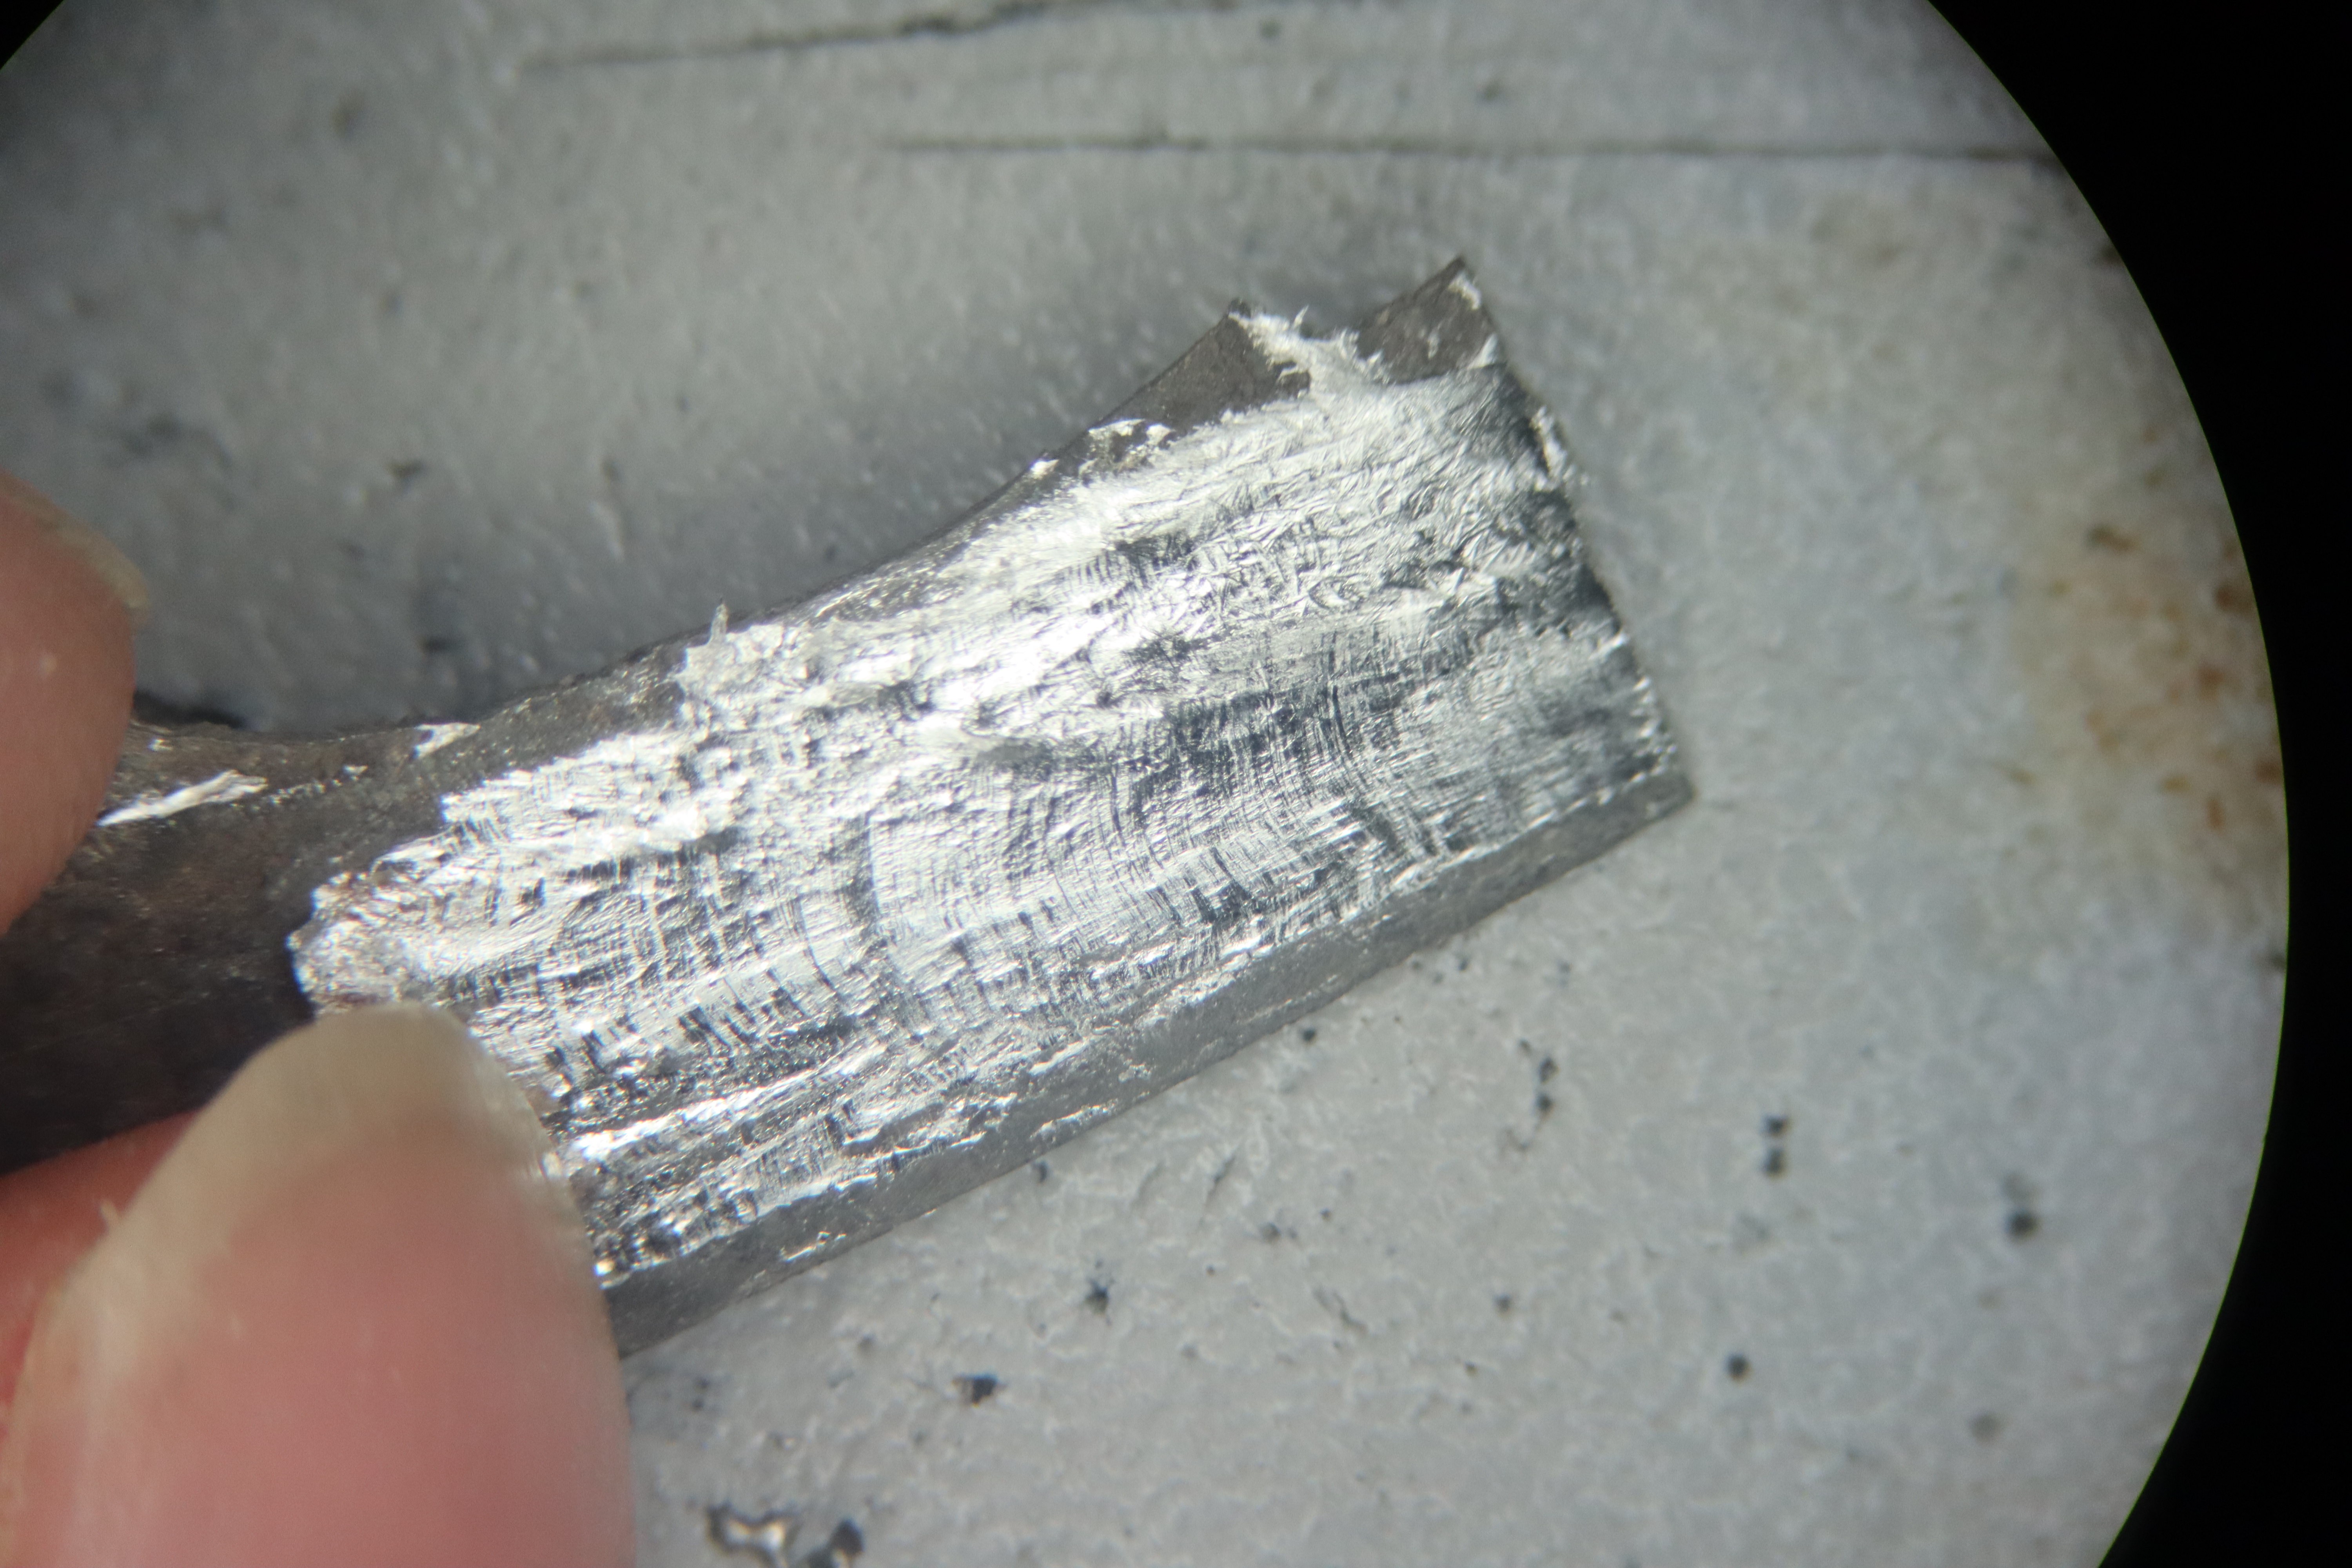
And just to make extra sure, I drilled the tin-zinc out and found only solid metal, confirming that it couldn't be any other form of jamming.
So what happened? I hypothesized that the temperature measured by the thermistor was not accurate to the temperature at the actual nozzle tip. To test this I got my multimeter with a standard type K thermocouple and wetted it with glycerol-ZnCl deep eutectic solvent for the best possible thermal contact, and touched it to the nozzle tip when the printer was up at various temperatures. I found that at 300 C by the thermistor’s measurement, the nozzle tip was actually at 266 C, and at 325 C the tip was at 286C. On their own these would be fine, since the tin-zinc alloy I use is fully molten around 250C. But the print bed is only at 180C or so, so once the nozzle touched the print bed, even at these temperatures, the nozzle tip would have fallen to 223 or 243. No lower printing temperatures would have worked either, and the previous printing attempts were done with a nozzle temperature around 280C according to the thermistor, so it’s possible some of the clogging in the previous runs was also due to granular jamming, though they definitely jammed first due to other mechanisms, because the metal in the nozzle in those runs was easier to melt out of the nozzle once disassembled - well below the melting point of zinc.
According to these measurements, the temperature actually required to extrude properly with this alloy is above what E3D’s standard thermistors can reasonably handle. Indeed, even to reach 325C, I had to extend the range on the thermistor lookup table, measuring with the thermocouple to make sure my additions to the table were accurate enough. It didn’t work particularly well, but it was enough to test with. Now I’ve purchased a PT100 RTD and a T-D500 thermistor, which both claim to go up to 500C. Those should do the trick; we’ll see when they arrive. There’s a slight possibility that printing at such high temperatures will cause the feedstock alloy to be too fluid or not have a yield stress at the moment of deposition, but hopefully as for Wire Arc Additive Manufacturing, this can be controlled adequately with the right system settings. Just in case though, I’ve got all the materials I’ll need to add a brush/wick to the nozzle to help direct the flow of the semisolid alloy, which should work just like a paintbrush. I also got a wider nozzle in case that helps prevent granular jamming, but hopefully I won’t need to use that. I suppose I could use a lower melting point alloy instead of increasing the process temperature as well, which would aid in printing this material alongside plastics, but that would take more time to make and at this point I’d just like to see the machine work.
During granular jamming, the wire still got somewhat lodged in the titanium heatbreak, but upon inspection, no soldering occurred.
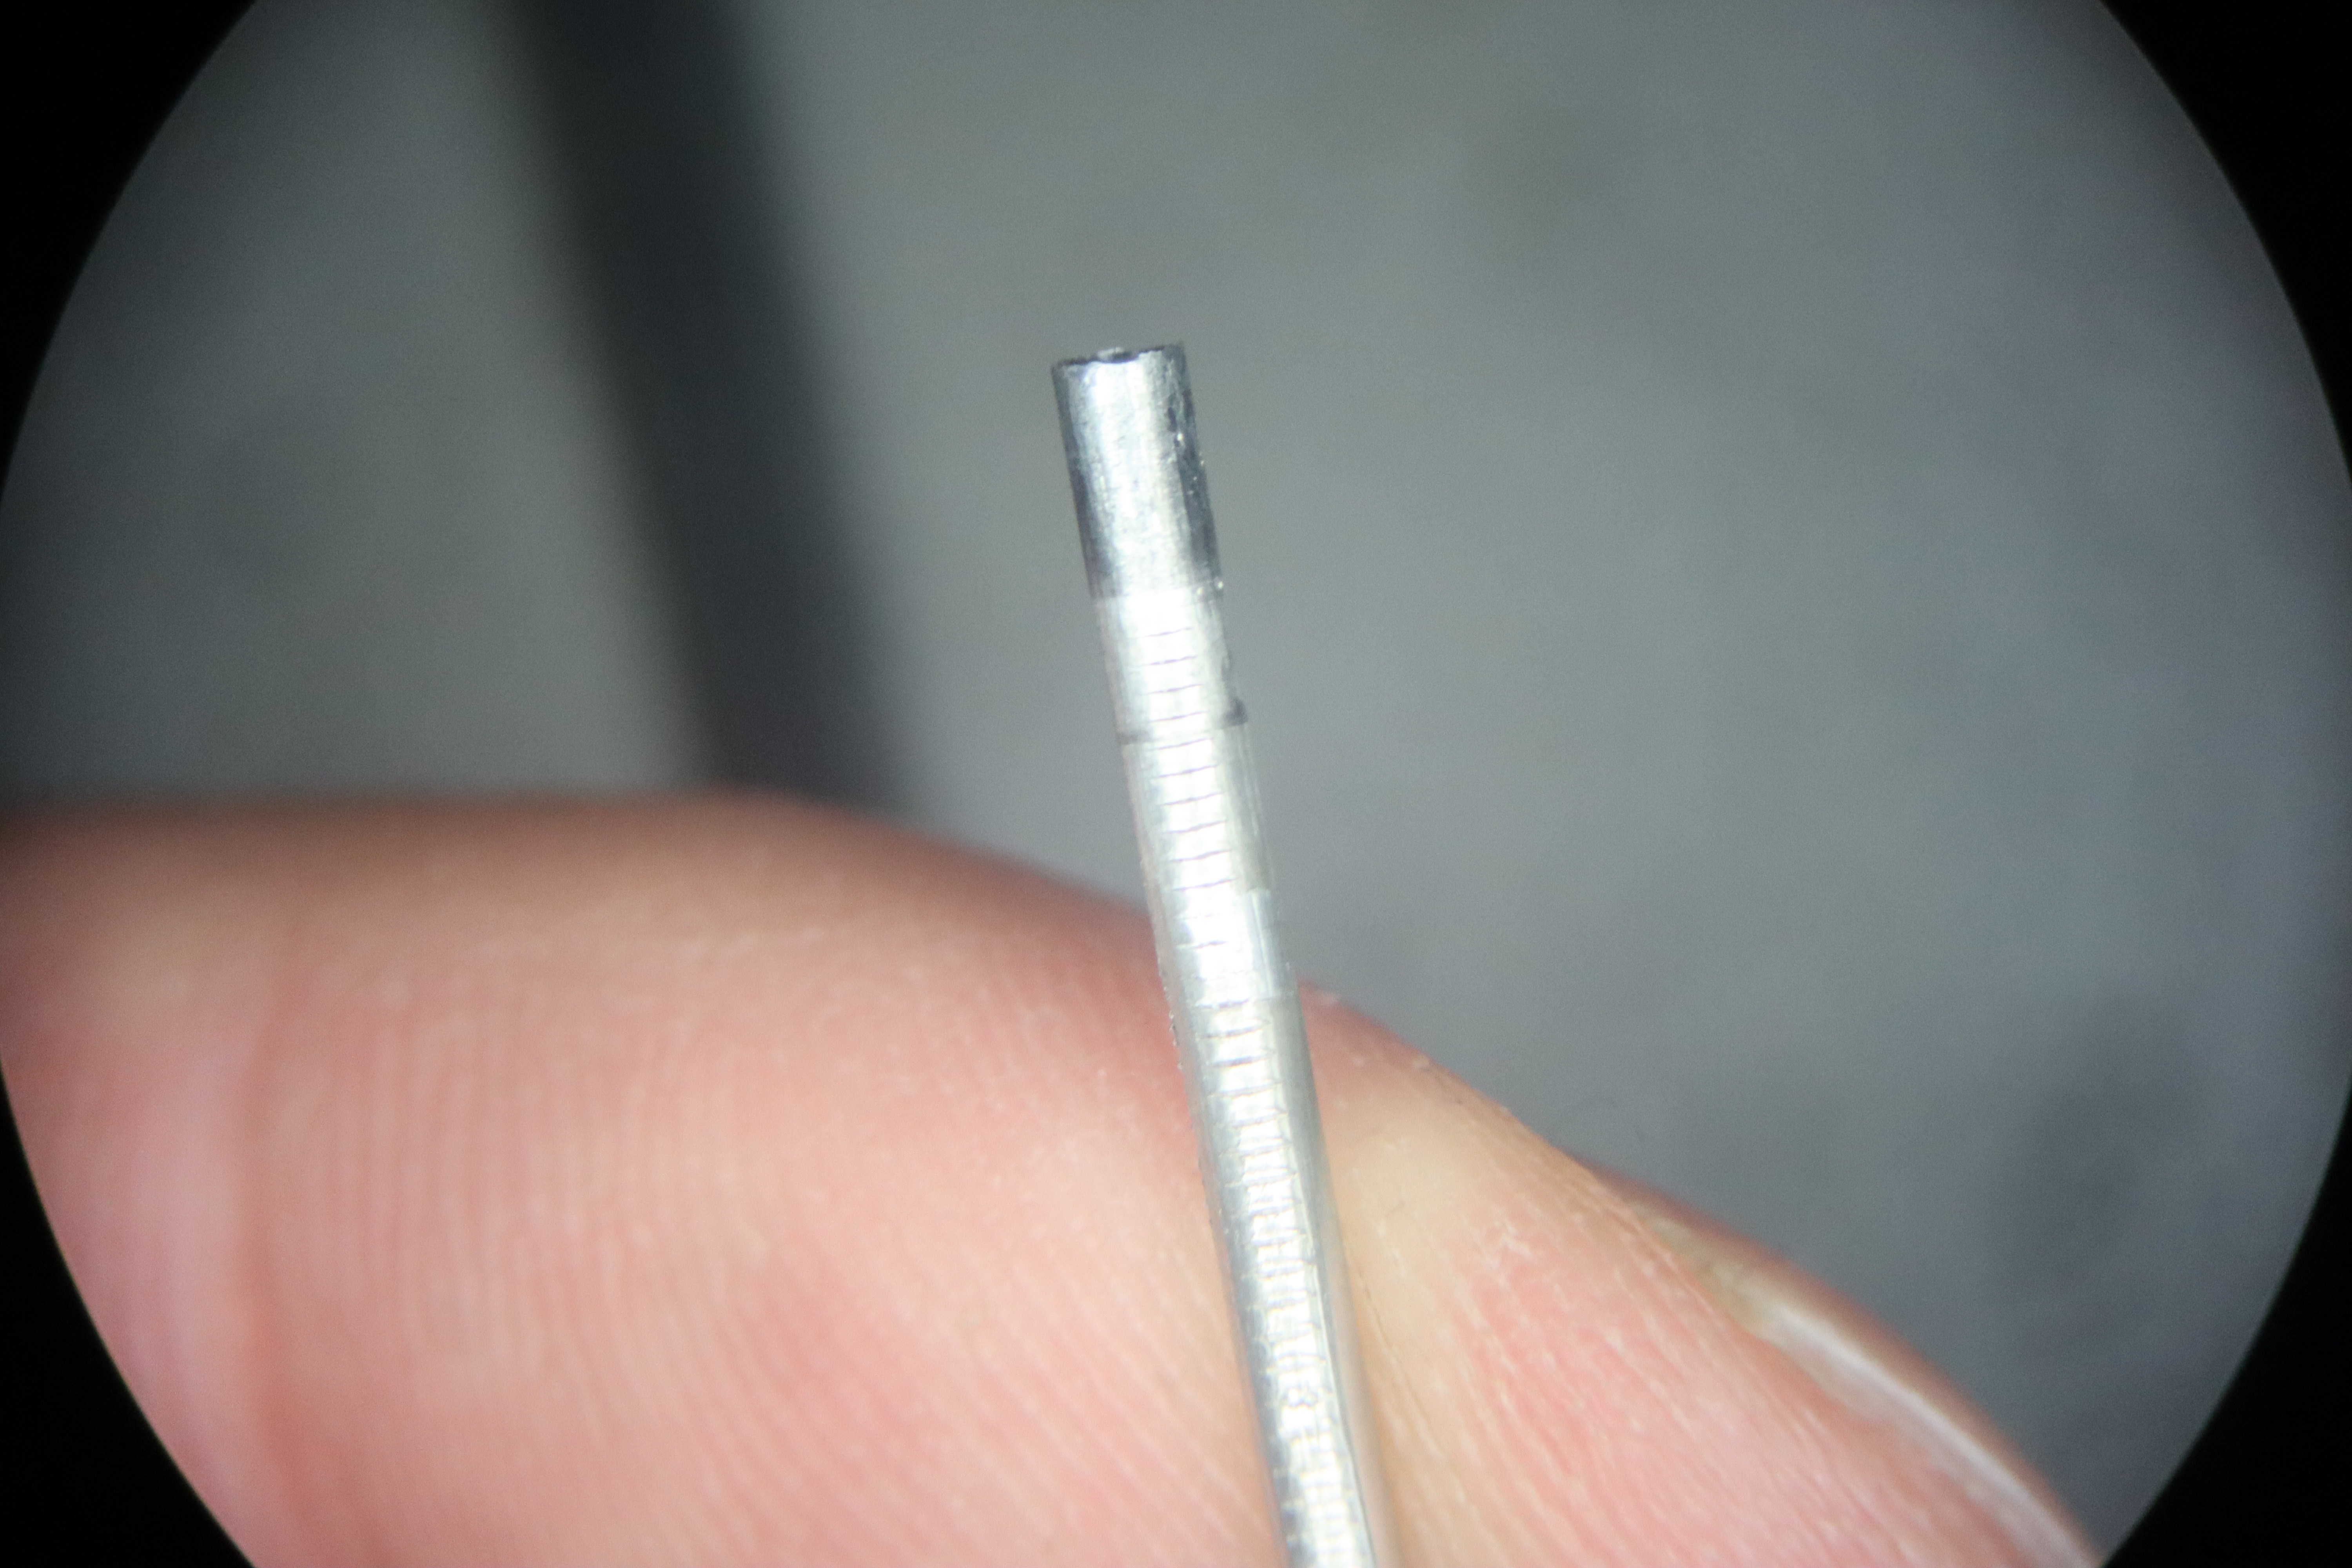
Where with the stainless steel, the darker section here would have been soldered to the heatbreak, here it was still possible to slide out. I also suspect
that jamming only occurred once the nozzle had already jammed,
allowing pressure to build up causing the wire to buckle
where it was heated sufficiently for creep to occur. Hopefully once
standard granular jamming is taken care of, we will see less of this
failure mode. It’s a little disheartening to see that it can still
happen, but I have many more ideas to try and mitigate that behavior
in the future. 5.76mm of wire was mechanically stuck to the wall of
the heatbreak and it still was possible to remove it by hand though,
so I’ll count that as a win for MR-97 mold release. I suspect that
the heat flows up the wire and causes it to creep, but then once it
touches the cooler titanium wall, it solidifies a little more again.
It would be fascinating to simulate this if I had the time and
resources to do so. I’m not sure printing with oils or ‘liquid
gaskets’ will prevent sticking, but perhaps some kind of porous
surface with oil in it could?
For this next design iteration, I tried to get the extruder in the best possible shape with respect to the results I got in the previous round: this meant trying to steepen the thermal gradient as much as possible, and making certain the fan duct didn’t fall off. I used the standard E3D fan duct and screwed on an adapter for a 40mm fan instead of a 30mm fan (in the future I might try something even bigger or with even higher airflow). Then I used an E3D bimetallic heatbreak, with low thermal conductivity titanium on the hot side and copper on the low side to maximize the thermal gradient. I also anodized the titanium surface to help prevent metalurgical bonding, and added a layer of MR-97 boron nitride mold release (a common metallurgical spray I highly recommend) to reduce mechanical sticking near the thermal gradient in the heatbreak.

(Anodized vs unanodized titanium heatbreaks. Depending on the coating thickness, some bright colors are possible.)
In the future, adding more
internal geometry to the heat break could help prevent sticking while
also potentially forming a good sealing surface.

I also insulated the nozzle with high temperature RTV silicone to try and keep the temperature of the nozzle tip as high as possible. I should also shorten the distance between the bondtech extruder and the nozzle, reducing the length of filament in teflon, but I suspect that’s a minor issue compared to the others. Finally, I replaced the steel heater cartridge with an aluminum one, to get a more even temperature across the whole block, and to help make sure enough heat was being transferred into the metal filament as it printed.
On the software side, I completely got rid of the large retractions during layer changes for now, in case that could cause jamming in the heatbreak. I might add it back later if I find retraction is unrelated, because it does tend to help. I also tried increasing the extruder temperature after the first layer instead of decreasing it, reversing the standard used for thermoplastic printing. Extruder max acceleration and jerk were both decreased 25% also, to help maximize the grip of the bondtec extruder on the filament before stripping, in case that could help it push through a slight jam. I also increased the printing temperature to 300C and adjusted the thermistor table by measuring its behavior against a known thermocouple on a high end soldering iron to allow it to work at those temperatures.

I’ve also been
noticing that bed adhesion isn’t really good enough on blue tape to
get a reliable first layer, so I’ve tried out a number of different
substrates to improve first layer quality, and I ended up with spring steel
substrate, which was good enough. It wets to the tin-zinc reasonably well without bonding strongly to it once it cools down, and isn't anything exotic, delicate, or difficult to work with.
I coated the spring steel print bed directly in tin-zinc to maximize the first layer adhesion during the next few tests, but in the future, a thin layer of solder flux sprayed on like hairspray might be usable for the same purpose, while also being far easier to apply. Or perhaps I could get spring steel galvanized, although it doesn't usually come that way.

The new temperature sensors will be added shortly, and once I increase the printing temperature, the rest of the system will hopefully finally work. If not, then I'll try the wider nozzle and perhaps add steel bristles to help direct the fluid flow. A solution is certainly close at hand though.
Discussions
Become a Hackaday.io Member
Create an account to leave a comment. Already have an account? Log In.