 SAYANTAN PAL
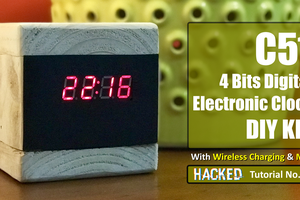
This is PicoClock, a tiny digital clock shield for RPI Pico. Apart from the shield all you need a suitable size battery and that’s all about the hardware you need to make this project.
On one side of this shield we have DS3231 Real time clock IC then we have a Li-ion battery charging circuit based around HT4928s battery management IC. along with a JST connector to connect the battery and a buzzer.
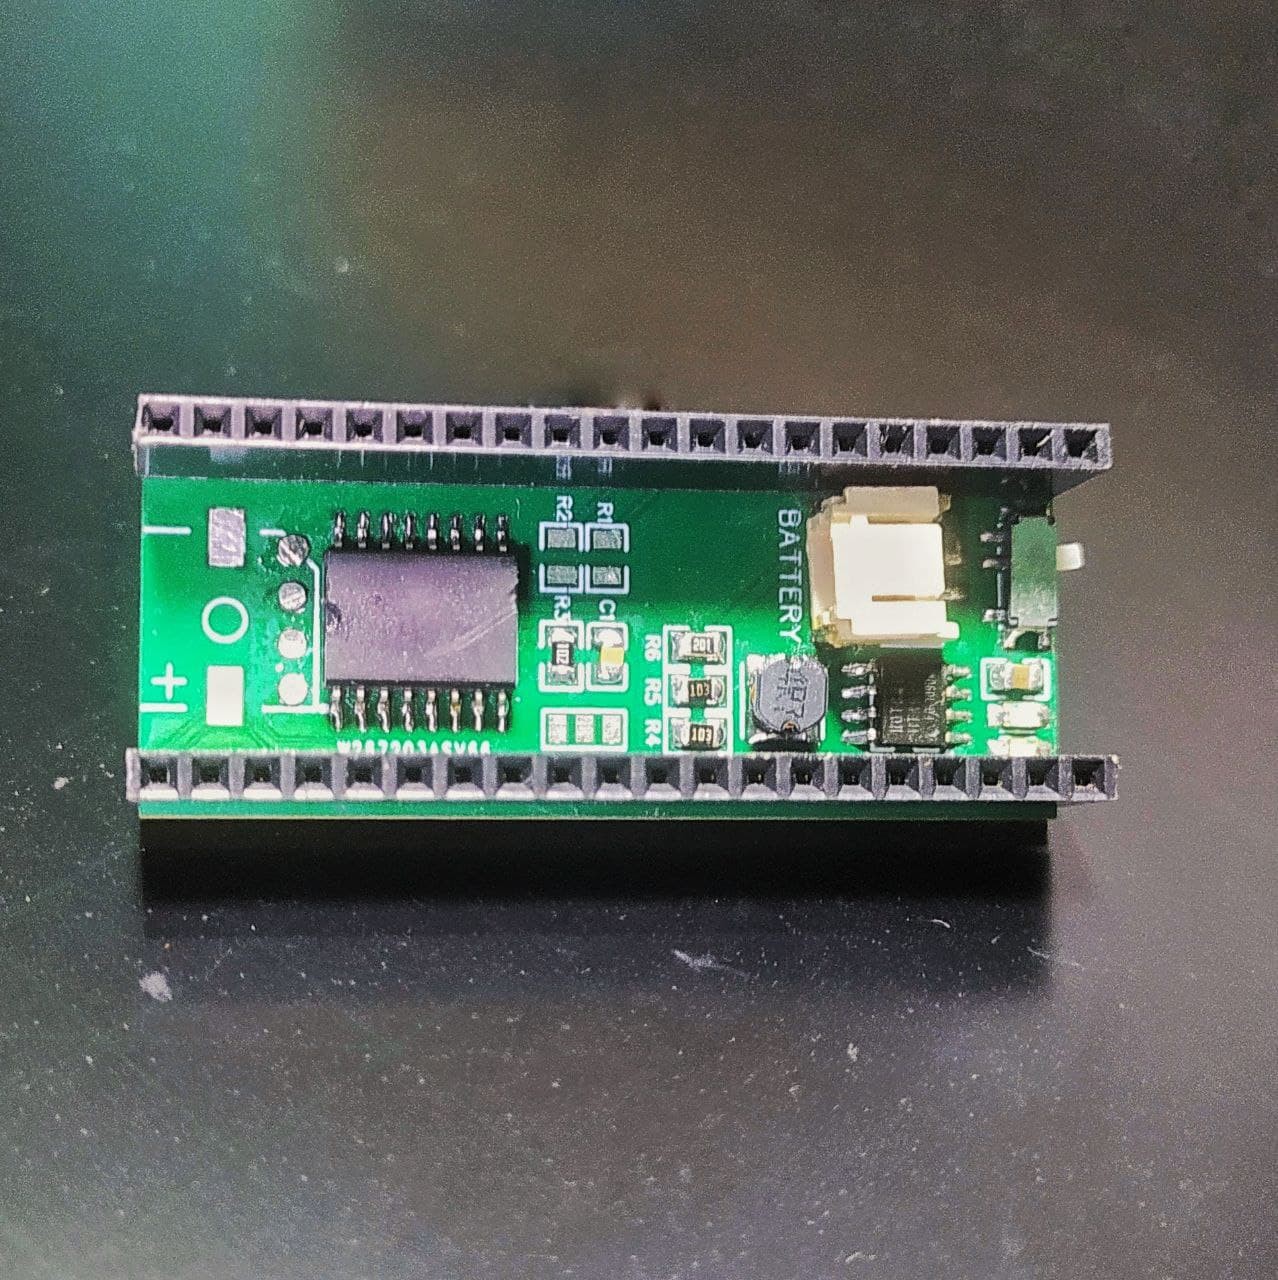
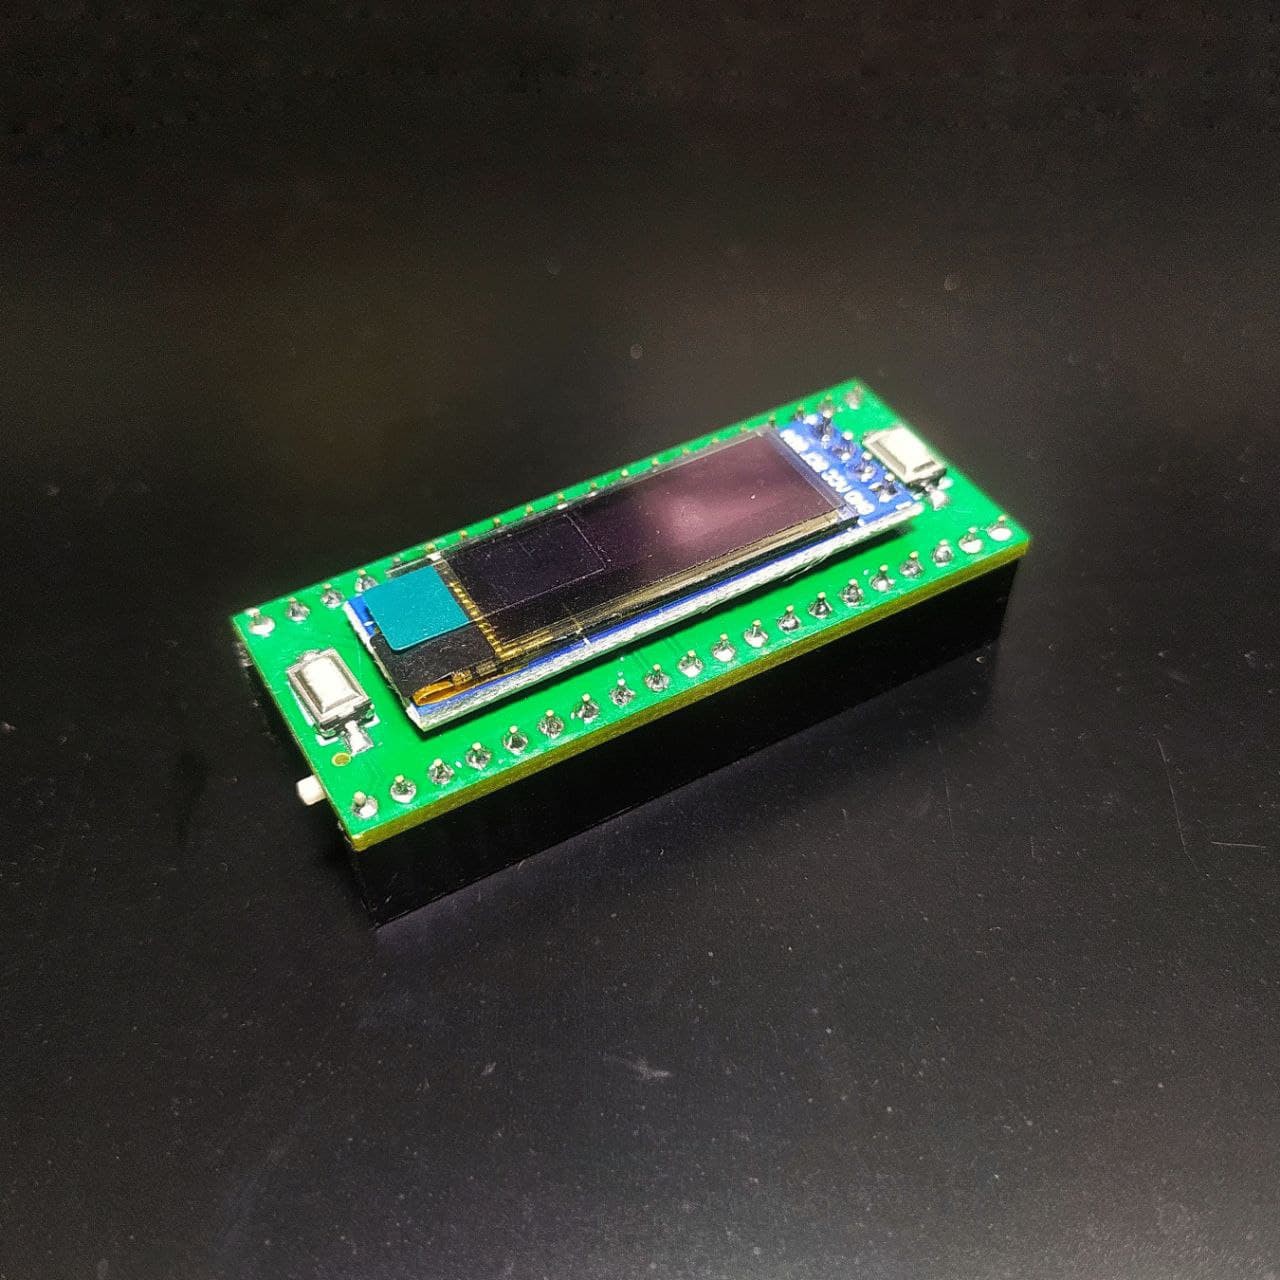
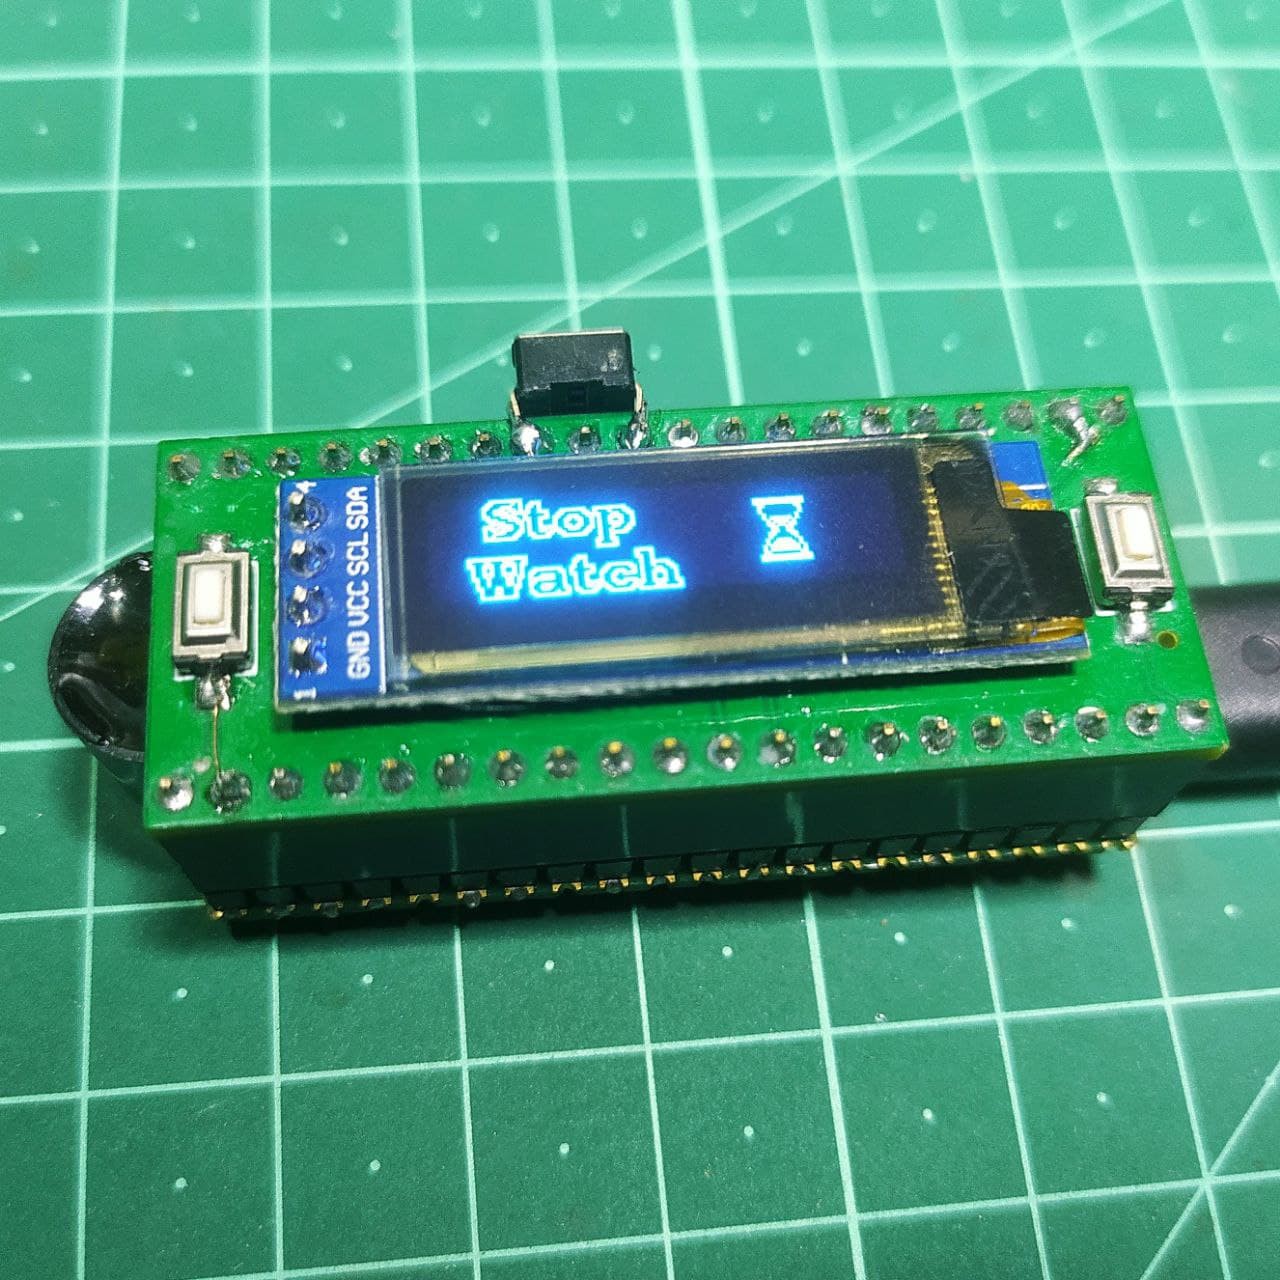
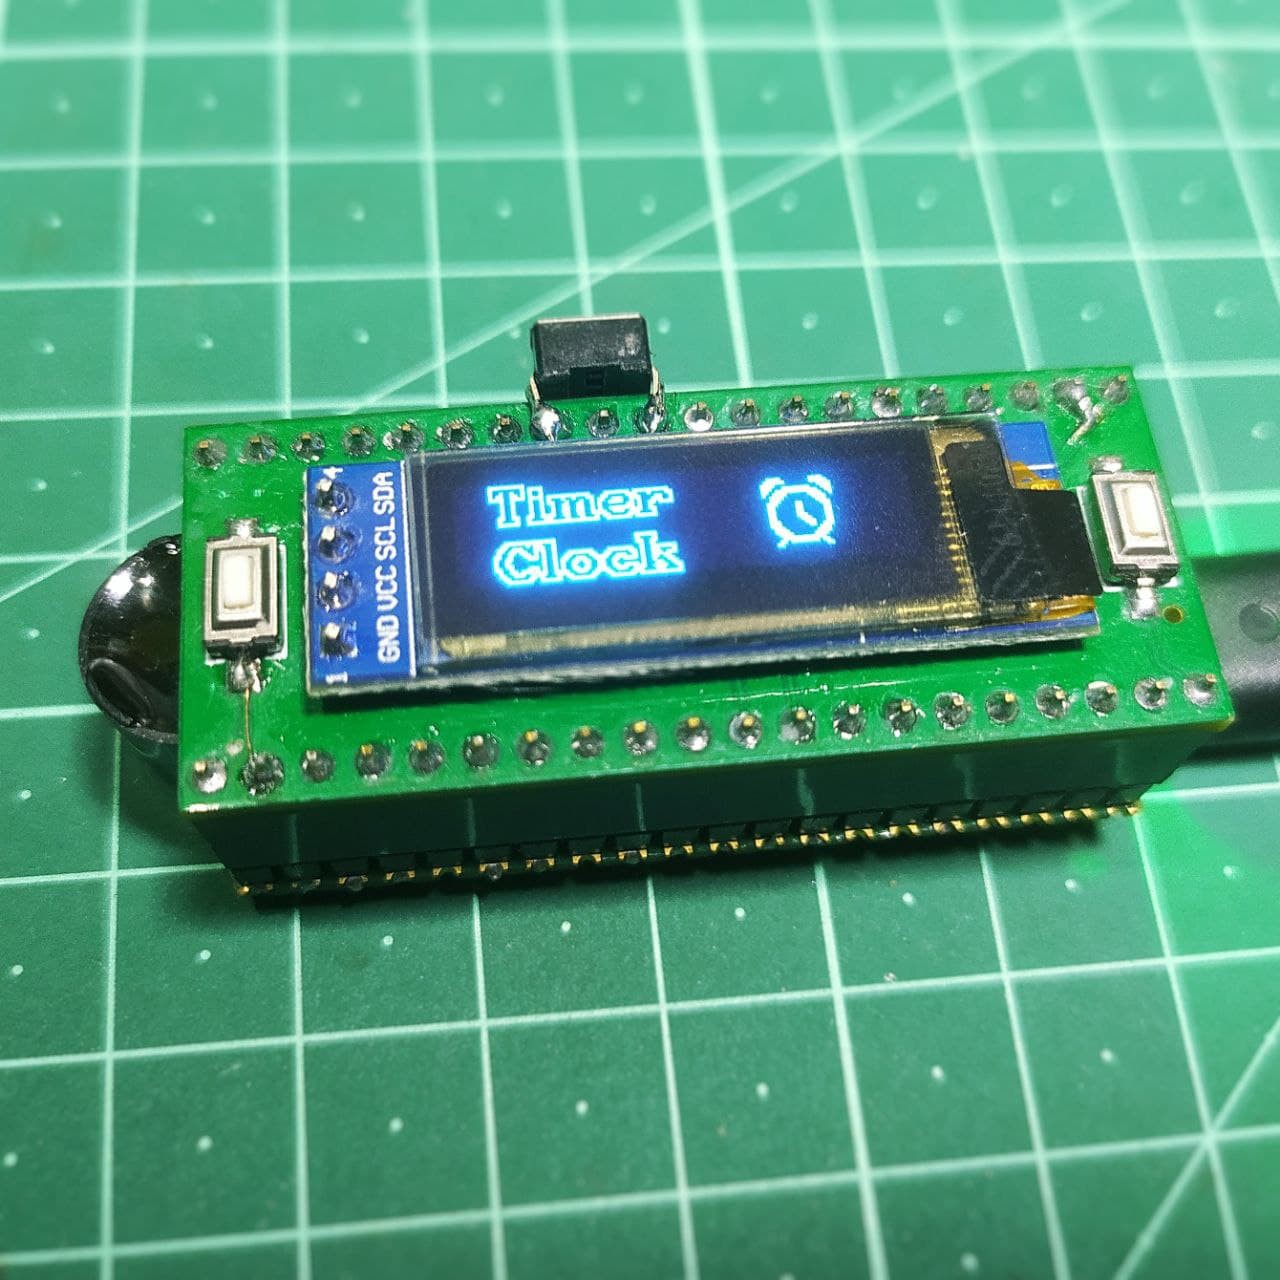
On the other side of the PCB we have a 0.91 inch oled display and two push buttons.
Pico supports both micropython and C. I use the basic example code for the DS3231 RTC and SSD1306 oled to make a simple clock in micropython. But the library functionalities was pretty limited and so my knowledge on microphthon. So I couldn't make much modifications to it
And since now that we also have official arduino support for it too so I switched to arduino IDE for programming. For that first you need to install the Raspberry pi pico board package on your IDE. The code is fairly large so I’d try to explain how it works.
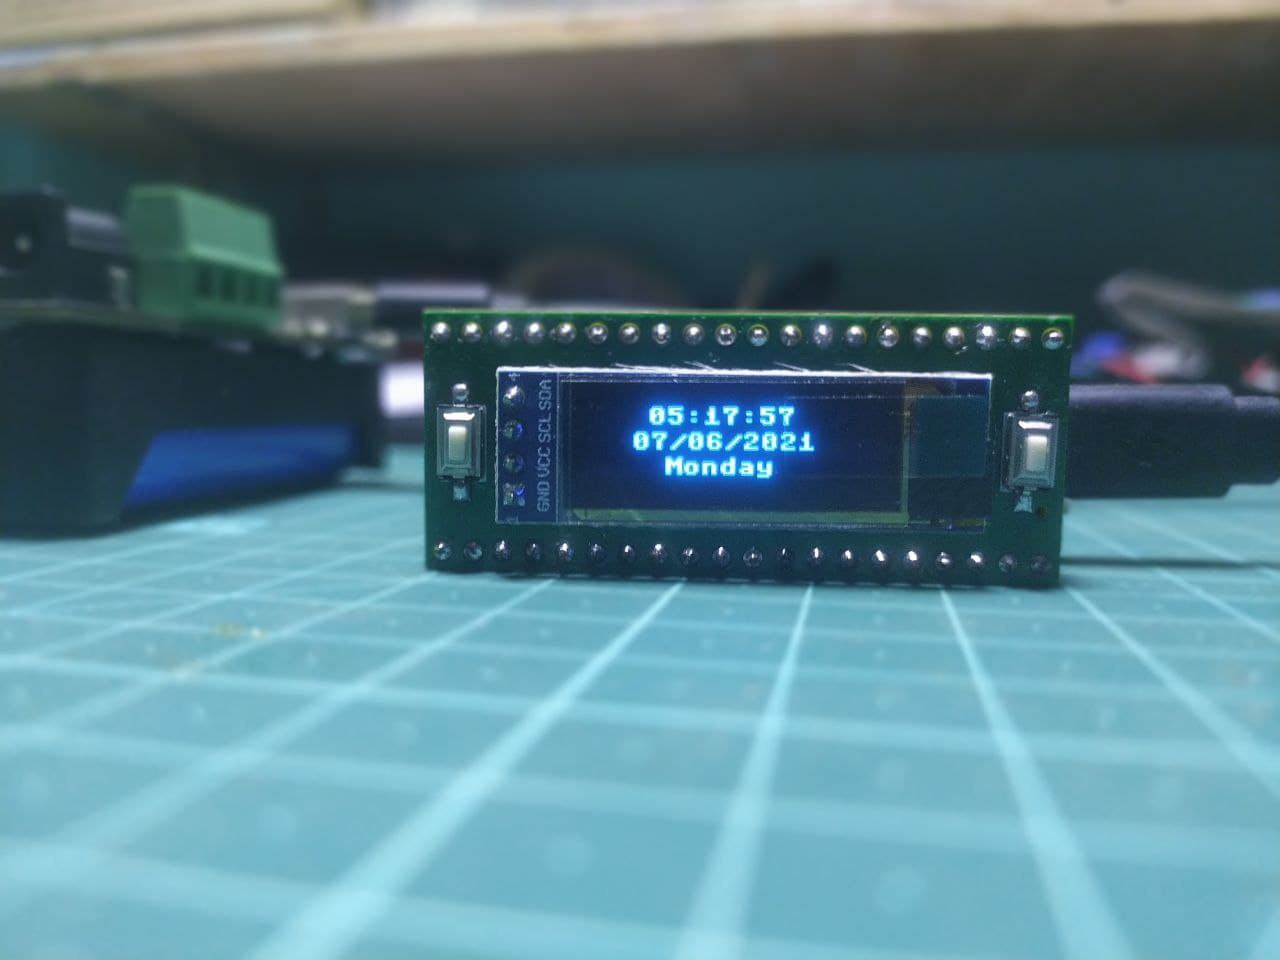
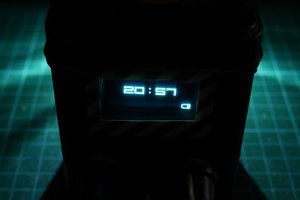
So when the display turns on we see this 12 hour format clock. There are 5 other clock interfaces and you can choose any of them as default. Press the right button to change a different mode.

If you press the button on the left, it will go to other features on this module. Such as stopwatch. Now by clicking on the right button it will start counting. If you press the right button again it will show the laps time. Press the left button to reset the watch.
The next feature is the timer clock. Press the right button to set the timer. Press the left button to change the cursor, the right button for changing the parameters. the first position is for return, the next one is to set the seconds, then minute, then hour. And finally when you see the box that is to set the timer. And it will start counting down. When the timer is over you will see a termination message on the screen and a alarm tone started to buzz.
The last mode is settings where you can turn on or off the sound and it will mute the buzzer. Also you can see the battery voltage level. And if you want to turn off the display you can do that by pressing both buttons simultaneously. Press the reset button to turn it back on. And that’s pretty much it about the project.
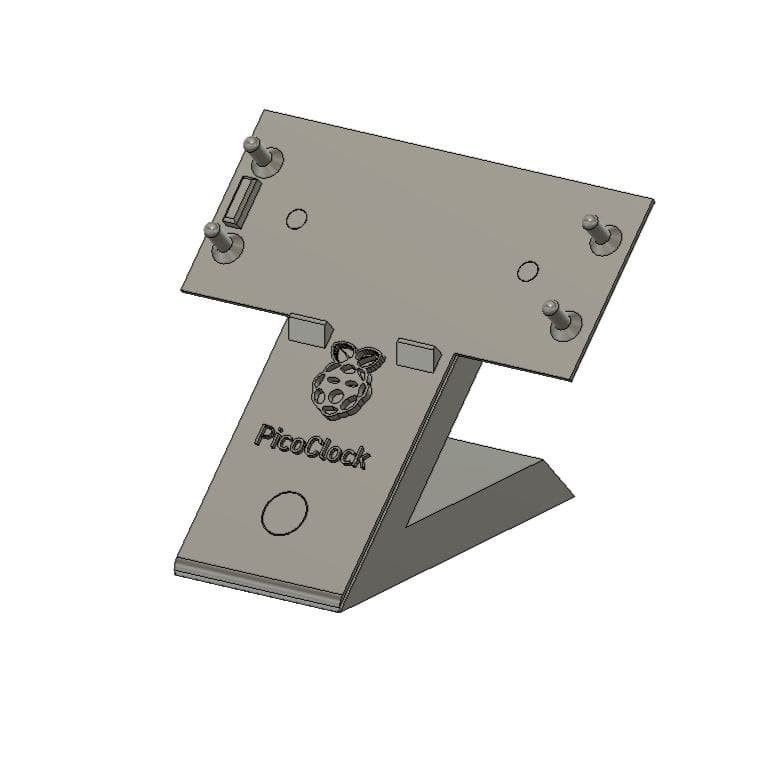
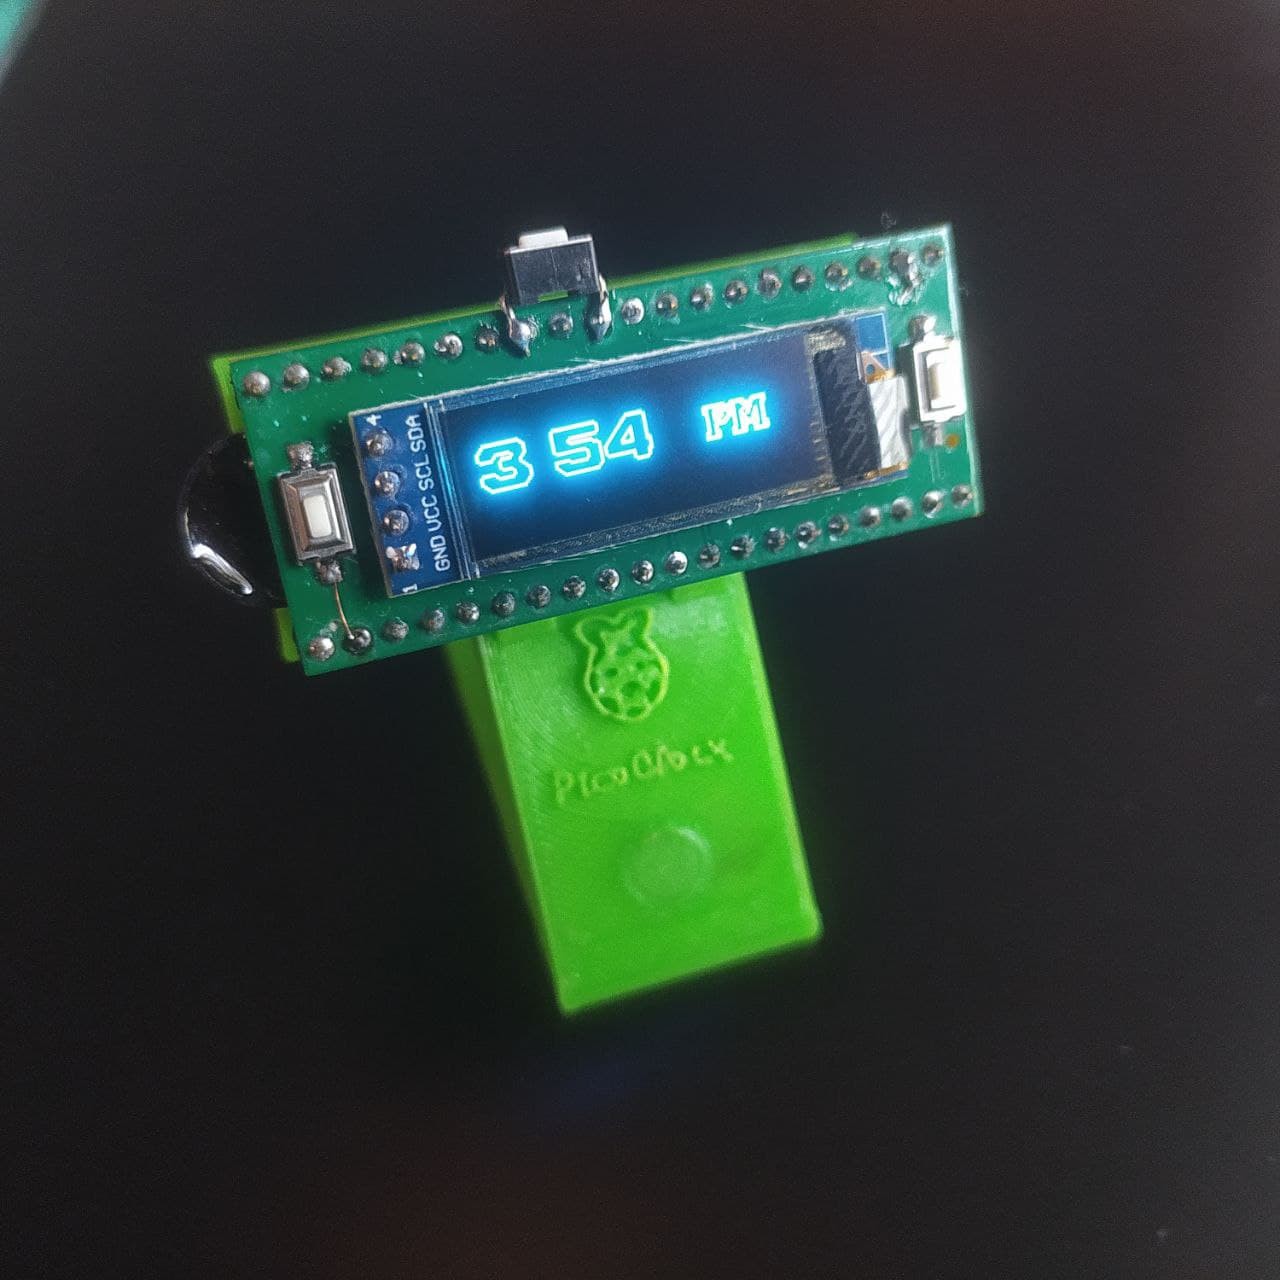
Finally I designed and 3d printed a desk stand for this module on fusion 360.
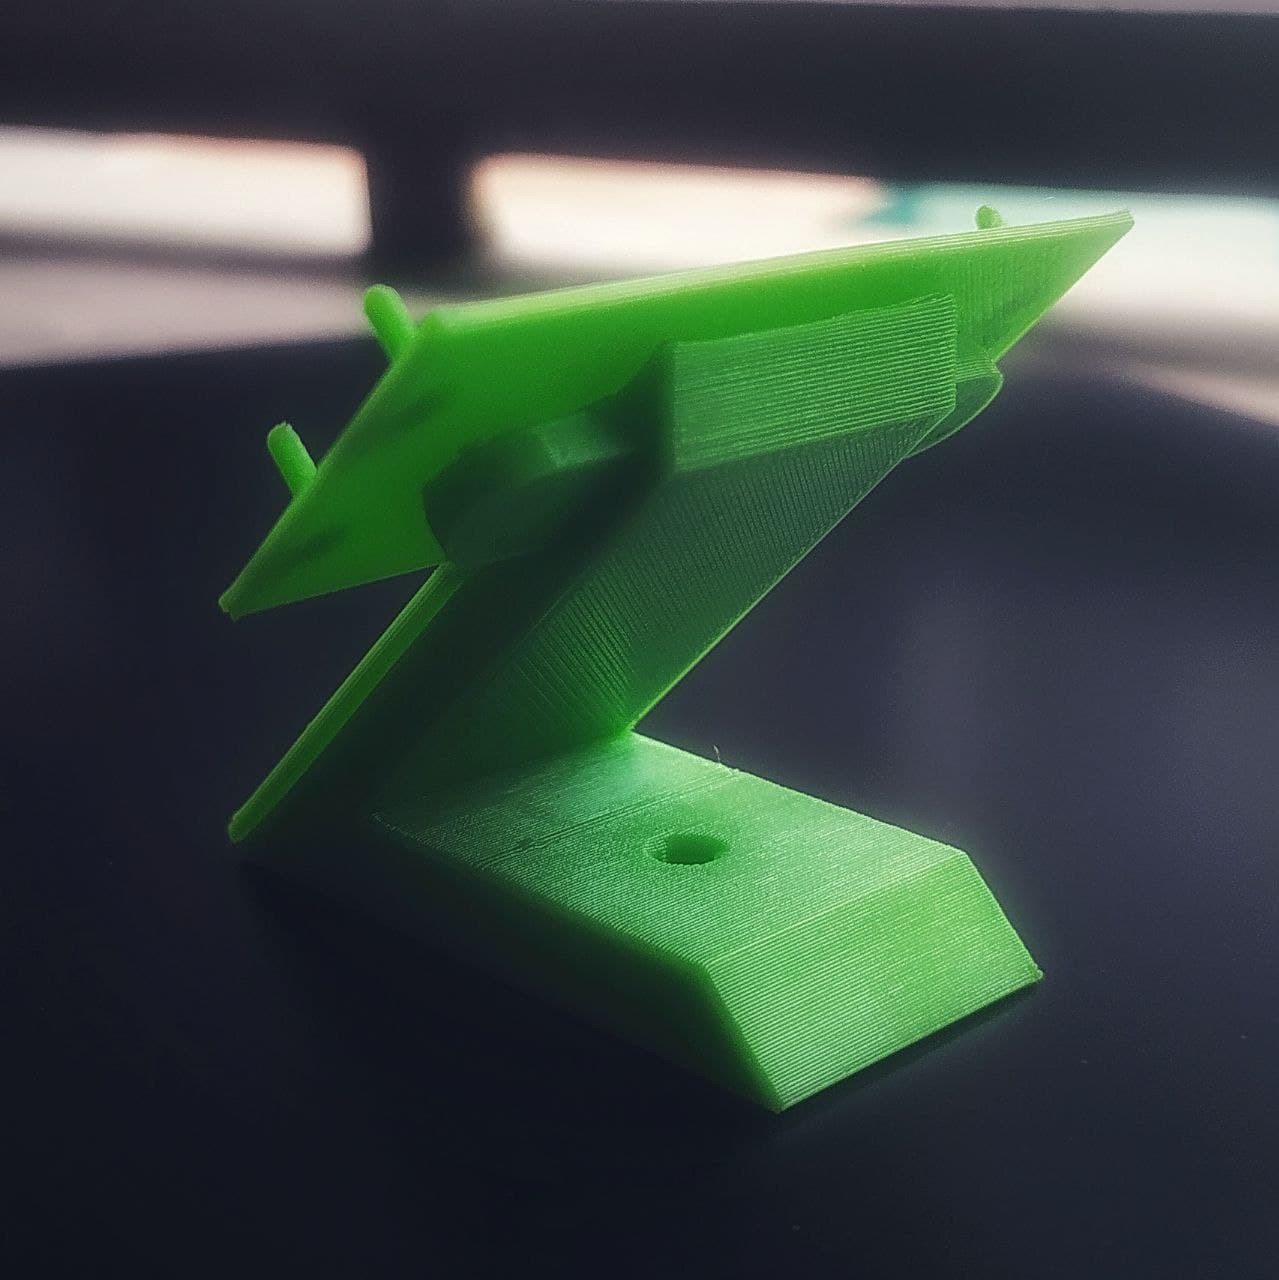
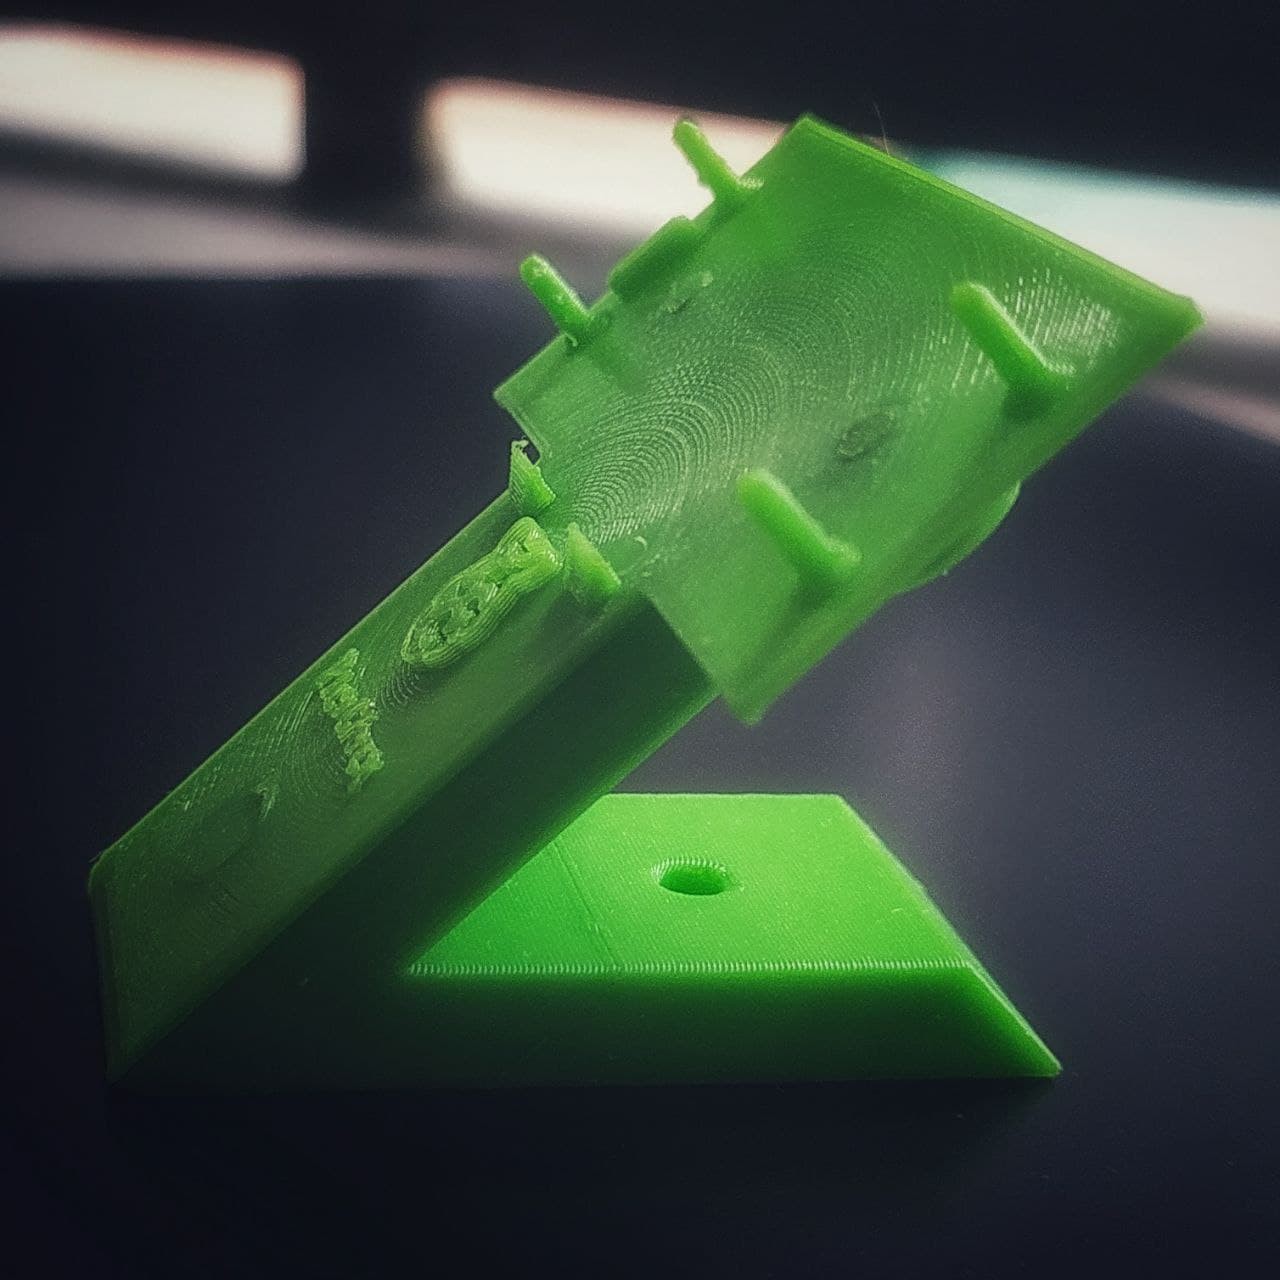
It’s a two part model that snap fits together. And that’s how I made my own portable digital clock. You can find all the details about this project on the github repo. Please watch the youtube video to learn more.
 Hulk
Hulk
 Andrew Lee
 Insight Machines Lab